• Please visit and share your knowledge at our sister communities:
  • If you have not, please join our official Homebrewing Facebook Group!

    Homebrewing Facebook Group

Sorting through all the noise

Homebrew Talk

Help Support Homebrew Talk:

This site may earn a commission from merchant affiliate links, including eBay, Amazon, and others.
Joined
Jan 10, 2015
Messages
10
Reaction score
0
I have started to assemble my first homebrew setup. I plan to get my feet wet with extract brewing and eventually graduate to a whole grain set-up. My goal is simple...make great beer. I've heard many stories of mediocre homebrews and if I wanted bad beer I'd just go buy some coors light and save myself the trouble.

When taking on any new hobby I have a tendency to get carried away buying equipment. There are so many products & gadgets for sale, all seemingly worth consideration. Being a married man, it can be hard to carve out time/$$ for personal enjoyment so efficiency is crucial. I'm also apartment living, using our kitchen to brew, so portability, cleanliness and simplicity are also important.

I'm pretty sure I'm ready to make my first batch. Am I missing anything? Anyone have suggestions for improvements or alterations?

So far here's what I have:

1 glass carboy with bung & 3 piece airlock
2 6.5 gallon buckets w/ spigots 1 for primary fermenting 1 for bottling
1 8 gallon brew kettle w/ lid, thermometer, ball valve & bazooka screen
1 copper wort chiller
4' 1/2" high temp tubing
1 brew paddle
1 hydrometer w/ testing tube
1 racking cane w/ auto siphon
1 bottle capper w/ caps
48 pry top bottles (emptied with joy)
1 jet bottle/carboy washer & bottle brush
B-brite sanitizing solution
India pale ale ingredient kit (extract, specialty grain, hops, yeast, priming sugar, grain bag)
 
What is the reasoning for the glass Carboy or two buckets? If you don't plan on bulk aging or adding fruit or oak or something, a secondary vessle isn't needed.

Bite the bullet and buy a 15 gal kettle if you think you really want to get into brewing. That opens up options for full boils and 5 gal BIAB when you want to go there. I'm already looking at them with 3 batches through my 7 gal kettle.
 
Wow, you have a very nice set up for not brewing a single batch yet.

As for needing equipment, I'd say you have all the necessities for doing extract. If you want to add more control grab a grain bag and steep grains.

As for avoiding mediocrity, either assemble ingredients from a known and proven recipe, and if you buy a kit, take their directions and throw them away.
They are notoriously inaccurate.

Do not boil anymore than 50% of your total LME for the entire time. Preferably less. More like 30%. Add the rest of the LME with 10 minutes left in boil.

Clean as you go, as brewing in a confined space, the mess can get out of can quickly.

Make sure that everything that touches your wort post boil has been sanitized.

Make sure your yeast is not pitched until wort has cooled to 70*, preferably lower, like 65*.

If using dry yeast, rehydrate. If liquid yeast make sure it is as fresh as possible, and prefably make a start in a mason jar a day or two ahead of brew day.

Make sure the ambient temps of the room you are fermenting in do not get above 65-67*. If they do, you may need a swamp cooler, or other method to keep fermentation temps within range.

Ferment for a minimum of 2 weeks your first time(s). You don't necessarily need this long, but it is safe bet for most ales. You can use a hydrometer a take readings 3 days apart, and as long as Gravity is stable you are ready to bottle.

Rev has a pretty easy formula to follow 3/3/3

3 week ferment 3 week in bottle 3 day in fridge
Then drink

Lastly have fun. You WILL make mistakes your first (few) batch(es). Roll with it, and don't sweat the small stuff. Following the above, you will make better than mediocre beer.
 
That's a lot more kit than I started with a little over a year ago, and my first beer (Dry Irish Stout) turned out great. I've since moved on to all-grain and more sophisticated equipment, but what you have is enough to brew from extract, and really there is nothing wrong with that. I have an associate that has been brewing for many years, and still brews exclusively from an extract base. If you are not in a hurry to upgrade, what you have (minus the consumables) should suit you well through many batches of beer.

You might want a few more bottles, as you might end up with a little more than a couple cases of beer at the end of it all, but it looks to me that you are ready to rock. Most important thing is to follow you kit instructions carefully and SANITIZE, SANITIZE, SANITIZE - anything that may come in contact with your beer post-boil.

After your first batch, do another as soon as your primary fermentor becomes available. Practice is the key to efficiency and consistency in your brewing, and all the theory and fancy equipment in the world won't make great beer if you don't know how to use it properly.

Good luck, and welcome to the addiction.
 
Like Psycho ... whoops, I mean Psylo, I wonder most about the fermenters:

1 glass carboy with bung & 3 piece airlock I assume you are aware of the glass risks as well as the added weight
2 6.5 gallon buckets w/ spigots 1 for primary fermenting 1 for bottling Why spigots on both?
 
Why all the hate with dude's fermenters?

It sounds like he either bought someone else's set up, or a LHBS had a really nice kit pieces together.

I am assuming only 1 bucket has a spigot, but even if both do who cares? Plenty of people on here use bottling buckets to ferment in.

As for glass and/or secondary, again who cares? Lots of people secondary with great results. Lots of people don't secondary with great results.

As for glass, I'd feel pretty confident in saying at this point in history, glass has probably been used for longer than plastic to ferment beverages in.

That being said, in 15 years of brewing I have never used glass, and probably never would, unless the Carboy was either real old, or made in Italy. That's just me.

The guys title is sorting through the noise. He is looking for advice on how to make good beer with what he has.

Not the plastic vs glass vs SS debate, not the secondary vs no secondary debate, not the you need more equipment if you are going to do this for more than 3 batches speech.

I brewed several times a month for years, doing extract, on a stove top, with an 8 gallon kettle.
 
I didn't even realize that he already had all this... must be too early.

In that case OP... get to brewing. :D
 
You can make great beer with what you have. Follow the directions that come with the kit. If something doesn't match what the directions say exactly, don't freak out. Best thing to do on brew day is, if something doesn't match what the directions say to write it down on the actual instruction sheet. Save the sheet with the notes you've made. If the beer is great then you can replicate it. If it's terrible you can come here and say X was suppose to be Y, what should I do next time?
 
The list doesn't mention a bottling wand? If you don't have one, you'll need it to properly fill 48-53-12oz bottles without risk of oxidation. And I find it really handy having spigots on my fermenters. Easier racking to bottling bucket or secondary that way. Just take the spigots apart & clean them after every use to negate the possibility of infections hiding in them. I also prefer PBW for cleaning & Starsan no-rinse sanitizer. Better than B-brite in my book, but that's me. Just use the carboy for the occasional secondary if it's 5 gallon. If it's 6 or 6 1/2 gallon, use it as another fermenter. Just don't move it around a lot, as they are not tempered glass & break easily.
 
All I'd say is that you should do your best not to be disappointed if you make mistakes that lead to not-so-great beer early on. I'm now four batches in. My first beer was very good, but my second had an infection and my third ended up really buttery, I assume because fermentation temps came down too much too soon and I ended up with too much diacetyl. If that doesn't happen to you, then all the better!

For me, I'm brewing because I want to experiment with ingredients and processes in order to successfully brew different beers that deliver flavors and aromas that I like (and perhaps that others like :D). I'm almost more interested in getting that process right than consuming the results!

Good luck!
 
+1 @Brew_G.

I found if I keep everything clean, sanitize the hell out of everything, I tend to make good tasting beer. I'm still doing kits (until my Kotbusser here in a few weeks), but so far so good!
 
One of the best ways to brew a great beer is to ask "the" question before the problem occurs. Do you have a link to the recipe for your brew. Comments on the procedures in recipe will point out some possible problem areas to watch out for.
 
Hopefully you have a thermometer.
I didn't see it mentioned but I'm assuming you have one. Secondly, use good quality water, RO or spring. Lastly be patient. It takes time to make good beer. You would be amazed at how good your beer will taste a few weeks down the road. If you have questions don't be afraid to ask here or get on YouTube it is also a great resource. Have fun and enjoy it. Even if your first beer isn't awsome, it will definitely be better than Coors light.
Prost!
 
Good list!

Your 7 gallon kettle may be a bit small for All Grain / full boils. I assume you boil on the kitchen stove so a much larger kettle is unwieldy and it is unlikely it will boil 7-8 gallons. A second kettle 3-5 gallons comes in handy and can be put on a separate burner to get to your total boil volume. Also good for soup and chili.

For extract and partial mash 7-8 gallons is fine. I have an 8 gallon kettle and now wished it were 10 gallons to have more headspace. Although I was barely able to boil 7 gallons of wort on the stove, things change, and I now use a 3500W induction burner that does, and then some.

B-brite sanitizing solution
Don't know who sold you that. I recommend to get Starsan. An 8 or 16 oz bottle will last years. It's one of the best and easiest to use sanitizers around.

PBW and/or Oxiclean (unscented) or generic ($ store) for cleaning equipment.

Accurate thermometer. Digital is among the easiest and quickest read. I can recommend the CDN-450. $16 on Amazon. If you want to splurge, Thermoworks' Thermapen ($~90-100).
The glass ones they sell in the brew stores are pretty useless and a hassle. They break easily and are highly inaccurate.

Check Homebrew Finds for current brew related deals. Beware, you do not need all that's flying by there, although it can be tempting, restrain yourself. Hand your credit card to your wife, and only buy with adult supervision. You're brewing, you're a kid again.
 
+1 on being prepared to make some mistakes along the way. This is not an exact science and sometimes things don't turn out well, despite the best of efforts. Conversely, you might make a few mistakes and still end up with dynamite beer. If things worked out every time, this hobby would be nothing more than going through the motions.

A few important things to concentrate on:
1. Good sanitation.
2. Maintaining proper fermentation temps.
3. Pitching an adequate amount of yeast.

There are other factors but the above are my "big 3" to start out with.

Oh, and a fourth: Ask lots of questions here. This group has plenty of experienced brewers who will help.
 
I have started to assemble my first homebrew setup. I plan to get my feet wet with extract brewing and eventually graduate to a whole grain set-up. My goal is simple...make great beer. I've heard many stories of mediocre homebrews and if I wanted bad beer I'd just go buy some coors light and save myself the trouble.

Hi! Welcome to the addiction. This is more or less where I started in 2008 when my wife asked if I would like a Mr. Beer kit for Christmas. You will make mistakes - brewing good to great beer is part science, part innovation, and part art form. However, good kits and careful attention to cleanliness and sanitation usually produce beers that create a "Wow, this is really good!" response. My brother recently started homebrewing with a Holiday Ale kit and a Cider House Select Kit. They both turned out excellent. You will be able to make good to great beer right from the beginning. Just remember that there will be some setbacks as well :)

When taking on any new hobby I have a tendency to get carried away buying equipment. There are so many products & gadgets for sale, all seemingly worth consideration. Being a married man, it can be hard to carve out time/$$ for personal enjoyment so efficiency is crucial. I'm also apartment living, using our kitchen to brew, so portability, cleanliness and simplicity are also important.

You will fit in well around here! Many of us are gadget junkies, DIY fanatics, and perpetual up-graders of our brewing setups. The Google search function (see attached image) is your friend. It is rare you will come across an idea or gadget someone on HBT hasn't tested, built, tried, reviewed, or broken. Learning from the massive knowledge base that exists here at HBT is something I enjoy a great deal.
I have done many batches on a stovetop with a five gallon pot and a BIAB setup. Your setup is very workable. There are several great threads about similar situations. The one gallon brewers unite thread may be of special interest to you.

I'm pretty sure I'm ready to make my first batch. Am I missing anything? Anyone have suggestions for improvements or alterations?

So far here's what I have:

1 glass carboy with bung & 3 piece airlock
2 6.5 gallon buckets w/ spigots 1 for primary fermenting 1 for bottling
1 8 gallon brew kettle w/ lid, thermometer, ball valve & bazooka screen
1 copper wort chiller
4' 1/2" high temp tubing
1 brew paddle
1 hydrometer w/ testing tube
1 racking cane w/ auto siphon
1 bottle capper w/ caps
48 pry top bottles (emptied with joy)
1 jet bottle/carboy washer & bottle brush
B-brite sanitizing solution
India pale ale ingredient kit (extract, specialty grain, hops, yeast, priming sugar, grain bag)

This looks like a good beginning setup. I would add three notes / items to it.
First, you will need a thermometer. This can be anything from a turkey fryer thermometer to a $100+ thermapen setup, but you need to be able monitor the temperature of your wort both as it cooks and as it cools. Brewing beer without a thermometer is a guessing game that will not end well.
Second, get a few more bottles in the next several weeks. I like to have 52 bottles to bottle a five gallon batch. This gives me a bit of extra room if a batch is a little oversized.
Third, I would pick up some starsan. There is noting wrong with other cleaners / sanitizers, I just like the ease and simplicity of starsan.

Overall, this list looks good. Have fun brewing your first batches and don't be afraid to ask questions here in the forum.

Good luck,
Cody

Searc h.PNG
 
And keep detailed notes of each recipe/brew day. Write everything down, including aromas, colors, taste, etc. It'll definitely come in handy next time. I just use a spiral bound, 1 subject notebook.
 
The biggest lesson of my first few batches was the importance of temperatures on fermentation and bottle conditioning ( also a fermentation process ) . I would suggest that you study the temperature profile of the place where you plan to ferment your beer, and choose a yeast that matches this profile. There are many yeasts out there, so I'm sure you can find one that works for you.
Bob
 
I often see people being told that buckets with spigots are bottling buckets. That is not always the case. People are being corrected when they were already correct, does that mean they are being "incorrected"? Haha!
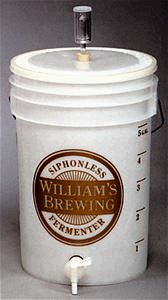
My Basic Home Brewery kit from Williams Brewing came with what they call a Siphonless Fermenter bucket as well as a bottling bucket. Both buckets have identical spigots, one difference being the spigot is mounted slightly higher on the fermenter than on the bottling bucket.

I like this set up well enough that when the time came for a second fermenter I did not consider anything different. I ordered another Siphonless from the same source. The spigots are easily disassembeled for cleaning and sanitizing.

In my setup once the fermenting bucket is placed in the fermentation fridge I never need to lift it again before it is empty. On bottling day I just slide it gently forward enough for the spigot to clear the shelf, attach a bit of hose and transfer to my bottling bucket all without ever disturbing any sediment. Finer than frog hair.:)

2015-01-10 09.07.25.png
 
As an apartment brewer who is looking to save money and time I would highly recommend making 3.5 gallon batches instead of 5.5. Really depends on how often you want to brew and how much you drink, but a little over a case per batch is plenty for me.

Time is saved on brew day during heating and cooling your batch and the lower weight is more manageable to carry around. You also save time on bottling day during sanitizing, racking, filling and capping. Less space is required to store the bottles and obviously you save money by using fewer ingredients.

Doing 3.5 gallon batches allows me to do full boils and I easily switched to an all grain brew in a bag setup without upgrading my 5 gallon kettle.
 
Surprised nobody has mentioned books. Pick up a papazian or Palmer or some other books. They're great quick references on brew day, and you can't really ever read too much.
 
The first bucket came with a kit I was given as a gift. I purchased the second bucket after seeing other setups. I chose to get the spigot on the second bucket so I could use both interchangeably. Are there problems with fermenting in a bucket w/ a spigot? I don't plan to transfer from it using the spigot.

Also what's wrong with glass other than it being heavy and fragile? I think it was an upgrade feature of the kit. If my recipe doesn't call for dry hoping or adding any other flavoring agents does the secondary fermenter still have any benefits of flavor or complexity?

Lastly, I really hate flat beer. Any advice on good conditioning techniques? Are the Coopers carbonation drops worth using.
 
No problem fermenting in buckets with spigots as long as you clean the spigots separately. But if you aren't going to use the spigots for racking, then why have them? that's what they're there for. Racking to bottling bucket or secondary, besides just to connect the bottling wand to. It makes racking with just a piece of tubing easier than auto siphons, etc. And doesn't introduce as much oxygen when used properly compared to racking canes, auto siphons, etc.
 
There are a few problems that can arise from fermenting in a bucket with a spigot. The spigots stick out and are easy to break off. Care in handling minimizes that. They can be left open inadvertently spilling your wort onto the floor. BTDT. Watching as you transfer the wort and you can minimize that. The other is less obvious but the area where the spigot attaches is a great place to collect some wort or yeast where you don't see it which will set you up for an infected batch of beer. To avoid that you need to remove the spigot every time you use the bucket (both buckets in your case) and thoroughly clean the bucket and spigot. Take the spigot apart to clean too.
 
No problem fermenting in buckets with spigots as long as you clean the spigots separately. But if you aren't going to use the spigots for racking, then why have them? that's what they're there for. Racking to bottling bucket or secondary, besides just to connect the bottling wand to. It makes racking with just a piece of bu tubing easier than auto siphons, etc. And doesn't introduce as much oxygen when used properly compared to racking canes, auto siphons, etc.

I couldn't agree more.
 
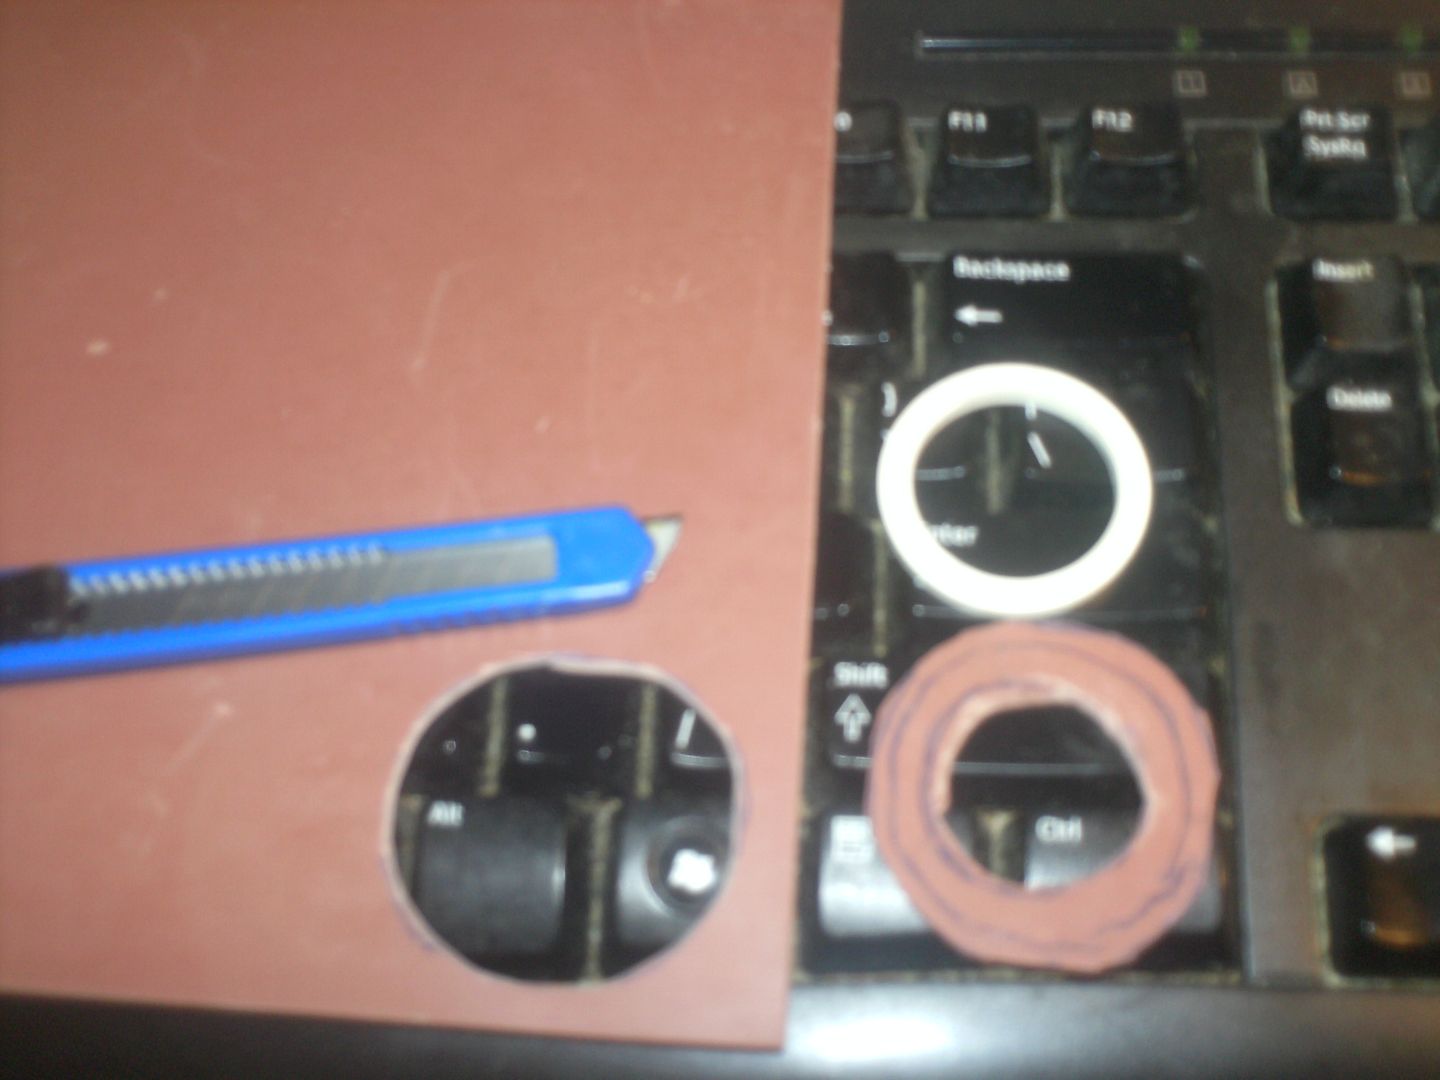
Here's a quick fix for the leakage problems that can arise from under or over-tightening spigot seals;
I got this rubber patch material at Lowe's on the end cap of the bulk tubing isle. I drew around a spigot seal & cut it out with a razor knife;

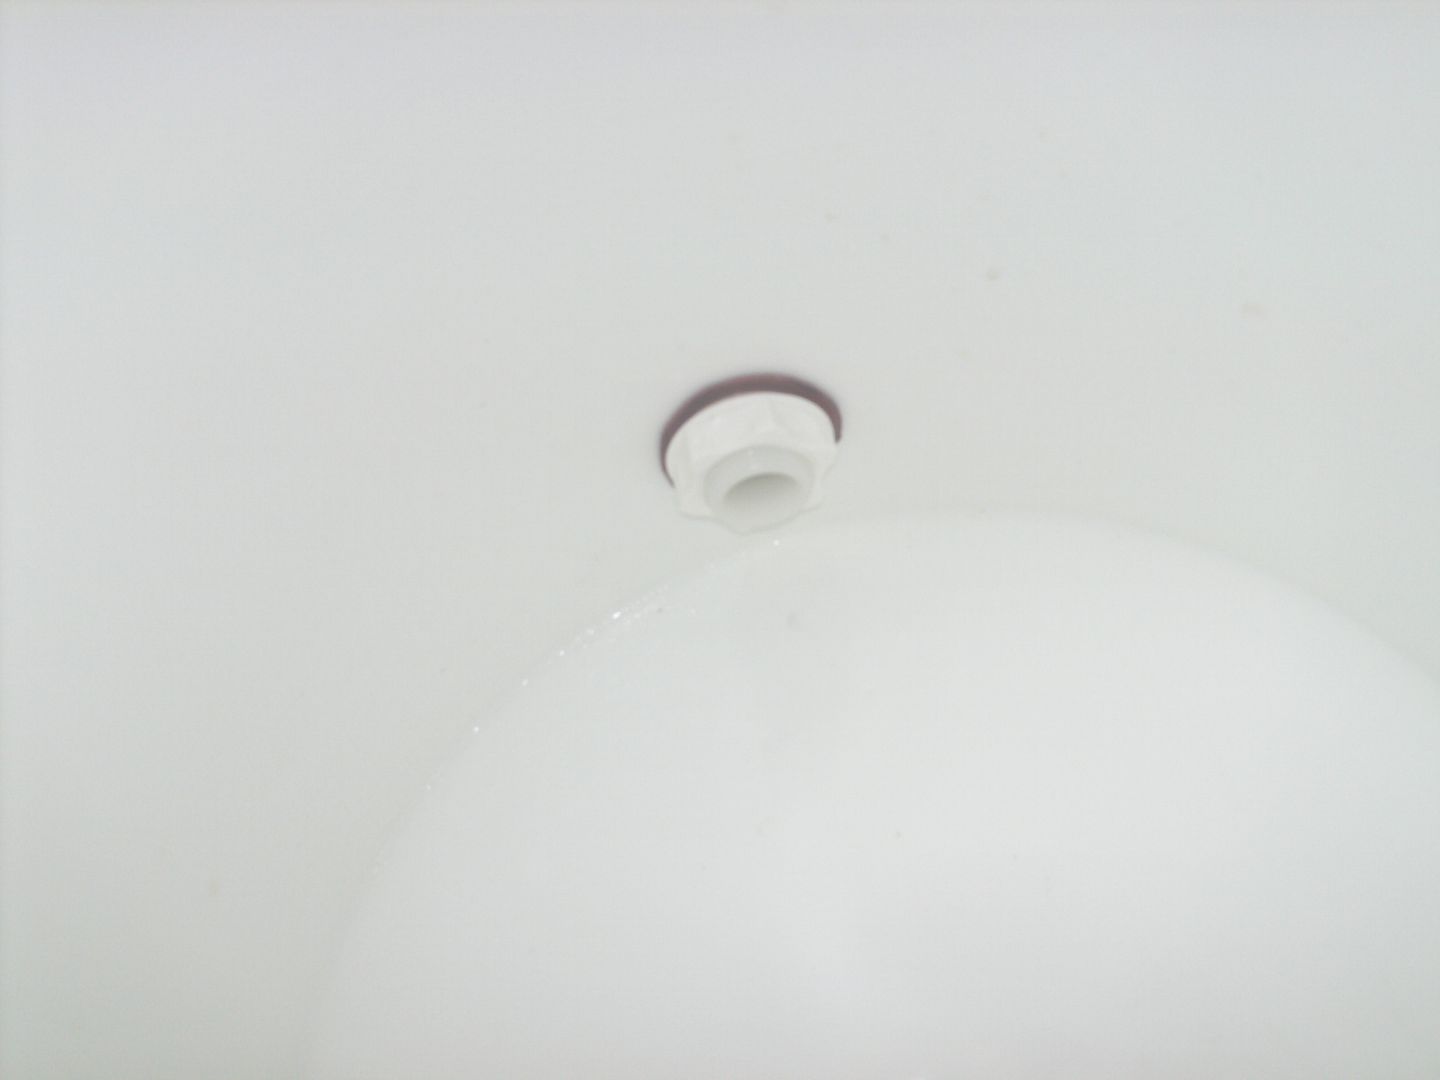
Then cleaned & sanitized all the spigot parts. Instal the spigot, then the new seal, stock seal, then jam nut;

This makes getting the seals snug without over-tightening way easier & doesn't leak. I turn the spigot spout sideways till I need to rack out.
 
I assume you shouldn't transfer from the primary fermenter with a spigot because sediment you are trying to leave behind settles to the bottom of the bucket.
 
Back
Top