Side by Side Fridge Conversion

Homebrew Talk - Beer, Wine, Mead, & Cider Brewing Discussion Forum

Help Support Homebrew Talk - Beer, Wine, Mead, & Cider Brewing Discussion Forum:

This site may earn a commission from merchant affiliate links, including eBay, Amazon, and others.
I am using (2) 120VAC STC-1000s. I spliced into the line the feeds the fridge side interior light (before the door switch so that it is always on) and us that to power both thermostats, the (2) 120V fans and the (2) relays.

I cut the black wire from the circuit board to the compressor and the yellow wire from the circuit board to the condensor fan. I routed these to the 2-pole relay and then back to the device side of the wires I cut. So now the relay just reconnects the original wires whenever the thermostat needs to cool the freezer side. I cut the yellow wire (speed control signal I think) to the condensor instead of the red (+13V power supply) because I wanted to leave the evaporator fan running all the time to keep the temps in the freezer side even. If you do not want to run the evap fan all the time, cut the red wire instead of the yellow.

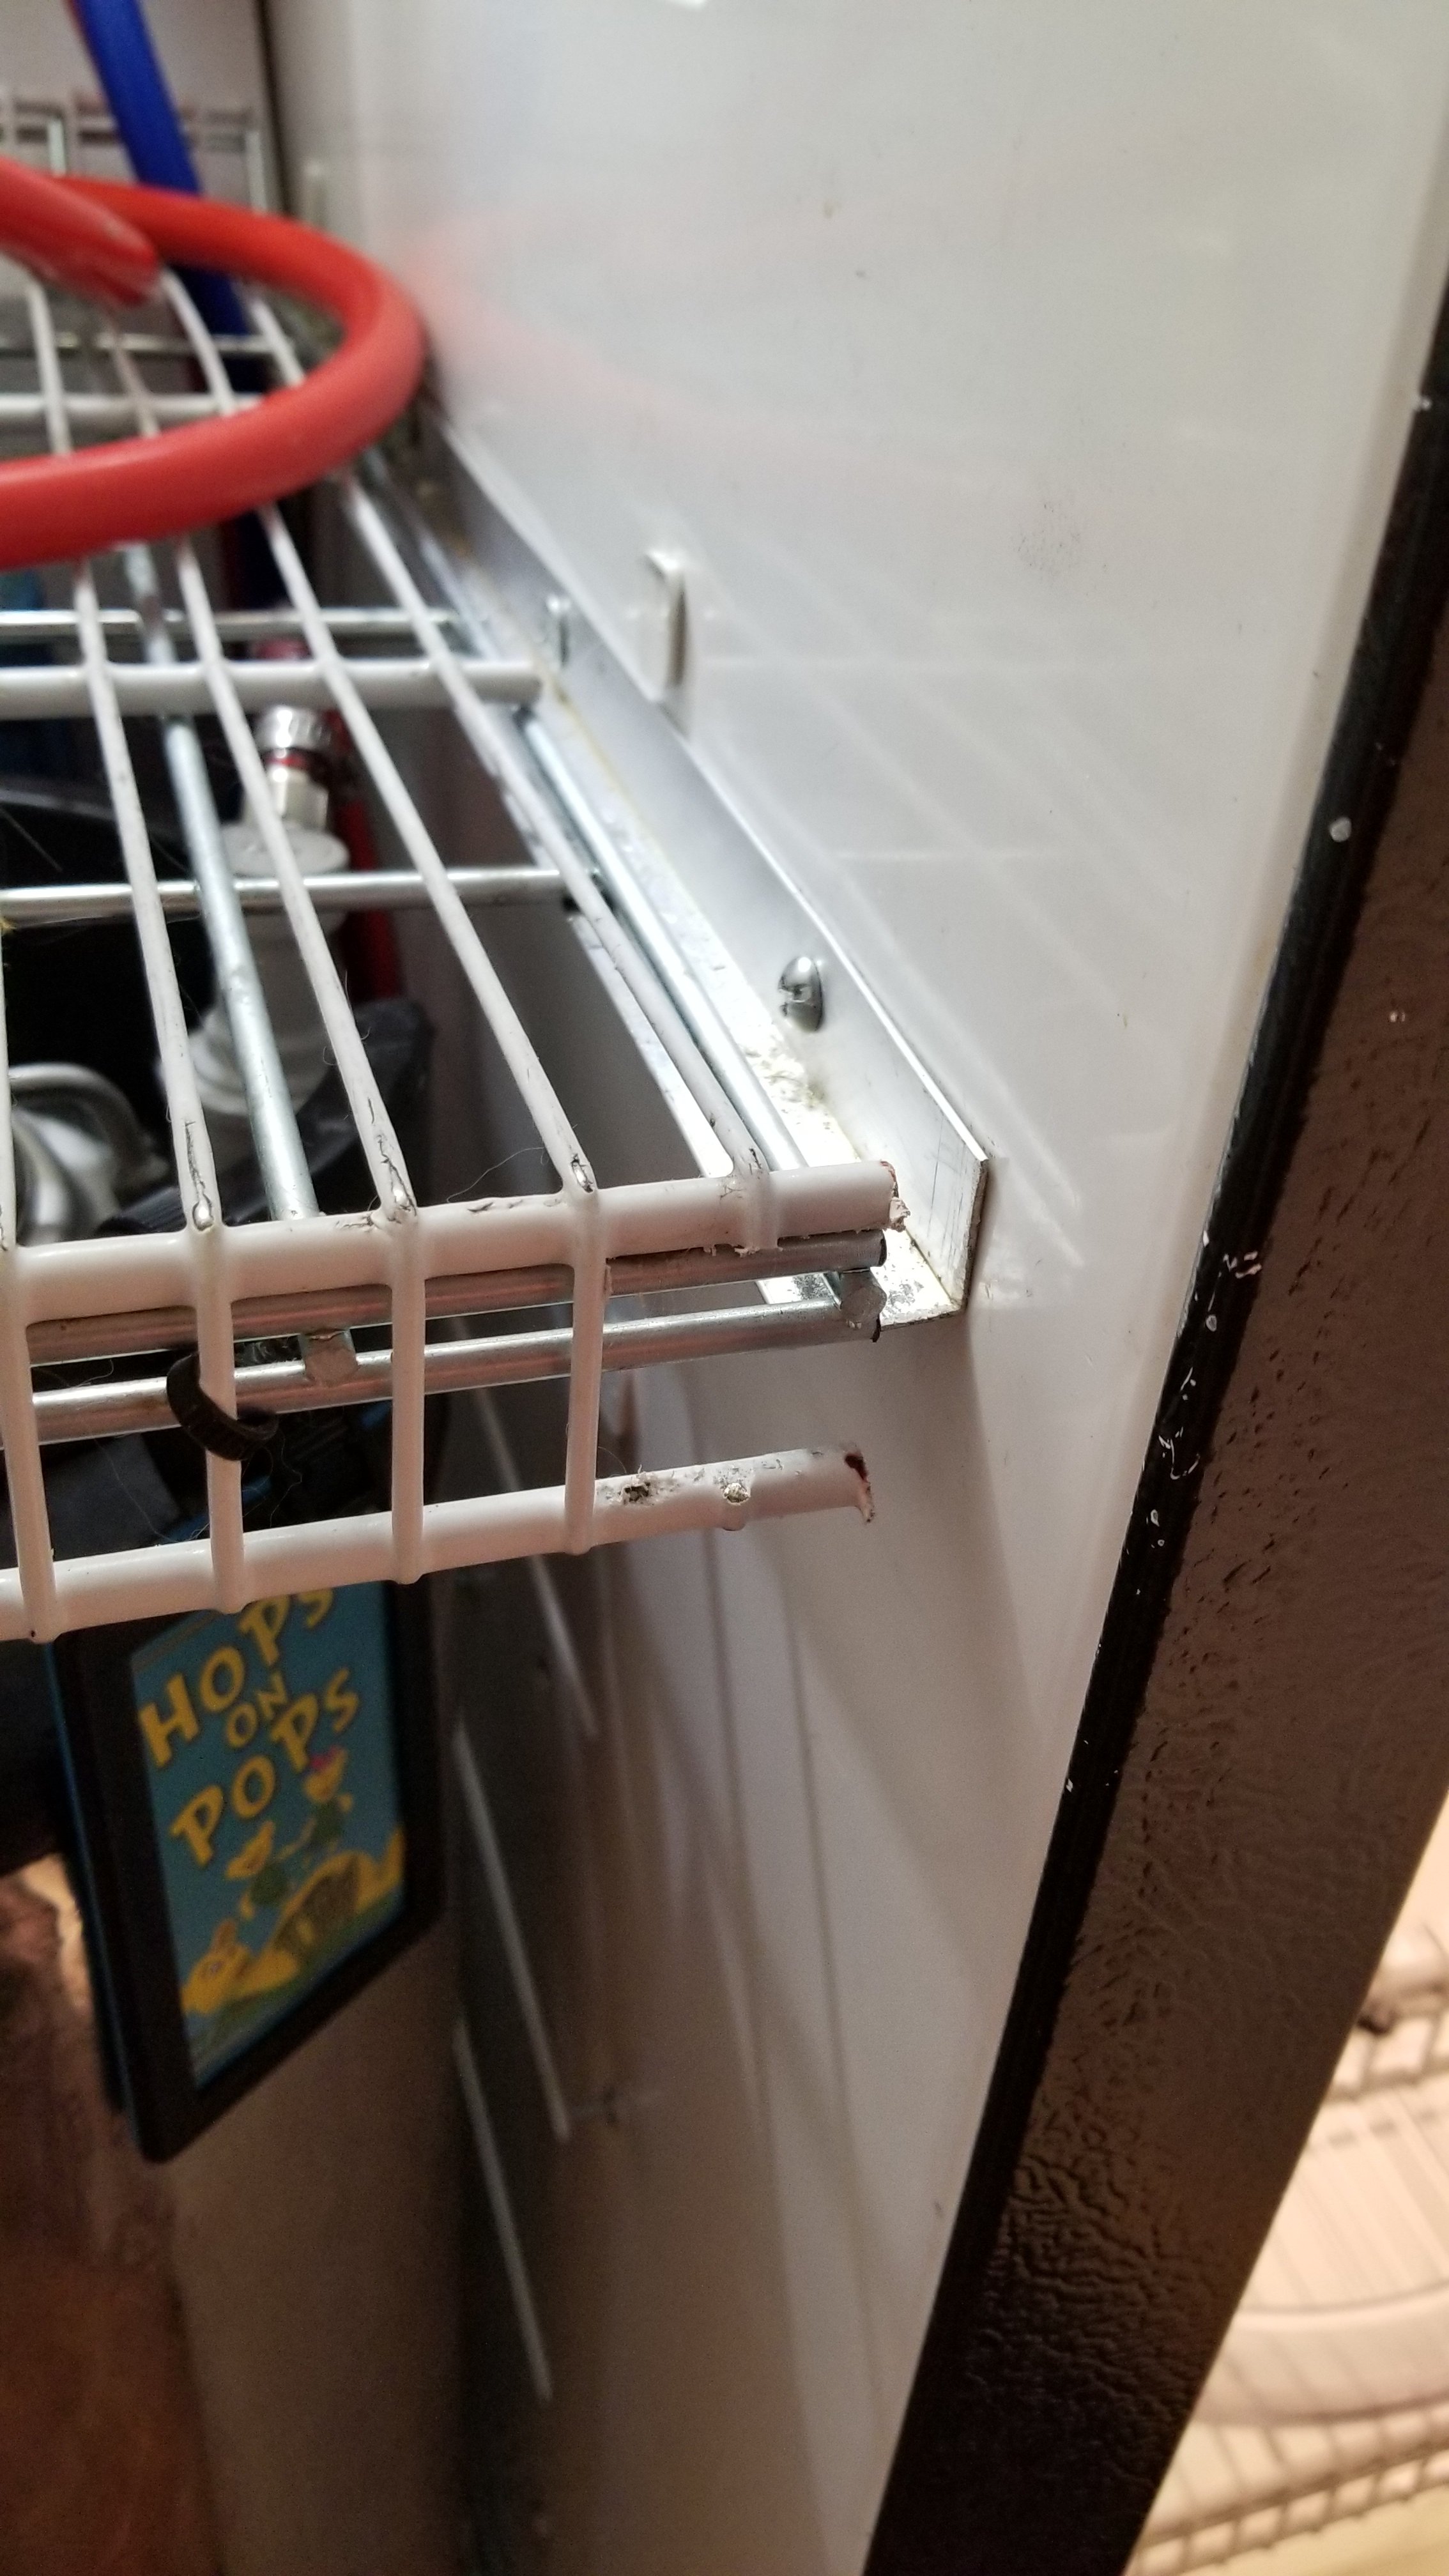
The fridge side thermostat is powered off the same wires as the freezer side (120V line that feeds the interior light switch) and I just used a short jumper wire to supply power to the cooling relay outputs which run the fans. I used (2) 120mm, 120VAC fans. One is at the bottom of the divider and pushed air from the fridge into the freezer. The second is at the top of the divider and pushes air from the freezer into the fridge.

I have been very pleased with my setup so far. It was my first kegerator and I have been very happy to stop bottling!

Good luck and let me know if you have any other questions.

gsgss255-wiring diagram.jpg
 
Randy... Blue dog covered it. I went with the red wire and no relay (cause I couldn't figure it out). The freezer side cycles a lot that way. I'll probably reconfigure to what BD has. Make sure the drain tube is clear because you'll get a lot of runoff from the chilling coils from (inside the freezer).
 
That relay will work fine. It's way oversized but I am using almost exactly the same thing.

Relays aren't hard to work with, just think of it as a switch that is turned on and off with electricity.

Lastly, I cut removed the OEM damper and enlarged the hole with a dremel cut-off wheel to fit one of the the 120mm fan. I made a similar cutout in the bottom of the divider where there was a manually adjustable damper and installed a second fan there. You could probably get by with one fan but I found that using two fans really helps me drop the temps quickly when I want to crash cool a batch.

You should definitely get the dryer duct dampers that I used (posted a pic of them previously). I originally set it up without them and there was too much cold air leaking into the fridge side to maintain fermentation temps.

Thank you very much. I think what was confusing me was controlling both the DC fan and AC compressor with one relay. Is that was possible?

Im ordering the 2 relays and an extra 120mm fan now. Im also going to complicate things slightly by adding a ceramic heater to the refrigerator side.

Regards,
Randy
 
Randy,

You only need one of the relays in the link you provided. That relay has two separate pairs of contacts, one can be used for the DC wire (condensor) and the other pair is used for the AC wire (compressor). I adding some wiring info to the ebay vendor photo you linked.

You do not need to switch the negative DC or neutral AC wires, so one of the 2 pole relays can switch two separate hot wires.

I hope that makes sense.

Sean

$T2eC16h,!)8E9s4l90C)BRlm0eDyvw~~60_57.jpg
 
I am using (2) 120VAC STC-1000s. I spliced into the line the feeds the fridge side interior light (before the door switch so that it is always on) and us that to power both thermostats, the (2) 120V fans and the (2) relays.

Makes sense now. Your mentioning of the (2) relays above made me think I needed to order another one.

Last question, and then I think I should be able to leave you alone ;)

On the AC side of the schematic, the orange is the neutral wire, correct?
 
Yes orange is neutral. Inside the factory thermostat compartment at the top of the fridge side the brown is AC hot (always on) and orange is neutral. The violet wire should be AC hot when the door is open (off otherwise).

No worries about all the questions, it took me a while to figure out how I wanted to wire my fridge and I'm glad I can help someone else get their system setup.
 
Randy,

You only need one of the relays in the link you provided. That relay has two separate pairs of contacts, one can be used for the DC wire (condensor) and the other pair is used for the AC wire (compressor). I adding some wiring info to the ebay vendor photo you linked.

You do not need to switch the negative DC or neutral AC wires, so one of the 2 pole relays can switch two separate hot wires.

I hope that makes sense.

Sean

Okay. I've got everything wired up minus the cold side fans. Looks like I'm on track to finish the electrical side here soon.

Im dreading the door work for the taps, but I'll just go slow.

2013-11-09 20.30.31-1.jpg


2013-11-09 21.12.42-1.jpg
 
Randy,

Did you get the cooling for both working? If you have any problems, let me know.

As far as the tap mounting goes, I found this ebay seller (http://www.ebay.com/usr/glastender) who sells small pieces of stainless sheet metal and will cut it down to your spec's. I bought a 18"x28" sheet and had him cut it to the size I needed to cover the hole left by my ice dispenser. I used a hole saw (7/8" I think) to make the holes for the faucet shanks and drilled bolt holes to mount it up. I am really please with how it turned out, after I mounted up a stainless drip tray it looks like it is all one custom wall mount driptray with a nice stainless backsplash.
 
Sean:

Thank you so much for your help. I finished it up this afternoon and installed the shelving and put my 3 kegs in the freezer side as well as my bottled beers and sodas in the cold side.

I have the freezer set to 3.0deg C and the cold side set to 7.0deg C. I was getting crazy tempersture fluctuations with the compressor constantly cycling as well as the fan. I put the temperature probes in some sand inside a water bottle, so we'll see if that helps.

What did you put your probes in?


What are your F1-F4 settings out of curiosity?
Mine are (freezer) F1:3.0 F2:1.0 F3:10 F4:0.0
(Cold side) F1:7.0 F2:0.8 F3: 3 F4:0.0

I ended up skipping the stainless front and went with chalkboard instead.

Regards,
Randy

2013-11-13 16.53.40.jpg


2013-11-13 17.43.31.jpg


2013-11-12 19.42.39.jpg
 
Randy,

I found that my kegerator side would warm up fairly quicker so I tinkered with the setting till I was satisfied. I am using the following:

Freezer Side:
F1: 0.5, F2: 3.0, F3: 10, F4: 0

Fridge Side:
F1: 5.0, F2: 0.5, F3: 1, F4: 0

I set the freezer side cooler than I want the kegs and use a larger differential to reduce the frequency that the compressor cycles. I have been having good results with it so far.
 
Both these builds are really nice, an inspiration to say the least. I'm hunting for a SxS to do this to, much better solution than the complex chest freezer build I had been considering. I notice both these units are GE computerized models, these things have a mind of their own to run the automatic defrost cycle, has that been any problem?
 
Randy,

I found that my kegerator side would warm up fairly quicker so I tinkered with the setting till I was satisfied. I am using the following:

Freezer Side:
F1: 0.5, F2: 3.0, F3: 10, F4: 0

Fridge Side:
F1: 5.0, F2: 0.5, F3: 1, F4: 0

I set the freezer side cooler than I want the kegs and use a larger differential to reduce the frequency that the compressor cycles. I have been having good results with it so far.

By the way, I typically tape the temp sensor to the carboy in the fermentation side and that seems to help reduce the frequency that the fans turn on. I may try taping the freezer side temp probe to a keg, that should help even out the temperature swings.
 
Both these builds are really nice, an inspiration to say the least. I'm hunting for a SxS to do this to, much better solution than the complex chest freezer build I had been considering. I notice both these units are GE computerized models, these things have a mind of their own to run the automatic defrost cycle, has that been any problem?

I have noticed the defrost running every few days (it probably runs more frequently than that but I am not around to notice), it doesn't seem to be a problem though.
 
Hello,

I have read several others taking on similar projects and had a few questions before I start. I am new to brewing and decided to jump in the deep end with this project. I am very excited to get going and begin brewing.

I recently came across an older Hot Point side by side as well that I am attempting to convert into a kegerator/ fermentation chamber. The model number is CSX22GR BG. I have contacted GE and they e-mailed a copy of the wiring diagram. I consider myself somewhat handy but am a novice as far as electrical work. I have read several threads on people taking on projects like this using the Love TSS2 Dual Temperature Control switch. Is this something that would be recommended with this unit as well? It seems that all of the cooling takes place on the freezer side and a fan moves the cool air to the fridge side. I am a novice so I may be wrong. I am basically trying to regulate the temperature on the freezer side to serving temp as this is where my corny kegs will be stored and regulate the fridge side temperature for fermenting ales. I do not think that I can do this with the factory switches/ thermostat. As you can tell I am a little lost and not sure where to begin.

I also read about a lot about the Digital STC-1000 All-Purpose Temperature Controller (cheaper but not sure if it is better). Also would it be necessary to install a different fan or can the factory fan be utilized to push air from the freezer side to the fridge side? I have seen several people install a 120 VAC PC fan

Any guidance will be greatly appreciated.

Sorry for such a long post with all of the questions. I have seen how helpful some of the veterans can be.

Thanks

No worries about the questions. Besides I only see two questions.
1. I don't have any experience with the Love 2-stage controller, but I think it basically combines the relay output from two STC-1000 controllers into one device. Since it costs more than double the price of the STC-1000, I just used two of those.
2. I am not sure how your fridge works, but most side by sides I have seen don't have a fan to move air, they use the evaporator fan located in the freezer and ducts that open and close to regulate the temperature of the fridge.

Take a look early in this thread and I provided more details on how I setup my fridge, along with some pictures. There are also several other side by side conversion threads out there.

Good luck with the build!


Thank you for the reply. Reading back through the thread did answer some questions and has helped me get a good start. I think that I am planning on going with the STC-1000 devices instead of the Love switches due to the difference in price and with Love I will still have to purchase the temp probes.

I am thinking of installing a small ceramic heater as well. Similar to the one at this link: http://www.ebay.com/itm/291008303393

Would you recommend using a third STC-1000 to control the heater? I think this will allow for the best temperature control. As you recommended, I am also going to install a dryer vent cover on the fridge side to block unwanted cool air from entering the fridge.

Would you think it is necessary to install a second pc fan at the bottom as well? There is a small return air orifice. You were correct in your response in that the freezer has an evaporator fan and there is the mechanical lever on the fridge side that regulates how much cold air is "allowed" over.

I have demoed the items that I am not needing and cut the hole out where the ice dispenser was. Next step is to order the remaining supplies. I believe I am going to go with the above heater and either one or two of these fans http://www.ebay.com/itm/230762356432.

Just to make sure that I am looking at everything right before I order the STC-1000 devices. I would need one to control the freezer, one to control the pc fan at the top of the freezer chamber, and one to control the heater if I decide to use one.

Thank again
 
1. You won't need a third STC-1000 to control the heater since that device has both heating and cooling outputs. You don't even need to switch from heating to cooling mode, it is all done automatically based on the set point and current temperature. Pretty handy feature.

2. I used two of those exact same fans. I have one at the top of the divider (when the original damper door was located) pushing air from the freezer into the fridge. I also have a second one at the bottom of the divider moving fridge air into the freezer. I have laundry vent duct things on both fans. I found that two fans really helps to cool down a new batch if I can't chill all the way to ~65F. It also really helps with cold crashing, although I am trying to get a second fridge for cold crashing and carbing extra kegs. If those two issues aren't a concern to you, yo should be able to get by just fine with 1 of the 120mm AC fans you linked.
 
I'd like to again thank Bluedog on all his help with my side-by-side project. Without his help I wouldn't have completed my project.

My SS Brewtech 7gal chronical finally came in and after cleaning and assembling it, I made a shelf for it on the cold side. I don't usually have more than one beer fermenting, so I don't mind the loss of capacity over using carboys. If i get desperate I have another chest freezer with a Ranco.

Regards,
Randy

image.jpg
 
I'd like to again thank Bluedog on all his help with my side-by-side project. Without his help I wouldn't have completed my project.

My SS Brewtech 7gal chronical finally came in and after cleaning and assembling it, I made a shelf for it on the cold side. I don't usually have more than one beer fermenting, so I don't mind the loss of capacity over using carboys. If i get desperate I have another chest freezer with a Ranco.

Regards,
Randy

Randy,

Your build looks really great! I love the look of that stainless conical in there! I am glad that I was able to help you out with your project. I was so happy when I got fine finished and tapped my first keg of homebrew :mug:
 
Everyone's builds look great. I am converting this exact same fridge so thank you all for your diagrams, drawings, etc. I am using the relay and 2 stc-1000's, 2 computer fans with dampers. If I run into any issues along the way I will post here, but thank you in advance for all of the effort-- it will be a great help to me. There aren't any refrigerant lines in the divider between the freezer and refrigerator right?

fridge.JPG
 
You guys did a great job with your builds. I embarked on this project this past weekend. Found a nasty fridge (same wiring diagram). I will be reaching out for a few answers from time to time.

Great job!
 
Bluedog,
Nice build! I'm trying to help out another home brewer here on the site with his Side by Side build that involves a circuit board fridge like yours. I have built a couple of Side by Sides but not one with the circuit boards. I have a couple of questions on one of the posts where you are explaining the relay on post #41.

"I cut the black wire from the circuit board to the compressor and the yellow wire from the circuit board to the condensor fan. I routed these to the 2-pole relay and then back to the device side of the wires I cut. So now the relay just reconnects the original wires whenever the thermostat needs to cool the freezer side. I cut the yellow wire (speed control signal I think) to the condensor instead of the red (+13V power supply) because I wanted to leave the evaporator fan running all the time to keep the temps in the freezer side even. If you do not want to run the evap fan all the time, cut the red wire instead of the yellow."

In the paragraph you mention the condenser fan AND the evaporator fan. I know that there are indeed one of each of these, the condenser fan down by the compressor and the evaporator fan located in the freezer compartment.

1. Were you talking about both fans or one?
2. If one, which one?
3. You talk about keeping the freezer temps even, so I'm thinking the evaporator fan in the freezer, but the schematic shows the condenser fan down by the compressor.
4. If both, how does cutting out the speed control for the condenser let the evaporator fan run all of the time?

Any help would be great!
Thanks
 
cas, good questions. Here is my response:

1. I was talking about both fans.
2. See # 1
3. I let the evap run all the time to circulate air over the kegs and keep temps even, keep the beer lines cool, etc.
4. On my wiring diagram, the +13V from the circuit board powers BOTH the condenser and evap fans. However, each fan has its own speed control wire. These fans can have the +13V connected, but if you disconnect the control wire they will not run. Control wire is yellow for the condenser and blue for the evap. If you want the evap to run all the time, you can either cut the yellow control wire to the condenser, or cut the red right next to the condenser fan. I went with the yellow because I didn't have much room to get the red wire next to the condenser. If you cut the red right where it come off the board, it will cut off both the evap and condenser.

Hope that makes sense. Let me know if you have any more questions.
 
Thanks for the reply! It does all make sense now, but still have some questions.

1. When you say "because I wanted to leave the evaporator fan running all the time", that doesn't mean it runs constantly never turning off, it means that when the fridge calls for it to be on it will come on. Correct?

2. You put the yellow condenser fan on the relay to make the compressor and condenser fan come on at the same time. Did you ever try without the fan wire on the relay? Would the fan come on even though the compressor isn't running? I'm sure it's possible with a motherboard running the system. I just don't know if kgmac311 bought a 2 pole relay or not, that's why I ask.

Thanks Bluedog
 
1. Correct. The wiring from the fridge circuit board to the evap fan is original, so it runs when the fridge wants it to run. Since the freezer is much warmer than even the warmer thermostat setting, the fridge is always "trying" to cool the freezer. The only time the evap stops running is during a defrost cycle.

2. If you leave the yellow wire unaltered, the condensor fan will run whenever the fridge wants to cool, even when you cut off the compressor via the relay. Not the worst thing, but I would recommend using a 2 pole relay or 2 single pole relays.
 
How exactly did you attach the angle brackets to the fridge? I get the outer ones, but the inner wall on my fridge is straight up plastic and foam, so I don't know how I'd attach the brackets to the inner walls. I'm using the glass shelves that came with the fridge right now, but they're a little sketchy to say the least. Check my post history for my build, but I pretty much just followed yours.
 
How exactly did you attach the angle brackets to the fridge? I get the outer ones, but the inner wall on my fridge is straight up plastic and foam, so I don't know how I'd attach the brackets to the inner walls. I'm using the glass shelves that came with the fridge right now, but they're a little sketchy to say the least. Check my post history for my build, but I pretty much just followed yours.

I just drilled all of the way thru the center section of plastic and foam with a drill bit the size of the bolts and used a long bolt with a nut on the other side. Put the head of the bolt on the bracket side so it doesn't stick out too far into the shelf. 2 or 3 on each L-bracket, I've never had a problem.
 

Attachments

  • 1.jpg
    1.jpg
    994.2 KB · Views: 83
  • 2.jpg
    2.jpg
    914.2 KB · Views: 111
Hey - Do you still have your kegerator? or did you move on to another one?

I like the digital temps on the outside, where did you get them and set them up?
 
These are really sweet
Nice job guys. We are about to replace our side by side with a French door and I would love to do something similar to this.
 
Back
Top