• Please visit and share your knowledge at our sister communities:
  • If you have not, please join our official Homebrewing Facebook Group!

    Homebrewing Facebook Group

Show us your sculpture or brew rig

Homebrew Talk

Help Support Homebrew Talk:

This site may earn a commission from merchant affiliate links, including eBay, Amazon, and others.
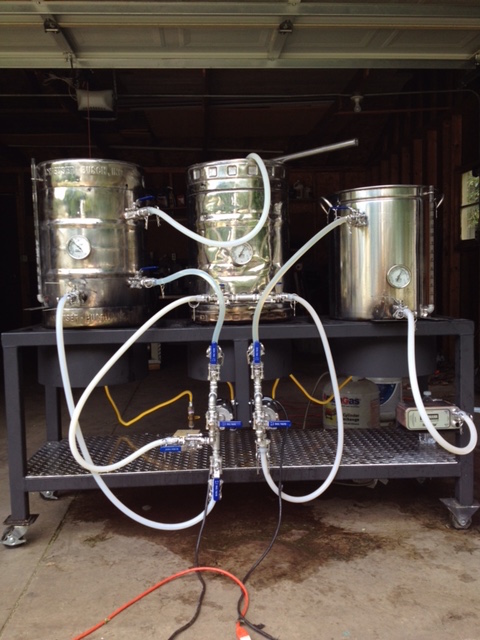
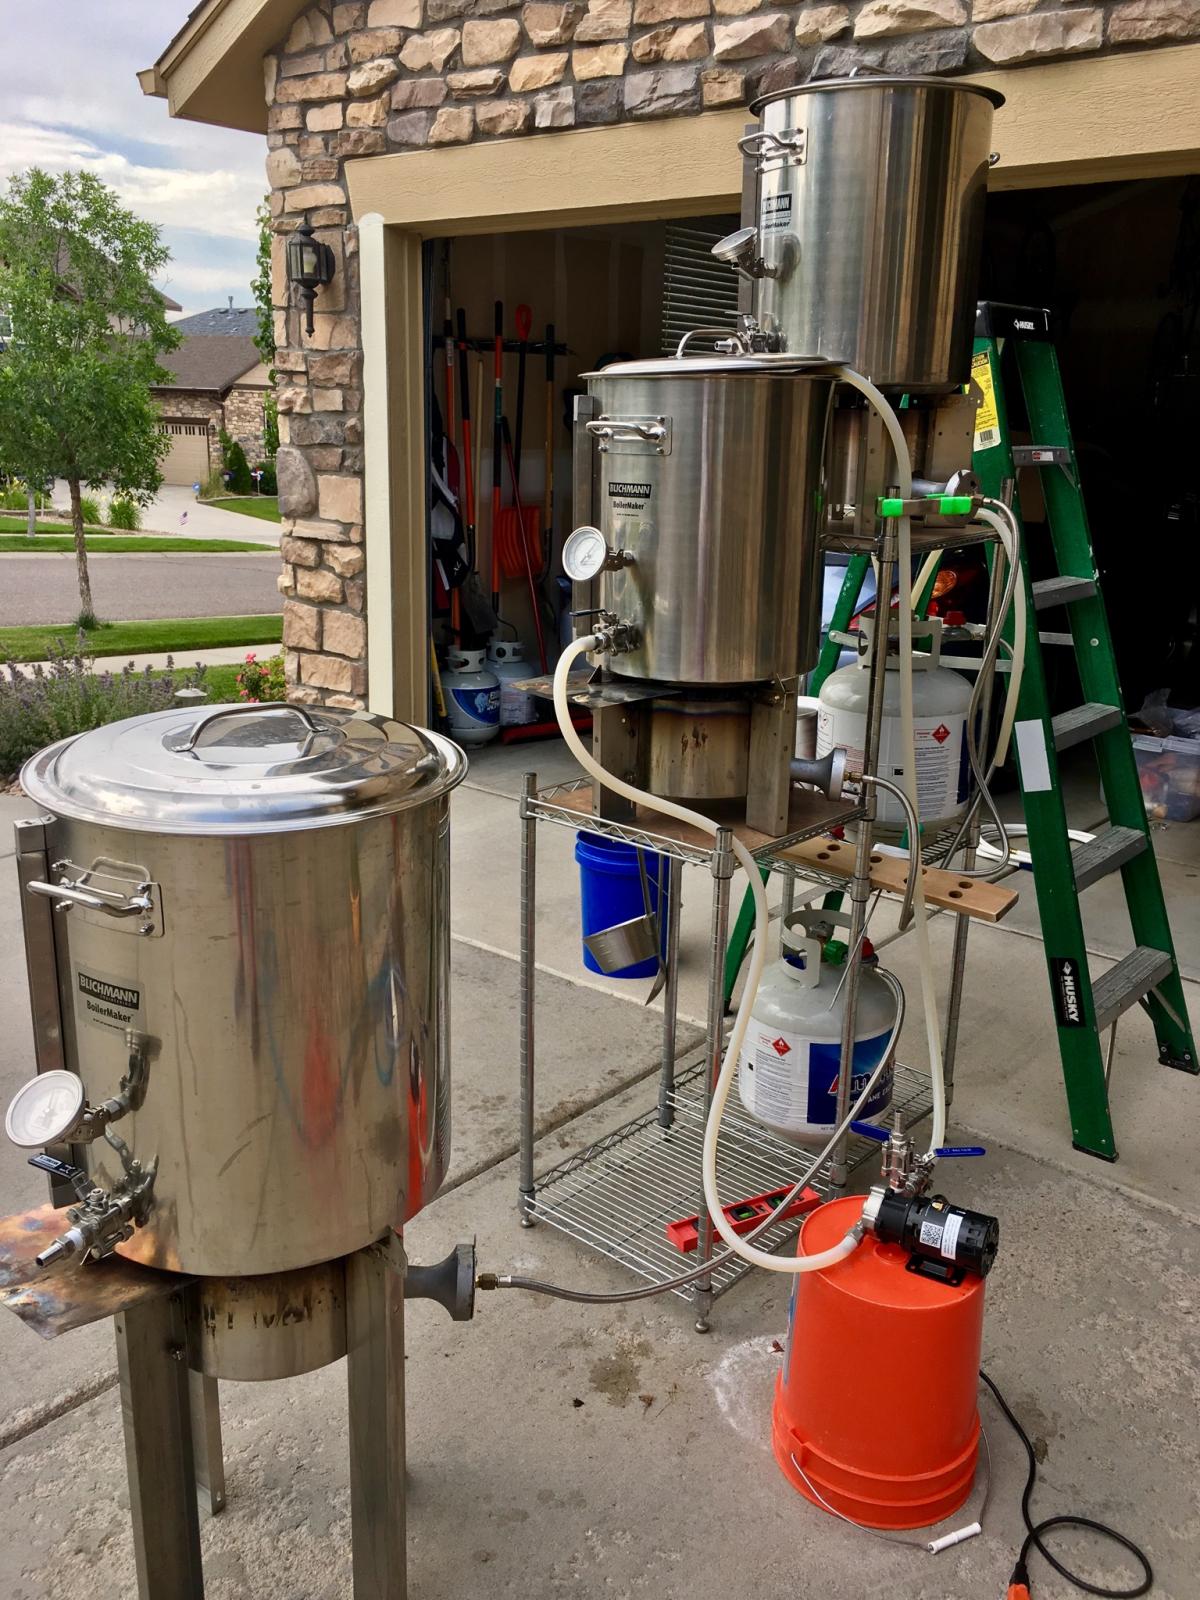
Timely Indy, appreciate seeing your RIMS as I was just last night laying out my plumbing for same.. assume you are pumping though chiller during whirlpool and then is that a valve or disconnect on the side of the BK you switch to fermenter? looks slick!
 
I'm considering building a stand with the strut material and currently use the 10 gallon coolers for mash and HLT. Just wondering what experiences people have had with a burner mounted to the stand and the heat impact to the plastic coolers.
 
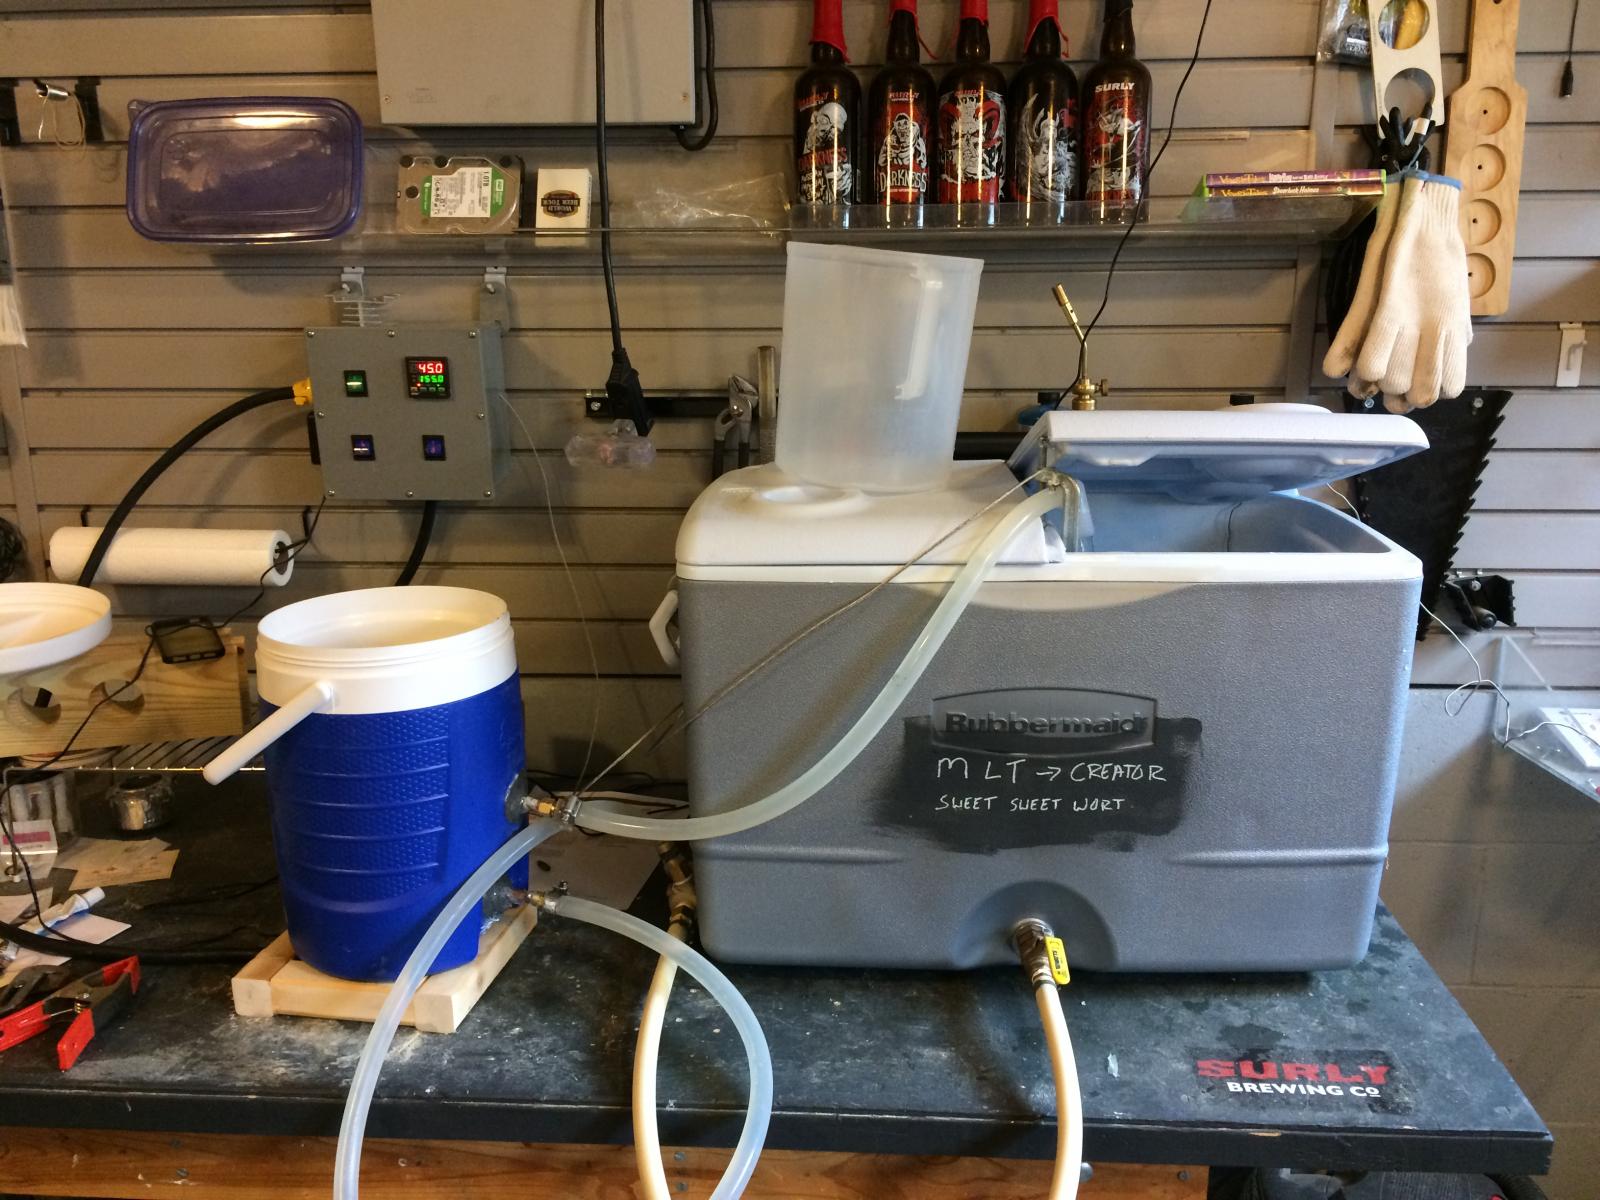
I usually run three 20g kettles, but for the last lawn-mower pilsner of last year I used my 10g Rubbermaid for the MLT.
Bracketed by a pair of BG14s it didn't get much warmer than room temperature, but spacing is obviously key...

ab_26nov2016_02.jpg

Cheers!
 
Timely Indy, appreciate seeing your RIMS as I was just last night laying out my plumbing for same.. assume you are pumping though chiller during whirlpool and then is that a valve or disconnect on the side of the BK you switch to fermenter? looks slick!

That's correct. I whirlpool while chilling through my plate chiller (Duda Diesel 40 plate chiller). Both valves on my brew kettle are Blichmann G2 Linear Flow Valves, with 1/2" Quick Disconnects. After whirlpooling I come out of my brew kettle, through pump into fermenters. What it doesn't show is I now have a Blichmann ThruMometer inline between my chiller and my whirlpool inlet.
 
Just when I think I've seen it all!
That looks pretty amazing. Have you brewed on it yet?

Yeah, did a test batch to make sure it worked and it does. I actually preferred it to my overly expensive BIAB setup I built. I sell stands on occasion though and will have to remake the breWheel in stainless and with a few asthetic mods if I am going to keep it at the house.
 
IMG_20170907_223540_155c06.jpg


Brewing equipment wash station getting ready. Latest addition today was the totally improvised drying shelf from wire shelving and a drip tray from a shoe mud trap fitted in place with zipties and drilled a few holes to the corner so it drains into the sink. Only bummer is the only source for hot water is the electric kettle but that's just a minor inconvenience as I can always carry hot water from the downstairs bathroom inside.
 
The last few years have been a bit of experimentation and trying out processes, 3 vessel, cold batch sparse, biab, small dedicated HERMS, and finally 2 vessel no-sparge with the "iRIMS" inspired HEX.

IMG_1670.JPG


IMG_1671.JPG


IMG_1669.JPG


IMG_1668.jpg
 
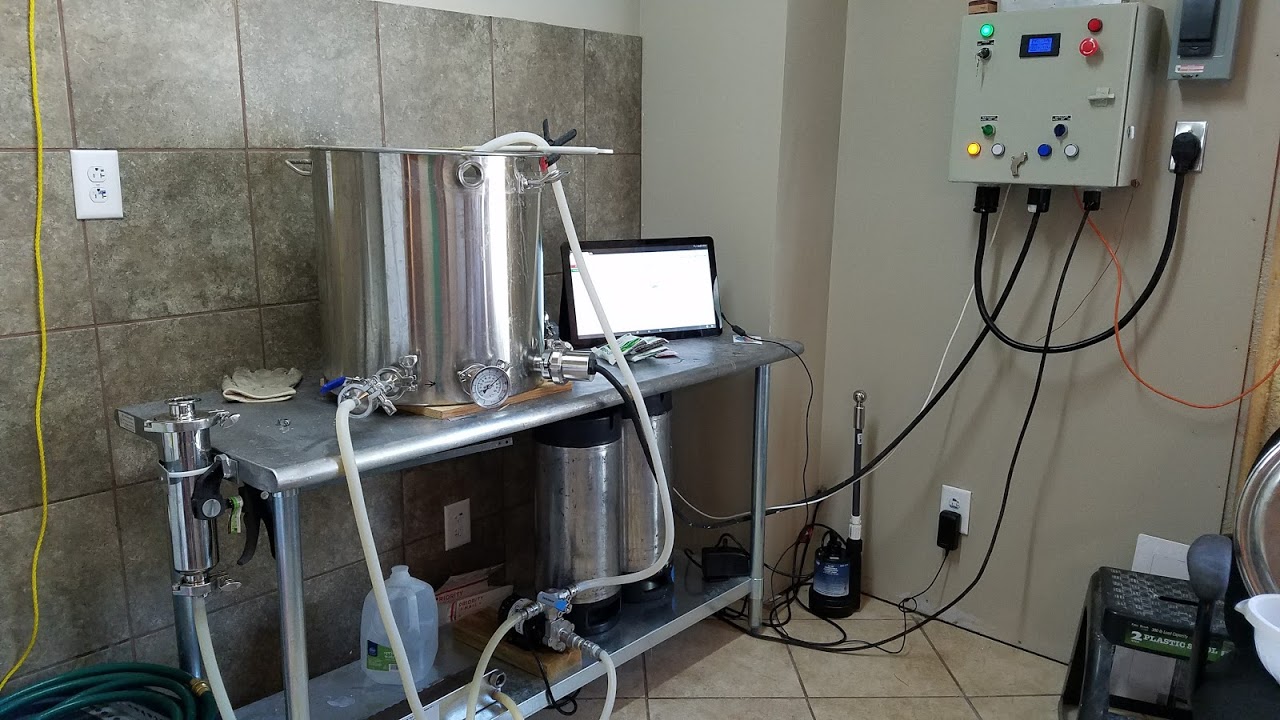
I'm almost done building my Kettle-RIMS setup. I need to trim the hoses and finish installing the heating element in the boil kettle.

The plan is to use propane to get up to temperature and then connect the heating element cable to regulate mash temperatures.

The controller is the InkBird PID with pump switch from BrewHardware. The temp probe is placed between the BK and the Blichmann AutoSparge similar to the BrewEasy.

attachment.php


attachment.php


attachment.php


attachment.php


attachment.php
 
Here is my weldless brew stand so far got a lot more to do but it's brewable. I am purchasing another keg this week to replace that kettle.

I am looking for the triangle pieces for the corners to reenforce them if anyone could help me outView attachment IMG_0732.jpg
 
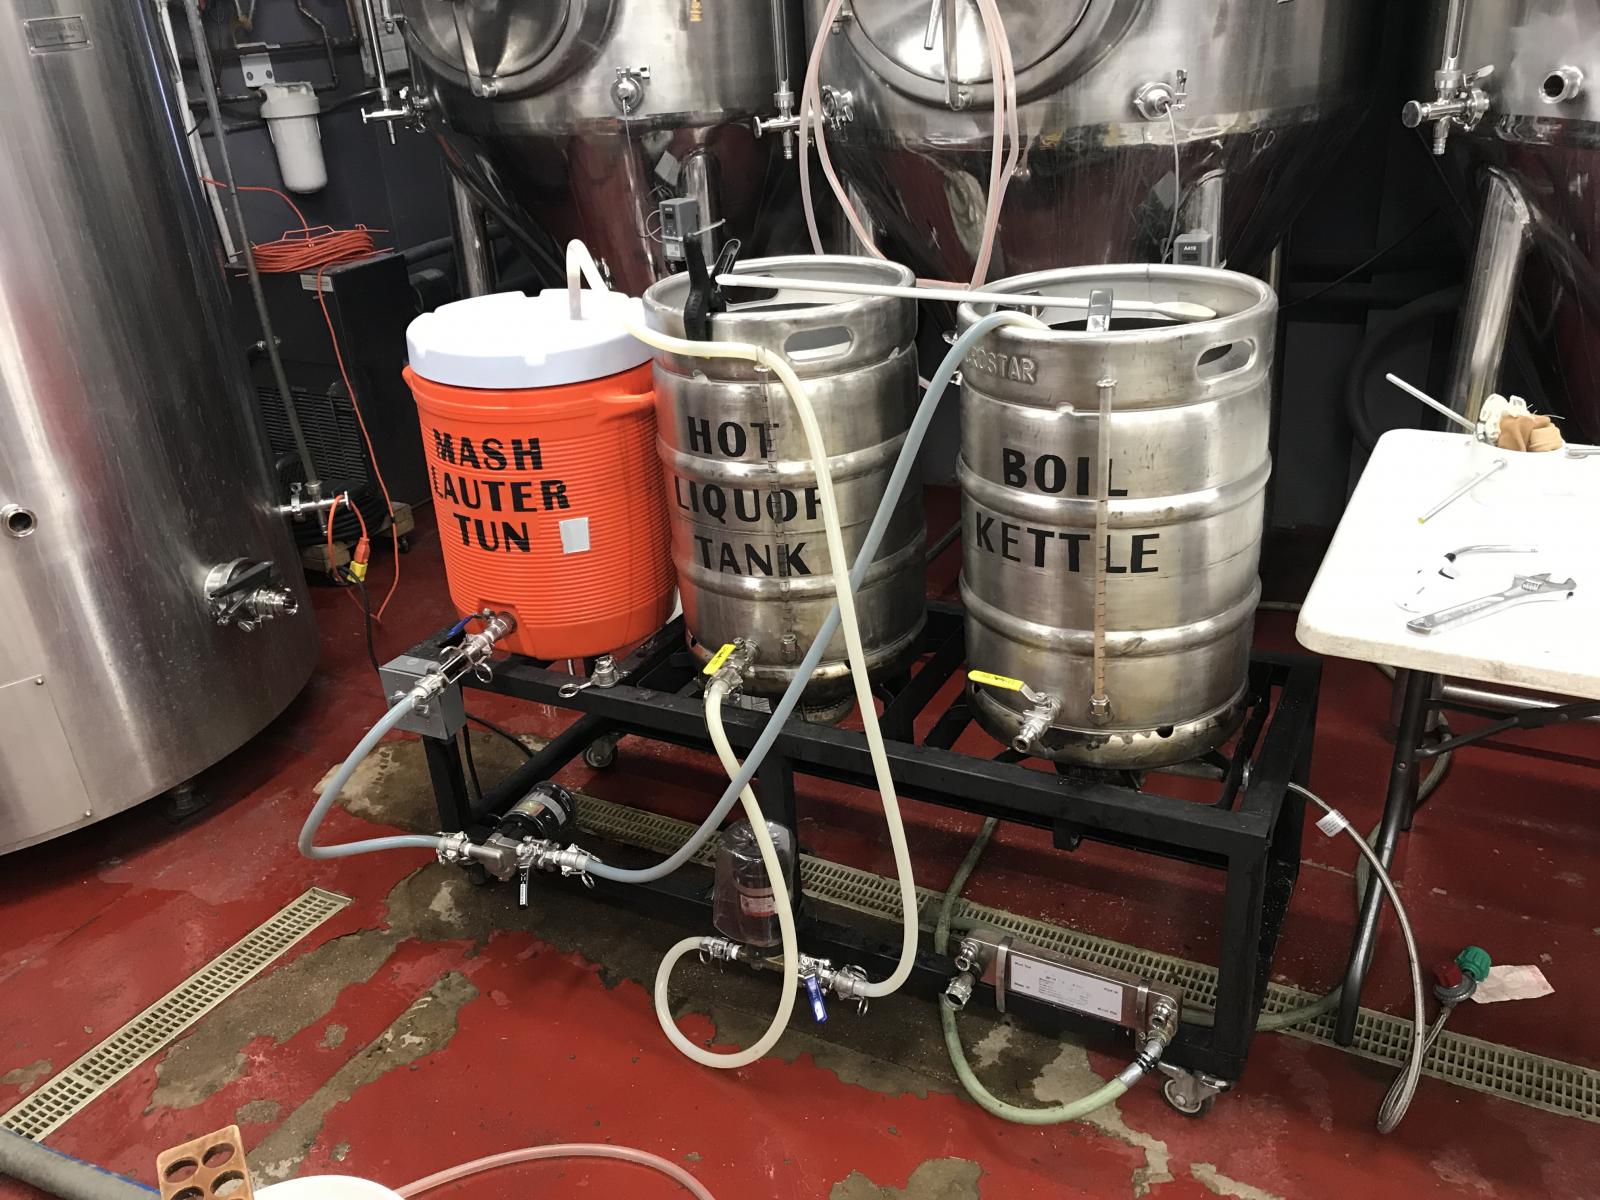
Here's my current system in front of my future system. There's not a whole lot I'd change at this point other than a whirlpool arm. I've just been lazy and things work great as they are.

Huge thanks to this forum in helping me learn so much and getting me to the point I'm at. Still much to learn!

IMG_1020.jpg
 
Here's my current system in front of my future system. There's not a whole lot I'd change at this point other than a whirlpool arm. I've just been lazy and things work great as they are.

Huge thanks to this forum in helping me learn so much and getting me to the point I'm at. Still much to learn!

do you get cavitation or trapped air in that vertical pump? I don't see how you would ever get the air out of the impeller/magnet..
 
Here's my current system in front of my future system. There's not a whole lot I'd change at this point other than a whirlpool arm. I've just been lazy and things work great as they are.

Huge thanks to this forum in helping me learn so much and getting me to the point I'm at. Still much to learn!

Wait... which vessel is which? ;)

Nice rig(s)!
 
Finally brewing in the new place. I freaking LOVE being able to brew indoors and a mop sink might be my favorite brewing upgrade ever! 240v induction cooktop, bucket heater to speed things along, 20gal Kegco kettle, little tan pump (so much smaller, quieter, and easier to mess with than my chugger), Harbor Freight cart, plate chiller, a Wilser bag, and a pulley. I just had back surgery a week ago and was able to brew even with my physical limitations and without hurting myself. I'm sure I'll make some tweaks along the way but I'm pretty pleased with this set up. I do need to build a vent hood though.

View attachment 1509683313693.jpg

View attachment 1509683327129.jpg
 
do you get cavitation or trapped air in that vertical pump? I don't see how you would ever get the air out of the impeller/magnet..

I can't say that I've never had a problem with it, but I am able to "prime" the pump pretty easily by cracking one of my QDs a little. There wasn't an ideal way to mount the pump. Maybe in the future I'll make a bracket or something. Good eye ;)

Wait... which vessel is which? ;)

Nice rig(s)!

haha thanks! Teaching and sharing with people is one of my favorite parts of brewing, so the naming kind of just went along with that!
 
Back
Top