FredTheNuke
Well-Known Member
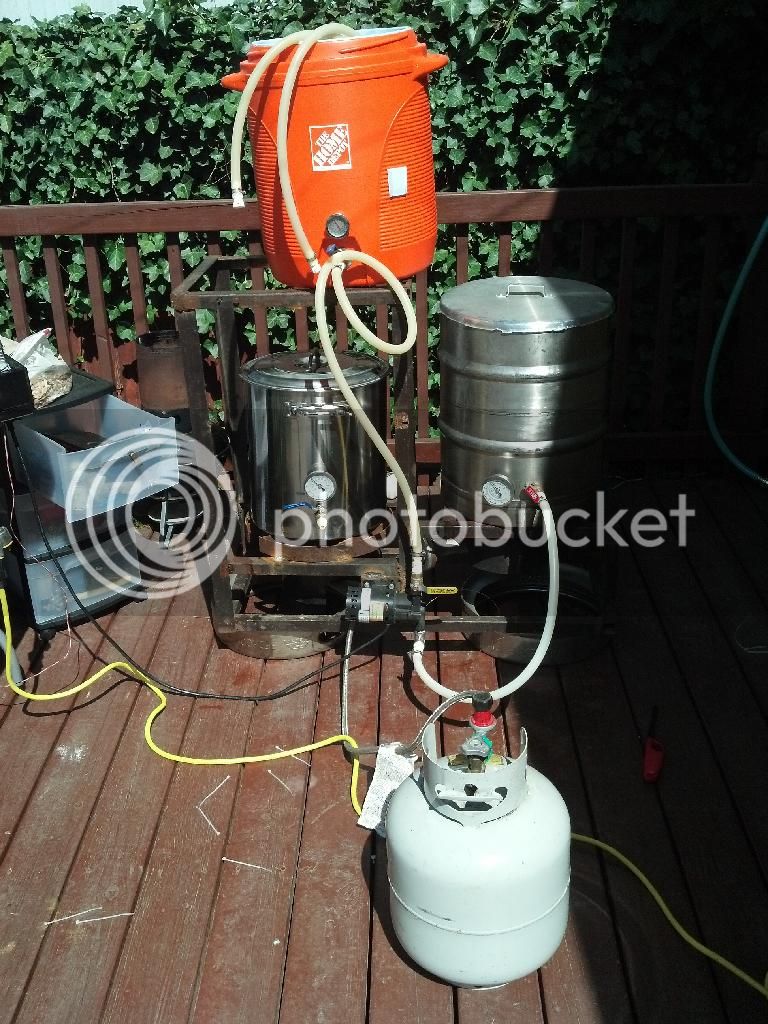
How does the autosparge work with the pump? I ask because I just picked one up and have heard it can be hard to regulate the flow low enough to get it to work correctly.
Install a 3 way bypass if needed (essentially a tee on the output with one leg going to the autosparge and the other leg having an inline ball valve to throttle with it discharging back into the HLT. Throttle down until there is about half of the pumps rated flow going back into the HLT. Then each time the autosparge wants water the pump will be ready to rock with a smooth flow of water.


![Craft A Brew - Safale S-04 Dry Yeast - Fermentis - English Ale Dry Yeast - For English and American Ales and Hard Apple Ciders - Ingredients for Home Brewing - Beer Making Supplies - [1 Pack]](https://m.media-amazon.com/images/I/41fVGNh6JfL._SL500_.jpg)


")