• Please visit and share your knowledge at our sister communities:
  • If you have not, please join our official Homebrewing Facebook Group!

    Homebrewing Facebook Group

Show us your sculpture or brew rig

Homebrew Talk

Help Support Homebrew Talk:

This site may earn a commission from merchant affiliate links, including eBay, Amazon, and others.
My scaffold is like yours.. but it has paint splashed on it.. and it's yellow. Do you think that would work as well :D

Nice job.. congrats.

Thank you sir or ma'am (don't wanna presume!) and I think yellow with paint splashes actually works better, especially when being repurposed as ugly junk. It lends a certain je ne sais quoi...
=]

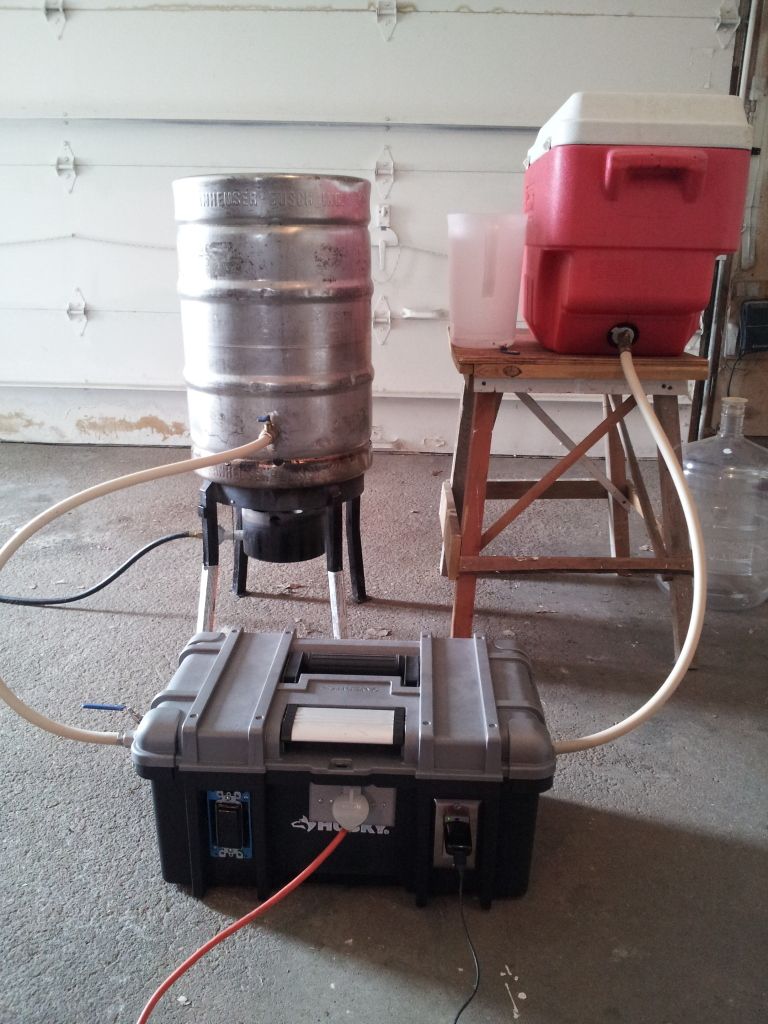
That looks like one of those $99 scaffolds from Home Depot. I almost bought the same one to use as a brewstand. I was thinking multi-tasker and not just a brew stand.

That's the one and I was thinking the same thing! I used it a couple of times with my burner separate and my pump on the ground and felt like I might as well go back to using the table. I wanted a self contained unit with everything mounted so I could wheel it out and brew. I couldn't figure out how to make it work with the steps/ shelves that came with it, even if I was OK with destroying them, which I wasn't. So I made that bottom span out of strut which leaves the originals there to use as shelves during a brew day and a real scaffold on-forbid the thought-a non-brew day. It also works really well having the skinnier shelf up front so it can be removed while mashing in and then put back to give more room to lay out hops, brew sheets, beer, tools, etc.
 
Here's my recently finished stand on it's maiden voyage. Ran awesome for the first two batches, looking forward to many more.

image-2716956735.jpg


image-384062063.jpg
 
chuckjaxfl said:
I should have nearly enough leftover parts to do this. And that will work awesome for sous vide!

You should build it just for the helluva it and have sous vide after brewing!
 
Here are some updated pics of my (mostly) finished scaffold stand in action yesterday.

ForumRunner_20130406_204554.jpg


ForumRunner_20130406_204609.jpg

I originally planned to mount the pump between the kettle and MLT but I was worried about heat and liquids so I moved it to the end. I had no priming problems but it did pump really sluggishly when filling the MLT until I flipped the power off and on. Is there a problem mounting it at that angle? I've read about removing and rotating the pump head but I didn't think you had to mount it with the base plate down. It is just arrached to a couple extra pieces of strut with two big u-bolts.

ForumRunner_20130406_204618.jpg

I built the lower shelf out of Super Strut and mounted the burner with a piece of flat slotted steel I bent to fit. I had the expanded metal laying around and it bolted right on.

ForumRunner_20130406_204643.png

Recirc and pumping to the kettle went perfectly!

ForumRunner_20130406_204659.jpg

It has come a long way from this glorified shelf!

ForumRunner_20130406_204710.png
 
All triclover. Still need to pipe water to the tube and shell chiller and need to pipe the gas line for the jet burners

image-135926546.jpg


image-1551636727.jpg


image-1227006805.jpg


image-932067809.jpg


image-2367163949.jpg


image-1412819197.jpg


image-702447011.jpg


image-1770949737.jpg


image-1981695117.jpg


image-2258102005.jpg
 
SS_Brewing_Co said:
All triclover. Still need to pipe water to the tube and shell chiller and need to pipe the gas line for the jet burners

That tube and shell chiller looks like a repurposed shotgun condenser. Pretty slick looking rig.
 
All triclover. Still need to pipe water to the tube and shell chiller and need to pipe the gas line for the jet burners

Nice build, but I have to say the frame span looks too long.
Measure the distance from the ground to to the top rail, fill the center kettle with water and measure again. This will give you a base idea of the deflection. The steel will soften significantly with the burners you chose. We had a customer who modified his stand and put over-sized burners on it, The frame was glowing red. Also, be sure to mount those burners at least 12" below the kettles.
 
Thanks guys I appreciate the compliments. I worked out all the kinks on this one from my last system. I have a frame just like this but with 25 gallon pots and I have not had any problems with it yet. I had it full to the rim with water and grain and it didn't bow at all. I do plan to put heat shields around the burners.
 
A work on progress, but finished enough to show off. I still need to plumb up my herms coil and the other pump, finish my bottom drain mash keggle and get the boil probe installed. Both burners are controlled with Honeywell hot surface ignition modules and Robert shaw combination gas valves.

image-1871872847.jpg


image-3043025207.jpg


image-3221655670.jpg


image-386886124.jpg


image-3603085990.jpg
 
Now that the pump box is finished the brew rig takes a new form.
20130407_120844_zpsc0bdfdfc.jpg
 
Hi all, new poster to this forum. Here's my new 4v HERMS nearing completion.

There's some very nice rigs in this thread. And some innovative ideas.

Cheers,
Cam.

20130406_140554.jpg
 
Hi all, new poster to this forum. Here's my new 4v HERMS nearing completion.

There's some very nice rigs in this thread. And some innovative ideas.

Cheers,
Cam.

Hopefully this isn't a stupid question: What is that corny keg looking thing hanging down between the left and middle keg?
 
^^^^
I can't answer for Camo6, but it sure looks like a heat exchanger to me. Some guys will take old corny kegs that won't hold pressure anymore and chop the top. You can mount an electric heating element vertically in the bottom and run a coil inside. It is a HERMS system. The plus side to it is instead of using a 15.5 gallon keg as a HLT/HERMS combination, you can just heat 3-4 gallons of water and make some pretty quick steps in the mash temp.
 
Yeah Old-E, like posted above its the HERMS heat exchange. A piece of 150mm stainless pipe, 12mm stainless coil approx 3m in length, and a kettle element. Allows reasonably quick ramp speeds of about 1.3 degree celsius per minute and with the separate vessel you can control mash temp and HLT temp independantly. Sorry for lack of conversion skills, I'm a metric boy born and bred.
Very jealous of the range of brewing ingredients and equipment you have in the states. We have a few good suppliers in Australia but nowhere near the range and the delivery is a killer from the US.
 
I can finally post something up here as I just finished (well except for a few bits and pieces...) my brew rig. Got a two vessle setup at the moment. Background - I am going from this
imgp78281-59418.jpg

To this
p11600851-59419.jpg

Details:
Pump "skid", this is not attached to the frame and will end up hanging vertically during storage so the pump fully drains.
p11600861-59420.jpg


HEx mounting, again HEx will be removed for storage (lift up then slid out) so it can fully drain.
p11600871-59421.jpg


Got the inlaws coming down next week, break in brew will be Orfy's Hobgoblin II clone.
Cheers!
 
I dig those mounts, especially the chiller mount. Nice work!

Thanks Jammin. You don't know how long I sat around trying to come up with something that in the end was so simple!
Still got a few things to sort out:
Control panel mounting - Dont' know if this will be permantly attached to the frame or if I'll just sit it on a table/something nearby.
Casters - At first I thought that since this will be stored in the garage and taken outside (down a step or two) to brew I wouldn't need casters. Now I got everything sitting on there and winter is approaching over here I think I might reorganise my garage (again) so I can set this up by the window and brew indoors (or get a extraction fan kit).
Cheers! :mug:
 

Latest posts

Back
Top