• Please visit and share your knowledge at our sister communities:
  • If you have not, please join our official Homebrewing Facebook Group!

    Homebrewing Facebook Group

Show us your sculpture or brew rig

Homebrew Talk

Help Support Homebrew Talk:

This site may earn a commission from merchant affiliate links, including eBay, Amazon, and others.
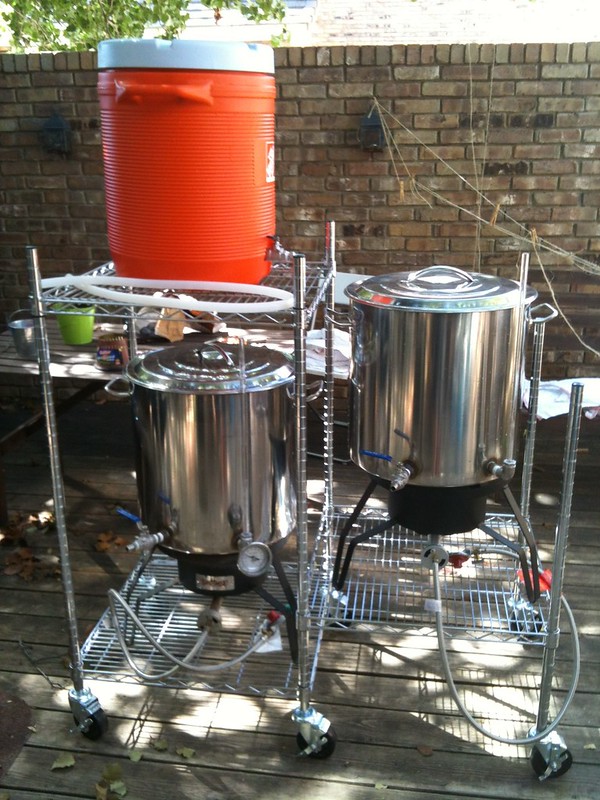
Hey cruzn, how tall is the burner stand holding the keg on the left side of the 3 tier? I'm thinking about building a stand, rather than ordering one with a burner, and trying to figure out the best height.

the boil kettle burner is 20" tall at the top point wich allow's you to gravity feed into even a sanky if you want to. I just picked up a truky fryer burner and extended the legs.
 
:tank:
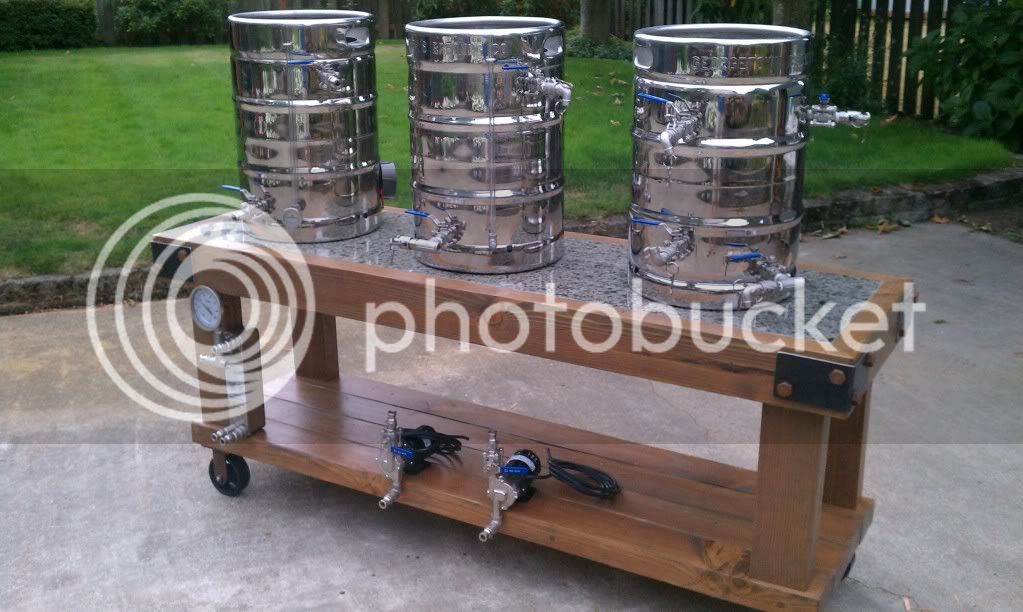
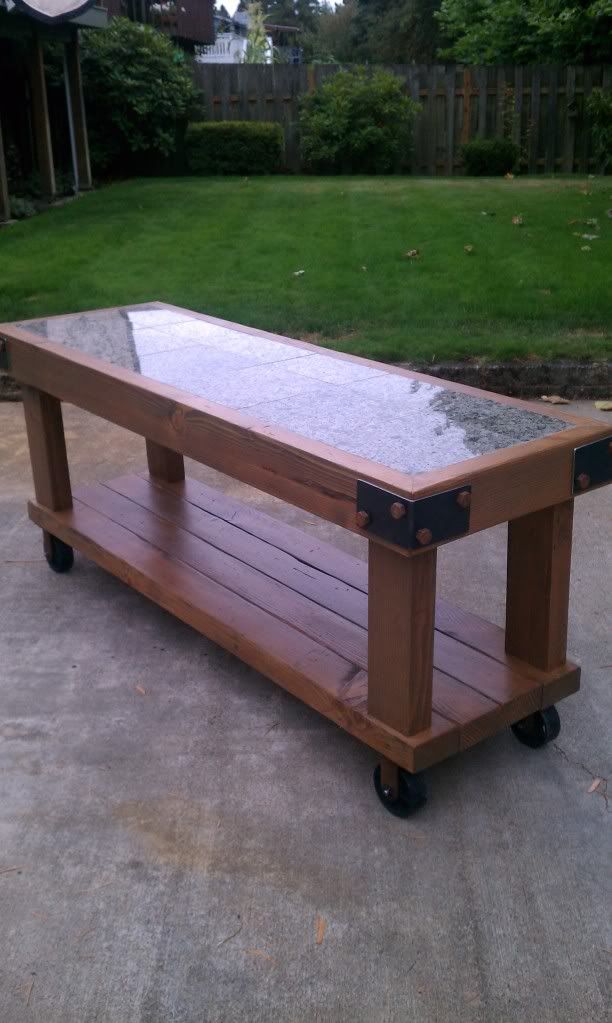
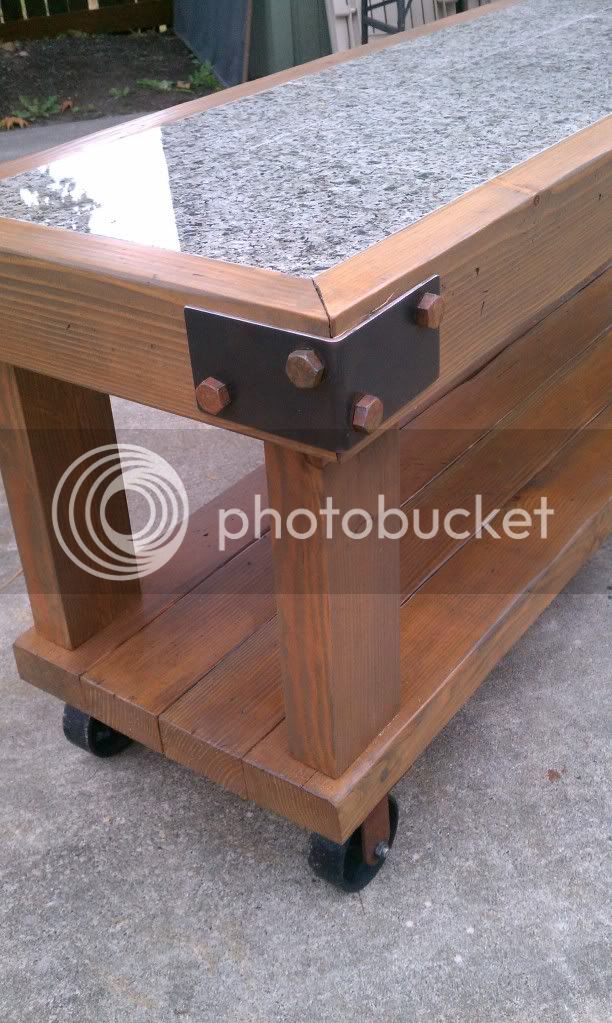
Here is my new brew stand thanks to all of the posting on this site I spent countless HRS looking up every post for tips

309031_474744712545430_2144106337_n.jpg
 
Just finished the first brew day on my new setup. It's super basic but it's convenient, affordable, easy to move and gets the job done.

7967942730_d6174310ba_c.jpg


I'll be adding a pump for the HLT on the bottom before the next brew, the rest of it is all gravity fed. Broke it in with a nice American Brown Ale and hit all the targets pretty close, the FG was a little low because I thought I'd lose more to boil off with these new kettles but I guess I was wrong.
 
Lars... that's awesome, I love the stone top! I really like all of these nice wooden brew sculptures. Especially with all the big bolts and iron accents. I really need to go electric.
 
Thanks Guys. Fall-line I saw your post on the garage build, Nice job. I wish I had that much room to work with. The room I'm building is only 10x10 so space is very cramped. I have posted a couple of things I have gotten done but I will post pictures of the room when I get it all done. I still need to build the grain mill table and finish hooking up the wiring to the control panel.
 
SS_Brewing_Co said:
For those of you who have not seen it yet.

I don't understand the manifold that connects to the kettle drain at all...care to explain how it works? Just a little curious how all your transfers are happening
 
Thanks Guys. Fall-line I saw your post on the garage build, Nice job. I wish I had that much room to work with. The room I'm building is only 10x10 so space is very cramped. I have posted a couple of things I have gotten done but I will post pictures of the room when I get it all done. I still need to build the grain mill table and finish hooking up the wiring to the control panel.

a 10x10 dedicate brew space is better than brewing in the kitchen! There are some great examples of 'cramped' brew spaces on here (Kai's comes to mind). You are off to a fantastic start
 
wncbrewer said:
I don't understand the manifold that connects to the kettle drain at all...care to explain how it works? Just a little curious how all your transfers are happening

There is a butterfly at all the tanks that goes to one line that goes to my pump that goes to my flow panel's "common port". I have my flow panel piped to each tank so if I want to go from my mash tun to my kettle I shut my hlt valve and bk valve and open my MT valve and move my jumper to the pipe that goes into my BK and turn on my pump and voilá. I hope that makes some sort of sense. Let me know if I need to further elaborate. (I'm a few beers deep).
 
Hey Lars, with a user name like that, you must have brewing buddies named Thor and Magnus, because that stand is totally medieval!:rockin:
 
Lars, great build. What do you still have to do to it? mount burners? or is it electric?
Thanks, all electric and lots to do still. Hope to have the first brew day by the end of the month

Hey Lars, with a user name like that, you must have brewing buddies named Thor and Magnus, because that stand is totally medieval!:rockin:
No Thor and Mag haven't shown up for a brew day yet. I was trying for the old factor cart look.
 
You guys make my head hurt! I have been reading this thread for three days now (and I am only on page 63) and am so homesick for my stove top stock pot. I have about two years more work to do here in Saudi Arabia before I can even have a beer! I now have way too many ideas to implement, I think I will needs to build one of each system just to free up some memory in my brain. HERMS, RIMS, CHEM.... beer beer beeeeer! My home is in White City, KS. and my name for my brewery is Wedrinkbeer KGB Inc..

I was thinking about making a three tier system that is sectioned. Meaning that I would build the single tier frame then add a semi-permanent two step frame that could be removable. This would be removed once I evolve to more of a RIMS. Like I stated, I am only on page 63 of this thread and I have 60 more to go. So I don't know if anyone has done this yet. Please let me know what you think of this idea. The step framing could be used for a two batch brew day after removing it from the main frame setup.

George
 
Old factory cart, I can see that, with the cast iron wheels. While brewing this summer during a 94 degree day, my rubber wheels left 1/2" dents in my driveway blacktop. My wife asked why there were holes in our driveway, of course I knew what they were from but played dumb. P.S. you are going to love that big DUDA chiller.
 
JesperX said:
Just finished the first brew day on my new setup. It's super basic but it's convenient, affordable, easy to move and gets the job done.

I'll be adding a pump for the HLT on the bottom before the next brew, the rest of it is all gravity fed. Broke it in with a nice American Brown Ale and hit all the targets pretty close, the FG was a little low because I thought I'd lose more to boil off with these new kettles but I guess I was wrong.

That is sweet- details?
 
Back
Top