• Please visit and share your knowledge at our sister communities:
  • If you have not, please join our official Homebrewing Facebook Group!

    Homebrewing Facebook Group

Show us your sculpture or brew rig

Homebrew Talk

Help Support Homebrew Talk:

This site may earn a commission from merchant affiliate links, including eBay, Amazon, and others.
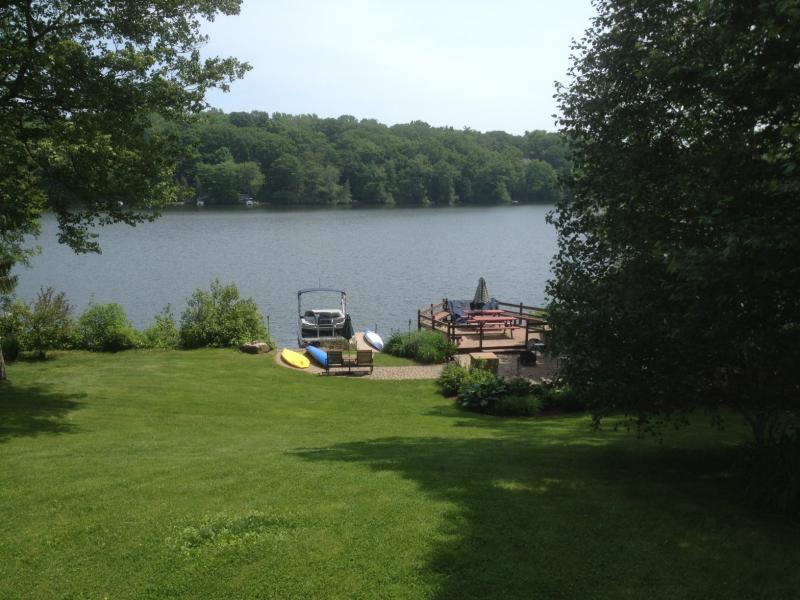
Dont have a good pic of my tier but I think the view makes up for it. ;-)

Brew.jpg


Brew2.jpg
 
Color me jealous Brewer4, 100% of that picture is pure beauty.
My tier is actually a joke. I use my grill for the top, then the pillar burner and then deck and stairs if I have to. Sitting under a covered deck where I can brew 9 months out of the year with the view makes up for it. :rockin:
 
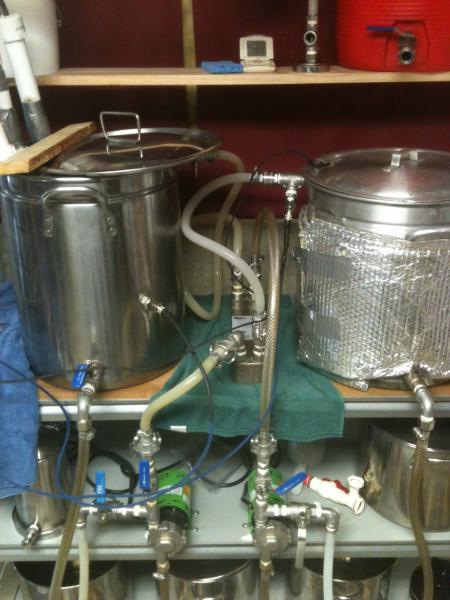
Heres my new system, the kettle was a piece of stainless pipe that i welded a bottom on. I did a 26 gallon batch with it this past monday and it all went pretty good. Got a few more things to tweak and add though.

IMG_3674.jpg
 
The first batch out of the new all grain setup. False bottom worked well, drilled about 1800 holes by hand in lexan.

brewsetup.jpg


falsebottom.jpg
 
I finished my single tier yesterday! (I only need to get some crimp connectors to connect the solenoids then it'll be functional)
af866988.jpg

Here is a close up of the control panel.
8f707dee.jpg

0afd8e55.jpg

and a close up of my gas manifold.
0864ede8.jpg


Once my QD's arrive I can take her out for her first run! Can't wait!
 
That looks awesome! I love the light up switches. Very clean design. I'm not totally familiar with the Brutus 10 design. What do the switches control? I assume the pumps, but is there something else they are used for?
 
That looks awesome! I love the light up switches. Very clean design. I'm not totally familiar with the Brutus 10 design. What do the switches control? I assume the pumps, but is there something else they are used for?

Red is Main power.

Yellow powers the Temp Controllers. Theses switches have stackable contact blocks so I can use 1 switch to feed both TCU's. 1 contact per unit.

The TCU's for the MLT and HLT

Green transfers power through to the solenoid valves for the MLT and HLT burners. The best part of this feature is even when turned on the switches light only comes on when the solenoids are open and the burners are lit. So it's an extra visual so I know what's going on with the system.

Blue are for the pumps.


Tried to make it as clean as possible and have all controls handy from the front. You'll see on the left I put a panel mounted needle valve to control the boil kettle burner. That way I can turn it up to get to a boil and then dial it back easily enough to maintain a boil without scorching the wort.

Can't wait for my first run!
 
MMurray: So if I am looking at this right, you have manual standing pilots for MT & HLT and controlled solinoids on the burners and your BK is all manual?

Nice looking set up. Very clean.
 
I finished my single tier yesterday! (I only need to get some crimp connectors to connect the solenoids then it'll be functional)
af866988.jpg

Here is a close up of the control panel.
8f707dee.jpg

0afd8e55.jpg

and a close up of my gas manifold.
0864ede8.jpg


Once my QD's arrive I can take her out for her first run! Can't wait!

I'm not use to seeing a burner layout like you have set up, is there no safety shutoff on your pilots?

Looks great!
 
MMurray: So if I am looking at this right, you have manual standing pilots for MT & HLT and controlled solinoids on the burners and your BK is all manual?

Nice looking set up. Very clean.

Yes... the Pilots are made of the following: 1/4" needle valve, 3" long 1/4" brass nipple, 1/4" Cap that has been drilled with 1/16" holes (2 holes per pilot). Once Pilot lights are on, the solenoid allows the burners to turn off and on.

Boil Kettle is full manual with the panel mount needle valve on the left.
 
I'm not use to seeing a burner layout like you have set up, is there no safety shutoff on your pilots?

Looks great!
By safety shut off are you talking about automatic shut off if the pilot goes out? That answer is no.

but I do have main shut offs for each propane source on the manifold. My reasoning for that is once I set the needle valves on the MLT, HLT and pilots I won't want to mess with them every time and can simply turn them off or on at the main.
 
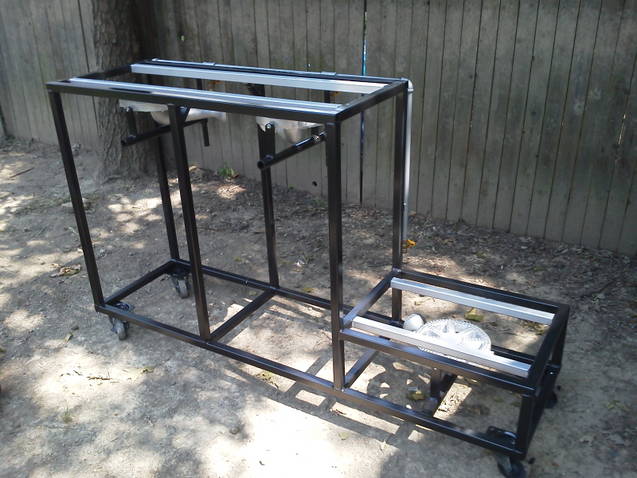
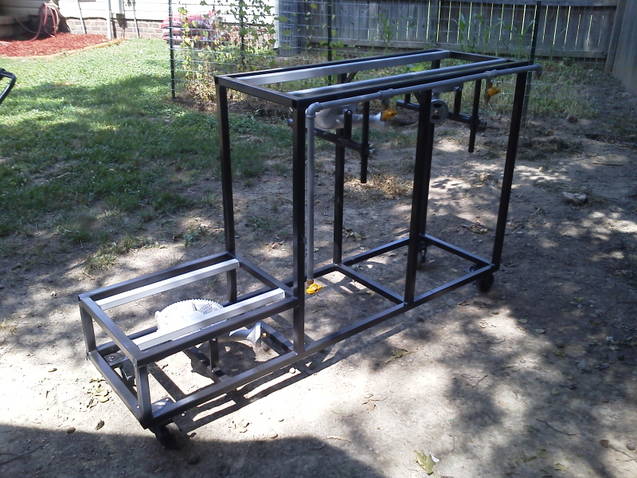
I've still have to get some propane hose to hook up the burners to my manifold, as well as a pump but aside from that it's done. Definately not as intricate as some of the others on here but it gets the job done!

brewstand1.jpg


brewstand2.jpg
 
bellam87 said:
I've still have to get some propane hose to hook up the burners to my manifold, as well as a pump but aside from that it's done. Definately not as intricate as some of the others on here but it gets the job done!

that's how I made mine. gravity into the kettle works great.
 
I finished my single tier yesterday! (I only need to get some crimp connectors to connect the solenoids then it'll be functional)
af866988.jpg

Here is a close up of the control panel.
8f707dee.jpg

0afd8e55.jpg

and a close up of my gas manifold.
0864ede8.jpg


Once my QD's arrive I can take her out for her first run! Can't wait!

mmurray:

Can you let us know what you are using for the solenoid valves? Also is that a HP setup?
 
It looks great! Is that pipe painted or galvanized. If the latter you will want to swap it out. Propane and zinc don't play well together.. :(
 
I finished my single tier yesterday!

That is one bad-a$$ setup. If I lived in a realm where I could reach through the computer screen and start activating switches, I would. :D Love me some brightly colored switches and tech stuff...

...squirrel!!! :eek:
 
OneHoppyGuy said:
It looks great! Is that pipe painted or galvanized. If the latter you will want to swap it out. Propane and zinc don't play well together.. :(
It's black pipe that's been painted. Just out of curiosity, what is the downside to propane and zinc?
 
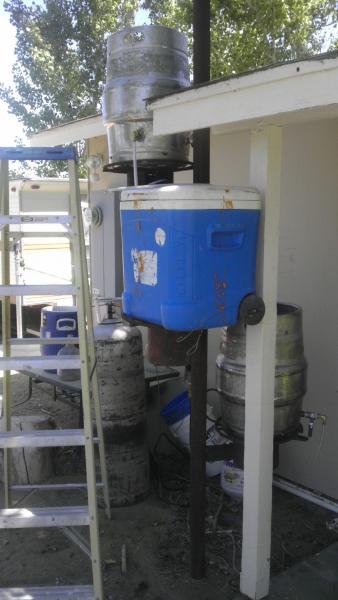
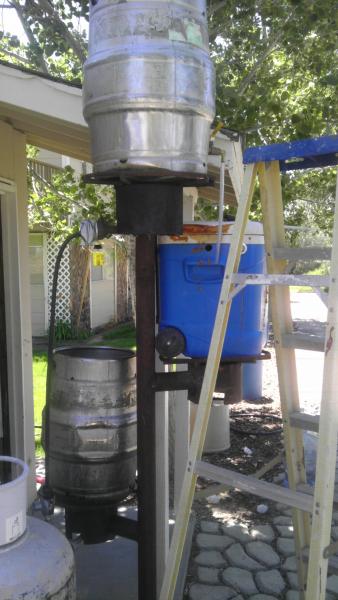
Simply set a post in the ground and then made my own burner attachments equally spaced around the post. I use propane and gravity on my brew days. Mash tun looks dirty but that is expanding foam I used in the lid because those lids are hollow.

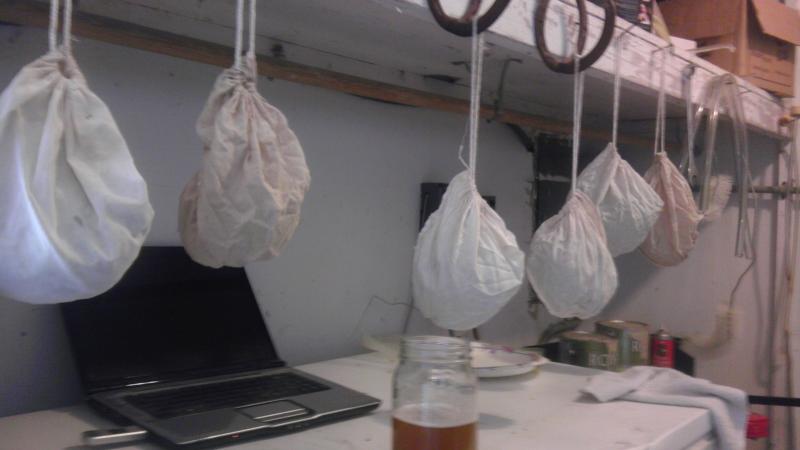
The bags that are hanging are my hops pre measured and hung on nails that are labeled for what time they will be added.

IMAG0381.jpg


IMAG0382.jpg


IMAG0383.jpg
 
I can't belive I made it to the end! Some amazing rigs here. I don't have any pics at this time, mine is just keggle HLT- Ice Chest MT- and keggle BK, all gravity fed with no formal stand. Looking forward to starting my next rig built on custom trailer. Just time and money. I've gotten some great ideas here though!
 
Back
Top