BrickBrewHaus
Active Member
- Joined
- Jul 14, 2016
- Messages
- 26
- Reaction score
- 44
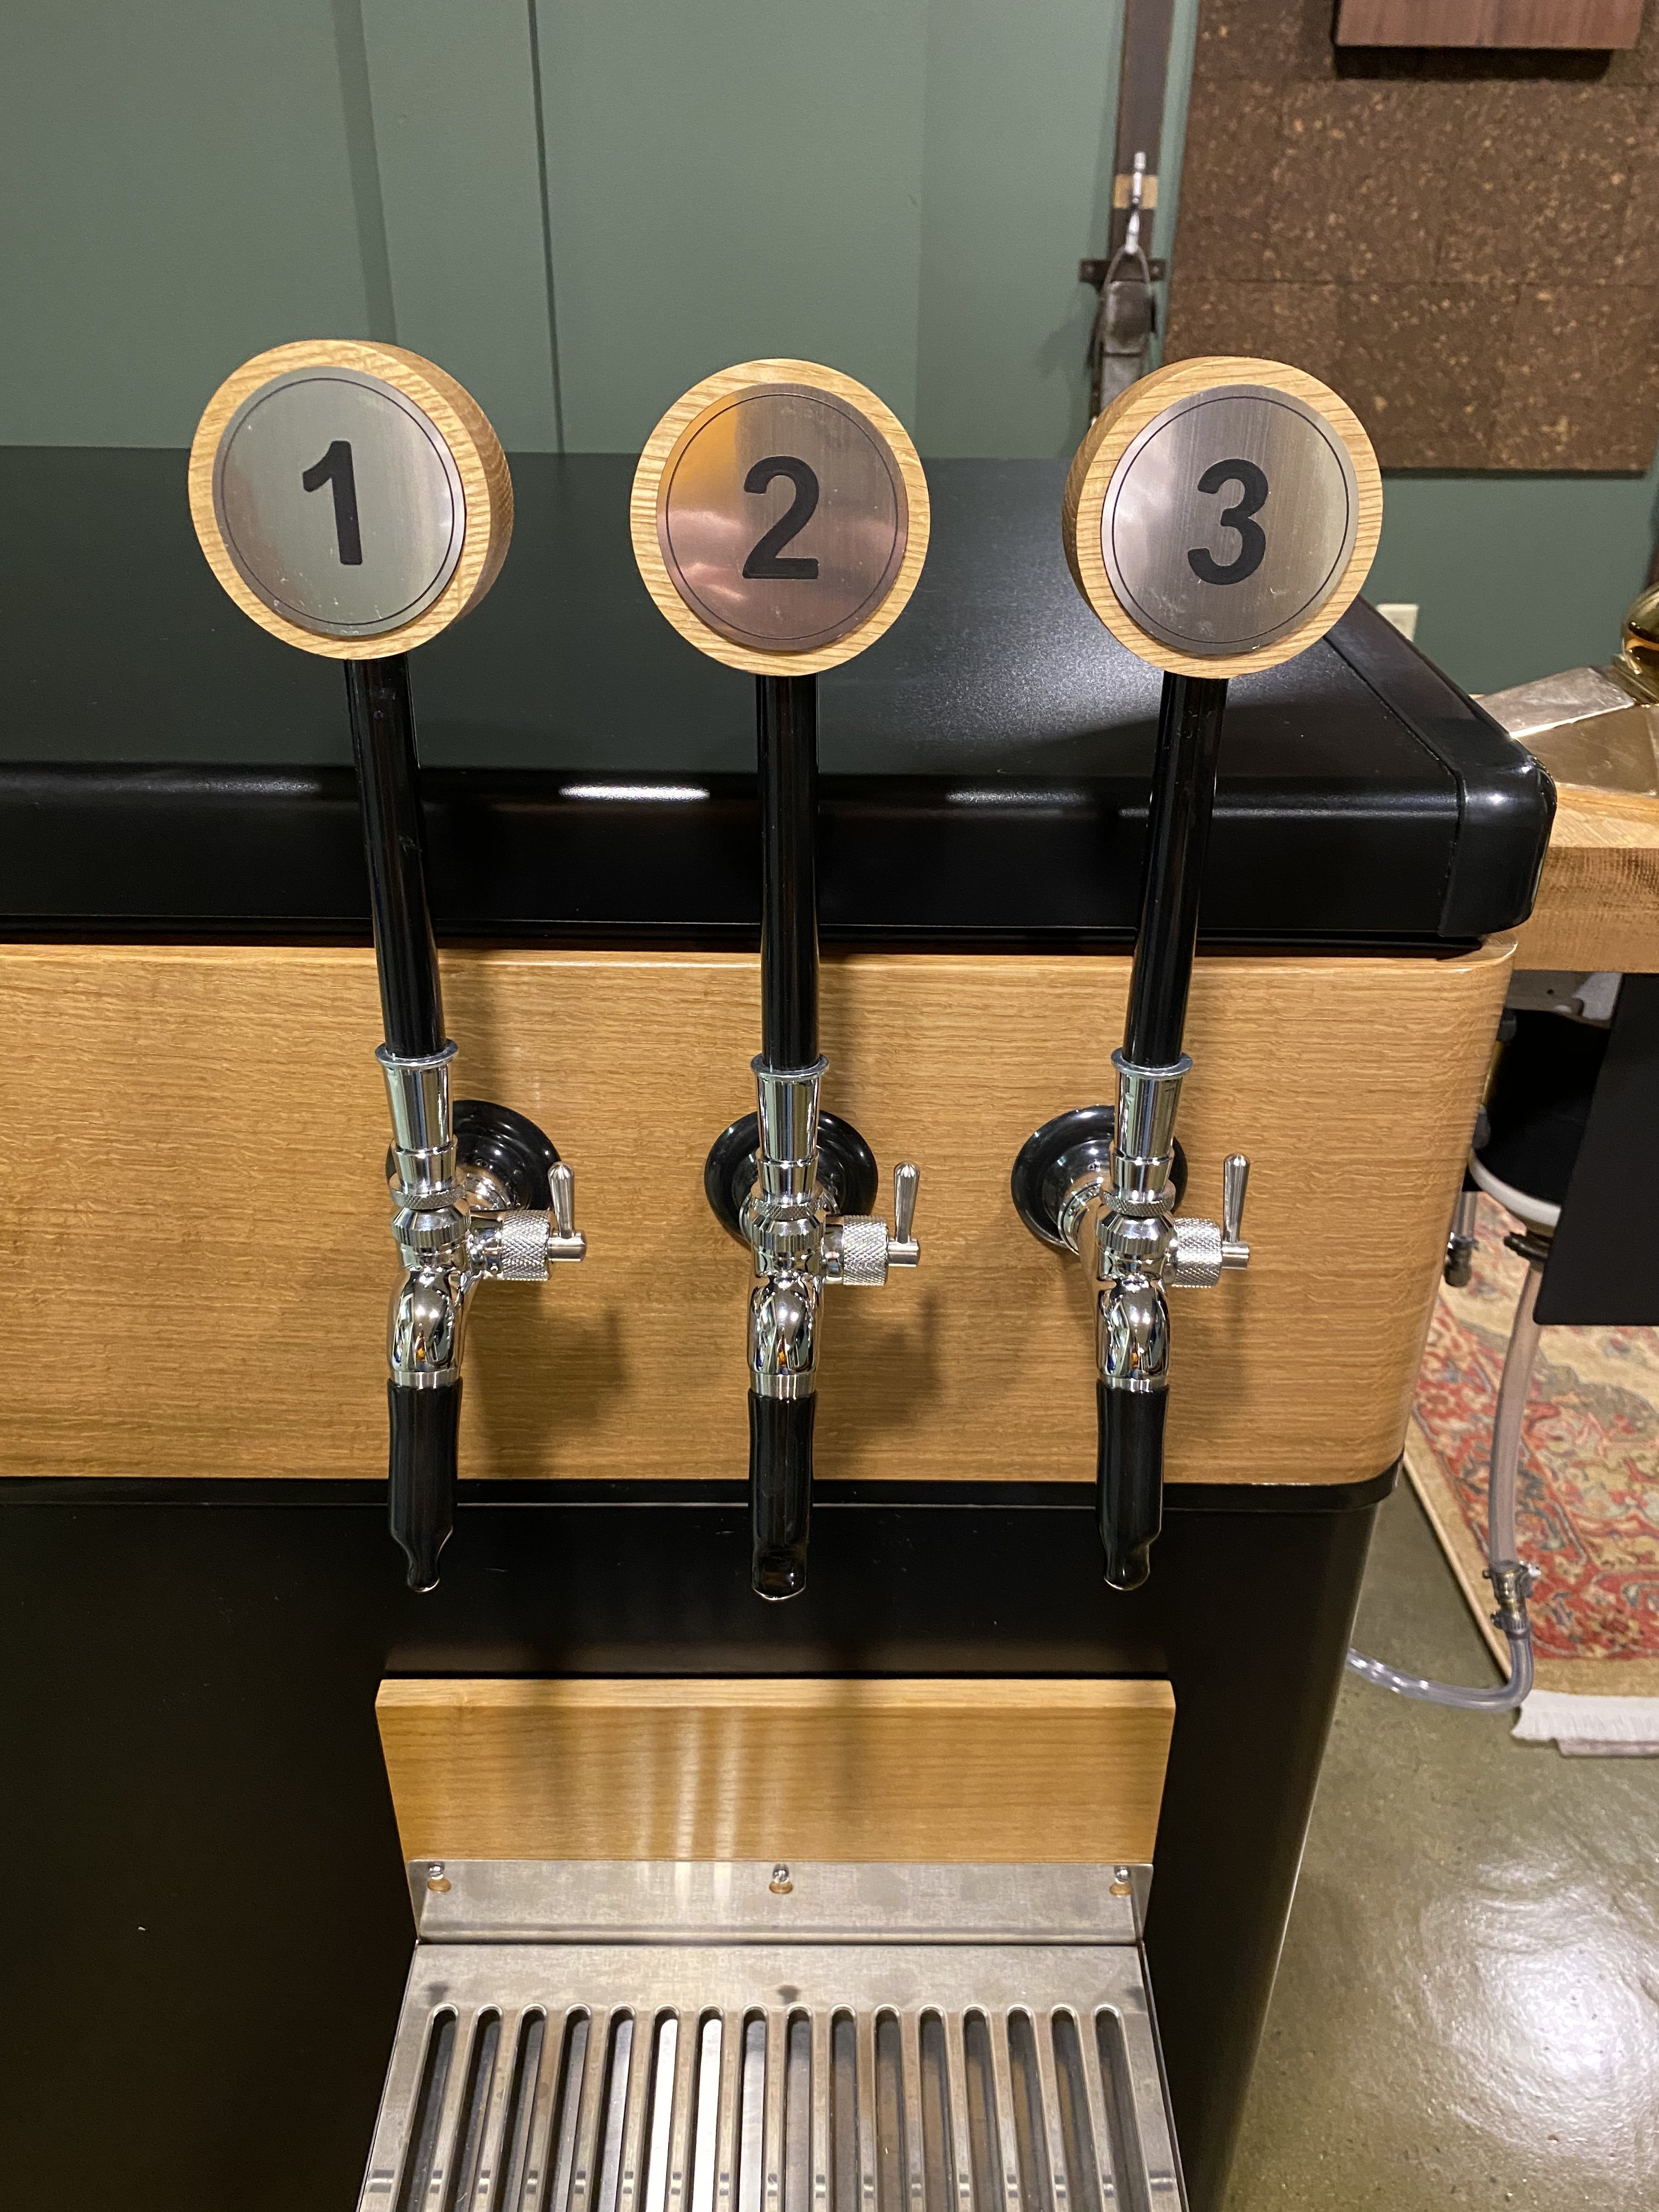
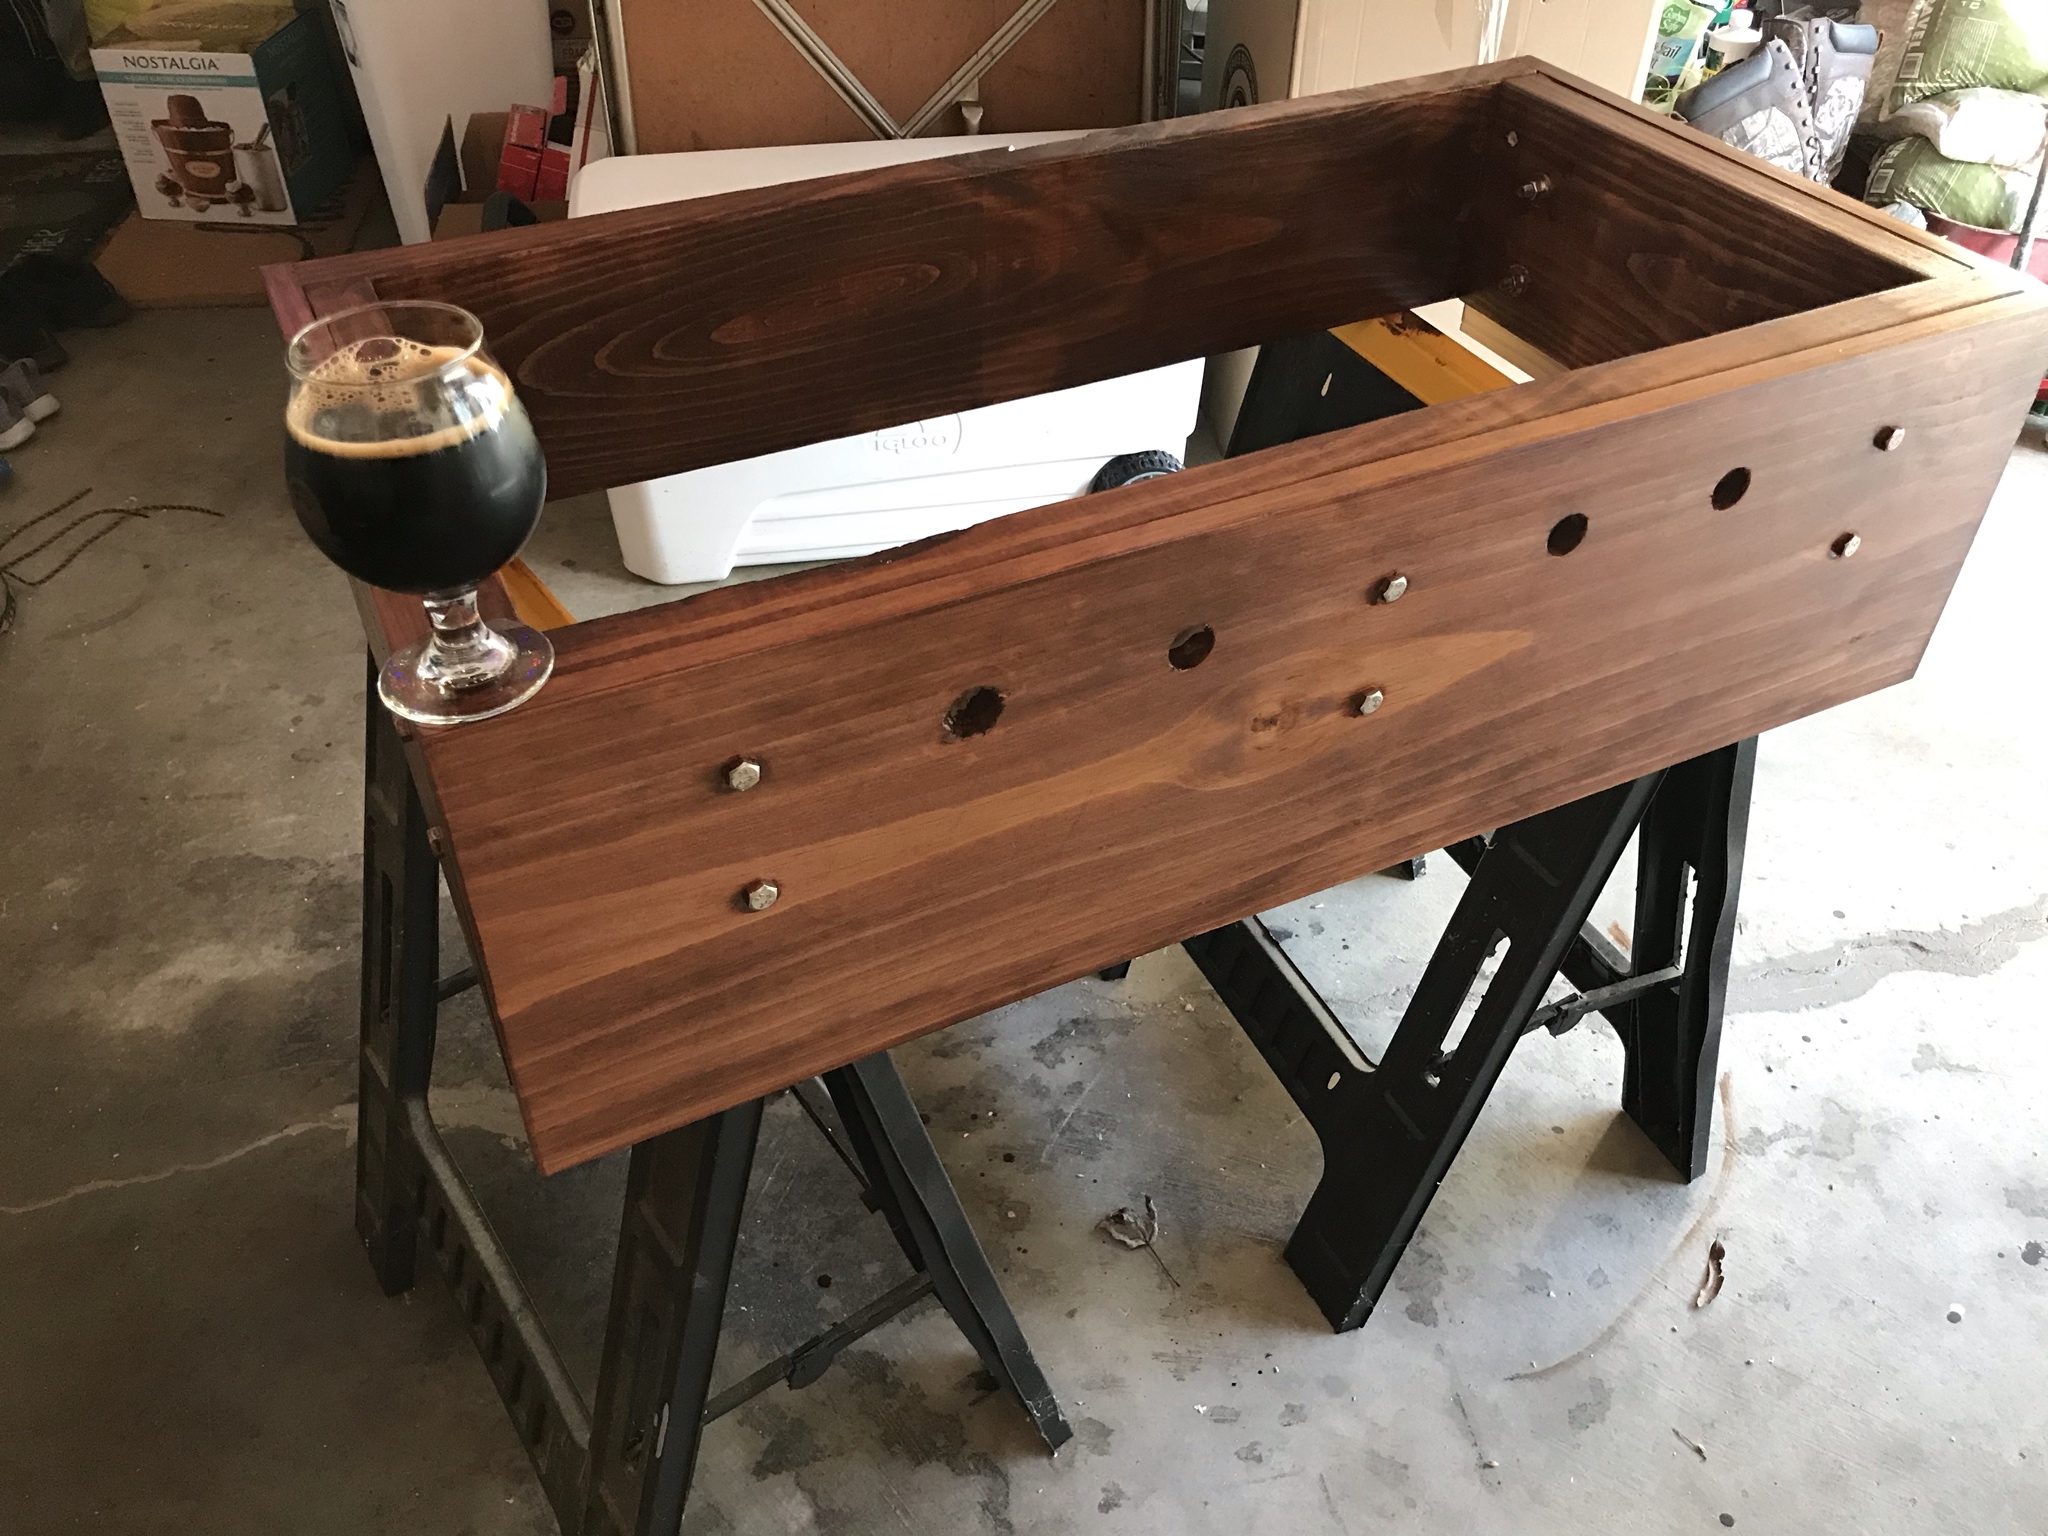
Just put the final touches on this beauty to be sold at our school's fundraiser gala. More pics on this thread.


WOW...that doesn't even do it justice.Just put the final touches on this beauty to be sold at our school's fundraiser gala. More pics on this thread.
View attachment 649676
View attachment 649677


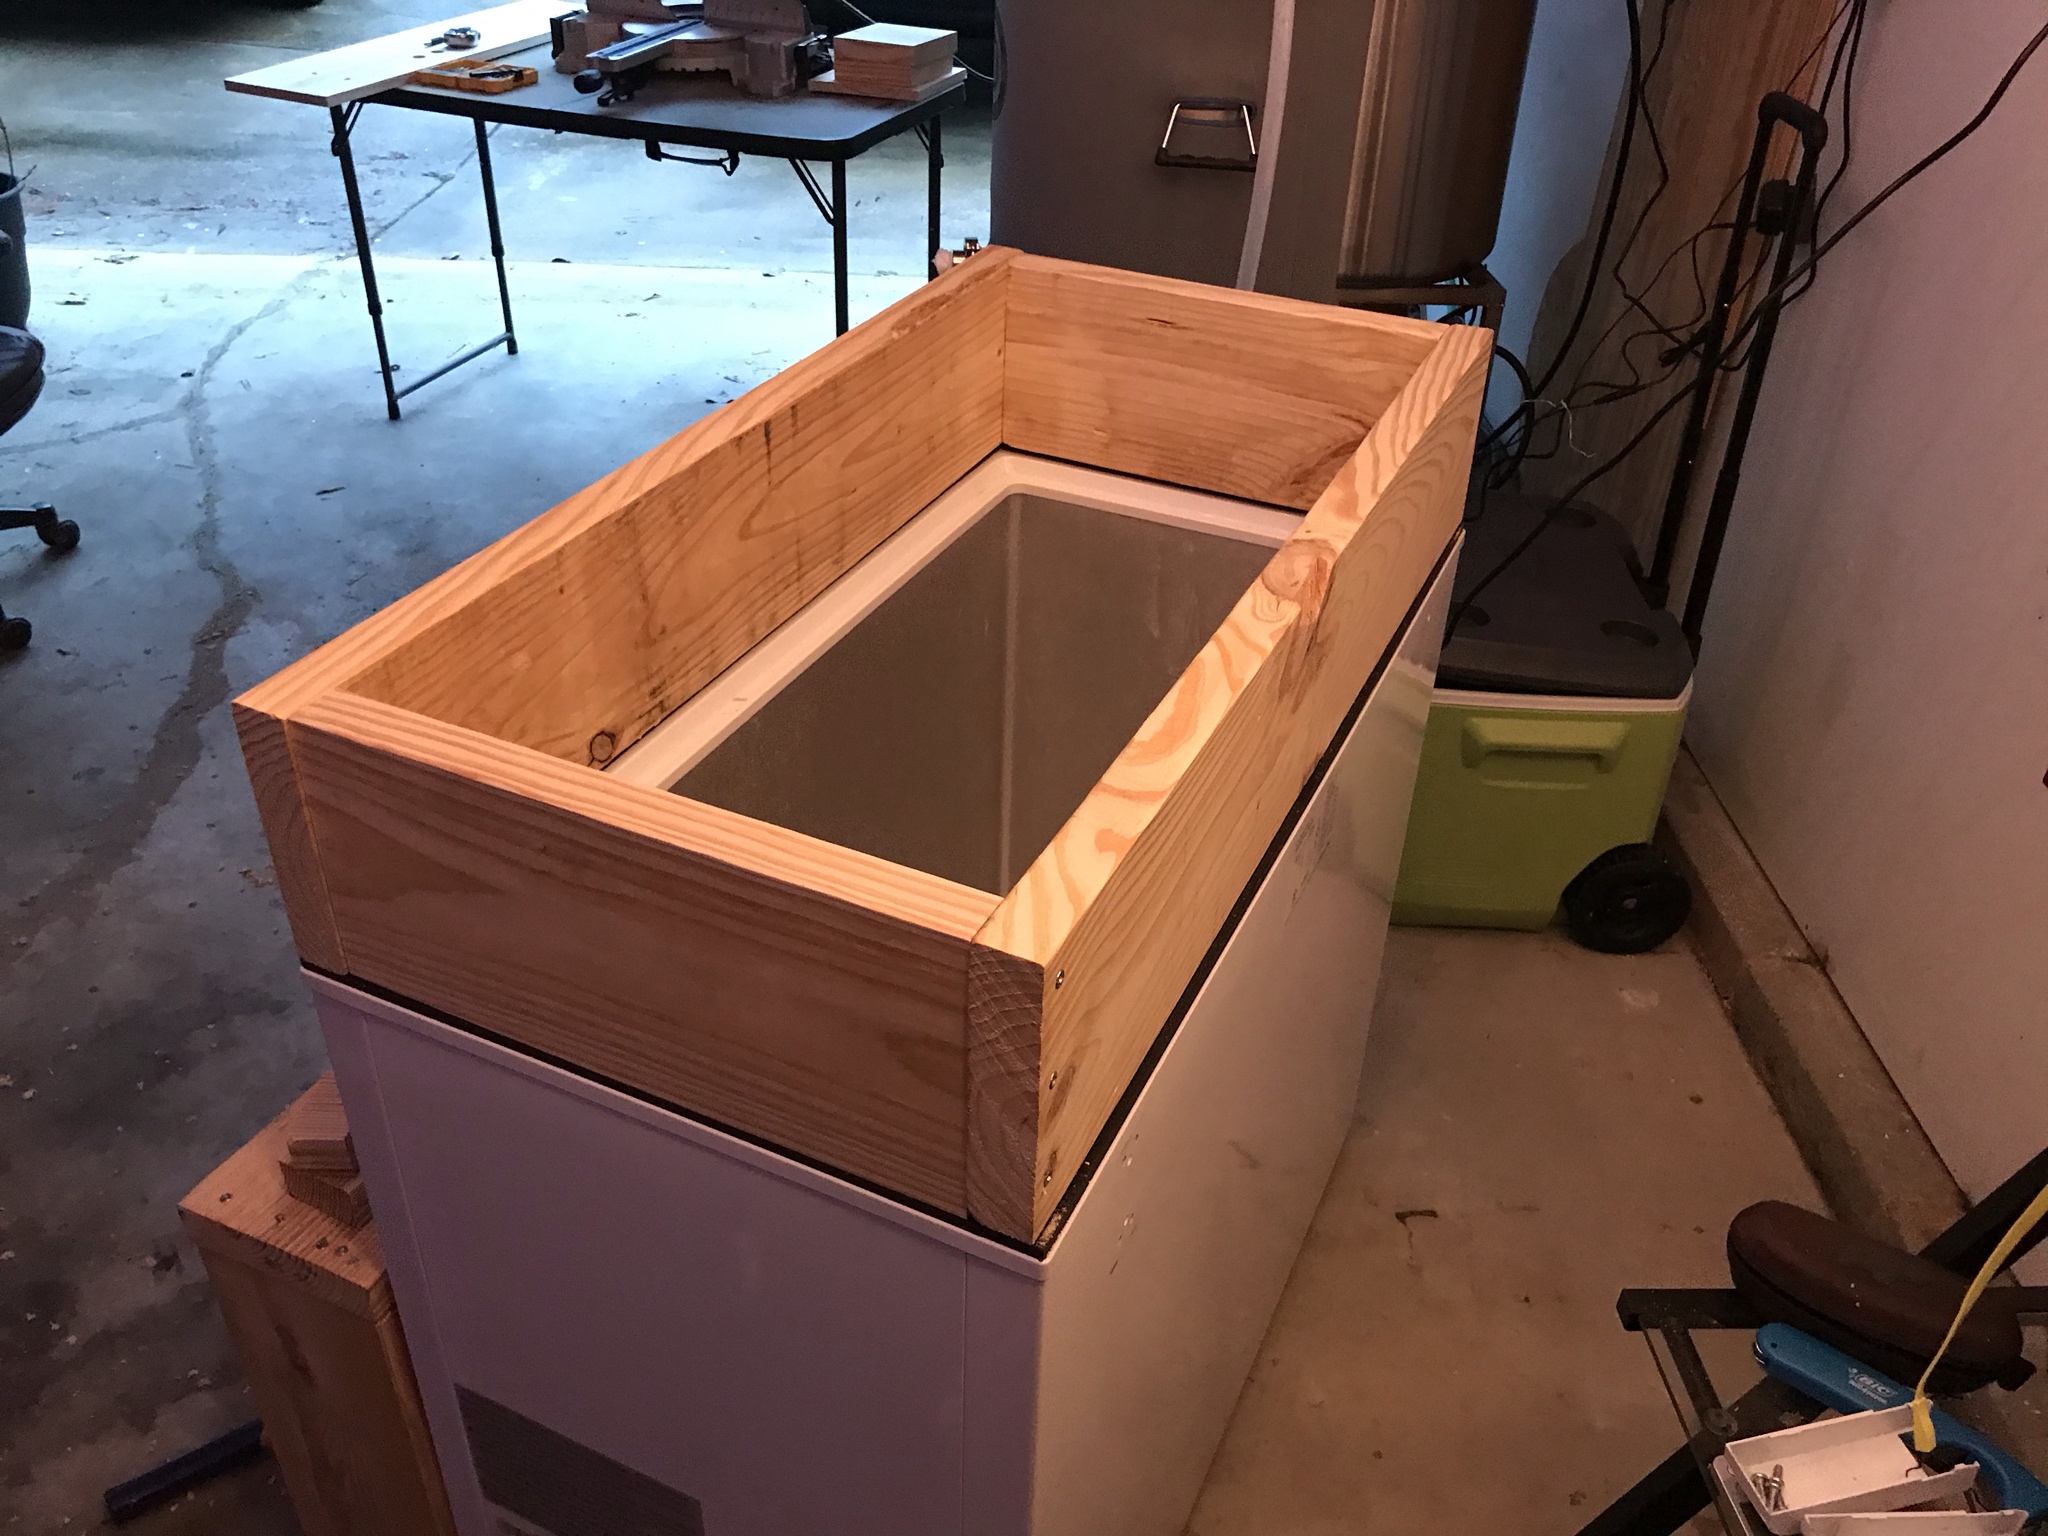
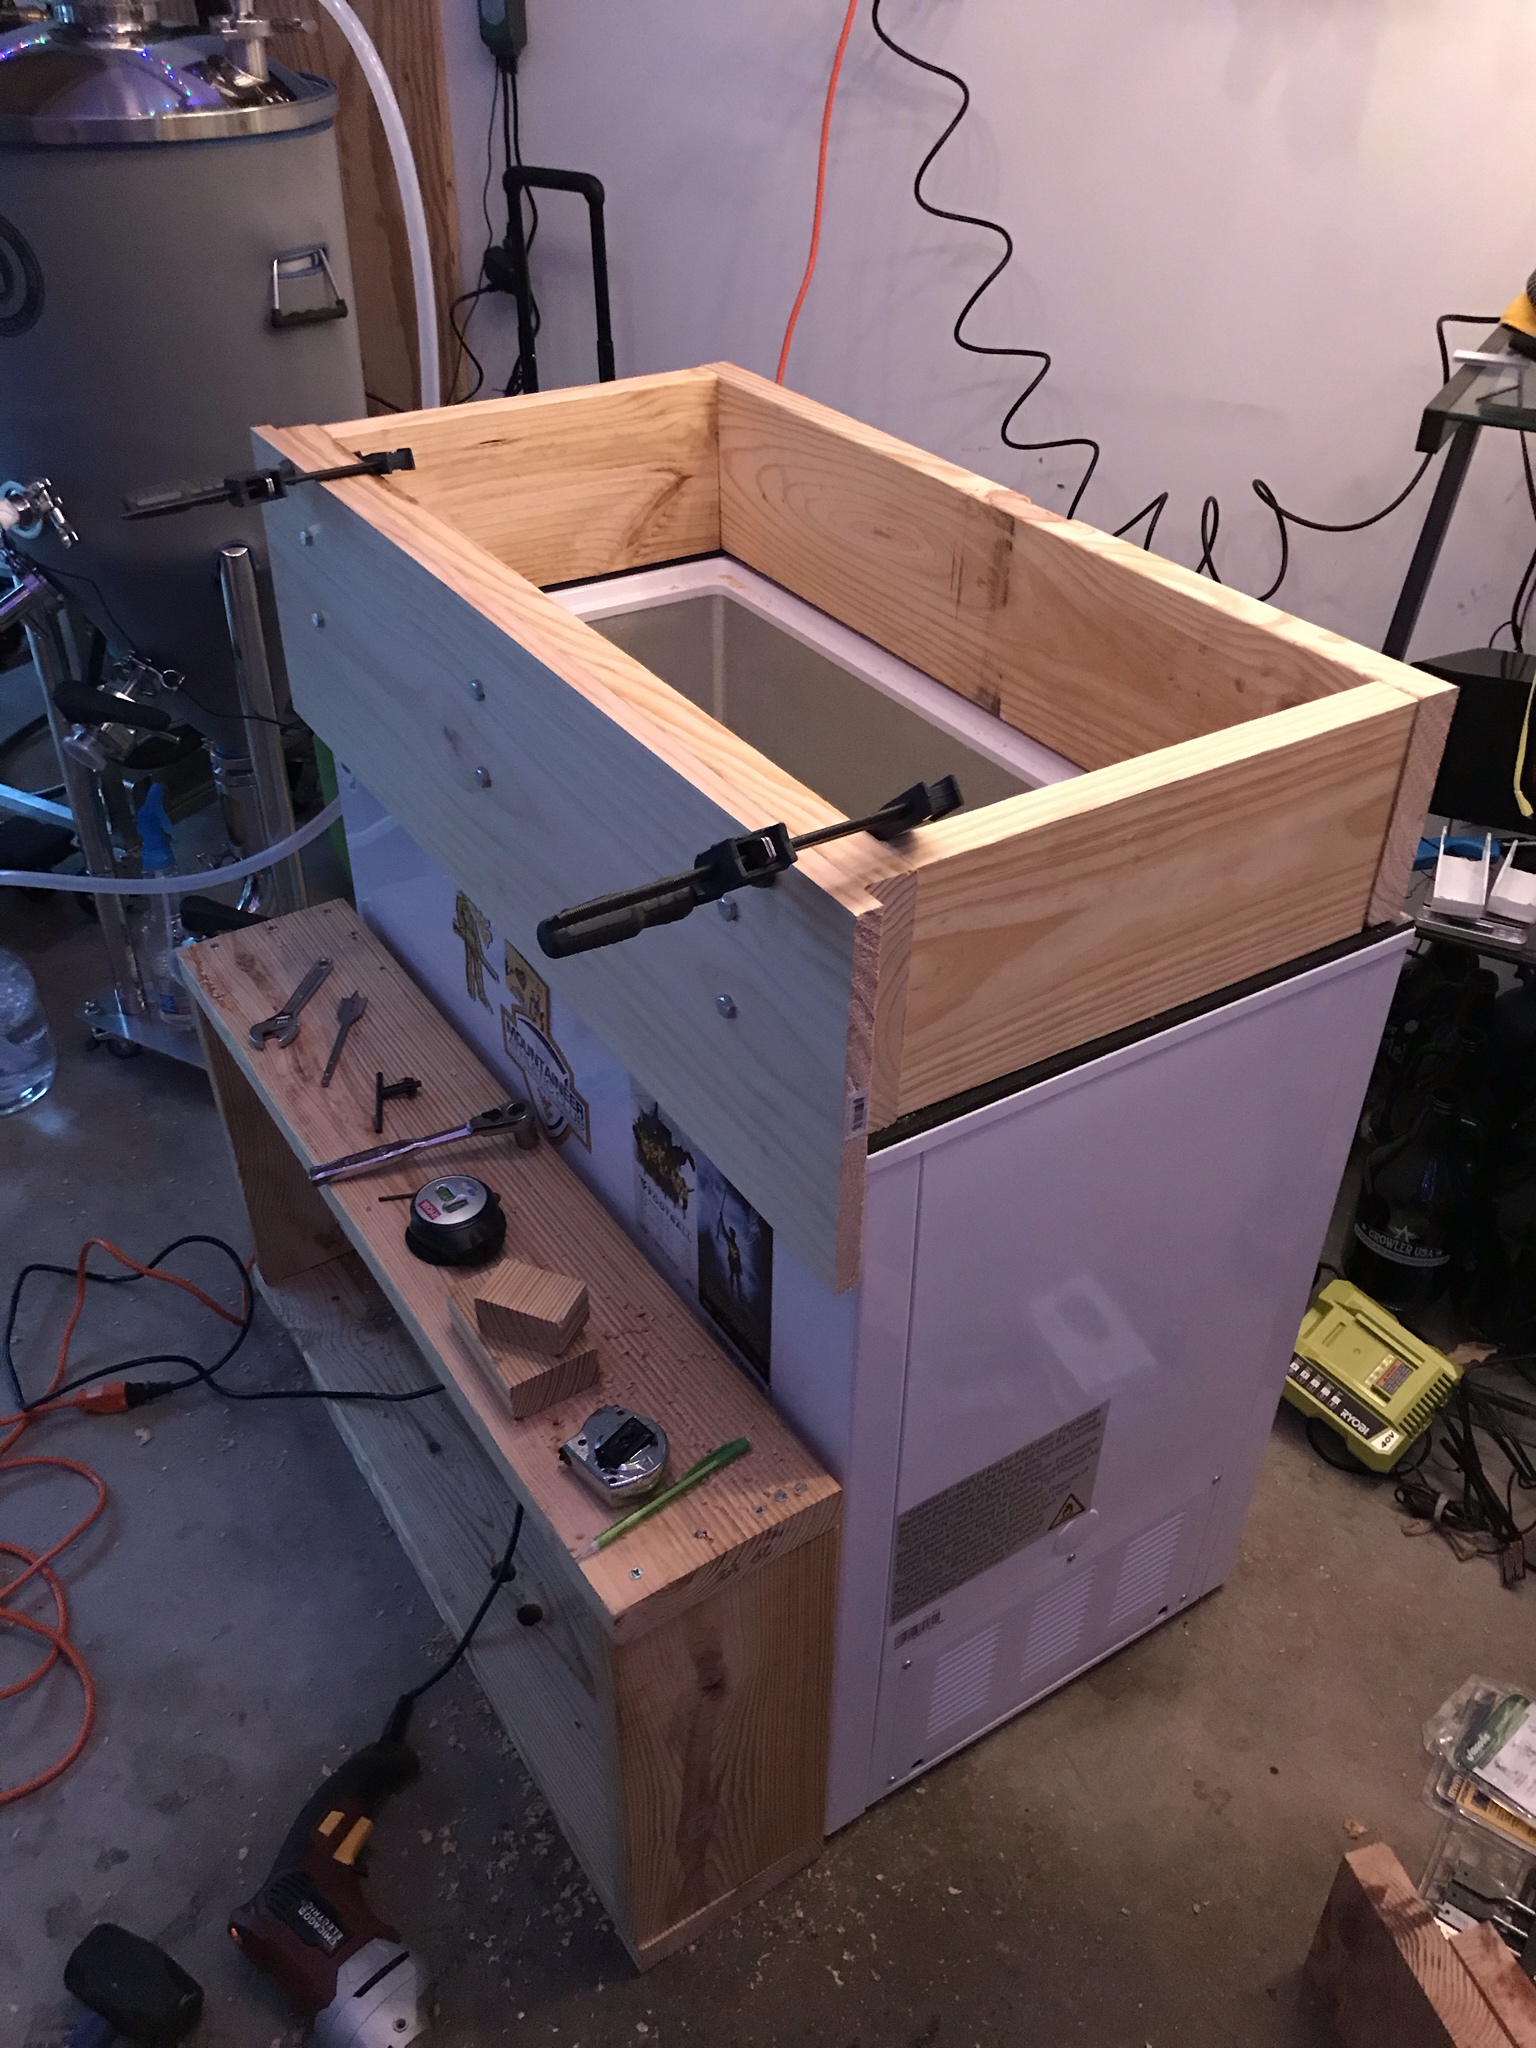
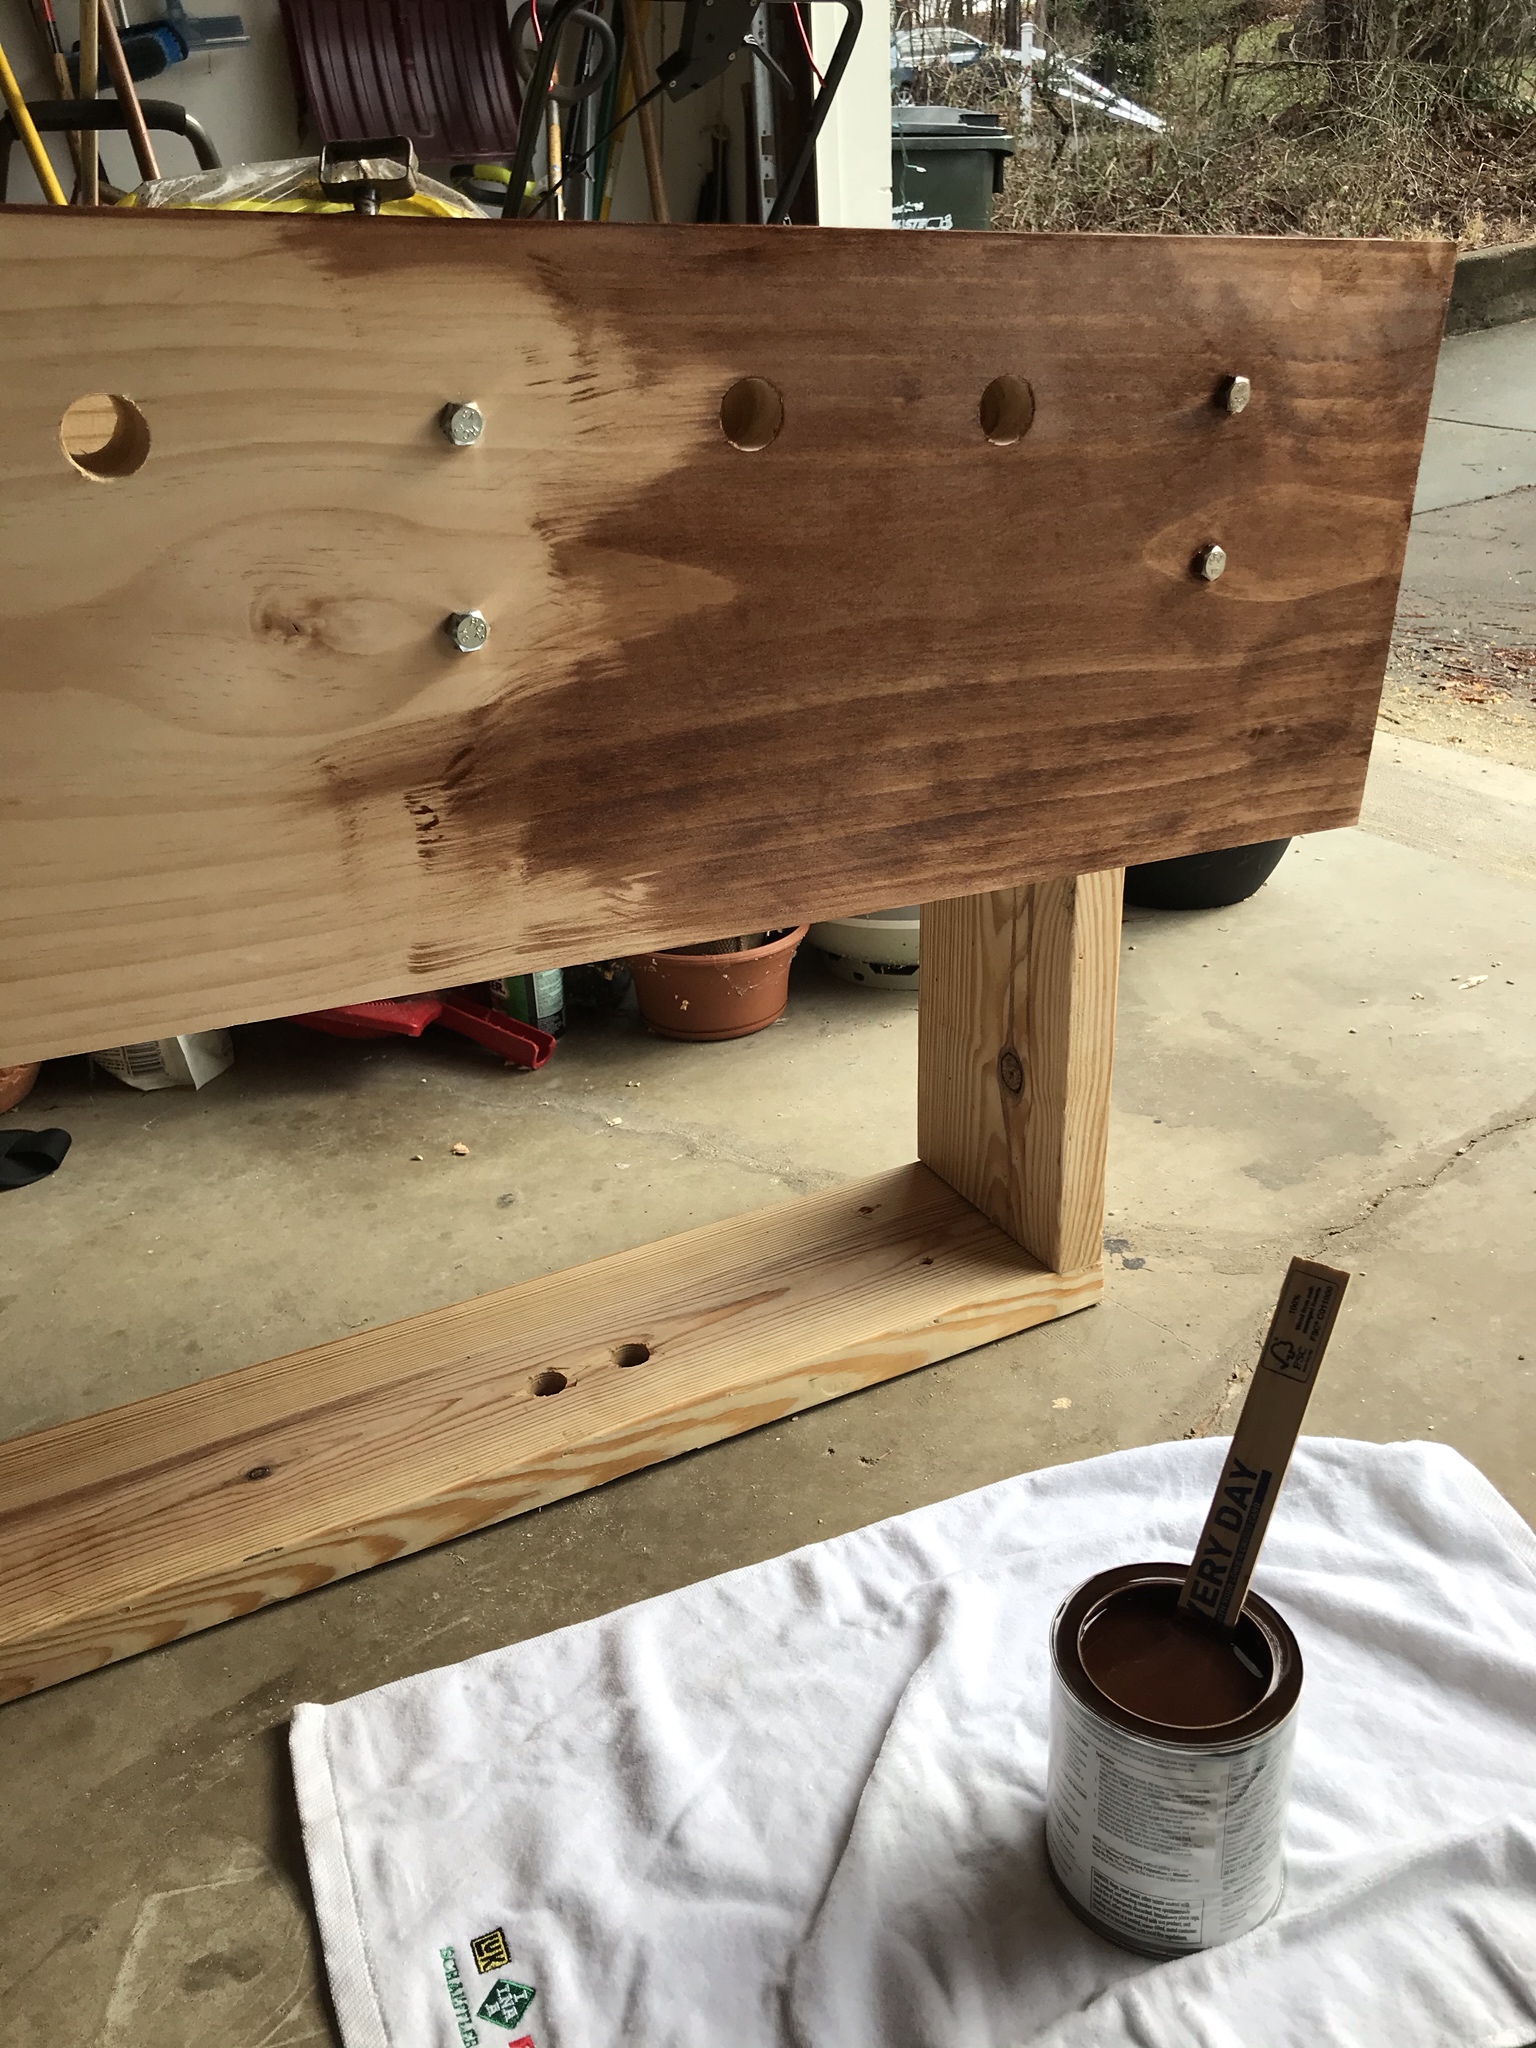
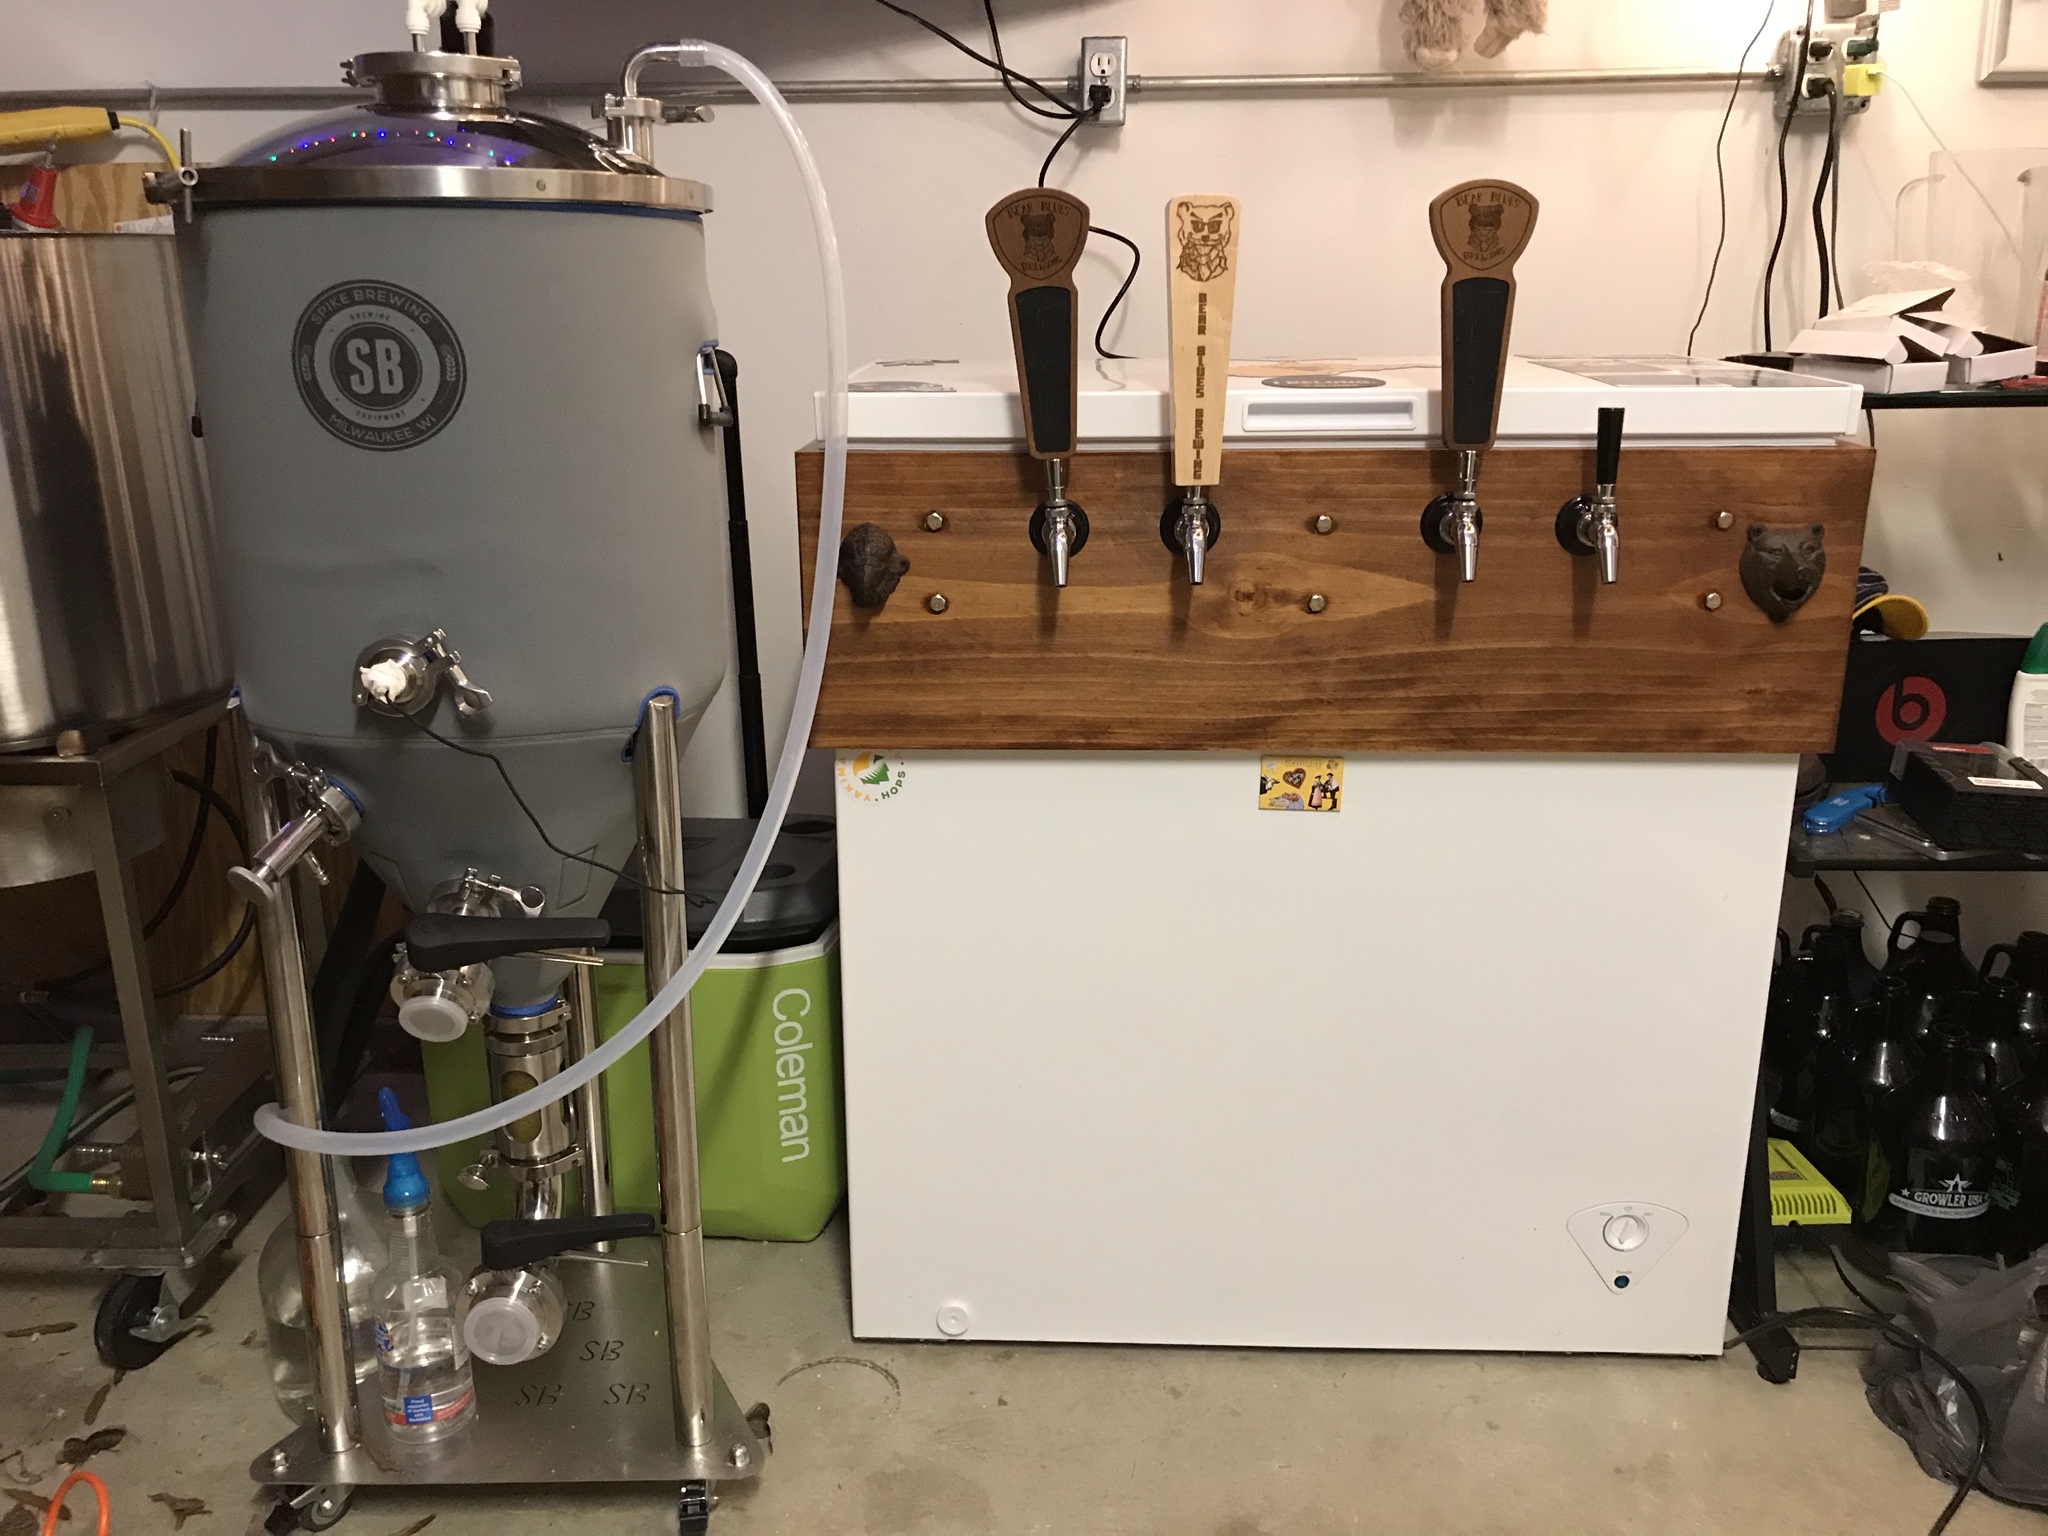
I finally have this all hooked up!Scored my first kegerator on CL this weekend! Can't wait to have it built into my bar and start using it.


![Craft A Brew - Safale S-04 Dry Yeast - Fermentis - English Ale Dry Yeast - For English and American Ales and Hard Apple Ciders - Ingredients for Home Brewing - Beer Making Supplies - [1 Pack]](https://m.media-amazon.com/images/I/41fVGNh6JfL._SL500_.jpg)


Thank you sir!Kljames that's a really nice bar and set up!
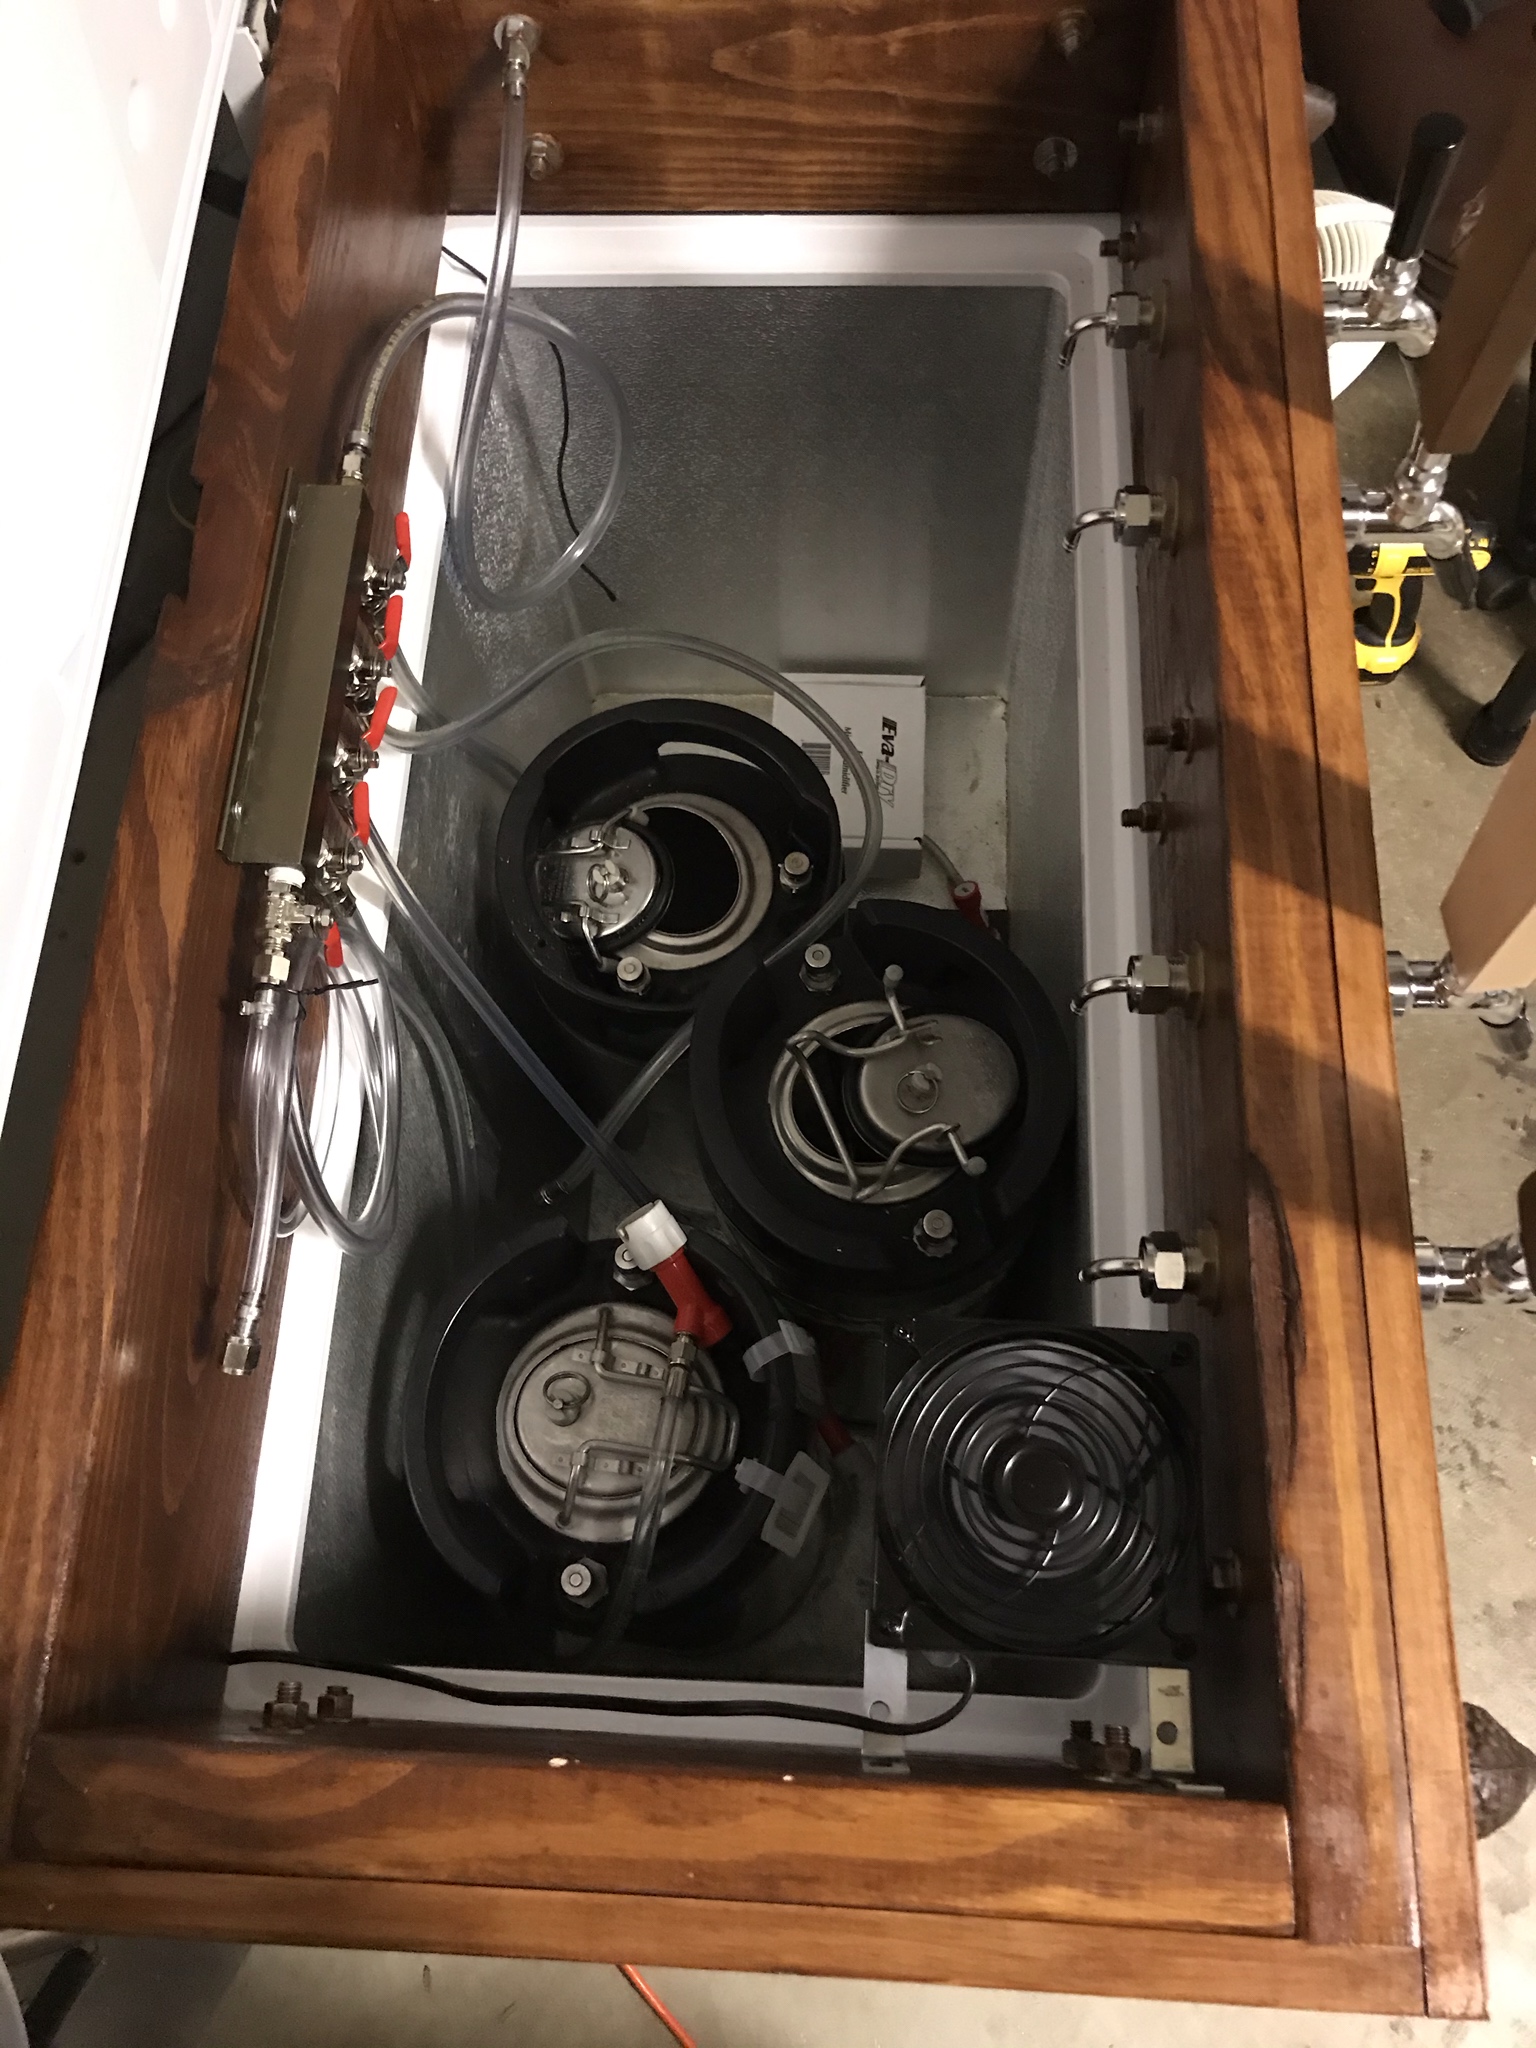
It is pretty tight, but the way i have it set up is all my kegs are accessible through the closer door. i figured for the little bit of pain to load and unload, it was worth how it worked out everywhere else. Only doing 1/6 barrel kegs too so it's not that big of a deal.That looks like a rather tight space for man handling kegs. Is it as close as it looks?
I am not either...football was on so that's what got in the shot. I'm a hockey fan.The only thing I would change......is the channel. Not a Cowboys fan, sorry.
question for anyone out there who epoxied their tops.
I am in the early stages of my build, and I'm keen to epoxy if I can. However, I want to inset my drip tray, and make it removable for cleaning etc. essentially leaving a rectangiler hole where it would be once removed.
Isthere a way I can do this? My understanding is that epoxy tends to adhere to most surfaces. I had though about a 3/4" high timber surround and then epoxy, giving the drip tray a border of sorts.
The second is how do I drill through epoxy, I assume with larger diameter holes it will crack?


Magnificent !Just put the final touches on this beauty to be sold at our school's fundraiser gala. More pics on this thread.
View attachment 649676
View attachment 649677


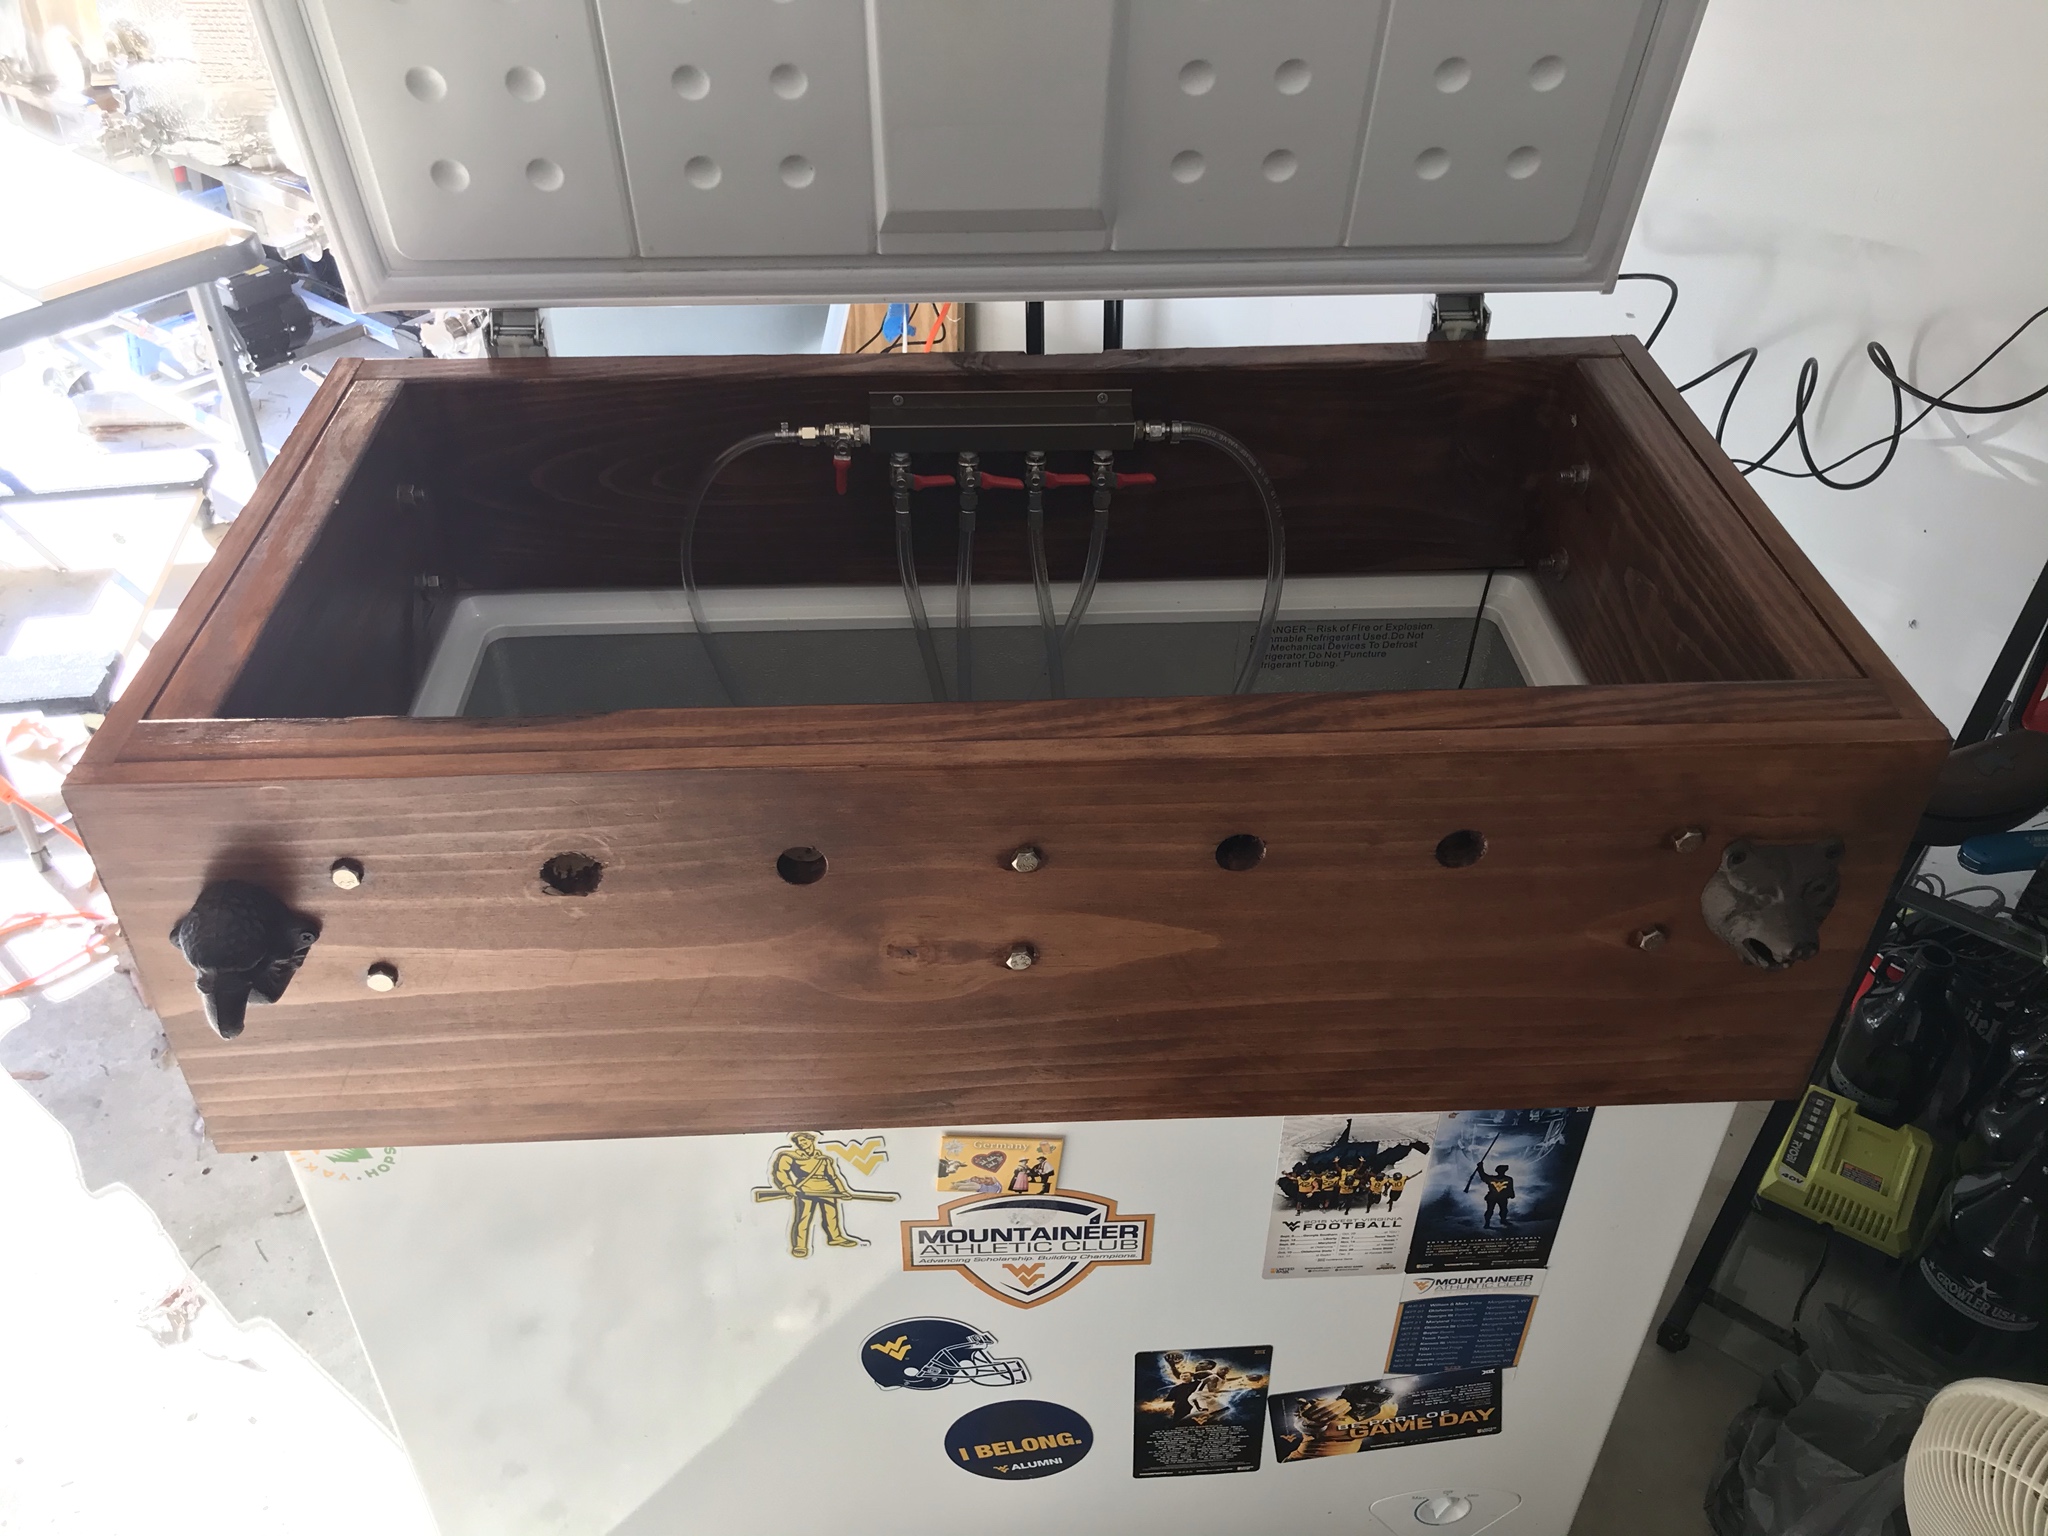


Neodymium magnetsHow is that drip tray shelf attached?
Thanks, have not connected it yet but I typically take the keg out of the keezer and let it warm a little and it sets under the hand pump.That is some seriously impressive woodwork. NICE corners. The whole setup looks great. How is the handpump hooked up?
.jpg")
 resized.jpg")
The kegs are brand new from Northern Brewer as are all the lines. I have not even unboxed the Arctic King kegerator because I wanted to have SS replacement parts for the tower and taps which are chrome on the Arctic King kegerator. So ok to clean in advance but sanitize with starsan just before kegging?Clean, sure. The sooner the better with kicked kegs, easier to clean before everything dries hard inside.
But if you're going to do a Star San purge of the keg right before filling you can probably skip the sanitizer...
Cheers!
Also, I can't find any books dedicated to homebrew kegging! Only YouTube videos which is fine but nice to have diagrams on hand. I've been bottling for 15 years this kegging is all new to me. Any recommendations? Thanks!!The kegs are brand new from Northern Brewer as are all the lines. I have not even unboxed the Arctic King kegerator because I wanted to have SS replacement parts for the tower and taps which are chrome on the Arctic King kegerator. So ok to clean in advance but sanitize with starsan just before kegging?
Yep bought the keg lube. Thanks again for your input!What kind of "diagrams" would be helpful?
HBT is loaded to the rafters with kegging and kegerator info, just waiting to be perused.
But here are two urls to keep handy as you'll use them often: our favorite carbonation table, and the only beer line length calculator worth using.
Wrt your new kegs, definitely wash them thoroughly to remove any manufacturing residues and consider applying a film of "keg lube" to all of the O-rings...
Cheers!
Also, I can't find any books dedicated to homebrew kegging! Only YouTube videos which is fine but nice to have diagrams on hand. I've been bottling for 15 years this kegging is all new to me. Any recommendations? Thanks!!