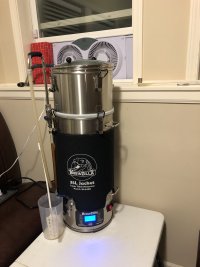
Robobrew/Brewzilla Discussion

Homebrew Talk - Beer, Wine, Mead, & Cider Brewing Discussion Forum

Help Support Homebrew Talk - Beer, Wine, Mead, & Cider Brewing Discussion Forum:

This site may earn a commission from merchant affiliate links, including eBay, Amazon, and others.
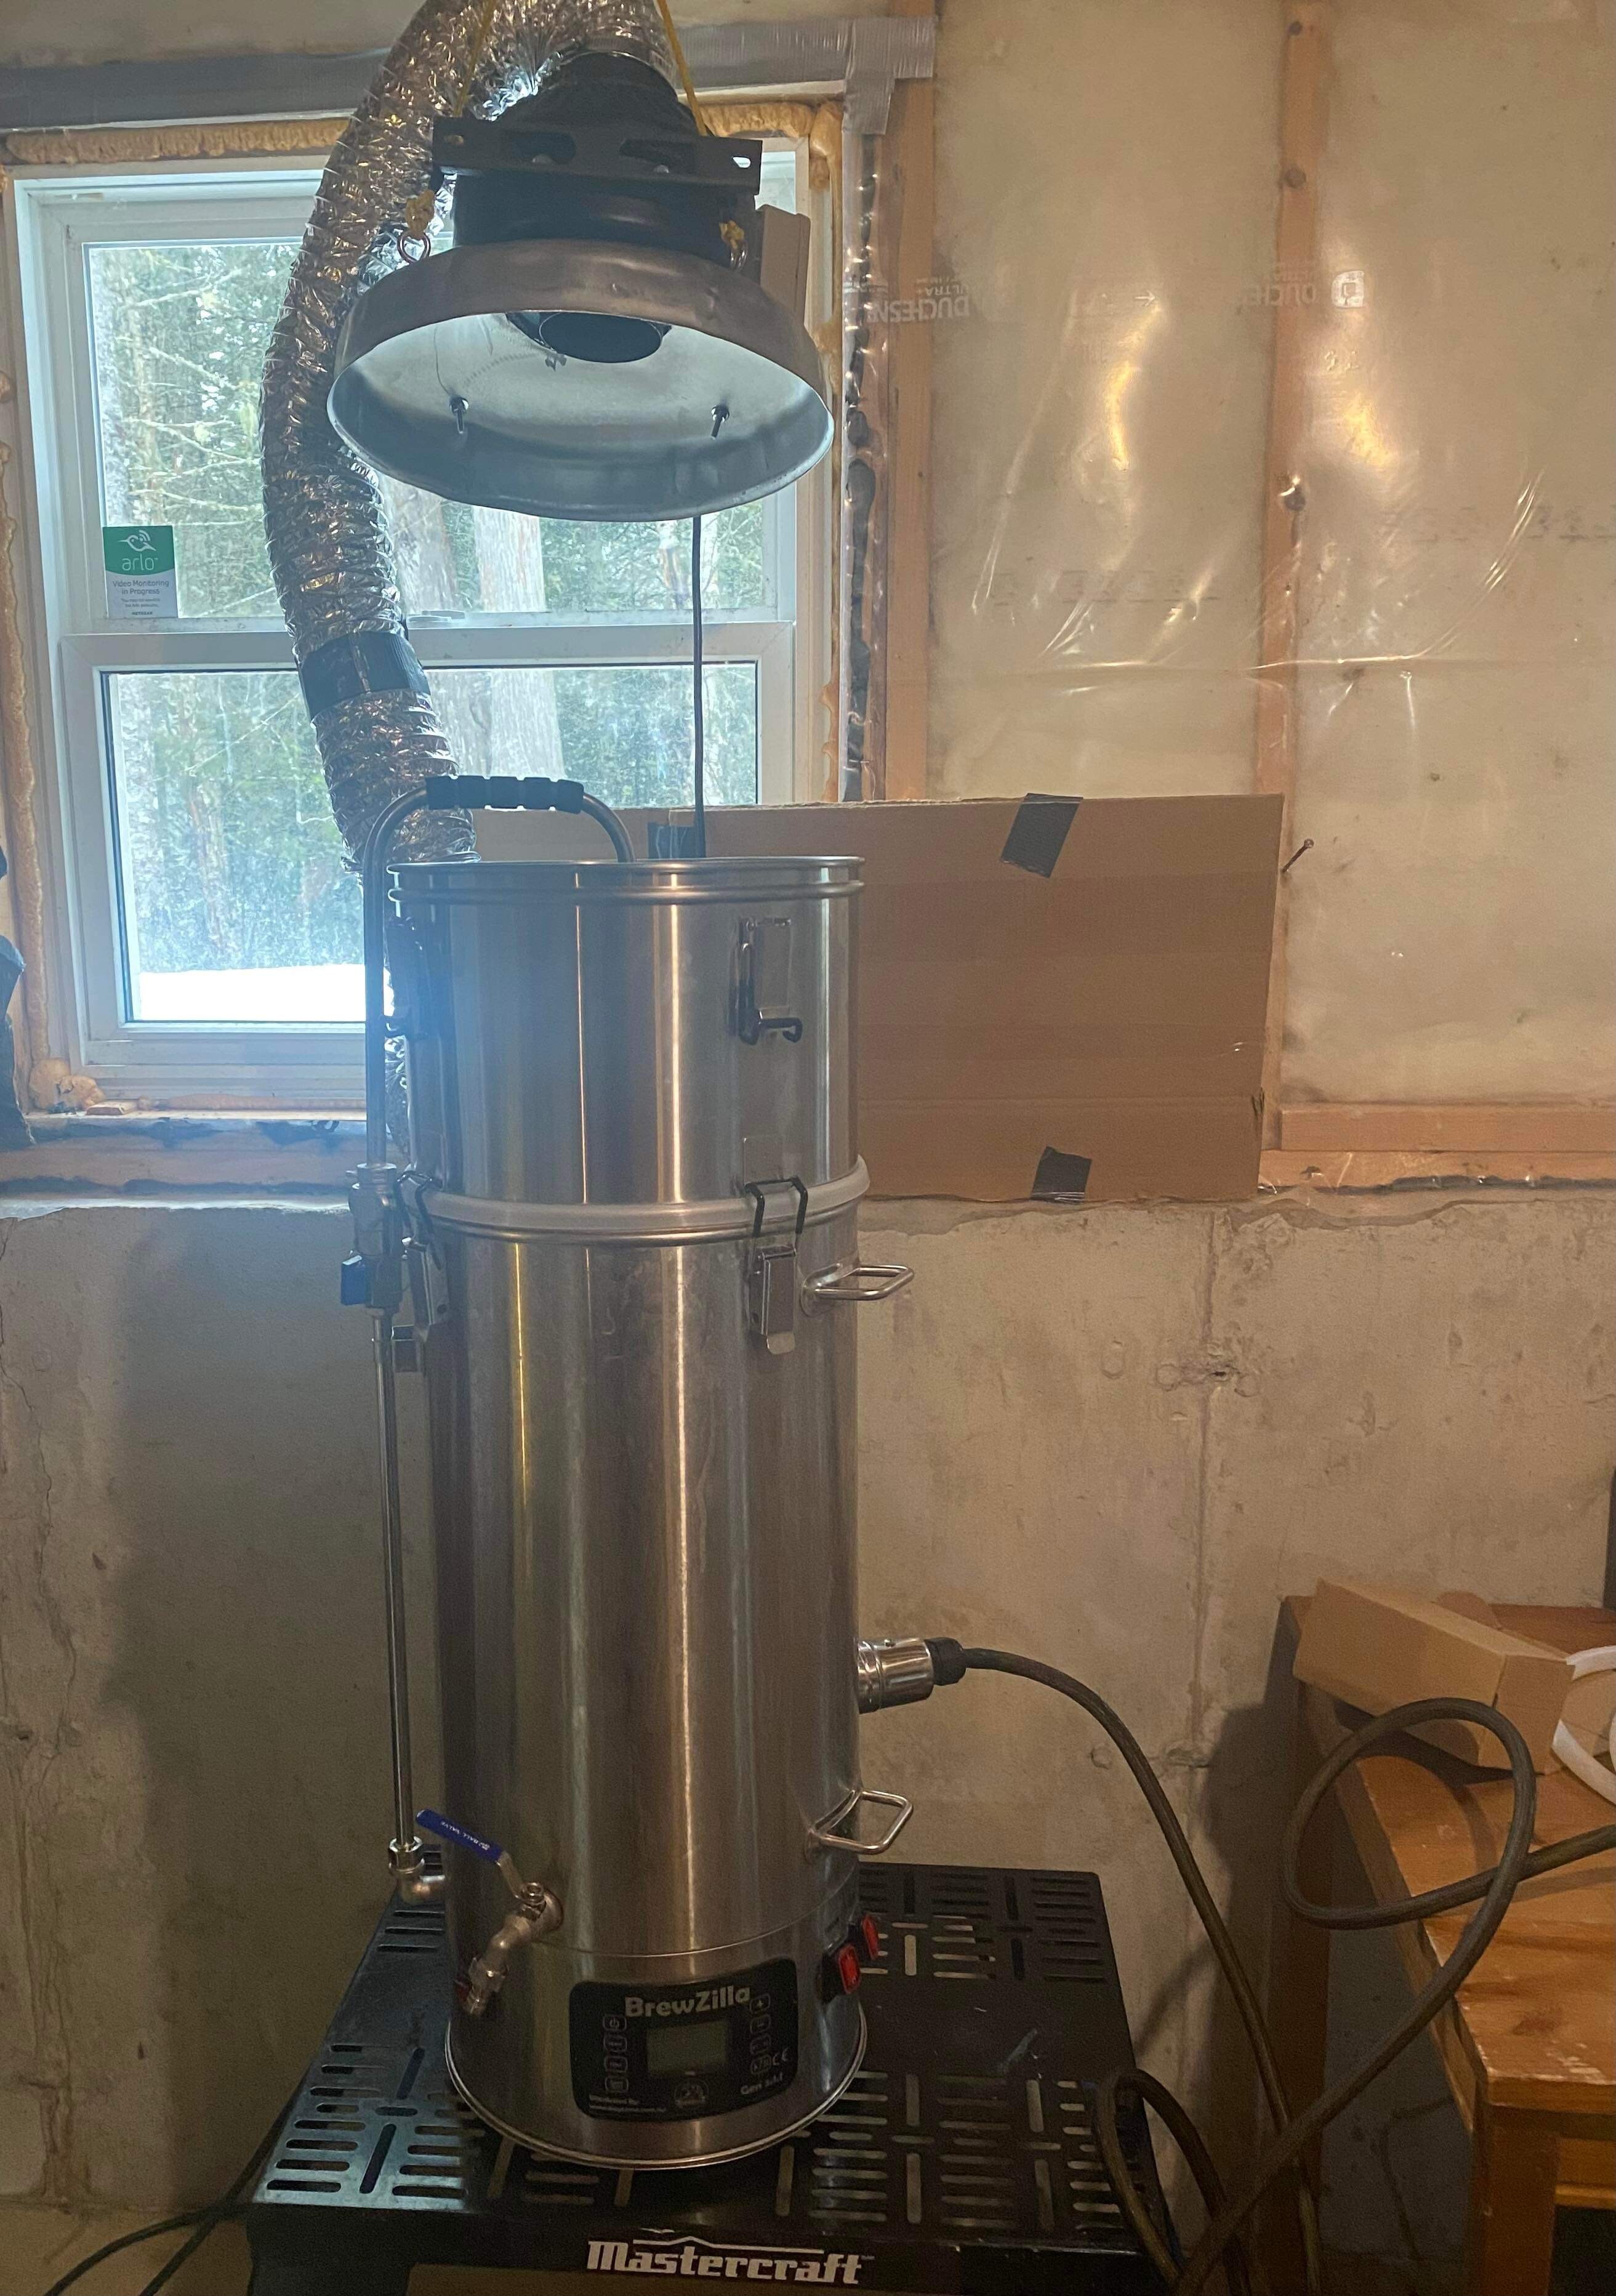
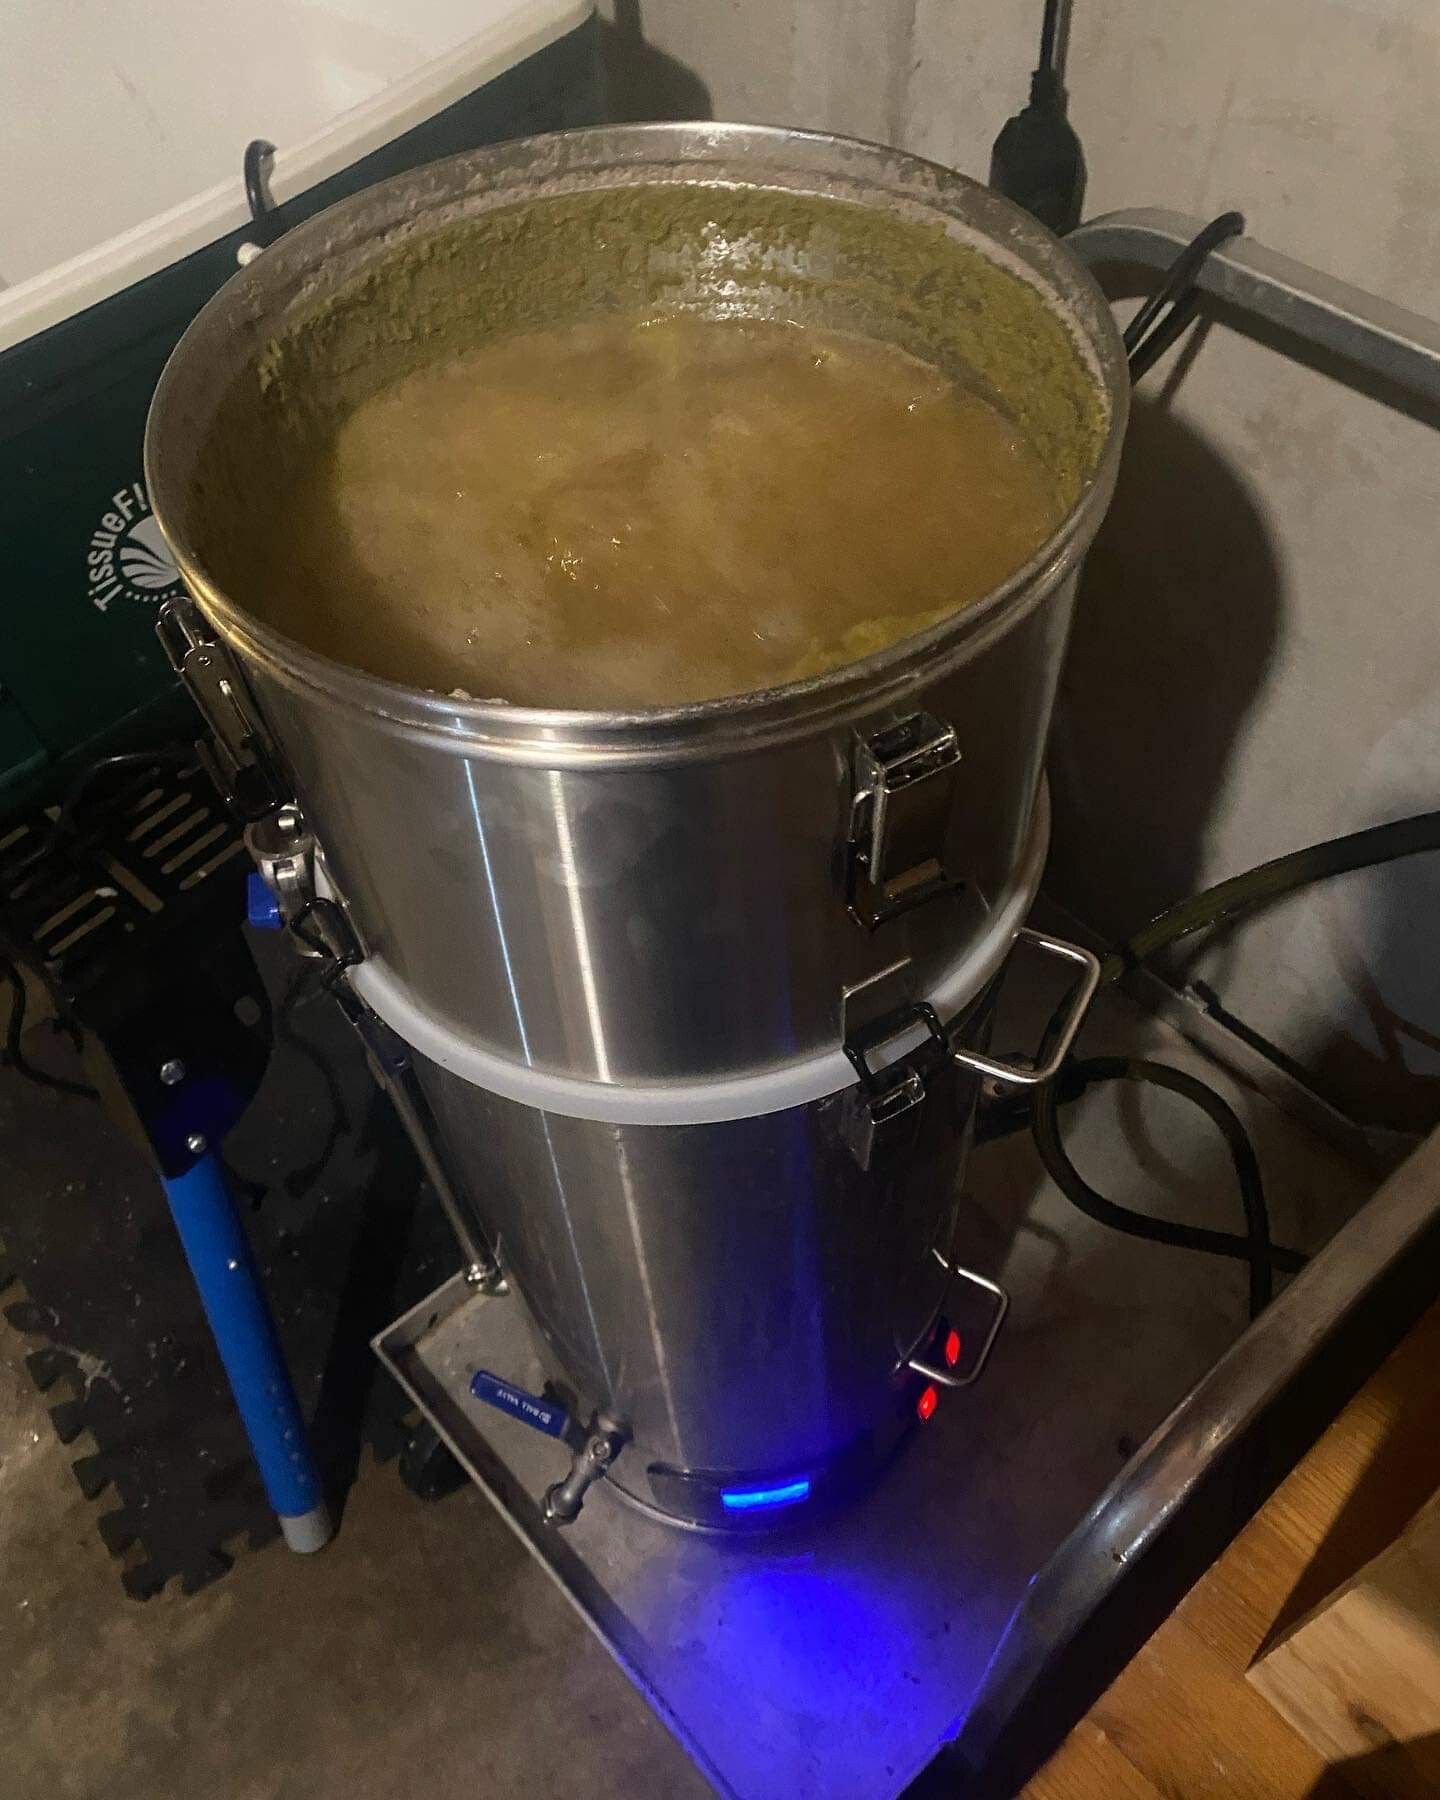
This is a 3.1.1 unit. I use the false bottom, the bottom screen of the malt pipe, the center pole, and topped with the grain bed screen. My false bottom collected a good bit of gunk, but during the boil this thing is scorching. I am going to assume that I need to turn off a burner. What else? And, normally I would only use PBW to clean but that would get the scorch loose.
You have the same unit as me. I boil with the 2500W elements. Sometimes I might start a 2 or 3 hour Barley Wine boil using the 3000W elements because I’ve got 35L boiling away. But after a while I back it off to the 2500W elements. I’ve never boiled with all the elements running, that’s too vigorous.
 
Not sure if this applies to you, but the manual says not to use both heating elements when the malt pipe is inserted.

My only other suggestion is that to only use the second heating element sparingly.

I would also inspect the bottom closely after it's clean to look for scratches or mis-alignments.
 
I don't have the bottom plate on the Guten 70 and just use the trub trapping collar on the bottom, but I never use 3000 watts usually about 30 percent with the lid on and the condenser and have not had problems. Can the brewzilla power be dialled back on the controller or only with the switches?
 
Scorching - again. Why am I scorching so bad?
I — and others —get that on the Mash & Boil. It was suggested to me in another thread a really fine crush can create very small particles that can burn on the bottom. I do crush very fine, although I use a BIAB in the malt pipe. Just a thought.
 
I — and others —get that on the Mash & Boil. It was suggested to me in another thread a really fine crush can create very small particles that can burn on the bottom. I do crush very fine, although I use a BIAB in the malt pipe. Just a thought.
That‘s a good point. Crushing too fine with the all in ones like the BrewZilla leads to lots of poor consequences, and this scorching may be another one. I crush at 1.1mm and have never seen a problem with my 65L BrewZilla.
 
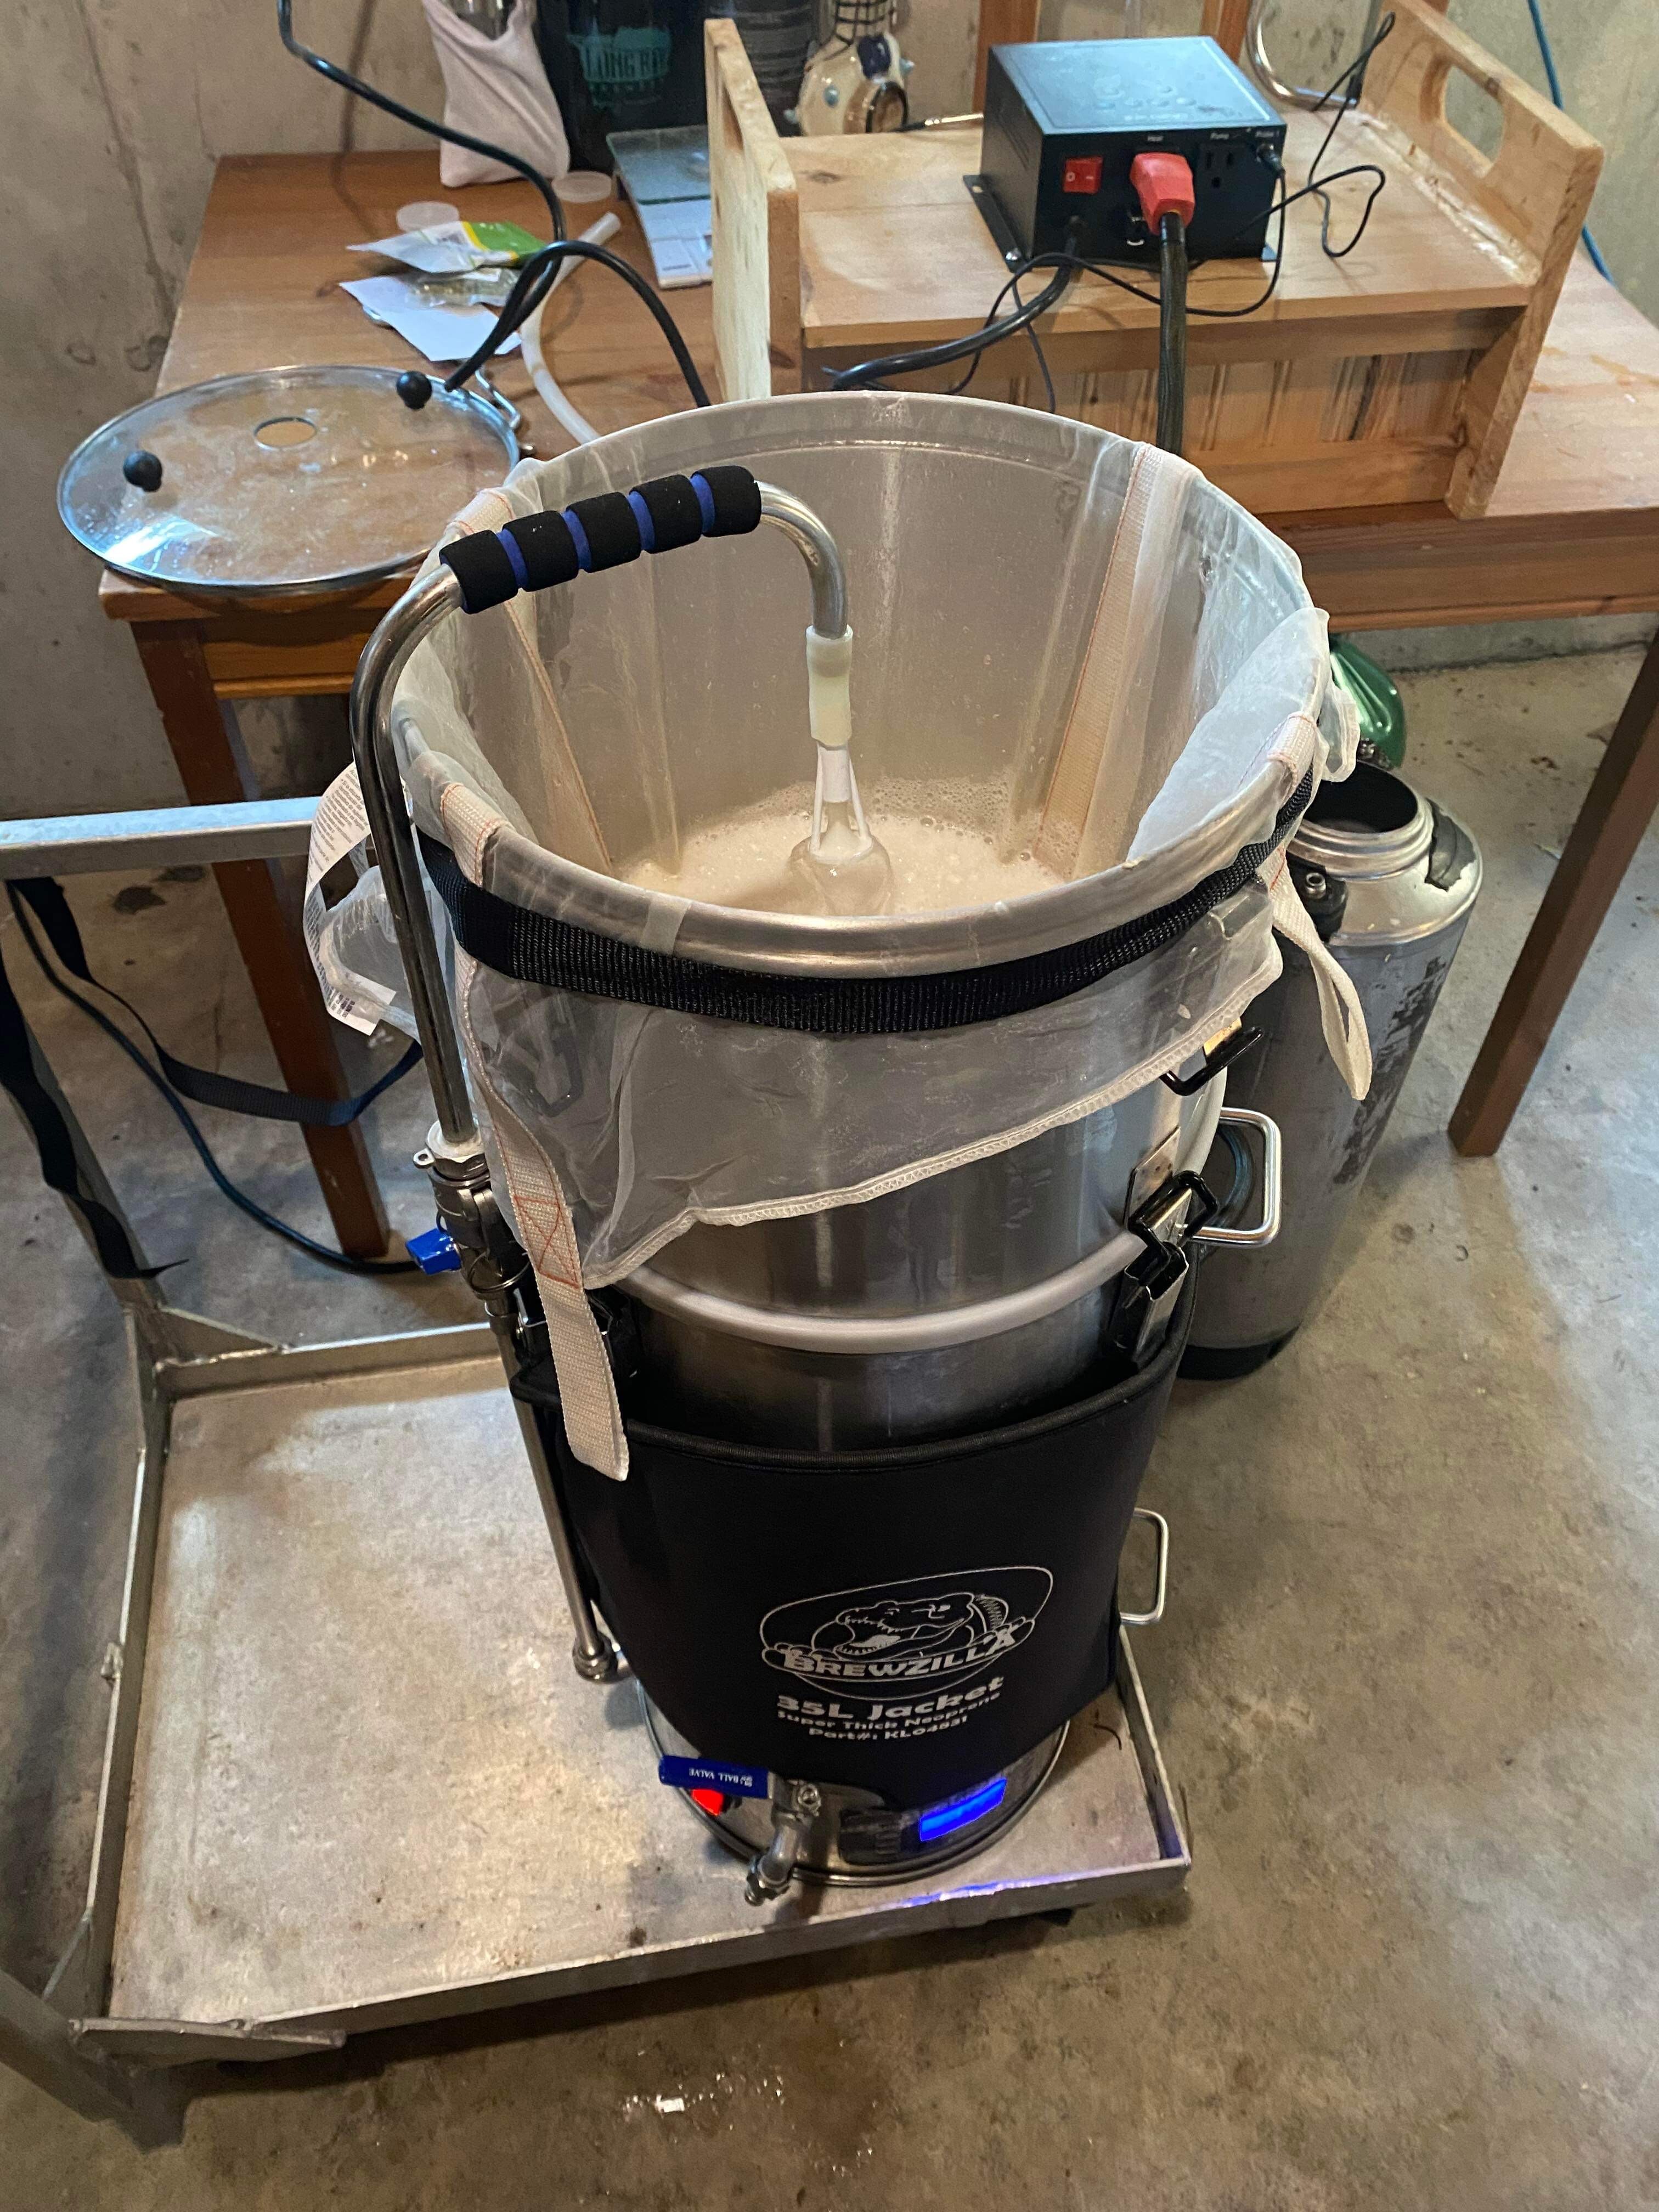
If fine crush is the culprit, then I will re-state my approach that I put a BIAB around the outside of the malt pipe (then pulled over the top of the brewzilla, above the clasps but over the handles). -It's a fail-safe in case the malt pipe loses containment, and if all goes well, you can then just toss in the hops with no need for a hop screen after removing the malt pipe. It would also be better at catching fine grain material than the screens alone.
 
"I just do not think that I "need" 5 gallons of a 11% ABV beer" ....... I just kegged 5 gallons on 11% beer last week......I feel judged.
That is funny!

For the 2021 Holiday season, I tapped a 5gal keg of Doppelbock I brewed last spring. It was fantastic and lovely, a veritable malt bomb, and it packed a punch at 10% ABV. I was also the ONLY person drinking from that keg as everyone else in the house thought it was too strong! People would try a pint and get shwacked like they had had a few pints of something else. I love a good, strong beer (I have a 8% DIPA on tap right now), just not too much of those, right?? I can have a couple/few pints of my American Wheat in an evening, but not more than one Doppelbock pint! I imagine the Wheatwine will be the same.

So, judge me, not you...
 
On the Aussie Homebrew website, KegLand confirmed that the new boiler extension, larger malt pipe, and recirculation arm extension could be used to increase the capacity of the Brewzilla (increasing the 35L by another 12L).

That's also about $150 of additional equipment (once it's even available in the States). So, definitely an argument to be made that you would be better off just saving the money to put towards a new one down the road (rather than upgrading an older unit).

https://aussiehomebrewer.com/threads/kegland-questions-and-answers.98306/post-1574557
 
Trarmer007 - I think we have the same (Brewzilla 3.1.1) I found a step by step guide that worked well for me during my 1st time using it. It does recommend turning off the smaller burner once you reach boil (step 28.)

Here's the link for that step by step: BrewZilla 3.1.1 - Brew Day Step by Step Instructions
Thanks - I left all three going. The step by is for the 35l. I’m gonna buy the jacket to limit the need for heat input and I may go with the Biab too. What I’m not going to do is spend hours working scorched trub off the bottom. Thanks all for the insight
 
Tried some new yesterday. After doughing in the grains, the liquid level was too high to remove the rubber stopped and replace it with the metal cone/drain in the middle.

Interesting issue. I install the metal cone/drain as soon as the malt pipe goes in before any grains are added. The robber stopper fits inside the cone nice and snugly and is easily removable after you have doughed in.
 
The Gen 4 35L & 65L are already available in Australia, and on the Aussie homebrewing site, they estimated it usually takes 6 months for products to get released in the US.

So I would guess mid-year (but supply and supply chains are really tough to predict at the moment).

Also, there is allegedly a 100L version getting released in Australia late this year.
 
Going to attempt a 10gal batch on my robobrew 35L, added a second element and extension. Going to use a bag with no malt pipe.
ehI0Uf.jpg
 
I drilled a hole and added a 1500w element in the dead place between the malt pipe and faults bottom, I used my robobrew mostly for distilling now. I can now use my inkbird controller. Also will boil 10g plus no problem.
 
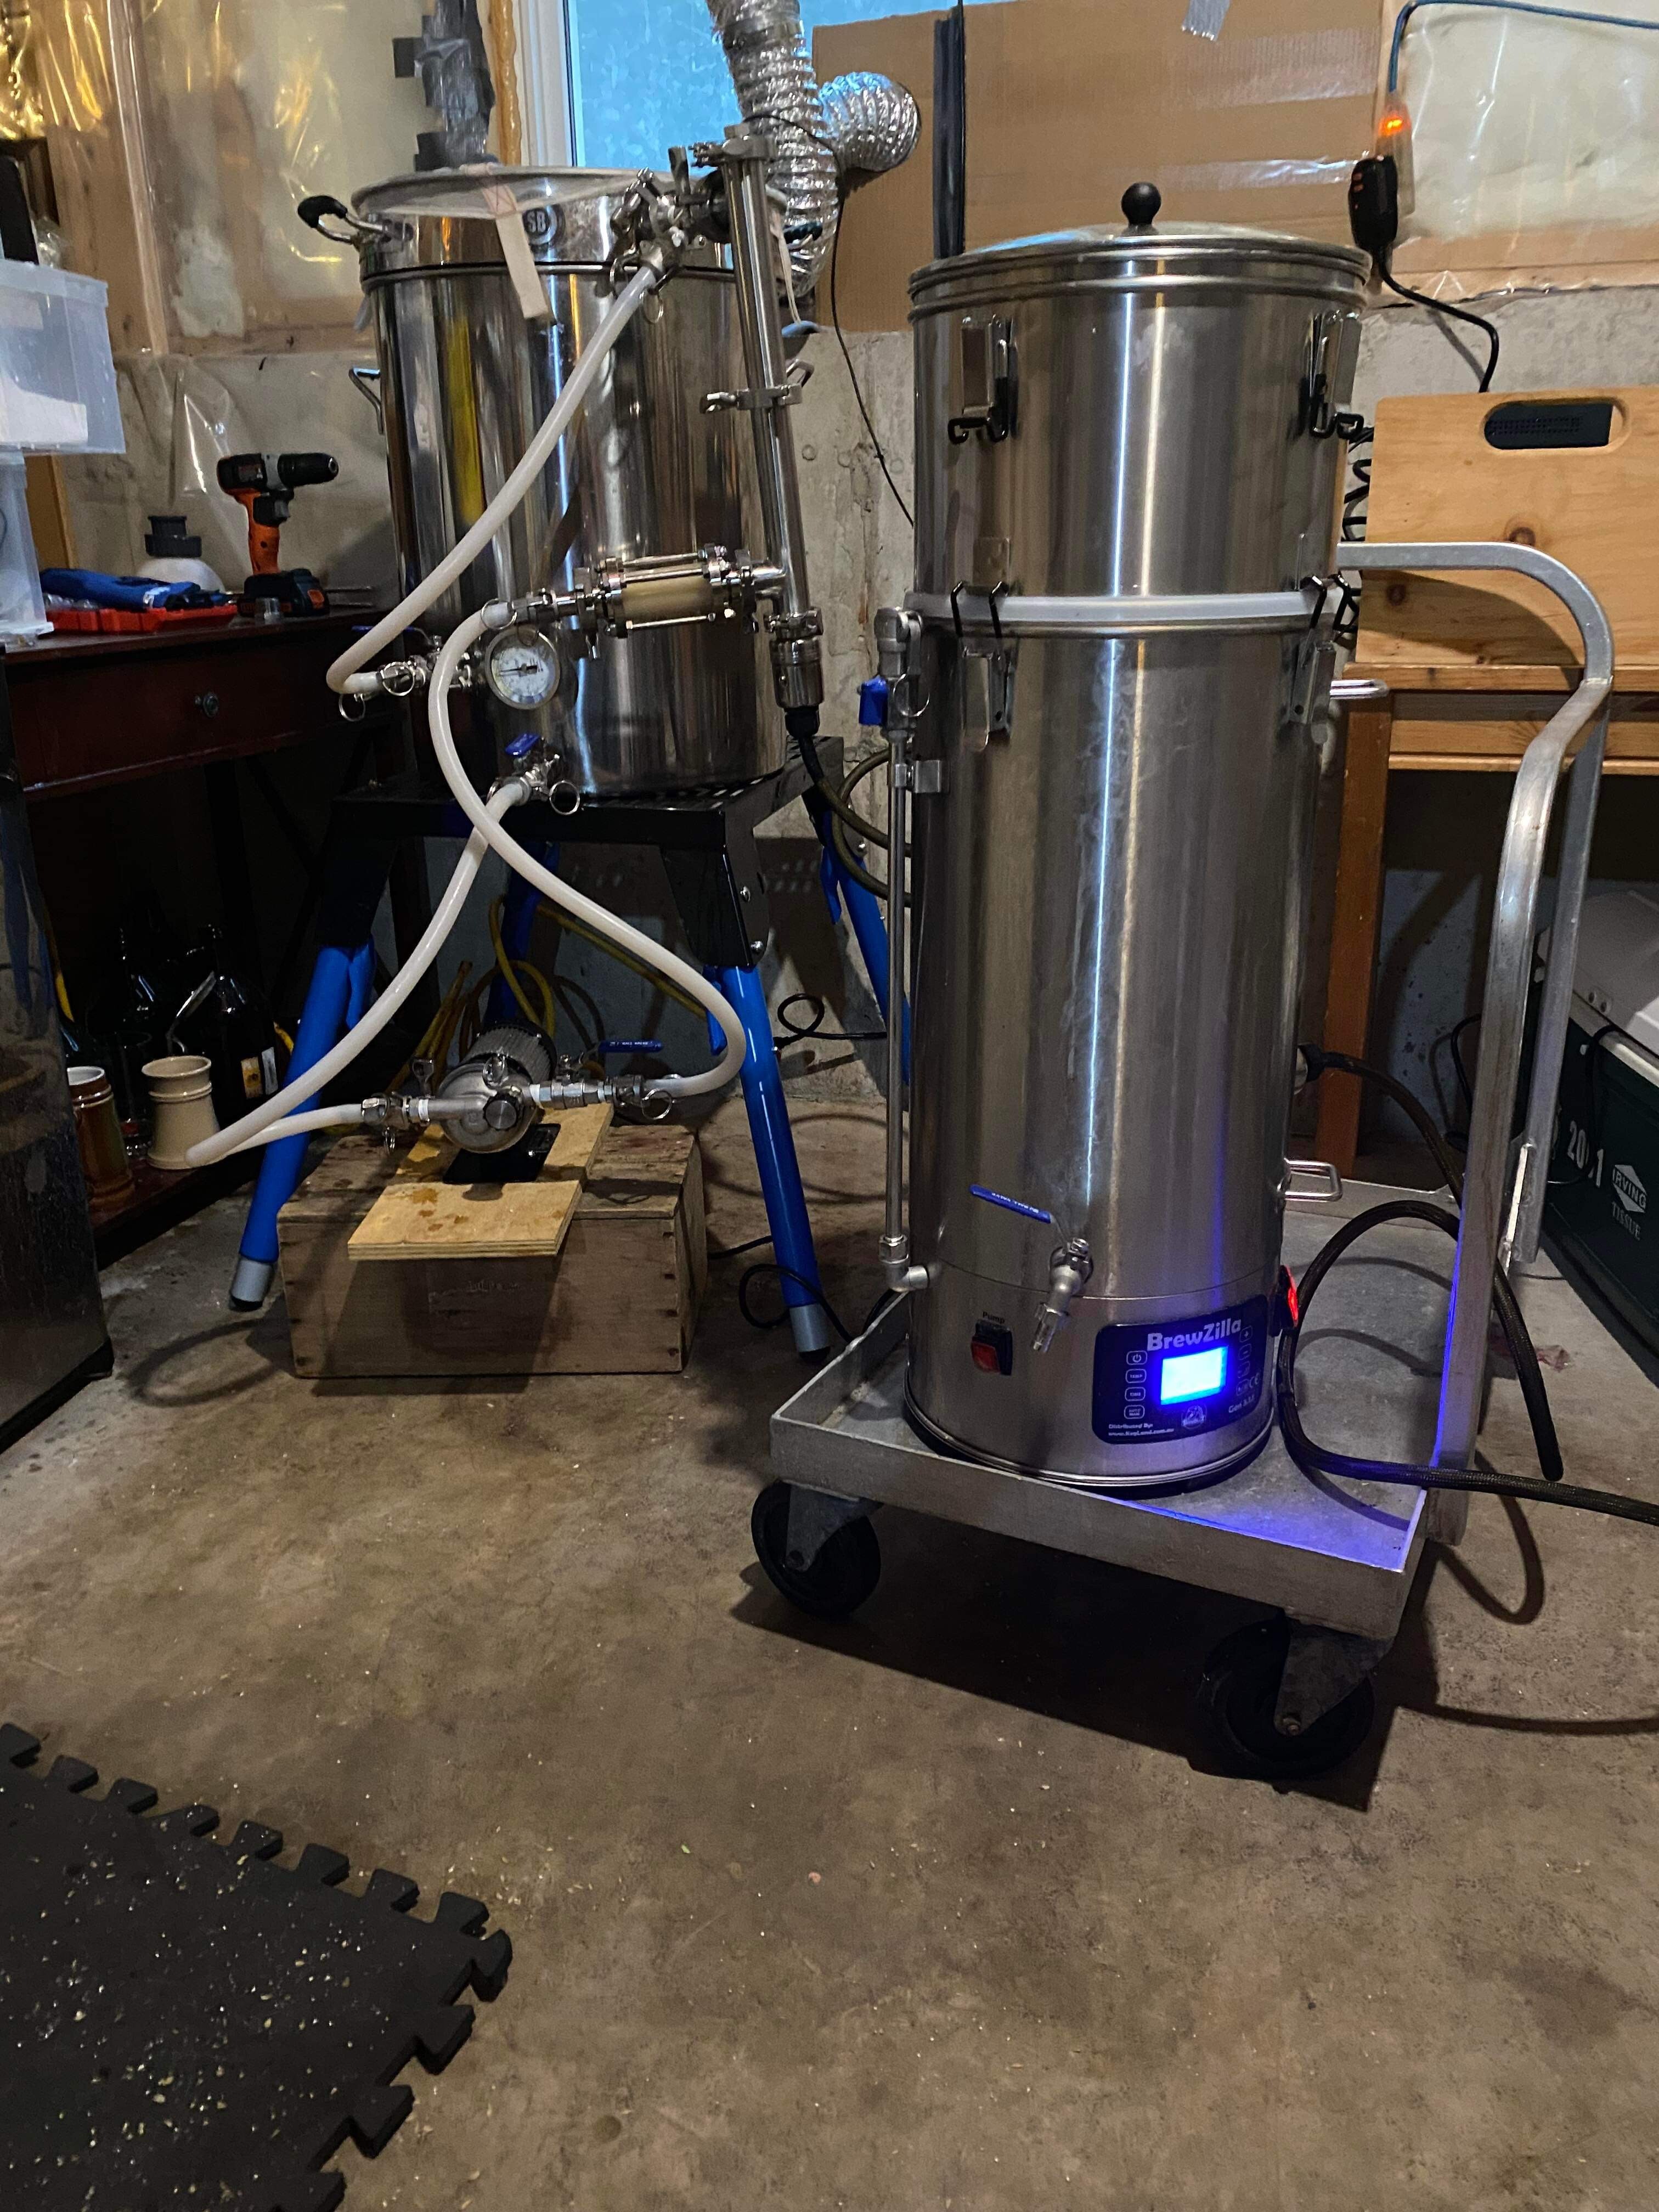
Ended up using the brewzilla as a HLT and boil kettle i mashed in biab setup I normally heat with propane. Can make 10gal indoors now.
kidC3O.jpg

RfTefy.jpg

 
Last edited:
Used 12lbs of grain, did a double crush ended up with 73% effeminacy. Made the brew day a little faster not having to sparge.
 
Kegland posted a youtube video for the Brewzilla 4.


Two notable things - (1) They already redesigned the new larger malt pipe to add a few inches of perforation along the bottom sides (so I wouldn't rush to buy the original extended malt pipe with no side perforation). & (2) The recirculation pump volume can now be controlled by the control pad (enter 15%, 55%, etc). So you don't have to just manually toggle the valve (and it will save your recirculation rate along with the rest of your brewing data to help recreate/adjust recipes later).

Otherwise, I just like getting a good look at the unit in a pretty lengthy (27 minute) video.
 
Last edited:
One advantage of not being in Aus, by the time the system is available to any of the rest of us it should already come with the new mash pipe!
 
FINALLY got to use the boil extender. I really liked it. Mashed as usual, and then added the boil extender after mash and sparge. Allowed me to totally walk away with peace of mind that it could not boil over. The liquid level is still below the bottom the extender, but now I cam just walk away for an hour.
 

Attachments

  • 87C09190-3C43-4A2F-9139-845F0885AB4D.jpeg
    87C09190-3C43-4A2F-9139-845F0885AB4D.jpeg
    1.3 MB · Views: 0
My brew day this past weekend went pretty smoothly.

But then I had an odd issue during clean-up. When I went to rinse and clean out the brewzilla, the pump would not start. I could hear it running but no liquid was getting pushed through.

It worked just fine during the brewing, and so I was starting to think through what could have happened in the interim. But then when the water level inside the brewzilla raised enough to touch the end of the recirculation tube, the water started pumping through as normal.

I'm guessing the extra bit of suction on the end of tube overcame whatever the problem was. Or maybe there simply needs to be a minimal level of water to provide enough downward pressure.

I have definitely used the the pump/recirc tube previously while cleaning without the water level reaching the bottom end of the recirc tube, and did not have this problem. So I'm still wondering what that initial problem was, but hopefully it is now resolved.
 
Last edited:
My brew day this past weekend went pretty smoothly.

But then I had an odd issue during clean-up. When I went to rinse and clean out the brewzilla, the pump would not start. I could hear it running but no liquid was getting pushed through.

It worked just fine during the brewing, and so I was starting to think through what could have happened in the interim. But then when the water level inside the brewzilla raised enough to touch the end of the recirculation tube, the water started pumping through as normal.

I'm guessing the extra bit of suction on the end of tube overcame whatever the problem was. Or maybe there simply needs to be a minimal level of water to provide enough downward pressure.

I have definitely used the the pump/recirc tube previously while cleaning without the water level reaching the bottom end of the recirc tube, and did not have this problem. So I'm still wondering what that initial problem was, but hopefully it is now resolved.
Hopefully it was just a simple situation of being airlocked. The pumps are a bit of a hassle to remove for cleaning/inspection but overall very doable.
 
Maybe the liquid column height is marginal for the pump.
As you say worked in past, so remove collar and use original recirculating arm if practical.
Try blocking end of recirc pump tube with finger and that can resolve airlock as well.
 
Total noob question here...

I'm going to be using my BrewZilla 65l for the first time and want to brew my favorite beer...and don't want to mess it up. Using Brewfather to convert my recipe from my old setup and volume to my new setup and volume, it's calling for 8.37 gallons of mash water, 2.02 gallons of sparge, with 9.4 gallons mash volume. Is the Brewzilla capable of these quantities? converting 65l to gallons gives me a little over 17 gallons...but is that true capacity?

I know that these are really dumb questions...but my batch volume goal is 7 gallons into the fermenter and I want to be certain.
 
I've got a guten 70 and the other week boiled around 50 litres for a double batch, coped fine with that and could easily have got another 7 or 8 litres.
With the old robobrew 35 I did boil it very watchfully with 30 litres in it.

I regularly do 25 litre batches to fermenter with it no problems at all. It will be a breeze even if you were planning a 1.100 batch of that size.
 
The two things to watch out for in larger volume brewing in the brewzilla is making sure the grains don't rise high enough to reach the holes in the side of the malt pipe and then just not boiling over during the boil. In my experience with the 35L, boiling over is not a problem with the lid off, and I can get 7 gallons of wort out of the 35L pretty comfortably. -It's the grain bill that's a bit trickier, but when in doubt, I just do a reiterated (or two-step) mash.
 
Last edited:
17 gallons...but is that true capacity?
17 gallons is the true capacity to boil. The capacity to mash is lower due to the presence of the malt pipe and its handle holes, as well as the false bottom.

7 gallons into the fermenter shouldn't even come close to pushing the limits of the 65L unit, unless your OG is super high and you need a ton of grain. I'm brewing this weekend and the plan is to put 11gal into the fermenter. With 19lb grain and a strike volume of 9.5gal (and the resulting liquor:grist ratio being 1.95 qt/lb, 1.40 qt/lb functionally (above the false bottom)), that's about 42L (11 gal) of mash space.

I've figured out 58L (15.3 gal) mash space is the max in this unit (with the malt pipe, overflow return removed), regardless of liquor:grist ratio. You could go higher if you remove the malt pipe and brew BIAB. You might already know this, but use the "Can I Mash It" feature here to determine the volume necessary to mash. Green Bay Rackers--Mash Calculators
 
Last edited:
Maybe everyone else already knew this, but the rubber cap that fits over the center metal tube inside the malt pipe is the same rubber cap that kegland sells as covers for taps. -My brewzilla and kegerator taps now have interchangeable caps in a pinch.

- I also discovered this weekend that the rubber cap also fits over the end of the recirc tube, in case you need that to contain dripping. (I used it to cover the tube while I left the wort to no-chill).
 
Good spot re the rubber cap. I use the fine mesh filter that was inside a bodum teapot. Lets the liquid through but keeps the grains back. I rarely max out my unit though.
 
I’ve been using the hop spider pretty religiously. I’m worried that it’s screen is so tight that I’m leaving flavor and aroma behind.
I've got a 35L on the way and have been thoroughly reading through this thread. I have been extract brewing for a couple of years and have settled in using a 300 micron hop spider. I am thinking about ordering a larger spider to use in my BZ when it arrives.

I see a couple of conflicting things about hop spiders, so I thought I might ask what the consensus is.

1) Some folks don't like them due to perceived or real under-utilization of the hops.
2) Some other folks say that after 15-20 minutes all the oils are pulled out of the hops and they are basically inert at that point.

What seems to be the consensus on which school of thought is the closet to correct?

If #1, it would seem that directing the output of the pump into the spider would help with the problem, but if #2 is correct then it would be moot.

Anyway, I look forward to any input on this, and this is a very informative thread (I still have about 20 pages to go)

Lon
 
Back
Top