Ready or Not E-BIAB Here I Come....

Homebrew Talk

Help Support Homebrew Talk:

This site may earn a commission from merchant affiliate links, including eBay, Amazon, and others.
Thanks!

I brew in the garage (SWMBO) will not allow me in the kitchen. As such, I am going to add a new circuit to the main panel regardless. Guess I will probably add 50 amp breaker, buy a 50-60 amp w/ GFI Spa Panel and run 30 amp wire from there to where I will brew, which is about 30 feet away.

The wiring you use should accommodate the full load of the circuit. If you have a 30 amp breaker or GFCI then 10 AWG is appropriate. If you have a 50 amp breaker then you need to use 6 AWG wire. The breaker protects the wiring and you don't want the wiring to be the "fuse".
 
Great thong about these switches is you can pop them off any time if the wiring is getting to tight or crowded.
DSC00014.jpg


Wire to feed the cooling fan transformer is connected to the PID switch so it will always be on when the PID is on.
DSC00001.jpg


Getting hard to tell what is what. Wiring to the pump switch done.
DSC00002.jpg


The PID wired up like I want. The alarm has a hot jumper going from #10 to #13. A jumper from #14 to #1 will make sure I can use the one alarm on the high and low perimeters.
DSC00002.jpg


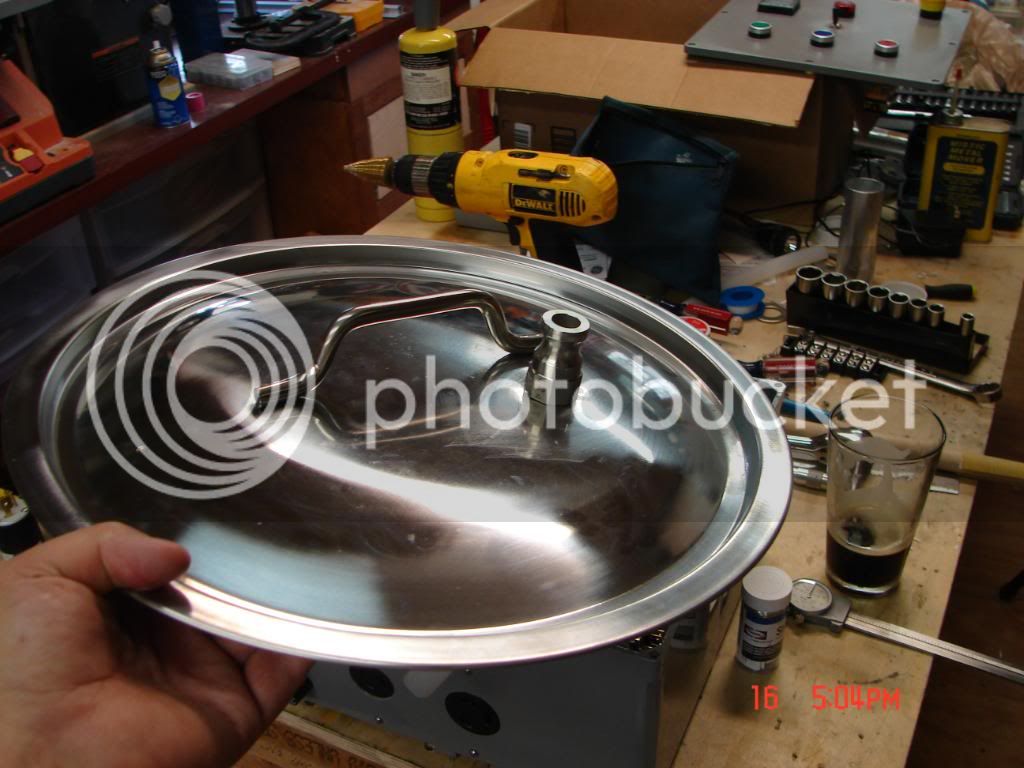
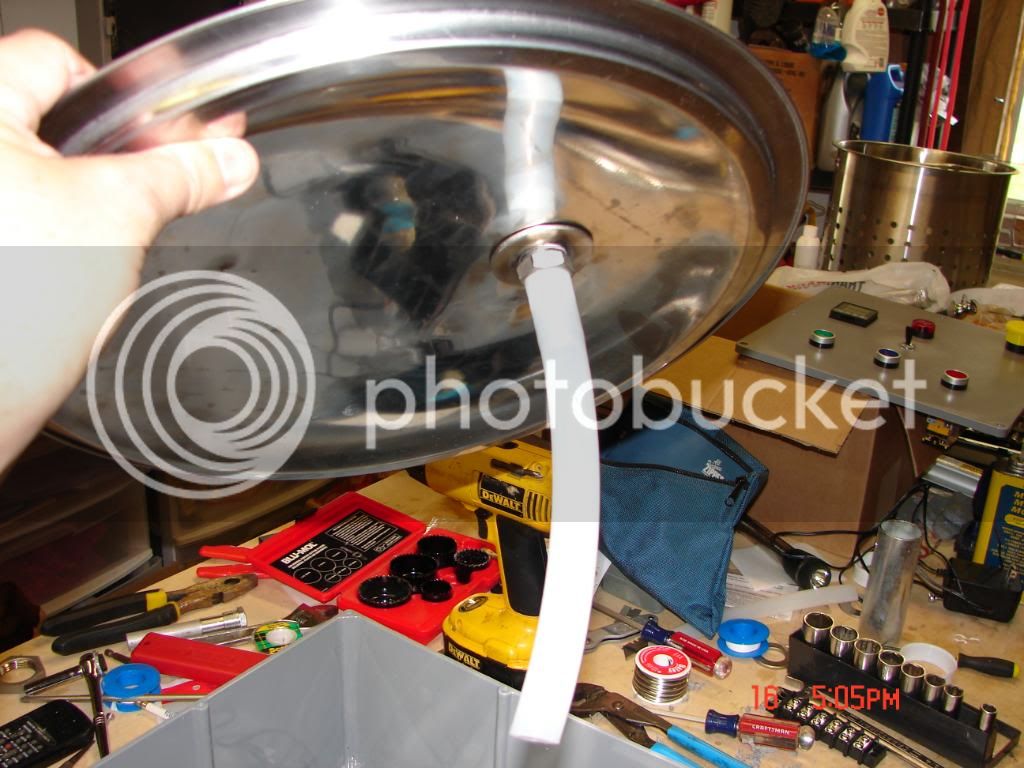
The lid is done.
DSC00004.jpg


Lid organized and zip tied.
DSC00009.jpg


Inside the case done.
DSC00006.jpg


Case cleaned up and zip tied.
DSC00011.jpg

DSC00001.jpg


I have a question about how you have the alarm wired. First you show it wired with jumpers to use the alarm on high and low perimeters and then you show it wired differently on the next photo. Which way did you end up wiring the alarm? Is there a reason you removed the jumpers?
 
I have collected all the parts and am ready to wire it up. For some reason I can't see the pics anymore. Awesome build, and was going to use the pics as a reference with one of Pj diagrams. Have the pics been removed?
 
I have collected all the parts and am ready to wire it up. For some reason I can't see the pics anymore. Awesome build, and was going to use the pics as a reference with one of Pj diagrams. Have the pics been removed?

So sorry, I reorganized my Photobucket files and the web addresses are corrupted. I will fix A.S.A.P.
 
Subscribed! Great write up! I feel much better about purchasing my parts and wiring everything up!
 
The only thing I have changed since the original build is I replaced the old sight glass with the new heavier version from BrewHardware and replaced the 1/2" hose barb (pickup tube) with a 5/8" hose barb. It has helped reduce the cavitation to almost zero.
After a year of use all is still working as it did from day one. I had considered making the sight glass outlet and the spigot outlet a mechanical (solder) connection but they have shown no sign of weakness or fatigue. The white silicone gaskets spread out to about twice their size.
I am still using the same original bag I made. The nylon voile is extremely tough to be so thin and frilly.
All in all everything is still going strong.
 
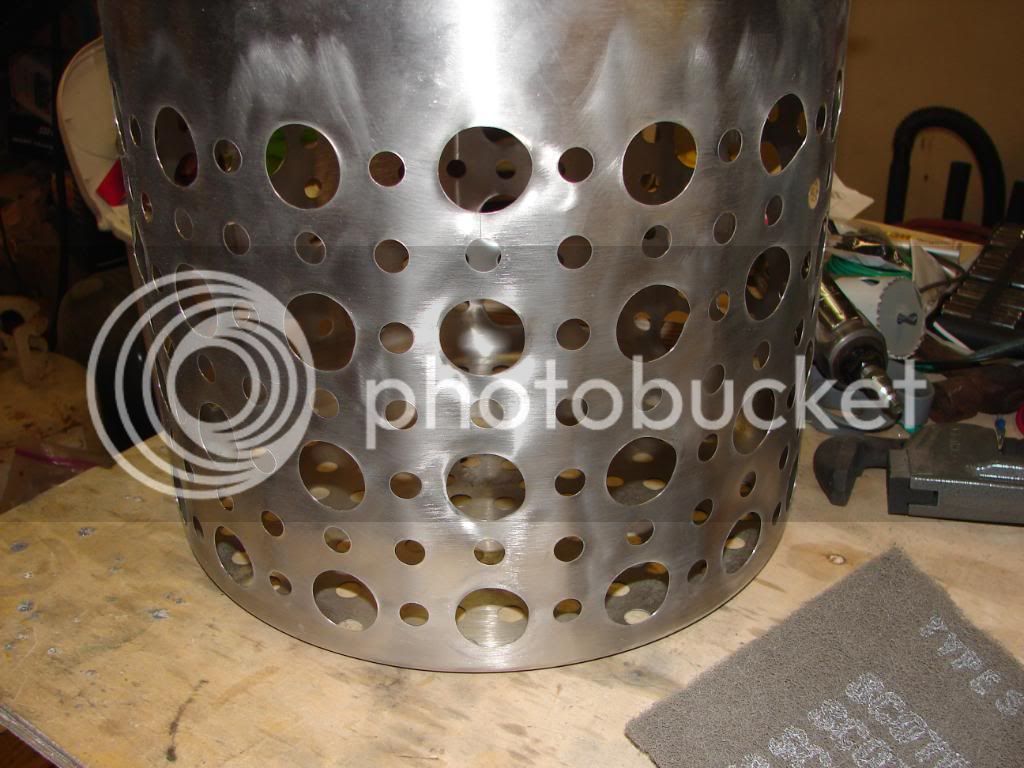
I'm punching holes in my basket right this second.. have you found the "every other hole" to work out well enough? Do you think fewer holes would work? More holes?

Cheers!
 
As many as you can get without significantly weakening the basket. Just every other hole until you get all the way around. You may have an odd section where the holes don't work out evenly but that won't matter. I will get a photo of mine when I get home. I went back and put more holes after the original fabrication.
 
I spaced out my holes a little bit more... I've got the 15.5 gallon stainless Bayou Classic.. used my 1-1/4" Greenlee.. but if I need more holes, no problem making more.

Great build.
 
That works. The way you have them spaced you can add many more in the future if needed.
That was my thought as well. I'm also most likely going to use a stainless mesh "bucket filter" instead of a more traditional bag. I figure that if the filter is slightly smaller than the basket that I should have very few drainage issues..

It'll be an experiment... And a good excuse to brew many batches.. ;-)

I'm very appreciative of your build.. It's always nice to get a build idea, do a quick search here and find someone has already done the hard work.. :)
 
Here is what mine looked like at the time of the build.
DSC00011.jpg


This what it looks like now.
20130403_171751_zpsdcd952b7.jpg


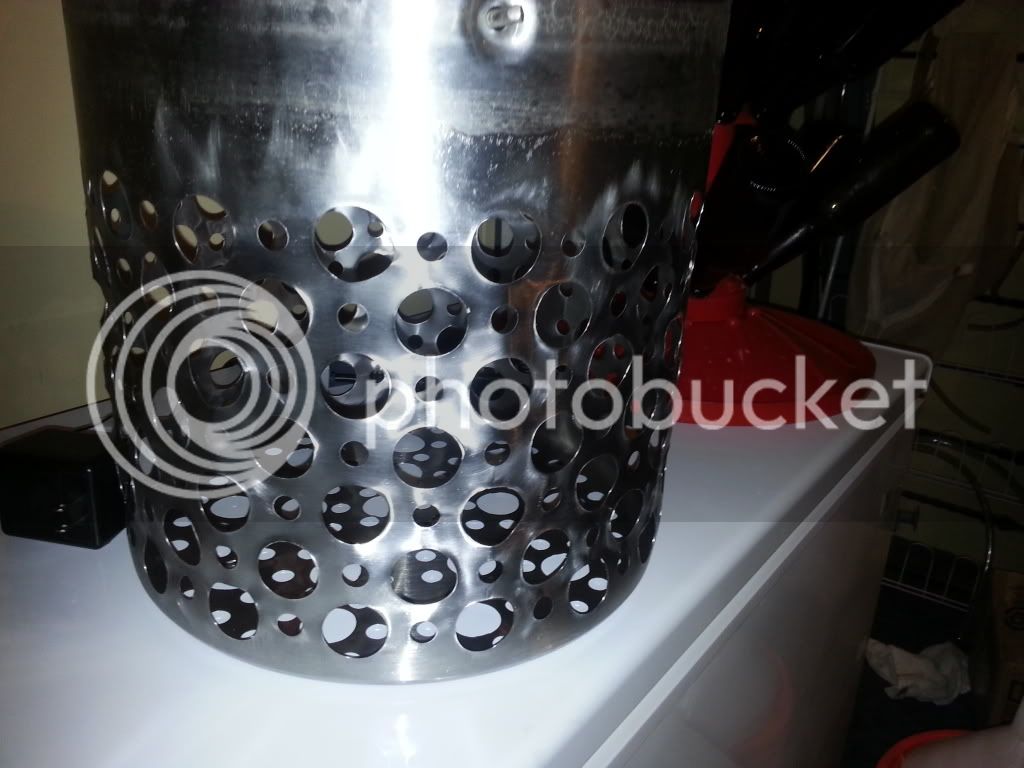
At first I wasn't satisfied with the flow I so I open more holes. It helped a little but it will still flow pretty slow on any recipe that has wheat in the grain bill. It took me a while to realize that the flow needed to be slow anyway.
On the flip side, I brewed a red ale the other day and I could leave the valve wide open. Small grain bills will flow like there is nothing in there but for large grain bills you have to choke it off a bit or you will dry fire the element and end up with wort all over the floor.

brewmcq, I hope you will post pictures or do a thread on your stainless bucket filter. That is going to leave a huge dent in your wallet. I considered making a SS mesh filter but the cost was too prohibitive for my blood. pressure.
 
brewmcq, I hope you will post pictures or do a thread on your stainless bucket filter. That is going to leave a huge dent in your wallet. I considered making a SS mesh filter but the cost was too prohibitive for my blood. pressure.

From what I understand, Chad at Arbor Fabricating has spent the past year busting his hump to help and cater to the brewing community.. he enjoys new and challenging projects and seems to be a good dude to work with... and his stuff is top notch at very good prices.. I'm going to be in touch with him in the next month or so to see what we can come up with for a solution... yeah, it'll be spendy, but I think it'll be more than worth it..

I'll definitely post updates, pix, vids, whatever.. but I'll stop hijacking your thread with it. ;-)

Cheers!

Jon
 
<snip> It took me a while to realize that the flow needed to be slow anyway.
<snip>Small grain bills will flow like there is nothing in there but for large grain bills you have to choke it off a bit or you will dry fire the element and end up with wort all over the floor.

Blake,

The 4-way argument: basket vs no basket coupled with recirculate vs no recirc has confused me a bit. That's probably why I haven't actually purchased a kettle to electrify.

I'm wondering - in the case of the small grain bill you mentioned - if much of the wort is simply flowing across the top of your grain bed, out the basket holes above the grain and simply flowing down around the outside of the grain, flowing across the element, then back up. While it doesn't provide a continuous sparge (which isn't really a part of the "true" BIAB anyway) I would think it would still serve to maintain mash temps.

I'm trying to decide between purchasing either (a) a Bayou Classic 15 gallon kettle with basket and spigot or (b) a 15 gallon kettle from Spike Brewing that has a spigot and to which he's welded a 1" NPS coupler for an element. Option "B" would simplify element installation.

Thanks,
Keith
 
After doing this for over a year I have my system down to what works for me.
I still use a basket because I discovered that it doesn't restrict the flow like I thought it did. (I opened half of the holes in my basket to to a larger diameter)
Some people are satisfied with just using a bag only but I like using the basket, along with the bag, because it's easier to handle the heavy wet grain once mashing is over. I just pull the basket up and it will sit tilt it on top of the kettle. From there I can squeeze the bag to get all of the wort.
Keep in mind when mashing with a recirculating BIAB system you aren't held to keeping the top closed like a cooler mashtun. Since you are recirculation the whole time you can stir the mash, if you wish, every once in a while to keep consistency without losing your target mash temperature.
If you keep the flow from the pump choked down to a dribble you will get better flow through the grain anyway. I do this on all my mashes now no matter what size grain bill I have.

The Spike Brewing kettle will save you money from the get go because you don't have to buy any knockout punches. No soldering or weldless fittings to mess with. It will cut down considerably on the build time as well.
BTW, the way I built the element box on the kettle was the right way to go. It has held up with no leaks what so ever.
 
Aubiecat, is this build still working for you? Have you had to replace anything? I'm curious about the SSR. Seems like a lot of other folks are buying from Auber, but your Amazon purchase is about half the price. Definitely a fan of saving some cash.
 
Aubiecat, is this build still working for you? Have you had to replace anything? I'm curious about the SSR. Seems like a lot of other folks are buying from Auber, but your Amazon purchase is about half the price. Definitely a fan of saving some cash.

Sorry it took forever to reply. I don't remember getting a notice of a reply to the build thread.
Everything electrically is still the same and the system as a whole is still he same. The SSR I bought from Amazon is still in perfect working order.
The only thing I had to replace was the sight glass because someone grabbed and it cracked. :drunk:

I am now acquiring parts to turn it into a RaspberryPi controlled system so I can be even more lazy during brewing than before, if that is possible. :mug:
Let me know how the raspberry pi option works out, and how much of your existing build as described in this thread can be used (or not) using that option. I was looking at the Brew Boss kit for just the controller and thought maybe that would be an option - which makes me cringe because I am almost done with the build as described in your thread. Already thinking about "next" :eek:

Here's the kit to which I am referring - Brew Boss Brain DIY Kit

Has anyone used their system, and if so what were your thoughts? Seemed to get good reviews and to your point would allow you to be more lazy. Or :drunk: whichever you prefer!
 
Ah don't sweat it. Get a bunch of brew time on your new built system. It won't take long for you to decide what you do or don't want to do with your brewing process in the future.
I looked at the Brew Boss system and that is a good possible direction to go. I've been looking at RasPiBrew. I like that system because it would allow me to have the option of monitoring/controlling the system from a web browser or my Android phone. I like the idea of building something from scratch, have it come alive and work like it should. I want it to not only control my brewing rig but monitor and run my fermentation cabinets as well.
I haven't yet decided if I need a centrally placed unit or two separate units since I brew in the kitchen but my fermentation area is on the other end of the house.
I will also be adding one or two I.P. cams to the mix so I can visually monitor everything. They are relatively cheap and very easy to set up.
I also do a lot of sous vide cooking and I can use the same interface for that.
 
Sweet! I am the same. About the time something works as it should I get bored then have to "break" or otherwise improve it.


Sent from my iPhone using Home Brew
 
Hi terrific job, congratulations.
I am new to brewing, have done two batches of BIAB until now but one question occurred me.
The flow of wort shouldn't pass thru the whole height of the grains, and if so, should just the bottom be punched?
thanks for the beautiful work and sharing all this.
 
Hi terrific job, congratulations.
I am new to brewing, have done two batches of BIAB until now but one question occurred me.
The flow of wort shouldn't pass thru the whole height of the grains, and if so, should just the bottom be punched?
thanks for the beautiful work and sharing all this.

Thanks Lisca. The way I did the basket is more of a personal preference. I opened the holes to increase the overall flow and I have had good success with it.
 
Wow, this thread is very inspiring. I can only dream my e-biab is a fraction as nice as yours!
 
Freaking awesome. Thanks for posting this build. It is what I followed for my system. Ran it for the first time last night.

A perfect example of what is so great about the internet — sharing knowledge such as this.
 
Glad you liked the build thread and it helped you on your project. There is nothing like being able to build your own system and watching it come to life to brew perfectly great beer for you.
My system is still running BTW.
 
Like "lardlad" I am using your build as a reference for my eBIAB build...thank you, thank you for so much detail on the control panel build!!

I did send you a PM with some questions regarding the electrical... I hope you will have time to help a fellow brewer out!

Thanks again for this thread!!

Don
 
I'm in process of punching out my Bayou Classic fry basket for my eBIAB build..

I'm trying to decide if I should punch out the holes to 1" or 1.25" ...

I see some say they punched out to 1.25", but that seems like it would not leave much meat on the bone so to speak, between all the holes for the structure of the basket...

I'm not sure if you're talking about electrical conduit size (punch size) or the actual hole size... actual hole size of the 1" punch is 1.36" and actual hole size of the 1.25" punch is 1.7"

Any thoughts if there is much difference efficiency wise, staying with 1" as opposed to 1.25"..

I'd like to see pictures of baskets at each size.. especially the 1.25" versions...
 
Back
Top