E-volution, yep I went electric... mostly!

Homebrew Talk - Beer, Wine, Mead, & Cider Brewing Discussion Forum

Help Support Homebrew Talk - Beer, Wine, Mead, & Cider Brewing Discussion Forum:

This site may earn a commission from merchant affiliate links, including eBay, Amazon, and others.

WortMonger

"Whatcha doin' in my waters?"
HBT Supporter
Joined
Nov 27, 2006
Messages
3,160
Reaction score
62
Location
Edmond, OK
First, let me say is good to be back and have the time to write again. I missed it, but I have more time for the hobby and/so have more time to share.

I love projects, and I have been racking my brain for years watching and wondering about e-brewing. Now almost everywhere I look, it seems to me people have turned to electric mashing/brewing/biab-ish combo-type setups for convenience and control. Well, I have evolved! I will still do single infusion brews on my new setup, but now I will have the ability of "hopefully" 100% controlling step infusion mashes. (I haven't bet it all on that horse, as there are many variables for external wort heating devices. Mine I would think is no different, but now...I get to have fun experimenting and trying it out numerous ways to see how capable it is.) However, the intention of this build is to control finer tuned temperature ramps with near boiling water infusions. I'm 99% confident it can handle this task. There are multiple reasons I want to brew step infusions now, but I couldn't see the point doing the whole ramp with a 120vac element in a rims tube, or recirculating through a herms tube. Reading about them only mind you, they all took too long IMHO and so, for my brewery I chose manually adding boiling additions and focused on "over-doing" control. I'll layout some pics and hopefully explain how my hybrid setup works.
20230429_093916.jpg

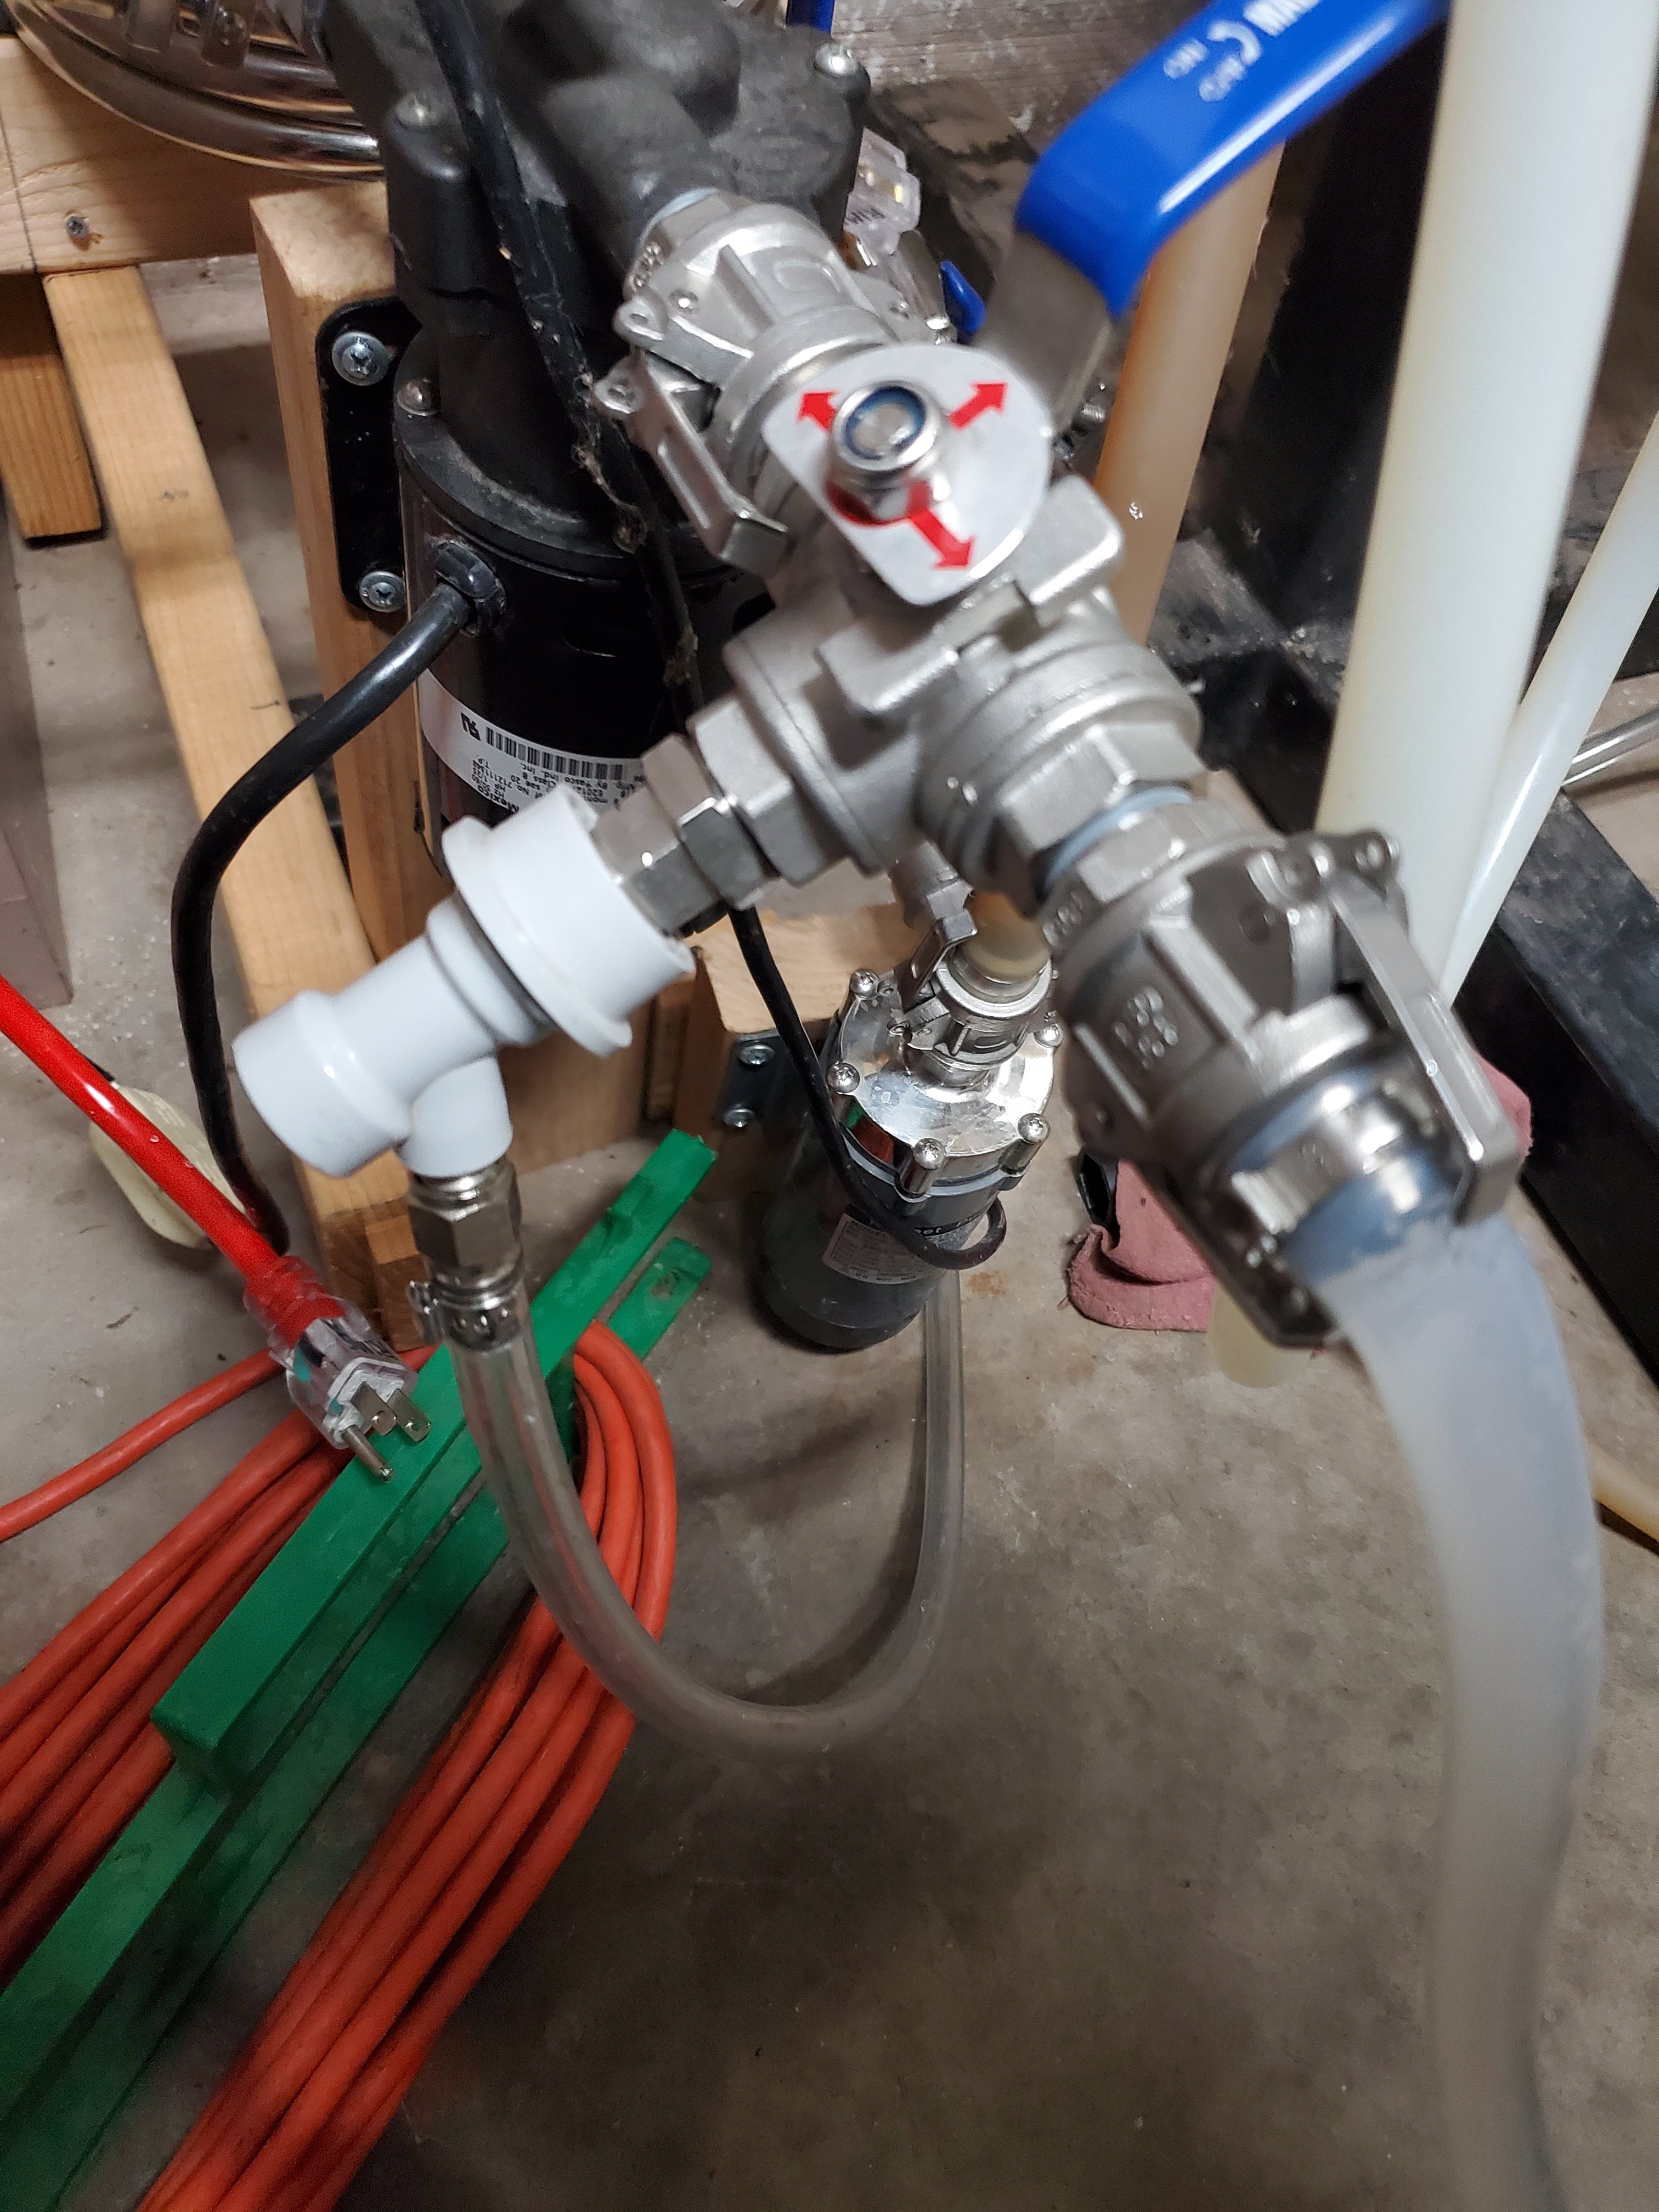
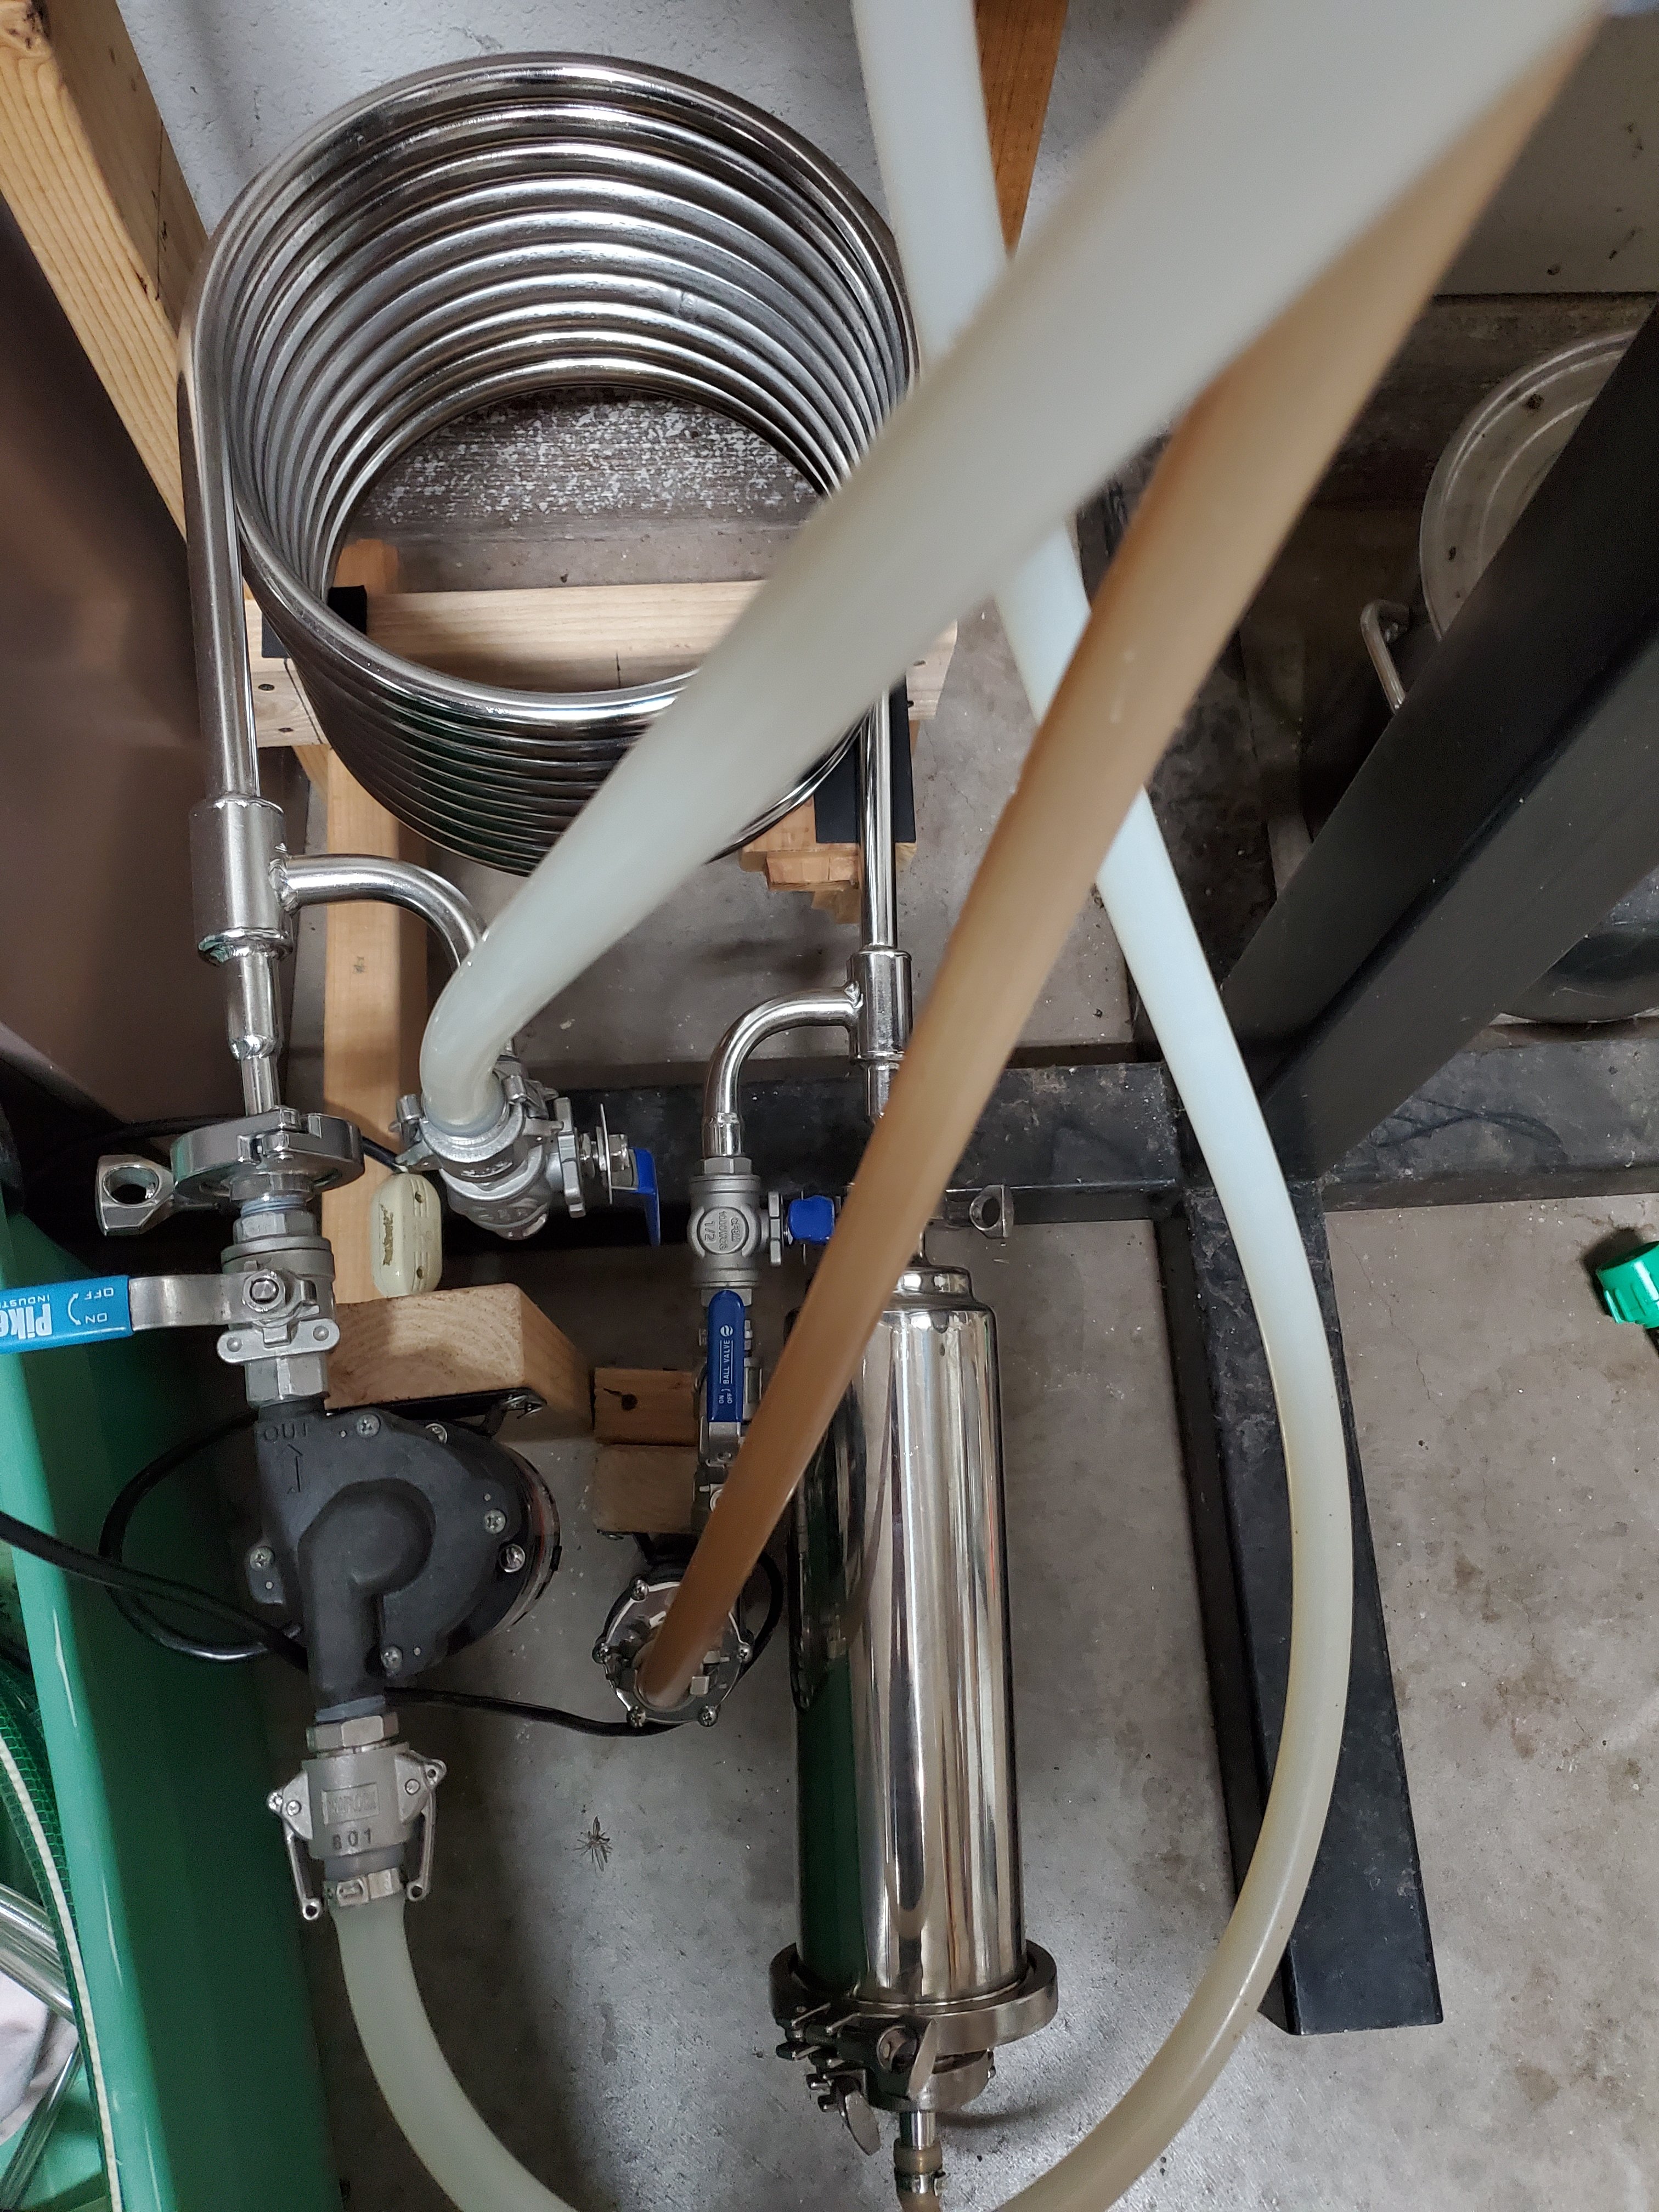
The upper vessel is my old HLT. It is controlled by Ranco controller attached to the vessel, it's an old custom job I did years ago (notice the pipework going through it, lol I used to think stuff like that was cool... but what happens when the Ranco breaks you supercool idiot????) From HLT drain, water goes into the "Super-Badassed-THANK YOU-Bobby_M-RIMS tube" pulling almost it's max current @120vac if it needs to. Essentially boosting incoming water temperature "if needed" on its way to the HERMS coil, before returning to the HLT. The RIMS tube element is controlled by the PID in the black box on the left of the 2nd vessel down (Mash Tun). More on the box in a minute. The temperature sensor (I chose a PT100) for the box PID is located at the top of the MT, on the left side of the converted three-way ball valve so it "receives" what the mash is receiving. That is the whole RIMS-HERMS control I was after with a ZERO% chance of scorching...EVER! Overkill... yes! It will do as it is told, and it will put the lotion on the skin when told to, so I don't care what it cost to relieve any variables. The three-way valves on the HERMS coil change it into my counterflow wort chiller when the time comes, so I get double duty out of it.

As for the wort side, that's easy to explain. Bottom of MT to wort pump (furthest left in picture), then through the coils from top to bottom (anti RIMS-HERMS water direction) before being filtered inline with a wort strainer on its way to the temperate sensor and MT. The strainer is bypassed initially to allow for debris to return to the MT before a filter bed is set. Nothing special, just custom for what I want to do.

After knock out from the MT and transfer, there is going to be a ton of stuff left in the lines.
20230429_093932.jpg

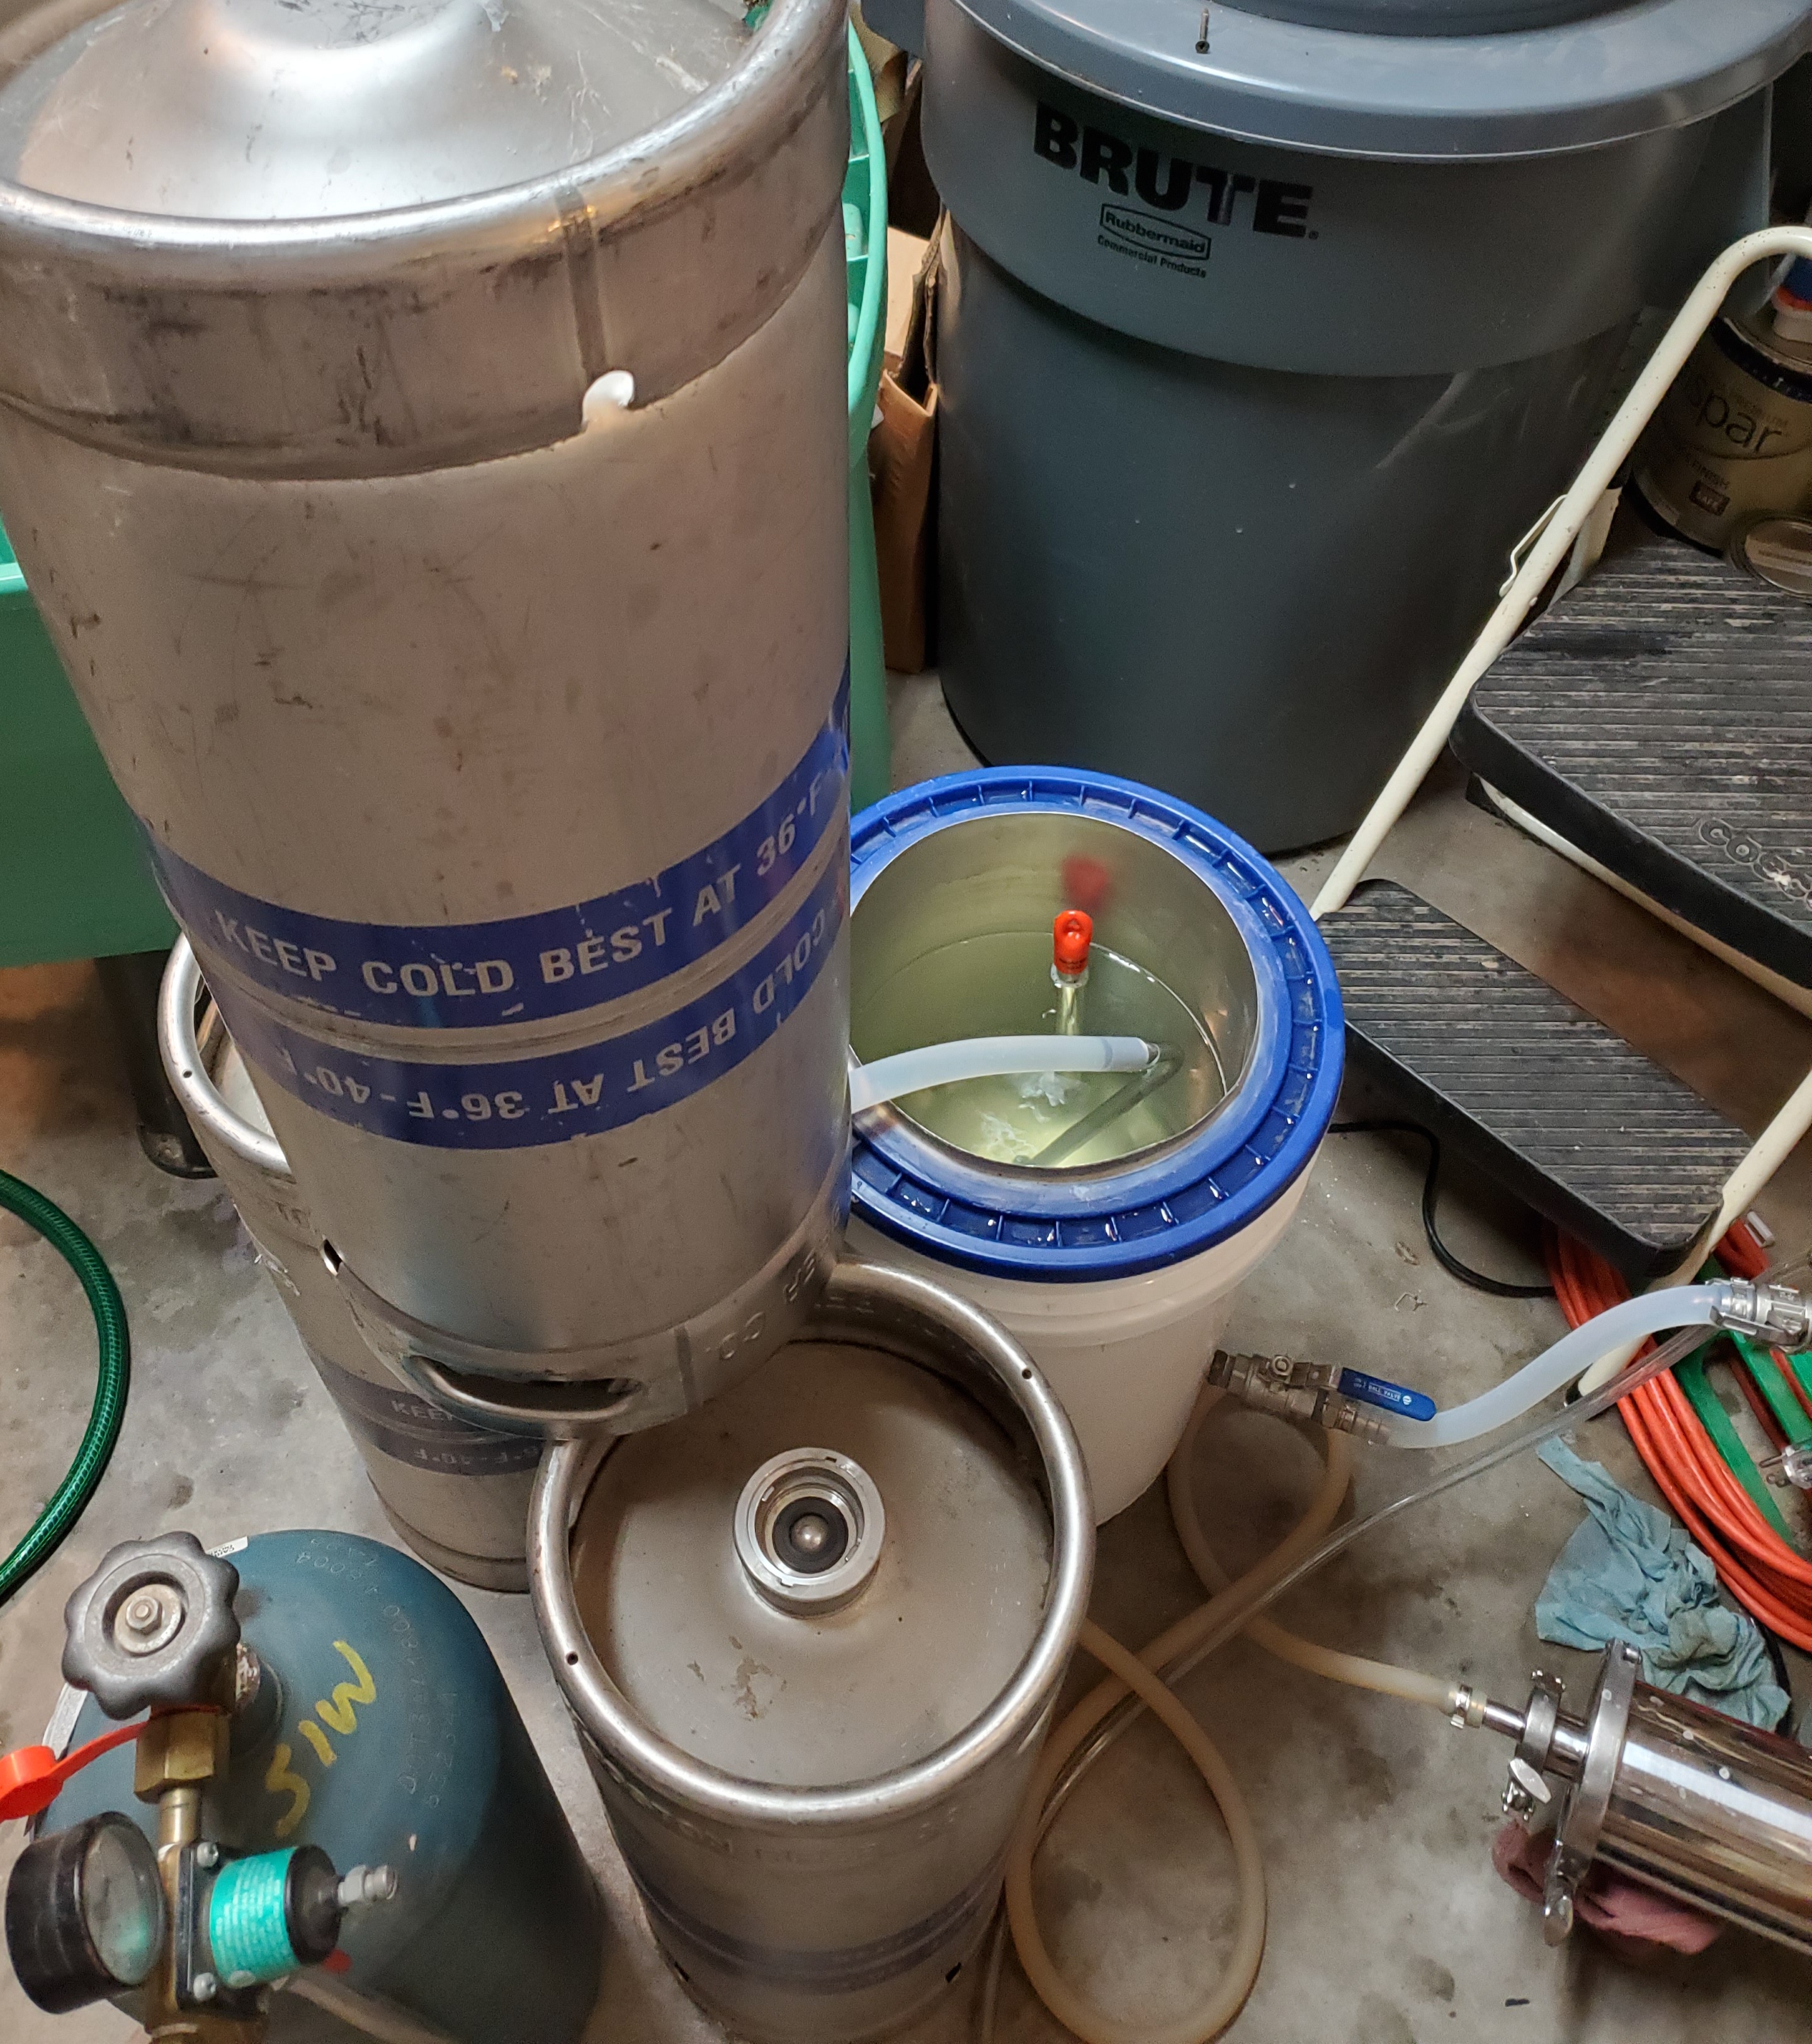
That's where this little guy comes in. I'm going to hook CO2 up to my brewery to push lines clear, or unstick a stuck sparge, at low pressure of course. When I'm in the kettle, I'll clean the wort lines and get everything ready for whirlpool and chilling. Here's where the OVER-SIZED wort strainer comes in. I'm hopeful it will take 100% of the kettle hop bill during whirlpool, as well as break material. It's 4" and girthy, we will see. This CO2 valve with ball lock fitting will allow me to push almost 100% of my product to the fermenter. With this valve I will also have the ability to flood my MT with CO2 for low oxygen experimenting. I want to try lots of things!

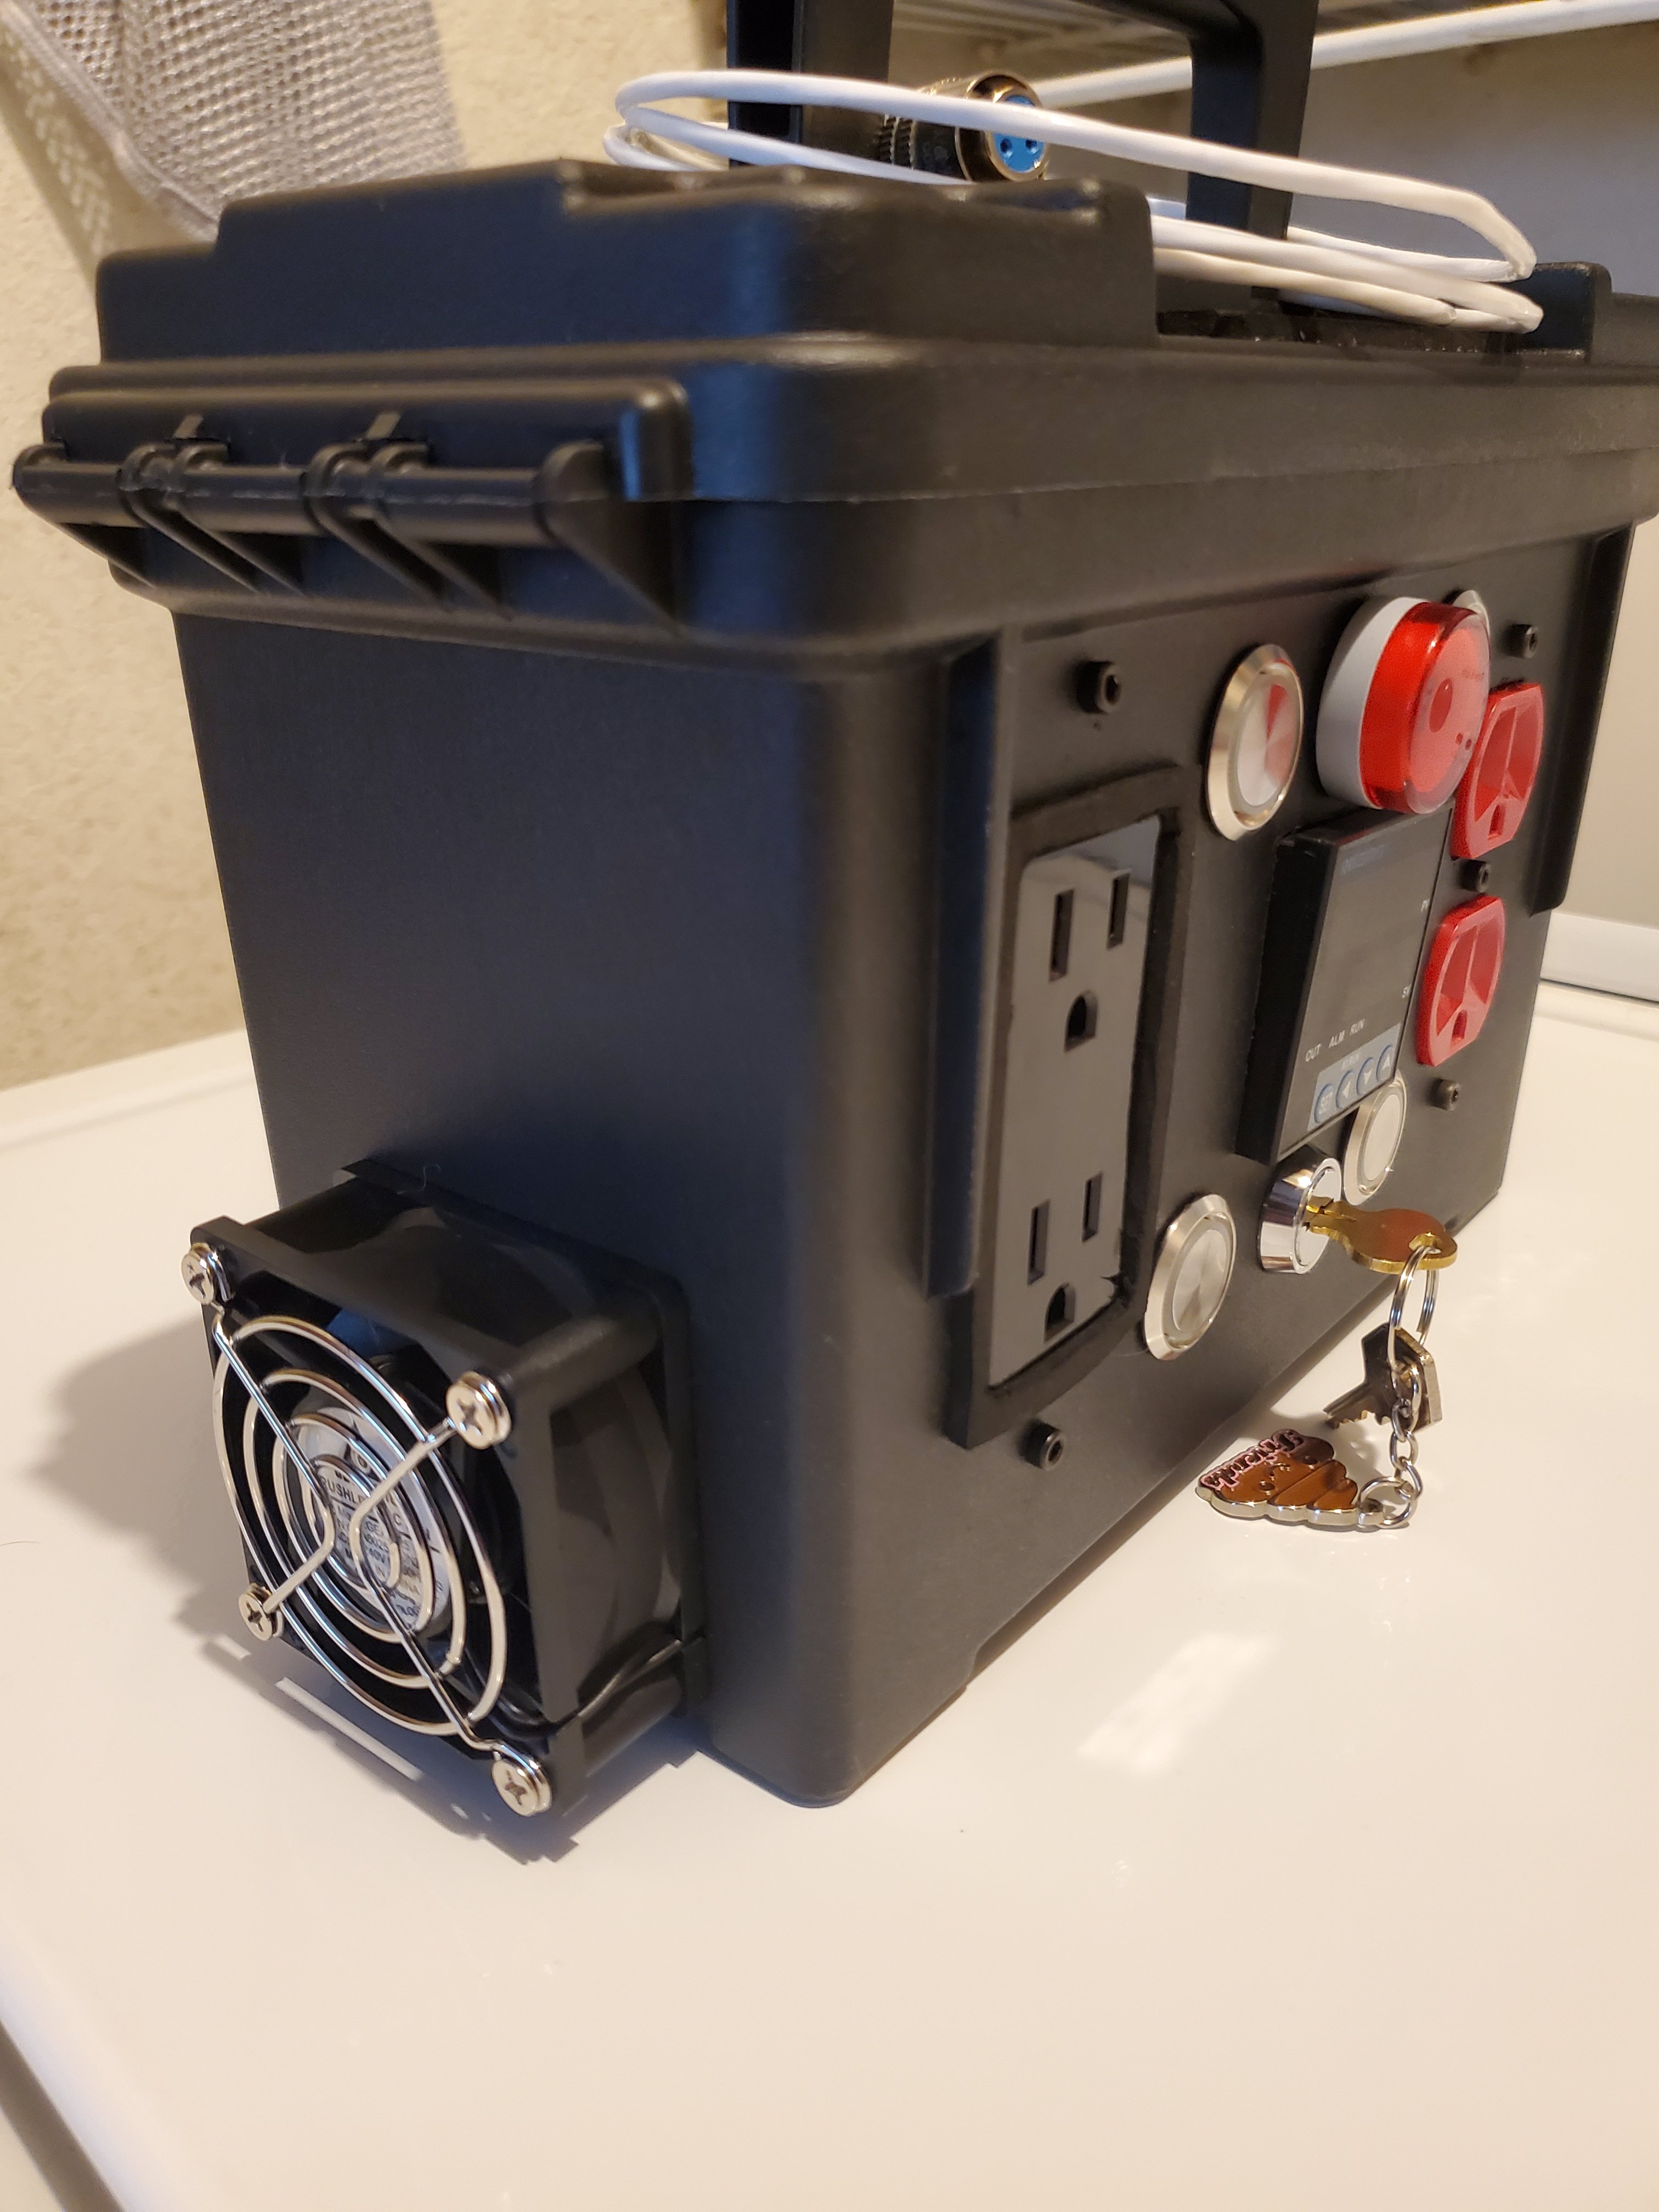
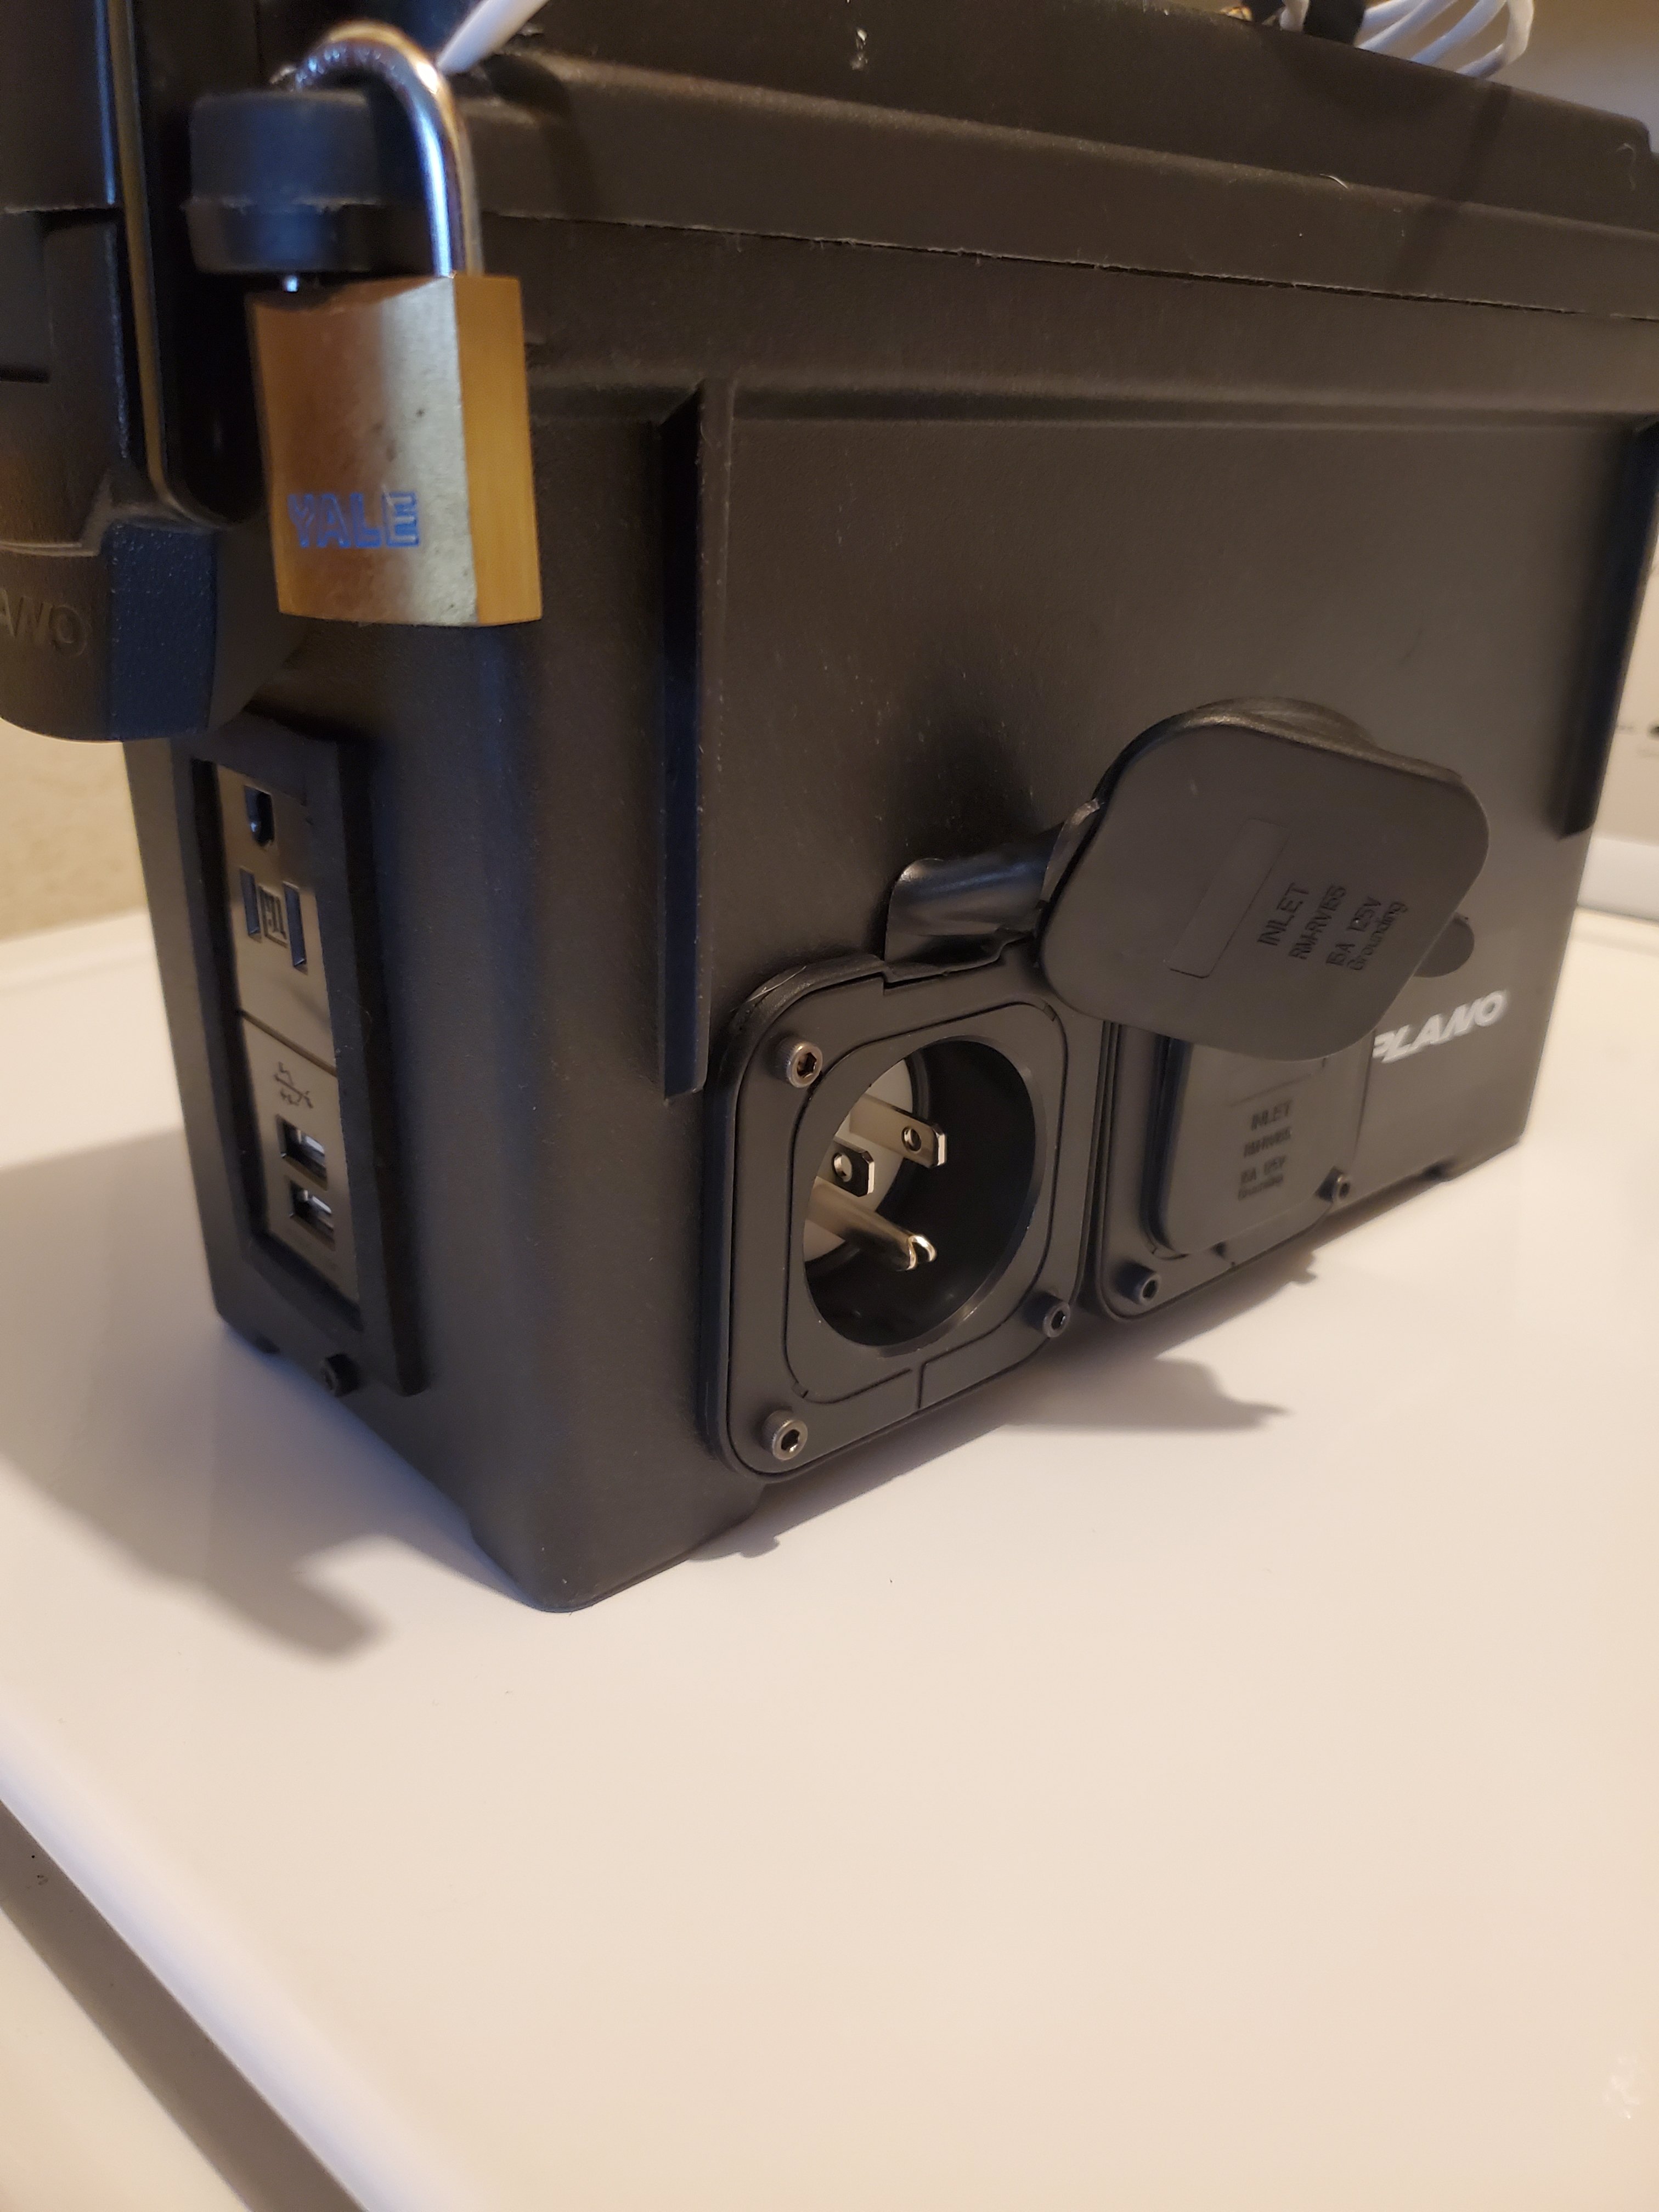
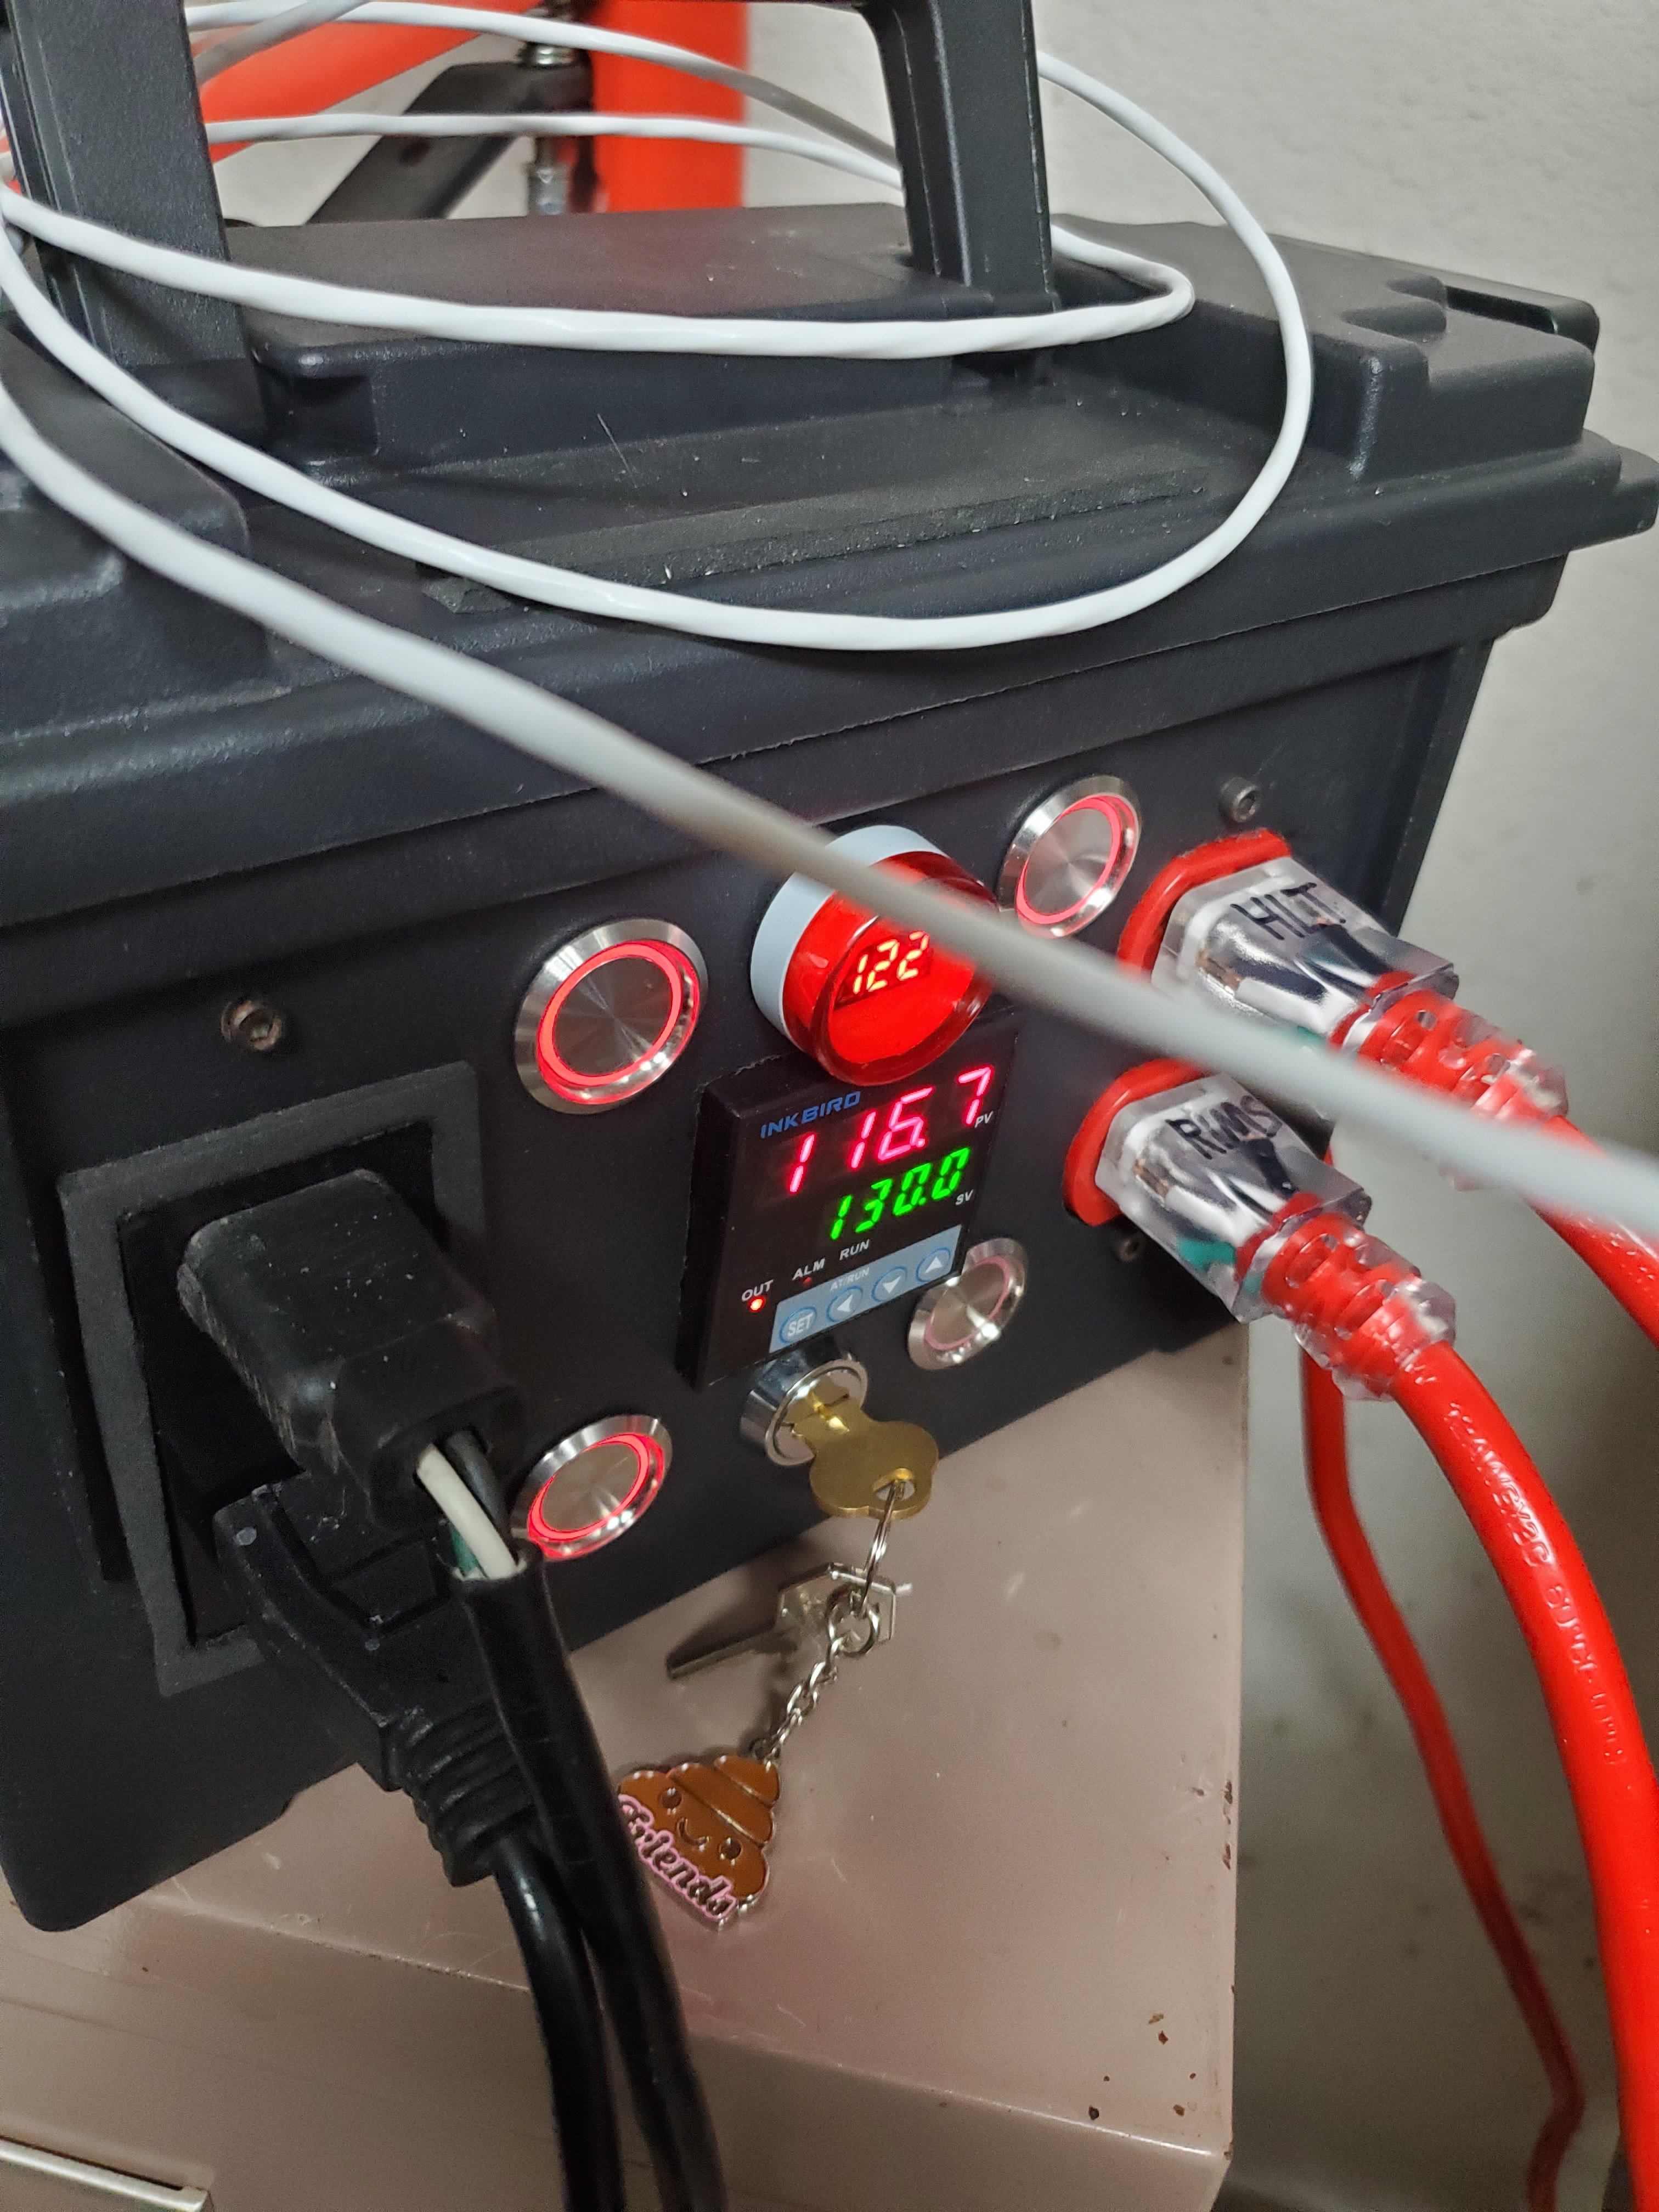
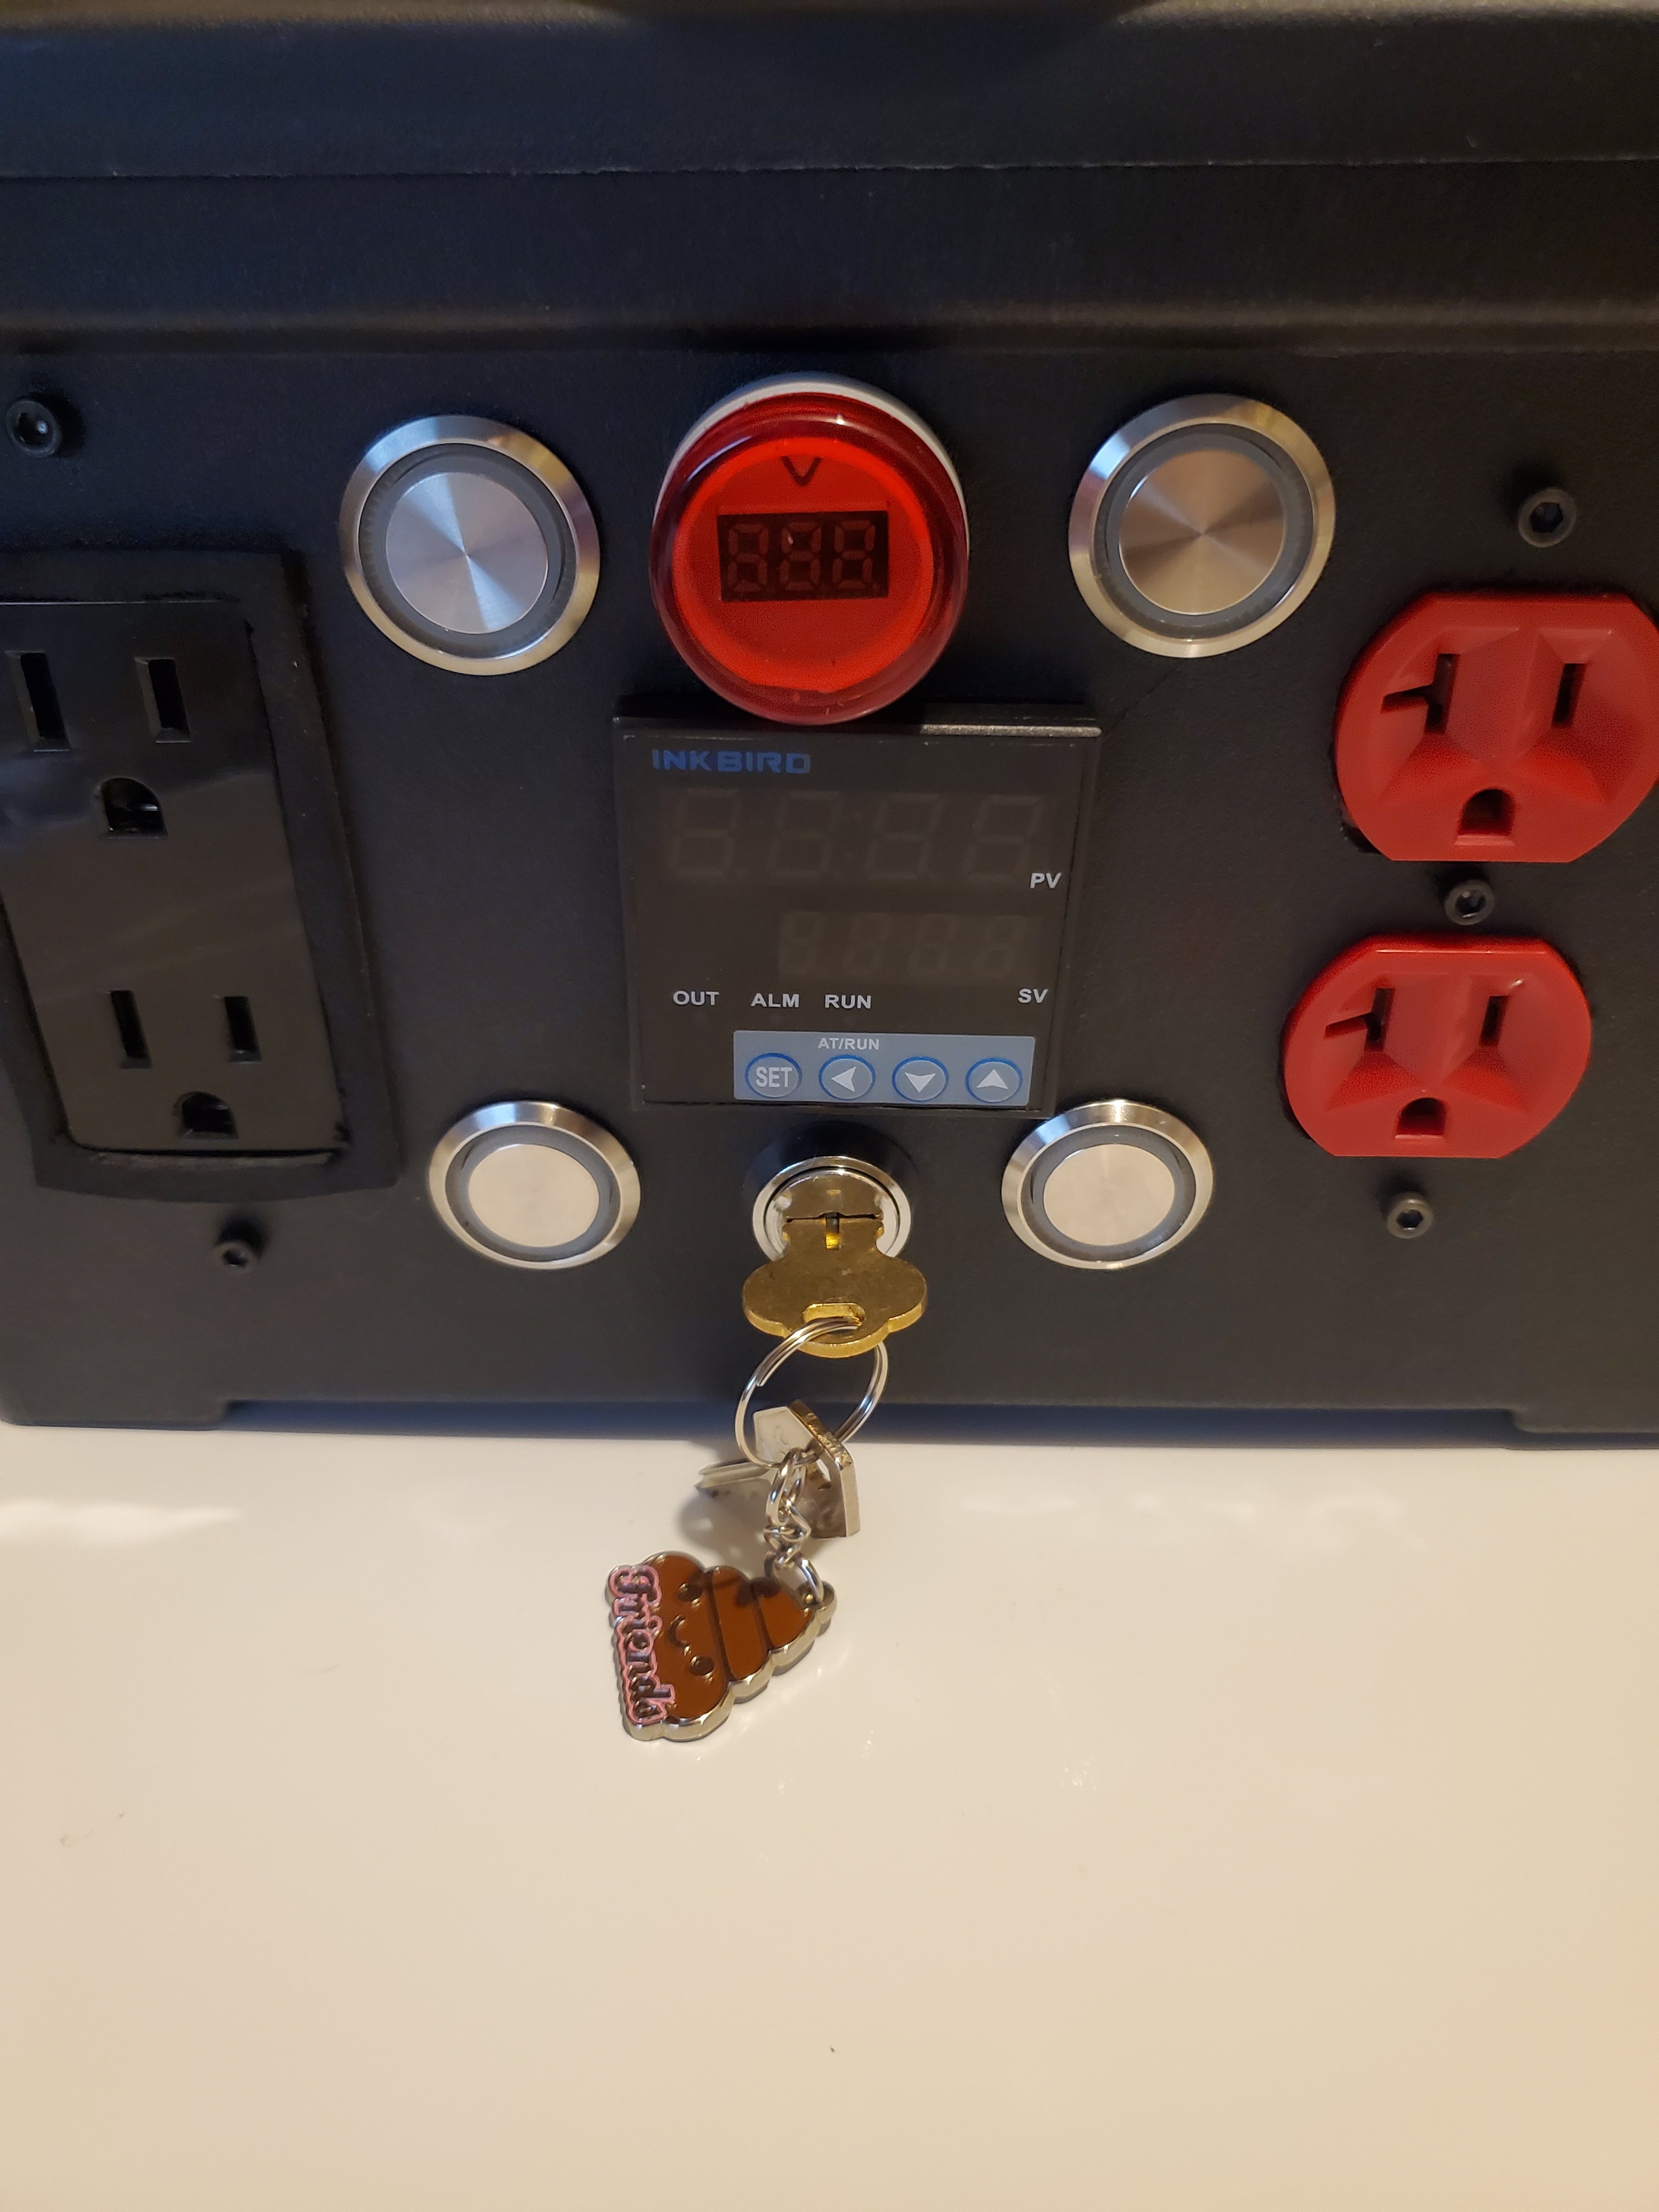
Here some up close pics of the control box. It is wired with input from two separate legs of power from the breaker for each circuit. Circuit 1 powers lower red receptacle for RIMS element. It will not come on unless Circuit 2 RIMS pump is on, the key is turned, and the RIMS element button is on. Safety third! The volt meter comes on with RIMS element to tell me what it is pulling as a reference. Everything else on the box is powered by Circuit 2. Buttons are top left Wort Pump, bottom left RIMS Pump, bottom right RIMS Element, top right HLT Ranco ETC.
20230428_172959.jpg

20230428_172925.jpg

20230428_172859.jpg

Here's a top and side view of the heat exchanger and pumps.
20230429_093953.jpg

20230429_093814.jpg


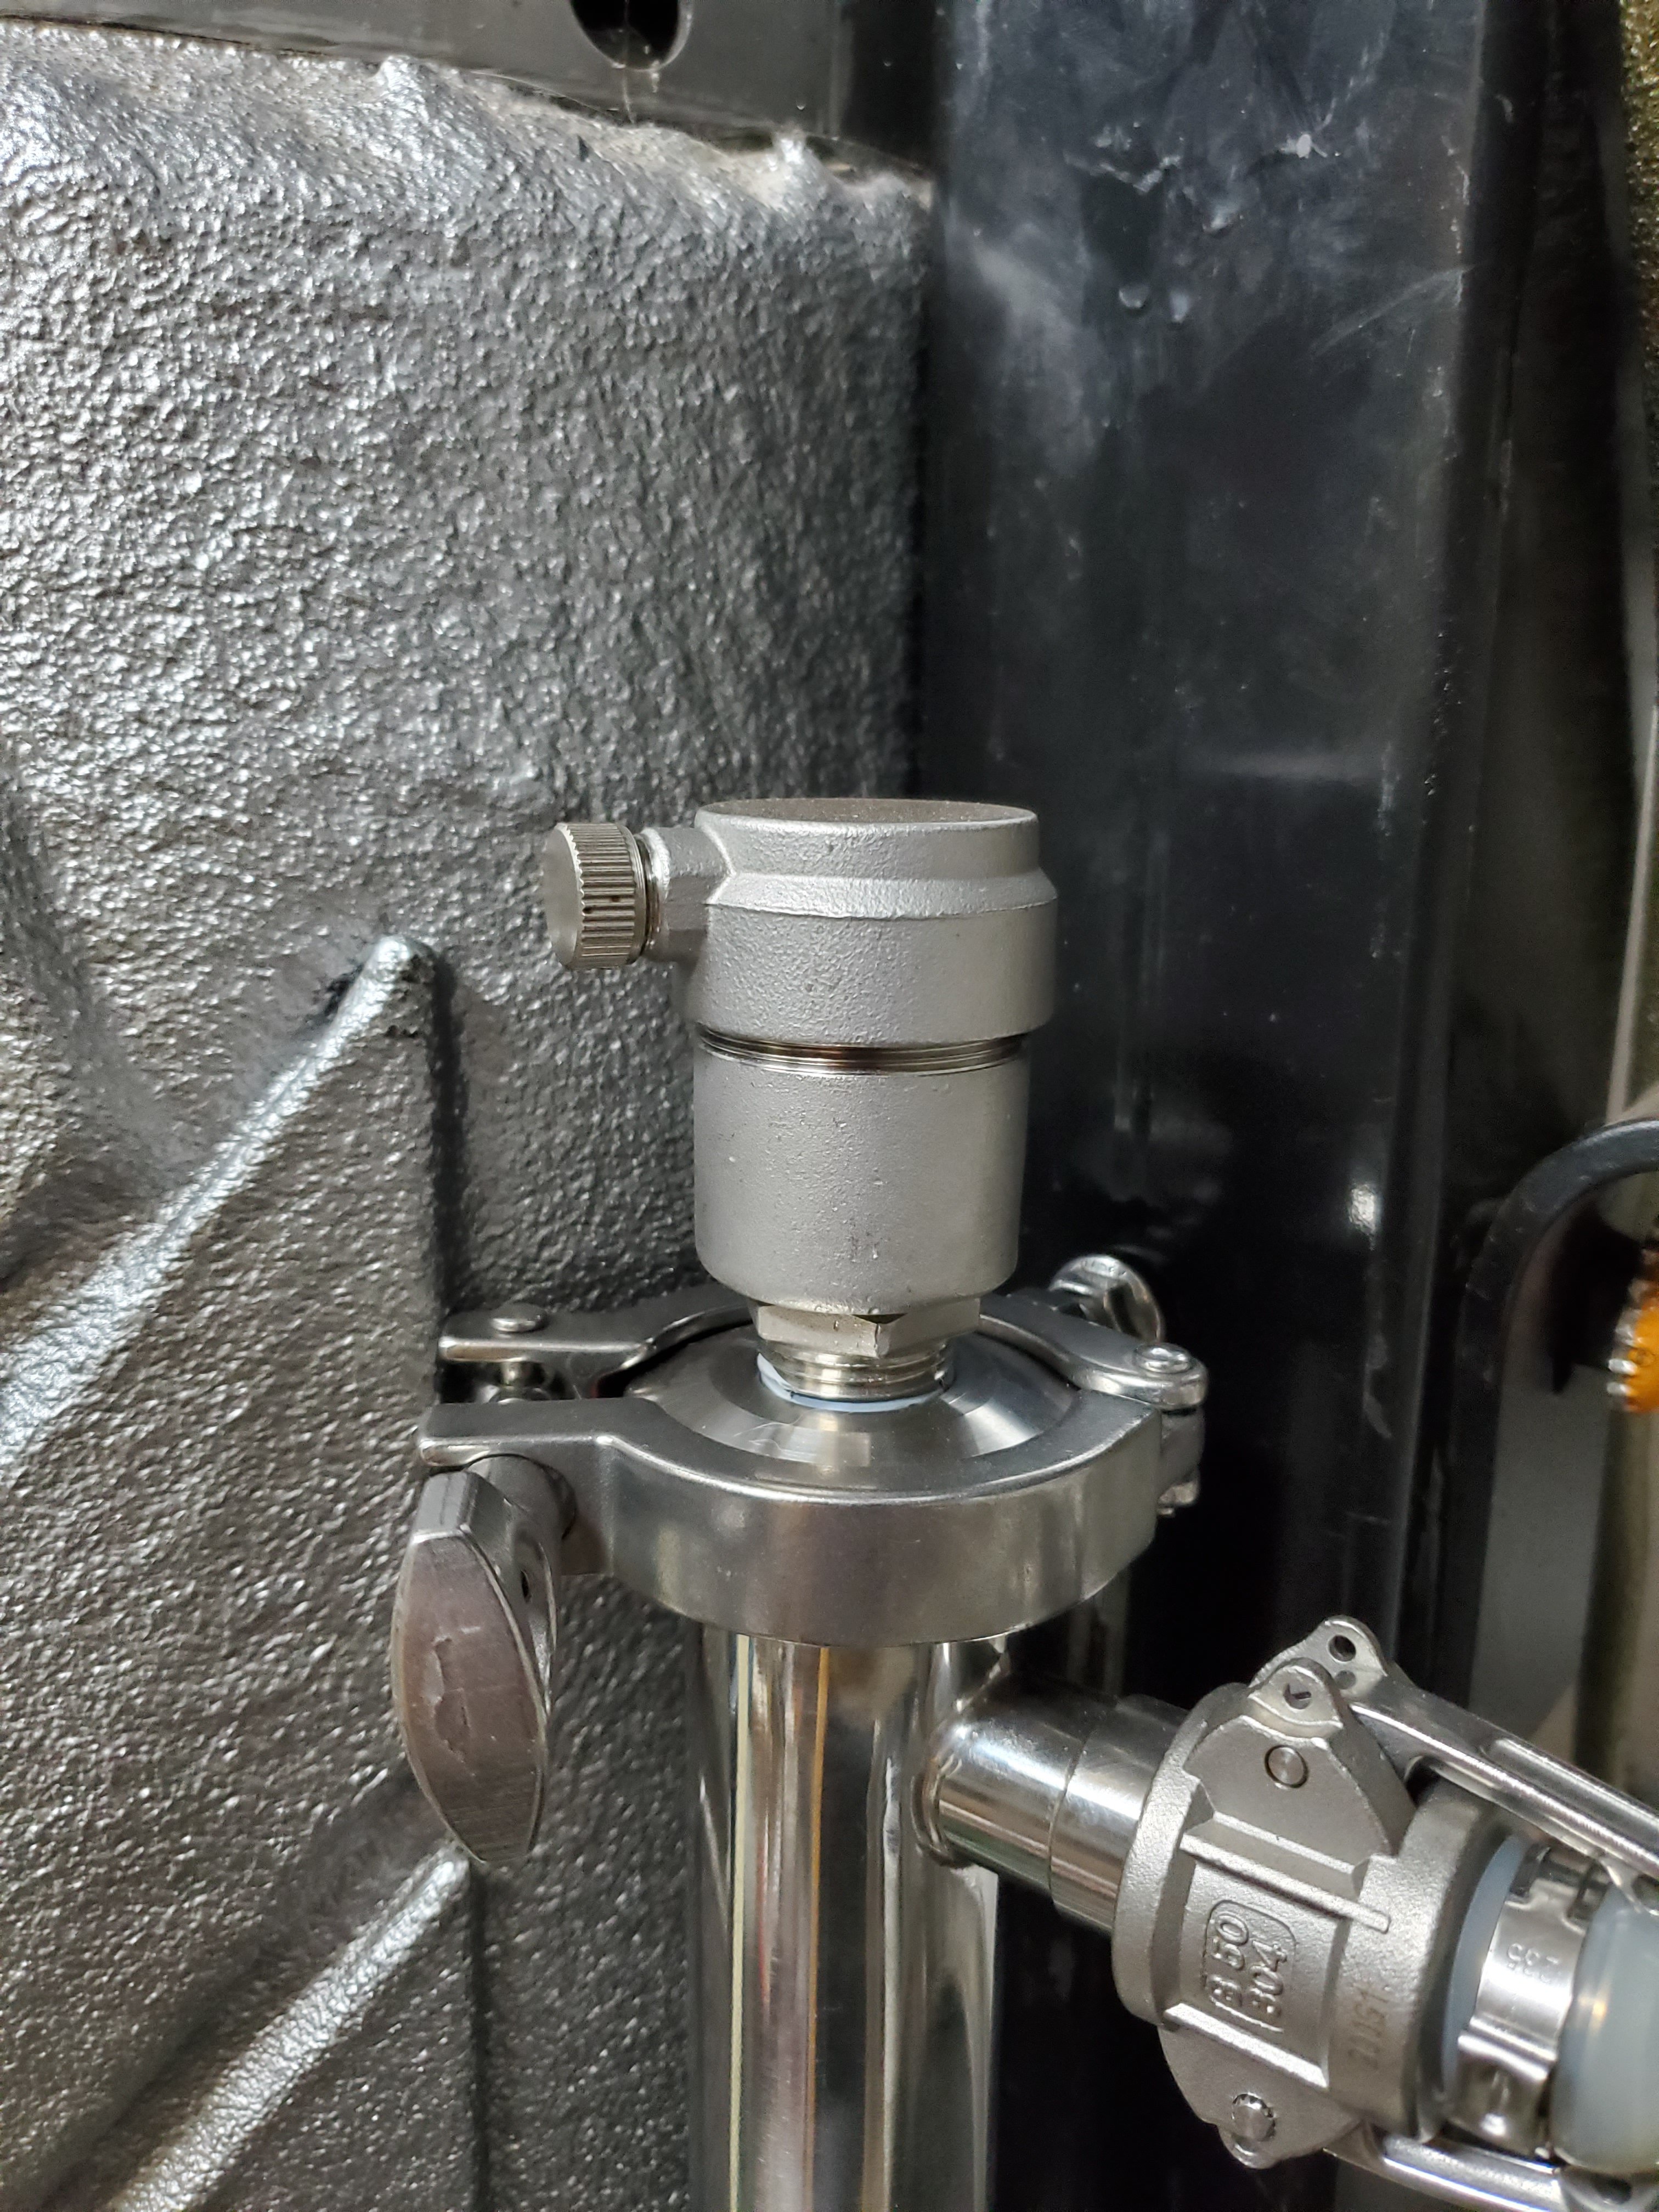
I attached this to the top of the RIMS tube to allow air to escape.
20230429_094103.jpg


I have thought about this for a very long time, of how I wanted some things changed (in my brewing setup) for ease or just ease of mind. Hope you guys enjoy! I can't wait to try it out very soon. Questions, comments, I take them all. I would like to thank Bobby_M at brewhardware.com for the purchasing of my gadgetry, but mainly for the SS tubing bent w/fittings welded on. Very good price on such custom things is rare, and he ships fast!

I think I have one more project in me, my chest freezer fermentation chamber compressor broke, so I bought a window unit for it and love it better. Write up and pics COMING SOON!
 
Last edited:
Ok, first update on my new build. I cleaned my brew kettle and some kegs with the setup,
20230520_164702.jpg

then I ordered more connections.
20230522_121258.jpg


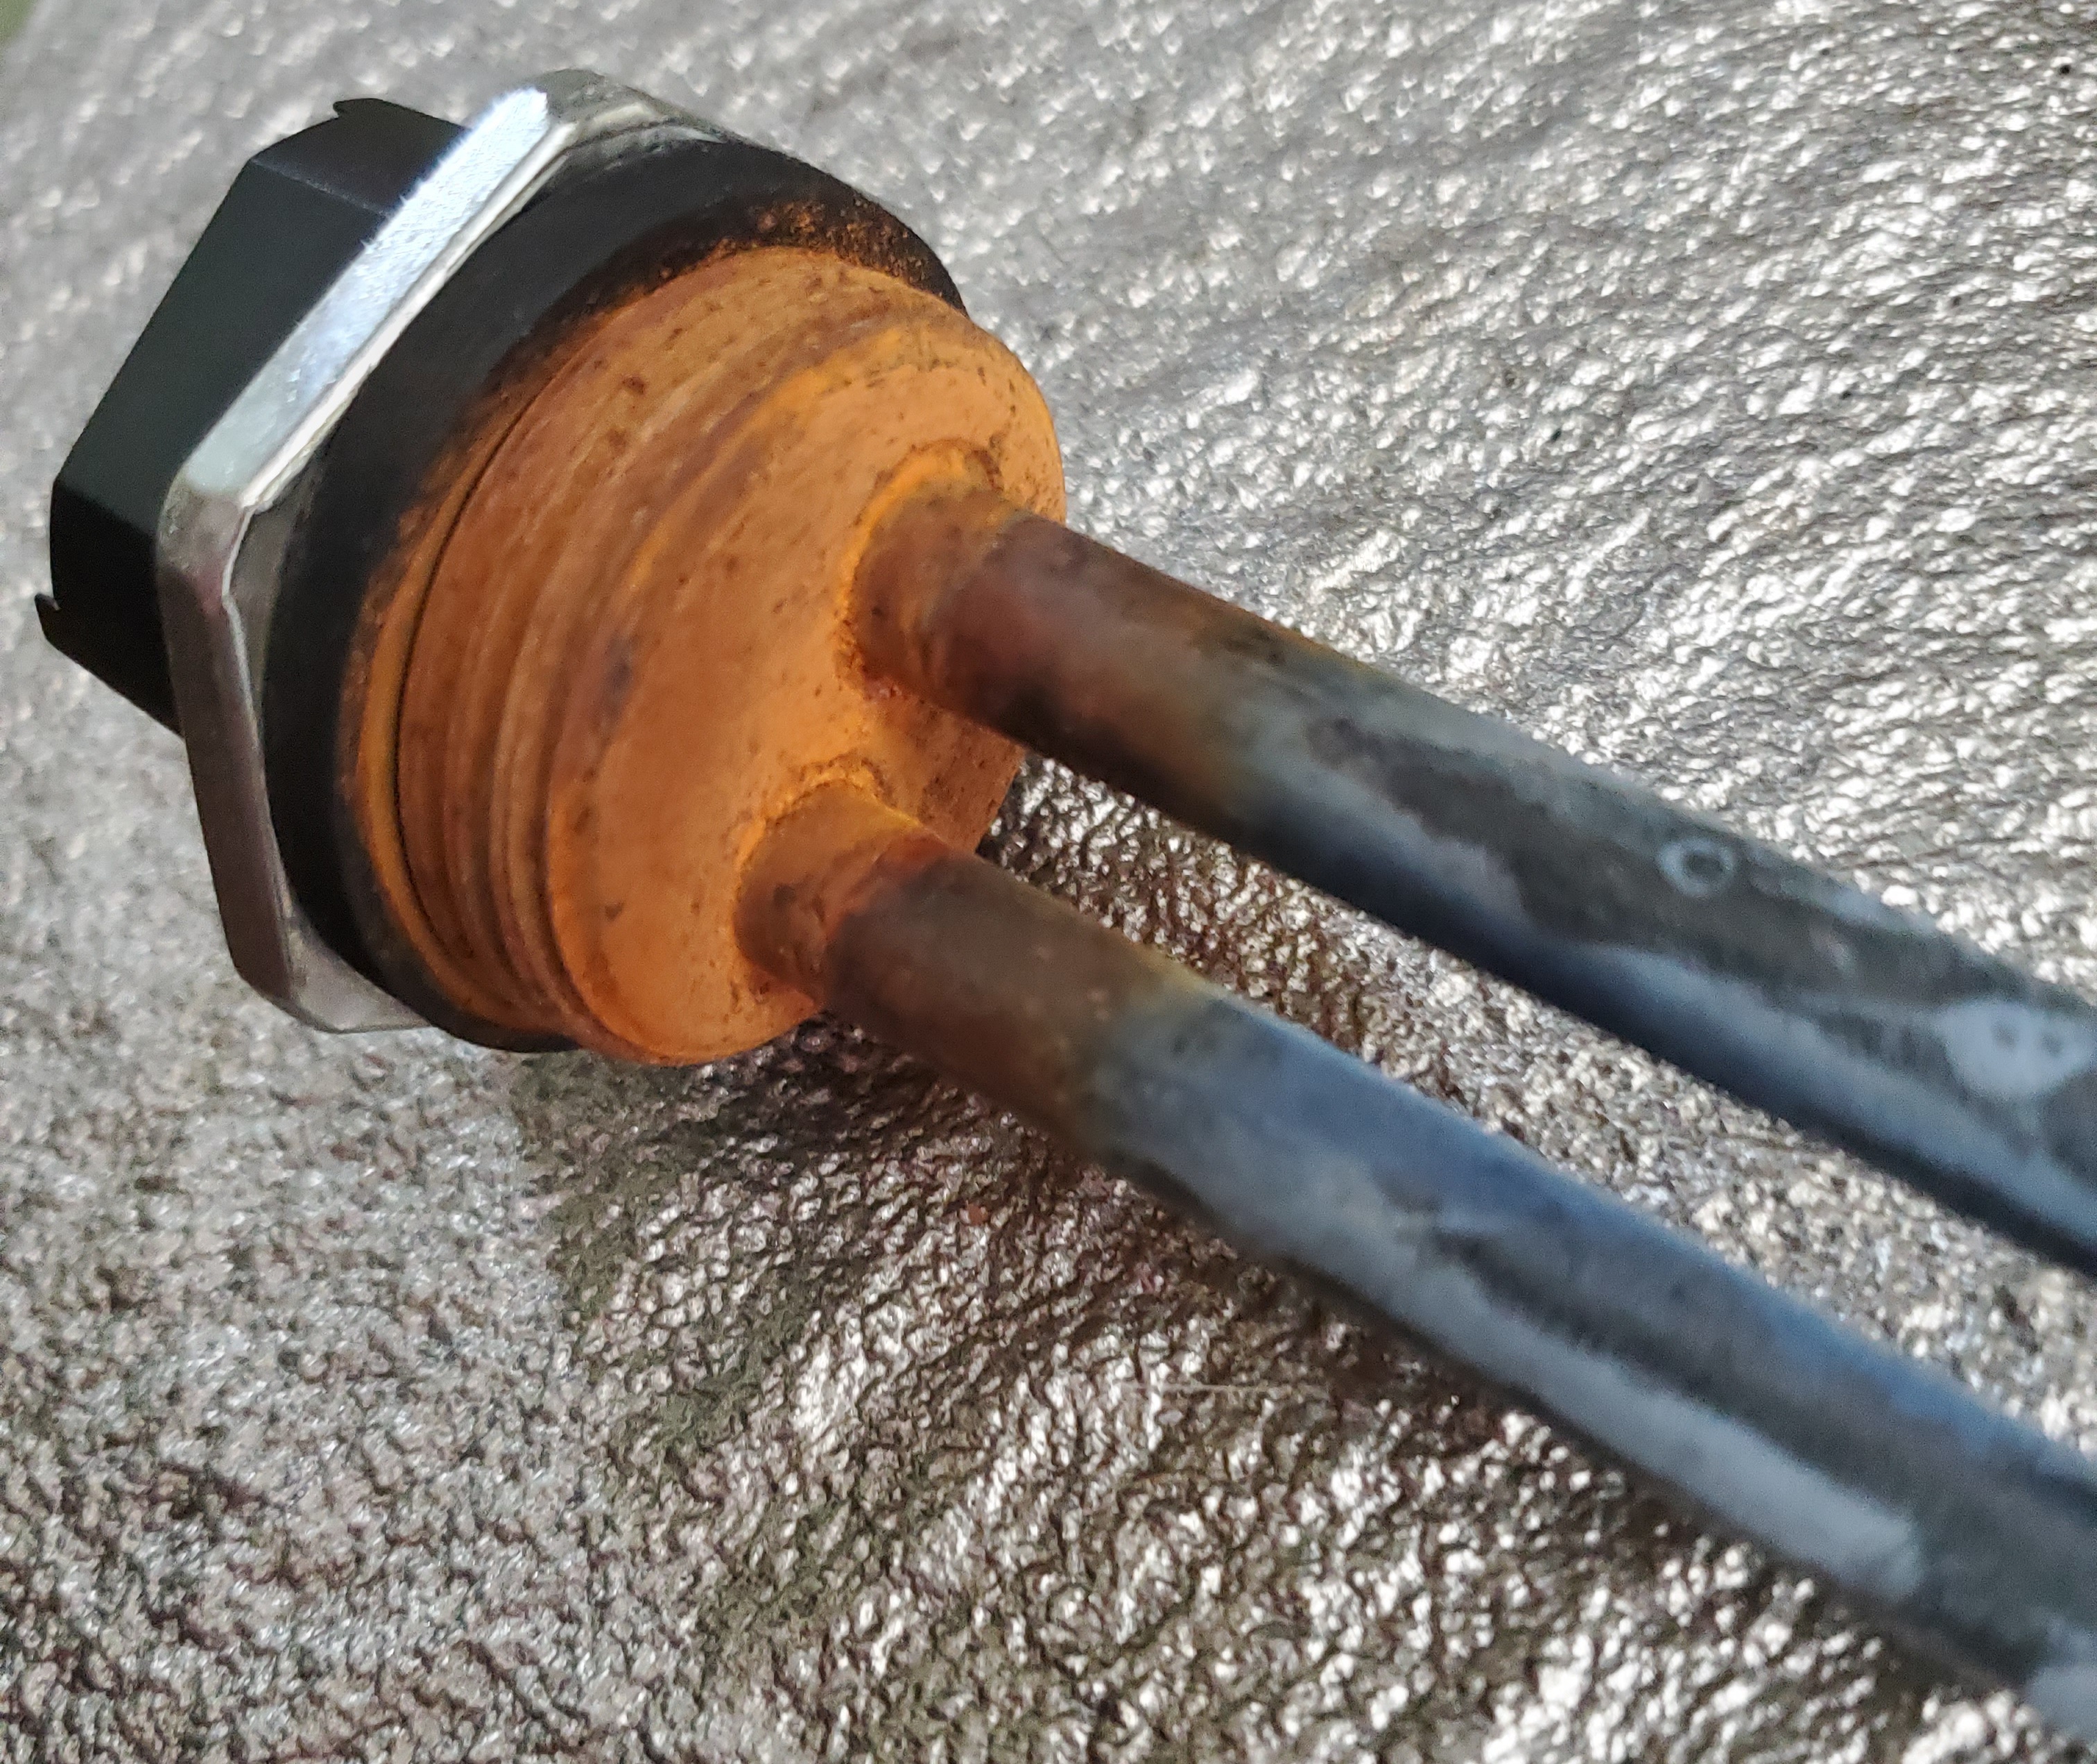
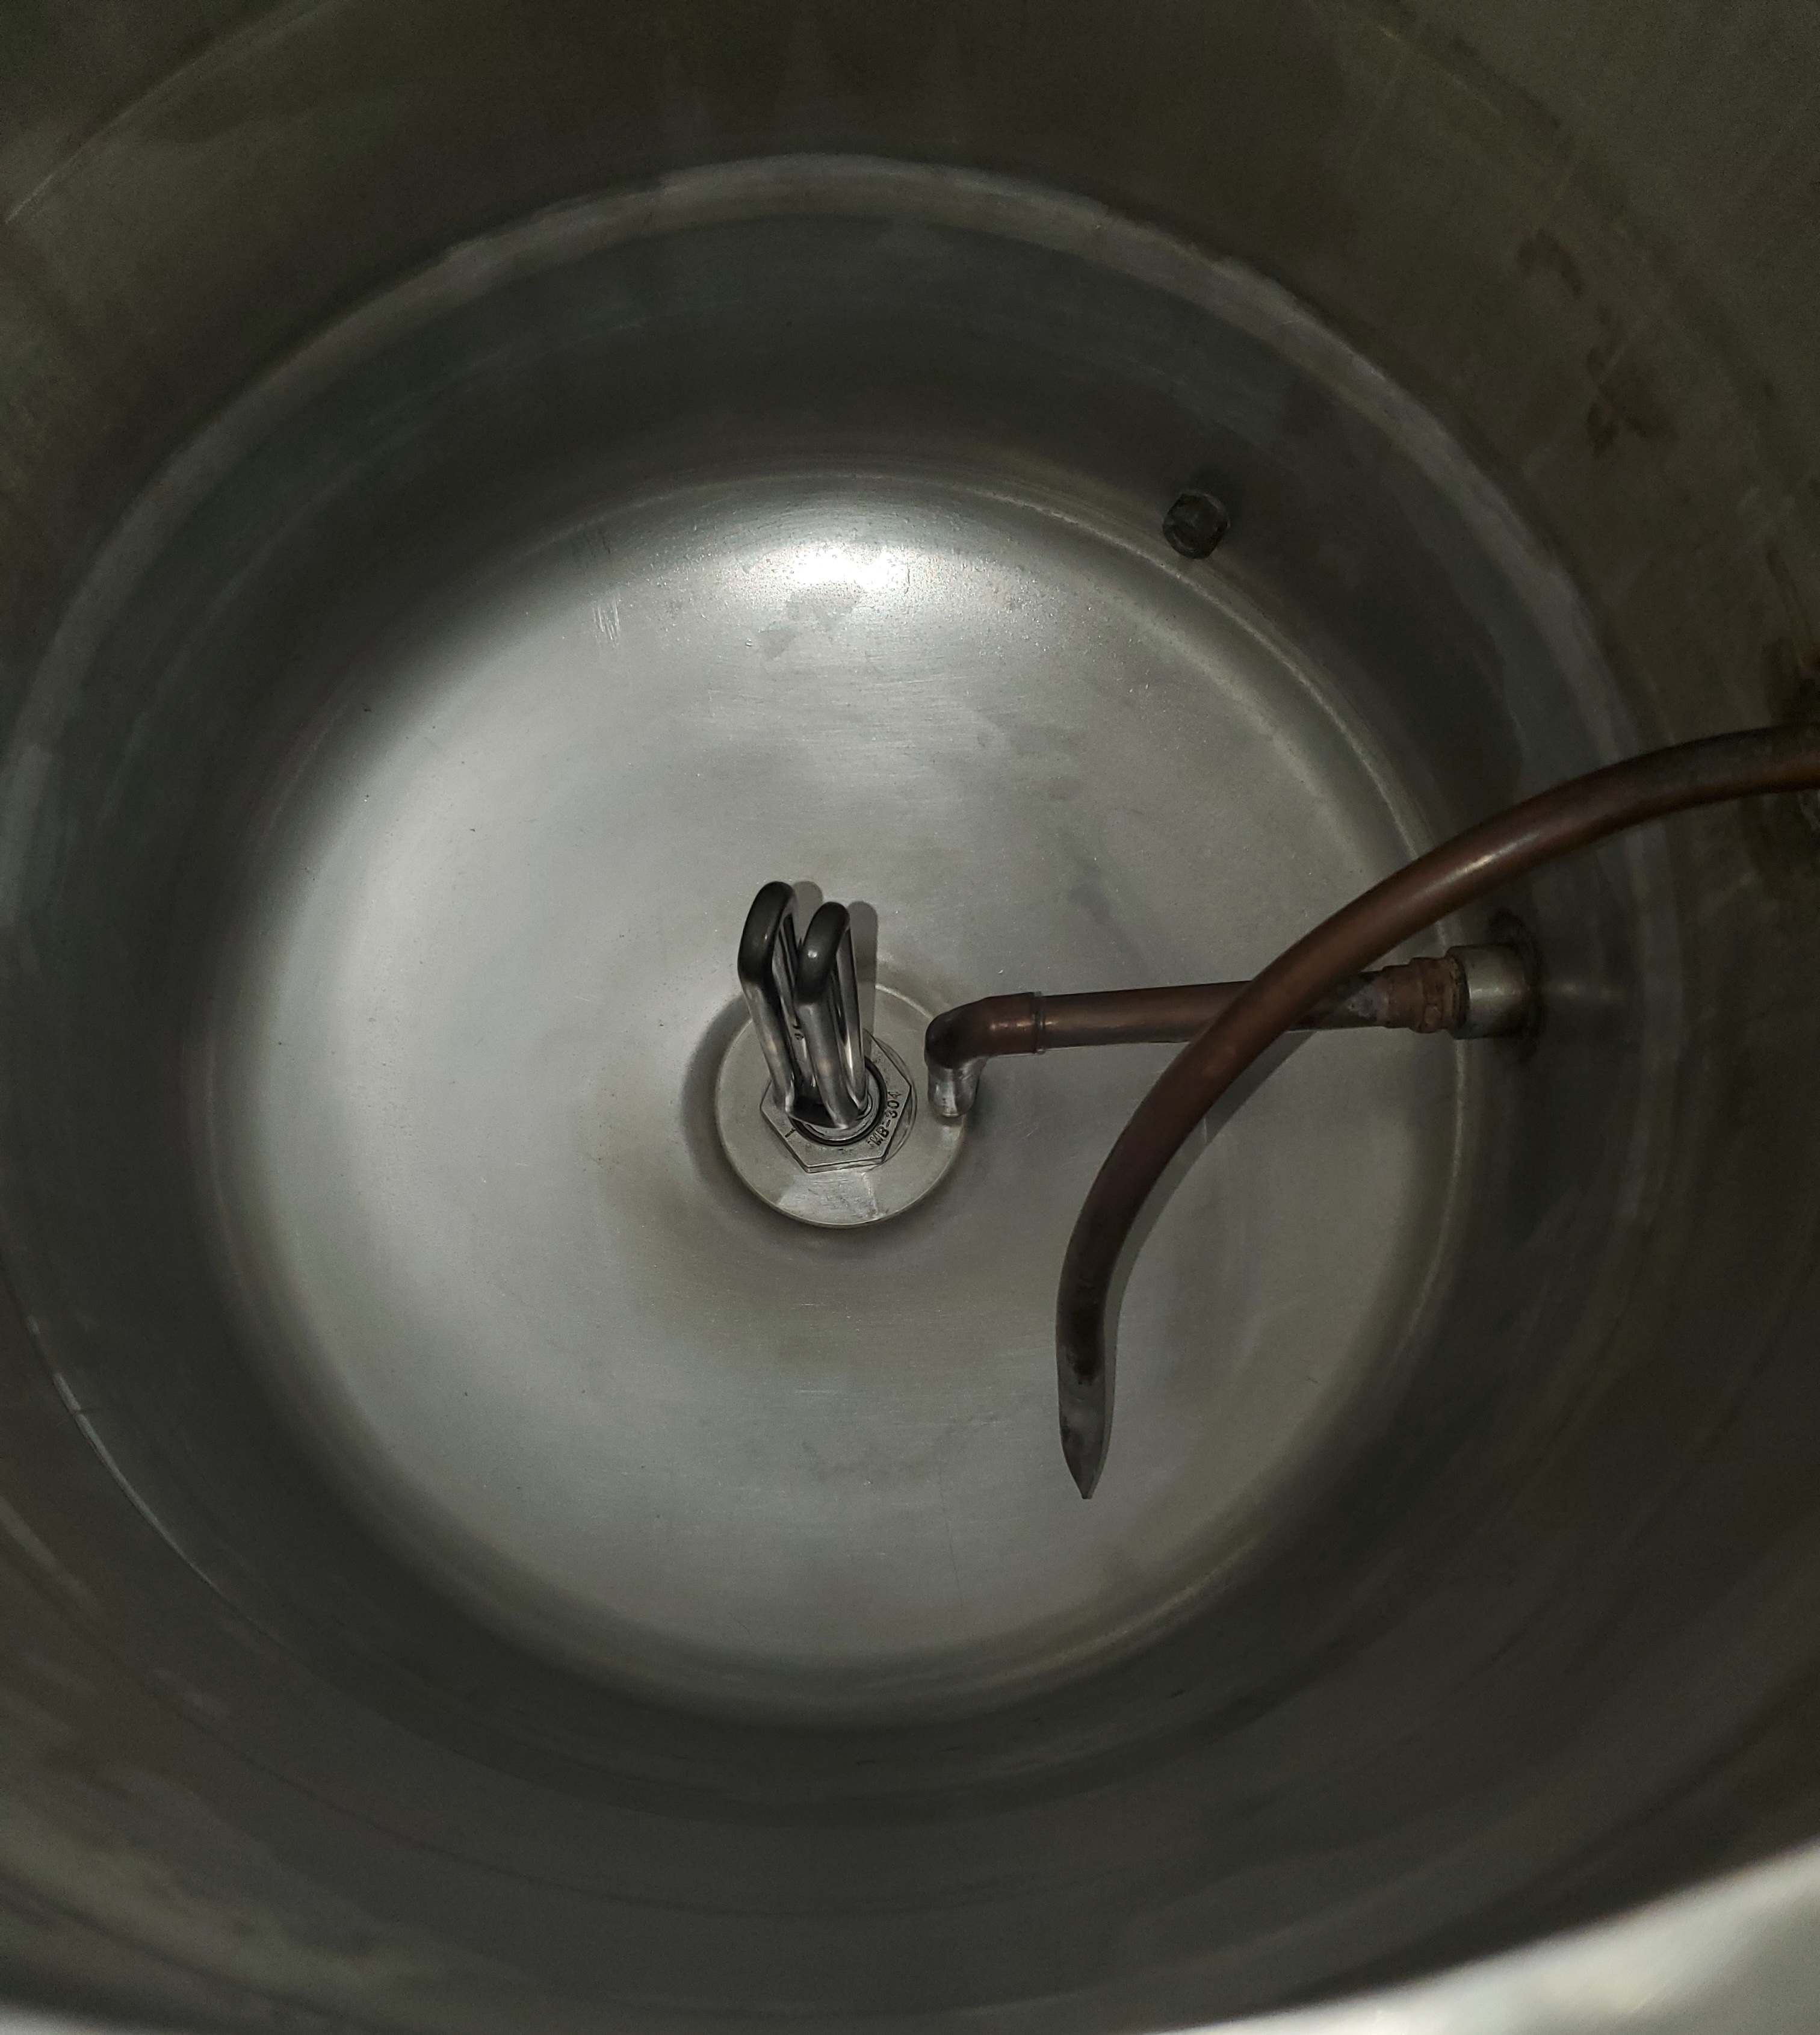
Now, as of last night, I think I have cleaning down and what I will be adding in the future. I was relying on my HLT to be G-T-G since using it last, but forgot I hadn't replaced the old camco "stainless" element that in my non-professional opinion "ain't so stainless" due to the rust on all my 304L STAINLESS. Lol, so that's replacement is arriving wednesday from Brewhardware.com.

So, I haven't been able to test out the HLT. But... I did get to use the little SS mag-drive pump to transfer from a keg tap connector on a closed keg to the top of my MT. It worked flawlessly, albeit a little slow, and moved 15 gallons of acidified rinse water through all that 31' of coil and up and over almost 5'. Blew into a tube in the gas-in side of the connector and watched it hit the face of the pump. Turned on the pump on the new brew box, and a few seconds later... HLT filling! Not the purpose of the pump for my design I know, but based on the flow I know I'm going to need more gpm for best heat transfer later on. The March 809 will probably swap over and take its place once I order my new Spike Flow pump.

The March worked ok on CIP kegs, but I knew I would need more for dirty stuff. Priming the March was a PITA constantly, due to all the activity you don't see brewing. The Spike should meet my needs replacing the March as my new cleaning and wort pump.

The filter was great to use inline while cleaning. I can't wait to see how it works catching everything out of the boil kettle on brew day. My PBW remained solid free the whole time.
20230522_122743.jpg

The CO2 bottle hooked up to the system is a game changer. I highly recommend that little feature, for speed and saving all the puddles on the floor from liquid being in hoses and having to unhook them. Love that it'll be easy when sanitizing and purging comes too.

So, learning a lot and spending more money... but I'm happy I'm not that far off from an actual brewday! More to come soon.
 
Just a recycling thought; Are you going to toss the old element, or repurpose it? ..maybe in a keg-washer to keep PBW and rinse water hot?
 
There are a lot on nice design features in this build. Nice job & very well thought out. I have some questions and comments. Remember, you asked for them!
1. The RIMS temp sensor is not in the HLT/RIMS water loop. The RIMS temp sensor in on the MLT recirculating loop. Therefore the RIMS temp sensor is only thermally coupled through the heat exchanger. Instinctively this seems like a poor choice to me; i.e. it's not a tight control loop. It will probably work under some conditions. I am just not not sure how tightly it well be able to control the mash temperature. Testing will prove out this design choice. Also it might be a good idea to ensure that the mash recirculating pump is on before the RIMS element can fire. This will ensure better thermal coupling between the mash recirculating loop and the HLT/RIMS loop.
2. Why the use of a voltmeter to monitor the RIMS heating element? Wouldn't an ammeter be better and more informative of the RIMS tube heating element heat output?
I am eager to hear how your testing goes.
 
1. I put it there because it is the only temperature that I want to control that matters. Unlike normal circumstances I don't care how hot the water in the RIMS gets only that the element cut off if the returning wort is too high in temperature. I don't even know if it's right yet, I just know in theory it's going to constant be recirculating and only firing when it needs to be. As for the wort pump being on prior, I'm not that worried since it will run constantly as well. The amount of wort in the coil is not enough to worry about if it sits still while being heated with water arriving from the RIMS tube.
2. It is just a visual level of power I can witness that something is happening.
 
TEST RUN!!!!!
Ok, water in both the HLT and MT from the tap heated to 80F and we sat for 10 minutes. (I read on my PID and set it from PID to on/off, and also set it for 130F).

Then, I turned on my HLT first to start the element and set it to 130F. I then turned the RIMS/ HERMS pump on so I could purge the system and to stir the HLT. I let that run until I saw a +1F rise, then I turned my awesome little key on my box and pressed the RIMS button... blammo it fired the RIMS element right up.
20230528_151827.jpg

I got a good read on a 16 minute window of time of .78F/minute temperature rise. The water going into the HLT is hotter than the water coming out, so it only increases not that I care for my purposes but for tests pretty decent.
20230528_151838.jpg

About to do a ramp test to 152F. Will let you know how that turns out.
 
Ok, final temperature test. Remember, I'm just going to use this for maintaining temperature of boiling water infusions. But... if I wanted to step with what is in the MT, the numbers would be as follows: with both at 130F I turned the HLT up to 152F and then the MT. took 22 minutes to turn the element of the first time. The HLT was at 146F at this point and only took another 10 minutes to stabilize for both. For two kegs filled with over 15 gallons, it's not too shabby. Once I swap out the mag drive fir the March and the March for a Spike Flow... I should be in business. But it will work for what I built it for, indubitably!
 
This morning I revisited my PID controller, and a couple of more test that would be more accurate of something I could/might use it for.

This time, I used the HLT RIMS pump, RIMS element, HLT element and (pretending there was less than a 1/2 gallon of wort in the coil based on what it took from the HLT filling it) took the HLT from 115F to 152F in just 0:27:41 min. So, I now know in brewday to plan on around 1.27F/min max out of the combined heating elements "as-is" using 100% electricity. So, (15 gallons, 152F wanted and it's at 72F, 80F rise should take me about 63 minutes).

I would actually use this time to get everything ready for dough in, and then I would have my strike water heating in my boil kettle. I used to have to wait, until the HLT water was close to temp and then transfer it from BK to HLT, before I had access to heat strike water. This is really going to free things up for my system, I'm pumped.

Alright, that was exciting for me so I couldn't wait to do the next test. This next test is partially how I plan to use it, but real world example of common usage doing a step temperature rise. 115F to 152F (who knows, maybe I'll want to do a endo-beta-glucanase one day, lol) as fast as it can get there.

Real life for me, would be knocking in with ~209F infusion water and then turning on my PID and elements to maintain what should be nearly spot on... so I really just want to see what this underpowered step masher could do. Well, it did it! It got the 15 gallons [water not wort] in the MT to 152F in 16 minutes.

I set the PID into manual mode on PID control until I was close to 152F, and then I set it back to auto. At this point, 2 degrees out, I ran an autotune cycle on the PID. It did peak above 252F by as much as 4F for a second or two a couple of times, but at around the 23 minute mark it was dead on. That's just water mind you, so pointless to equate that to a mash's performance.

I'm going to trial my new chillzer (mock up a full water keg and see how she does) before I brew on the new Brewbox and RIMS/HERMS system. But, my hopes are to maiden voyage this thing June 3rd. Will keep anyone interested posted.
 
Ok, Sunday 3:30pm I pitched my yeast and closed up the keg. Added a little CO2 pressure and Monday 24hrs later... we have 10 psi pressure. I came out to check really this morning and was just about to get to my wanted [17 psi@59*F]. As I'm writing this, I've had to open up my spunding valve to start releasing 3psi pressure and man does it smell good!
20230606_122323.jpg


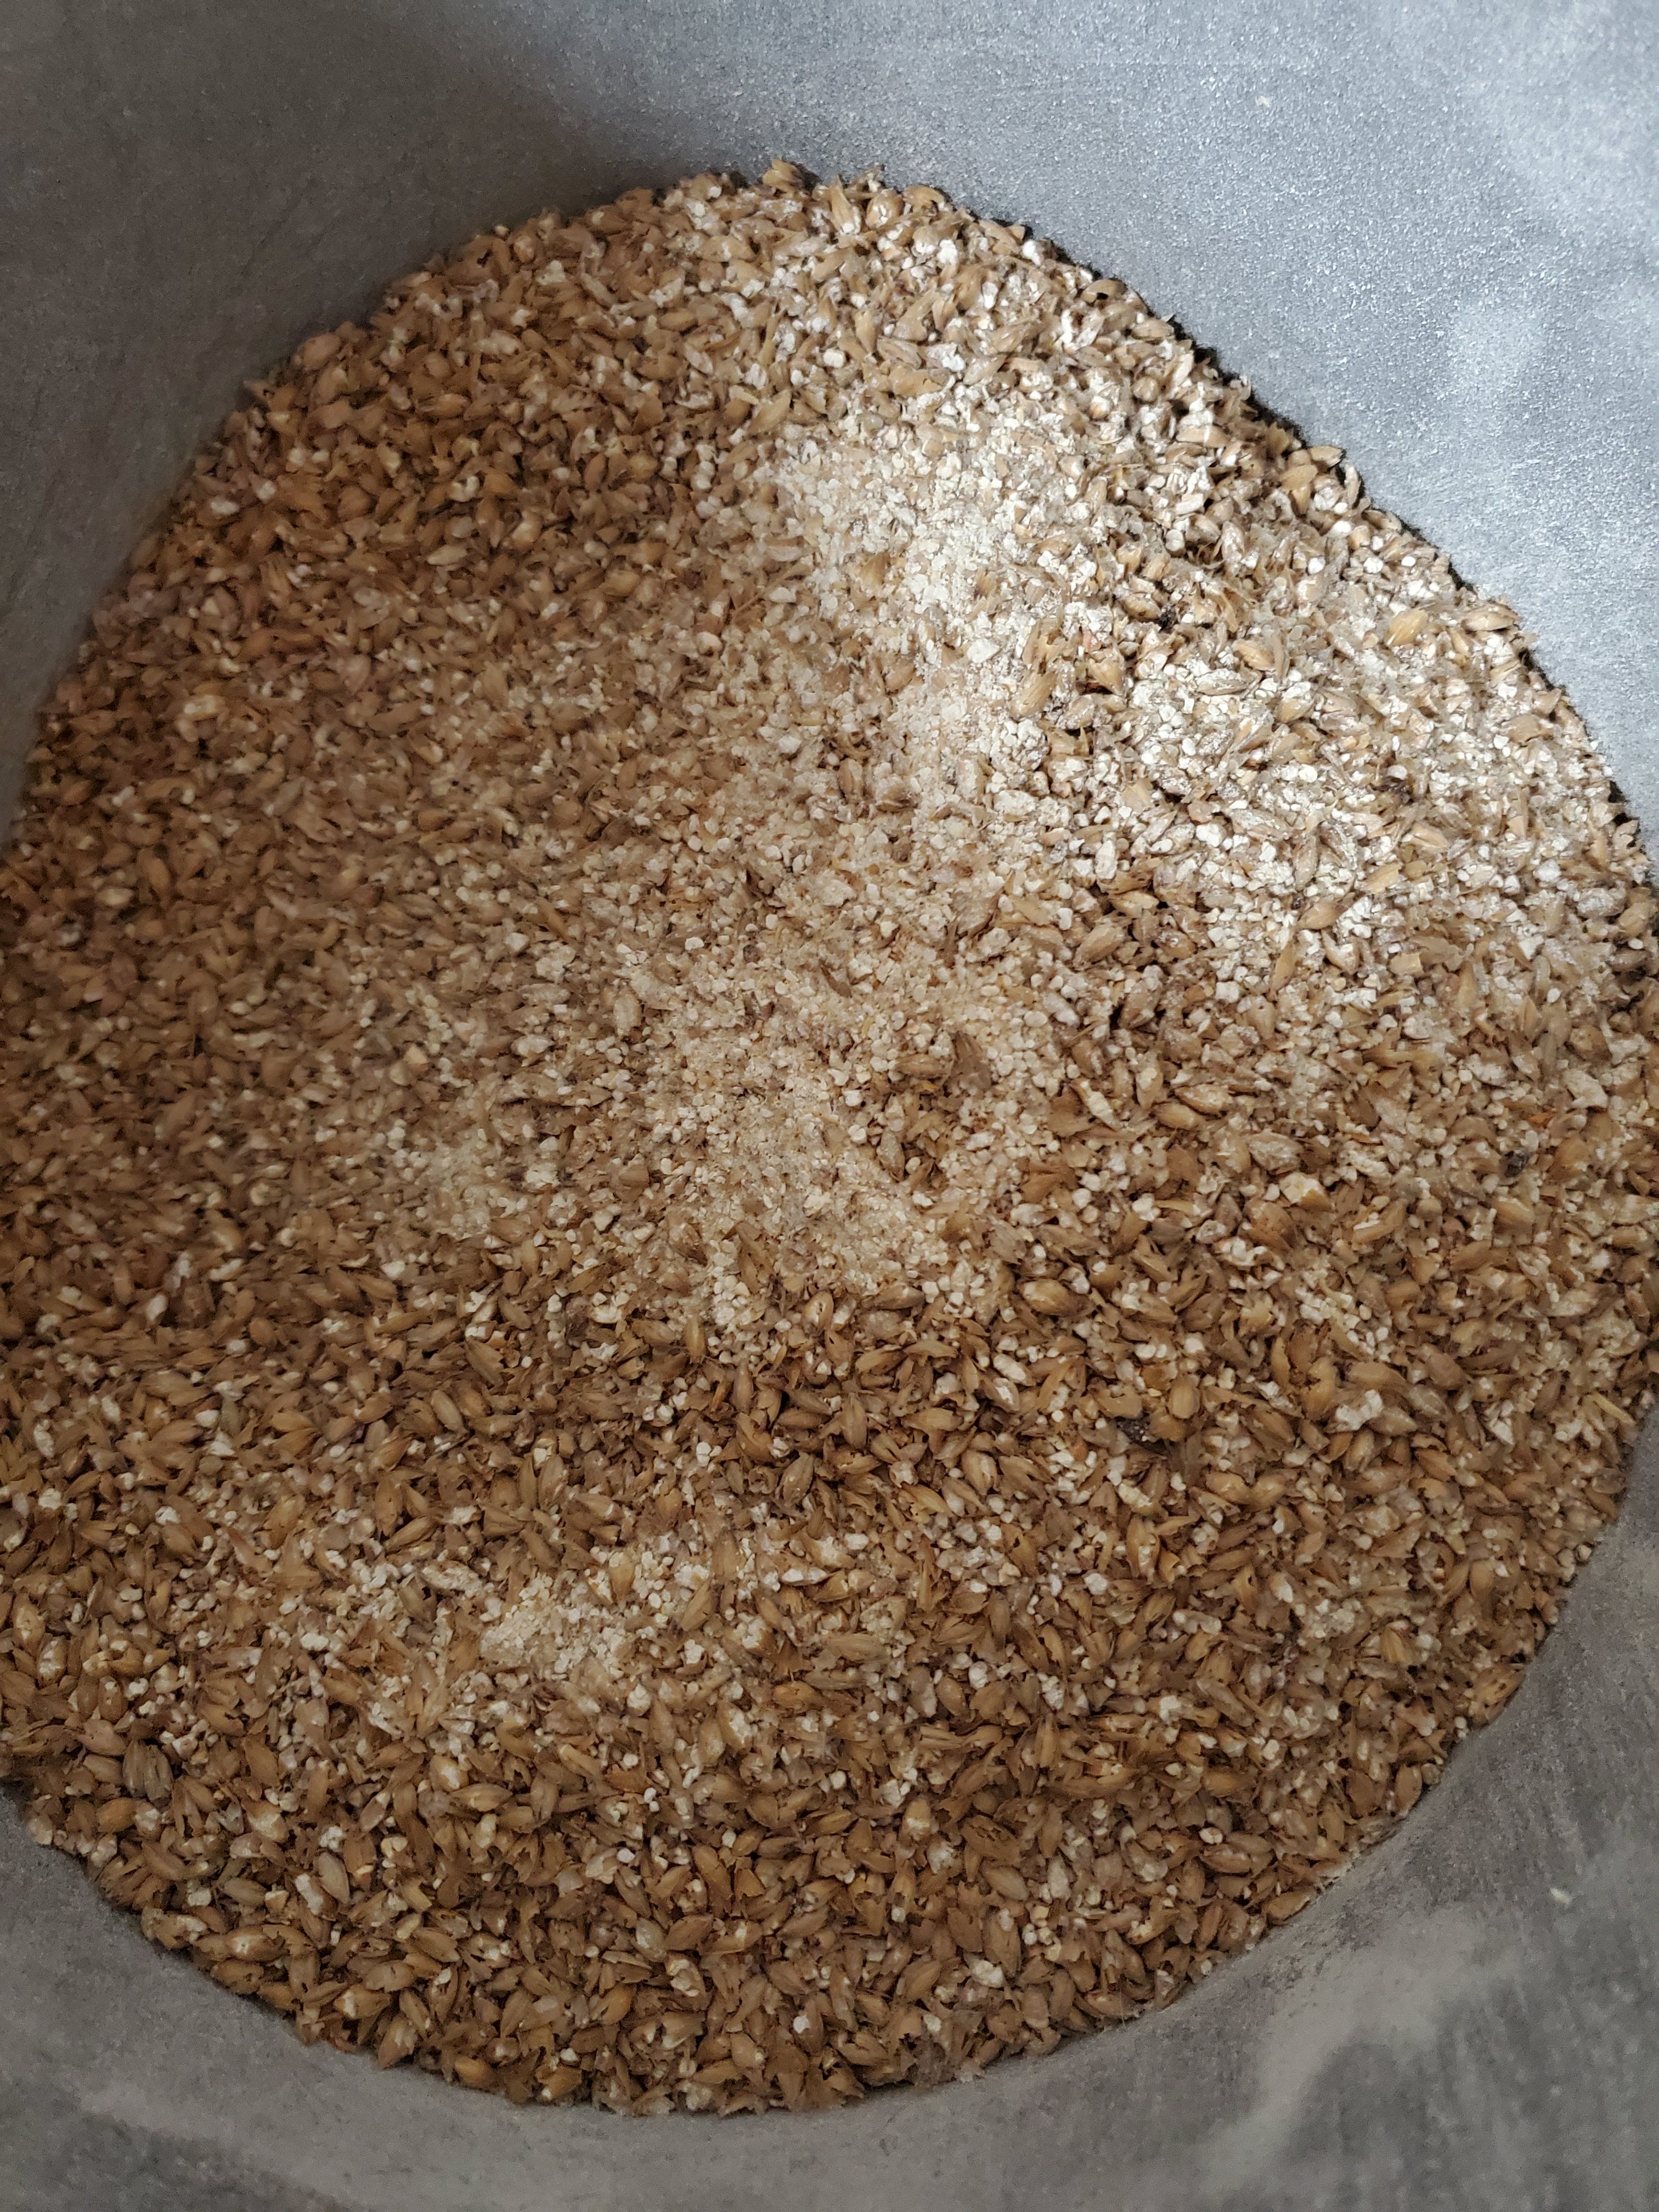
I decided to brew a British Brown Ale (13B) 5 gallon batch to drink fast, and build a starter for my upcoming 12.75 gallon batch. I finally checked my mill gap with a credit card .036", and found out I've been off one click this whole time. I ran the barley through first, and was happy knowing it was at a defined crush now (didn't look different, but piece of mind I guess knowing now).
20230604_095655.jpg


When I ran my oats through, I moved it down halfway to zero gap and they came out awesome as well.
20230604_095617.jpg


The first thing I did when I entered the brew house, was to turn on my HLT element and set the Ranco to 155F. I also turned on my PID & the RIMS/HERMS pump and set the PID to 155F. The PID read the constant low temperature of nothing flowing over it, and so drove the RIMS element constantly providing hotter water to the HLT faster. This gave me time to get the grist milled, water treatment, and my strike water to temperature.

I was ready!!!! Transferred my 169F water to MT and doughed in. Opened up my pump valve, and viola I saw wort enter the sight glass at the return to the tun. I then waited a couple of minutes, dialing in pump speed with the valve and saw less chunky wort in the sight glass before looking at the BrewBox PID. I'd say I was pretty close on predictions via Beersmith software. Here's what put a smile on my face.
20230604_112924.jpg

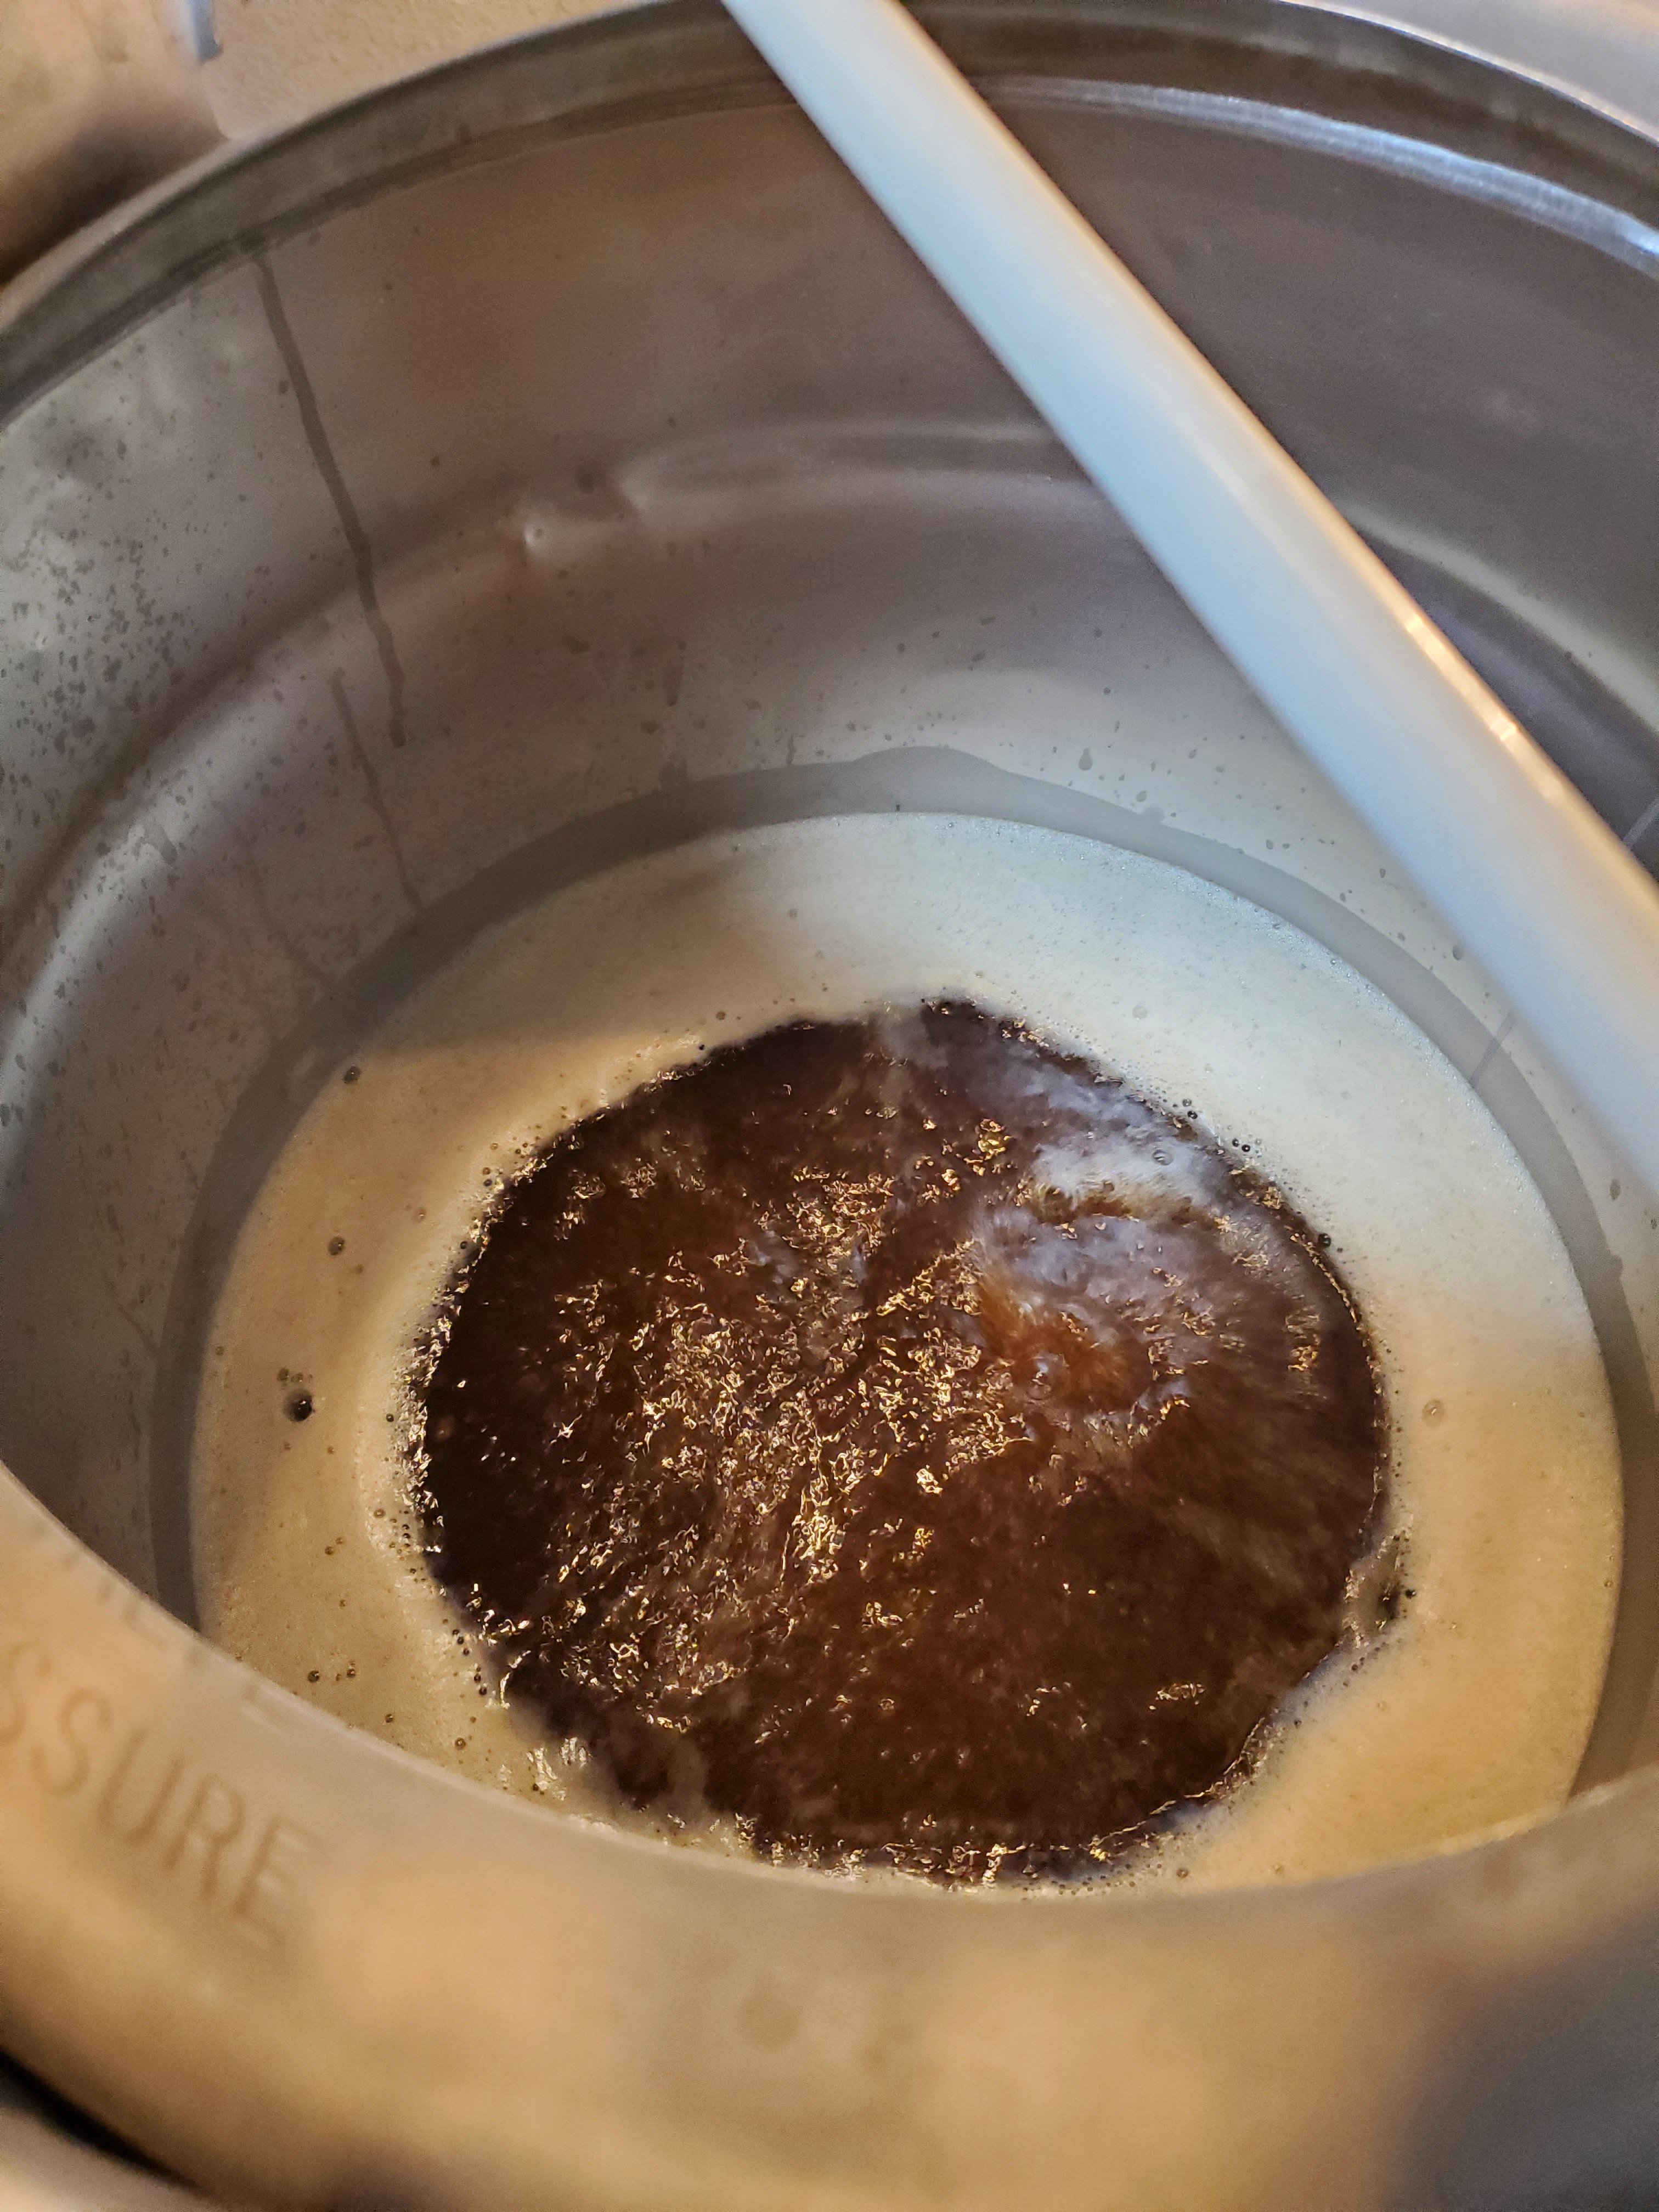
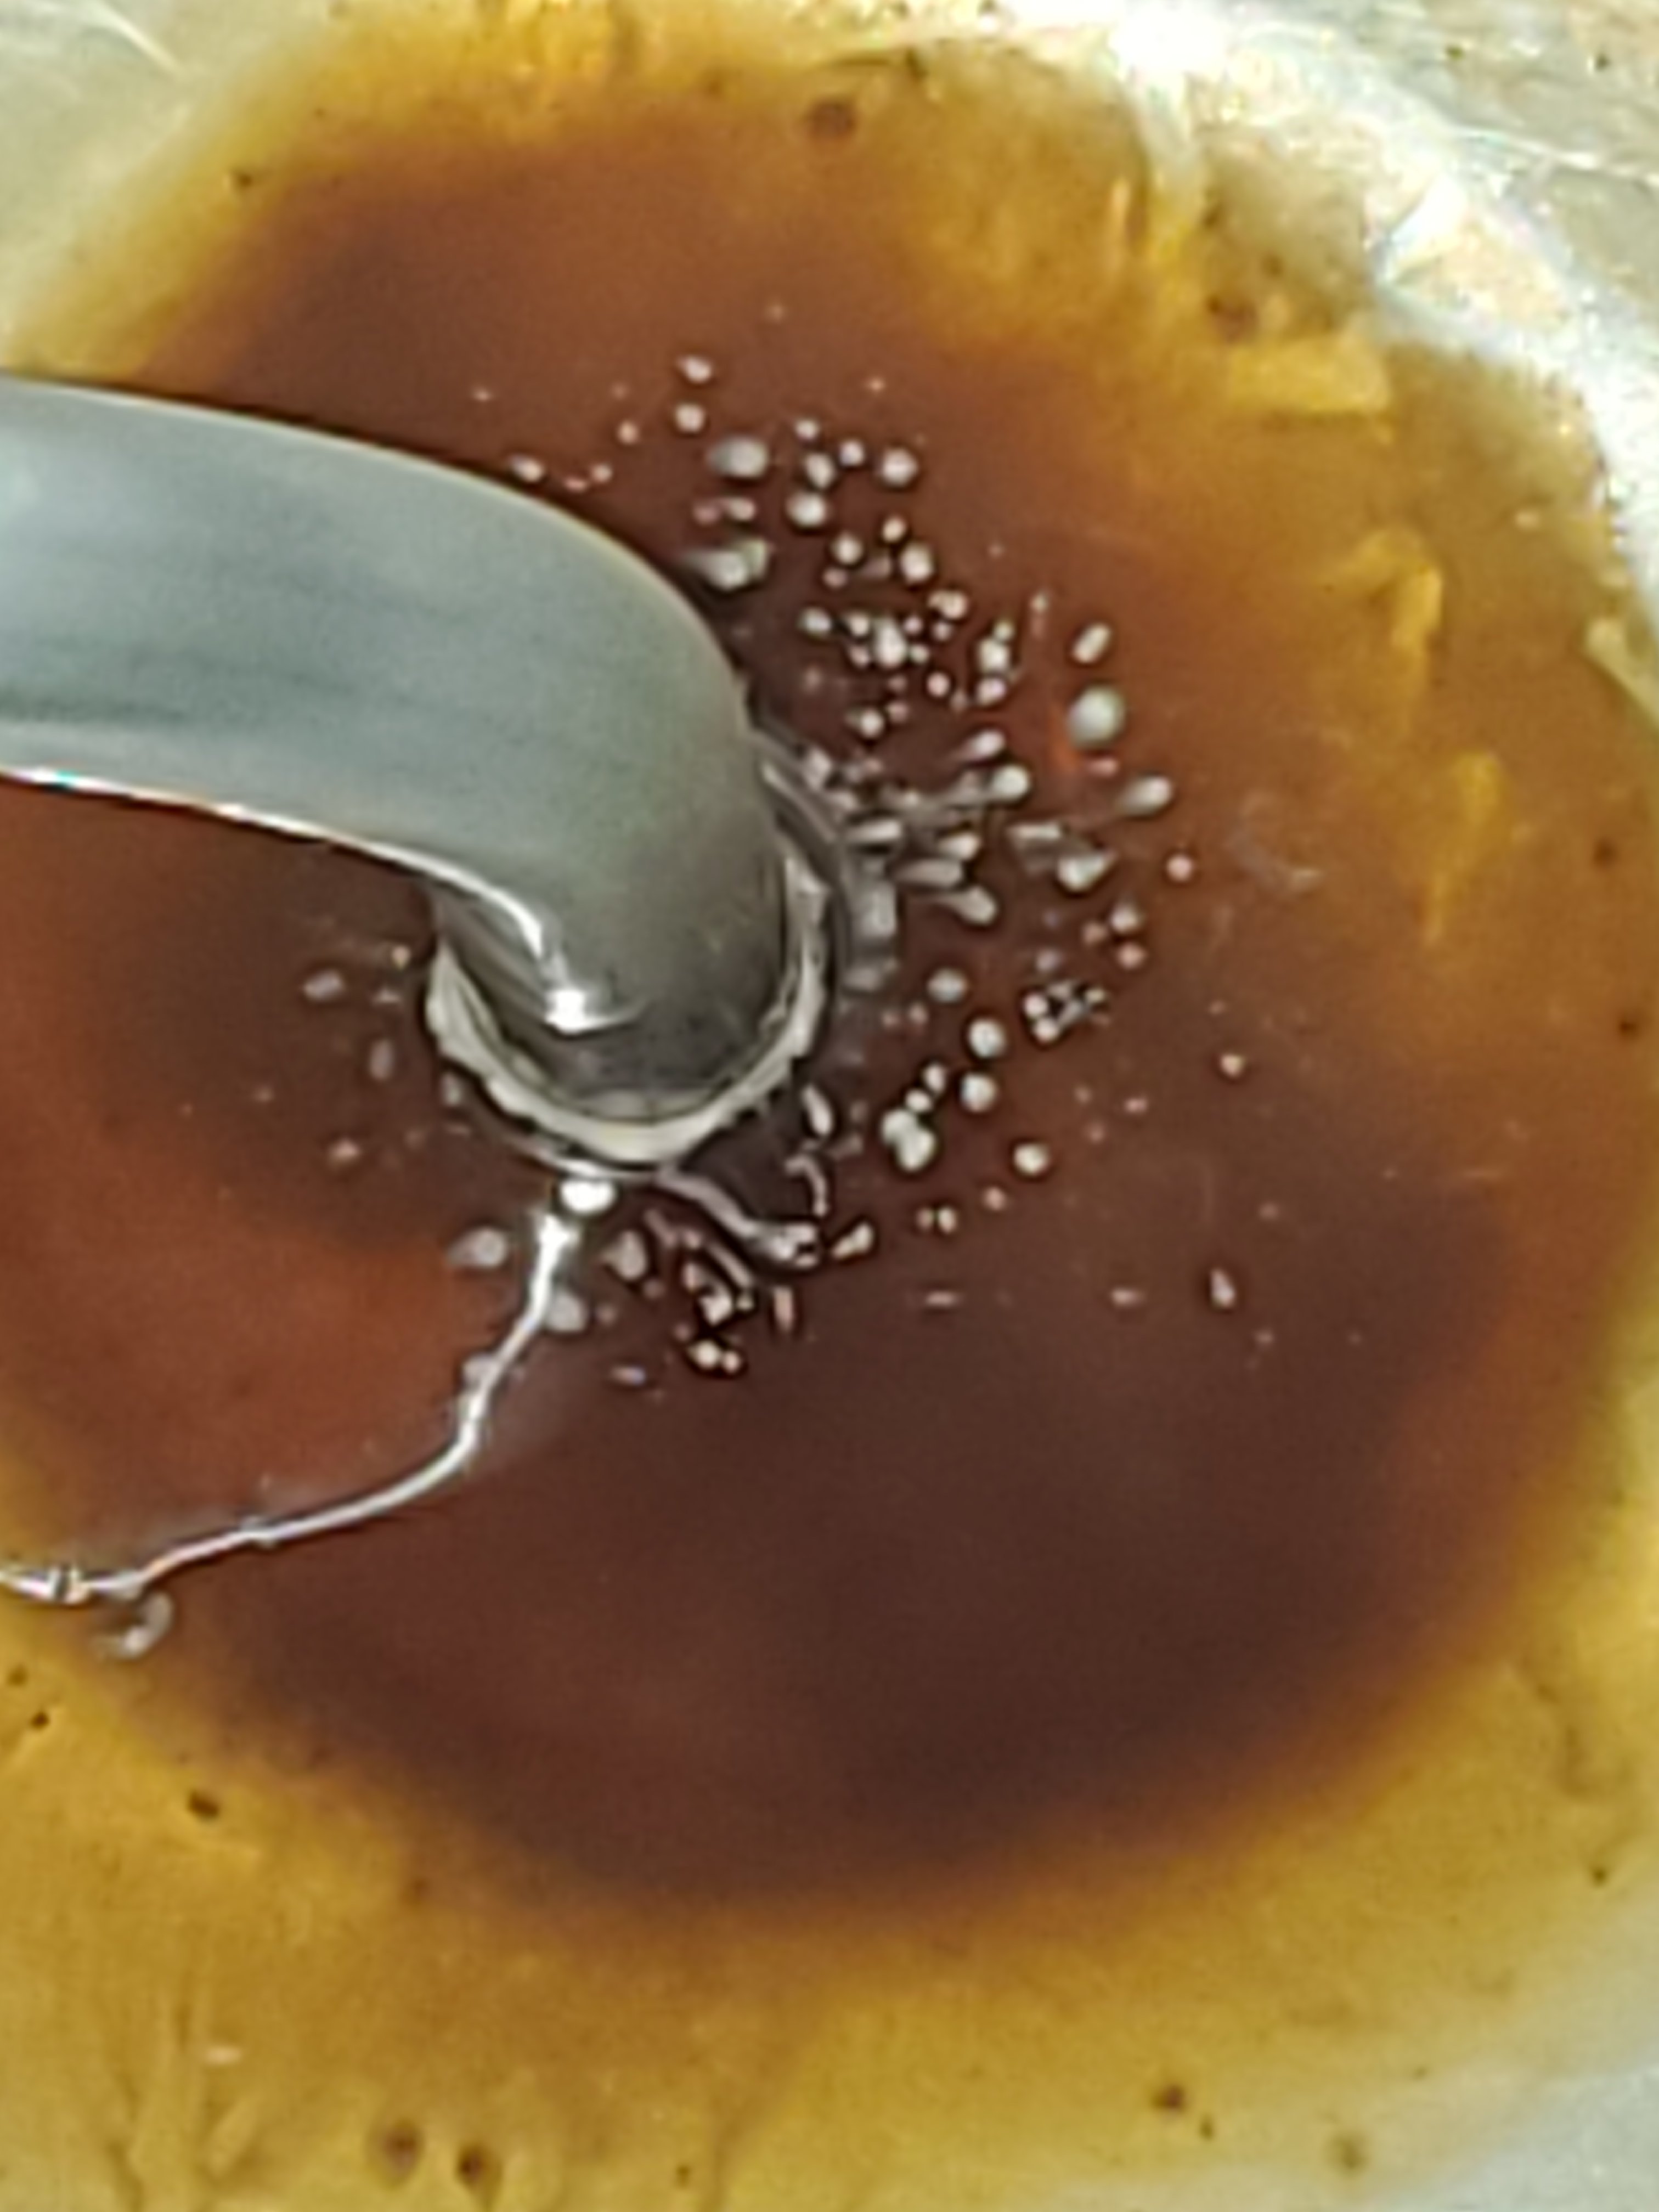
Woohoo, not bad! Went 60 minutes @155F, then... set the PID & Ranco at 168F, and 17 minutes later I was stable 168F. Held 168F for 10 minutes and then lautered to kettle. I wanted to experiment with no sparge, so I had all my brewing water in the mash. I won't be able to do this with all my beers, but I've never done it before so why not? Here's a pic of the wort right before knocking out to kettle.
20230604_111347.jpg


It's at the low end for style on color, but I'm happy with clarity. I didn't use my inline strainer this time. I ran everything into my hop spider and cleaned it before using again at the end of cooling. It worked great catching the clean out liquid from the CO2 push. This left very little behind in the hoses/pump/coil. I did a simple rinse to the drain with my wort flow pipework, and that's about when the boil started.
20230604_130955.jpg

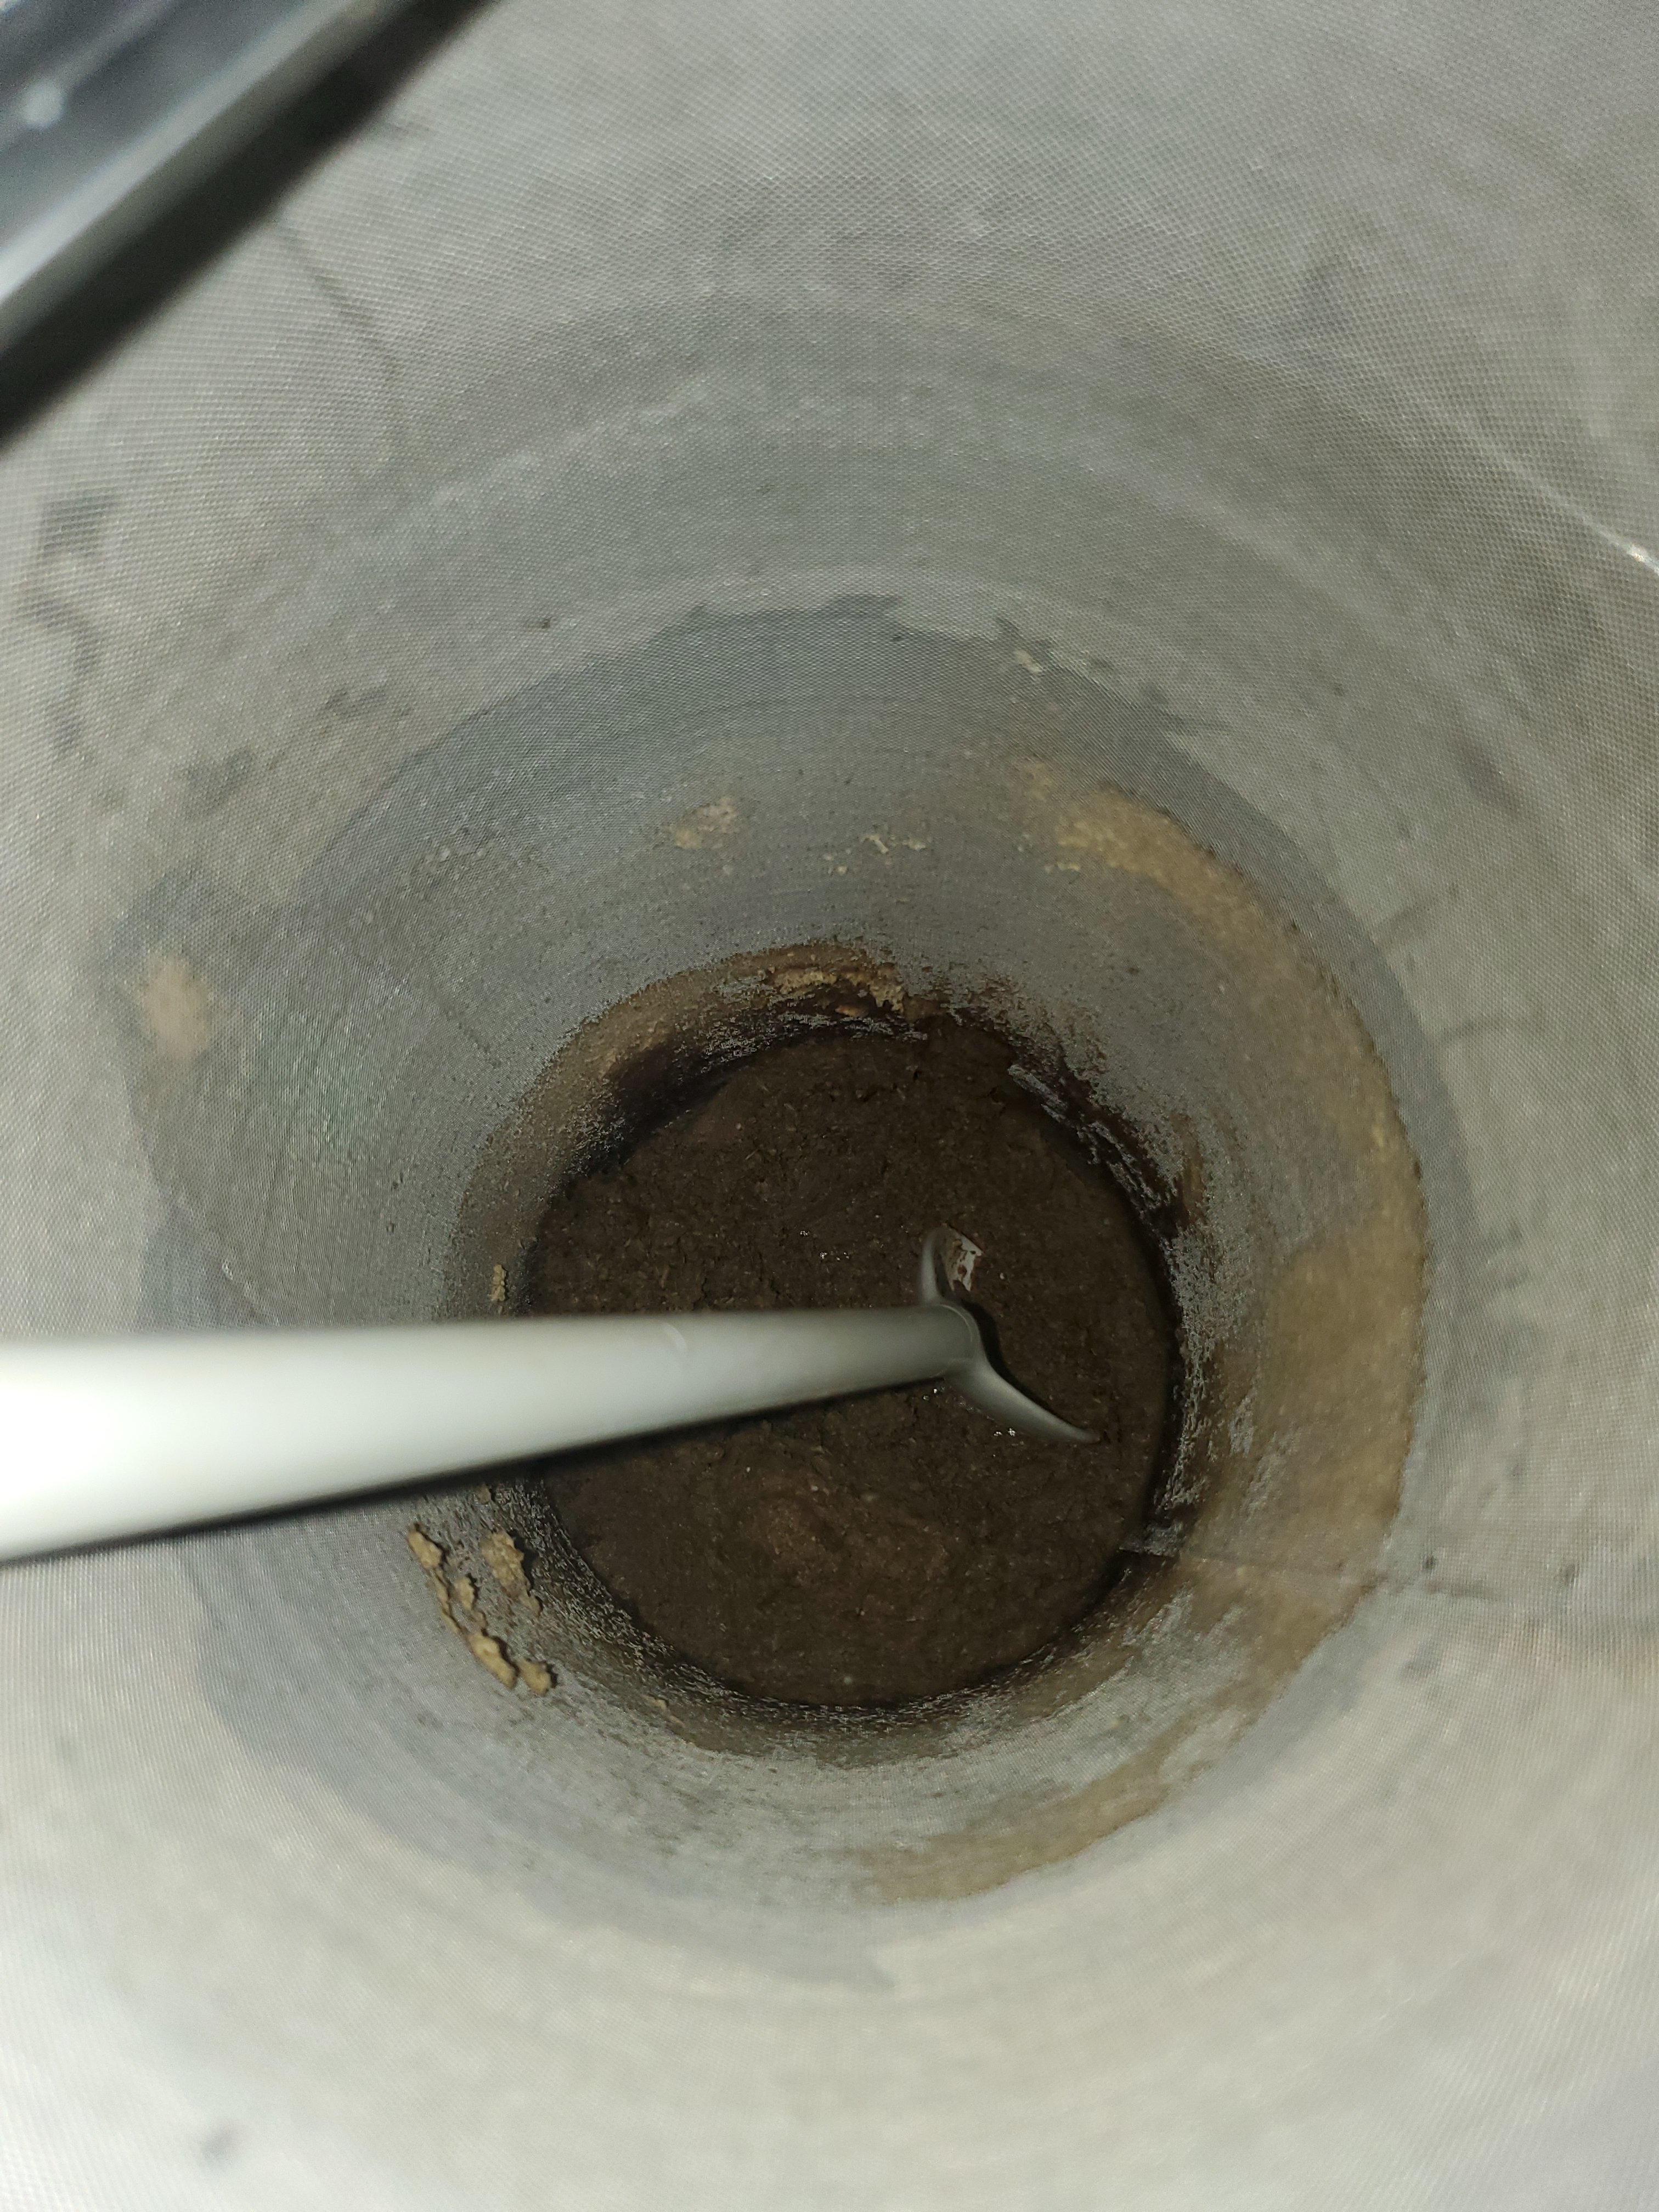
I had already added 1oz of FWH [email protected] 17.2 IBU's to the kettle upon knock out. Added SuperMoss HB at 15 minutes to go and a half ounce of EKG (same#s) for 4.2 IBU's and aroma with 10 minutes left. At finish, I opened up the lines and let it pump through starting my whirlpool time. Did this for 10 minutes and then turned on my cooking water. I used an open boil with free floating hop pellets, so I crashed and collected the gunk in the spider. Here's the kettle and spider post fermenter transfer.
20230606_130953.jpg

20230606_131035.jpg


So, very happy and wanted to share. Oh, no more rust in the HLT finally (thank you brewhardware.com for the element).
20230606_120503.jpg

My numbers for the day were all on ATC refractometer using conversion tool in BS3. Post mash prediction 1.044 actual 1.044, est OG 1.050 actual 1.050. We'll see how she finishes with a hydrometer. When I do big batches I always grab a hydrometer and refractometer reading, but I'm not worried on this batch as a starter.
 
Last edited:
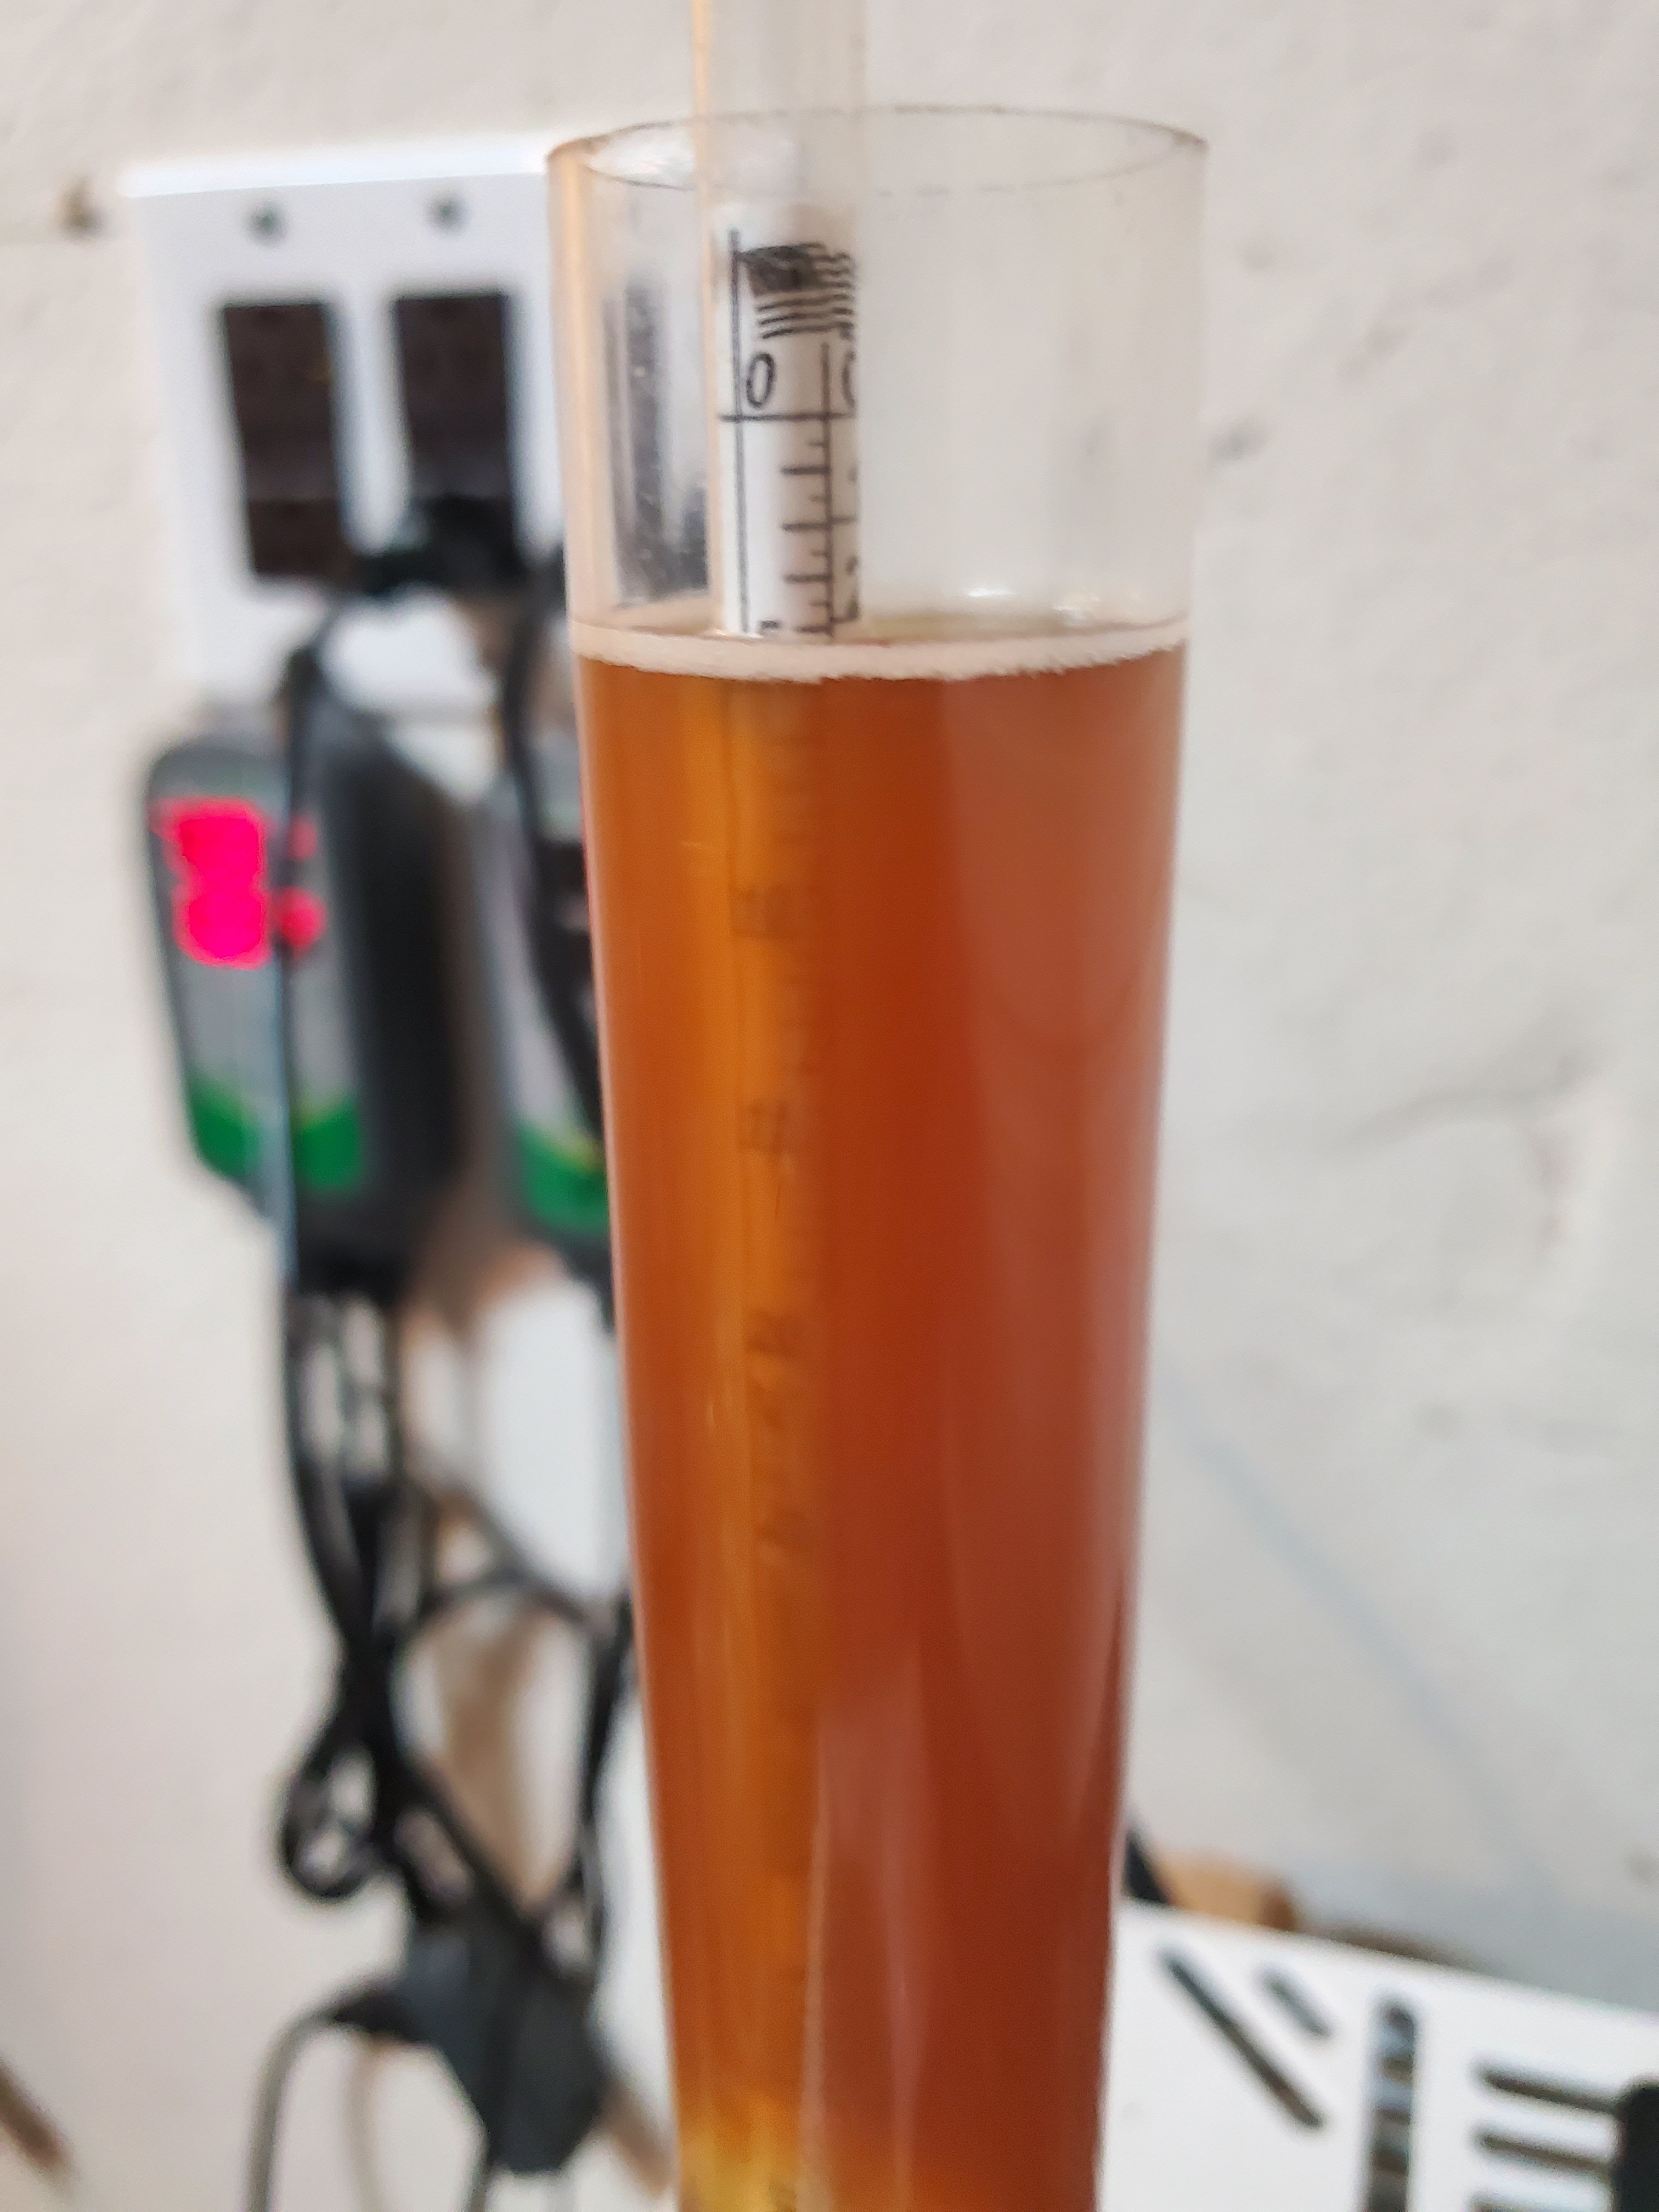
7 days in and I'm at a hydrometer testing of 1.016-1.017. Yesterday I ramped for my D-rest from 59F to 68F. It'll sit here for 3 days, then I'll check again. Hopefully it will be ready to crash cool by then.
20230611_165356.jpg

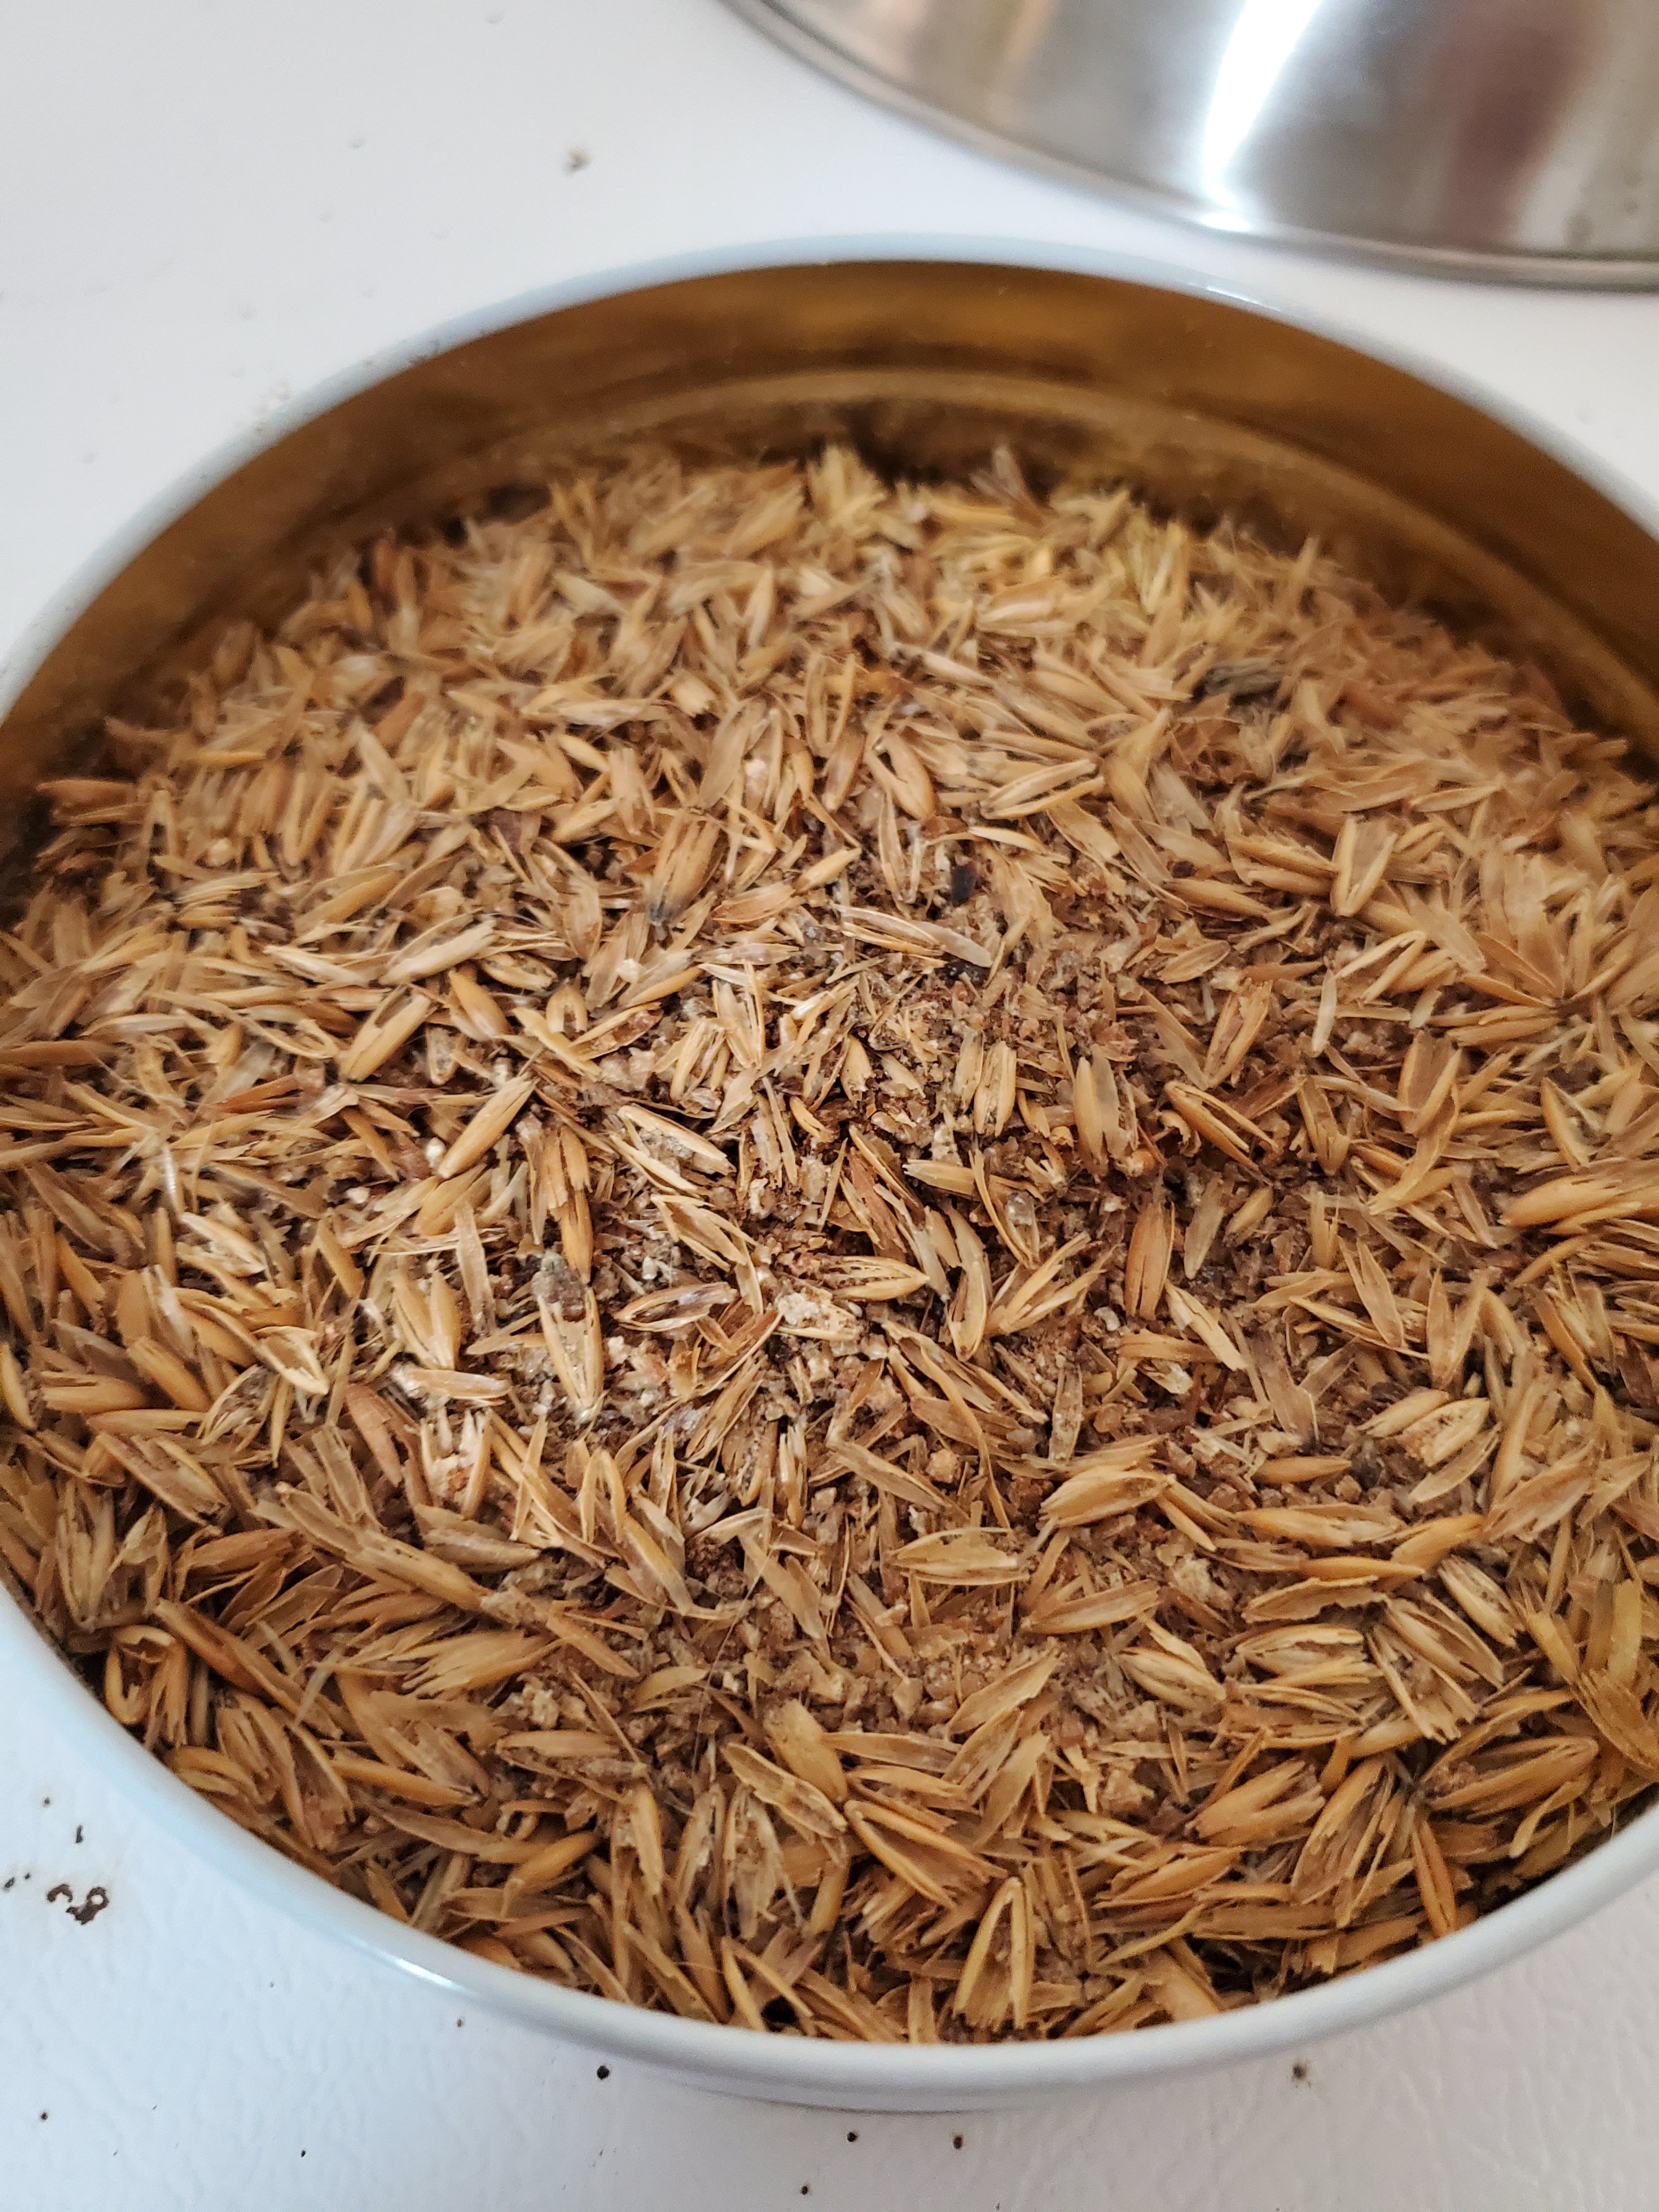
Looking very Newcastle-ish at the moment. Smells like sweet grain and caramel, I bet this one needs a little age on it to shine. Definitely upping the oats in the next version to a "hey oats" level. Also the chocolate needs increased for my true recipe beer. This yeast cake will chomp this next beer down, and I want a balanced brown next time with the focus on my oats.
 
TEST RUN!!!!!
Ok, water in both the HLT and MT from the tap heated to 80F and we sat for 10 minutes. (I read on my PID and set it from PID to on/off, and also set it for 130F).

Then, I turned on my HLT first to start the element and set it to 130F. I then turned the RIMS/ HERMS pump on so I could purge the system and to stir the HLT. I let that run until I saw a +1F rise, then I turned my awesome little key on my box and pressed the RIMS button... blammo it fired the RIMS element right up.
View attachment 821103
I got a good read on a 16 minute window of time of .78F/minute temperature rise. The water going into the HLT is hotter than the water coming out, so it only increases not that I care for my purposes but for tests pretty decent.

hey :) I am reworking my old two-element (2x 120vac 1500W) boil kettle into a herms setup. So something like your rims/HLT element combo as I'd run one PID and two SSRs (or one dual channel) but the system is powered by two 120v lines (two different breakers and gfcis)

I was wondering if you could share the design and wiring of your PID box/ controller setup.
 
Your system looks well thought out, I know planning for every eventuality can be a daunting task, but you look like you have it dialed in. Where did you find the air bleed valve that sits on top of the RIMS tube and what thread size is it? Best of luck with your new/upgraded system!!
 
Amazon, air vent valve in the 1/2"mpt flavor.

Screenshot_20230818-172546_Amazon Shopping.jpg

This project took time because I'm so meticulous and anal retentive. I'm so glad it is finally together and brewing. These air vents are awesome, but prepare for the little bit of drip when you are releasing. I keep a towel in hand and open it like that. It spurts real quick and then nothing when loading the system, and then again when things get hot. Happy to help anytime!
 
hey :) I am reworking my old two-element (2x 120vac 1500W) boil kettle into a herms setup. So something like your rims/HLT element combo as I'd run one PID and two SSRs (or one dual channel) but the system is powered by two 120v lines (two different breakers and gfcis)

I was wondering if you could share the design and wiring of your PID box/ controller setup.
I just saw you ask for wiring, I'm sorry I didn't read that part until now. I had drawings but threw them out after the project. I'll try to explain as best as I can for you. I split the circuits so that the heaviest drawing element got it's own, then everything else is on the other. Any specifics I'd be glad to try and answer for you.
 
I just saw you ask for wiring, I'm sorry I didn't read that part until now. I had drawings but threw them out after the project. I'll try to explain as best as I can for you. I split the circuits so that the heaviest drawing element got it's own, then everything else is on the other. Any specifics I'd be glad to try and answer for you.
thank you for the reply and help.

if you have a moment, maybe drop a pic or two of the insides for inspiration? thank youuu and Prost!
 
and this, kids, is how @WortMonger defined the term #BrewGearPorn
seems that an appendix surgery is easier than wiring that tight setup.... LOVE IT!
Thank you!!
You do not want to know... that's how painful it was... at least a dozen times in places!!!! Omg, so worth it, but it was hard work. I would definitely wire it differently.
 
Back
Top