Hi All,
This is my first real post and I'll be using this thread to document most of my build.
I am located in HK (where it seems that many of you import your components) and have been pouring over posts and threads on how to setup all aspects of my future electric brewery.
One thing I noticed early on was that most of the stuff that most builders buy are sourced from China anyway, so why re-import it in from the States.
Secondly, in terms of the electrical components, most of the connectors used in the States are not to code in HK. NEMA is only essentially only used in North America, whereas we use both the IEC/BS standards in HK. For example GFCI basically don't exist in HK in the same way that they exist in North America (we use RCDs or RCCBs).
As most wiring diagrams are based on the US power system, I had to really strip down and re-draw a diagram more suited to HK. Since I will be running only 240V throughout the entire system (no transformers), it should simplify much of the build.
I have also decided to use din rail mounted contactors and components instead of the surface mounted items (except the SSRs). Firstly, they are easier to find, secondly, they seem to be easier to install and organize.
For pumps, I've decided to go for solar water heater pumps with copper/brass impeller heads. Definitely better then the plastic pumps but at USD$60-70 each, much cheaper then importing march or chugger pumps.
I splurged on PID and timer controllers and opted for Omrons. I figured since I was saving so much on plumbing hardware, I'll give these guys a shot. I also found these temperature sensors(http://www.aliexpress.com/item/Shea...-protection-head-fast-delivery/955966505.html) which are huge, but allows me to quickly insert and disconnect from any thermowell.
A few goals of this build and documenting of this build.
-Use single-phase 3-wire 240V throughout all diagrams
-Use Metric in all things
-Source all components outside of North America (except ingredients, you guys have good ingredients)
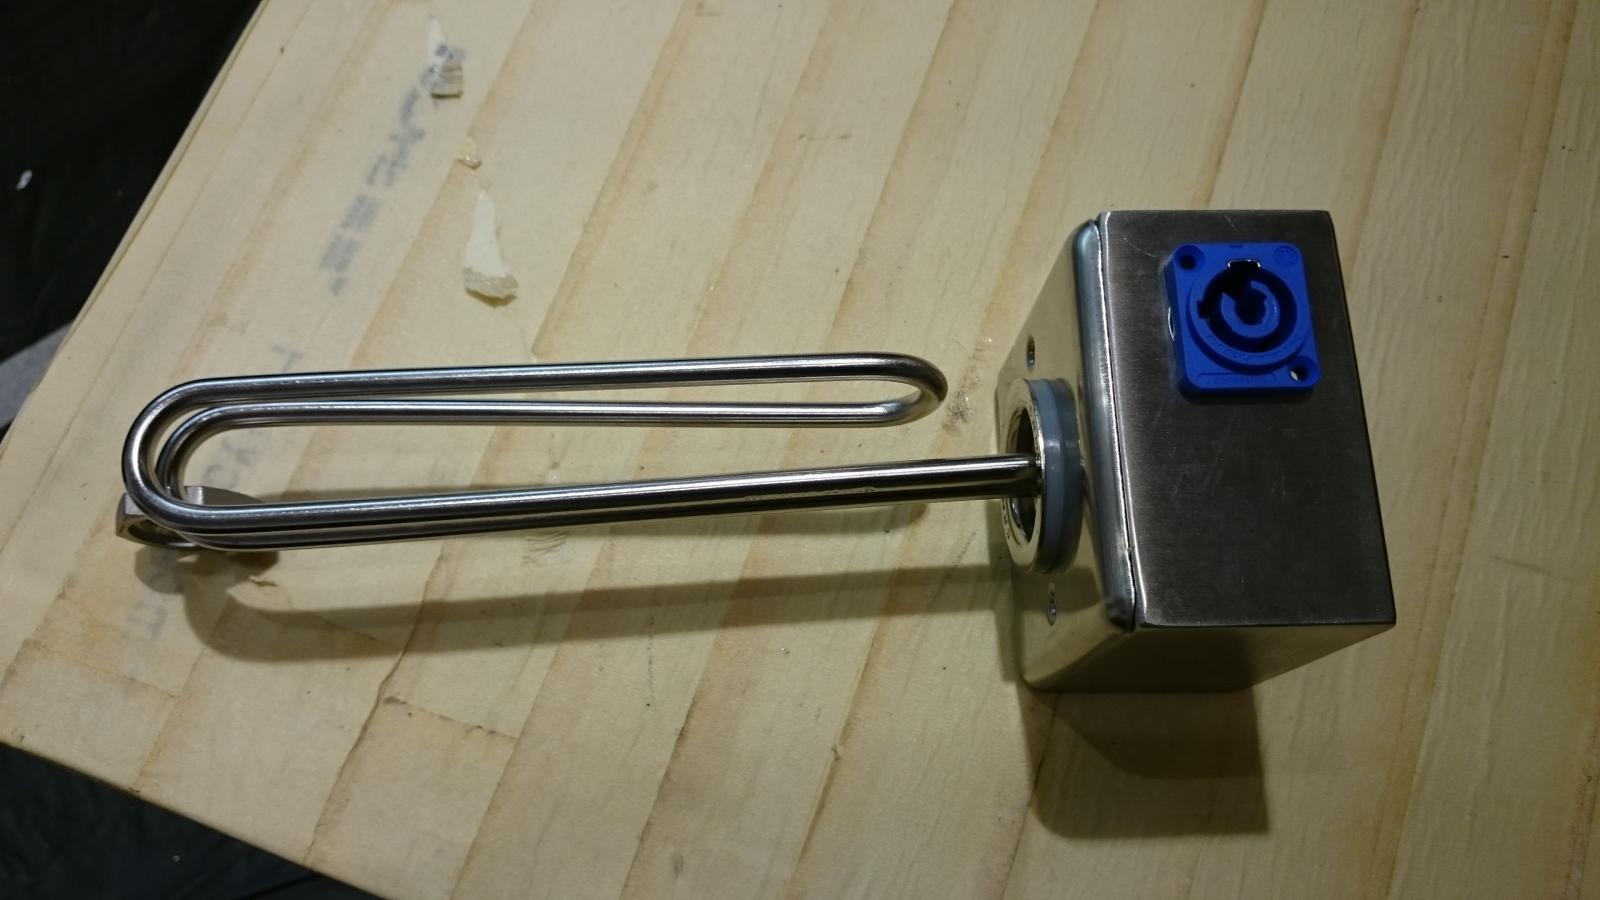
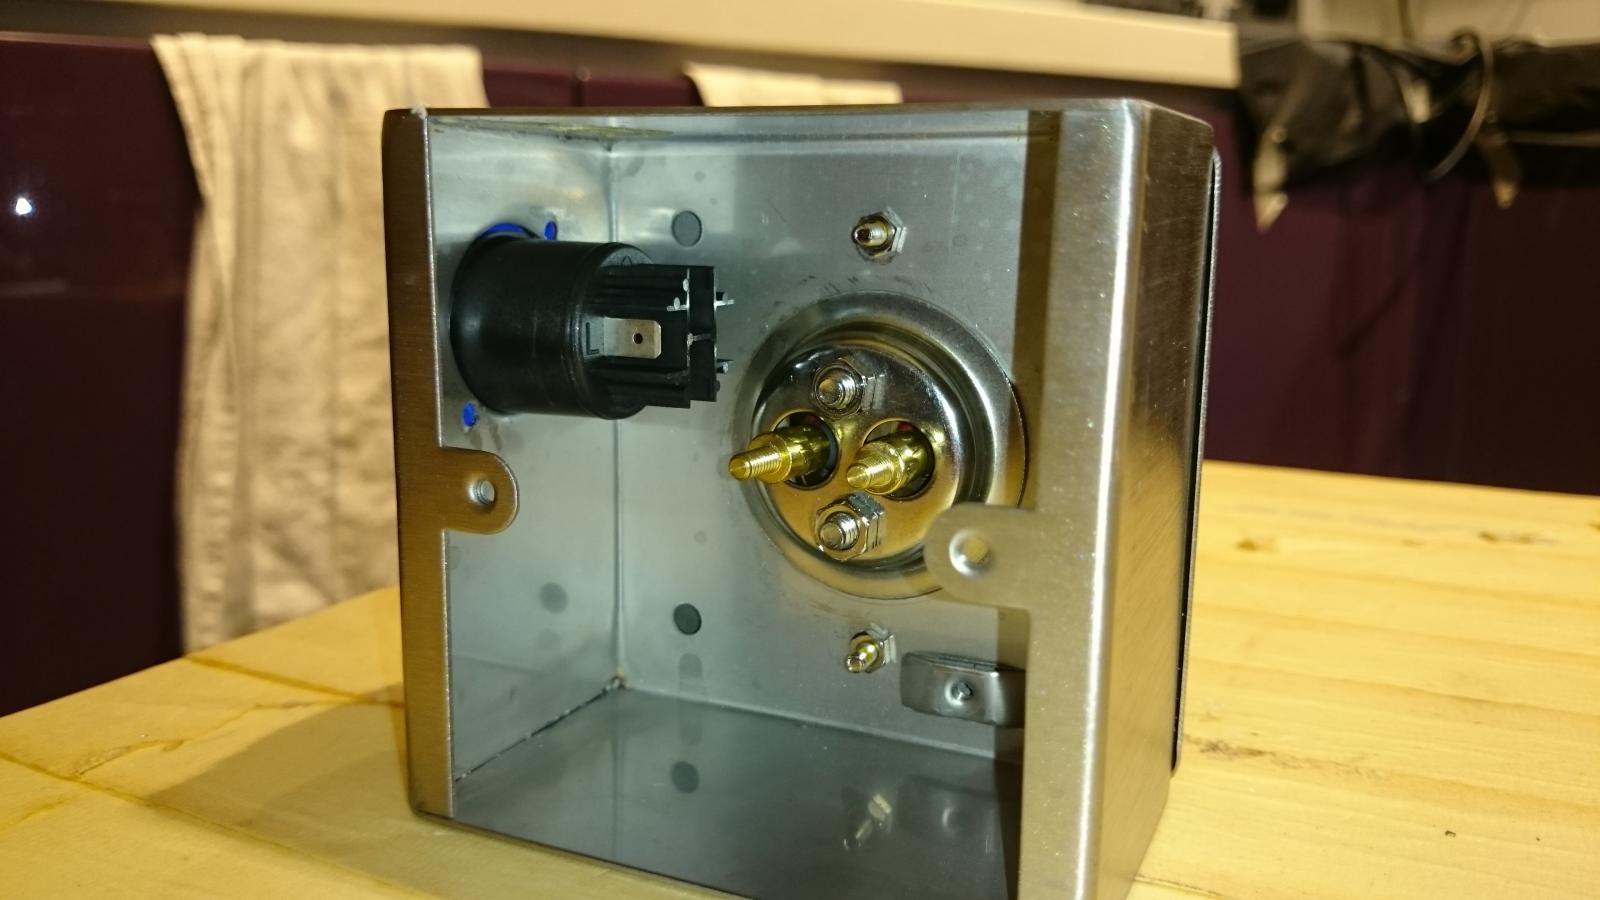
Nearly everything was purchased from aliexpress.com and rs-online.com, except pots, heating elements (Italian made Camel brand), and wiring which were purchased in local shops in and around HK. I find that there are items which are better to spend a bit more and buy after you have personally handled them.
Price wise, I'm paying nearly half the price of what I've seen in some of the online shops in the states. And since I'm in HK, shipping costs are significantly less then if I imported anything from the States.
Quality of each item will always be an issue with stuff you get from China. Some of the edges are not as polished, the build quality of some of the components may not be as good. If you do get anything from aliexpress.com, always buy a few extra items, for the price, it's definitely worth it.
I have not included a safe start interlock in my diagram, as I'm still not convinced if I need to at this time. I can always add on in later if necessary. I am also pondering whether to add contactors for each pump (10A should be sufficient).
View attachment Visio-Contrl panel diagram v2.0.pdf


![DSC_1110[1].jpg DSC_1110[1].jpg](https://cdn.homebrewtalk.com/data/attach/256/256698-DSC-1110-1-.jpg)
![DSC_1125[1].jpg DSC_1125[1].jpg](https://cdn.homebrewtalk.com/data/attach/256/256699-DSC-1125-1-.jpg)
![DSC_1126[1].jpg DSC_1126[1].jpg](https://cdn.homebrewtalk.com/data/attach/256/256700-DSC-1126-1-.jpg)


![DSC_1137[1].jpg DSC_1137[1].jpg](https://cdn.homebrewtalk.com/data/attach/256/256703-DSC-1137-1-.jpg)


![Craft A Brew - Safale S-04 Dry Yeast - Fermentis - English Ale Dry Yeast - For English and American Ales and Hard Apple Ciders - Ingredients for Home Brewing - Beer Making Supplies - [1 Pack]](https://m.media-amazon.com/images/I/41fVGNh6JfL._SL500_.jpg)


![DSC_1140[1].jpg DSC_1140[1].jpg](https://cdn.homebrewtalk.com/data/attach/257/257805-DSC-1140-1-.jpg)
![DSC_1149[1].jpg DSC_1149[1].jpg](https://cdn.homebrewtalk.com/data/attach/257/257806-DSC-1149-1-.jpg)
![DSC_1150[1].jpg DSC_1150[1].jpg](https://cdn.homebrewtalk.com/data/attach/257/257807-DSC-1150-1-.jpg)
![DSC_1170[1].jpg DSC_1170[1].jpg](https://cdn.homebrewtalk.com/data/attach/257/257808-DSC-1170-1-.jpg)
![DSC_1171[1].jpg DSC_1171[1].jpg](https://cdn.homebrewtalk.com/data/attach/257/257809-DSC-1171-1-.jpg)
![DSC_1168[1].jpg DSC_1168[1].jpg](https://cdn.homebrewtalk.com/data/attach/258/258097-DSC-1168-1-.jpg)
![DSC_1169[1].jpg DSC_1169[1].jpg](https://cdn.homebrewtalk.com/data/attach/258/258098-DSC-1169-1-.jpg)
![DSC_1170[1].jpg DSC_1170[1].jpg](https://cdn.homebrewtalk.com/data/attach/258/258099-DSC-1170-1-.jpg)
![DSC_1173[1].jpg DSC_1173[1].jpg](https://cdn.homebrewtalk.com/data/attach/258/258100-DSC-1173-1-.jpg)
![DSC_1170[2].jpg DSC_1170[2].jpg](https://cdn.homebrewtalk.com/data/attach/258/258284-DSC-1170-2-.jpg)
![DSC_1172[1].jpg DSC_1172[1].jpg](https://cdn.homebrewtalk.com/data/attach/258/258285-DSC-1172-1-.jpg)
![DSC_1173[1].jpg DSC_1173[1].jpg](https://cdn.homebrewtalk.com/data/attach/258/258286-DSC-1173-1-.jpg)
![DSC_1174[1].jpg DSC_1174[1].jpg](https://cdn.homebrewtalk.com/data/attach/258/258287-DSC-1174-1-.jpg)
![DSC_1168[1].jpg DSC_1168[1].jpg](https://cdn.homebrewtalk.com/data/attach/258/258289-DSC-1168-1-.jpg)
![DSC_1170[1].jpg DSC_1170[1].jpg](https://cdn.homebrewtalk.com/data/attach/259/259068-DSC-1170-1-.jpg)
![DSC_1183[1].jpg DSC_1183[1].jpg](https://cdn.homebrewtalk.com/data/attach/259/259069-DSC-1183-1-.jpg)
![DSC_1184[1].jpg DSC_1184[1].jpg](https://cdn.homebrewtalk.com/data/attach/259/259070-DSC-1184-1-.jpg)
![DSC_1185[1].jpg DSC_1185[1].jpg](https://cdn.homebrewtalk.com/data/attach/259/259071-DSC-1185-1-.jpg)
![DSC_1186[1].jpg DSC_1186[1].jpg](https://cdn.homebrewtalk.com/data/attach/259/259072-DSC-1186-1-.jpg)
![DSC_1187[1].jpg DSC_1187[1].jpg](https://cdn.homebrewtalk.com/data/attach/259/259073-DSC-1187-1-.jpg)

