Phischy1
Well-Known Member
Cooler mashtun isn't that big. And if you use carboys you can take a dorm fridge (no freezer), remove the shelves and it'll work perfectly for ferm temp control and doesn't eat a ton of space and you can store stuff on top.thinking of diying a stirplate soon.
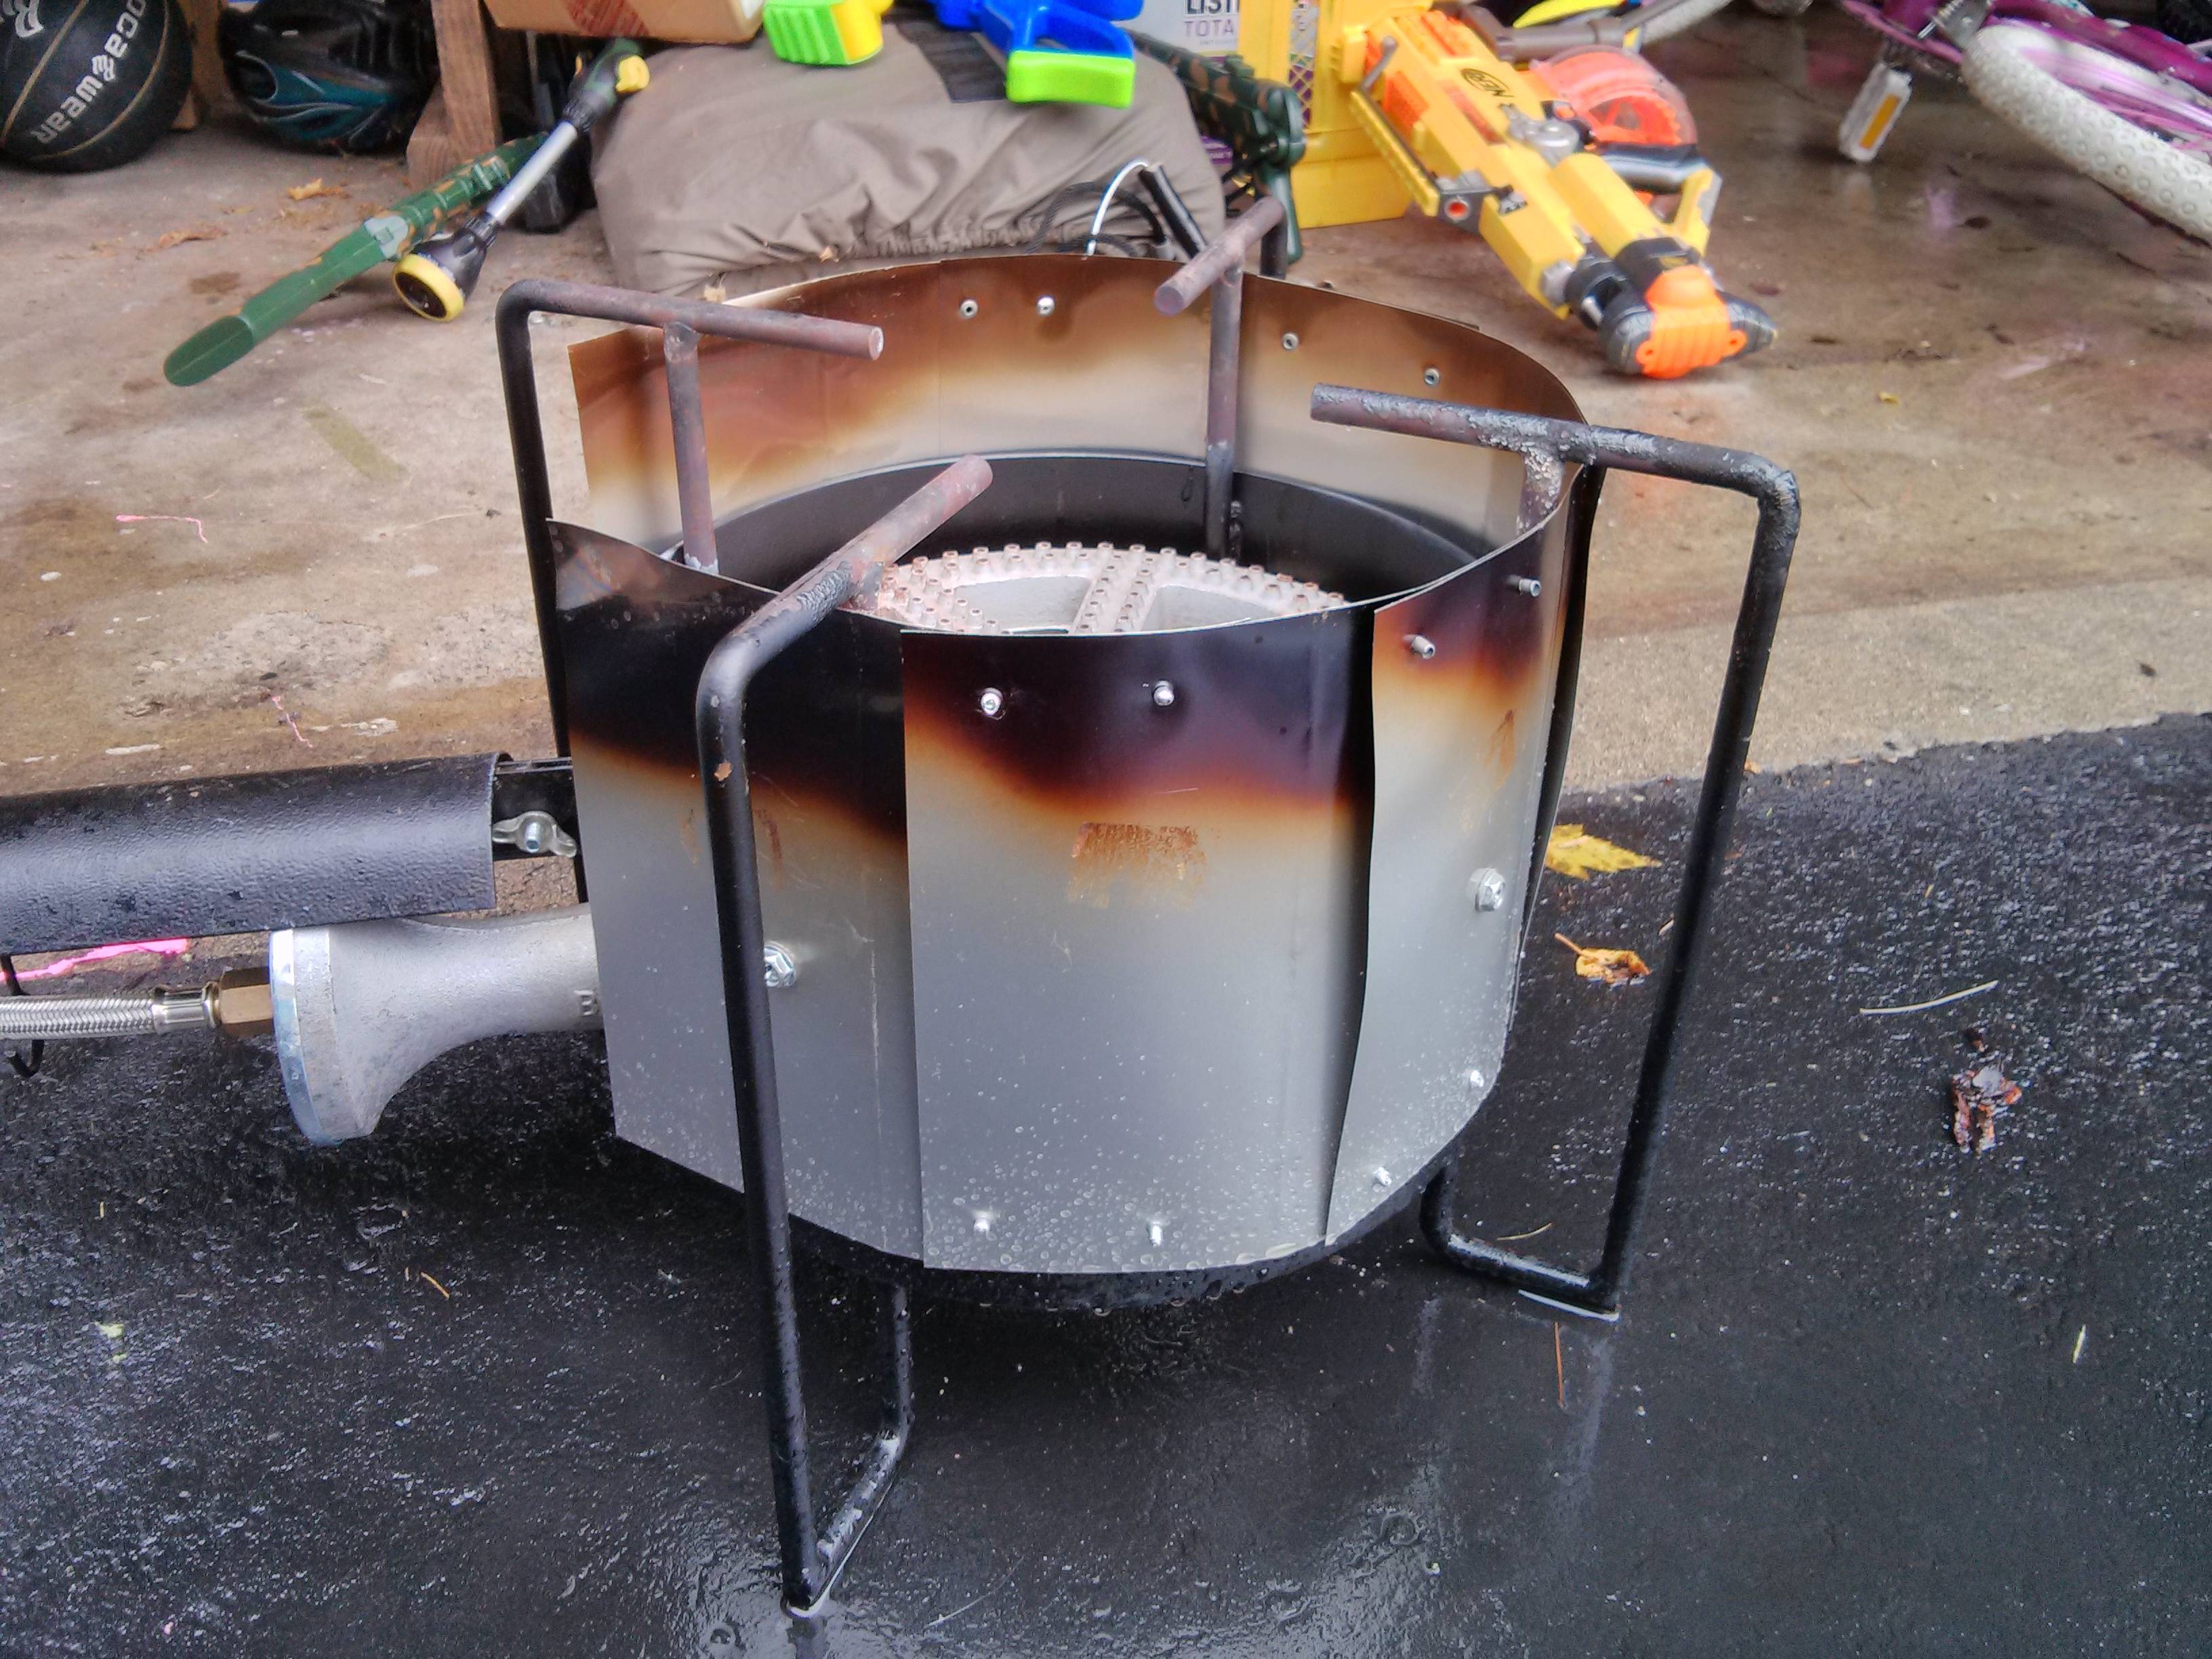
my brew partner just got a 7.5 gal kettle and burner(probs a turkey fryer).
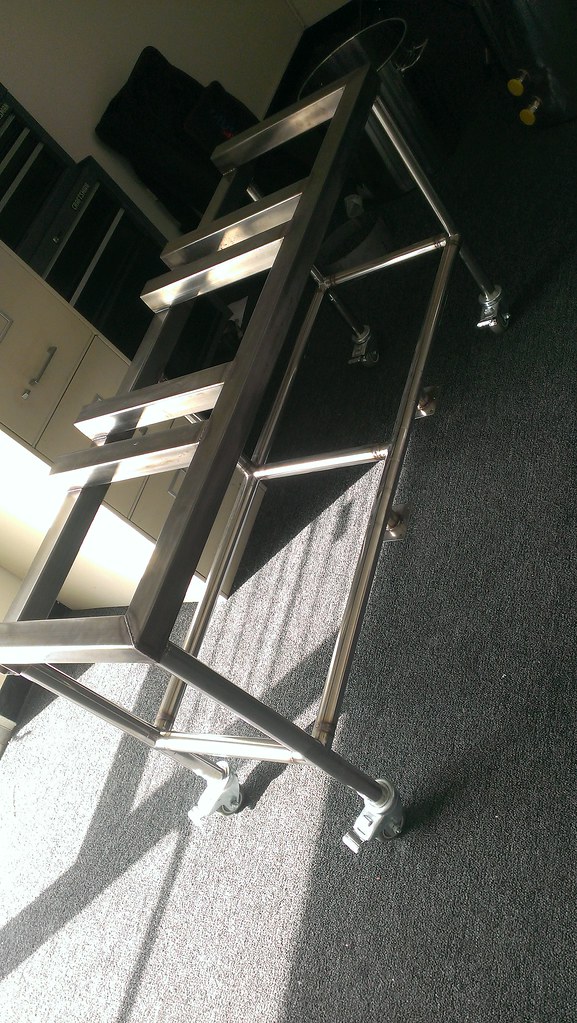
I'd like to build a Mash Tun so we can do all grain batches.
no space for a chest freezer for temp control right now
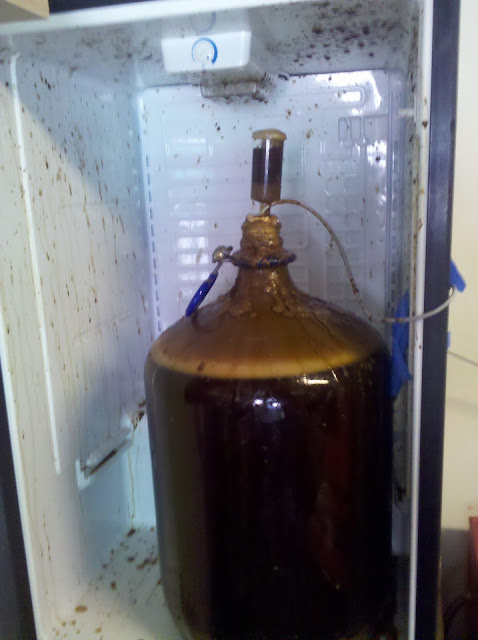
If you put 6 gal in the carboy I highly recomend a blowoff tube, else you get this nightmare.


![Craft A Brew - Safale BE-256 Yeast - Fermentis - Belgian Ale Dry Yeast - For Belgian & Strong Ales - Ingredients for Home Brewing - Beer Making Supplies - [3 Pack]](https://m.media-amazon.com/images/I/51bcKEwQmWL._SL500_.jpg)