I figured this would be a good place to jot down my notes as I go through the process of using this as a fermenting chamber all the way to a kegerator as time proceeds. Especially if it helps anyone else learn from what happens here.
I purchased a refurbished, Igloo FR464 4.6cu ft from HOBO outlet store for $66. Wanted the FR465 (stainless steel door, +$10), but they ran out by the time I got back to the store but had plenty of the black. Had a slight ding in the door, nothing for me to worry about too much as a bachelor.
I had some reservations on the purchase from a few forum posts on here with it being just too small, but I figured, for $66, what's the worst that happens?!
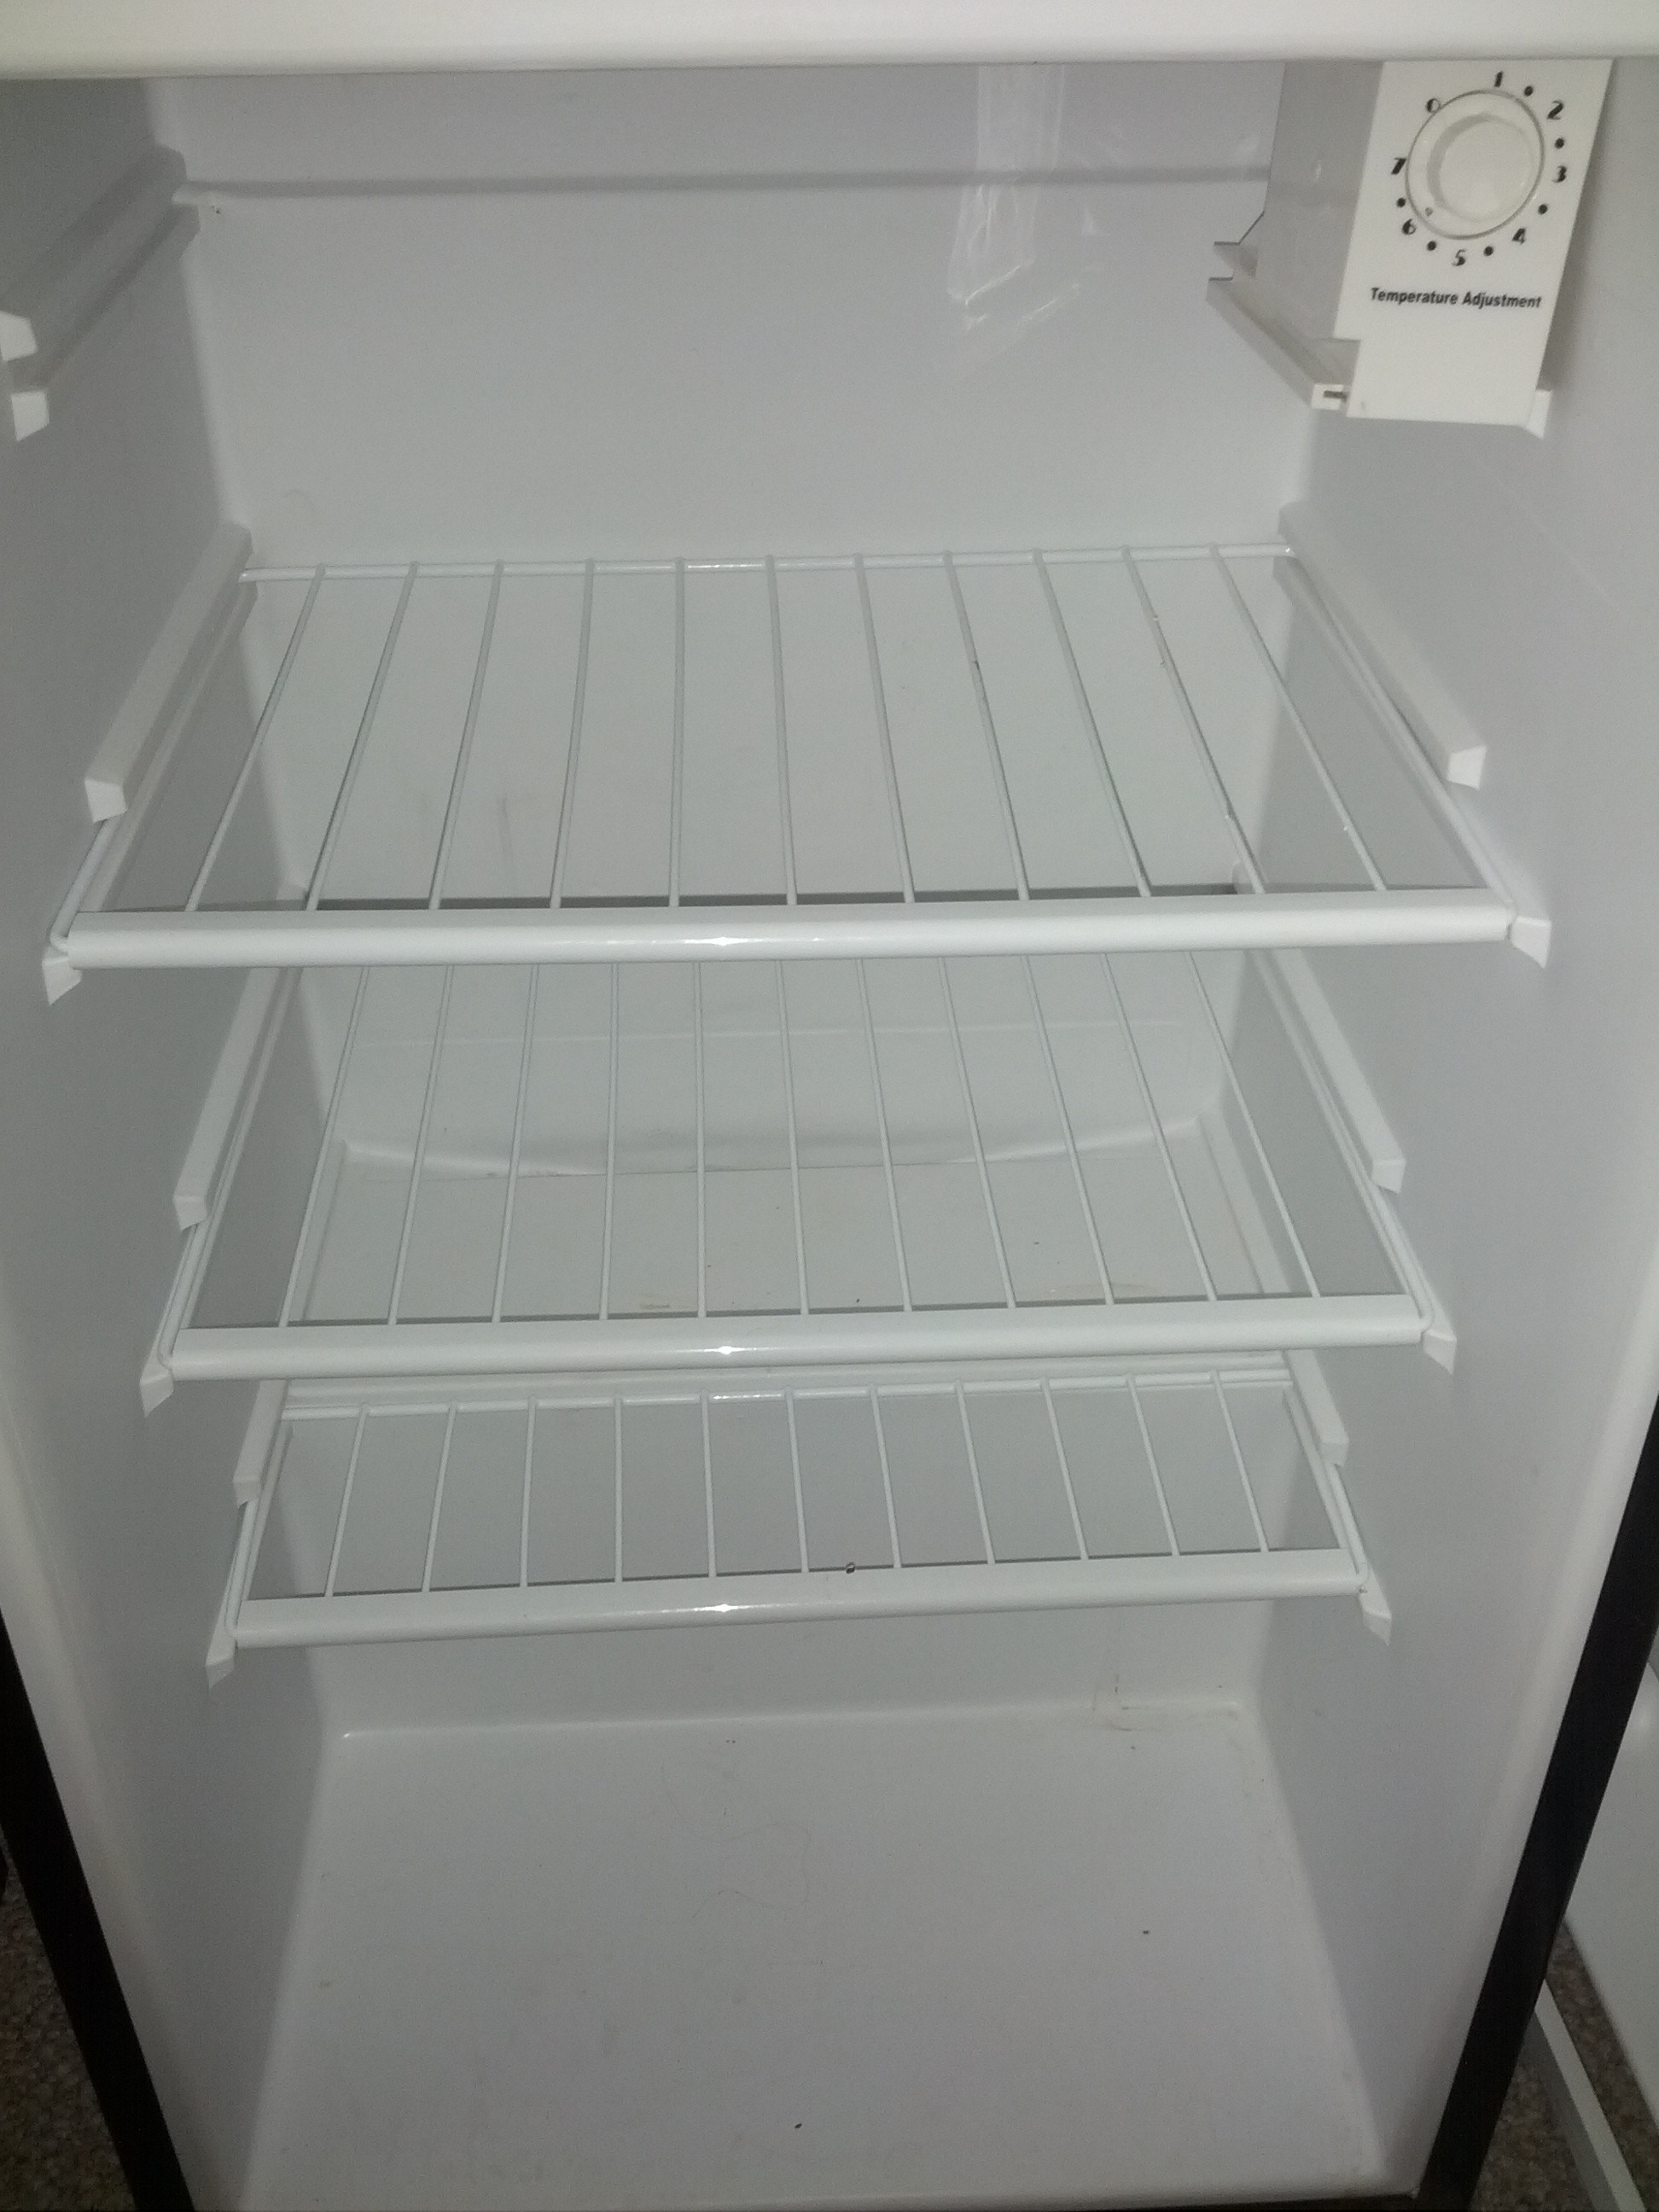
Through my recon, I found out that there are two styles of this model number, the freezer being the main difference. It seems that the older models have the freezer built in at the top with the thermostat on the left. This freezer/cooling lines are apparently easy to bend down. Then there's the guy that I have, the "freezer" is actually just a removable plastic tray and the thermostat sits to the right.
With the help of a buddy, we get it into my second floor apartment. It was far lighter than I expected! I let it sit for around 24hrs, plugged it in, left the temp at "4", and checked on it in a few hours. Getting cold and surprisingly quiet! Tossed in a few bottles of pop and beer and brought it down to a setting of "7". I am assuming that this is the coldest setting as I heard the compressor kick on. I haven't checked on it since.
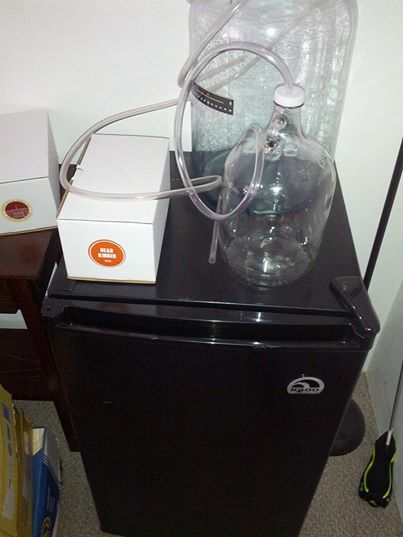
I also did a dry run of keg fits. Here's where my bad news comes into play. Turns out that other people have had no issues putting ball lock corny kegs into this fridge, but I didn't think about the fact that mine are pin locks. This, it seems, makes a difference. Since pin locks are shorter/wider, I cannot close the unmodified door with even one pin lock keg in since it's just too small. This means that I will have to either 1) remove the plastic from the door or 2) change my kegs out for ball locks. I don't really have a reason to change out my kegs, so (after the return policy ends) I will most likely remove the plastic shelving from the door and replace with dry erase board.
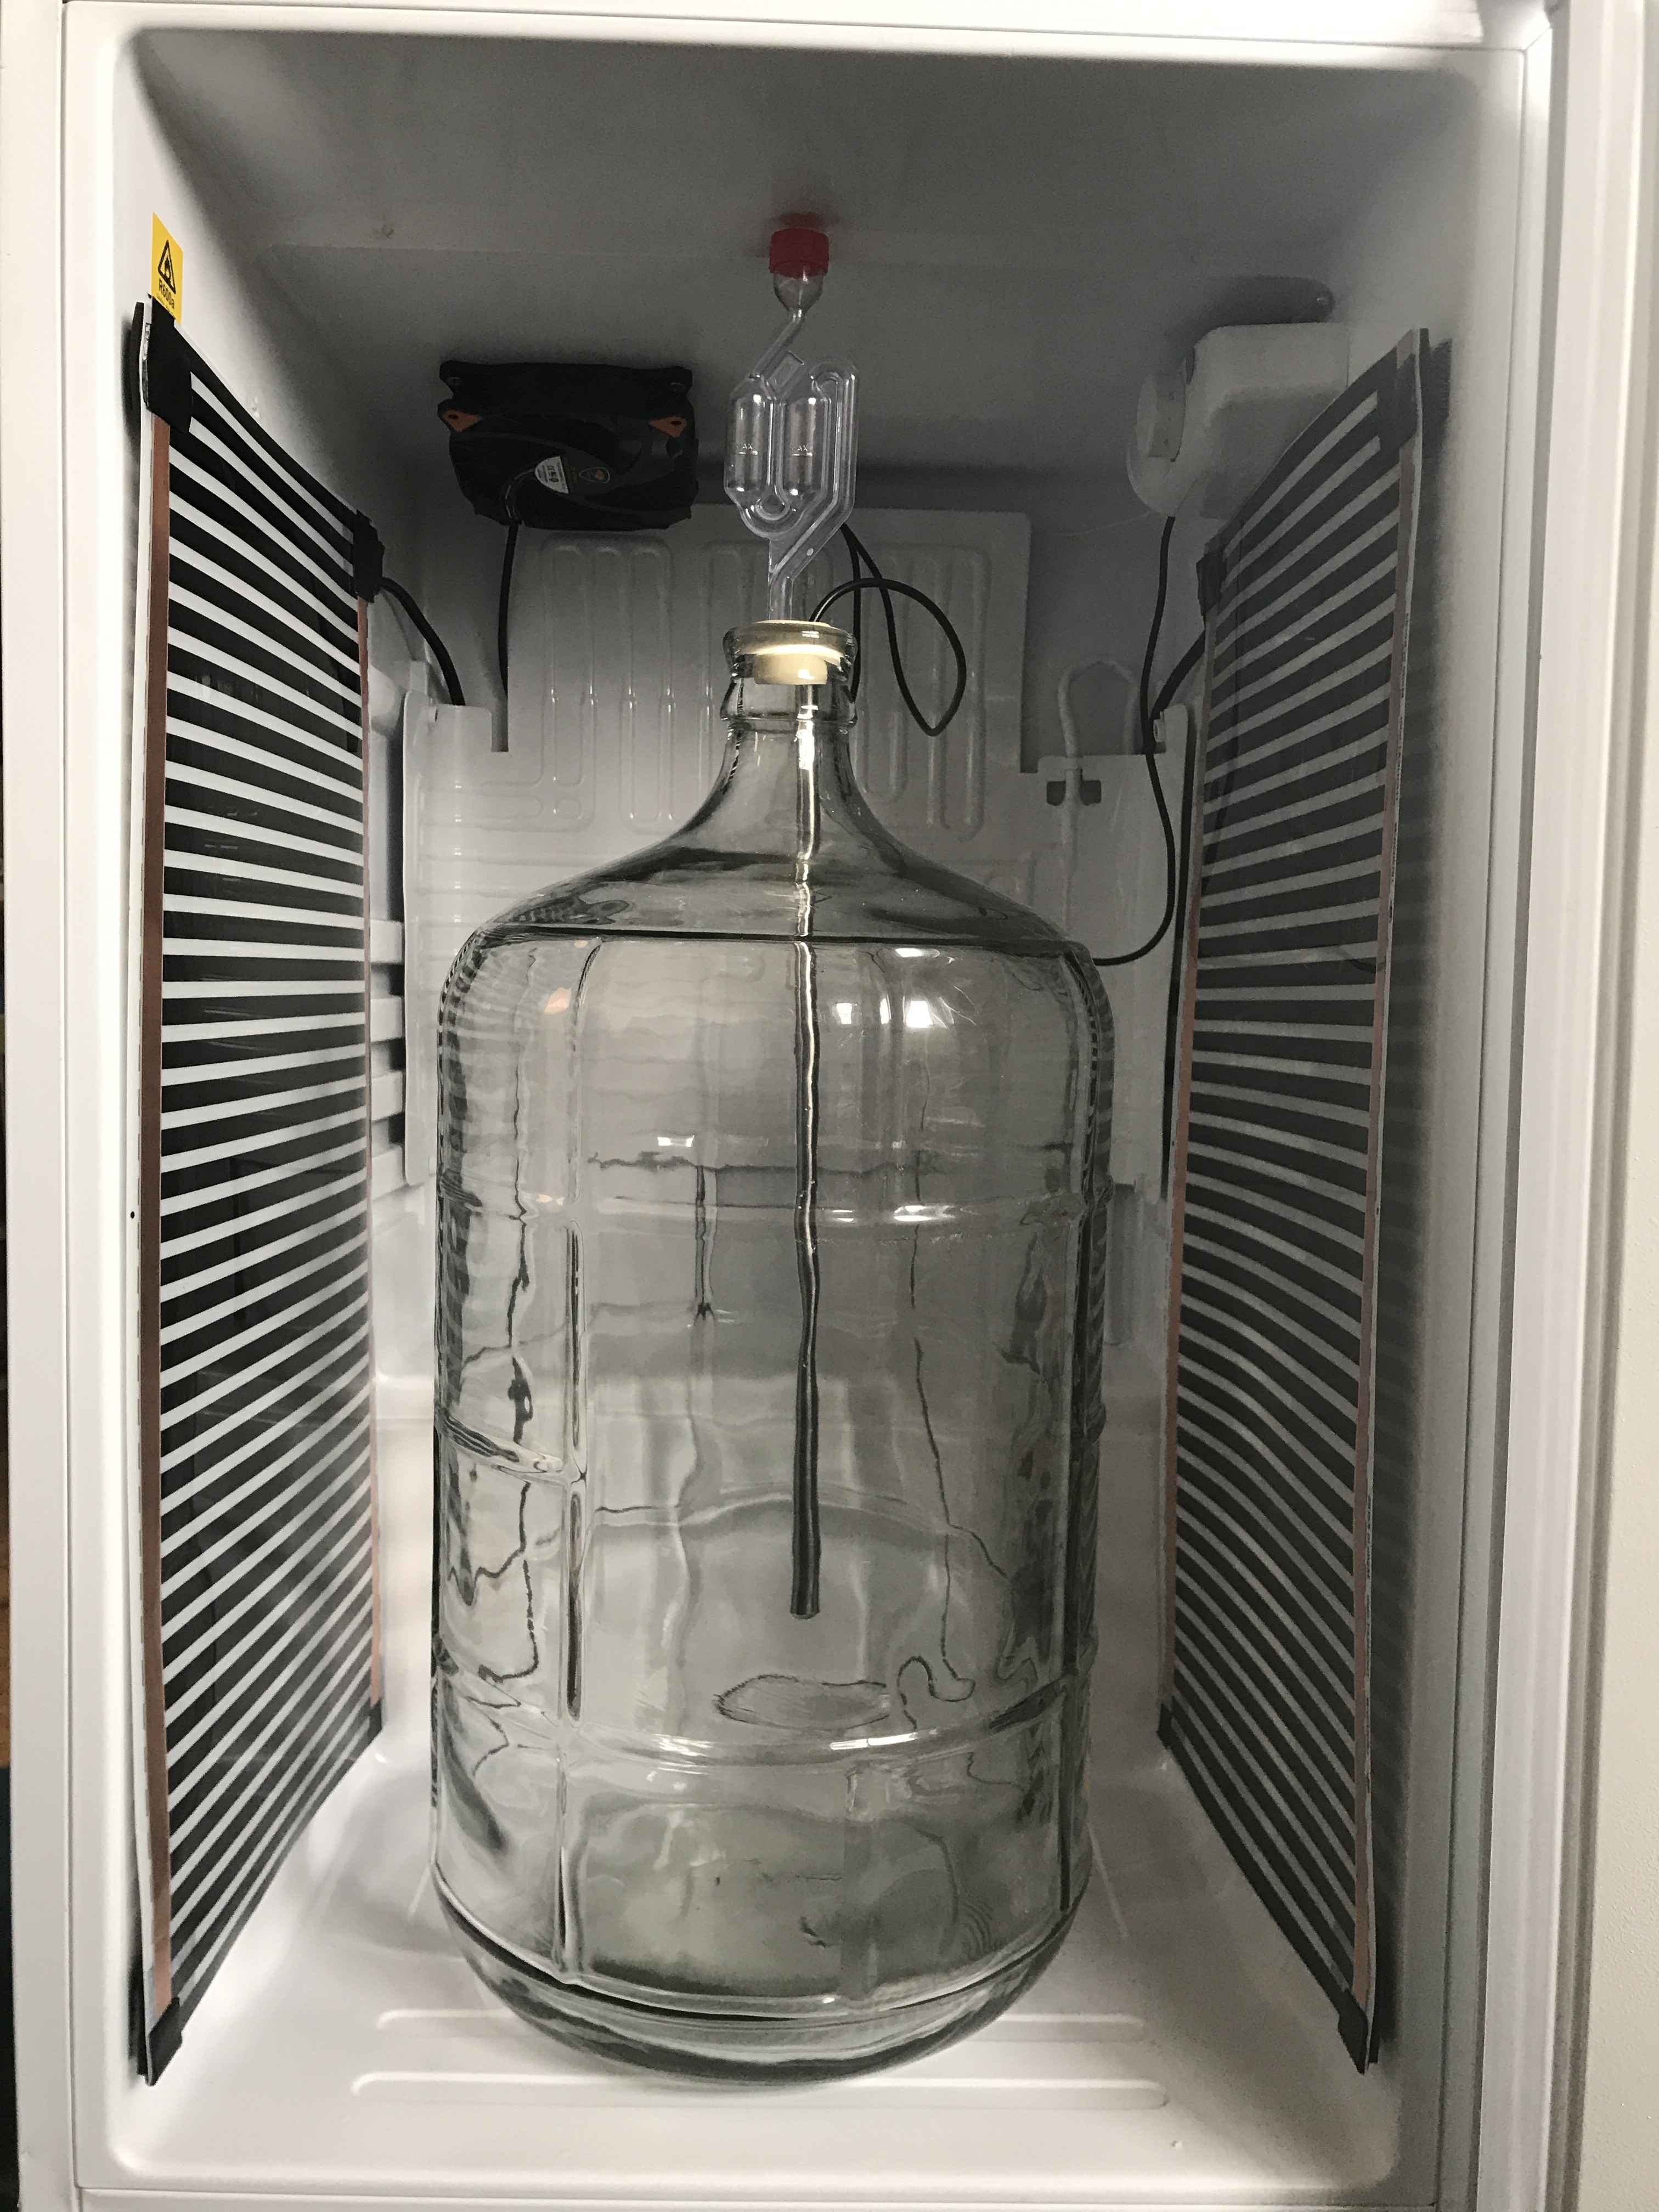
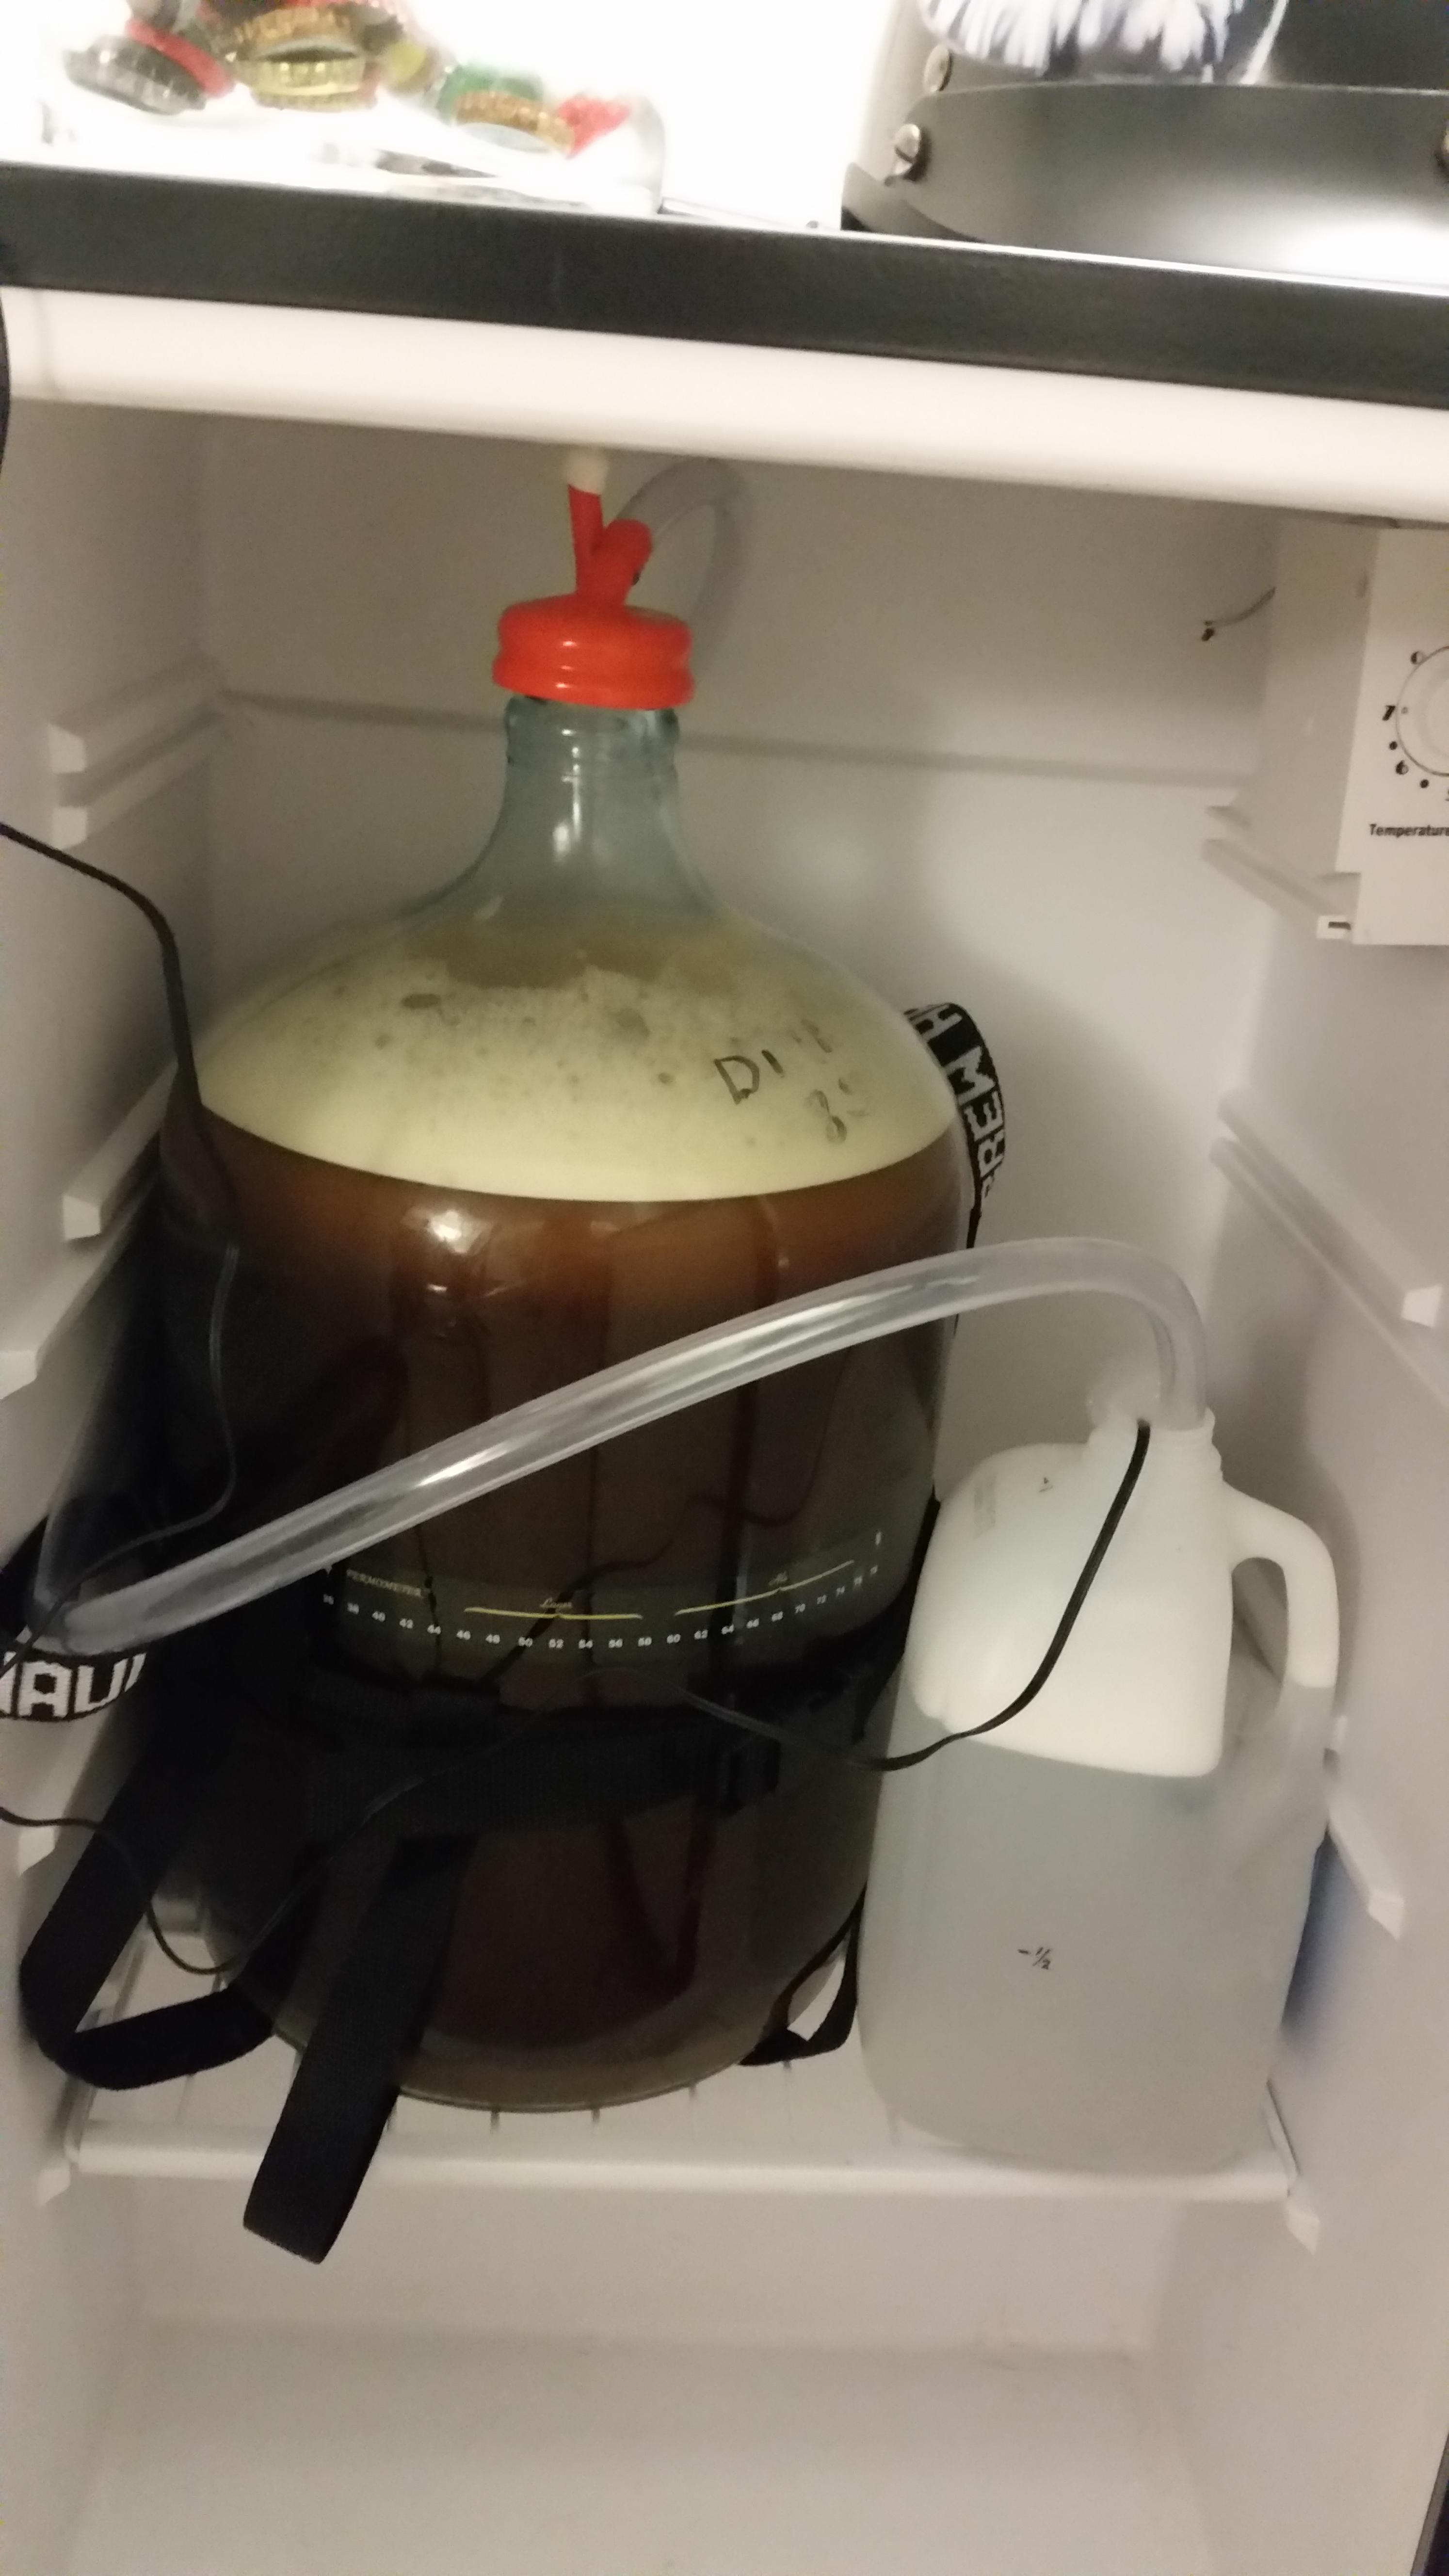
I was able to fit in a single fermenter, but I believe I will need to get a blow-off tube instead using an airlock. This fits with my HBT forum research into the fridge, and am not really bothered by it anyway.
Picture of the outside. More to come!
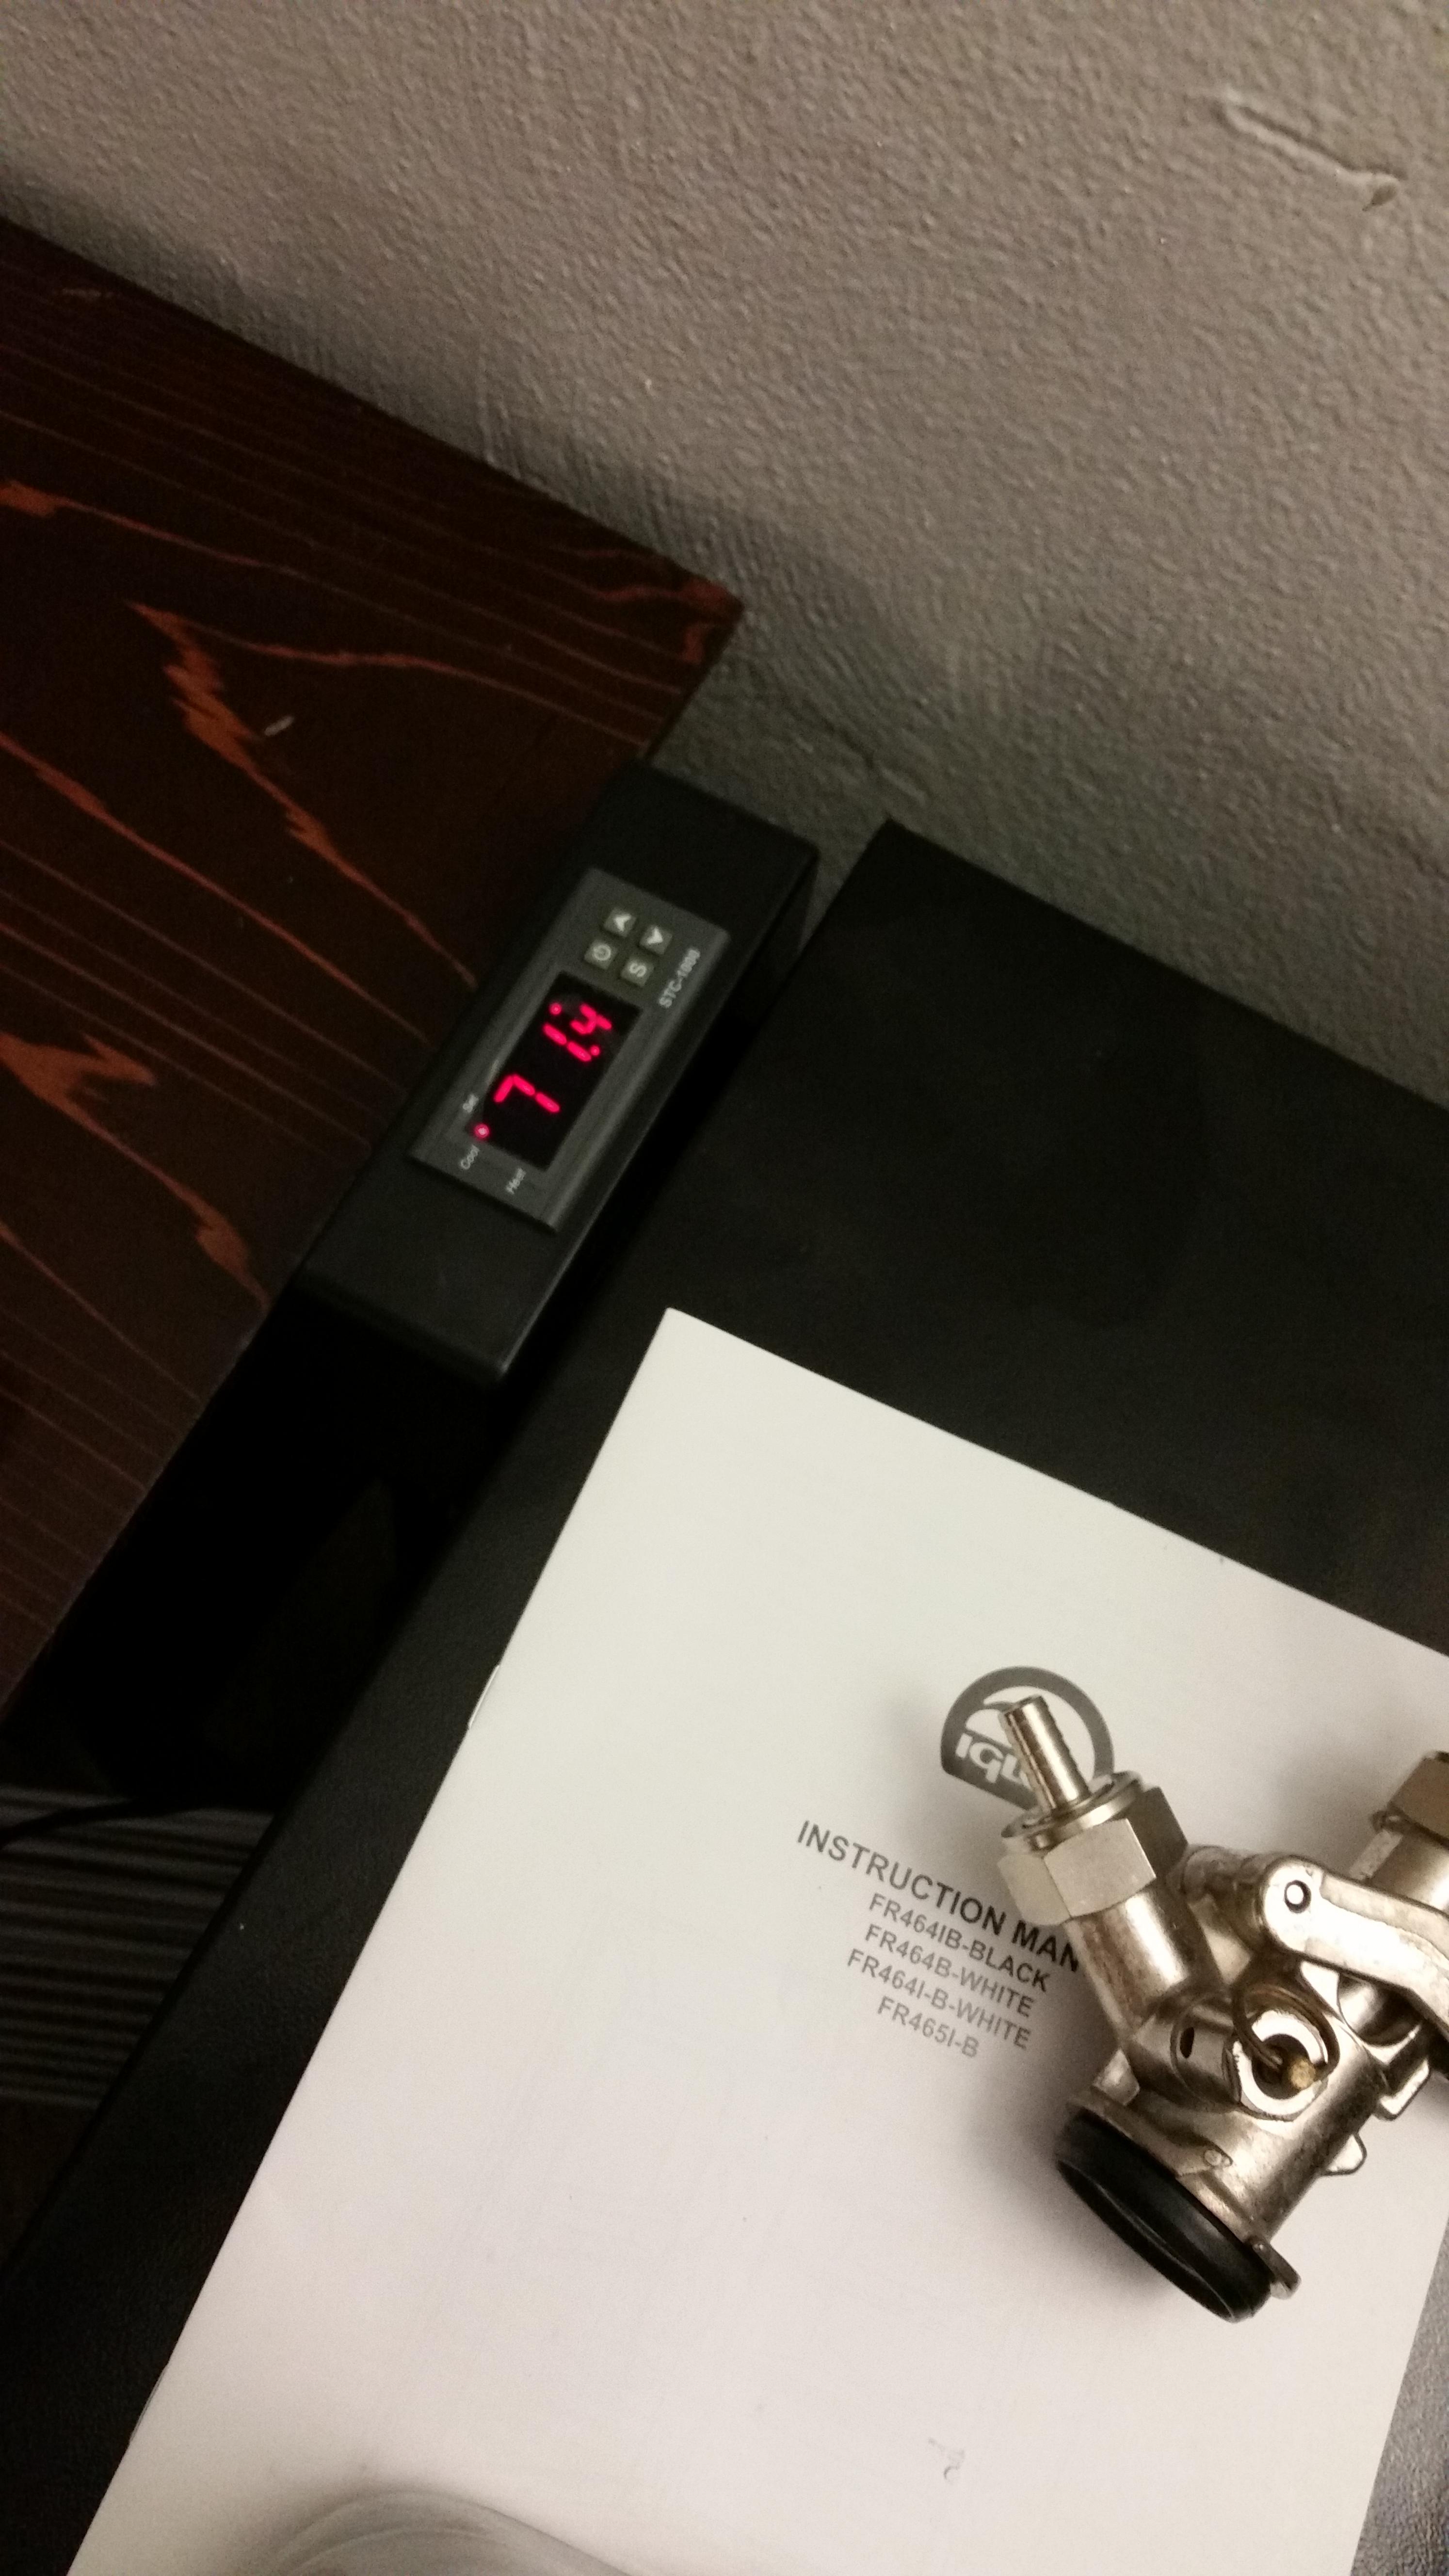
My plans going forward are to not-modify this fridge until at least the return policy runs out (30 days), and then the first modification will be the removal of the door shelving. Until then, it will sit as my fermentation chamber (both 5gal and 1 gal batches) and storage for my purchased beer. Sooner or later, I want to replace the thermostat with something digital and then finally add a 2 tap tower.
Thanks for listening to my rambling! If you don't mind, I'd to continue this post as I learn more about this very interesting aspect of the hobby. If you have any insight into what I'm doing, or have questions, feel free to comment!
I purchased a refurbished, Igloo FR464 4.6cu ft from HOBO outlet store for $66. Wanted the FR465 (stainless steel door, +$10), but they ran out by the time I got back to the store but had plenty of the black. Had a slight ding in the door, nothing for me to worry about too much as a bachelor.
I had some reservations on the purchase from a few forum posts on here with it being just too small, but I figured, for $66, what's the worst that happens?!
Through my recon, I found out that there are two styles of this model number, the freezer being the main difference. It seems that the older models have the freezer built in at the top with the thermostat on the left. This freezer/cooling lines are apparently easy to bend down. Then there's the guy that I have, the "freezer" is actually just a removable plastic tray and the thermostat sits to the right.
With the help of a buddy, we get it into my second floor apartment. It was far lighter than I expected! I let it sit for around 24hrs, plugged it in, left the temp at "4", and checked on it in a few hours. Getting cold and surprisingly quiet! Tossed in a few bottles of pop and beer and brought it down to a setting of "7". I am assuming that this is the coldest setting as I heard the compressor kick on. I haven't checked on it since.
I also did a dry run of keg fits. Here's where my bad news comes into play. Turns out that other people have had no issues putting ball lock corny kegs into this fridge, but I didn't think about the fact that mine are pin locks. This, it seems, makes a difference. Since pin locks are shorter/wider, I cannot close the unmodified door with even one pin lock keg in since it's just too small. This means that I will have to either 1) remove the plastic from the door or 2) change my kegs out for ball locks. I don't really have a reason to change out my kegs, so (after the return policy ends) I will most likely remove the plastic shelving from the door and replace with dry erase board.
I was able to fit in a single fermenter, but I believe I will need to get a blow-off tube instead using an airlock. This fits with my HBT forum research into the fridge, and am not really bothered by it anyway.
Picture of the outside. More to come!
My plans going forward are to not-modify this fridge until at least the return policy runs out (30 days), and then the first modification will be the removal of the door shelving. Until then, it will sit as my fermentation chamber (both 5gal and 1 gal batches) and storage for my purchased beer. Sooner or later, I want to replace the thermostat with something digital and then finally add a 2 tap tower.
Thanks for listening to my rambling! If you don't mind, I'd to continue this post as I learn more about this very interesting aspect of the hobby. If you have any insight into what I'm doing, or have questions, feel free to comment!


![Craft A Brew - Safale BE-256 Yeast - Fermentis - Belgian Ale Dry Yeast - For Belgian & Strong Ales - Ingredients for Home Brewing - Beer Making Supplies - [3 Pack]](https://m.media-amazon.com/images/I/51bcKEwQmWL._SL500_.jpg)