• Please visit and share your knowledge at our sister communities:
  • If you have not, please join our official Homebrewing Facebook Group!

    Homebrewing Facebook Group

My Electric Brewery Build!

Homebrew Talk

Help Support Homebrew Talk:

This site may earn a commission from merchant affiliate links, including eBay, Amazon, and others.
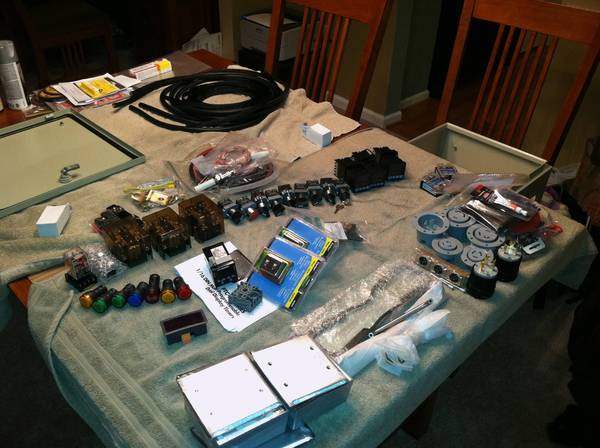
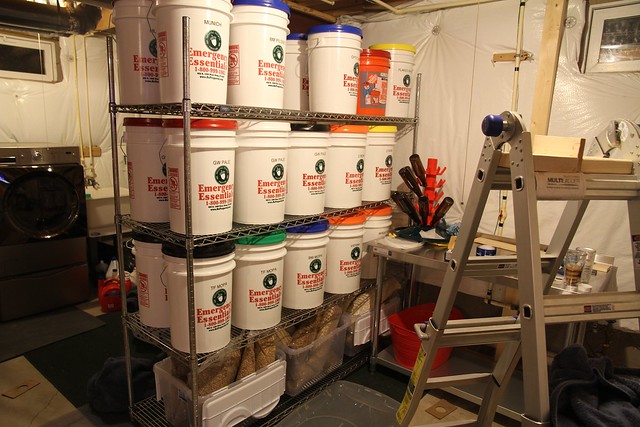
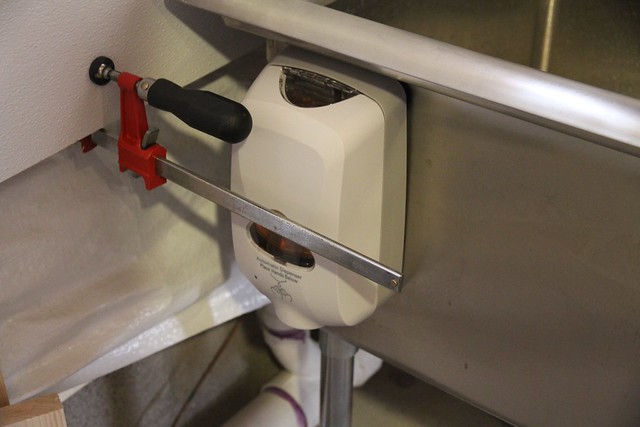
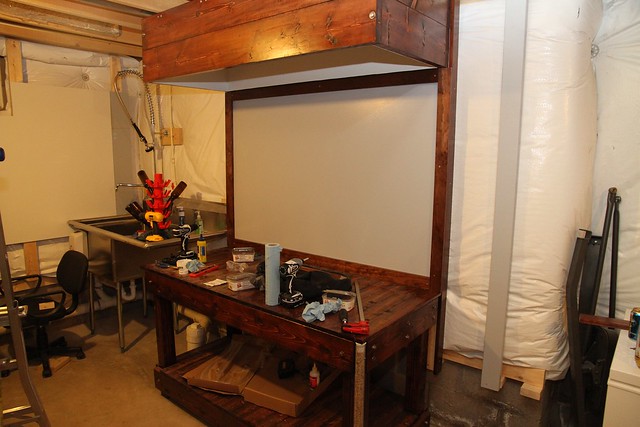
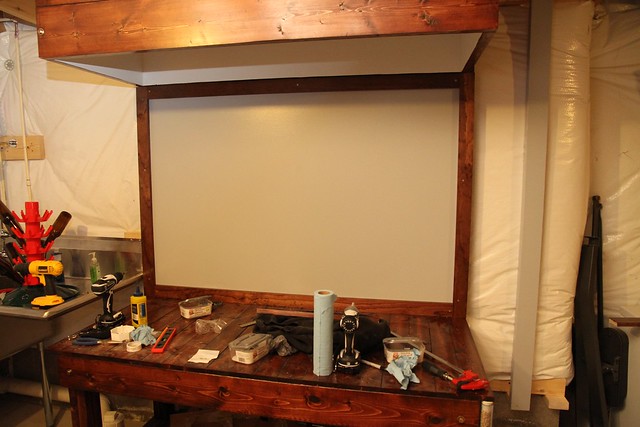
Maybe I'll just mount a heat shield to the back of the brewstand.

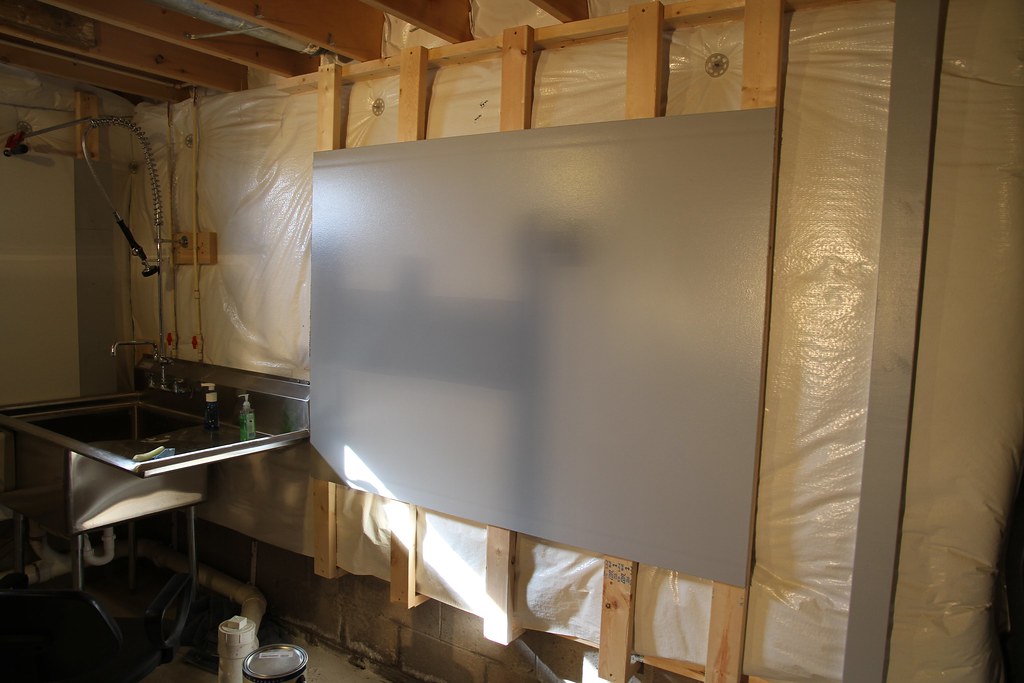
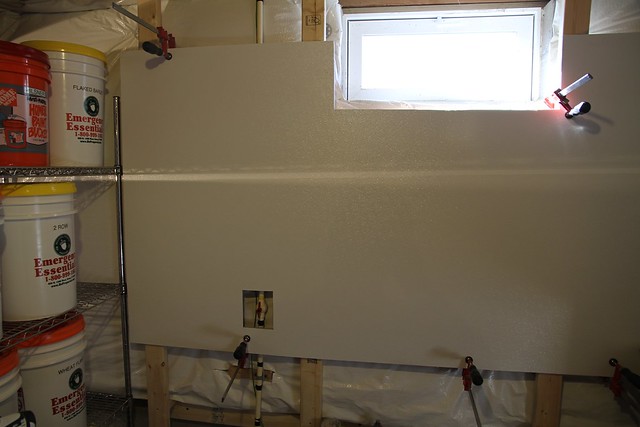
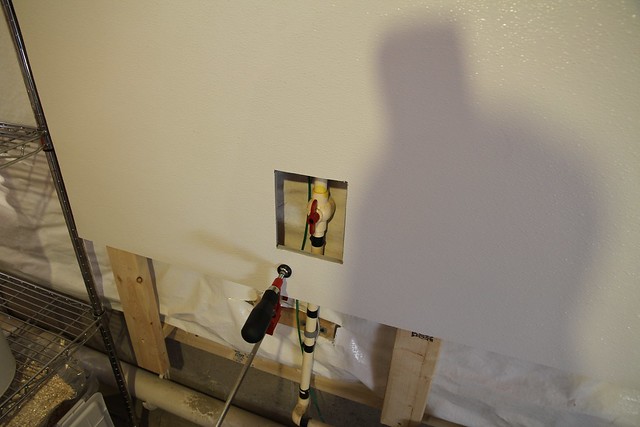
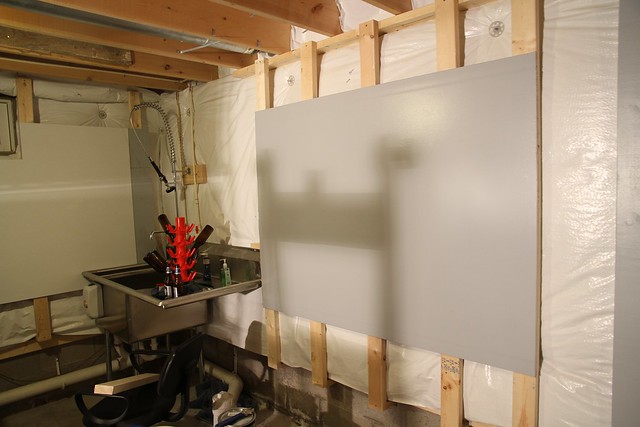
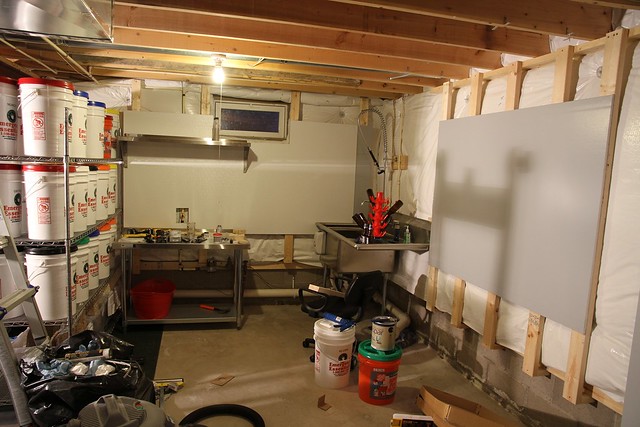
Ya know I was sort of thinking you might want to mount something directly to the stand too but didn't mention it (should have). especially if you aren't ready to stud out and drywall the space. That might be the best way to go. Again you could go for the simple drywall + paint (quasi studded framed approach attached to your stand) or get fancy with some 304 sheet metal :D $$
 
The electronics:

photo_copy_3.JPG
 
just bench tested my rig tonight!! everything worked all receptacles reading what they should :D pics to follow on my build thread. Just need to put the labels on the panel


I love me an ebuild!!
 
just bench tested my rig tonight!! everything worked all receptacles reading what they should :D pics to follow on my build thread. Just need to put the labels on the panel


I love me an ebuild!!

Very jealous given anything electrical is lying on my dining room table in parts, :drunk:
 
I'd frame a wall behind all that, sheath with 3/8" plywood or 1/2" drywall and then finish it with sheets of Parkland plastics Polywall: http://www.parklandplastics.com/polywall.shtml

Lowes, HD, Menerds sometimes stocks it but you can special order.

Come to think of it, do you have any scrap yards close by? The one around here had some insane stainless and aluminum sheet for "scrap" prices.
 
After much anxiety and internal debat I have decided to do a half wall behind the brew kettles with 1/2" drywall painted with kitchen and bath paint.

I started the wall last night:

photo_57.JPG


Instead of going to the floor I am mounting to just under the vapor barrier. I made sure that the barrier is not compressed so the R rating will not be affected.

Unfortuantely this will not extend to behind the sink. However on the left wall (left of the sink) I plan to use the same concept with 1/2" plywood with an FRP panel placed on top. This will make it water resistent and give me the ability to mount some shelf, hooks, etc.

How would you guys finish the edging of the drywall? Since that will actually be exposed.
 
I had a buddy come over last night and he helped me move the grain onto the shelving unit. This shelving unit is great for storing these buckets. This fit two deep and I can get 6 across on each row if I squeezed them.

photo_414.JPG
 
I'd frame a wall behind all that, sheath with 3/8" plywood or 1/2" drywall and then finish it with sheets of Parkland plastics Polywall: http://www.parklandplastics.com/polywall.shtml

Lowes, HD, Menerds sometimes stocks it but you can special order.

Come to think of it, do you have any scrap yards close by? The one around here had some insane stainless and aluminum sheet for "scrap" prices.

Have you had a chance to install this stuff? I'm considering it but I don't know how much harder or easier it will be than doing tile. Looks like installation is kind of finicky. I need to create some kind of finished surface, over pretty irregular block walls.
 
Polywall does require a flat substrate as it's extremely thin. Think of it almost like a formica laminant. If the block wall is bumpy, it's probably easier to frame a wall in front of it and apply the plastex thick wall which can span joists with no other substrate.
 
I have the studs up for my half wall. I should be able to get the drywall up tomorrow followed by painting it. Then I will finish the edges with 1"x3" to box it in. Should look pretty nice afterward, :).

6814460130_2fd4234312_z_d.jpg


6960574773_2d4f2eae19_z_d.jpg


6814460720_4c119267b3_z_d.jpg


Speciality grains:
6960575239_3107be9b4d_z_d.jpg


6960575543_6994b168d2_z_d.jpg


6814461448_e097c10259_z_d.jpg
 
Where exactly do you live? LOL you may wake up in the middle of the night and hear someone brewing in your basement... Don't shoot! I'm Friendly!:D
 
Coming along great! Did you by chance buy your sink/faucet/aux faucet combo from 1234buy.com? I am looking to buy exactly the same setup.
 
Did you consider metal roofing material for your back wall? Seems I saw a build somewhere using it that looked pretty good. Its made to repel water so would handle the moisture well. Might be easier than drywall, paint etc. Looks great.
 
Did you consider metal roofing material for your back wall? Seems I saw a build somewhere using it that looked pretty good. Its made to repel water so would handle the moisture well. Might be easier than drywall, paint etc. Looks great.

It had crossed my mind, yes. As good as it would be for moisture, it wouldn't be very well resilient for dents.
 
I'm exhausted.

Bust weekend. I was able to get both half walls about 90% finished. Only thing left is the trim for the wall behind the kettles.

6828259674_4b6c26af0c_b_d.jpg


6974382745_6511aeed5a_z_d.jpg


6828260624_8e71224488_z_d.jpg


6974384137_f7b2a56a90_z_d.jpg


6974384445_3f1bfd9be7_z_d.jpg


Touchless soap dispenser (buy the soap and the dispenser is free):
6828262264_0b3d6231f6_z_d.jpg


6974386335_20a4c855a4_z_d.jpg
 
Whole lot of nice shiny stainless in there. You are never going to want to leave!
 
holy cow. I live in Seattle, but I think I'm moving to Syracuse to be your best friend ever. that's amazing. can't wait for the final pics in action
 
I'm exhausted.

Bust weekend. I was able to get both half walls about 90% finished. Only thing left is the trim for the wall behind the kettles.
Ha Ha, every time you think you're done, you are just getting started. :mug:
Looking good so far. Wish I had a basement.
 
Why didn't any warn me what a project I was jumping in to?

I was able to get all the trim done. I also installed one corner post which contains barley. I think it looks very cool! There will be one in each corner post.

Next up is cleaning up the basement and starting the kettle plumbing. The final piece will be the electrical panel!

6837257830_b872cc39c9_z_d.jpg


6983382035_dde849c267_z_d.jpg


6837254160_c05dbf5d75_z_d.jpg


6983379579_abc38f3758_z_d.jpg


6837257022_9ea204ec31_z_d.jpg


6837257440_e17e05ab2f_z_d.jpg
 

Latest posts

Back
Top