jbsengineer
Well-Known Member
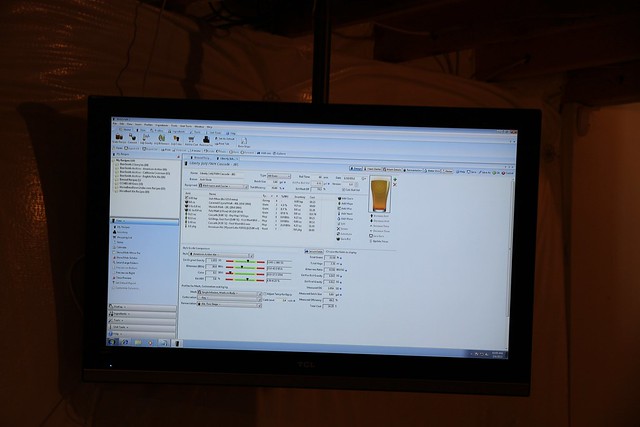
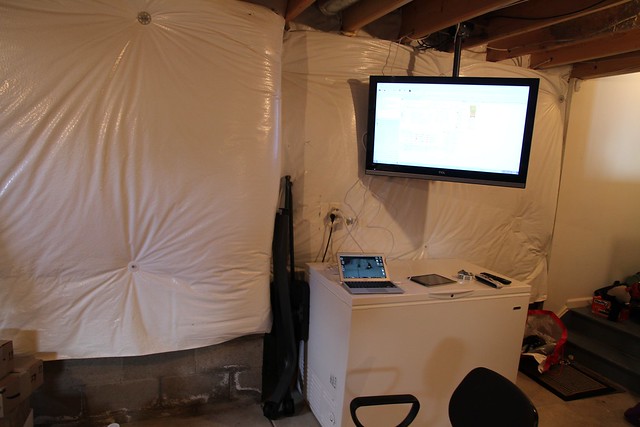
Also, I picked up a HDMI cable for my laptop and toyed with using the TV as a large Beer Smith panel:


")


My 2nd and 3rd 20 Gallon Blichmann's arrived today:
Shiny. No thermometer on the second and third Boilermaker? I didn't know you could order them without!
Kal
Isn't your only by product steam when electric brewing? Do you need a hood?
Isn't your only by product steam when electric brewing? Do you need a hood?


Backside of FRP panels (these will line the ventilation hood - credit to NattyBrew of the idea):
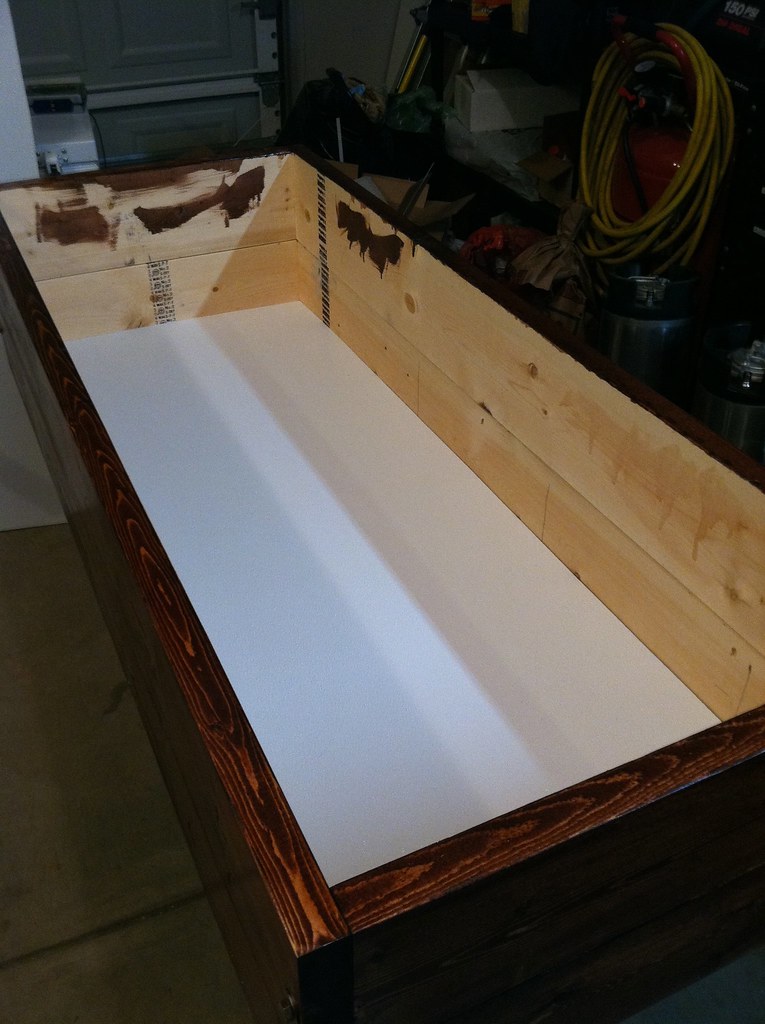
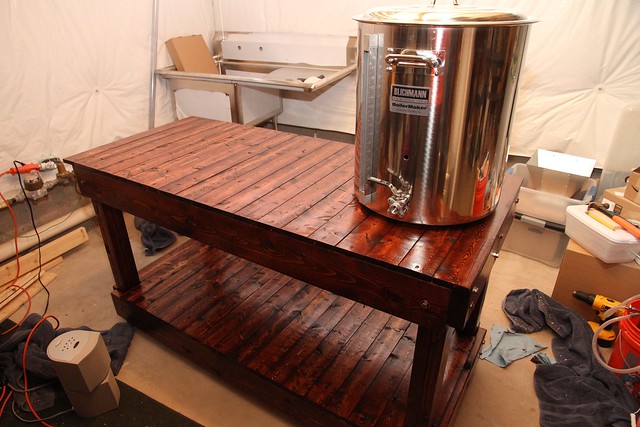
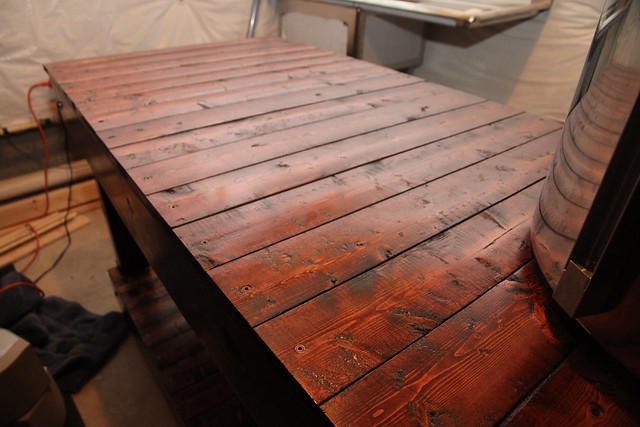
Finished brew stand minus the PVC pipe:
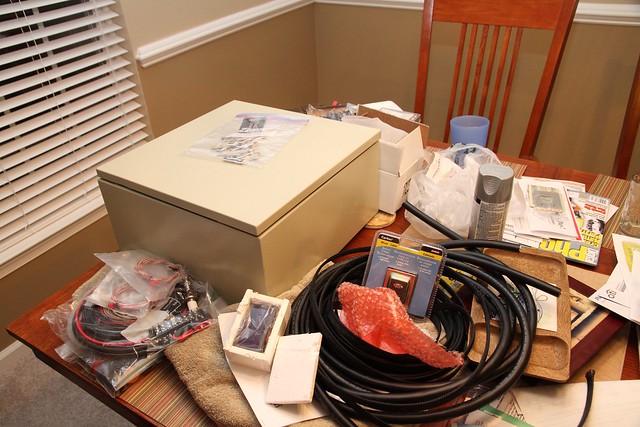
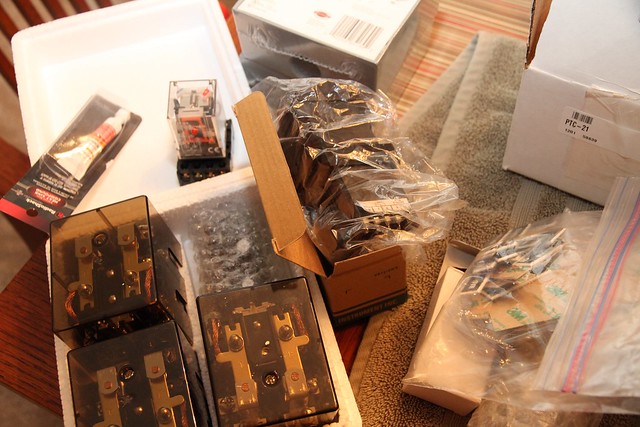
Control panel parts:
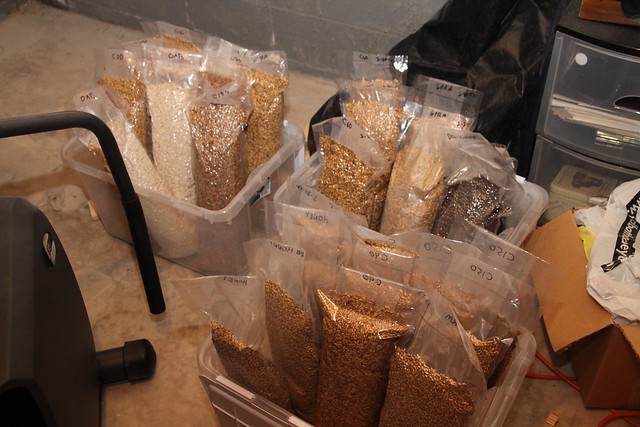
CNY bulk buy (specialty grains):
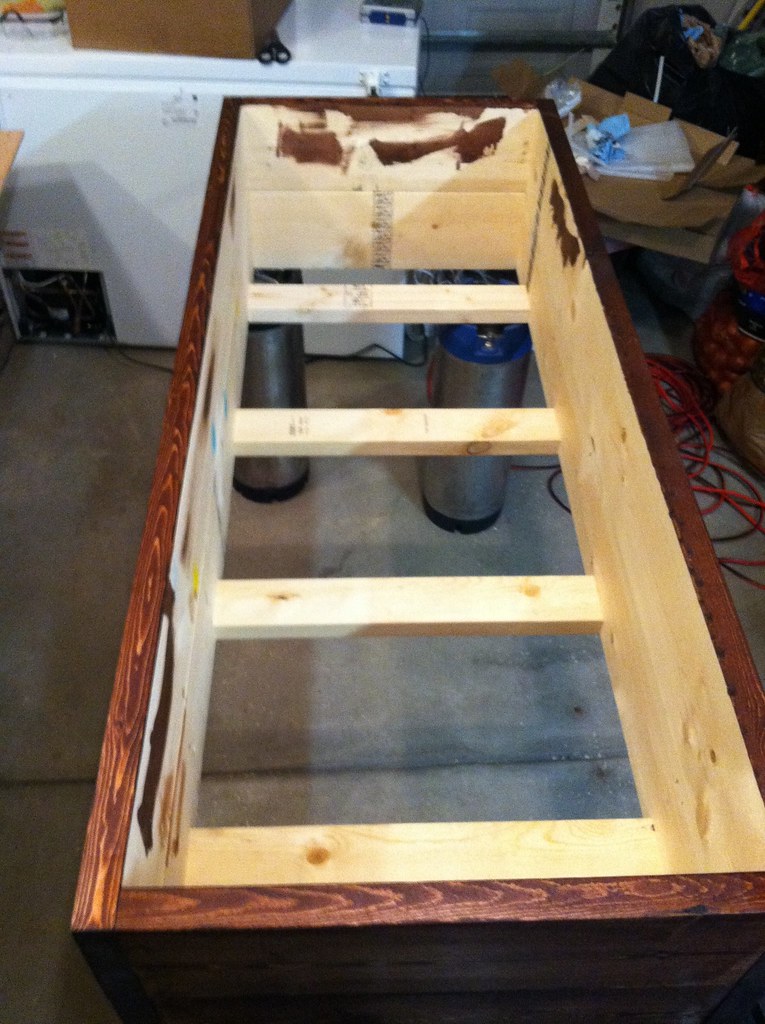
Base grain (need to build a custom shelving unit):
JBS,
The build looks great so far man! I can remember how exciting it was to have packages piling up on my door step every other day during the midst of my build. I really like the final color you went with for your stain. I totally wussed out when I was picking mine out and went with a lighter color. Seeing yours all finished in the photo has me jealous!
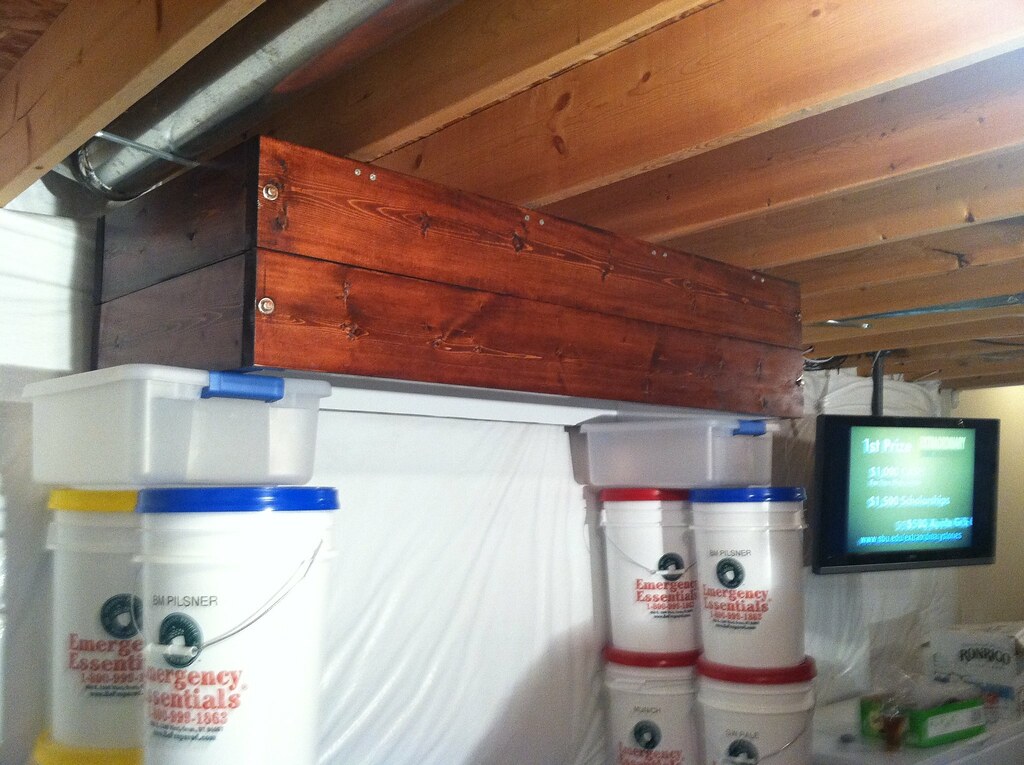
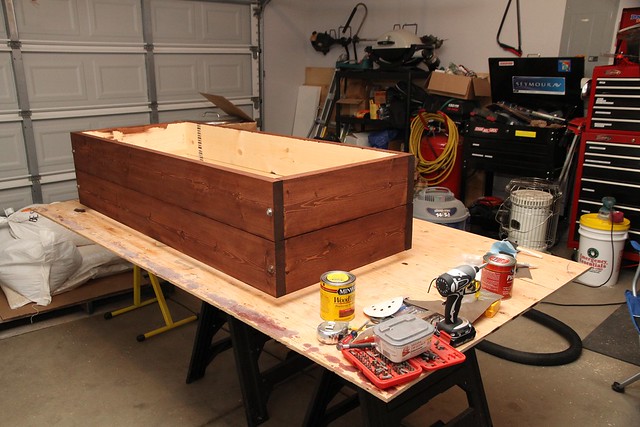
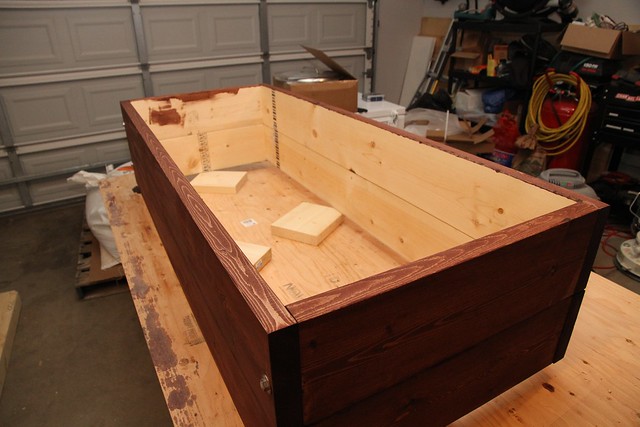
I am really digging your idea on the corner posts filled with barley. Quick question though, even if the tubes are sealed would you have to worry about the grain decomposing or rotting at all and looking worse down the road? I only ask because I am designing a bar for my basement and was thinking about ripping off a variation of your idea! Let me know what you think.
Good stuff and happy building! I will definitely be following this one.
Matt
!Cidah - that's a great idea. That arm should be about perfect! To bad my dish is actually in use.
Lately I have been leaning towards mounting the panel onto a ceiling TV mount which would hang from the floor joists above. Similar to how I mounted the TV in my basement. My only concern would be how much swing from front to back it would have while working with the dials and buttons. I could always change it later I figure...