Ol' Grog
Well-Known Member
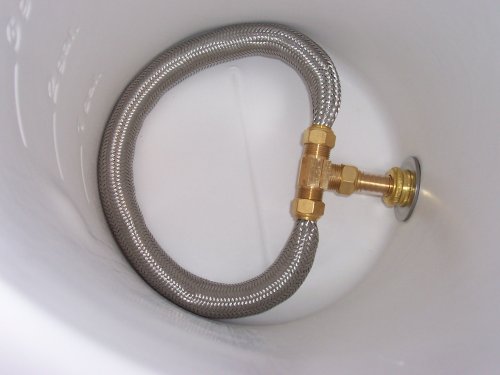
Thanks. That's about what I thought. I didn't know if I was messing something. I wonder if you couldn't get a SS hose, if you could use that same set up with a strong braided plastic hose, like the ones used for pressure lines or something, and drill small holes in it to serve as a manifold?????? But, got to admit, that SS braid part would act as one hell of a filter. How's that for American ingenuity???
Good job chillyhaze.
Good job chillyhaze.


![Craft A Brew - Safale S-04 Dry Yeast - Fermentis - English Ale Dry Yeast - For English and American Ales and Hard Apple Ciders - Ingredients for Home Brewing - Beer Making Supplies - [1 Pack]](https://m.media-amazon.com/images/I/41fVGNh6JfL._SL500_.jpg)