Mineral Creek Brewery - Start to Finish e-HERMS basement electric brewery build

Homebrew Talk - Beer, Wine, Mead, & Cider Brewing Discussion Forum

Help Support Homebrew Talk - Beer, Wine, Mead, & Cider Brewing Discussion Forum:

This site may earn a commission from merchant affiliate links, including eBay, Amazon, and others.

KennyM

Well-Known Member
Joined
Aug 30, 2014
Messages
74
Reaction score
30
Location
Pueblo
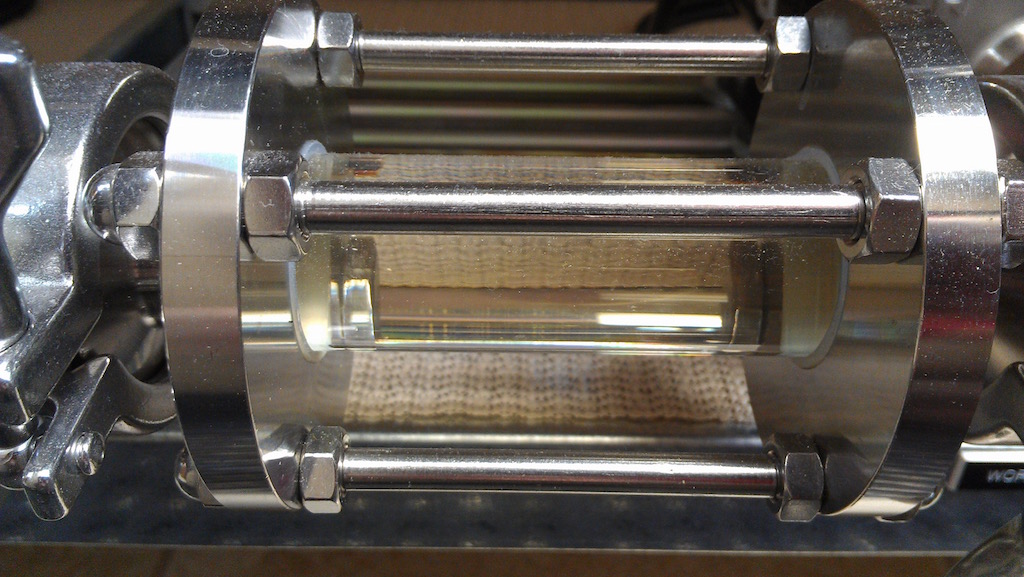
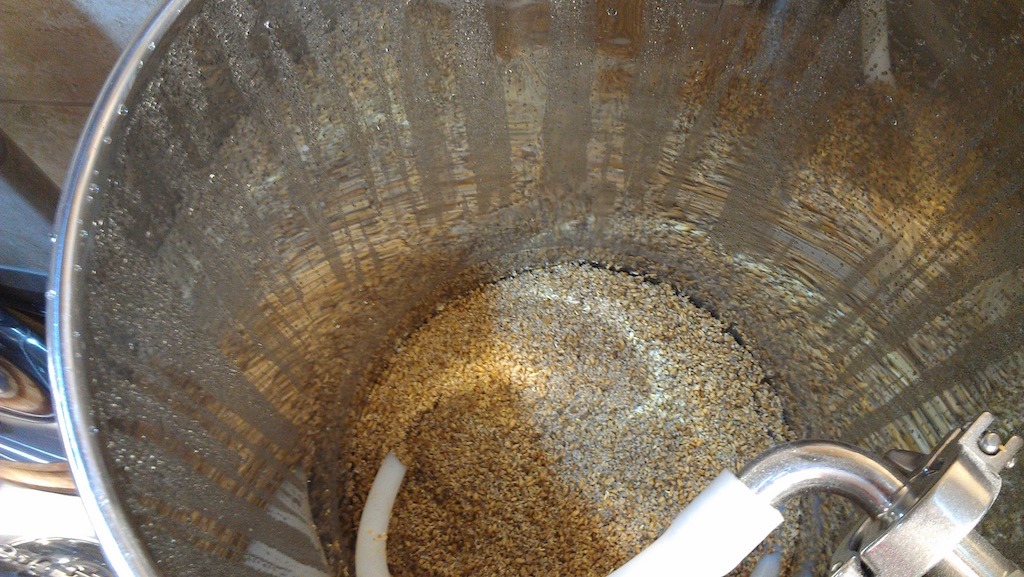
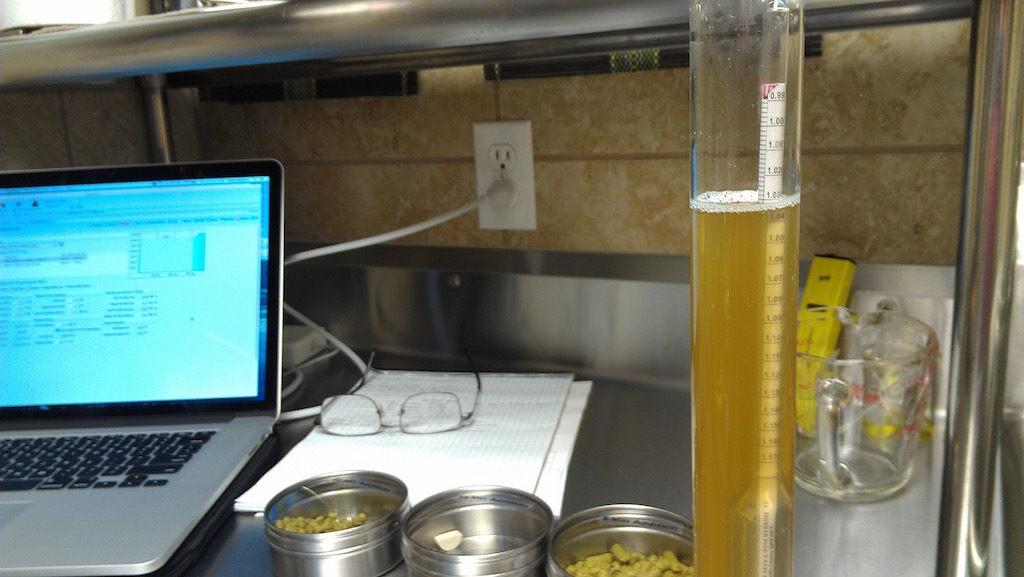
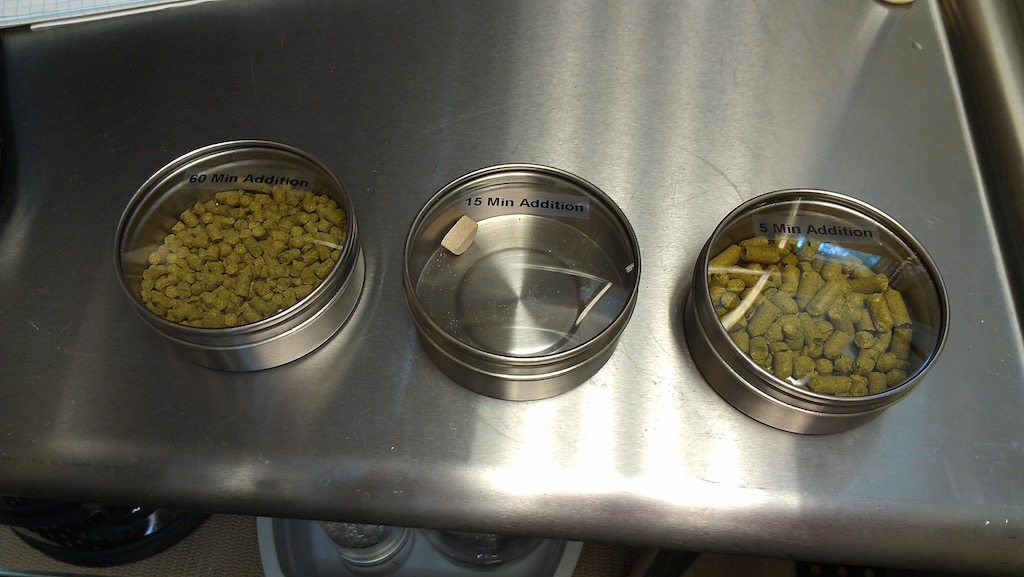
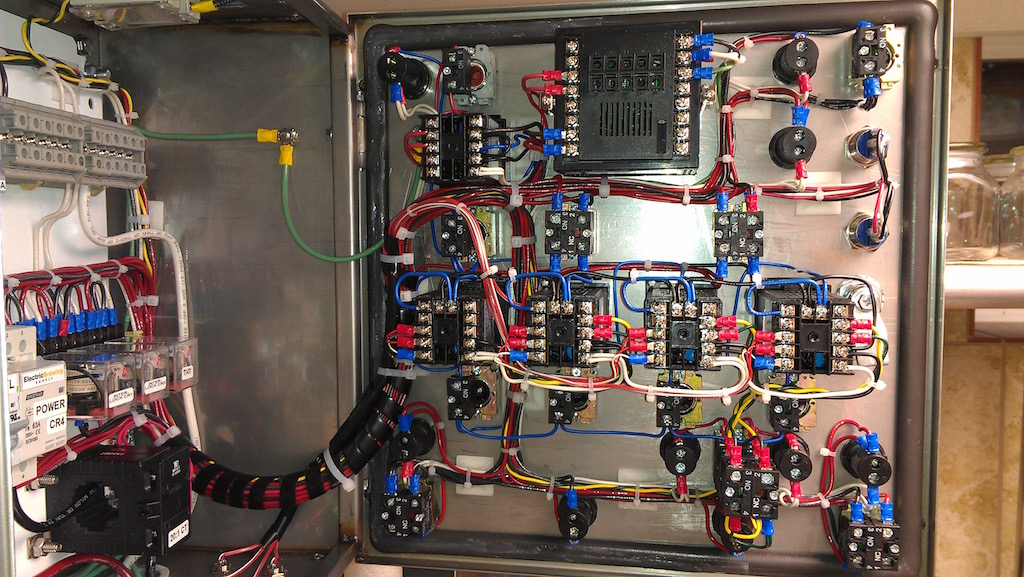
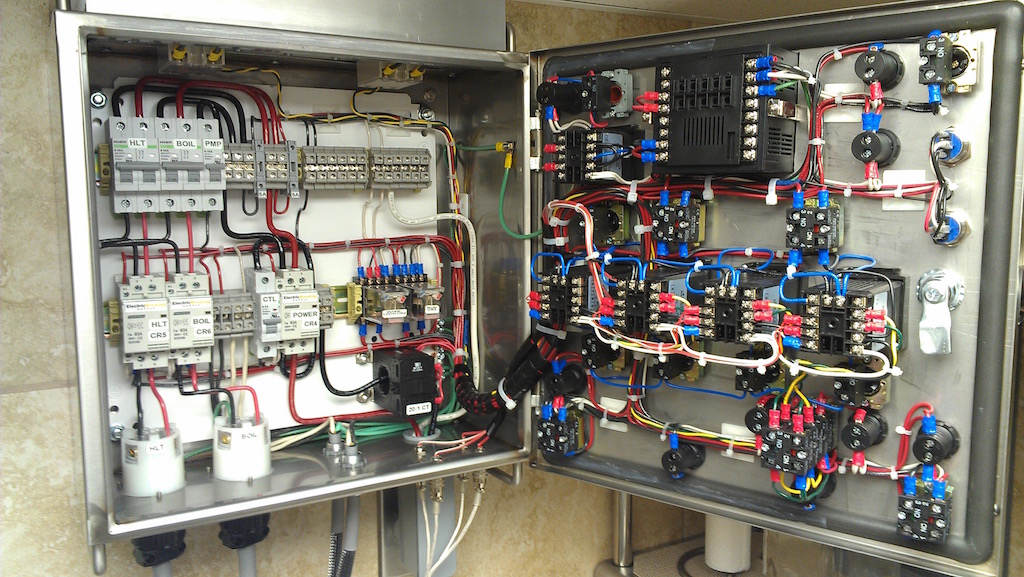
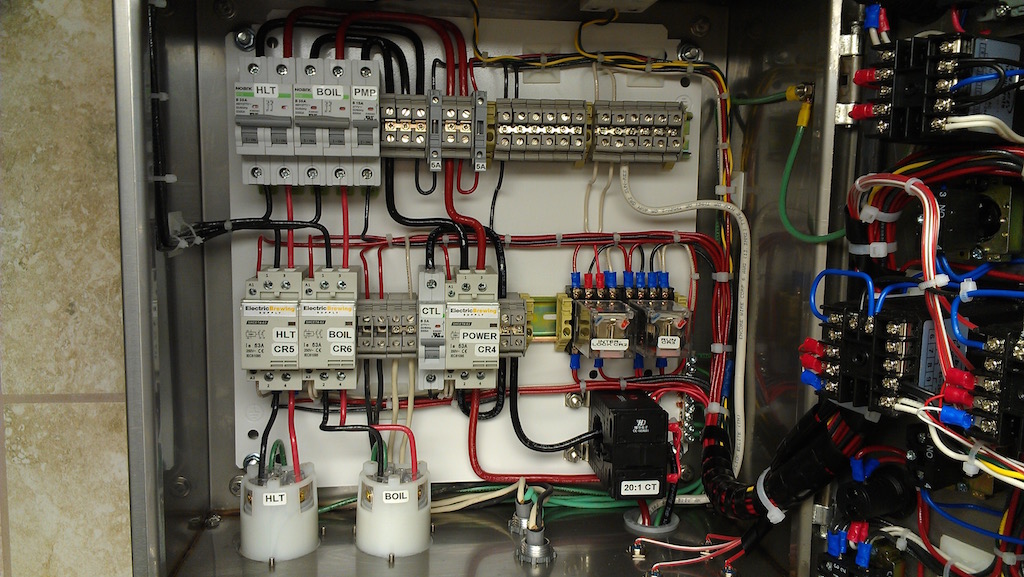
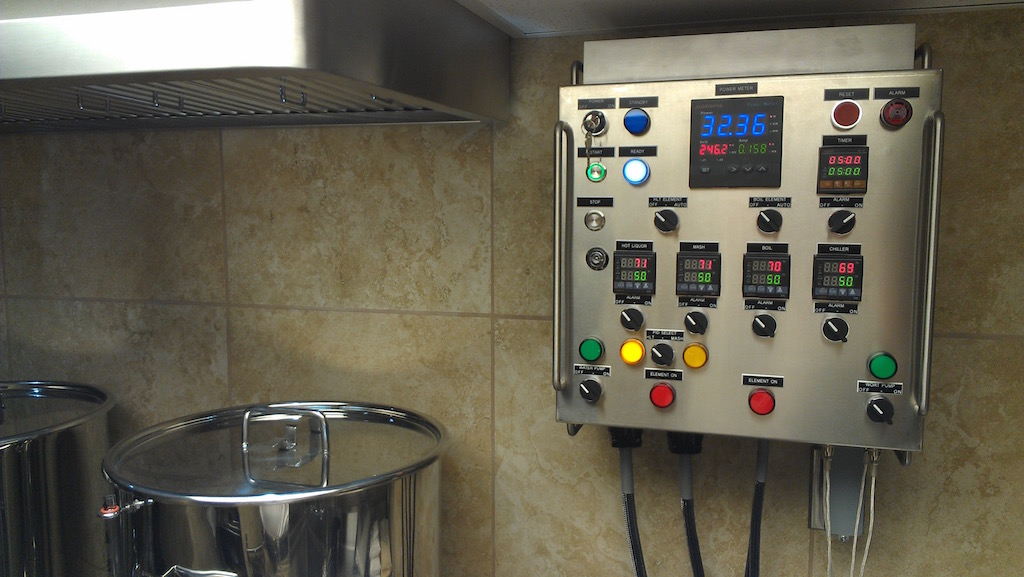
Good day fellow brewers! I want to share my recently completed electric brewery build with you guys and gals as all of the build threads I have read here on homebrewtalk.com have really inspired me and helped me along the way. I really look forward to following these threads.

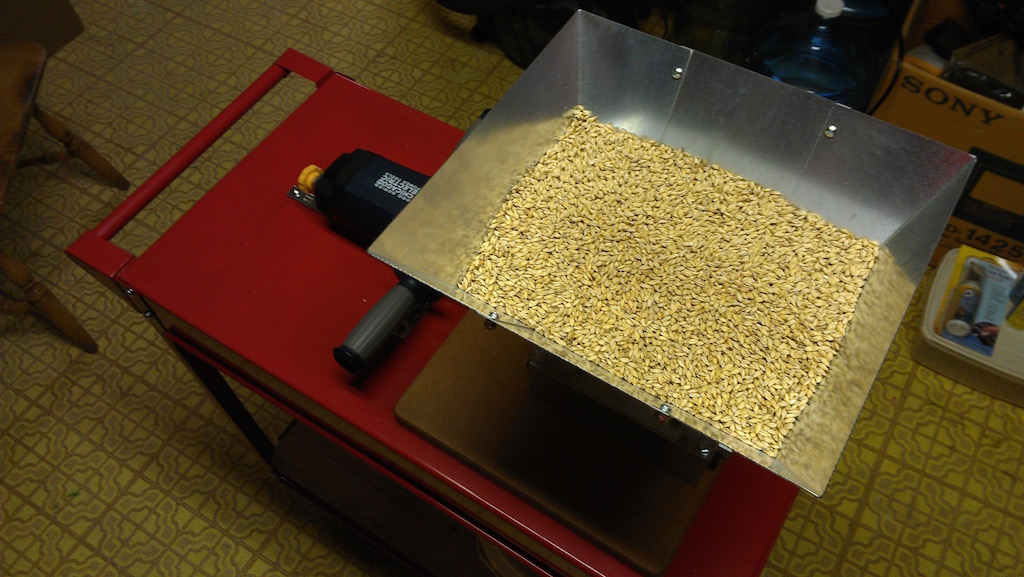
I am a retired electronic systems engineer and started brewing after I took an early retirement in February 2014. I've always been curious about how brewing beer works but never had the time to invest in it. I started with extract kits and soon realized that all-grain was the way to go.

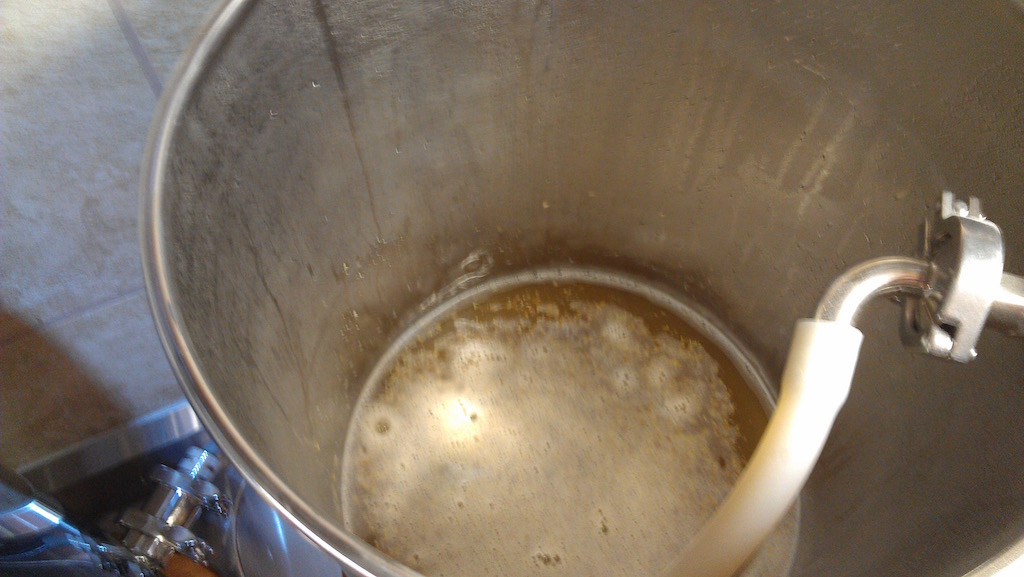
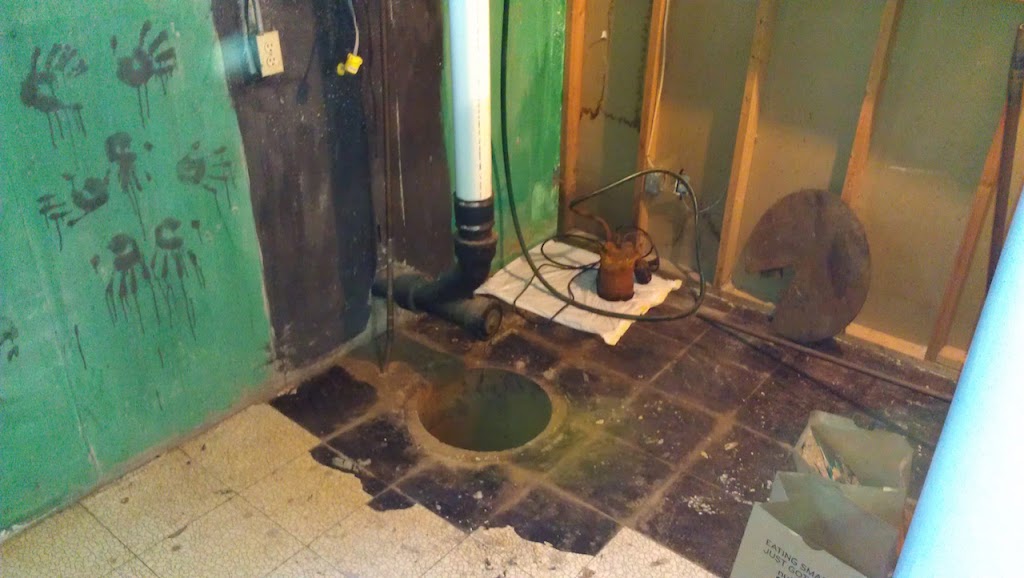
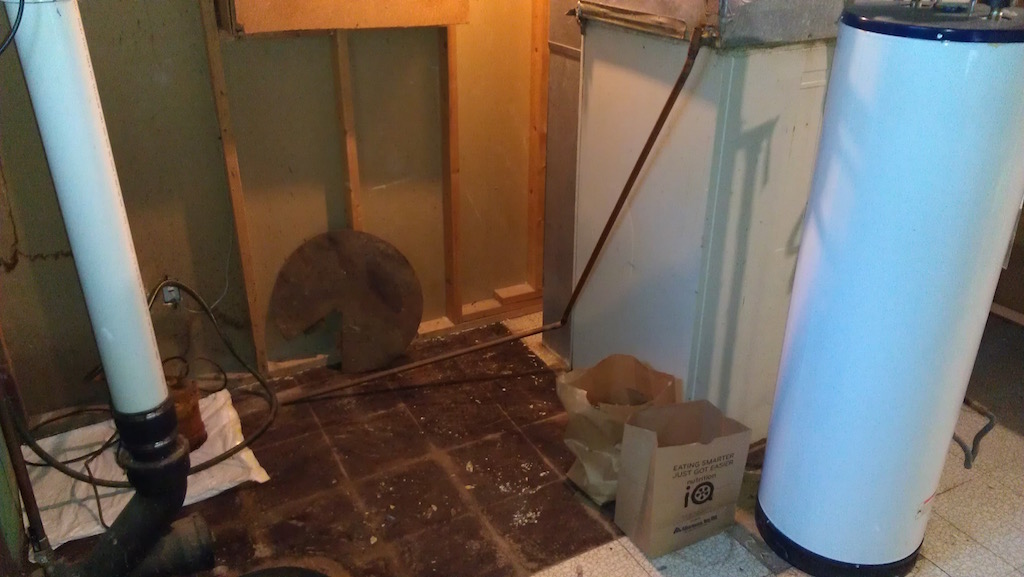
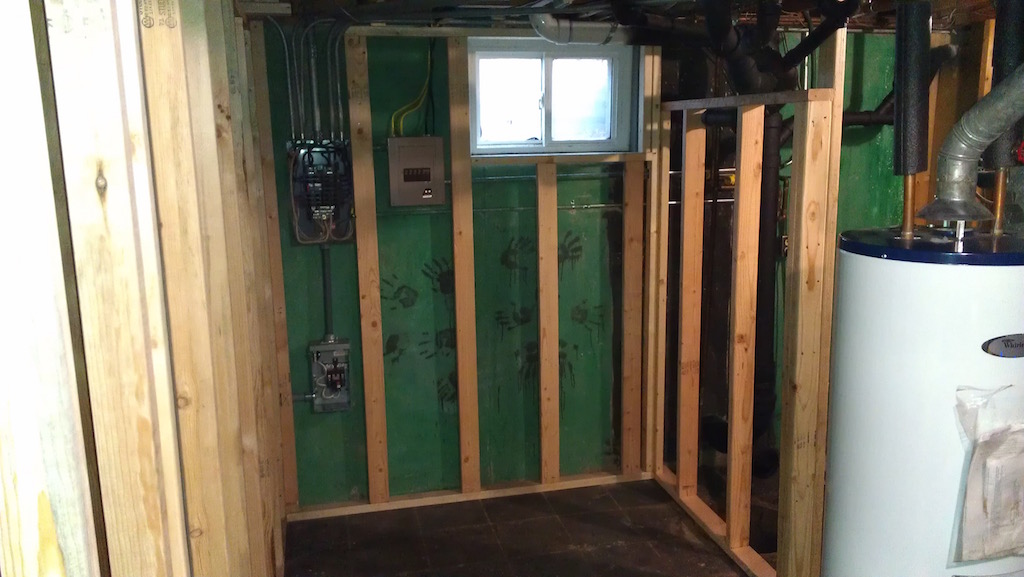
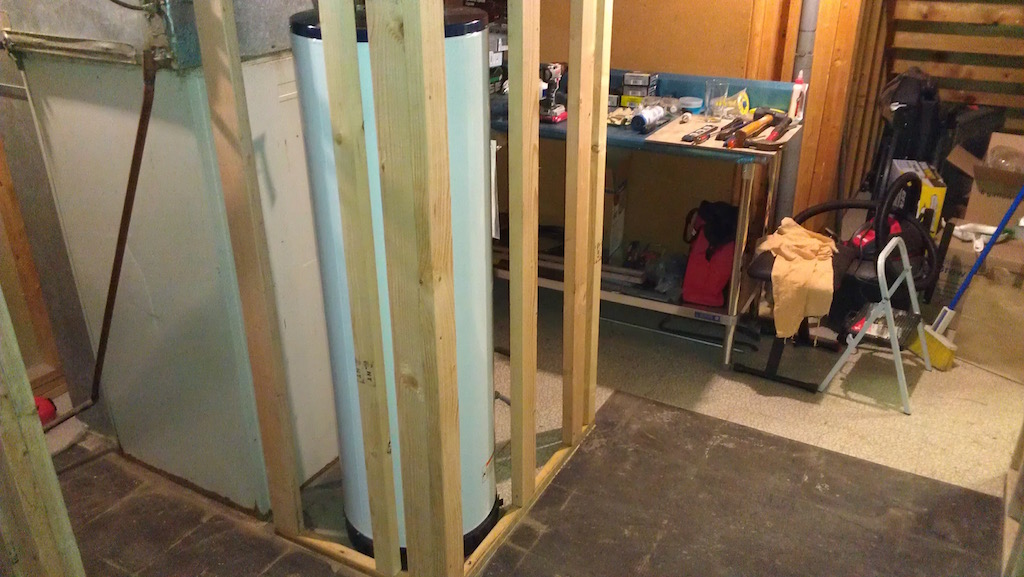
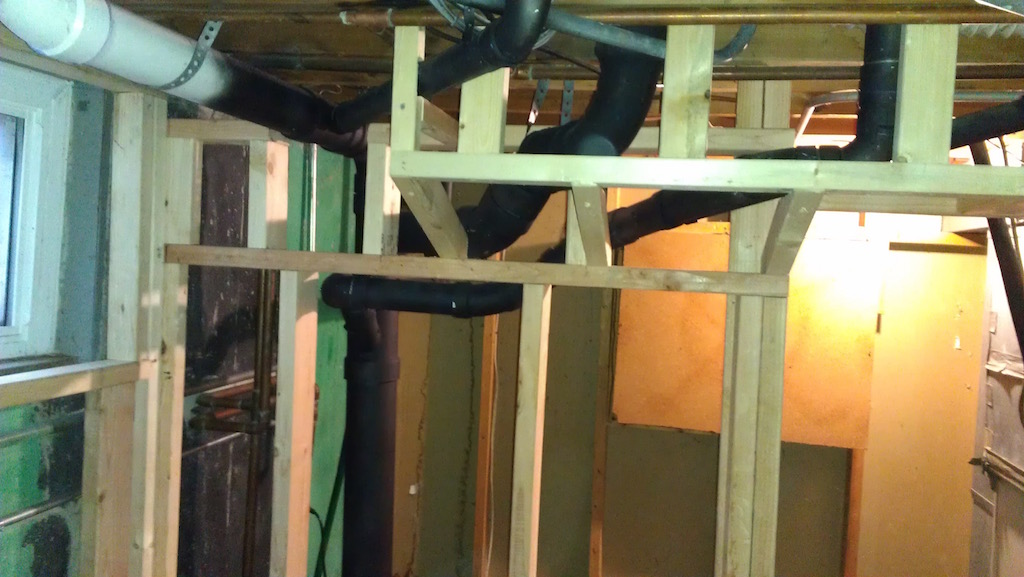
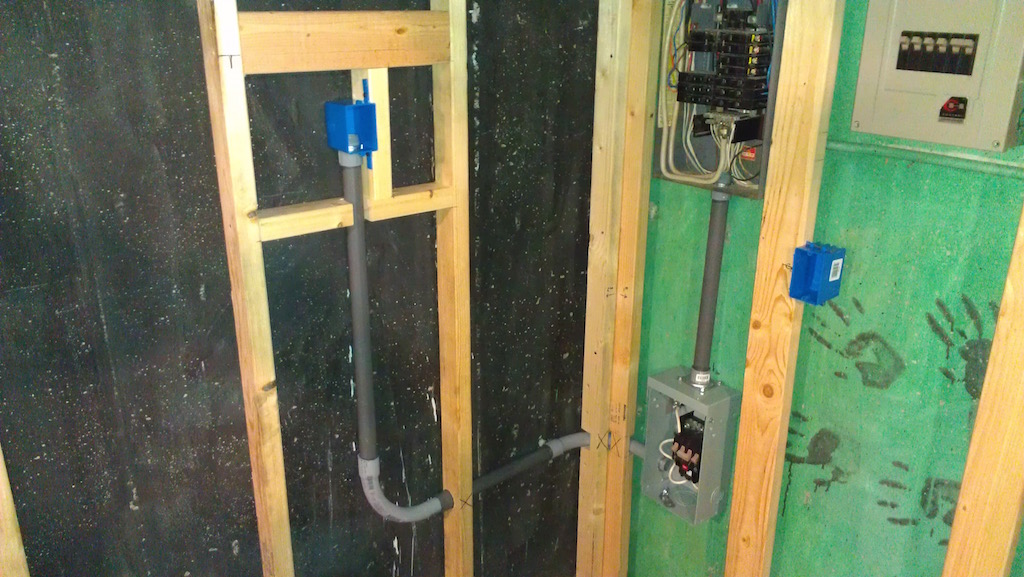
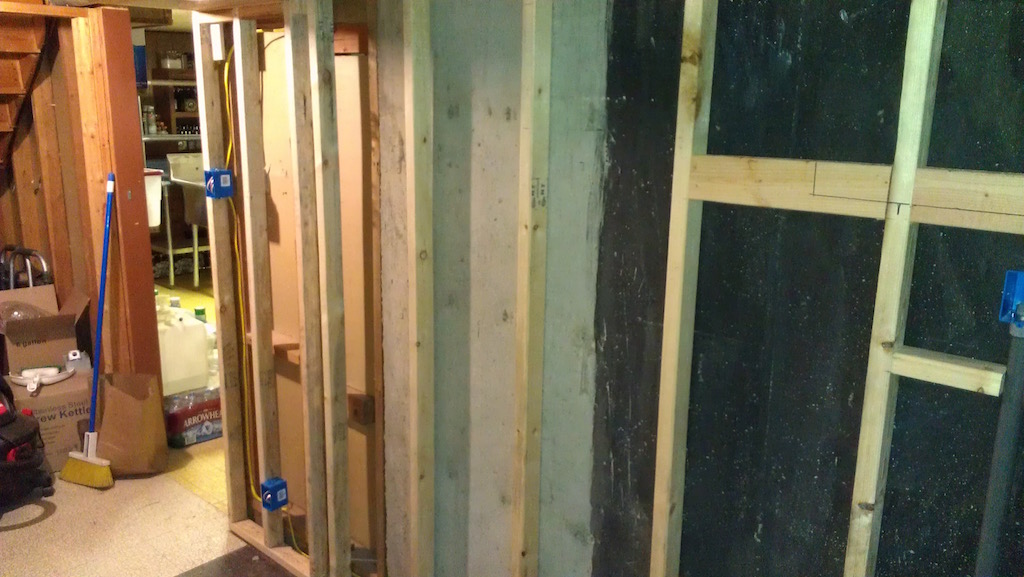
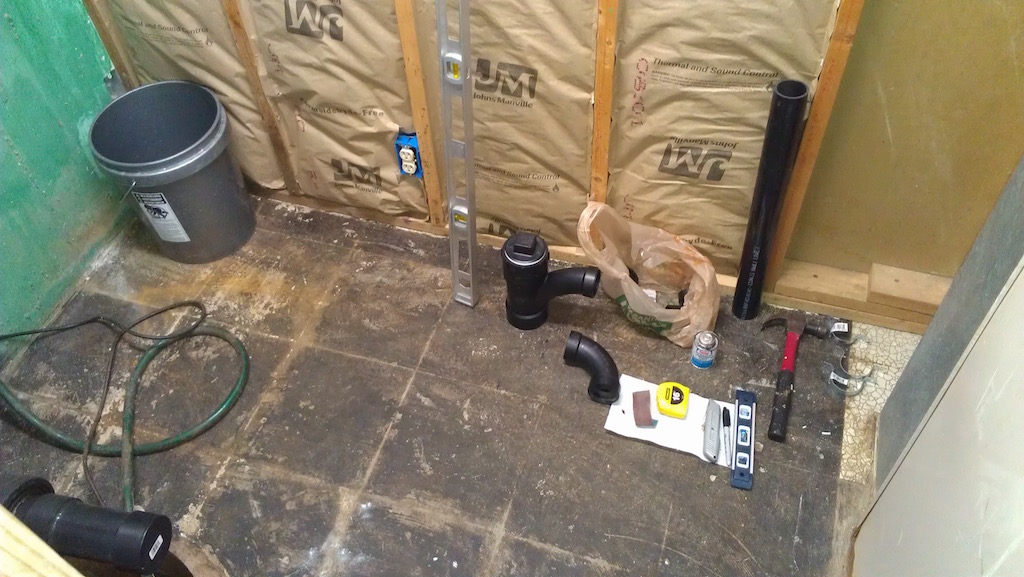
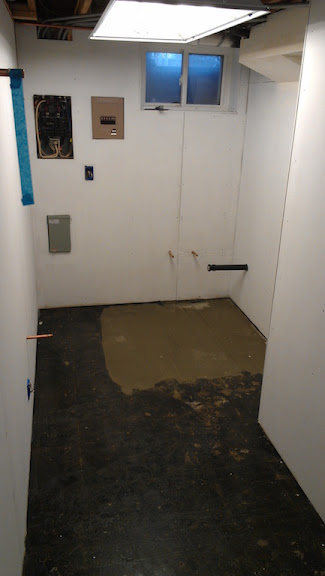
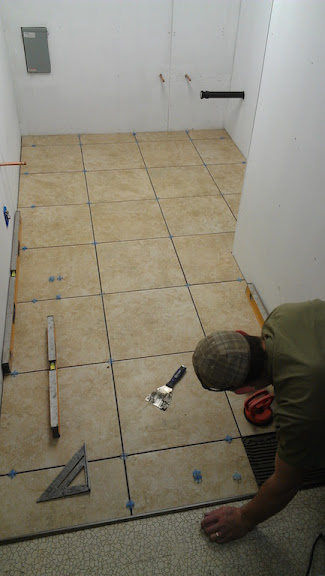
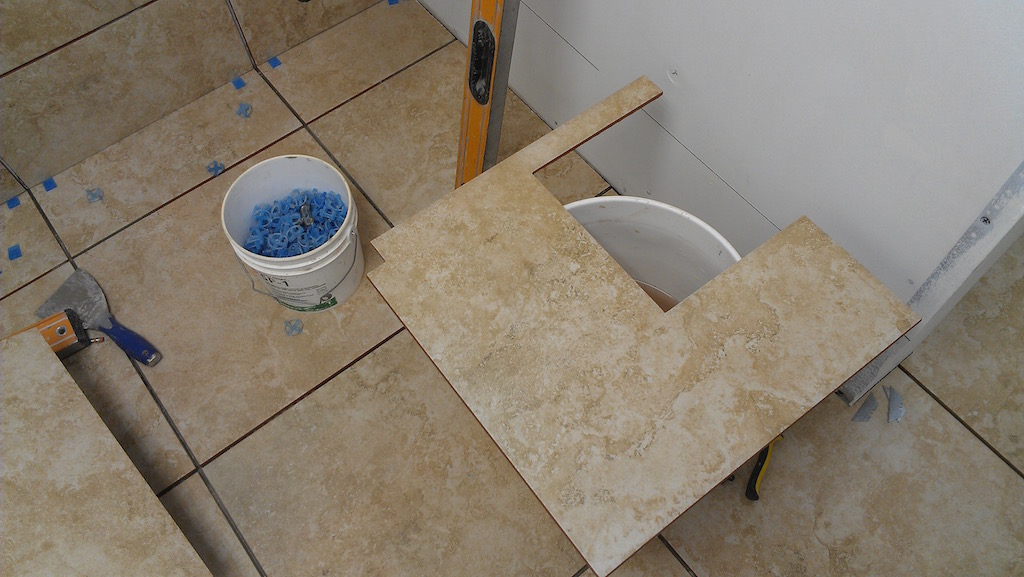
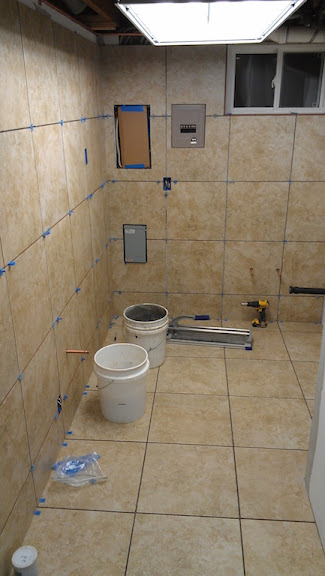
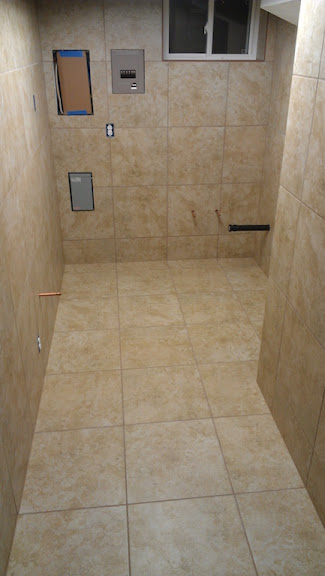
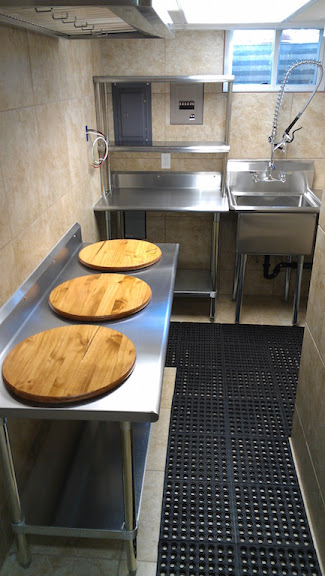
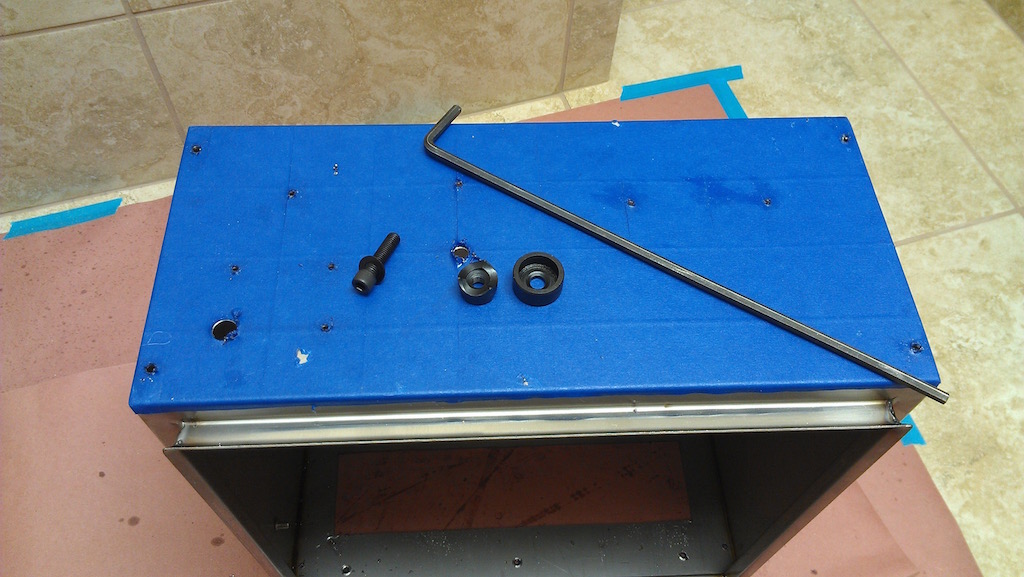
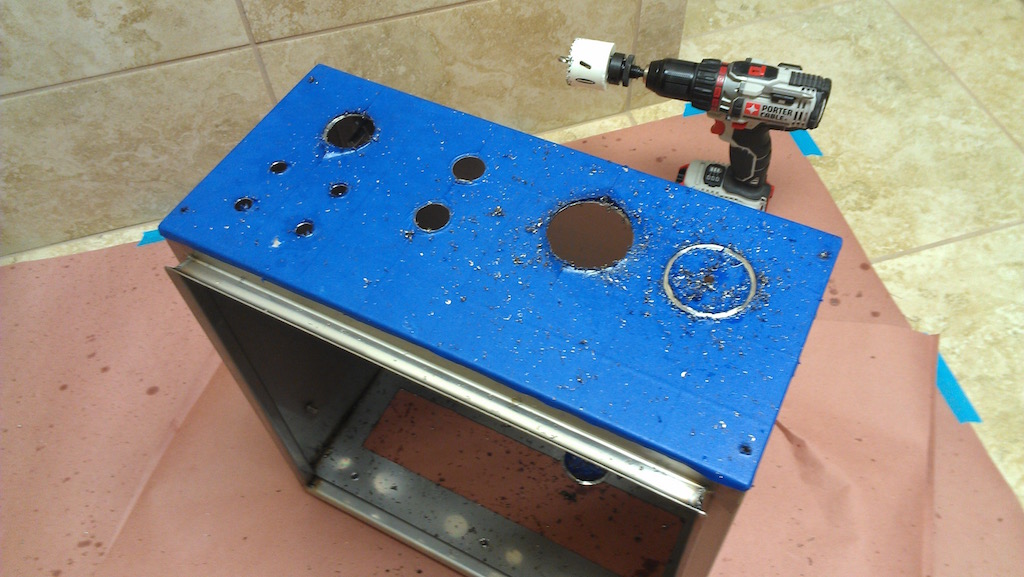
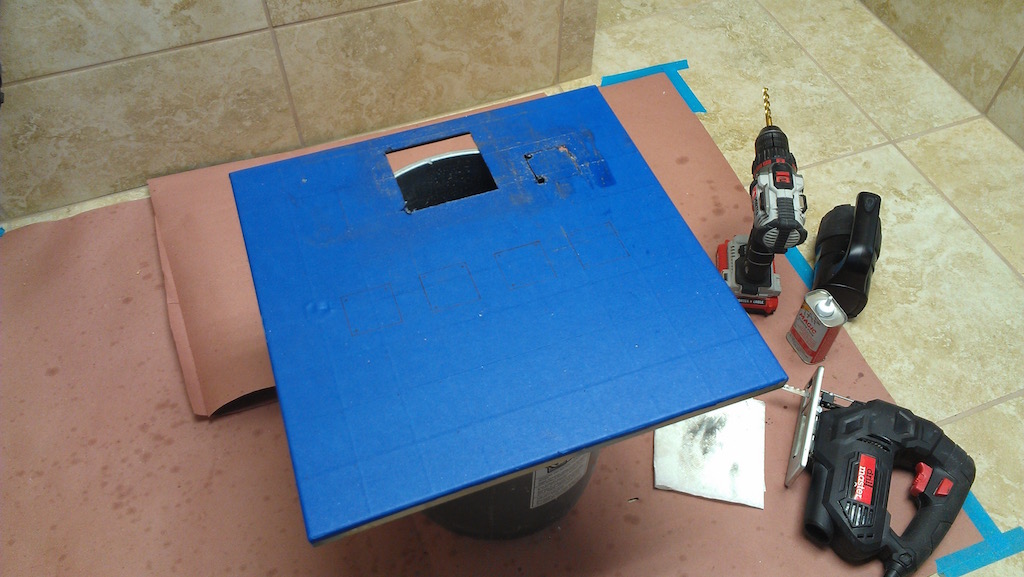
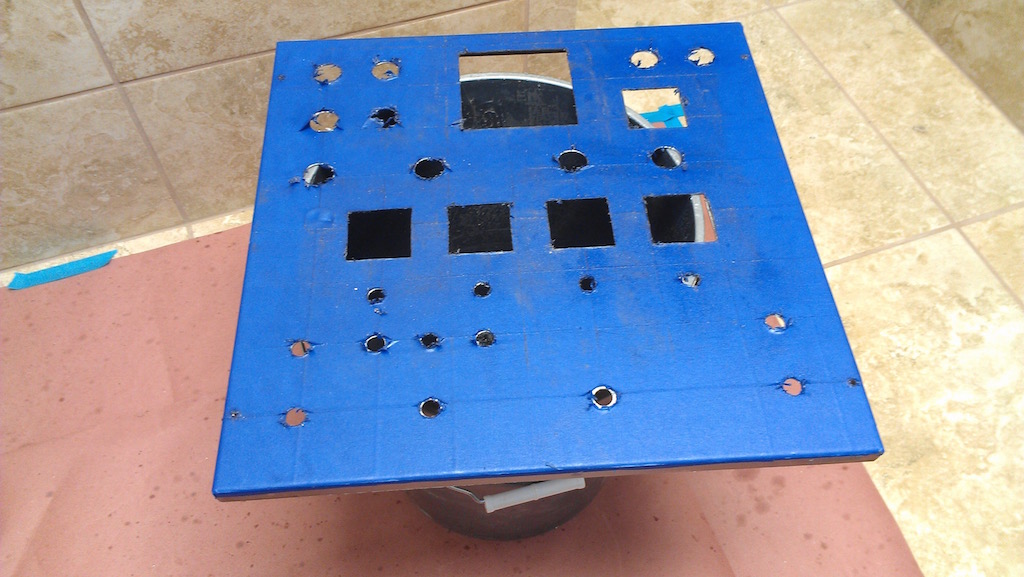
I started planning the brewery in September 2014 and began acquiring parts soon after that. Construction started in January 2015 and is pretty much complete as of June 2015. I am fortunate to have a very supportive SWMBO and the time and resources to devote to this project. I did all the work myself except for help with the ceramic tile which my son does for a living.

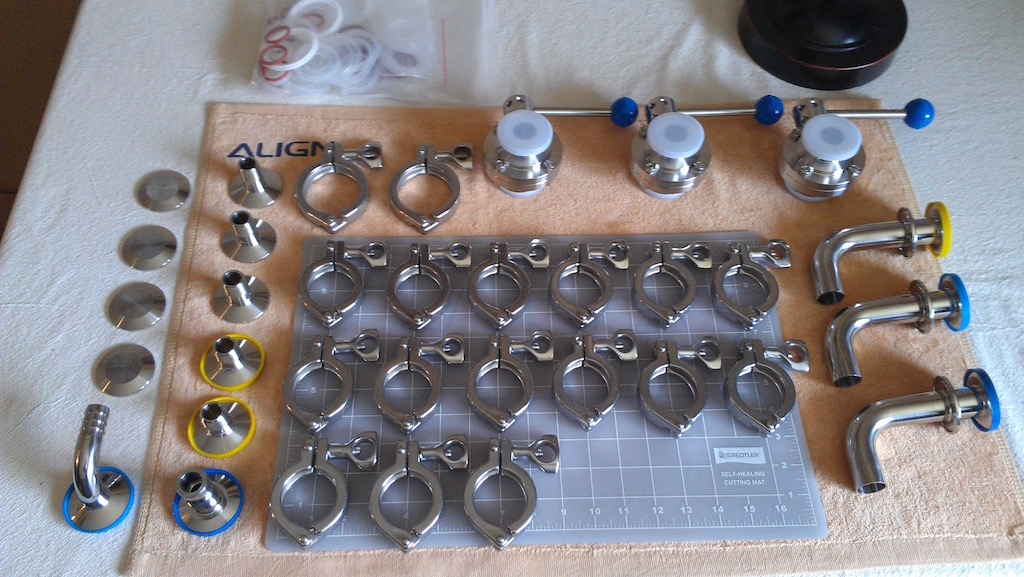
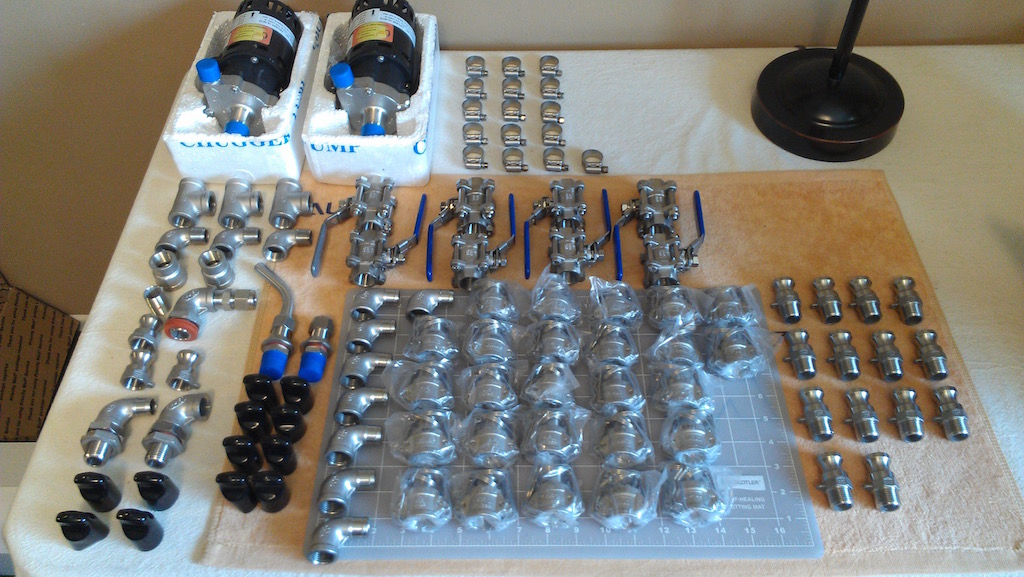
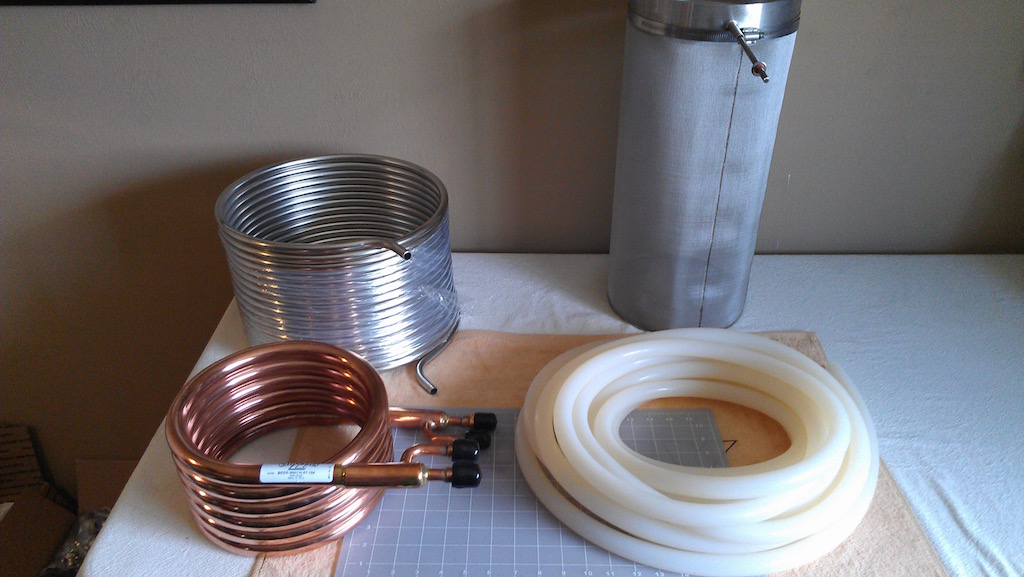
Thanks to everyone on these forums for all the terrific ideas, answers and solutions to problems you all have. I've learned so much following you all. Special thanks for some really good ideas and products goes out to the following folks as I used your products, ideas and inspiration...

Vendors:
http://www.auberins.com
http://www.brewershardware.com
http://www.brewhardware.com
http://www.ebrewsupply.com
http://www.stainlessbrewing.com
http://www.stilldragon.com
http://www.theelectricbrewery.com
http://www.zchillers.com

Forum Member Builds:
@azwillnj
@CptMidway
@Docbruw
@highland_brewer
@hunter306
@MrSaLTy
@RocketBrewer

I am splitting this into four posts:
Post 1 - Introduction
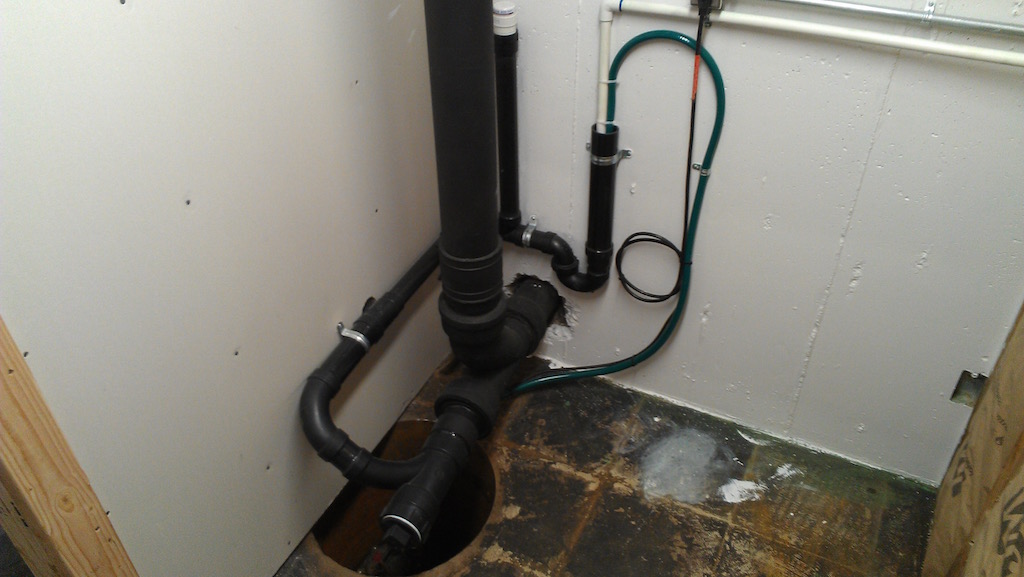
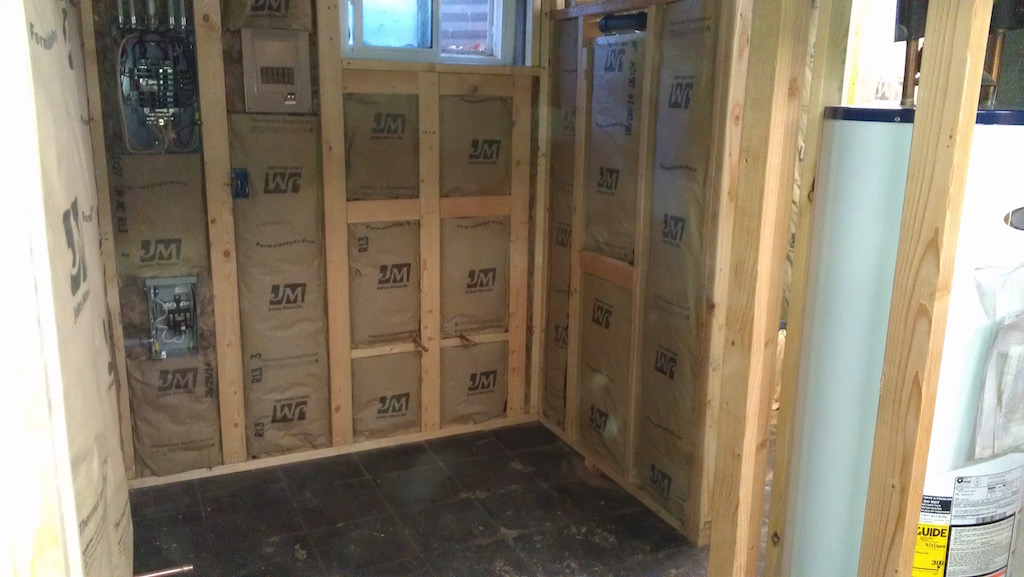
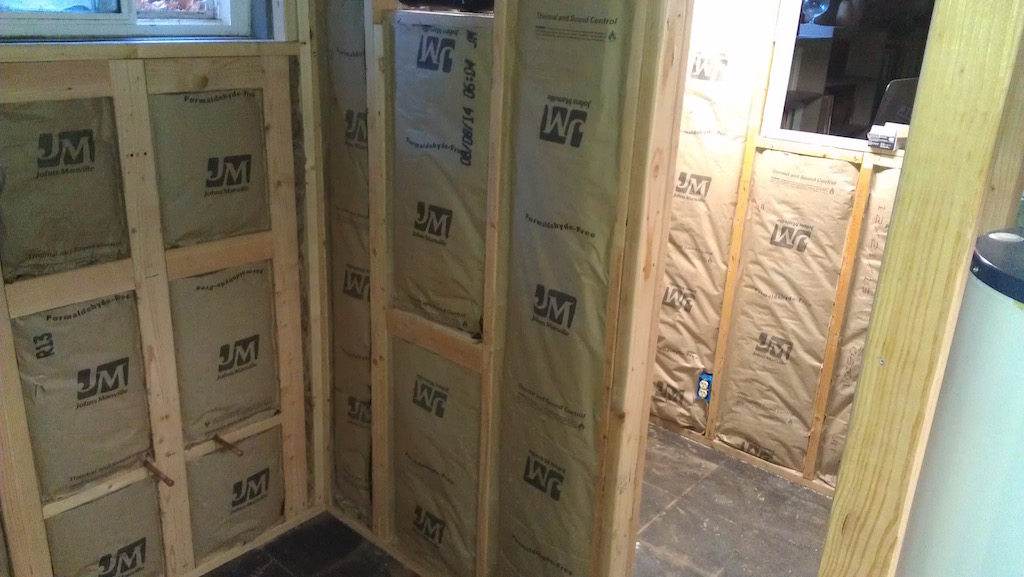
Post 2 - Brewery room build
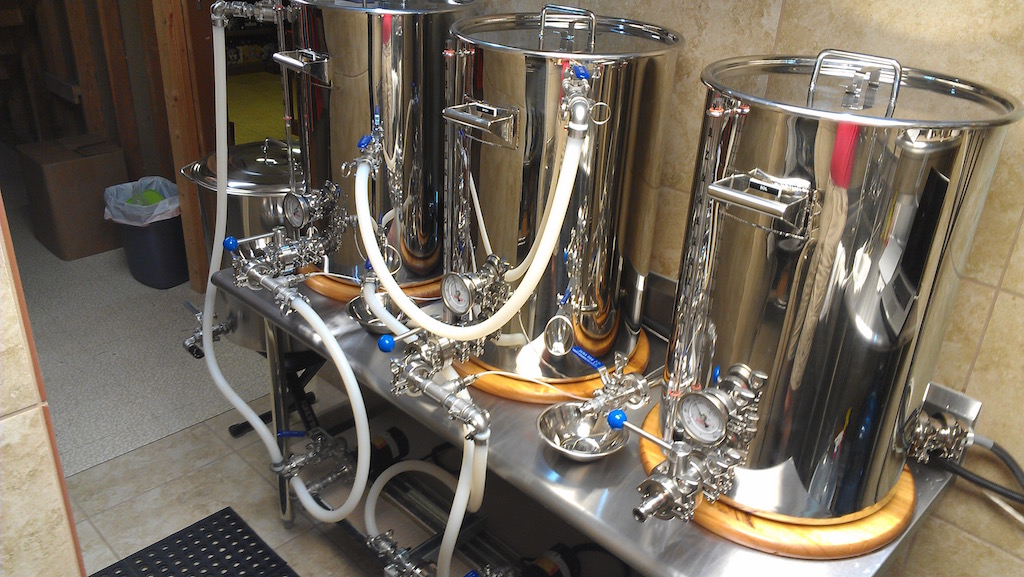
Post 3 - Equipment build and installation
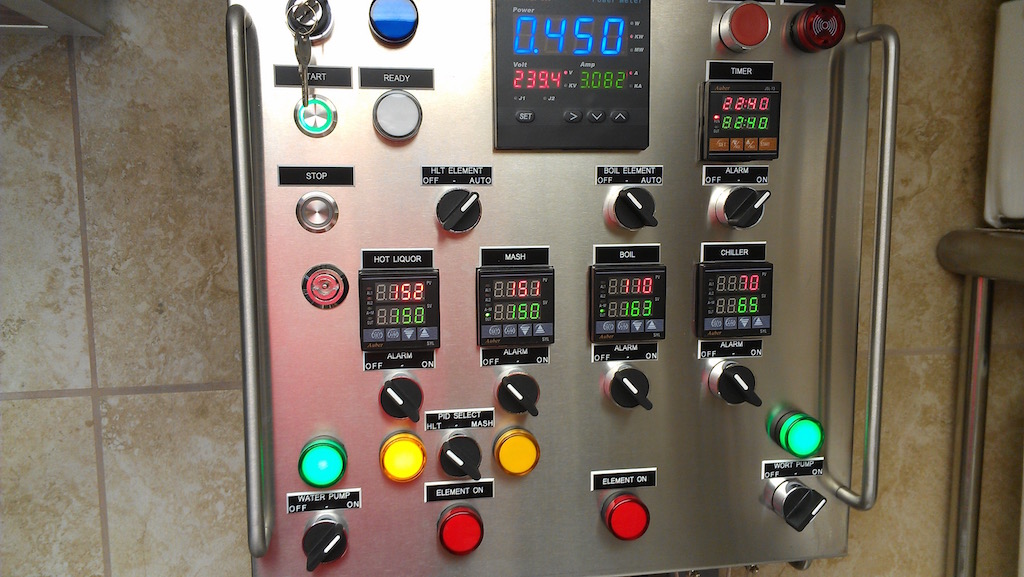
Post 4 - Control panel build and finished brewery

For those that want to see all of the photos of this build (almost 400), click here.

Thanks everyone!
KennyM
Mineral Creek Brewery
Pueblo, Colorado
 
Our basement had an unfinished area for the water heater and furnace that worked out good for the brewery. The main brew area is only 6 x 10 feet with the water heater taking up part of that. We also have a 4 x 6 foot area used for brewery storage.

Our city sewer line exits the basement above the floor grade so we have a sump that's in the way of using the whole area as well as the main drain, waste and vent piping.

I also plan on using the unfinished area under the basement stairway for fermenting.

The beginnning...
IMAG1257.jpg


IMAG1258.jpg


IMAG1259.jpg


IMAG1260.jpg


Framing going up...
IMAG1282.jpg


IMAG1288.jpg


IMAG1295.jpg


Installing electrical...
IMAG1296.jpg


IMAG1301.jpg


IMAG1303.jpg


Installing water lines...
IMAG1310.jpg


IMAG1317.jpg


IMAG1318.jpg


Drain system...
IMAG1336.jpg


IMAG1342.jpg


Insulation...
IMAG1328.jpg


IMAG1329.jpg


Wallboard...
IMAG1346.jpg


IMAG1344.jpg


IMAG1351.jpg


IMAG1362.jpg


IMAG1366.jpg


Ceramic tile...
IMAG1384.jpg


IMAG1391.jpg


IMAG1392.jpg


IMAG1400.jpg


IMAG1404.jpg


IMAG1429.jpg


IMAG1430.jpg


IMAG1431.jpg


60 Amp GFCI Panel...
IMAG1585.jpg


IMAG1440.jpg


900 CFM exhaust hood...
IMAG1450.jpg


IMAG1516.jpg


Suspended grid ceiling...
IMAG1567.jpg


IMAG1571.jpg


IMAG1576.jpg
 
The control panel is a 60 amp back-to-back panel with safety interlocking as well as a volt, amp and watt meter. I incorporated forum member @azwillnj's idea and can switch the HLT element to use either the HLT or MASH PID controller's output. This allows the HLT and MASH PID controllers to use their own tuning parameters. I use the HLT PID when heating strike and sparge water and the MASH PID during recirculation. I've included detailed logic wiring diagrams that show the details.

Panel layout and wiring diagrams...
Brewery%252520Control%252520Panel.jpg


Brewery%252520Control%252520Panel%252520120VAC.jpg

High Resolution version click here.
Brewery%252520Control%252520Panel%252520Panel%252520240VAC.jpg


High Resolution version click here.


Panel components...
IMAG1465.jpg


IMAG1468.jpg


Templates made with Microsoft Visio...
IMAG1487.jpg


IMAG1490.jpg


IMAG1515.jpg


Panel cutouts...
IMAG1498.jpg


IMAG1499.jpg


IMAG1505.jpg


IMAG1519.jpg


IMAG1523.jpg


IMAG1526.jpg


Installing panel components...
IMAG1527.jpg


IMAG1528.jpg


IMAG1544.jpg


IMAG1537.jpg


IMAG1538.jpg


IMAG1555.jpg


IMAG1562.jpg


Wiring control panel...
IMAG1682.jpg


IMAG1683.jpg


IMAG1733.jpg


IMAG1749.jpg


IMAG1752.jpg


IMAG1757.jpg


IMAG1760.jpg


IMAG1761.jpg


Control panel complete...
IMAG1759.jpg


IMAG1766.jpg


IMAG1768.jpg


IMAG1773.jpg


Finished brewery...
IMAG1769.jpg


IMAG1770.jpg


IMAG1772.jpg


IMAG1771.jpg


IMAG1774.jpg


IMAG1775.jpg


IMAG1767.jpg


Thanks for sticking around this far. I'm no expert on this stuff but let me know if you have any questions.
Again, you can click here to see all the photos of the entire build.

<Cheers>
KennyM
 
It's nice to know there are still people in the world that are sicker than me :D
Amazing build! Happy that you got some inspiration from my build, and can't wait to hear how your first brew goes.
 
It's nice to know there are still people in the world that are sicker than me :D

Haha no kidding!

Until now I have been slightly embarrassed to let people see my excessively anal wiring job. Now I don't feel so bad knowing someone else has such a work of art sealed behind a closed door. Because WE know what's in there, right? :ban:
 
Amazing. I have a 1 Brewer's Hardware 20 gallon kettle as well. My future goal is to have something like this, thanks for the inspiration. Wish I had more electrical skills.
 
Haha no kidding!

Until now I have been slightly embarrassed to let people see my excessively anal wiring job. Now I don't feel so bad knowing someone else has such a work of art sealed behind a closed door. Because WE know what's in there, right? :ban:

Indeed GotPushrods. It comes from years of working in industrial panels and saying to myself I'd never do "that" to the insides of a panel I am responsible for.

Thanks everyone, it's been a fun project the past 6 months. First official brew day results soon...
 
Killer build. Wish the inside of my panel looked 1/2 that nice. I think use DIM rails is the way to go.

What size are those site glasses on your pumps?
 
Your attention to detail and organization are first rate. Definitely a brew space to be proud of!
 
Killer build. Wish the inside of my panel looked 1/2 that nice. I think use DIM rails is the way to go.

What size are those site glasses on your pumps?

Thanks TechyDork, and you are right, 35mm DIN rail makes things so much easier and gives you a lot of flexibility during layout.

The sight glass is 1" and available at Brewer's Hardware. I only have one and it's installed on the inlet of the wort pump to view clarity during mash recirculation.
http://www.brewershardware.com/TC10SG.html
 
@KennyM amazing job dude! Completely finishing a space like this makes it look so great. I went the cheap route and didn't finish my whole space...functional but nowehere near as pretty. Looking forward to some brewday pics!

Where did you get the rubber matting?
 
Thanks everyone for the comments.

Can you take a video when you brew on this thing? Looks great.

I have a simple video up showing the initial cleaning run and water/element test and a short pan around the brewery: https://youtu.be/YyQCI7_8WT8
I'll try and do a brew video in the future.


is it alright if I ask about total price?
Not exact figures but about 4K on the room, plumbing, electrical, sink/worktables, vent hood and fixtures and about 6K on the kettles, pumps, chiller, hardware, control panel and tools/equipment/supplies.

Working on posting a brew day review from 6/25/15. Stay tuned...
 
Good day fellow brewers!
I was able to do a break-in brew day on 6/25/15. I chose a simple Blonde Ale 5 gallon batch recipe. Everything worked out fairly well and I hit the numbers relatively close to expected. Have a few volumes in Beersmith to adjust but not bad for the first run. We'll see how it turns out after fermentation is complete.

The following photos are from brew day...

Setting up brewery. New RO water system not yet online.
IMAG1788.jpg


Recipe in Beersmith...
IMAG1802.jpg


Water profile in Bru'n Water...
IMAG1793.jpg


Measuring out water salts...
IMAG1792.jpg


Milling grain...
IMAG1790.jpg


Mash in...
IMAG1797.jpg


Begin recirculation...
IMAG1795.jpg


Temperatures during mash recirculation...
IMAG1798.jpg


Calibrating pH meter and getting refractometer ready...
IMAG1800.jpg


Room temp mash pH good at 10 mins into saccharification rest...
IMAG1801.jpg


Wort color at the beginning of recirculation...
IMAG1796.jpg


Wort color after 15 min recirculation...
IMAG1804.jpg


Wort color during the sparge...
IMAG1808.jpg


Wort color at end of the sparge...
IMAG1809.jpg


Mash Tun empty...
IMAG1811.jpg


Pre-boil gravity at 1.034 @ 80 Deg F...
IMAG1812.jpg


Hop and clarifier additions...
IMAG1810.jpg


Hot break...
IMAG1814.jpg


Small holes in tubing to aerate the chilled wort...
IMAG1816.jpg


Ready for blow-off tube...
IMAG1819.jpg


Thanks again to everyone for the comments. This has been a wonderful project and looking forward to getting the system dialed in an brewing lots of yummy beer.

<Cheers>
Kenny
 
This. Is. Awesome! Well done. I will now find it hard to brew on my basic all-grain set up after seeing this.
 
Your build and presentation are a work of art! Extreme envy setting in. Congrats!
 
Thanks everyone for the comments.


I have a simple video up showing the initial cleaning run and water/element test and a short pan around the brewery: https://youtu.be/YyQCI7_8WT8
I'll try and do a brew video in the future.


Not exact figures but about 4K on the room, plumbing, electrical, sink/worktables, vent hood and fixtures and about 6K on the kettles, pumps, chiller, hardware, control panel and tools/equipment/supplies.

Working on posting a brew day review from 6/25/15. Stay tuned...

Thanks for the video.

What size pots are those? Why a PID for the Chiller and mash tun? Do these just provide feed back and are not really controlling anything?

I am a manufacturing engineer. One of my coworkers runs the electrical controls engineering department. He is into brewing and helped a friend open a commercial micro brewery. I sent him the info on the electric brewery panel. He said I will be able to provide most of what I need if I don't mind used. Thinking budget I guess I don't care if its used If I can build this panel pretty cheap. I am going to start collecting parts for my E-Herms. I have 1600 square foot open unfinished basement with 9 foot ceilings to choose a spot to build my brewery. I think this is going to get expensive. It may be a few years down the road. For now my 10 gallon manual all grain set-up makes pretty good beer but desire to go more automated so I don't have to climb step ladders and transfer heavy liquids. Also the consistency really would be a nice benefit.

Yours looks great.

Thanks Paul for the comments.

The kettles are 20 gallons each: http://www.brewershardware.com/Premium-Sanitary-Fitting-Ferrule-Outfitted-Kettles

I have a switch that allows the HLT heating element to be controlled from either the HLT or Mash PID controller. Not really necessary but it gives me the option to control the HLT temperature from either the HLT temperature probe or the Mash re-circulation probe. Each controller has it's own tuning parameters and I find that during re-circulation, using the Mash PID allows for more precise control over the temperature.

I used the same PID controller for the chiller (temperature monitoring only) mainly to be consistent with the rest of the controllers on the panel and it can be used as a replacement if one of the more important controllers were to fail. A mechanical thermometer would have worked just fine on the output of the chiller as well.

<Cheers>
 
One of the most amazingly implemented and presented builds I've seen on here. Really nice work dude - you should be proud. You've inspired me to re-assess the organization of my own rig. Perhaps a project for this weekend.

Cheers and enjoy the brews.
 
Thanks again to everyone for the nice comments. Have 4 batches finished so far and getting the system dialed in. Been getting about 88% mash efficiency with a .045" grain crush.

Brews so far...
Batch #1 - MoreBeer Hop Blonde (4.1%)
Batch #2 - MoreBeer Renegade Rye (5.2%)
Batch #3 - Left Hand Brewery Fade to Black Vol 1 (8.5%)
Batch #4 - Deschutes Brewery Inversion IPA (7.1%)

So far I've been very happy with the system and don't think I'd change much if I had to do it over again although I am looking at a few stainless steel conical fermenters. Bottling is a pain so I built a 4 tap keezer. See photos below...


Added an Inkbird controller to an Igloo FRF710 7.1 Cu Ft freezer...
IMAG1833.jpg


Added a 10" collar made from 2x8, 1x10 and 1x3 pine and 1" poly foam insulation...
IMAG1831.jpg


IMAG1832.jpg


IMAG1834.jpg


Perlick 650SS flow control stainless steel faucets with 4" stainless steel shanks...
IMAG1836.jpg


IMAG1835.jpg


Completed interior. The John Guest fittings and Bev-Seal Ultra are the only way to go...
IMAG1861.jpg


SEA flow meters...
IMAG1862.jpg


IMAG1863.jpg


4 oz vials with Glycerin for Inkbird and Raspberry Pi temperature probes.
IMAG1864.jpg


Raspberry PI 2 with Alamode board and custom made interface board for temperature and flow sensors...
IMAG1853.jpg


IMAG1854.jpg


IMAG1855.jpg


IMAG1858.jpg


IMAG1866.jpg


Finished keezer with test run of Raspberry Pints taplist software...
IMAG1859.jpg


IMAG1860.jpg


IMAG1868.jpg
 
Again, absolutely amazing Kenny! Top notch all the way! I have to look into those John Guest fittings for my keg system. How did you like that Renegade Rye recipe? I really like rye beers and need to find a good one to brew.

John
 
Again, absolutely amazing Kenny! Top notch all the way! I have to look into those John Guest fittings for my keg system. How did you like that Renegade Rye recipe? I really like rye beers and need to find a good one to brew.

John

Thanks John. The Renegade Rye was quite good. Unusual with 5 hop types including a dry hop but smooth drinking.
 
Damn dude.. very impressive.

I wish I had the skill set with the electrical pieces. I'm really jealous.

You have a crazy build. Very nice job. Thank you for sharing.
 
Back
Top