Wow, what a build thread! Beautiful brewery you got there!
John
John

Thanks everyone for the comments.
I have a simple video up showing the initial cleaning run and water/element test and a short pan around the brewery: https://youtu.be/YyQCI7_8WT8
I'll try and do a brew video in the future.
Not exact figures but about 4K on the room, plumbing, electrical, sink/worktables, vent hood and fixtures and about 6K on the kettles, pumps, chiller, hardware, control panel and tools/equipment/supplies.
Working on posting a brew day review from 6/25/15. Stay tuned...
Thanks for the video.
What size pots are those? Why a PID for the Chiller and mash tun? Do these just provide feed back and are not really controlling anything?
I am a manufacturing engineer. One of my coworkers runs the electrical controls engineering department. He is into brewing and helped a friend open a commercial micro brewery. I sent him the info on the electric brewery panel. He said I will be able to provide most of what I need if I don't mind used. Thinking budget I guess I don't care if its used If I can build this panel pretty cheap. I am going to start collecting parts for my E-Herms. I have 1600 square foot open unfinished basement with 9 foot ceilings to choose a spot to build my brewery. I think this is going to get expensive. It may be a few years down the road. For now my 10 gallon manual all grain set-up makes pretty good beer but desire to go more automated so I don't have to climb step ladders and transfer heavy liquids. Also the consistency really would be a nice benefit.
Yours looks great.


")


![Craft A Brew - Safale S-04 Dry Yeast - Fermentis - English Ale Dry Yeast - For English and American Ales and Hard Apple Ciders - Ingredients for Home Brewing - Beer Making Supplies - [1 Pack]](https://m.media-amazon.com/images/I/41fVGNh6JfL._SL500_.jpg)


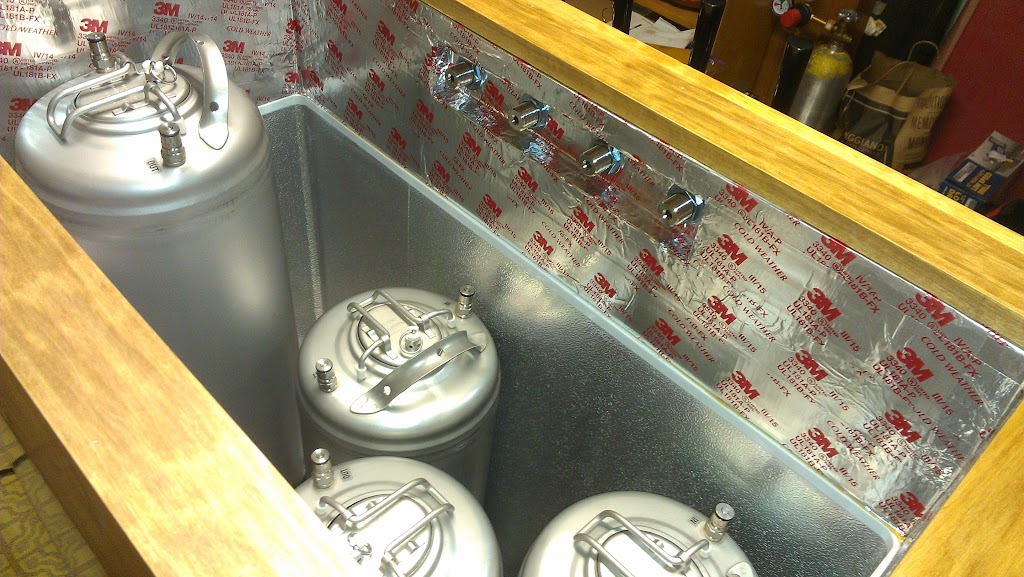
Again, absolutely amazing Kenny! Top notch all the way! I have to look into those John Guest fittings for my keg system. How did you like that Renegade Rye recipe? I really like rye beers and need to find a good one to brew.
John
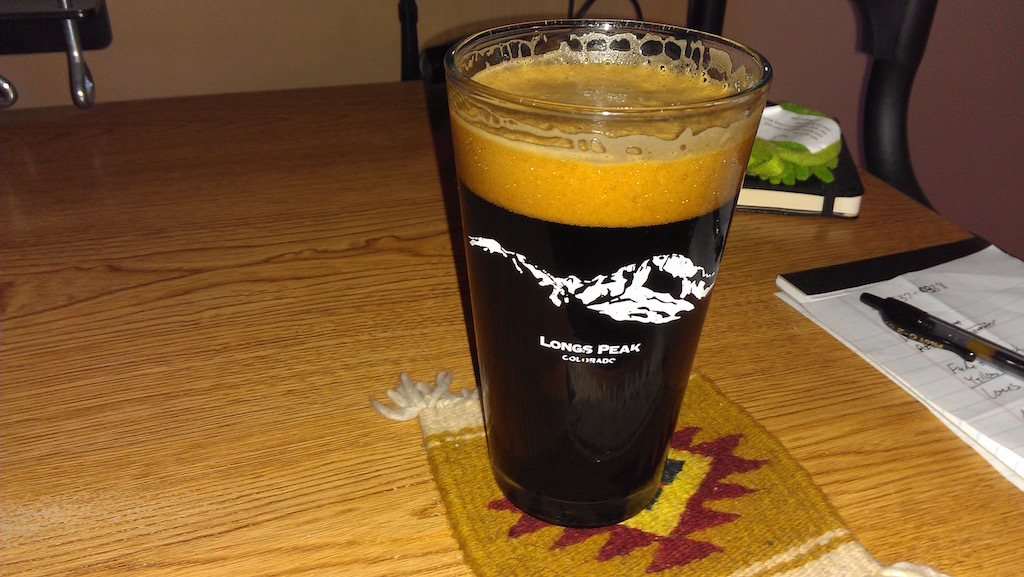
Thanks John. The Renegade Rye was quite good. Unusual with 5 hop types including a dry hop but smooth drinking.
your build is awesome. i am looking to do something similar with a bcs, and would like to use something like the amp, watt, volt meter that you have on your control panel. i can't quite make out where it is from. would you please share?
thank you!
Wow, nice build.
However, if you are wanting this to be up to the National Electrical Code there are a couple points you should realize.
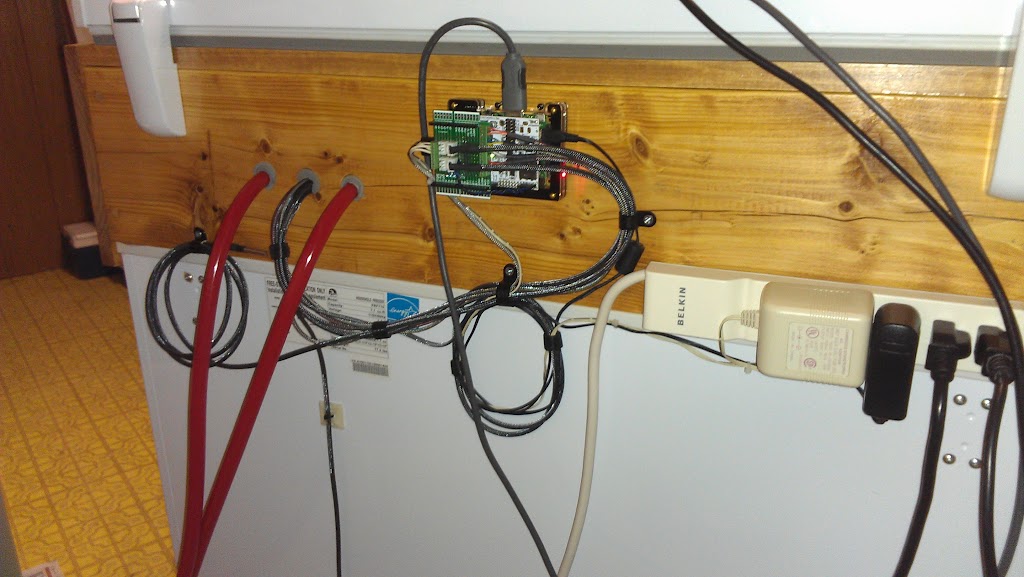
1) The two 20amp breakers in the subpanel with the 60amp GFCI breaker that runs your brewing system are NOT themselves GFCI protected. I think these feed some receptacles in the immediate area which is wet with sinks and such. By code these branch circuits need to have either GFCI breakers or the receptacles must provide the GFCI function. I don't see that in the photos.
2) The wall with the main and subpanels seem to be blocked with shelving. By code the area immediately in front of panelboards must be free of obstruction, I don't recall the minimum distances but right now you have none.
Since the shelf unit could be moved and you can still reach the breakers you might personally decide to ignore this but not having GFCI protected receptacles in the wet area is a real safety hazard.
Carl
Thanks augiesd,
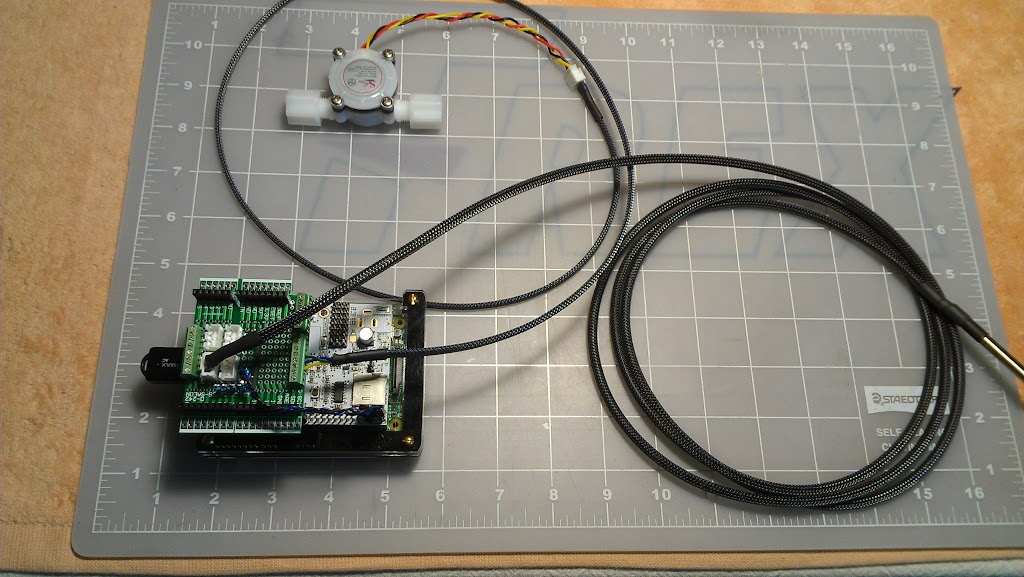
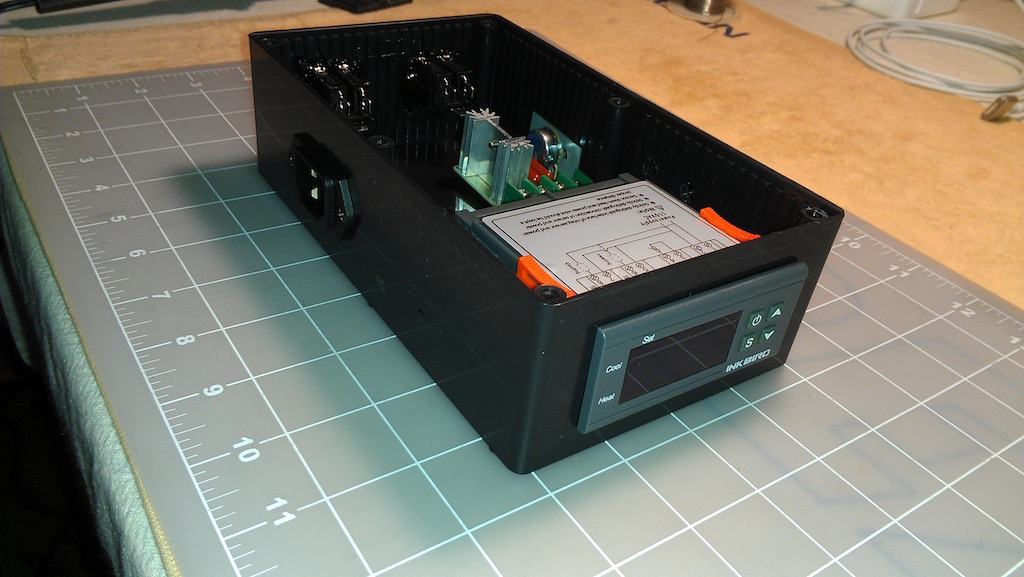
I ordered the 416PVA from the following link: http://www.lightobject.com/Programm...tal-AC-Single-Phase-Power-Watt-Meter-P54.aspx
You'll also need an appropriate current transformer. I used a 20:1 which ranges the 0 - 5 amp input to 0 - 100 amp. Here's a link: http://www.lightobject.com/AC-Transformer-Shunt-100A5A-201-P100.aspx
I've been happy with the meter and the accuracy is spot on.
fantastic build...
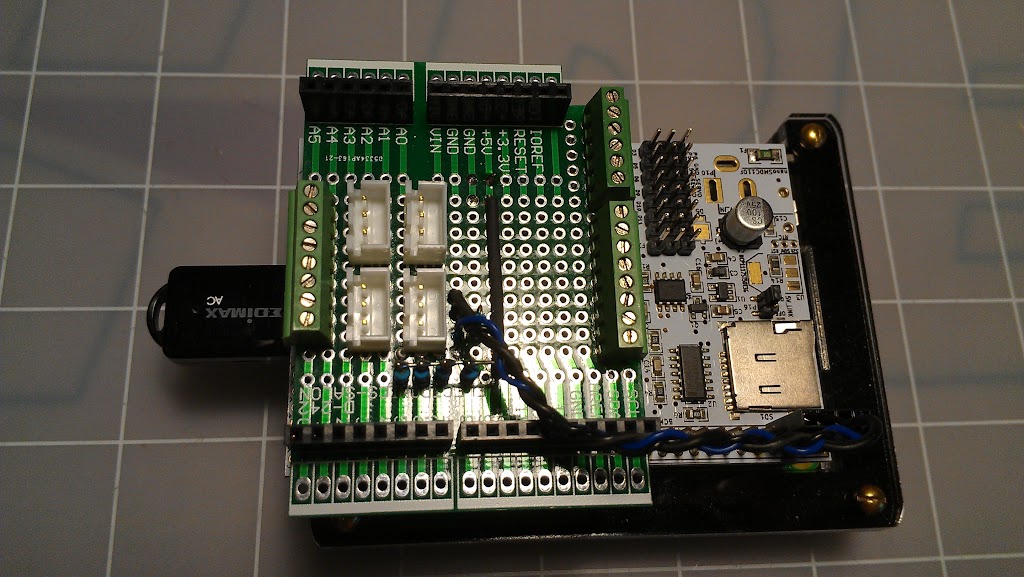
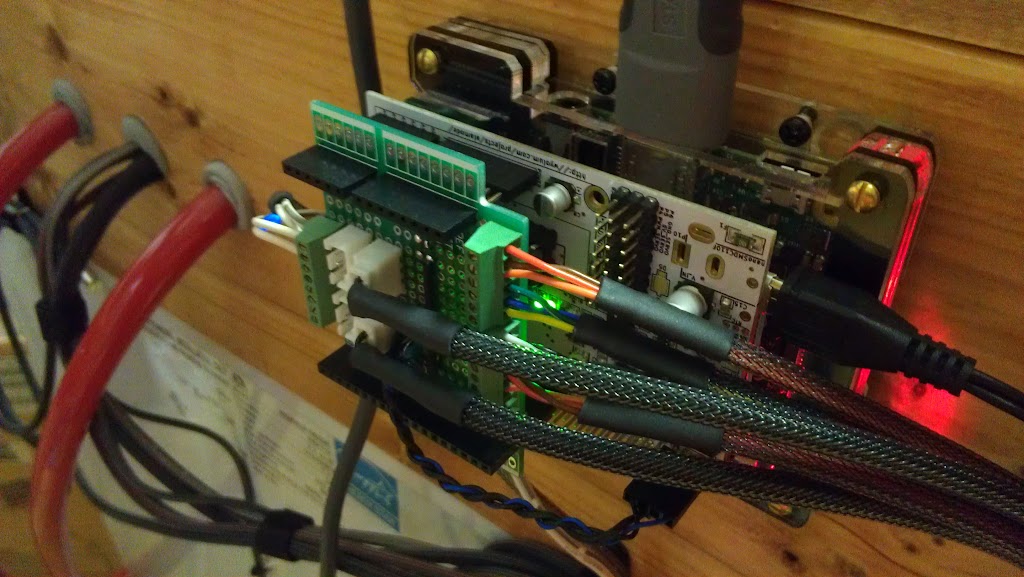
I have a question, I was also looking into power meters, it looks like in your pics that only one leg, black goes through the CT, wouldnt you need to measure on both hot legs?? sorry, if that sounds stupid, but all the ones I have seen only measure on one leg...
Thanks wyowolf. No question is stupid...
The panel is powered by a 240 volt single phase circuit like most residential systems are. Current flows in a circuit like water flows in a pipe. What goes in must also come back out. During operation with a 240 volt load, current flows between the black and red wires alternately 60 times a second (in the USA). The current in the black wire will match the current in the red.
Because I also have 120 volt circuits in the panel (wired between the black hot and white neutral wires), that current flows between the black and white wires and not in the red. Monitoring the black wire by itself insures that you account for all the current regardless if it is flowing black to red (240 volt) and/or black to white (120 volt).
hmmm OK so if I also use a CT transformer in my panel, with the Volt/Am meter it will read the correct current usage? via the black wire. The only 120 I have in my panel is the 120V for the BCS. I am running a BIAB setup, to try it out mostly , if not I will go back to 3V.
Thank you very much for that info!!
Frank
Do you have a make and model number on the vent hood you used? I'm looking for something similar to fit in a small space.
Do you notice any condensation using this during a brew day?
Beautiful project!
I didn't see you mention it anywhere else in the thread, but what is the game plan? Is this all for your personal brewing enjoyment, or are there bigger plans for the brewery, now that your are retired?
Simply Perfect!! Amazing use of the space in layout and design... love the fermentors...but they look pricey
very sharp.Hi wyowolf,
Yea, I wish I had a bit more room as it gets a bit cozy with more than two people in the brewing area, but it's workable.
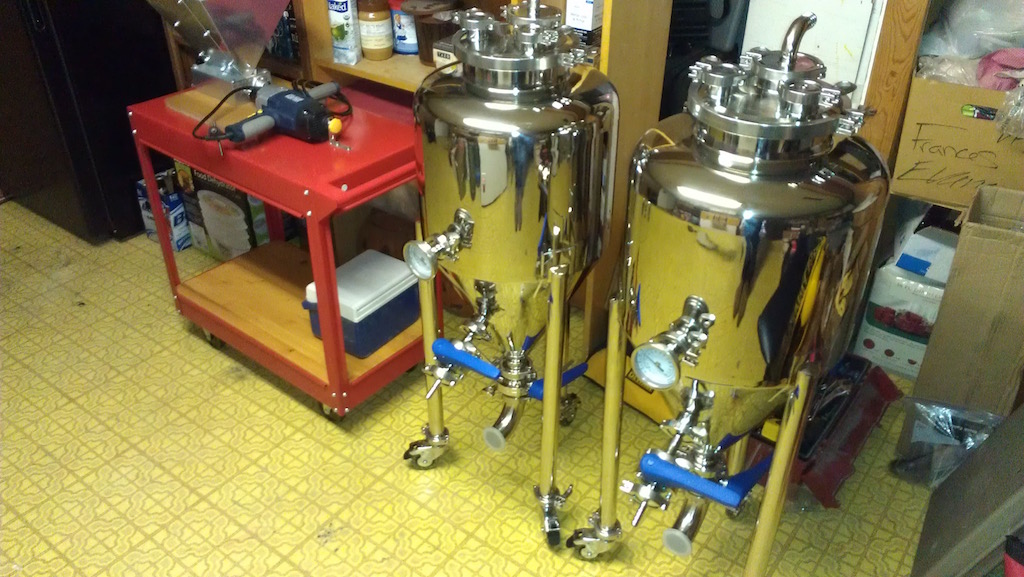
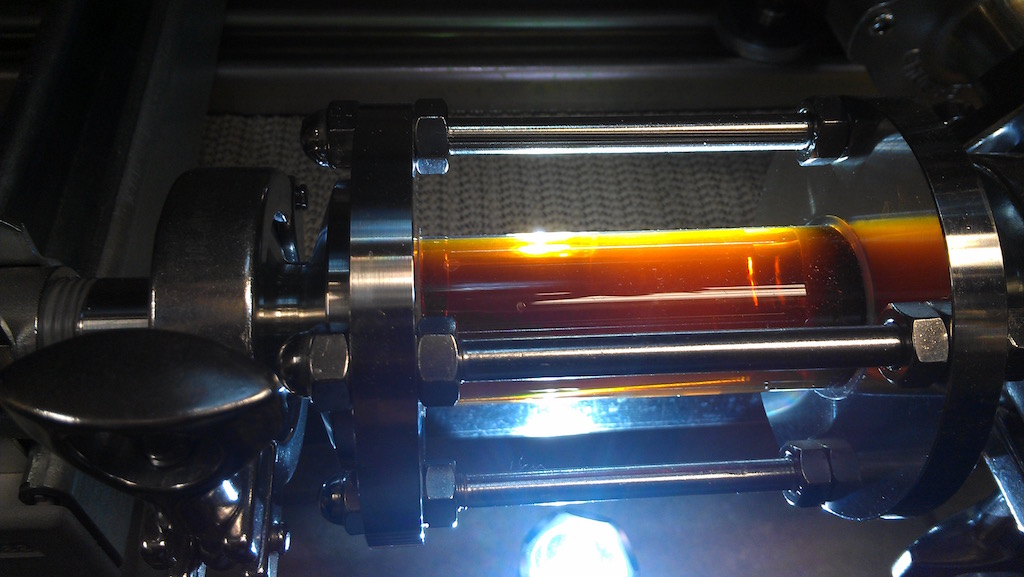
I've been making 10 gallon batches so 2 kegs a batch. I have 20 gallon kettles but 10 gallons final volume seems to work well. I could probably swing a 15 gallon batch if the gravity isn't too high.
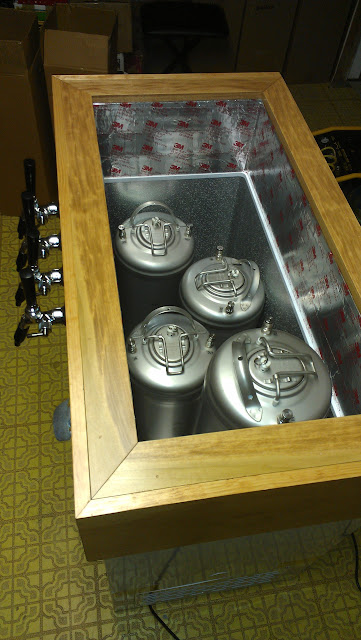
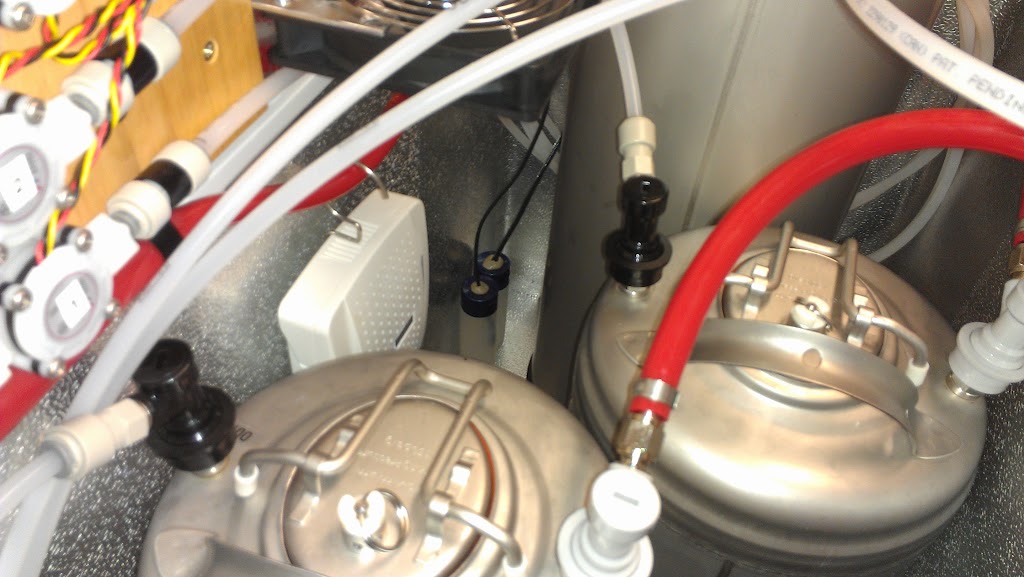
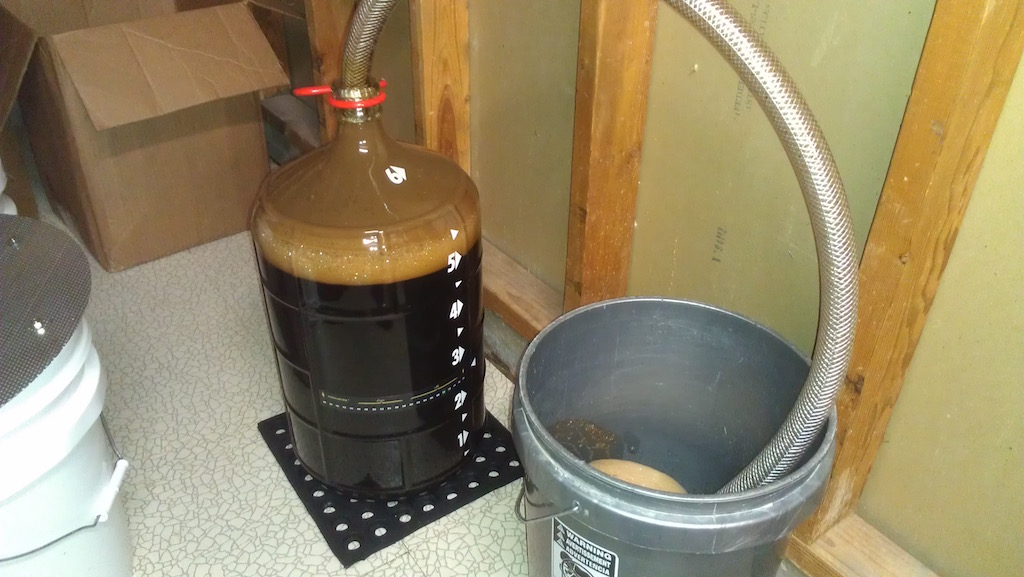
The fermentors are 15 gallon each which works well for this size batch (plenty of head space). I tend to run the primary fermentation for about 2 weeks and then dry hop in them for a week after dumping trub and recovering yeast.
The second fermentor is helpful if I need to brew a back-to-back batch or if I want to have a high gravity beer sit in there as a secondary for a longer period of time. I've also just transferred big beers to kegs and let them age in there.


