Hey guys, I'm resurrecting this necro-thread, as my local club is throwing a so-called SMASH beer competition (single malt and single hop), and I aim to win. As an experiment, I have decided to try to attempt to make a beer of 100% home-roasted diastatic amber malt. And I have a pound of Tettnanger laying around so I'll probably use that, with a lager yeast, to make some manner of a dunkel or bock. If you all have any experiences to share, I am all ears... at least for the next couple of days. I will probably bake / "roast" the malt on Wednesday 9/29, and brew on Thursday evening 9/30, as I will be gone over the weekend.
Based on a wee bit of online research, besides finding this thread (which is really awesome), I found the following link:
https://brewerylane.com/beer/beer-learning-centre
Based on this, my "Plan A" proposed process looks a little something like this:
1) Place the malt into 9 x 13 inch pans as necessary, aiming for a depth of about 1.5 to 2 inches. I will NOT be stirring periodically during the bake. I'm doing this on purpose to try to roast the corners and edges of the grains a little more then the insides -- call me crazy but I actually want my malt to end up NOT homogeneous. If it's a little more toasted in the corners, but the insides still have more enzymes, great!
2) Set oven to 170 F (the lowest allowed on my oven) and bake for about 15 minutes.
3) Raise oven to 200 F for 30 minutes.
4) Raise oven to 230 F for 30 minutes.
Done.
OR, would perhaps "Plan B" turn out better? It would certainly be easier. It's based on a different link, which includes really cool experimental data suggesting that malt roasted at 390 F for 45 minutes still has a tiny bit of enzymes?!
http://edsbeer.blogspot.com/2015/02/making-diastatic-brown-malt.html
So for this one I'd propose:
1) Same 2-inch depth in pans.
2) Set oven to 375 F and bake for 40 minutes. Slightly less than the limit to try to ensure enzyme preservation, and who knows, maybe my oven (or yours) is a little "fast" (i.e., hotter than it reads).
Done.
Some sources suggest aging the roasted malt for ~2 weeks prior to use, but others say there are things to be gained by using it right away. In any case, I don't have the luxury of waiting -- the beer has to be ready to drink by first week of November. So I'm brewing right away no matter what.
Thoughts!? I'll be sure to update later on appearance, aromas, efficiency, attenuation, flavor, etc.
If anyone is interested...
I actually ended up doing a hybrid of both Plans A & B. After starting with Plan A... the effect was basically nil, undetectable. Malt still tasted the same as when I started, and was still pure white inside the kernels, as if all I had done was dry out the malt a bit.
So, I decided to crank up the heat to 375 F, not for 40 minutes, but just 20 minutes. This definitely had a real impact. Very quickly I experienced toasty aromas coming forth from the oven. After the 20 minutes was over, I removed the toasted malt from the oven. Only on the top surface are the husks visibly much darker, but underneath they are only "moderately" darker than when I first started, which makes sense. When splitting the kernels open, I am able to detect just a very very faint tan tinting, no longer pure white.
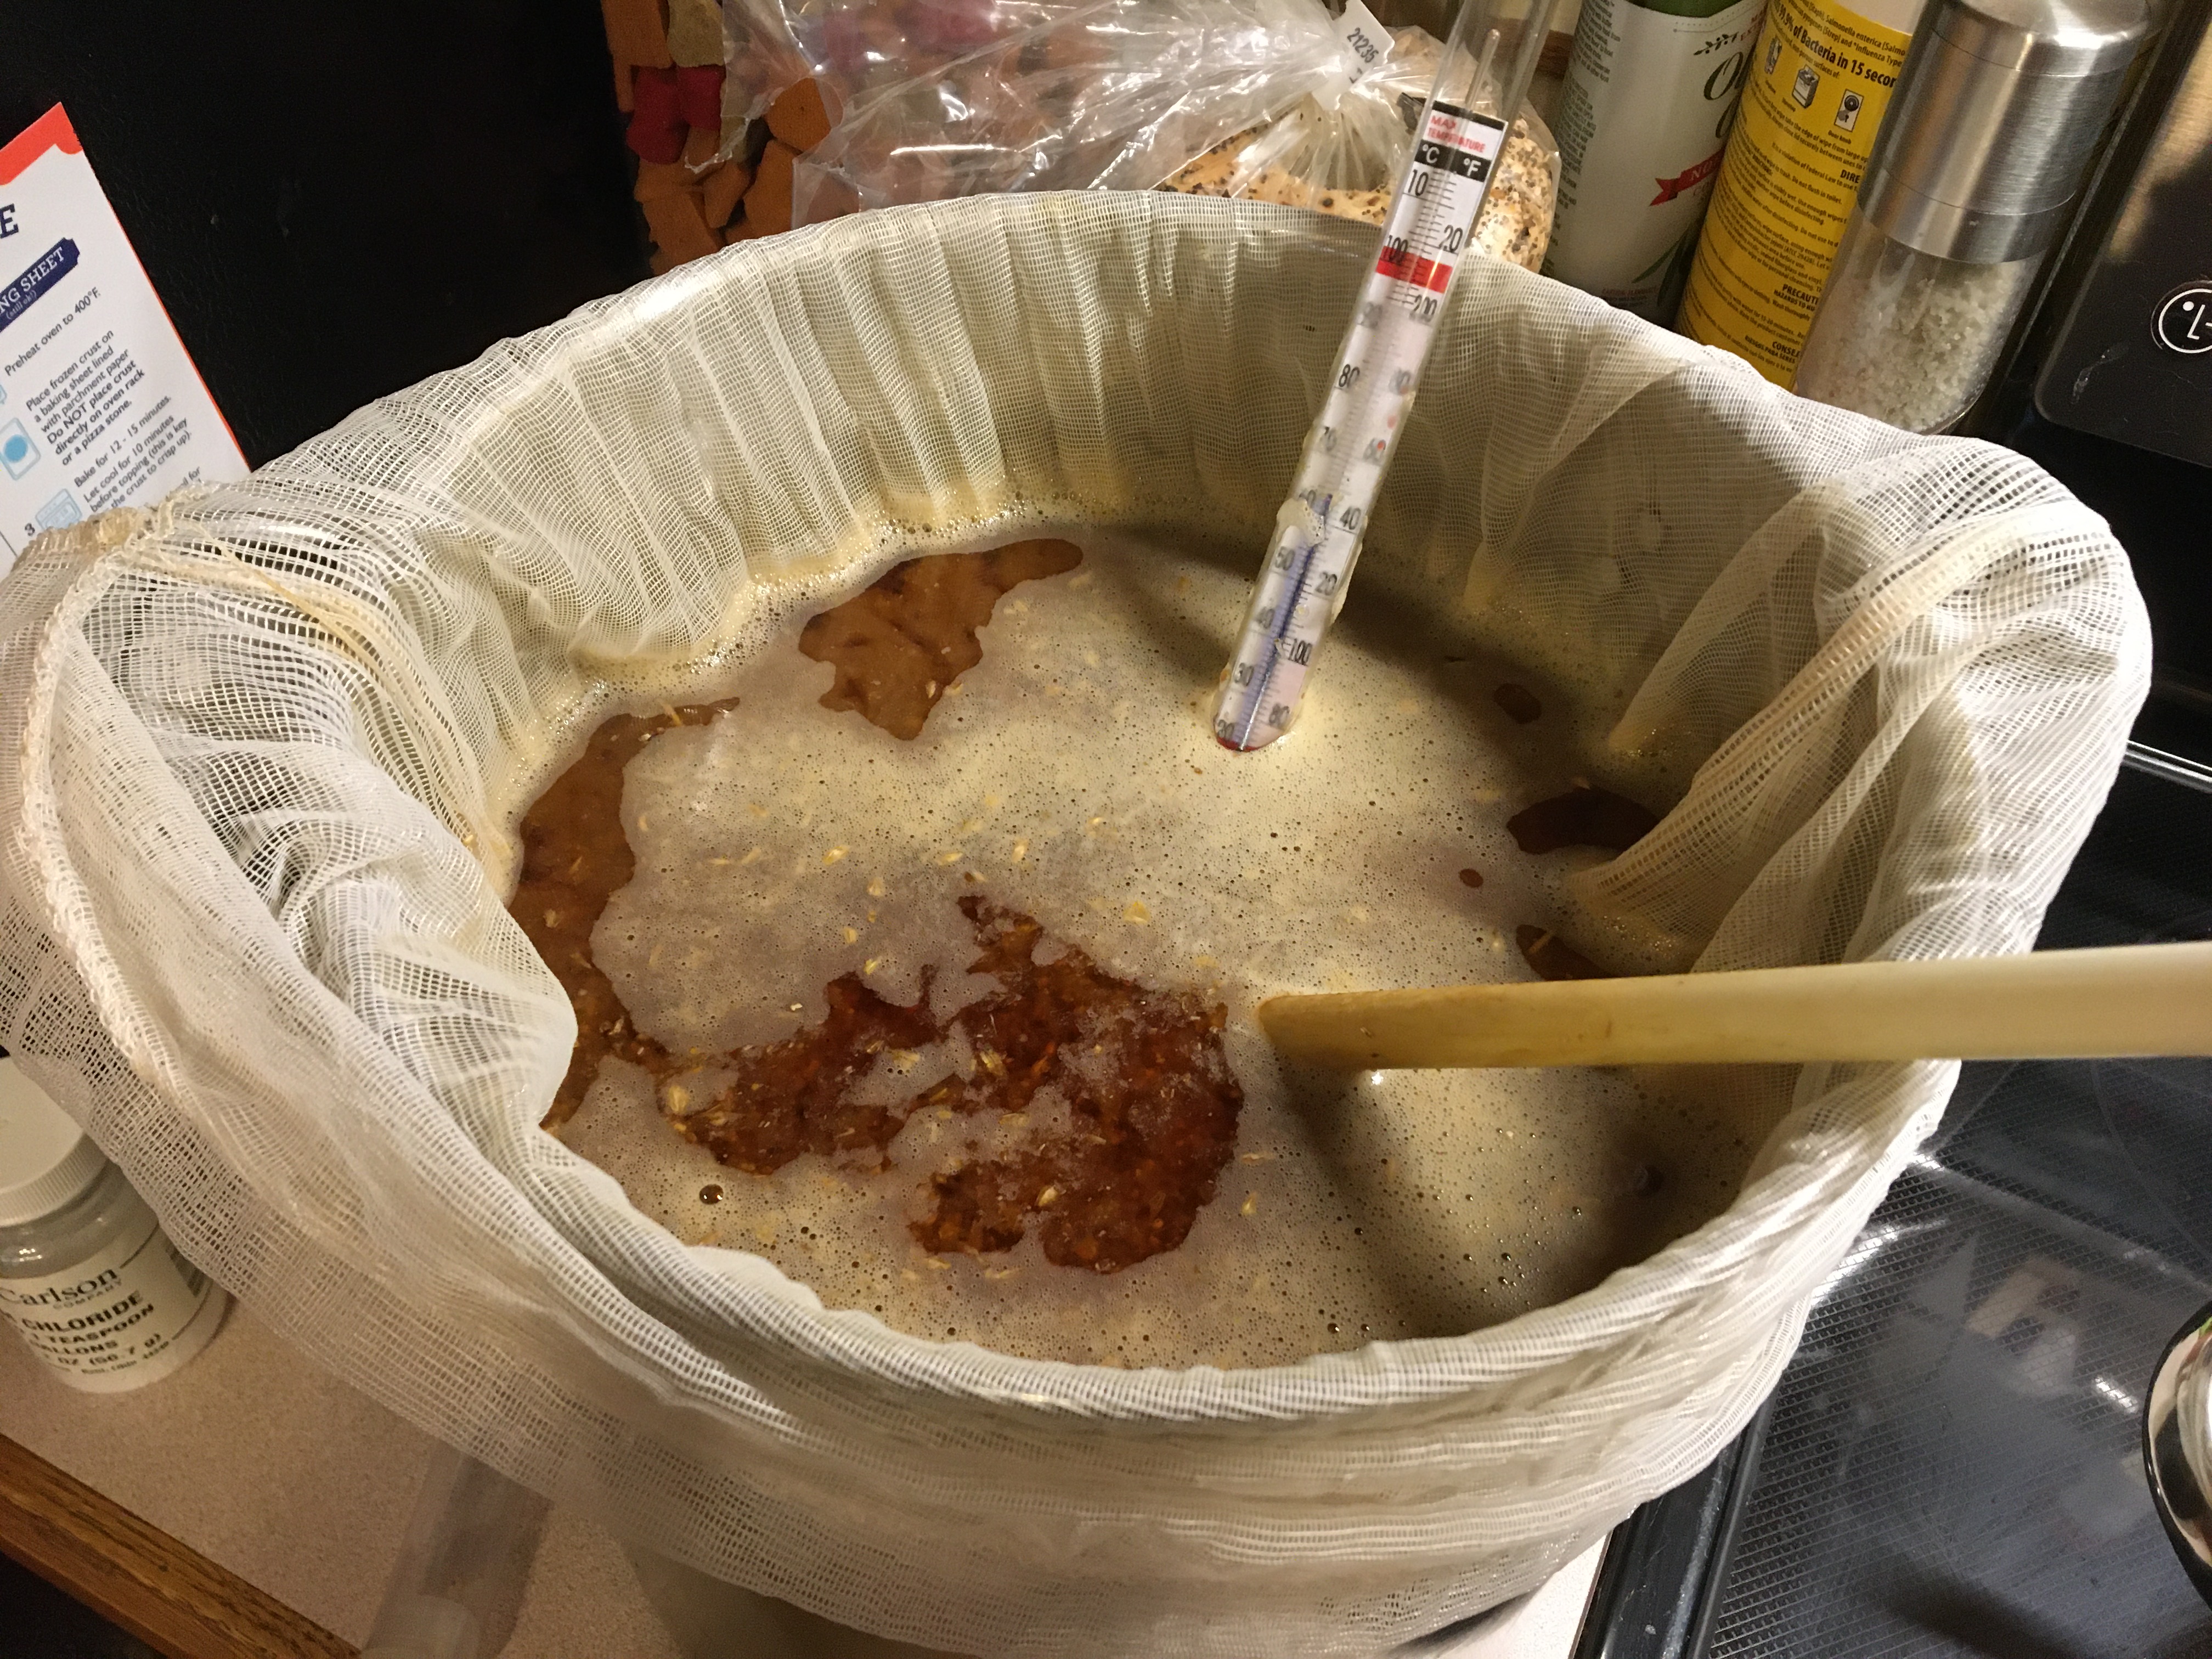
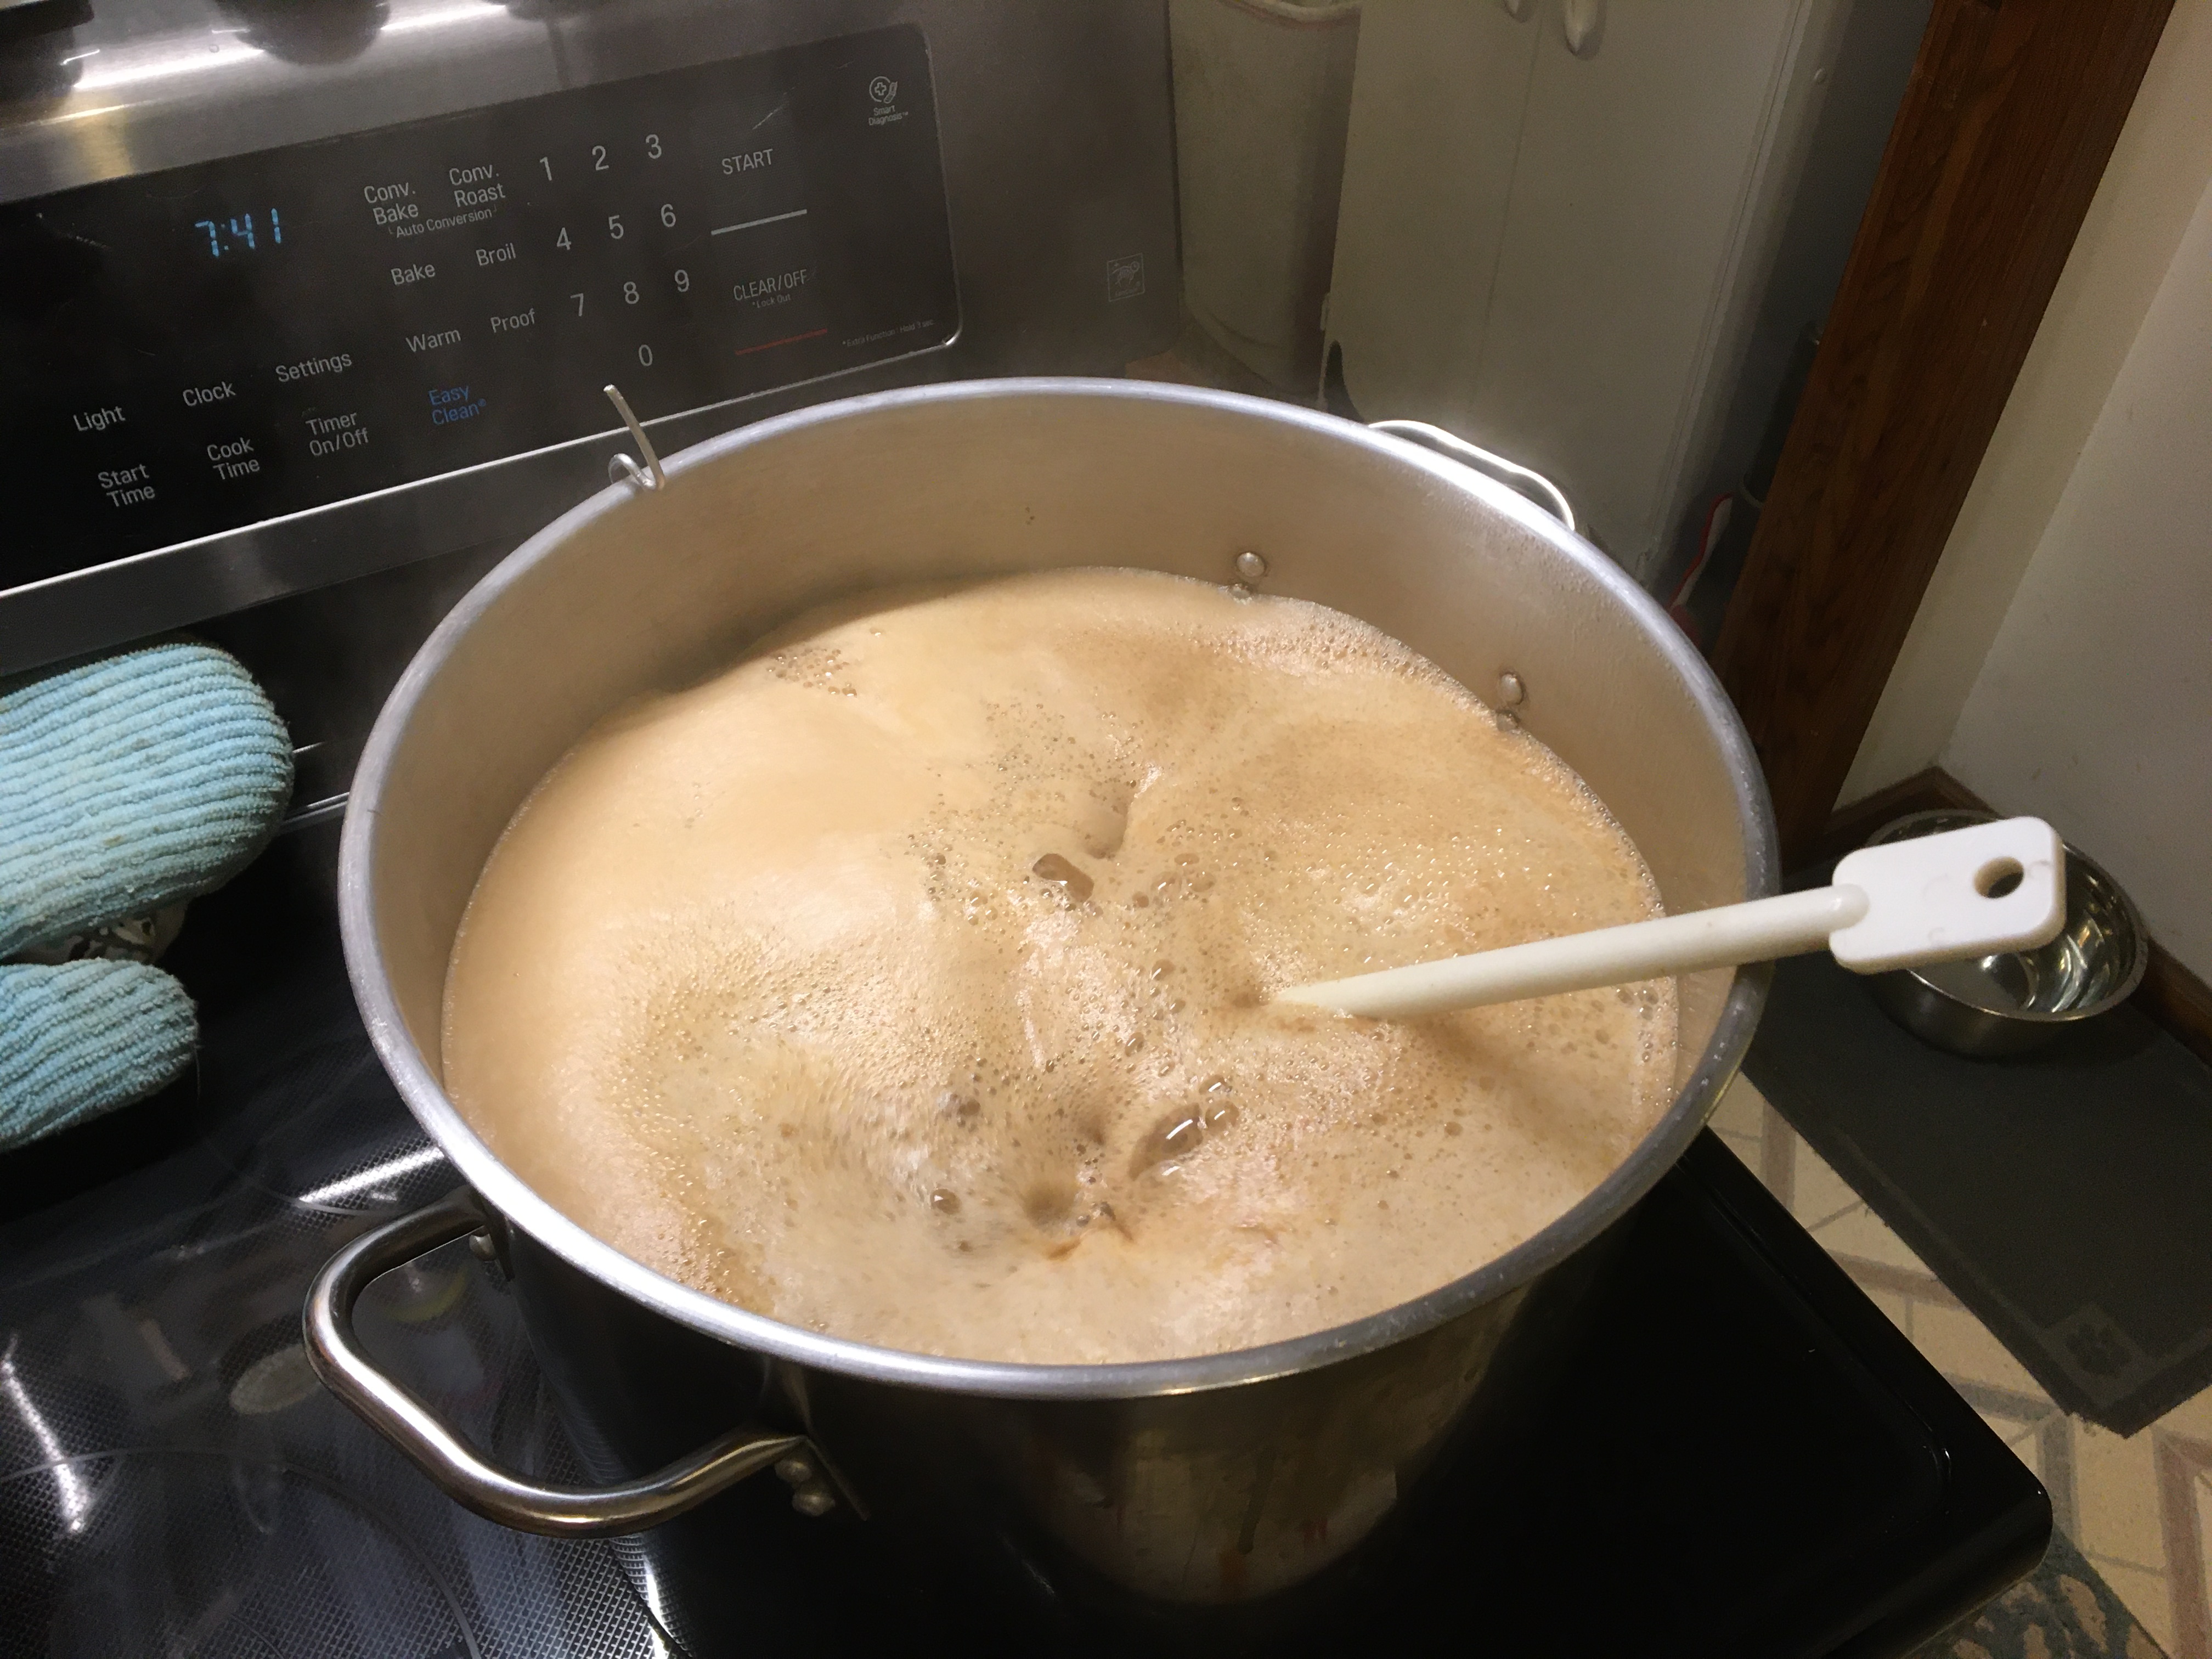
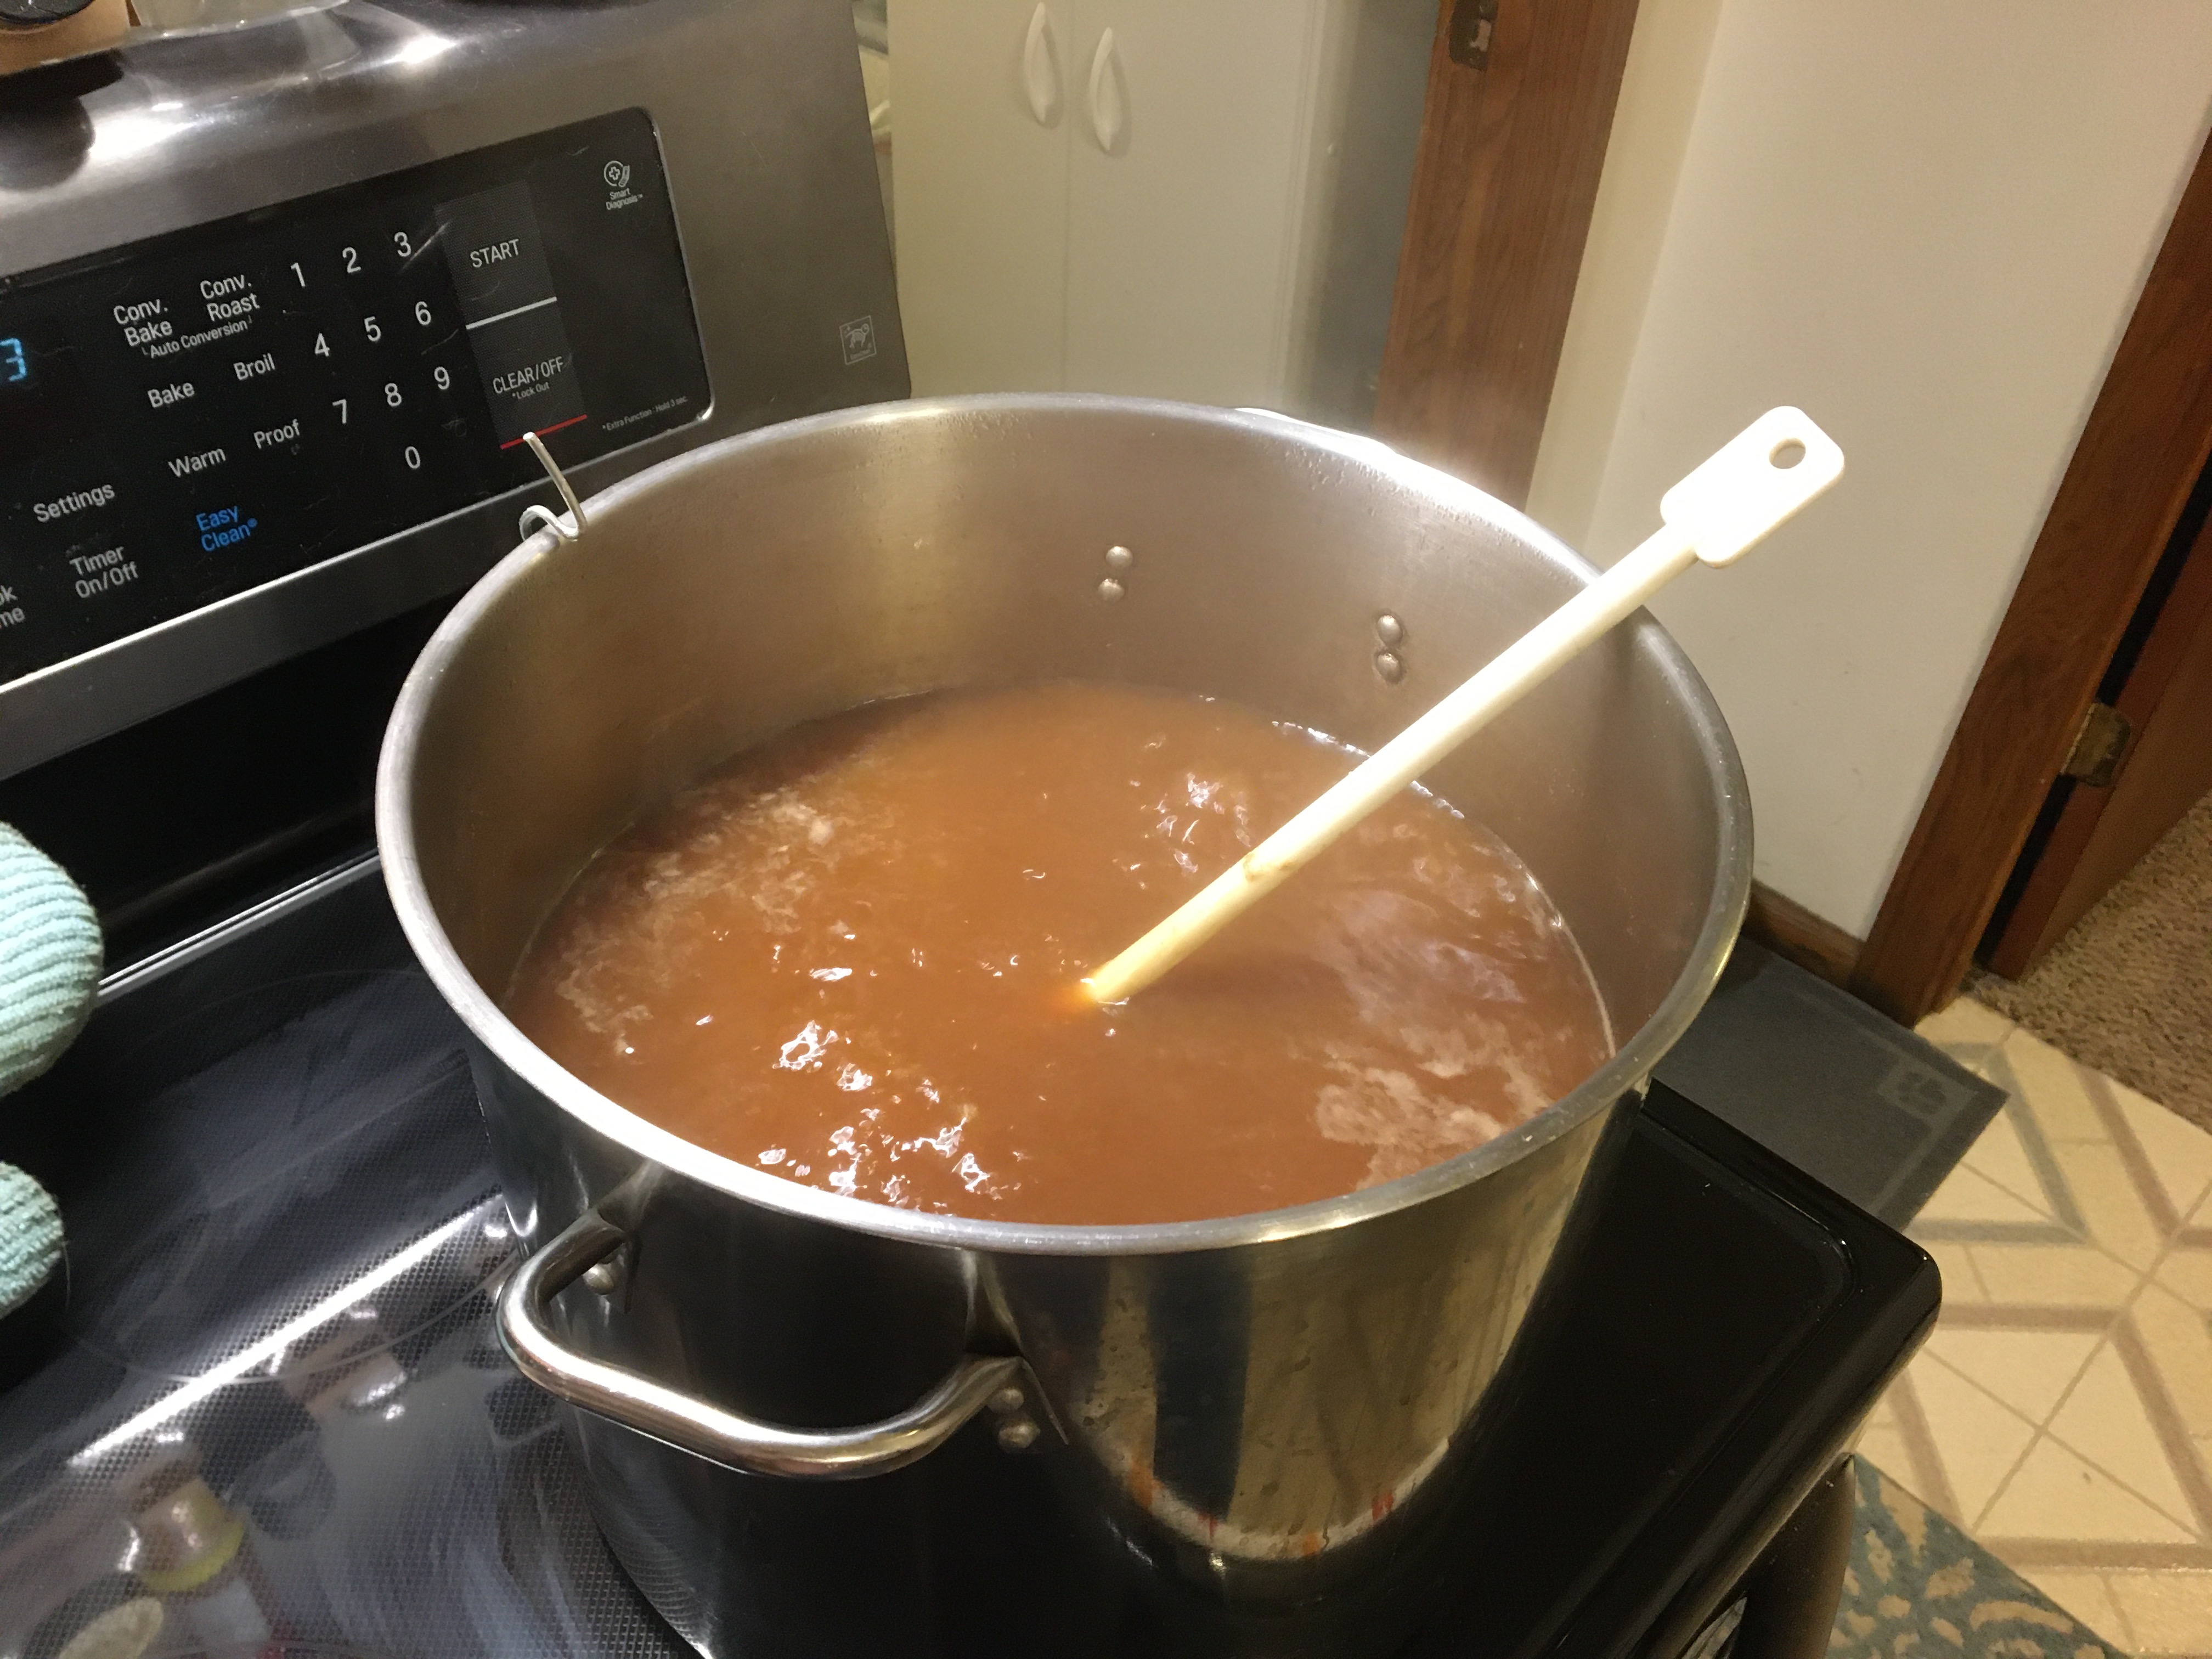
So, tomorrow I shall brew with this toasted malt at 100% of the grist, and hope there is some enzyme content remaining for conversion. I do plan for a "long" mash of about 75 minutes, hopefully that will help too (-- usually I mash for 45 minutes, based on MUCH experimentation and experience for >130 batches). If my efficiency or attenuation is poor, I guess we'll have our answer about diastatic power after 20 minutes at 375 F, but I'll just go ahead and ferment it out regardless because I'm crazy like that.


![Craft A Brew - Safale S-04 Dry Yeast - Fermentis - English Ale Dry Yeast - For English and American Ales and Hard Apple Ciders - Ingredients for Home Brewing - Beer Making Supplies - [1 Pack]](https://m.media-amazon.com/images/I/41fVGNh6JfL._SL500_.jpg)