Kegerator Build Gone Wrong.

Homebrew Talk - Beer, Wine, Mead, & Cider Brewing Discussion Forum

Help Support Homebrew Talk - Beer, Wine, Mead, & Cider Brewing Discussion Forum:

This site may earn a commission from merchant affiliate links, including eBay, Amazon, and others.

Surly_goat

Hop Head
Joined
Feb 15, 2018
Messages
76
Reaction score
17
IMG_20180326_175740.jpg
IMG_20180326_175726.jpg
IMG_20180325_205953.jpg
IMG_20180326_175740.jpg IMG_20180326_175726.jpg IMG_20180325_205953.jpg Hey Guys

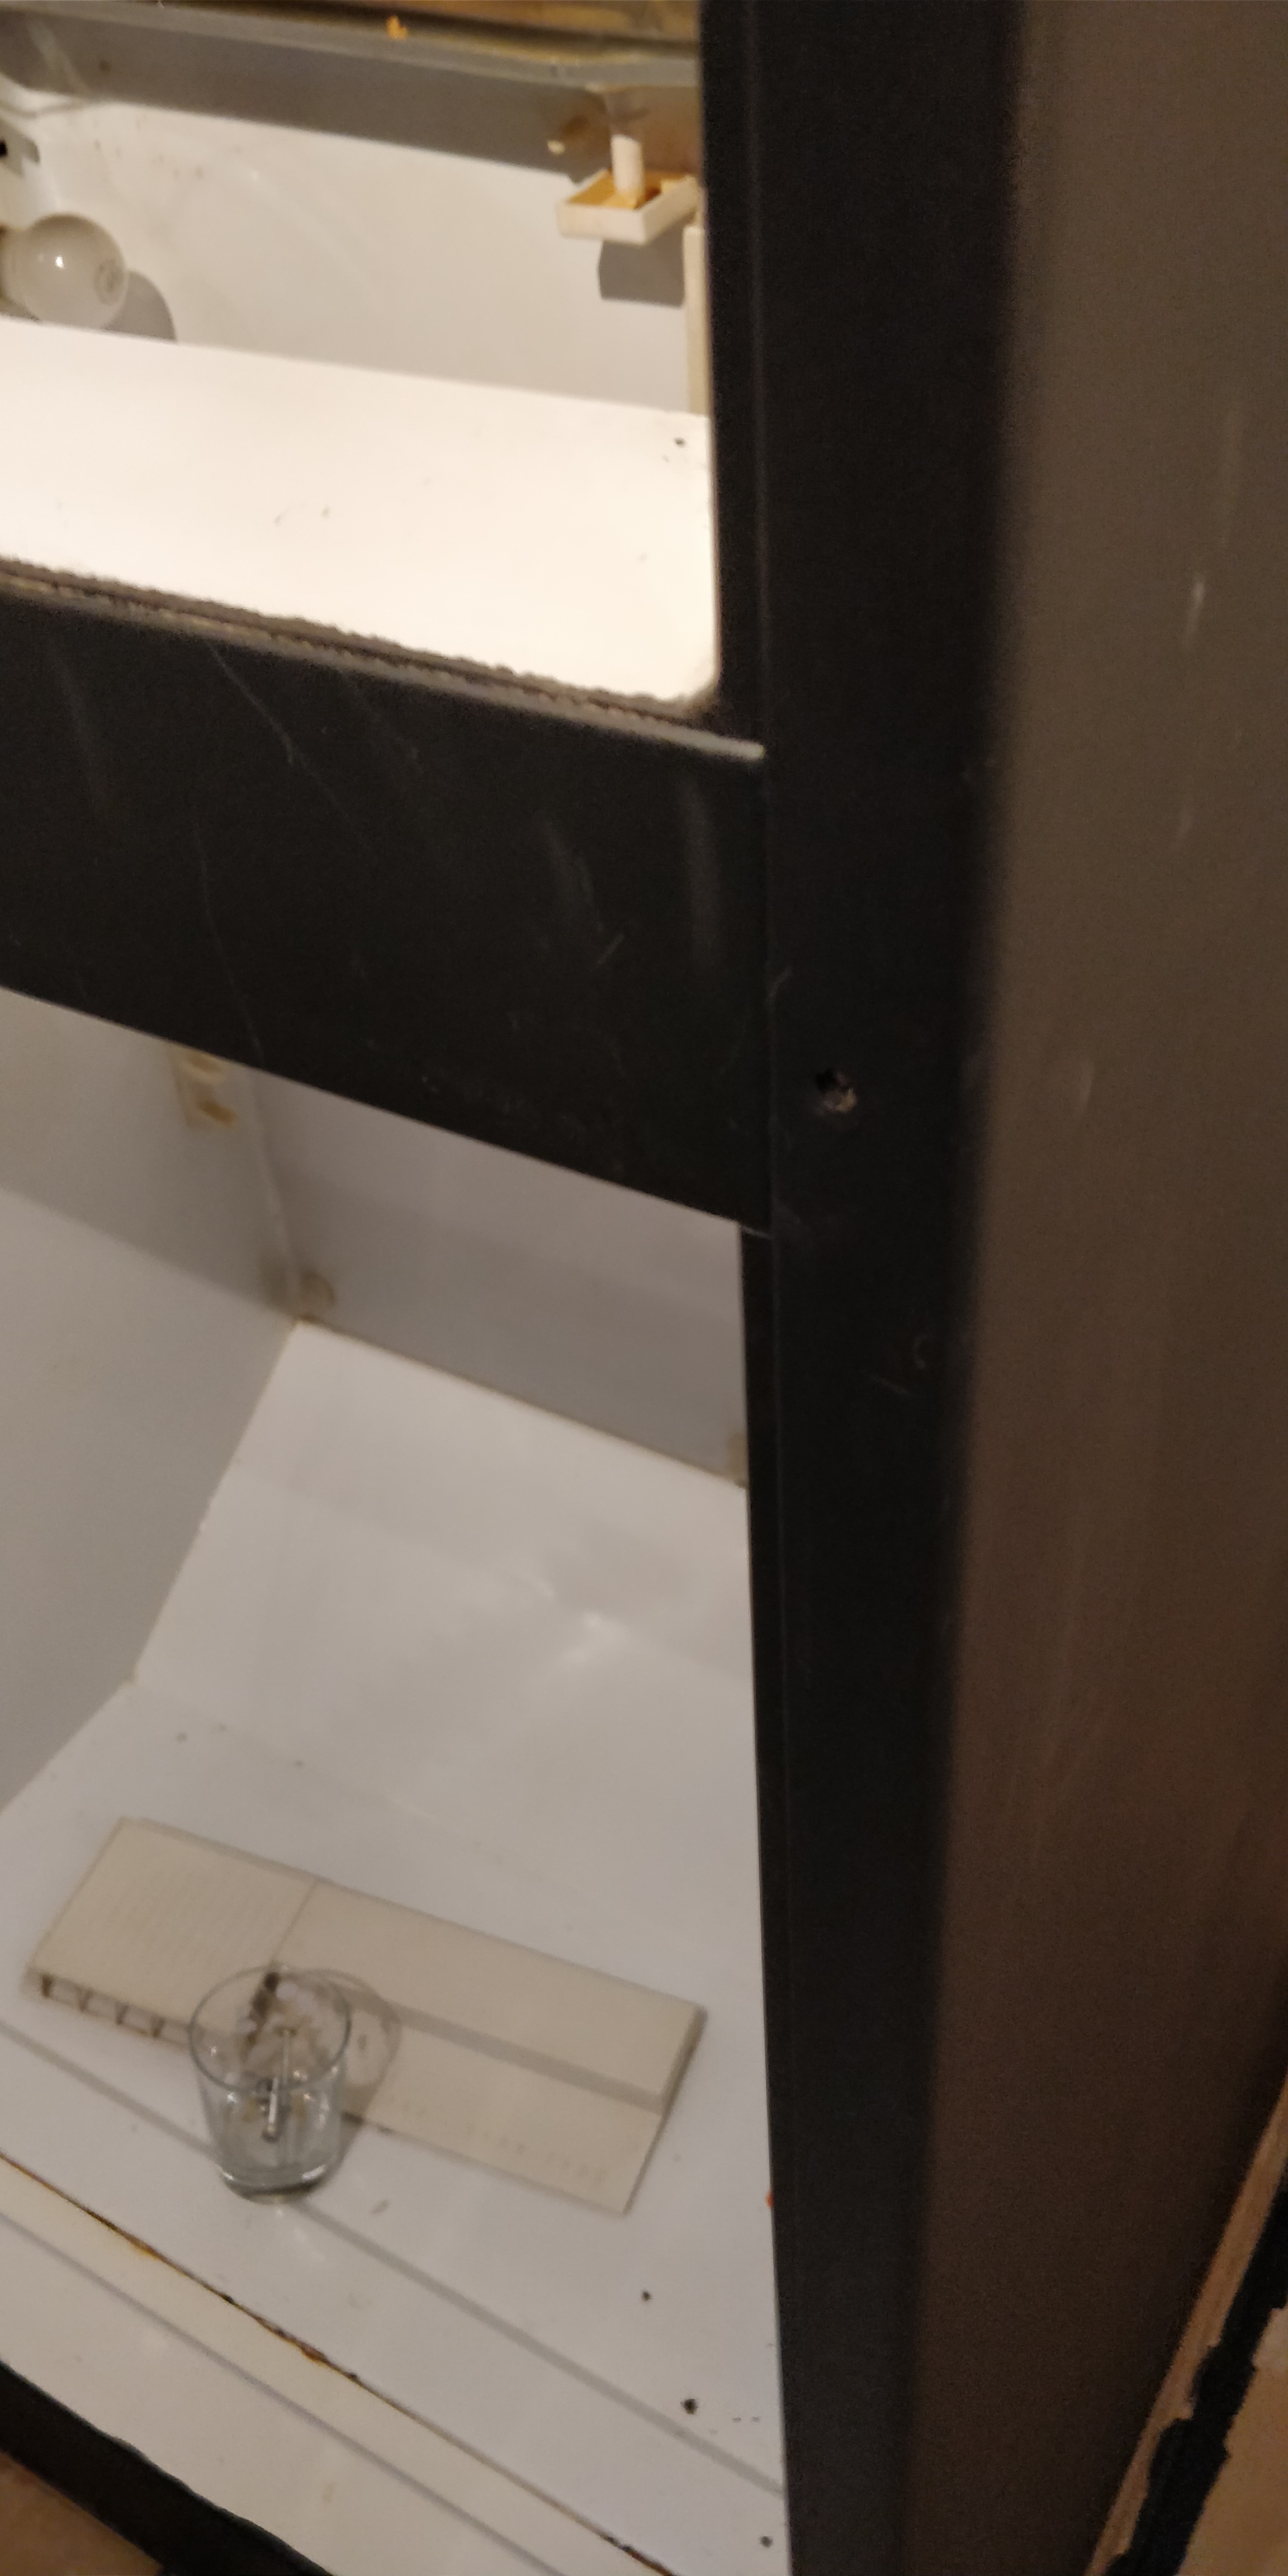
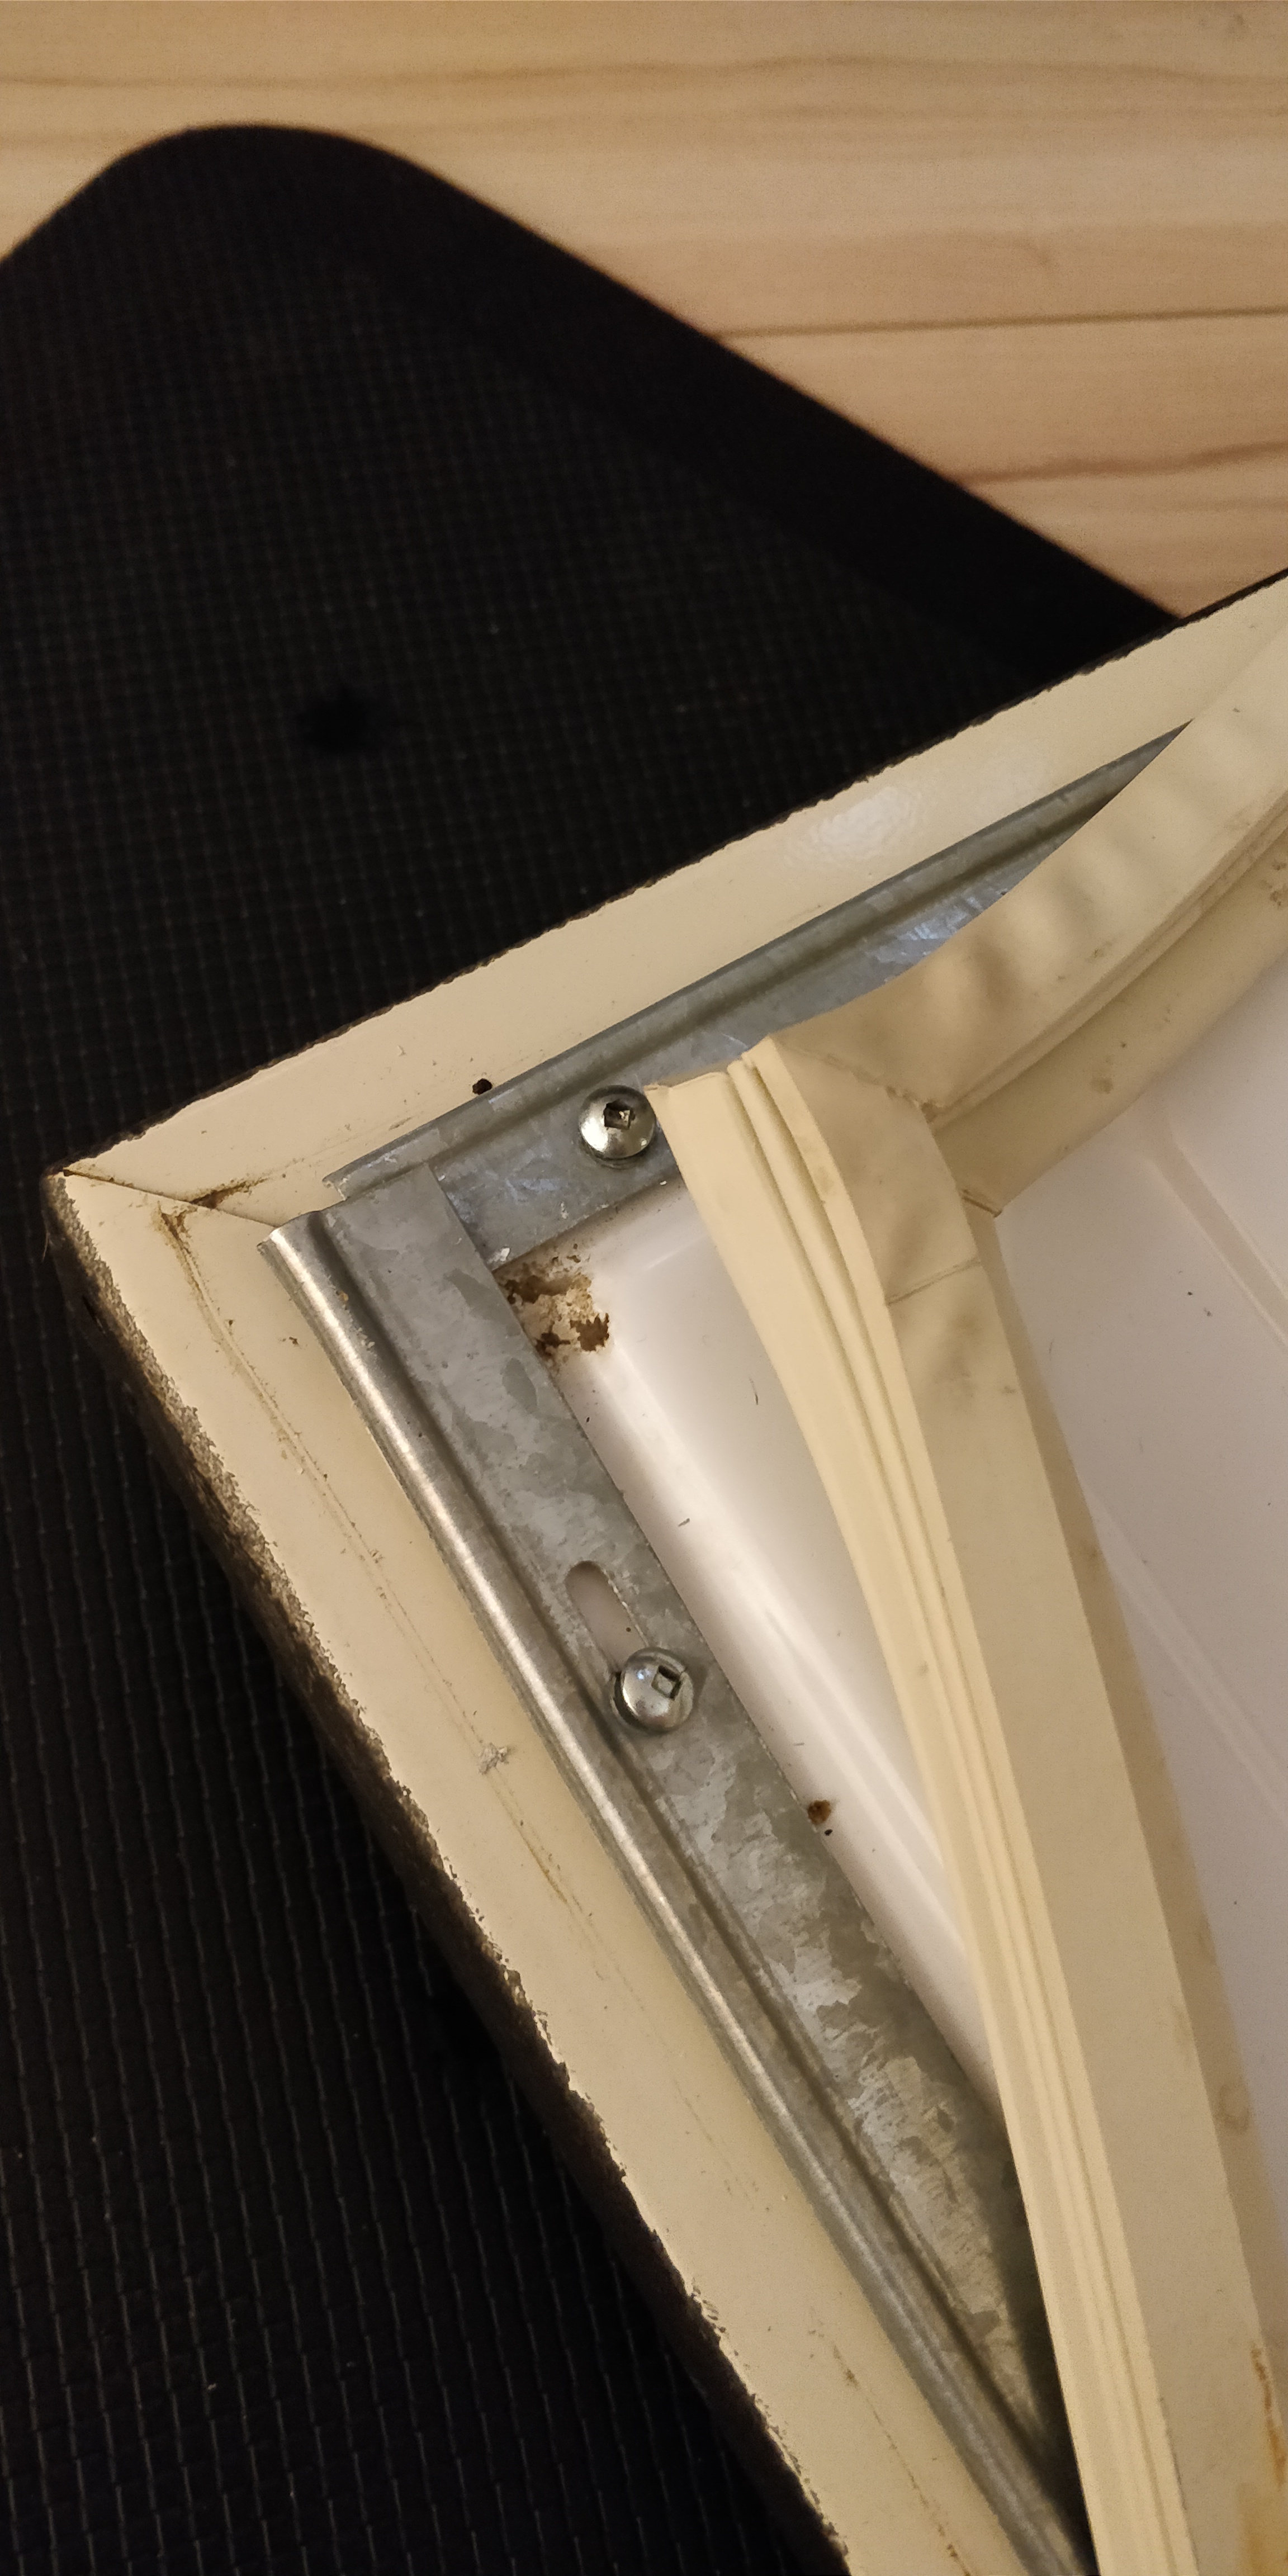
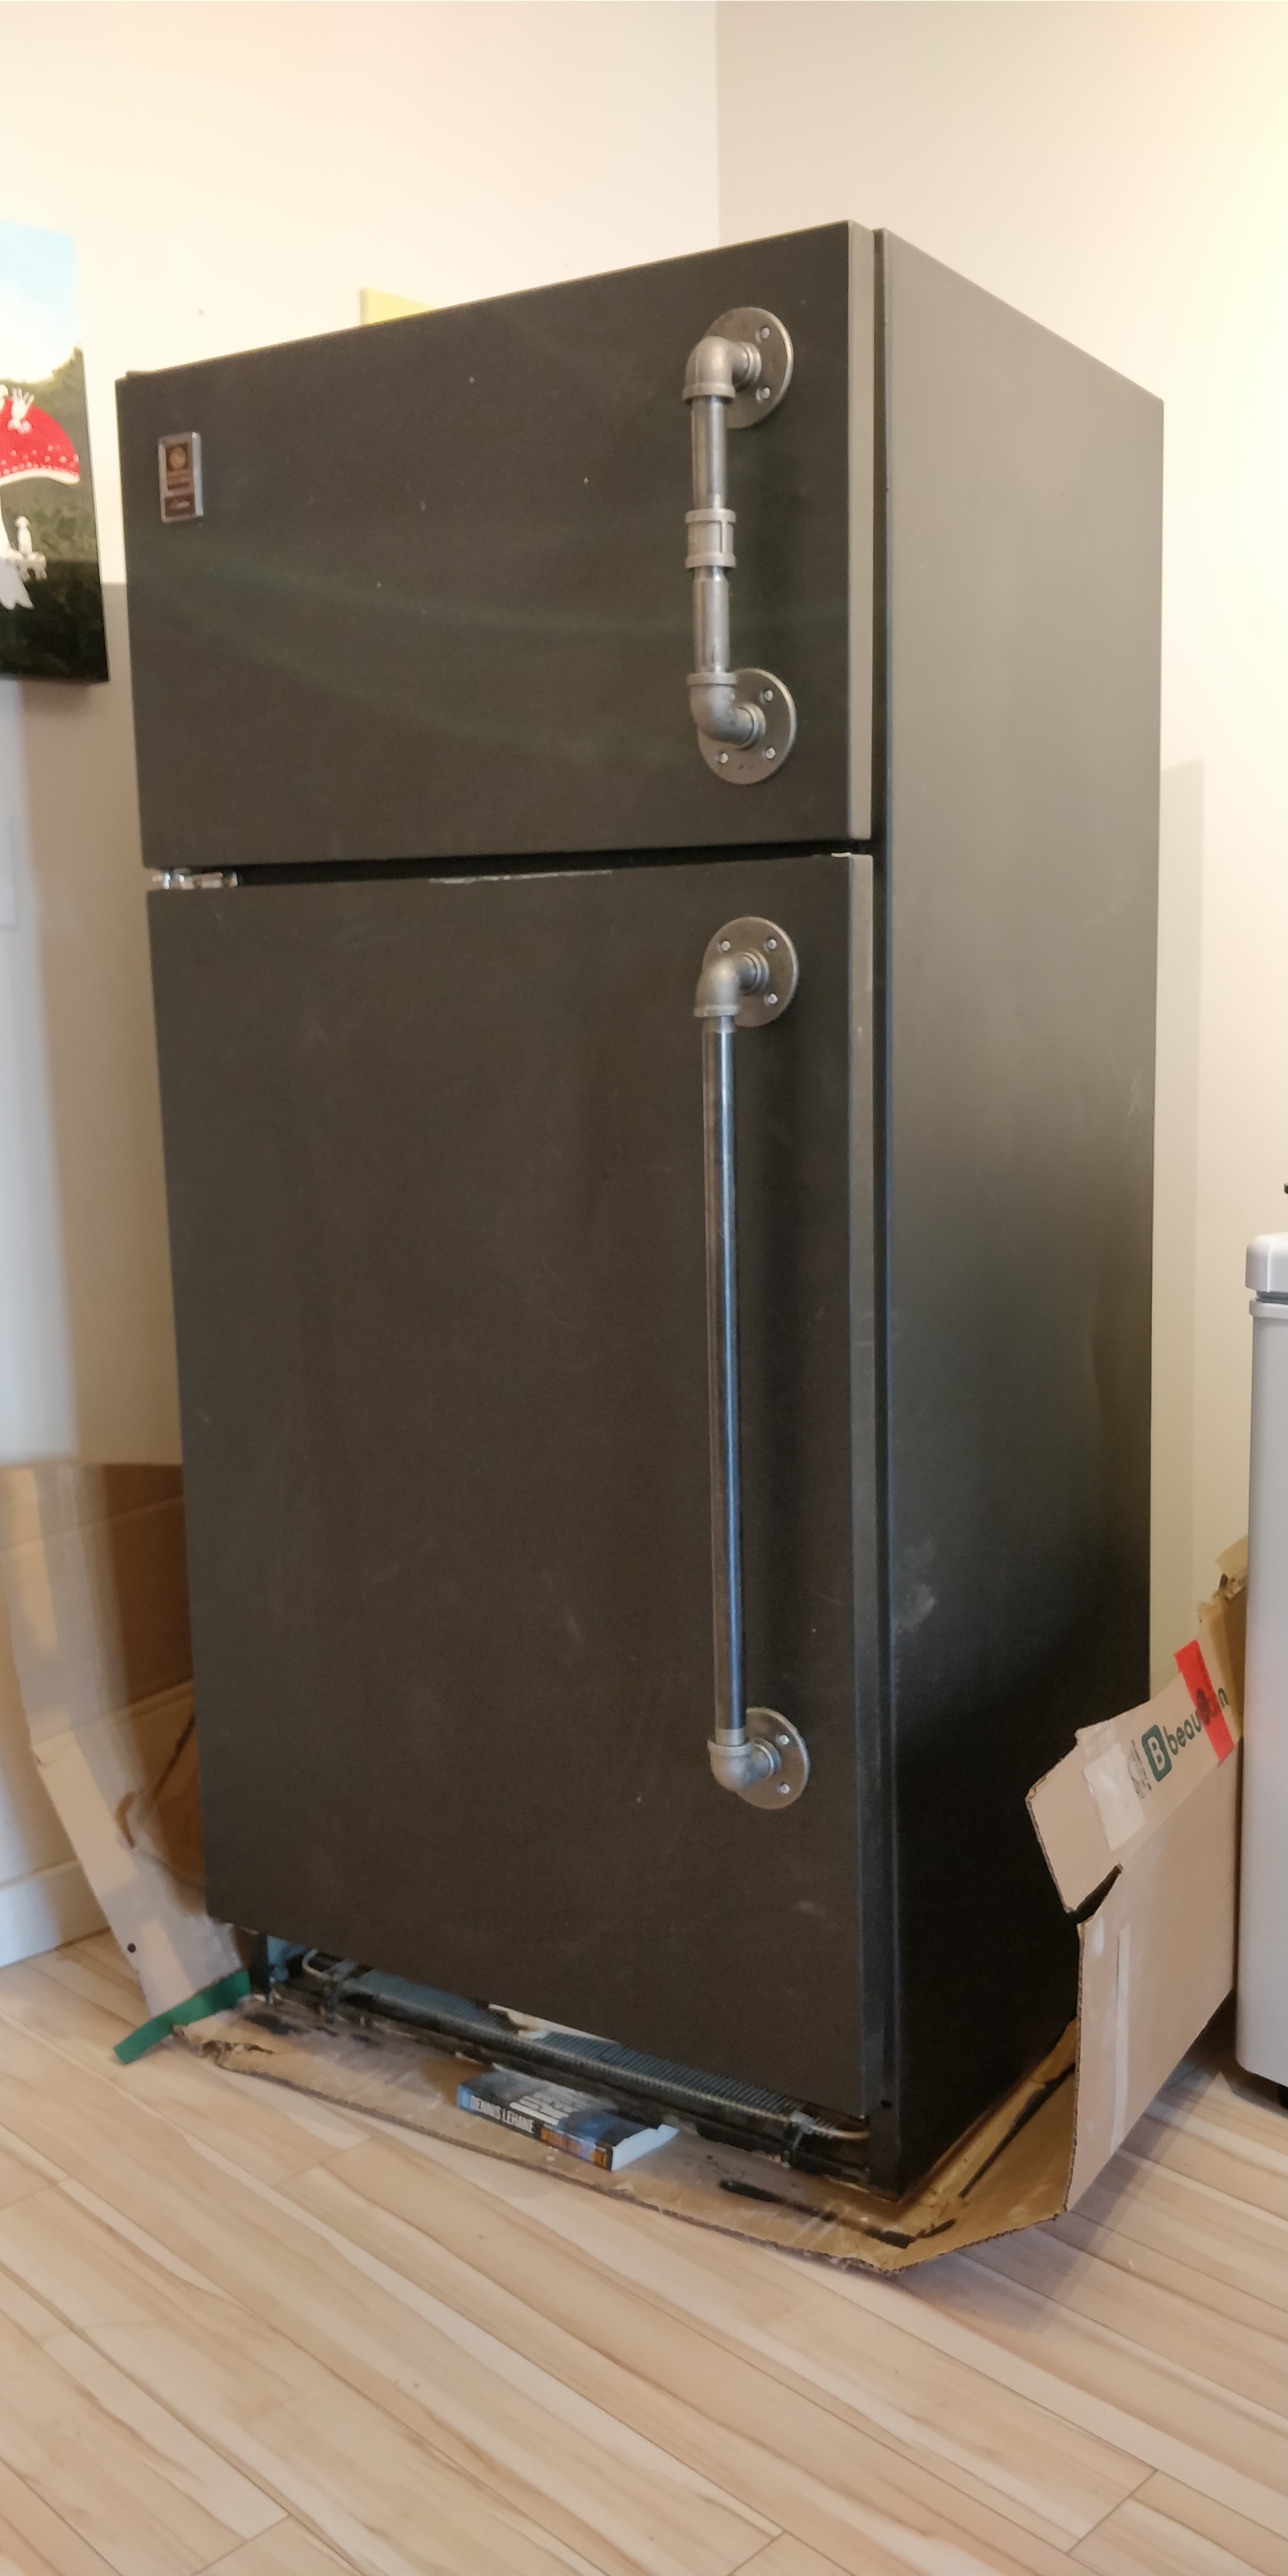
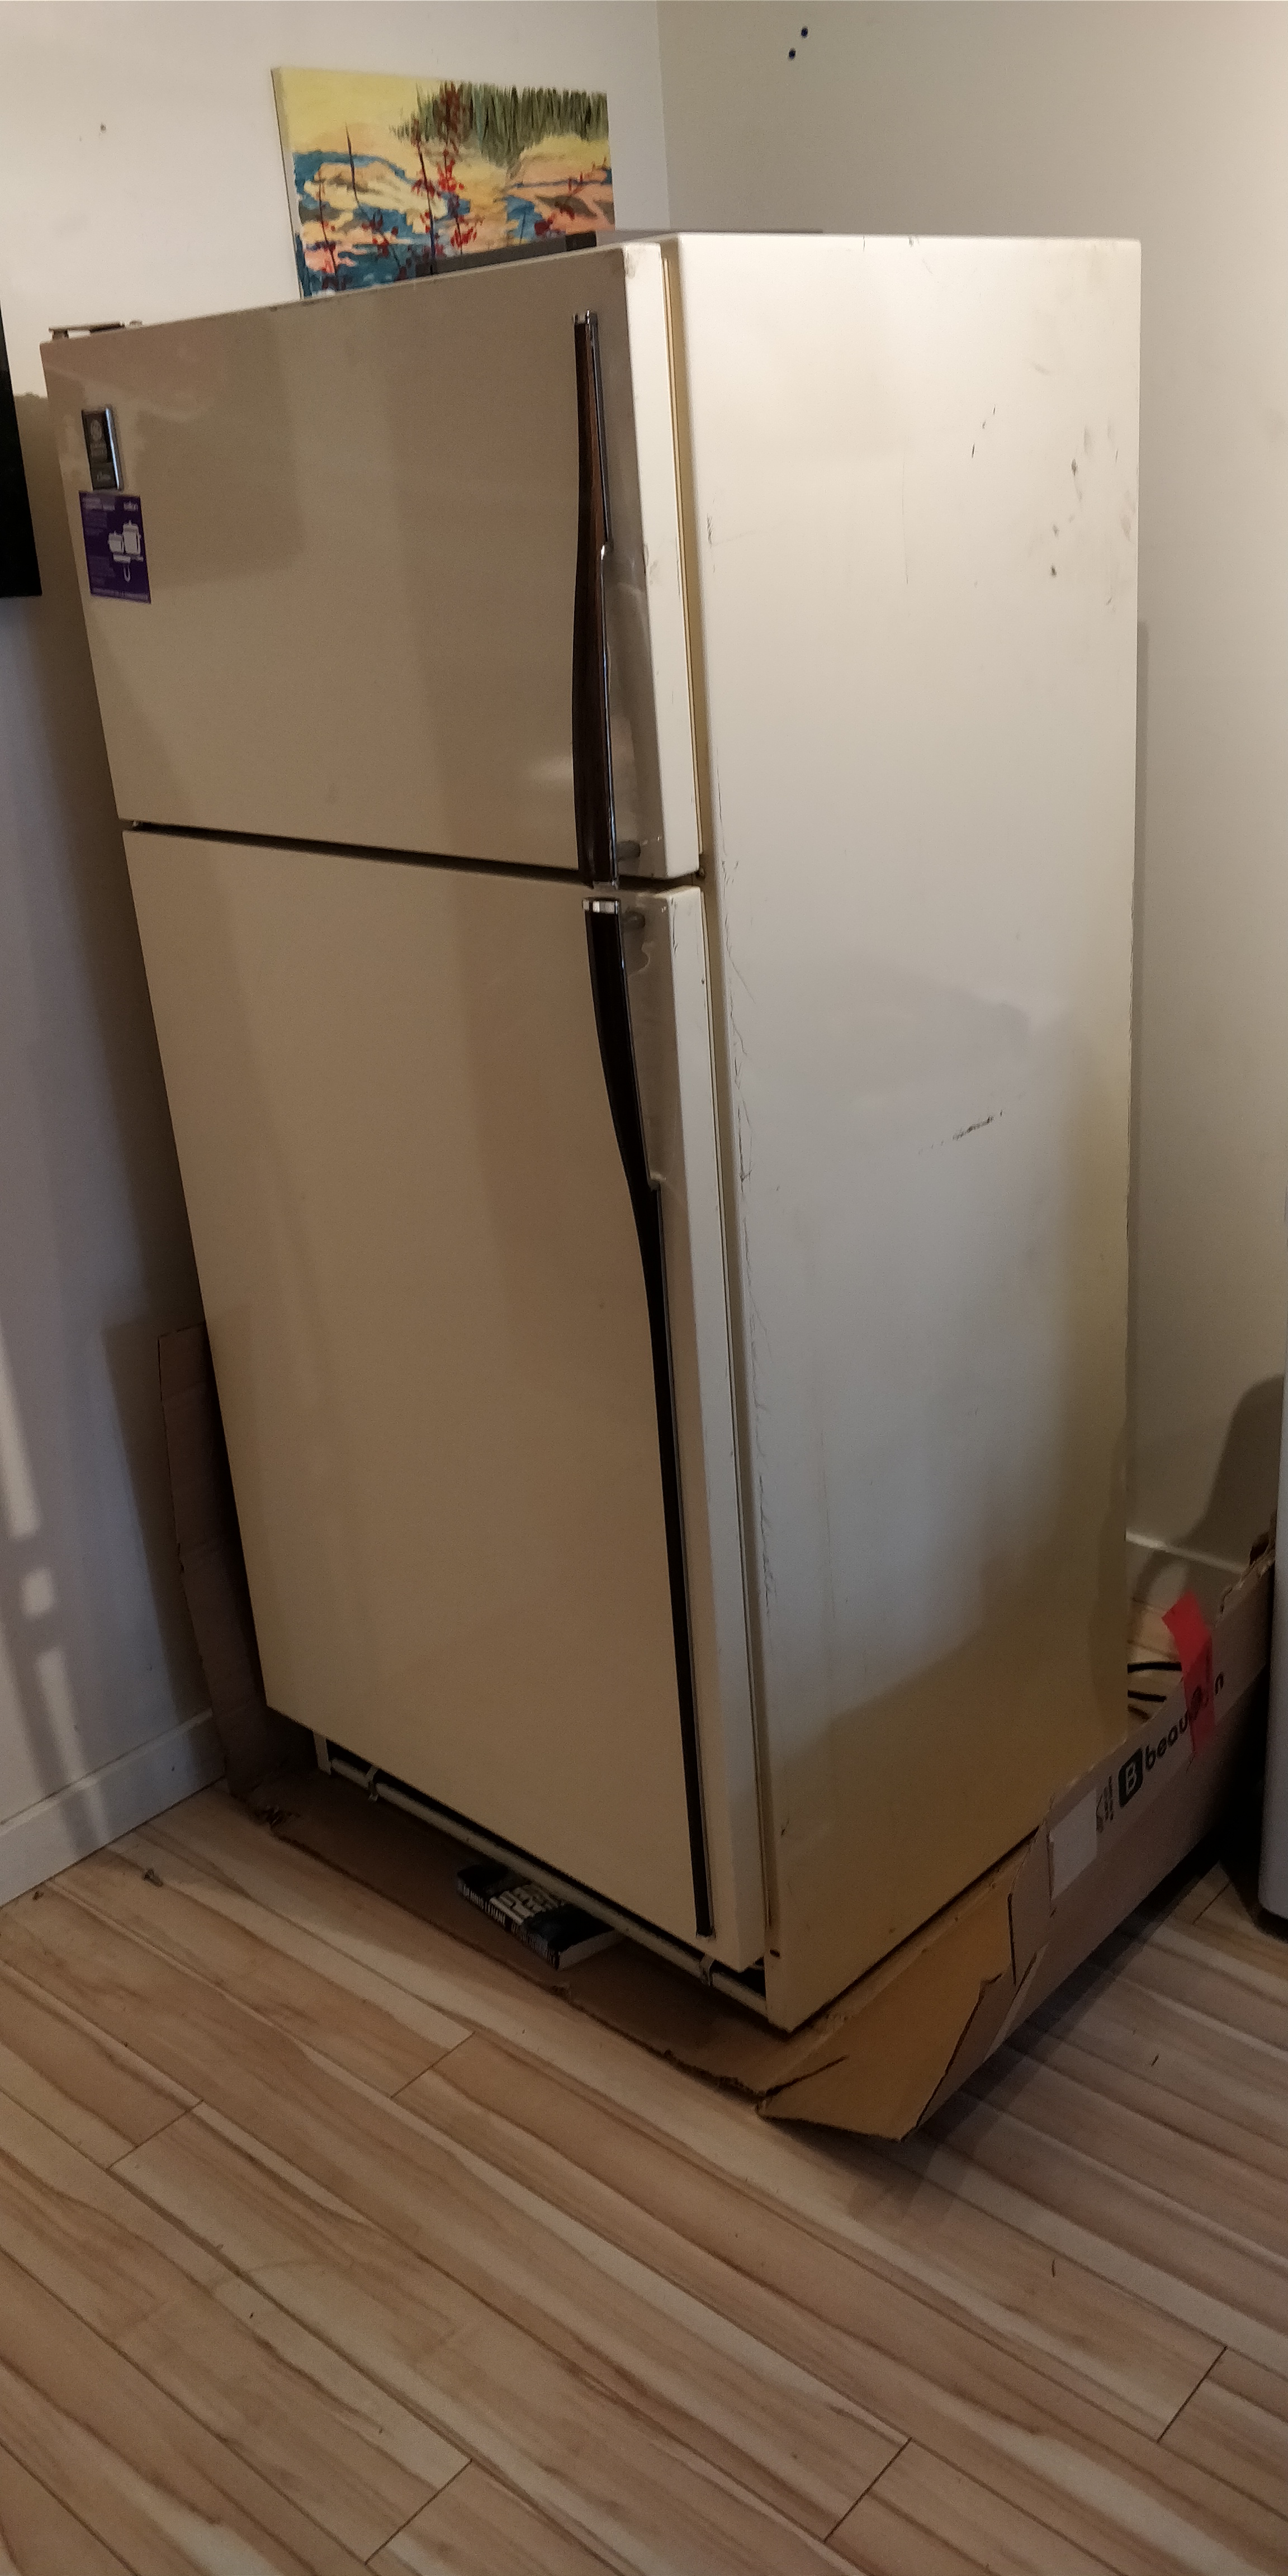
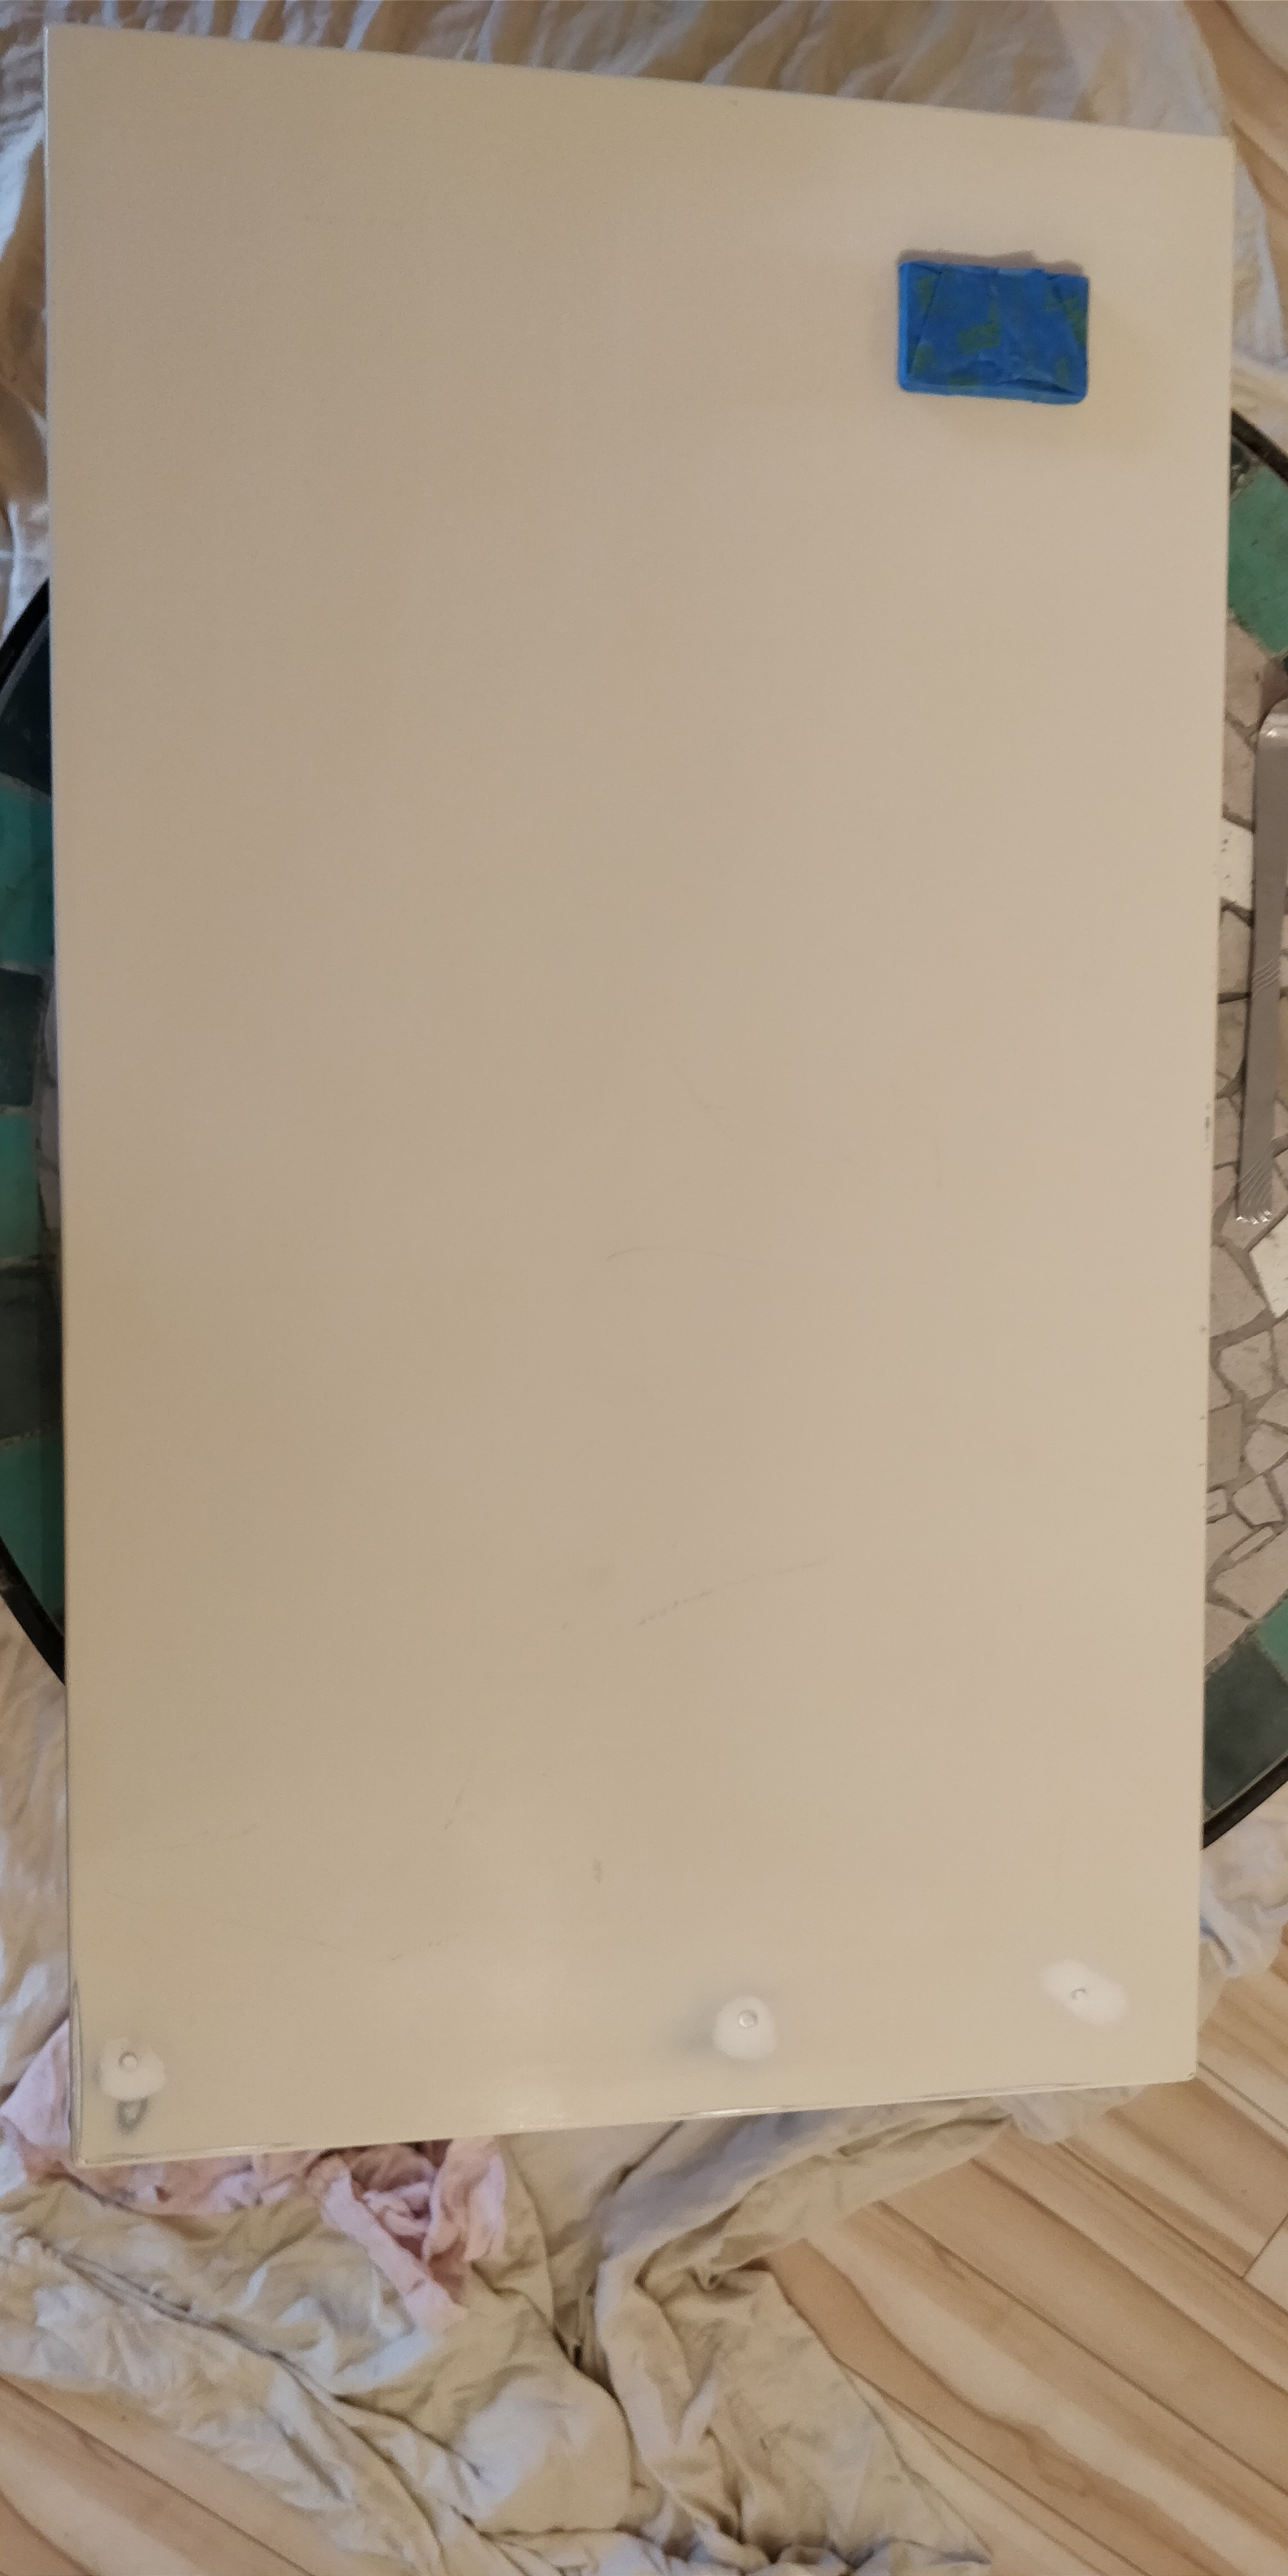
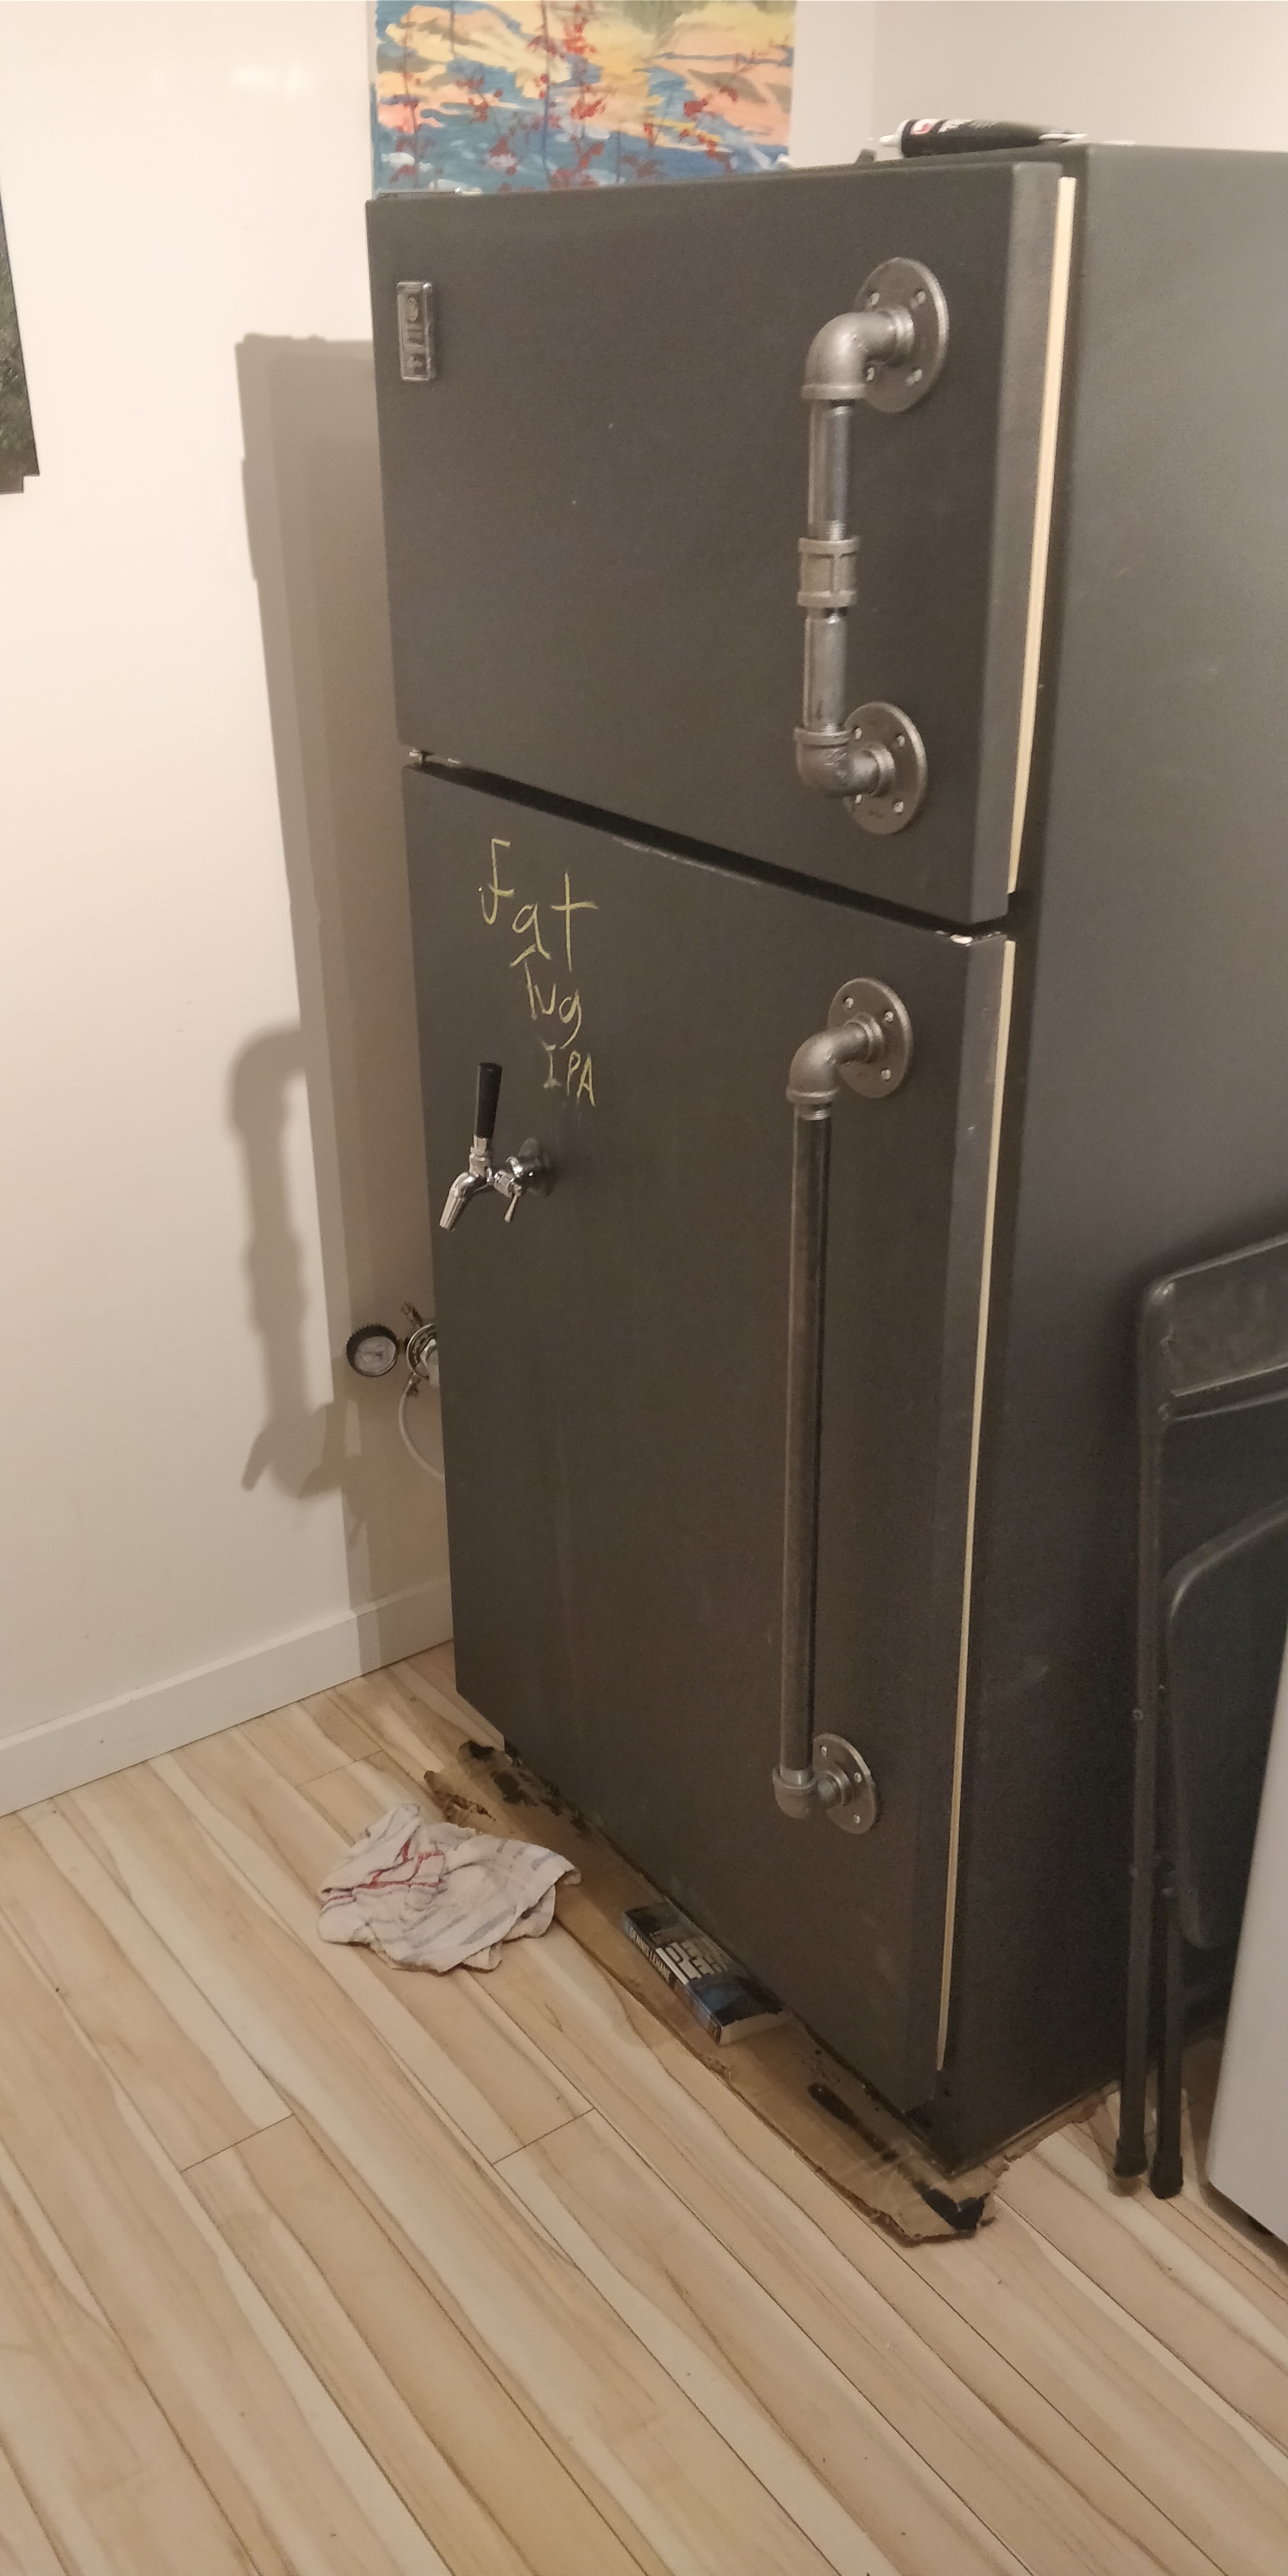
Picked up a free fridge on Craigslist and repainted it with chalkboard paint. I also took appart the doors and washes the gasket in hot PBW and then put them outside my balcony to dry and be out of the way. Its only like 6 celsius here right now so I think they dried warped. The door won't seal at all now. It's also not flat at all.

Ideas?
 
Last edited:
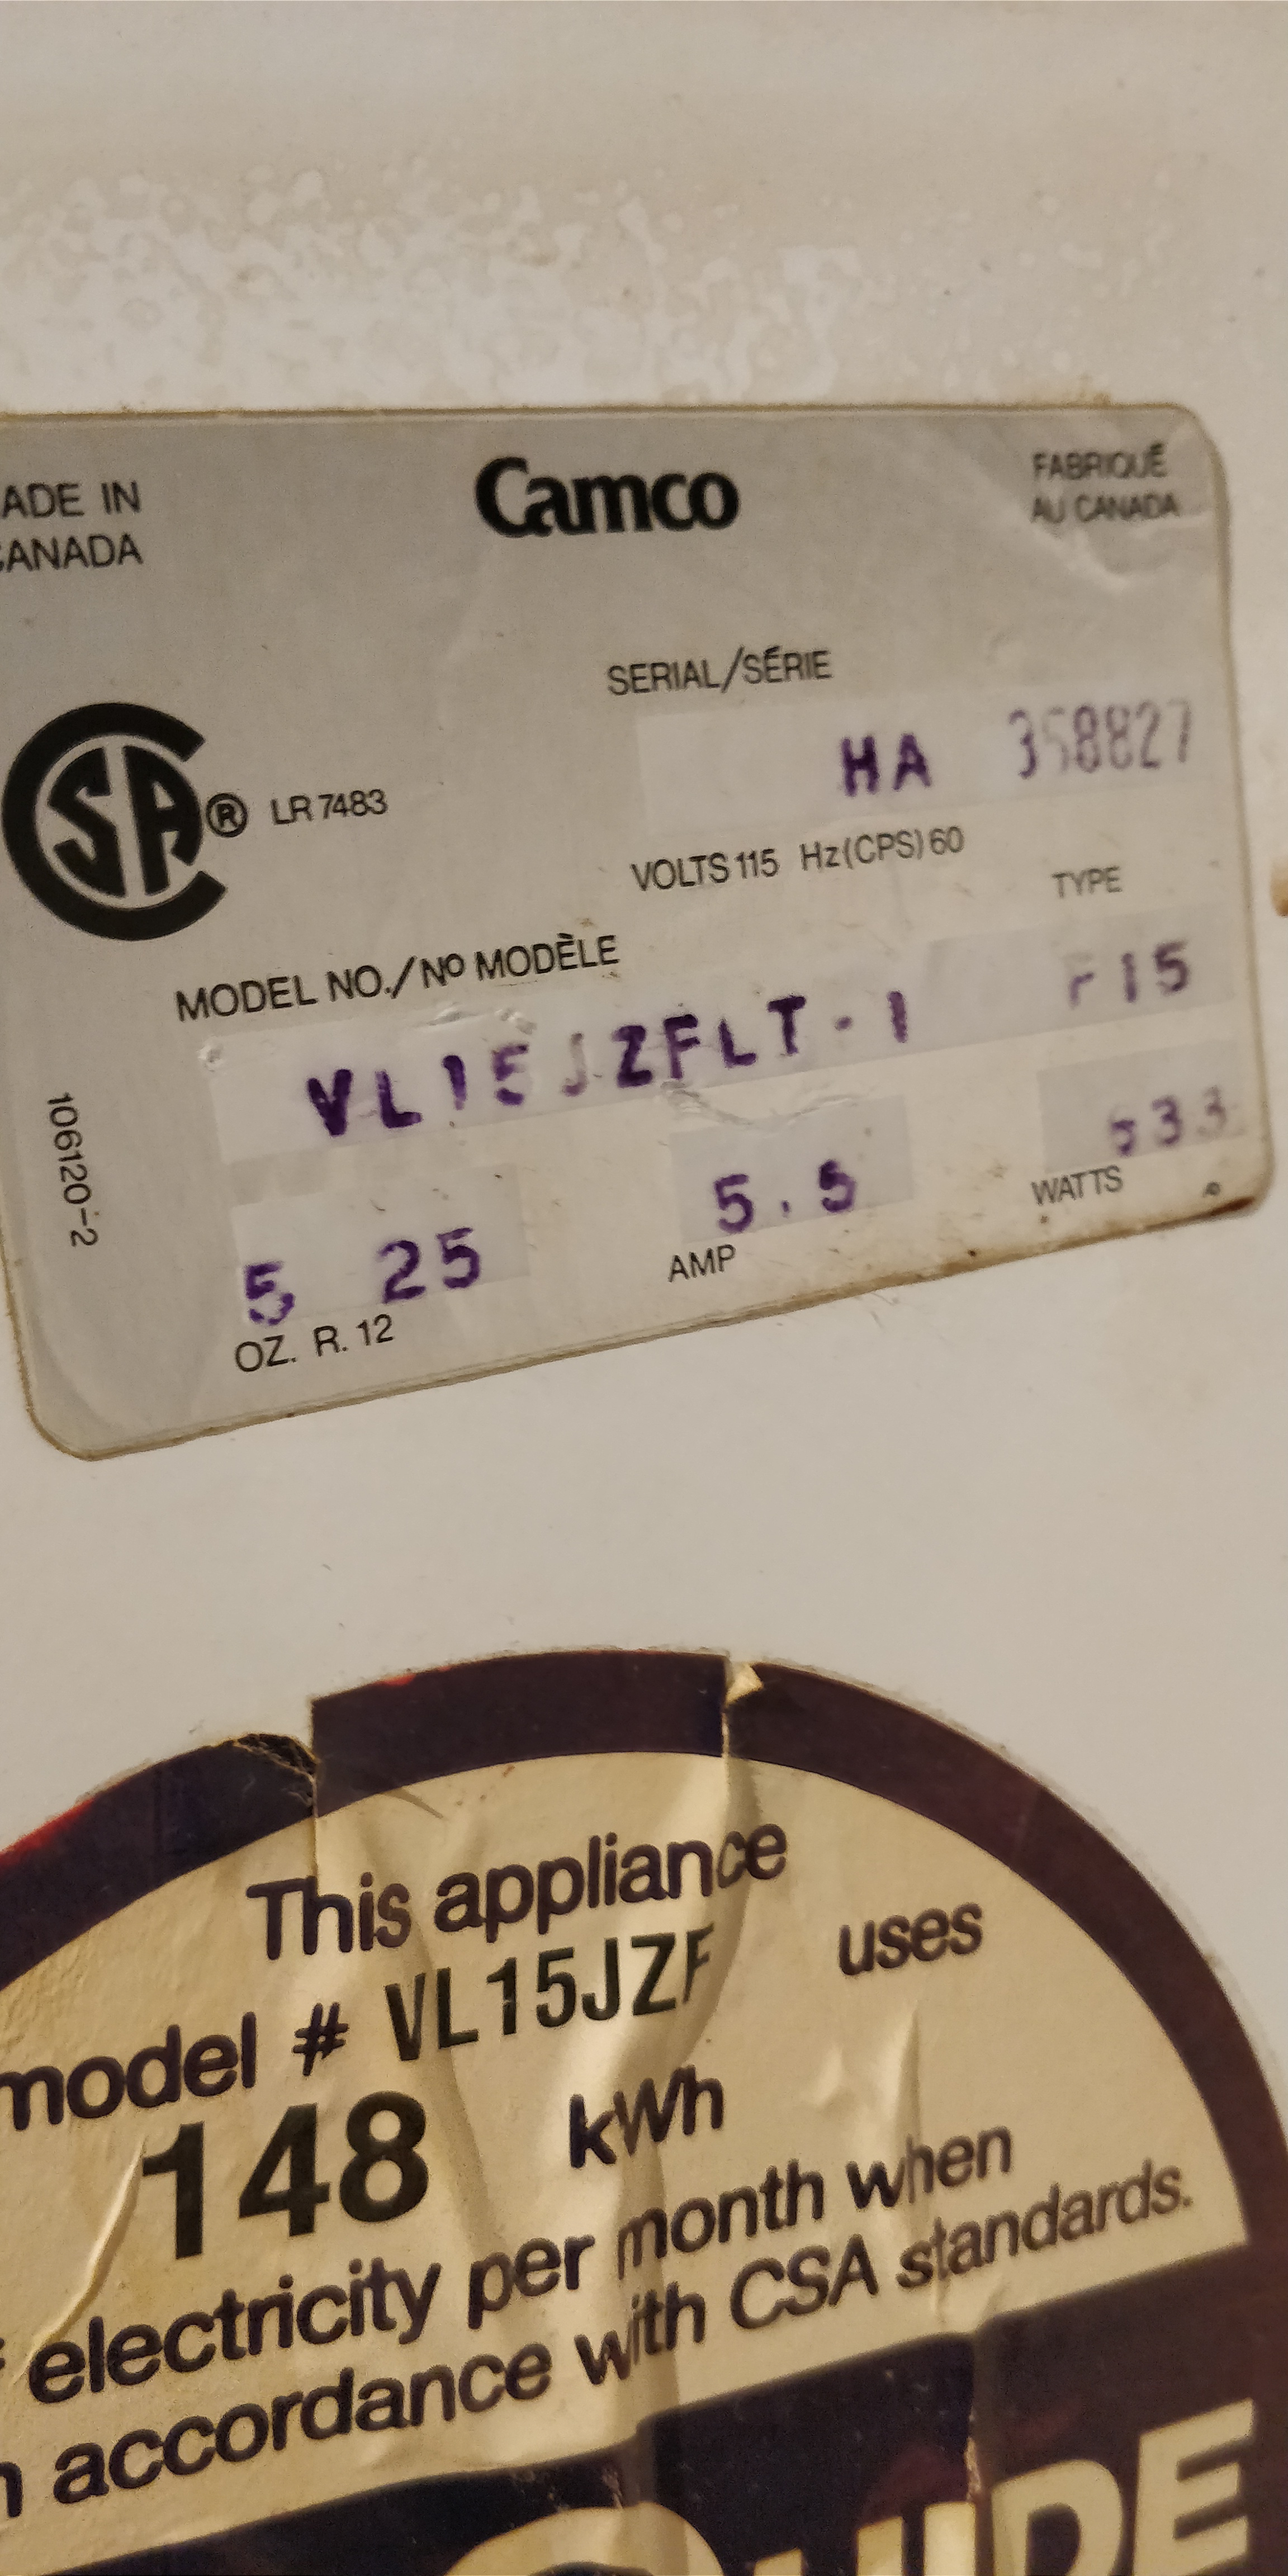
That's a GE fridge? Guessing it has a series of screws holding the inner liner and gasket on? Looks like you might have warped the door from putting the gasket back on. Loosen - don't remove - the screws. Now tighten them one at a time making sure not to push on the door while tightening them. If you have to hold back on the door, only hold right behind the screw. Don't let it touch the wall, floor, or hold back on any other part of the door.
 
As mentioned above. But do this on a flat surface and have someone hold the door flat if it refuses to lay flat.

Also the hinges are usually adjustable on the top of the door(slots in the hinge).
 
IMG_20180326_215534.jpg
IMG_20180326_215511.jpg


I did the freezer door. Just gave it a hot water soak and it was perfect.

Took the gasket off the fridge door and soaked but it's being really difficult to get back under the metal rail.

I'd be surprised if the door was warping, it's metal and heavy as a tank. It's an older model.

Will have to take the handle off to get it flat on the floor and will try again tomorrow. I noticed the side the hinge was on the gasket was very soft whereas the rest was firm and flat. I think I may have put it together rotated 180 the first time.
 
If I were to remove the plastic shelf unit from the door and just leave it with pink insulation exposed will that grow mold? I'm planning to wire up a STC 1000 to control the whole thing with it all as one compartment.
 
Lowe's, and others, sell sheets of plastic paneling intended to make restrooms easy to clean. You can use a piece of it to replace the door shelf panels and not have exposed insulation. Makes for a nice finished appearance.
 
Loosen the screws holding the metal rail to make it easier to put the seal back on. Then tug the seal back and forth a bit to make sure the tension is even all along the metal rails. Wheen it's all back in position and behaving, tighten the screws back down starting at the corners and work your way in towards the middle of each side.
 
It doesn't matter how old or heavy it is. It's warped because of the off-setting pressures that was put on it making it out of square during reassembly. As the screws were tightened it kept the door out of square.

When I was an appliance tech training other appliance techs, this was one of the hardest things for people to understand.
 
IMG_20180327_181028.jpg
IMG_20180318_151148.jpg
It doesn't matter how old or heavy it is. It's warped because of the off-setting pressures that was put on it making it out of square during reassembly. As the screws were tightened it kept the door out of square.

When I was an appliance tech training other appliance techs, this was one of the hardest things for people to understand.

Haha, It's not that I don't understand that, it's that if i make a logical enough counter argument then somehow i won't have to do the work cause I'm lazy and want to be done.

Soaking the gasket and redoing all the screws with door flat on the floor got it done. Looking pretty decent now. The 2 bolts on the bottom hinge are a little loose as it pulls the door off at full tightness. I'm under the impression I need a minor spacer on the bottom hinge plate.
 
Last edited:
I'm trying to decide where to bring in my co2. I'm guessing the sides and back are just going to be insulation? It looks like cooling heat exchanger is only in the freezer compartment and then the heat removers run the whole back of the unit. As long as I don't hit either of those I should be safe to drill anywhere right?
 
You are most likely correct about no coolant lines in the sides. Insulated lines don't accomplish very much, after all. You can drill a tiny exploration hole, just through the liner, and poke around with a scratch awl or something to insure the path to the outside is clear. Any 'oops' holes can be sealed with a dab of silicone. Good luck!
 
I'm trying to decide where to bring in my co2. I'm guessing the sides and back are just going to be insulation? It looks like cooling heat exchanger is only in the freezer compartment and then the heat removers run the whole back of the unit. As long as I don't hit either of those I should be safe to drill anywhere right?

Like @ancientmariner52 suggested, an exploratory hole is the best practice. I have a fairly detailed explanation of how I drilled mine here.
 
I've taken out the fridge freezer partition. Without a controller on this will the whole thing chill below freezing?

I've got an STC 1000 for it but haven't had time to put it together yet. Have some kegs that I'd like to get in there but don't have a thermometer that's not mounted to something.
 
I've taken out the fridge freezer partition. Without a controller on this will the whole thing chill below freezing?

I've got an STC 1000 for it but haven't had time to put it together yet. Have some kegs that I'd like to get in there but don't have a thermometer that's not mounted to something.

Sorta... until the evaporator freezes up and the compressor burns out.

Refrigeration is not about making things cold, but about removing heat. All the heat removal is done in the freezer compartment. Cold air then flows into the refrigerator compartment. This temperature is regulated by baffles in between the compartments.

Without a cold control the compressor will continue to run because it has nothing to tell it to shut off. The defrost timer (if you didn't remove that) will still cycle, but will likely be ineffective as the ice will build up in the drain causing leaks, frozen coil, stuck evap fan, then finally, burn out the compressor.
 
Okay so I've taken pictures of the circuit diagram (unfortunately partly covered by the heat exchanger) and the bottom compartment.

Unfortunately all the wiring disappears inside it with no access panel so there is no obvious way to control things my self. Am I better off cutting into the 2 conductor feed to the compressor and running that off my STC 1000 or should I wire the STC cool into an electrical socket and plug the fridge into that.

I'm not sure what other electronics are inside the fridge other than a light, fan and there's a rotary switch for humidity.
 

Attachments

  • IMG_20180330_145038.jpg
    IMG_20180330_145038.jpg
    3.1 MB · Views: 64
  • IMG_20180330_145006.jpg
    IMG_20180330_145006.jpg
    2.6 MB · Views: 63
I make my fridge controllers in a utility box(gray plastic in the electrical section with no holes) from the hardware store. I cut a hole for the STC and then cut one for the outlet. Add a hole in the side for the power cord. Makes a neat all purpose controller you can move around. I always have a spare built in case I need to swap one that failed. Unplug fridge or freezer, plug into the spare, back in business! As cheap as the PID controllers are it makes sense to have a spare on hand.
 
I've taken out the fridge freezer partition. Without a controller on this will the whole thing chill below freezing?

I've got an STC 1000 for it but haven't had time to put it together yet. Have some kegs that I'd like to get in there but don't have a thermometer that's not mounted to something.
Stc takes a couple minutes to assemble and will regulate The cooling (sorry, heat extraction floppy). With it looking so Peng though I imagine you'll want it all housed up nice and proper. Mine is a tangle of wires in a puddle of beer on the floor of the shed.
The trick is balancing hot and cold I find as the freezer unit will over shoot a bit. I find a simple bulb works well but that was also just the closest thing to hand and I'm lazy
 
Did an STC with a standard electrical socket in a project box. Works great. Super happy.

IMG_20180331_201915.jpg
 
Okay so I've taken pictures of the circuit diagram (unfortunately partly covered by the heat exchanger) and the bottom compartment.

Unfortunately all the wiring disappears inside it with no access panel so there is no obvious way to control things my self. Am I better off cutting into the 2 conductor feed to the compressor and running that off my STC 1000 or should I wire the STC cool into an electrical socket and plug the fridge into that.

I'm not sure what other electronics are inside the fridge other than a light, fan and there's a rotary switch for humidity.

Sorry I haven't checked this in a bit. Didn't get a notification. Although rewiring the fridge is a neat project, it doesn't do anything that a plug-in controller does. Unless, of course you're replacing a built-in cold control. What you've got going on is fantastic.

So are we going to see a bar build in your future?
 
Awesome build!!
Couple questions for you goat.

What size pipe did you use for the door handles and did you have to repair any holes from the stock handle removal?

I have a side by side I converted to a kegerator (https://www.homebrewtalk.com/forum/threads/my-side-by-side-to-kegerator-conversion.645189/) and plan on removing the ice maker for more taps. I am going to install a stained piece of cedar or hickory plywood on the front of both doors where the ice maker was. All my faucets will run through that. I'm going to remove the OEM handles and do pipe as well.

Lastly, are you planning on adding any faucets through this? If so, here's an idea that wouldn't work for me but still could for yours. A faucet shank fits perfectly through a 3/4" black pipe flange. I was going to use that in lieu of the black washers on the faucet side. It might look really nice with your pipe handles. If you do this you need to be careful about the spacing though, as my faucets are too close at 3 1/4" on center spacing and I had to return the flanges.
 
The pipes are all 3/4 inch black galvanized steel.

I did have To fill holes. I used drywall patching Polly filla. Probably not the most ideal material but it was so easy to work with and I like to keep things simple. There was 4 tiny screw holes and that's it. Patch and couple layers of paint. You can see it if you look for it but otherwise it's unnoticeable.
IMG_20180323_165316.jpg


IMG_20180404_231820.jpg


I've just got the one tap for now. I'll be adding probably 3 more with 4 inch spacing. The pipe flange is a great idea for shank collars. Might have to give that a try.
 
Back
Top