I know there are very good keezer collar instructions out there, but I wanted to make my own and post it. Everyone has a different set of tools available to them, etc, and this was what I decided would work best for me. Maybe the way I did something will give you a new idea.
For wood, I chose 1x4 doug fir. I looked at cheap 2x4's but I realized that the really nice stuff was only like 8$ for an 8' length, and I only needed two. It would suck to build a collar out of wood that wasn't straight.
To cut it I needed a mitre box and I didn't want to spend much. This mitre box has cam-style pegs to lock the piece in place, it came with the saw, and I think it was about 16$ at lowes. Some sandpaper will also come in handy to clean up those cuts. Remember to measure twice and cut once!

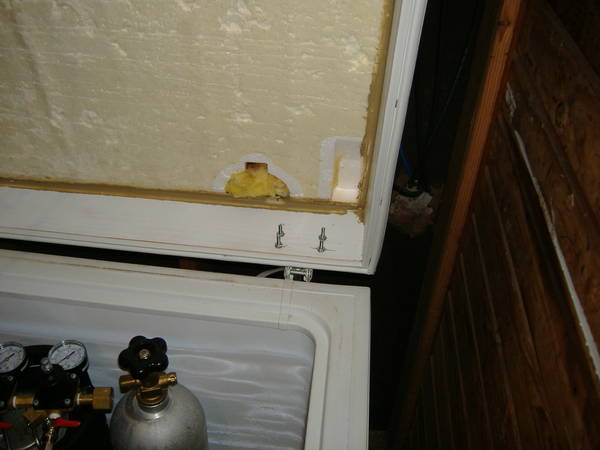
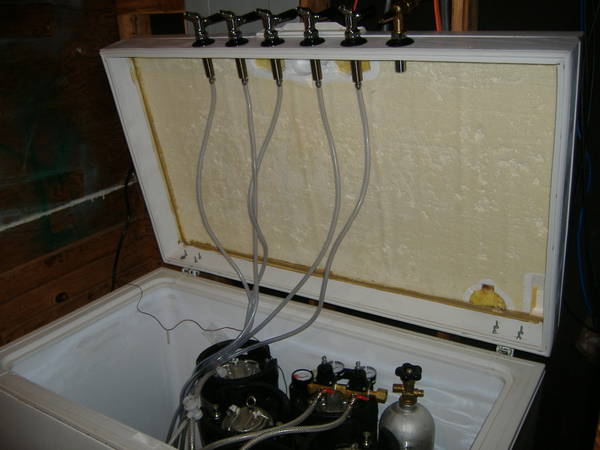
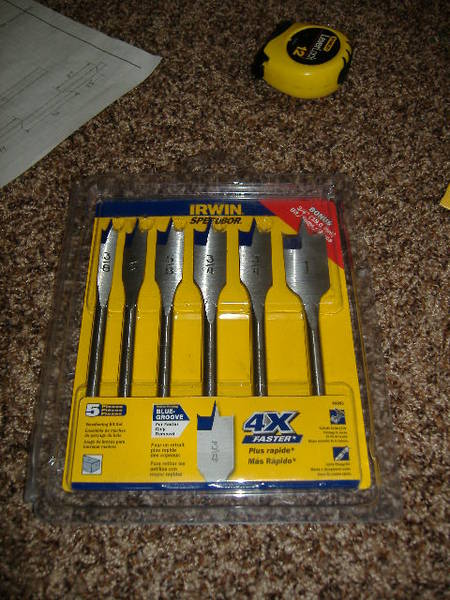
Once you cut your pieces it will be time to drill the holes for the shanks. My shanks called for a 1" hole and I believe that is standard. I used a spade bit for this. Remember to drill a 1/8" pilot hole and make sure to start the hole on the face that will be the outside. There are different techniques for using a spade bit, but if you just drill straight through there will likely be some damage to the bottom face when the bit breaks through. In this case I really don't care.
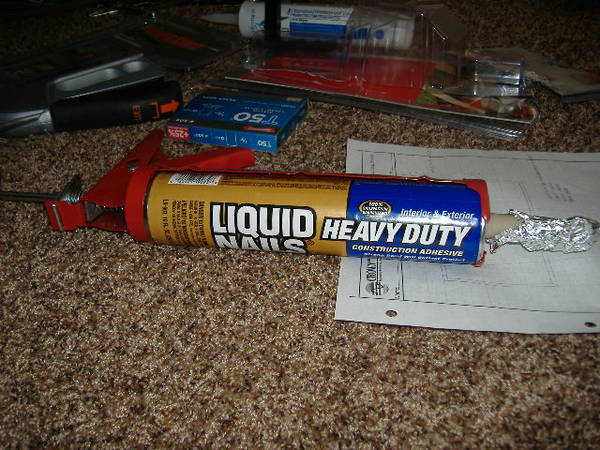
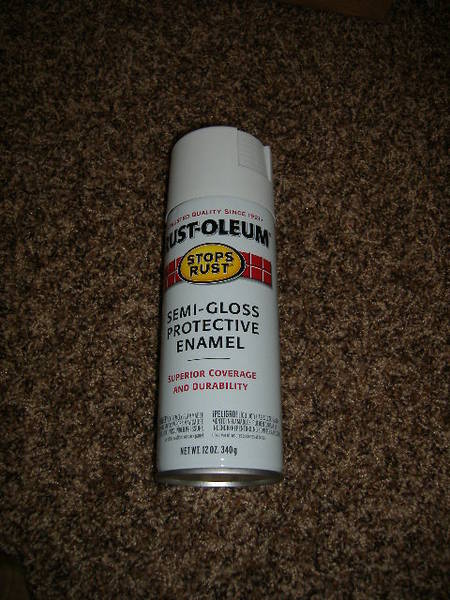
To bond the wood together and to hold the collar to the lid I used liquid nails heavy duty. This stuff is seriously strong after 48 hours. The wood will break before the bond does. I think they also sell liquid nails in smaller tubes that don't require a caulking gun.
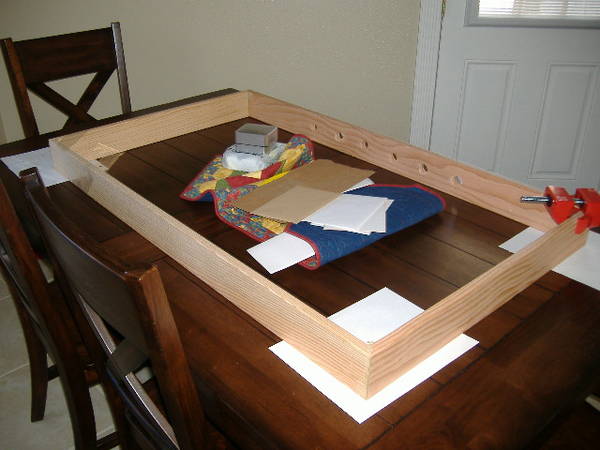
To hold the corner in place while the liquid nails set, I used this 90 degree clamp. Also from lowes for 20$. This thing is really handy. Also, you'll want a really nice flat plane to set the wood against. I took a risk and used my kitchen table with a sheet of paper to keep the liquid nails off of it. It worked out well.

For wood, I chose 1x4 doug fir. I looked at cheap 2x4's but I realized that the really nice stuff was only like 8$ for an 8' length, and I only needed two. It would suck to build a collar out of wood that wasn't straight.
To cut it I needed a mitre box and I didn't want to spend much. This mitre box has cam-style pegs to lock the piece in place, it came with the saw, and I think it was about 16$ at lowes. Some sandpaper will also come in handy to clean up those cuts. Remember to measure twice and cut once!
Once you cut your pieces it will be time to drill the holes for the shanks. My shanks called for a 1" hole and I believe that is standard. I used a spade bit for this. Remember to drill a 1/8" pilot hole and make sure to start the hole on the face that will be the outside. There are different techniques for using a spade bit, but if you just drill straight through there will likely be some damage to the bottom face when the bit breaks through. In this case I really don't care.
To bond the wood together and to hold the collar to the lid I used liquid nails heavy duty. This stuff is seriously strong after 48 hours. The wood will break before the bond does. I think they also sell liquid nails in smaller tubes that don't require a caulking gun.
To hold the corner in place while the liquid nails set, I used this 90 degree clamp. Also from lowes for 20$. This thing is really handy. Also, you'll want a really nice flat plane to set the wood against. I took a risk and used my kitchen table with a sheet of paper to keep the liquid nails off of it. It worked out well.


![Craft A Brew - Safale S-04 Dry Yeast - Fermentis - English Ale Dry Yeast - For English and American Ales and Hard Apple Ciders - Ingredients for Home Brewing - Beer Making Supplies - [1 Pack]](https://m.media-amazon.com/images/I/41fVGNh6JfL._SL500_.jpg)