• Please visit and share your knowledge at our sister communities:
  • If you have not, please join our official Homebrewing Facebook Group!

    Homebrewing Facebook Group

inr brewing - basement brewery build

Homebrew Talk

Help Support Homebrew Talk:

This site may earn a commission from merchant affiliate links, including eBay, Amazon, and others.
I painted mine before I started wiring. Have a few scratches in the paint already, but nothing that can't be fixed after I finish it....I'll just tape off all the lights, PID's, so forth.....and rattle can it again. The box looks a lot better in black (imho).

Scott
 
I agree with Brundog, I'm such a perfectionist on stuff like this. Your spending a ton on this build as it is, and you want it done right, since you will have it basically forever. Every time you look at your control box and see the marks you will say to yourself, "I should have got it powder coated", or "I should have just went ahead and painted it".
+1. If you think the above applies to you, definitely paint it. Brewing's supposed to be fun and a hobby. Last thing you want is to walk up to your panel and be depressed because it doesn't look as "good" as you hoped.

The rustoleum primer and paint I recommend in my panel build instructions is great stuff. My panel's been through a lot and it's still every bit as perfect as the day I painted it.

Like any painting job, prep work and primer is everything. Make sure to give the primer and paint a good clean surface to adhere to.

Primed:

IMG_1022.jpg


Painted:

IMG_1029.jpg


IMG_1028.jpg


FWIW, that polyester epoxy resin textured grey paint (RAL-7032) it came with is durable, but it's so friggin' boring.

Good luck!

Kal
 
I would probably leave it but my basement is dusty to begin with. If the slight brown marks are visually concerning, could you cover them up with strategic labels?
 
eh, who am i kidding, i just know i would be annoyed with those scorch marks later on. for sanding down the enclosure, what does anyone recommend for grit? i'm thinking roughing it up with 120 and then finishing with 320. or is just the 120 good enough?
 
Question on the topic of painting: how have people's results been with the Rustoleum spraypaint/primer combo stuff? I tried using it with the first version of my control box (long story, but rev2 is only about a week or two behind rev1), and the finish didn't seem to stand up to much in the way of scuffing... How much different is the durability of the finish using the primer Kal lists, then using the Rustoleum hammered metal finish?

Also: awesome build so far - keep it up! I'm pretty jealous of anyone who has an area they can dedicate to this sort of thing; I'm more or less forced to use my workshop/woodshop area and try to keep the area as multi-purpose as possible.
 
1/30/2016 update

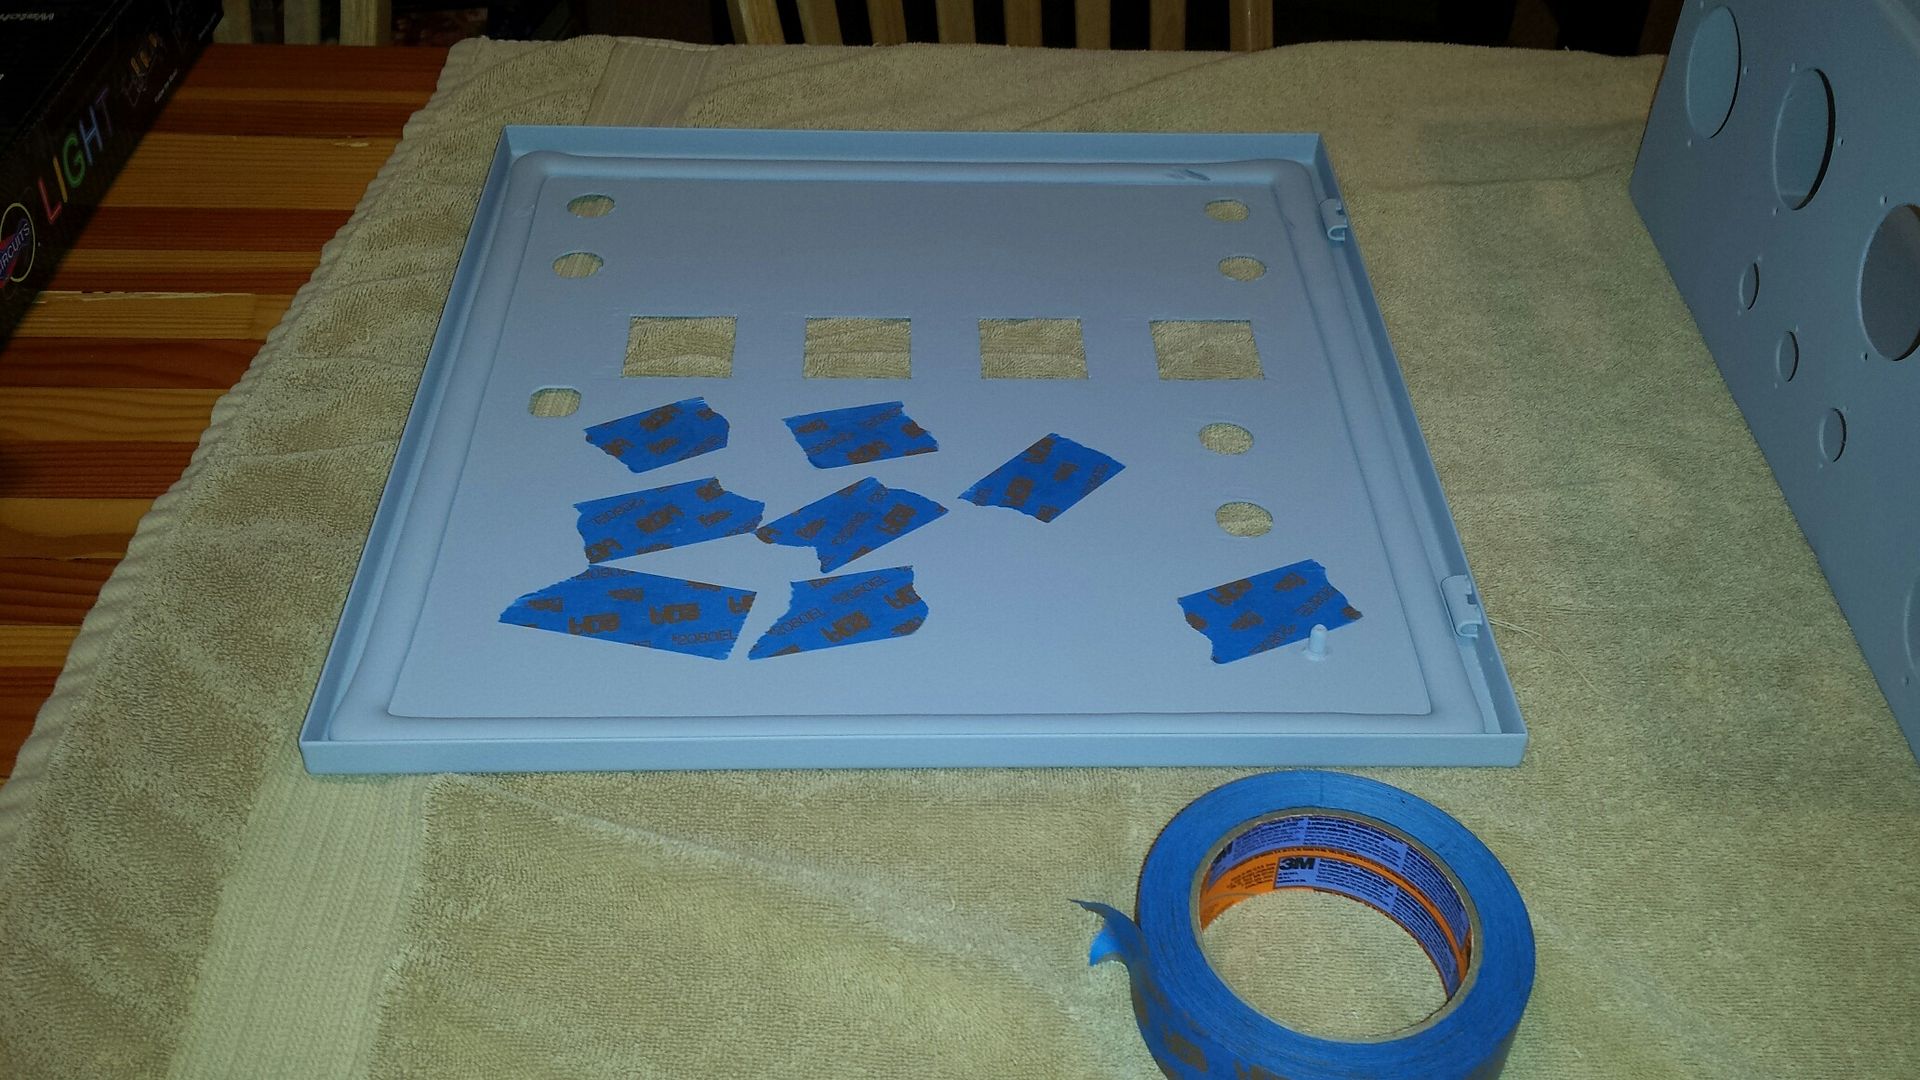
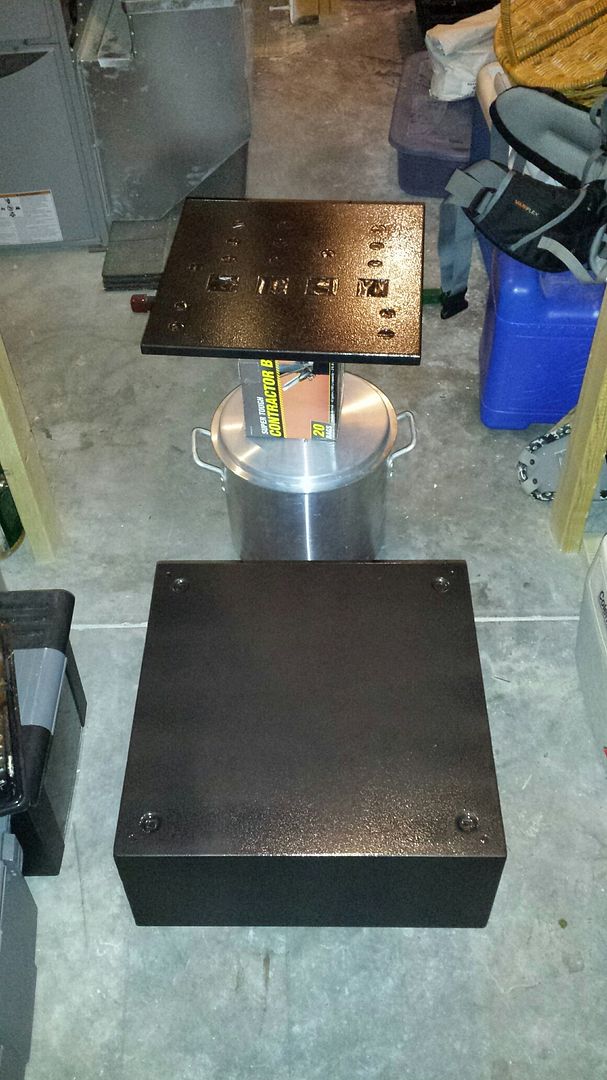
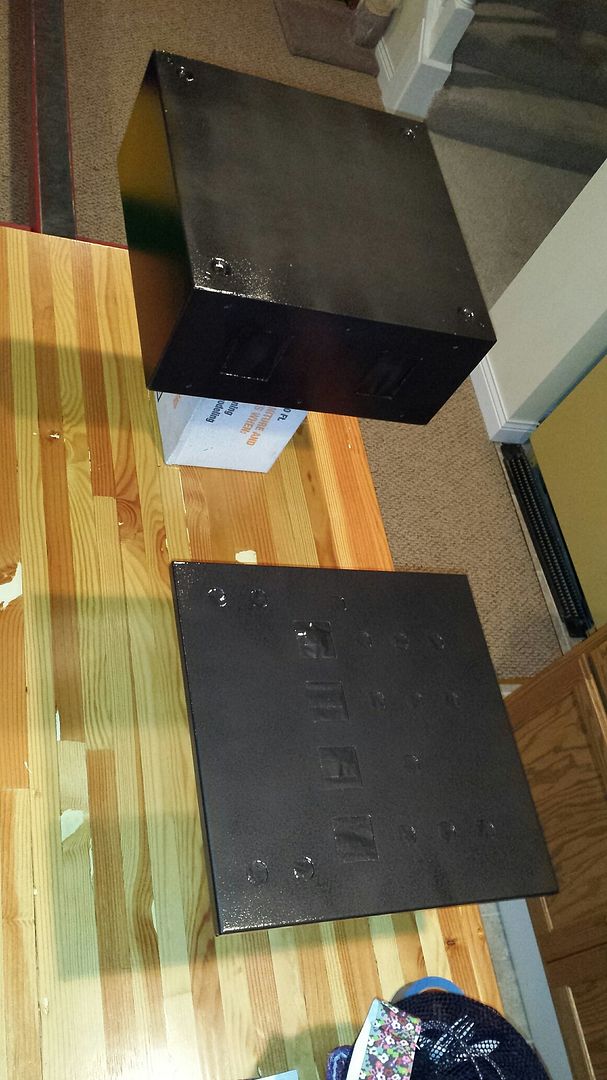
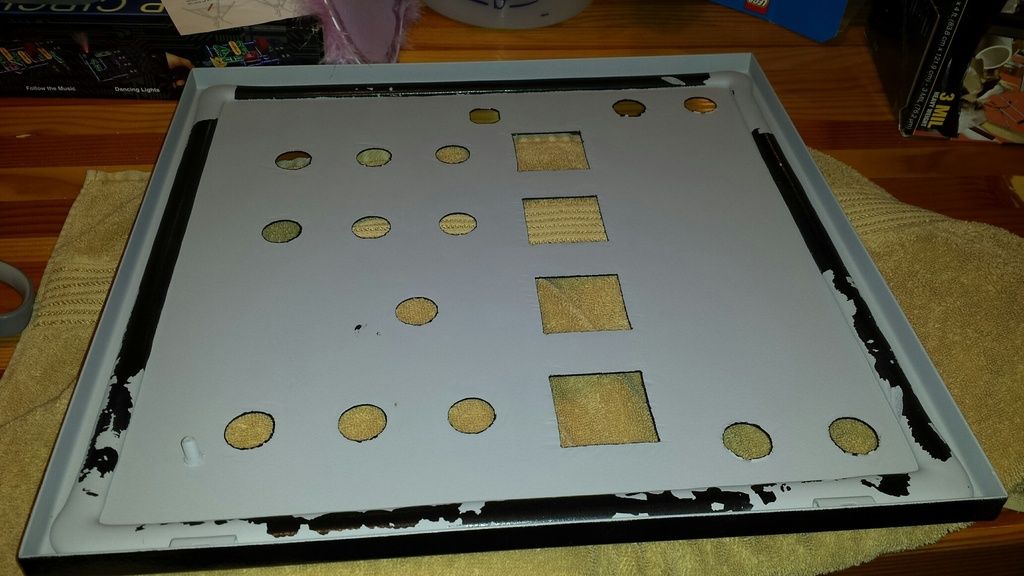
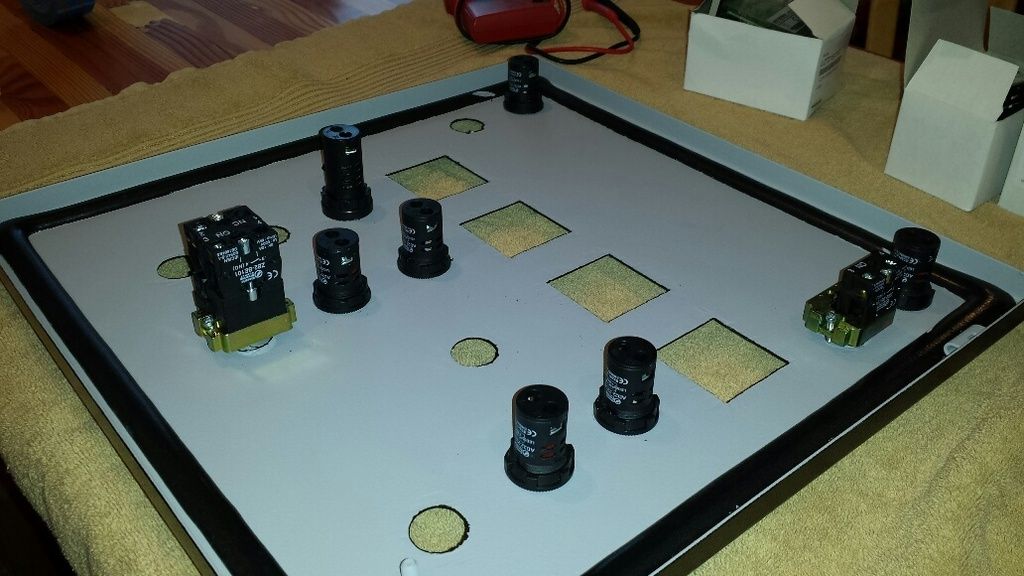
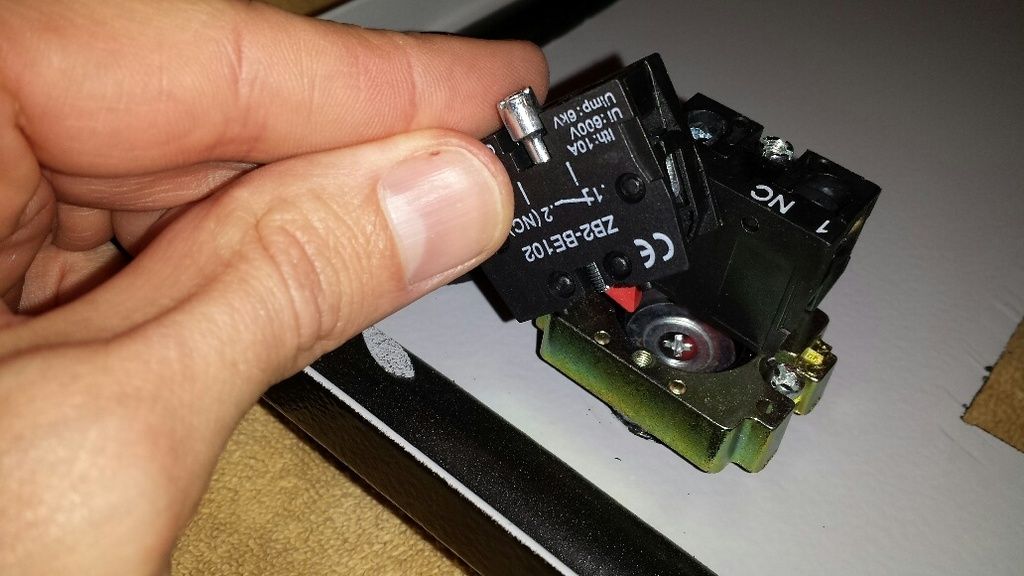
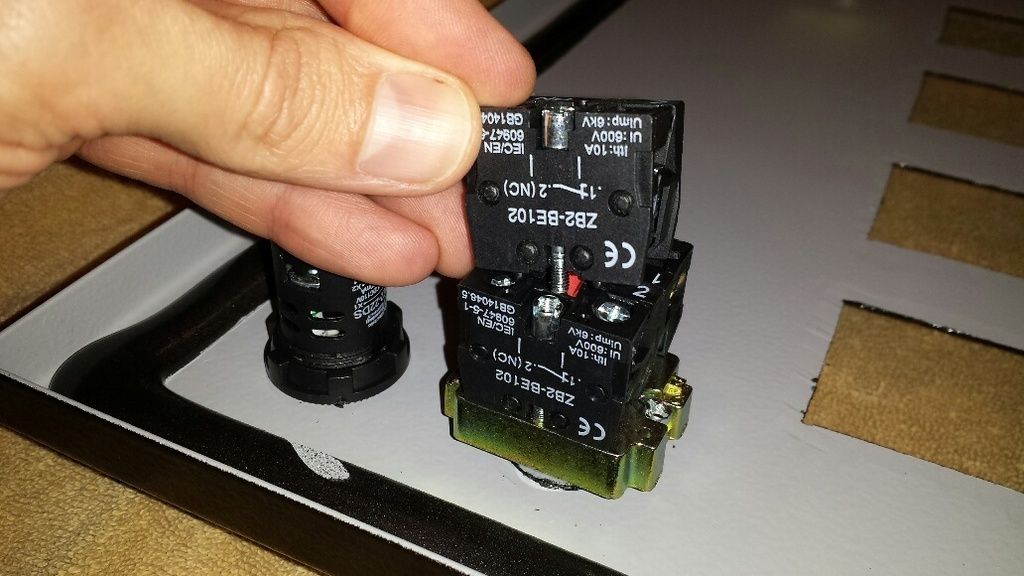
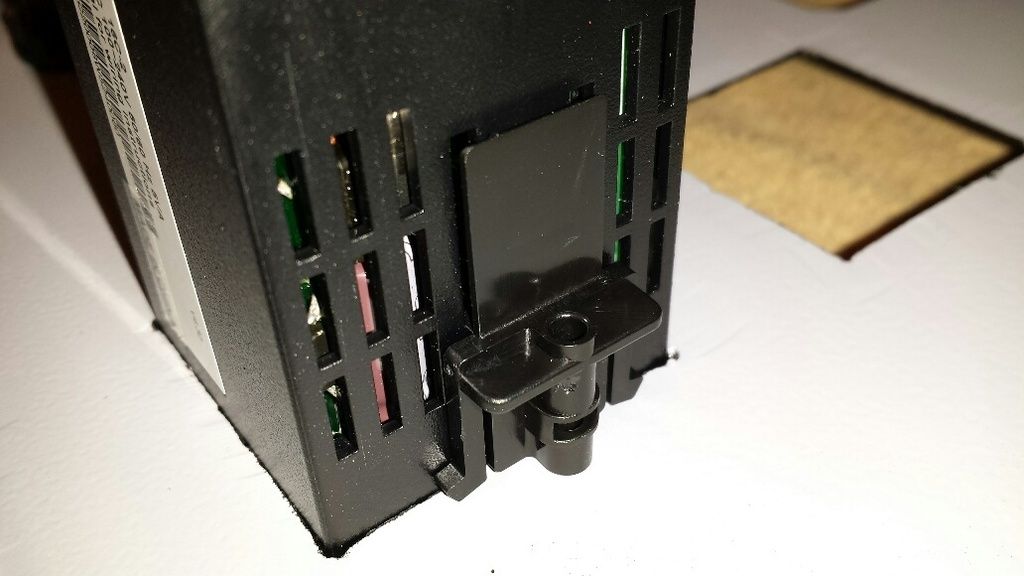
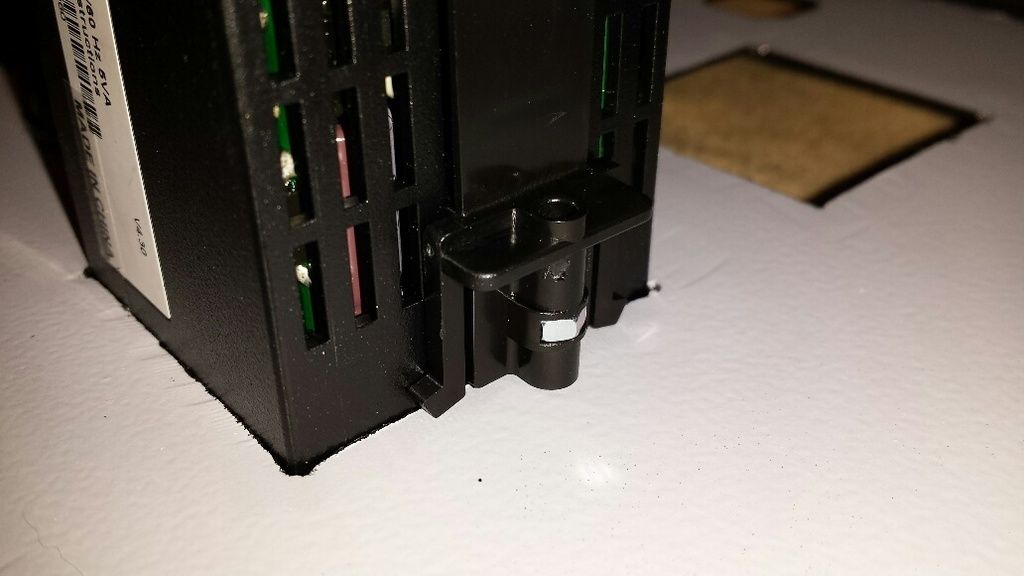
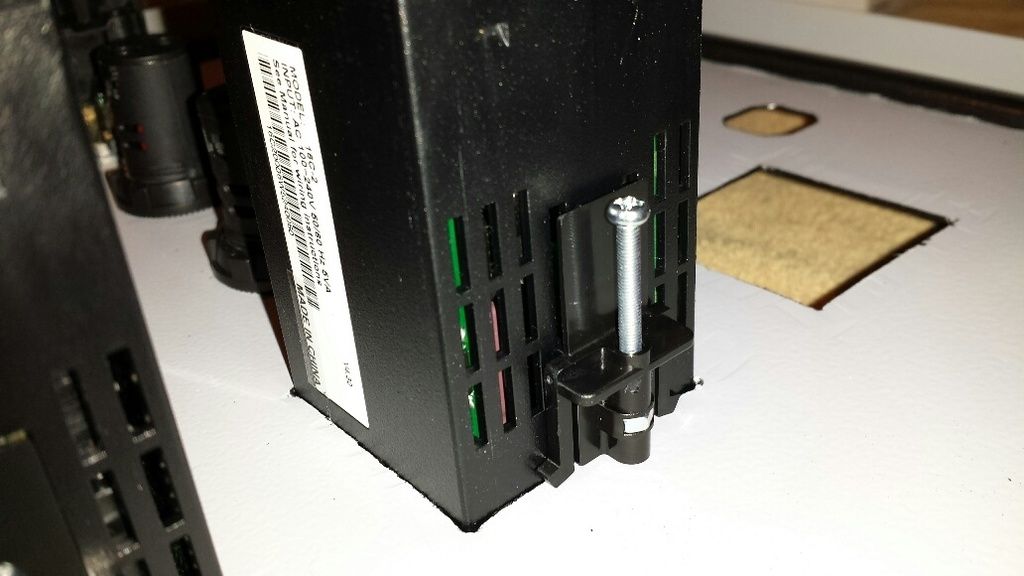
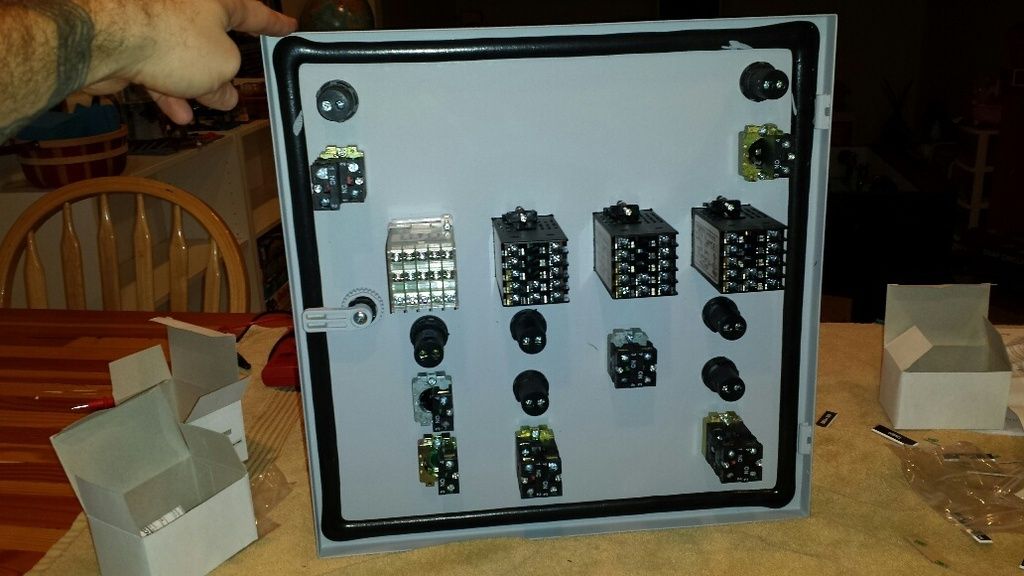
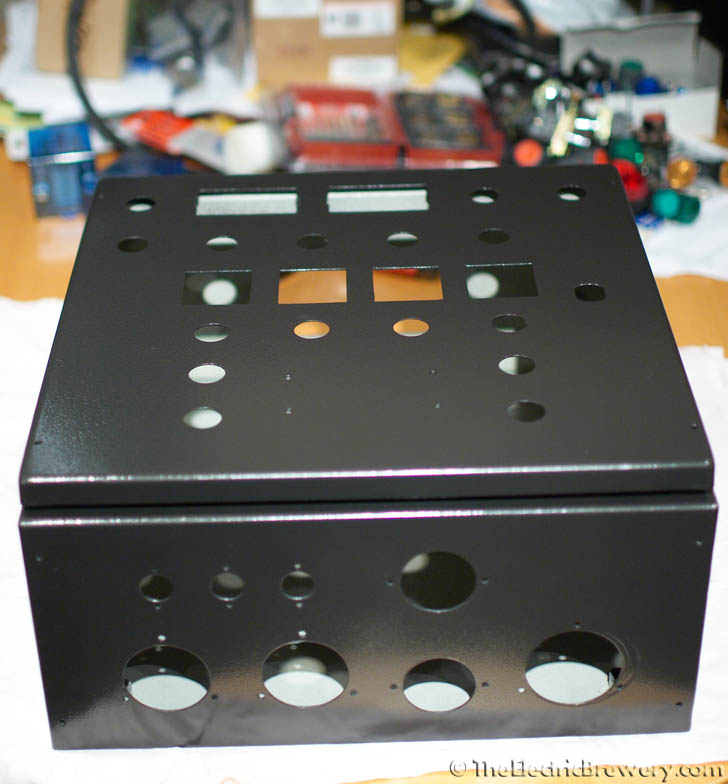
after weighing the cost options for powder coating, i opted to go with my own paint job. menards has their 11% off sale right now so i stopped by on my friday lunch hour to grab some supplies (paint and sandpaper). first step was to remove the door and strip down all the hardware:

20160130_085747_resized_zps7iwvo2pa.jpg


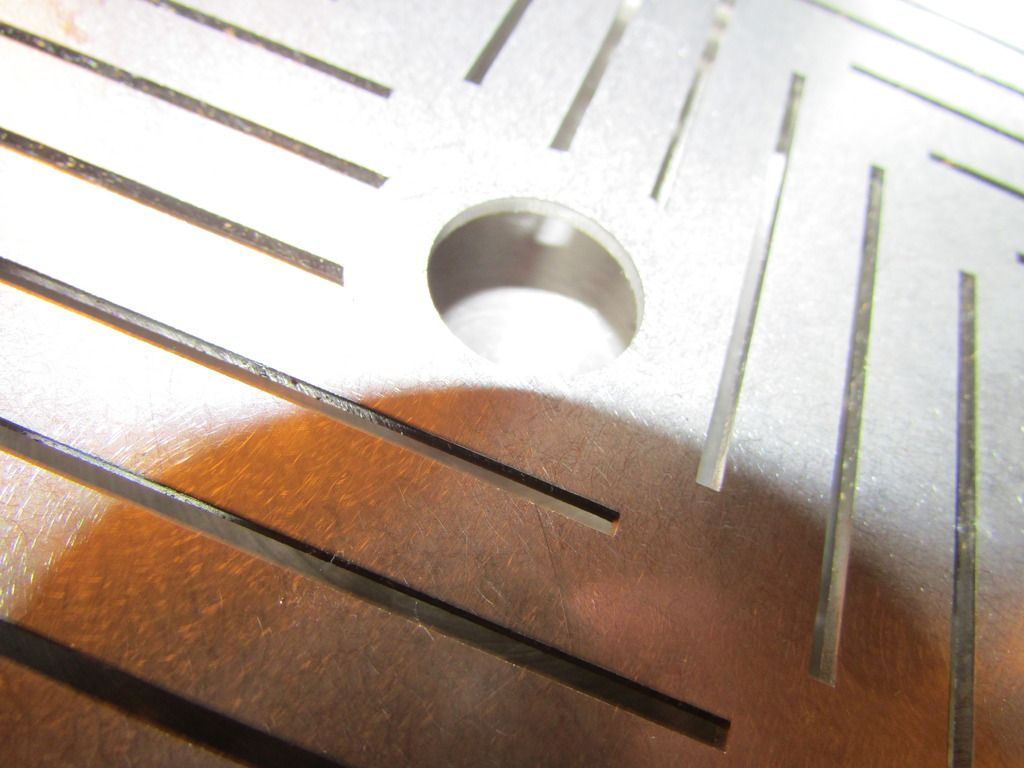
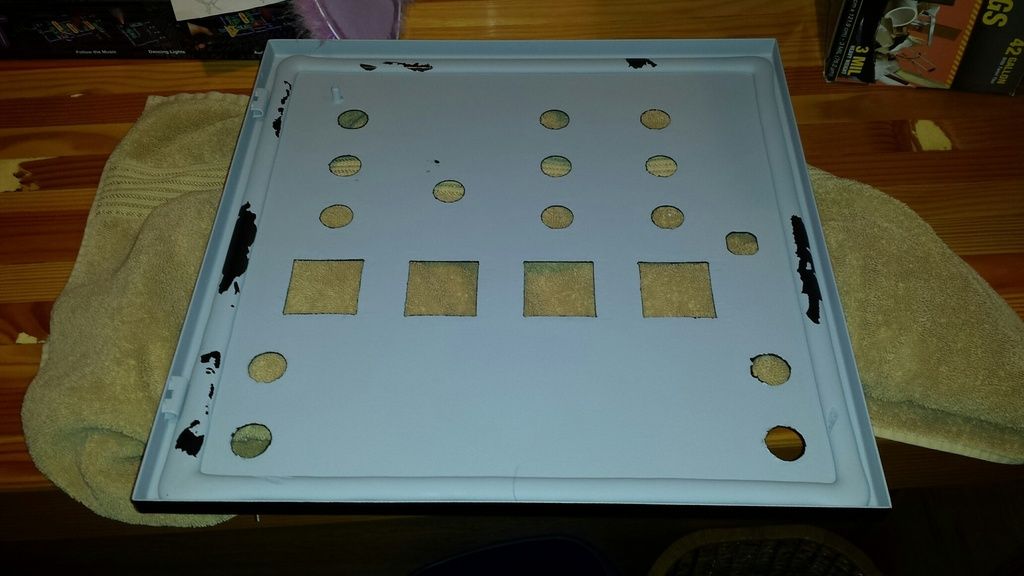
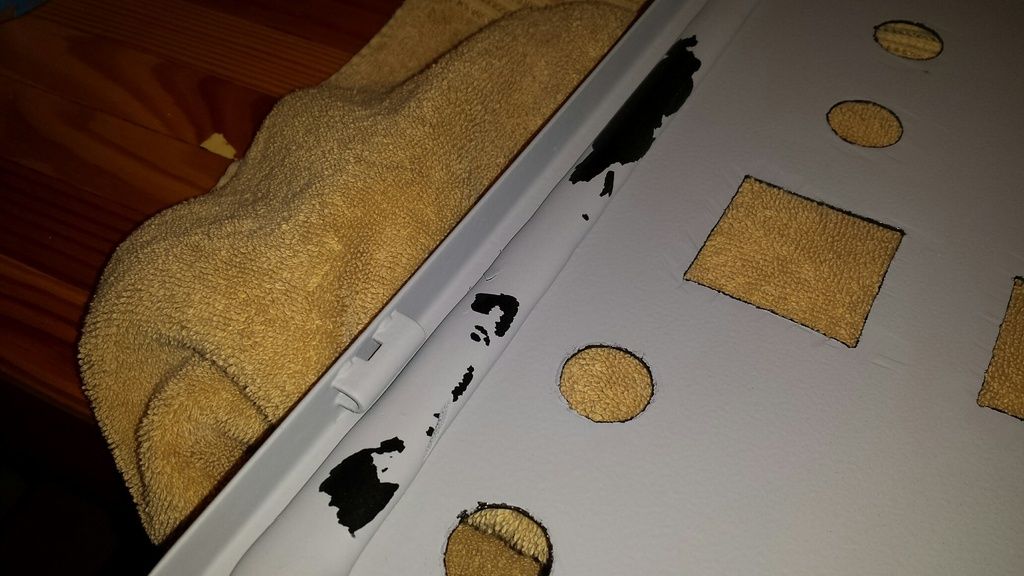
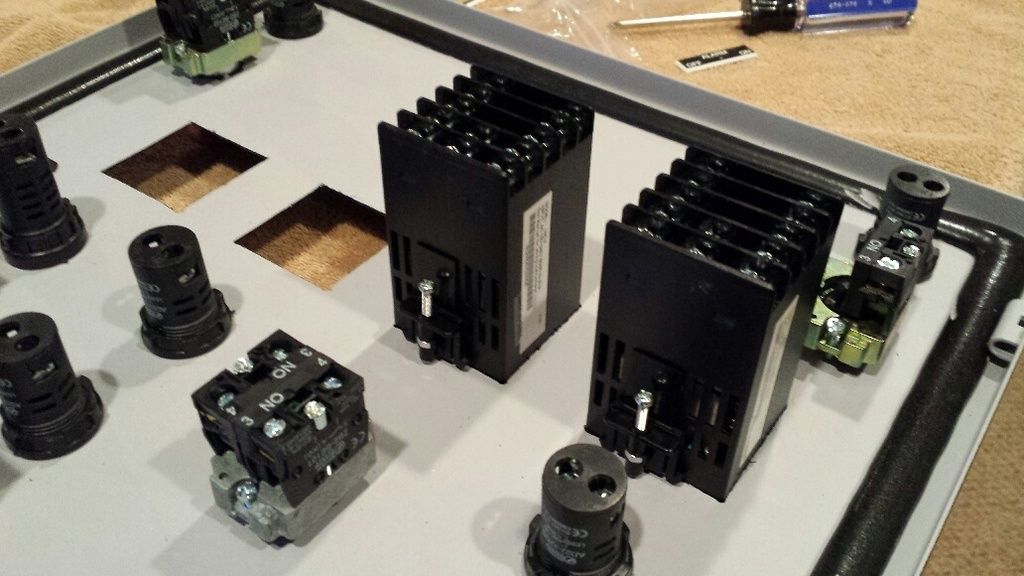
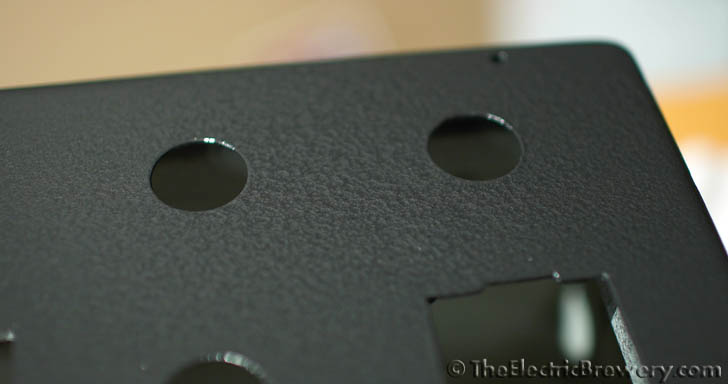
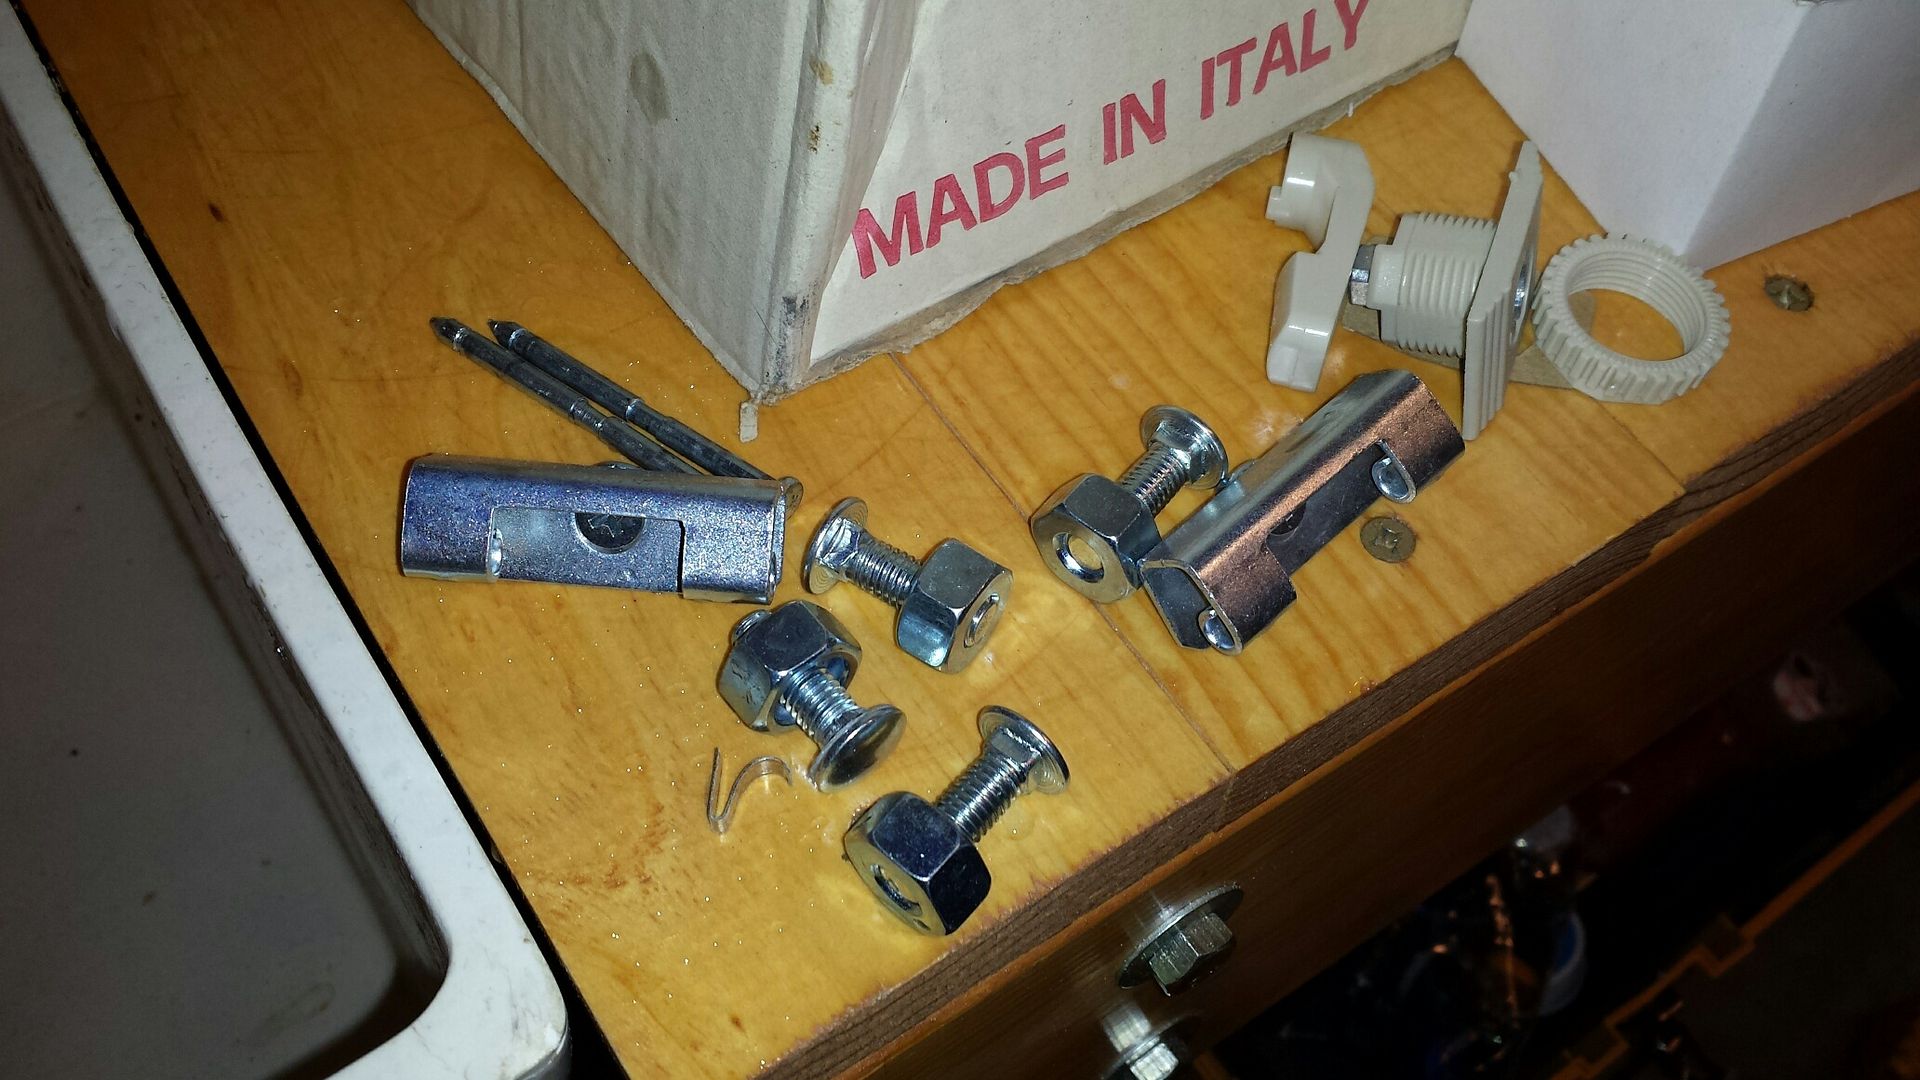
not all the metal pieces in the upper left corner of the panel, remains from my filing work on the openings.

20160130_085752_resized_zpsywzivfrk.jpg


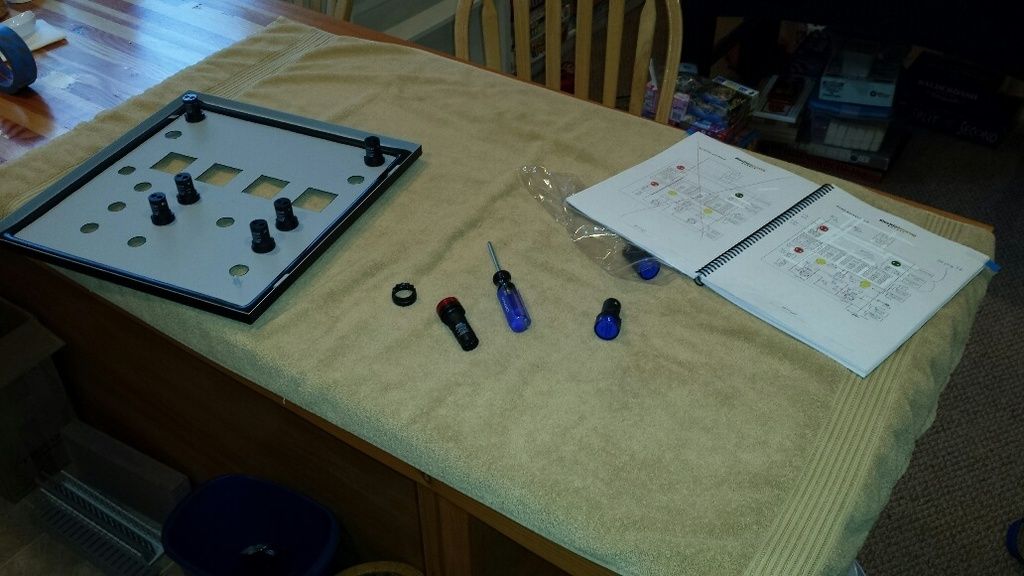
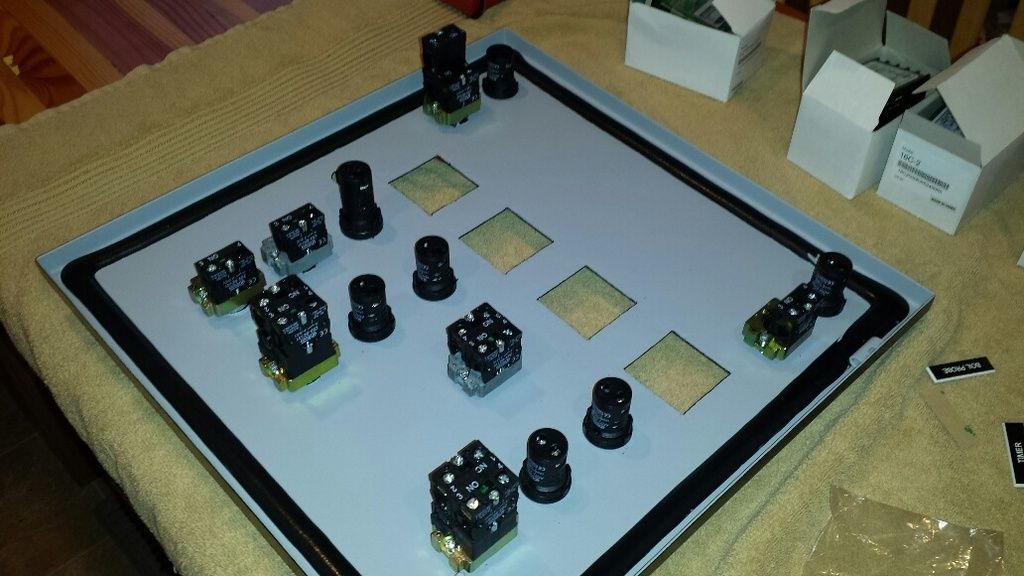
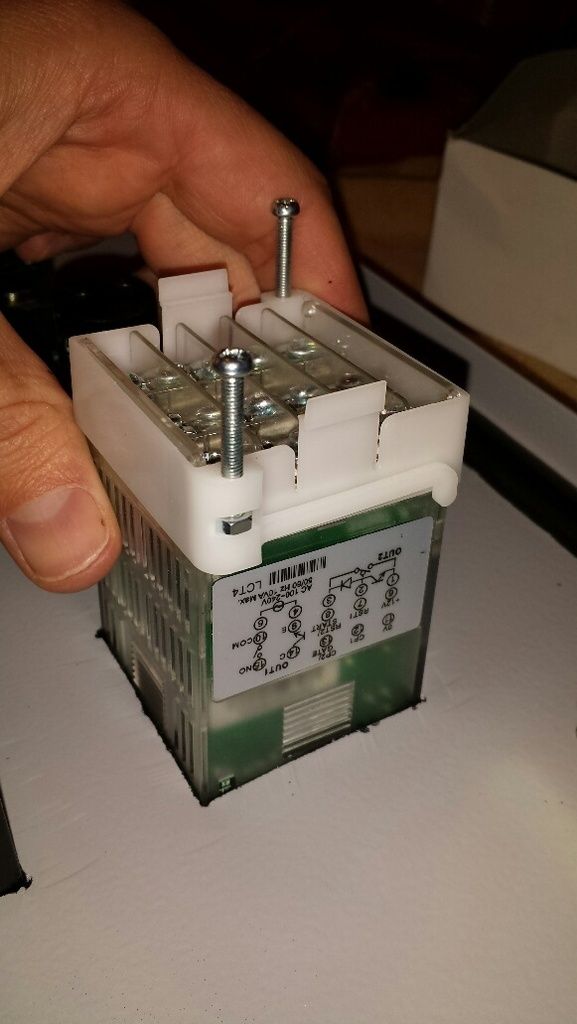
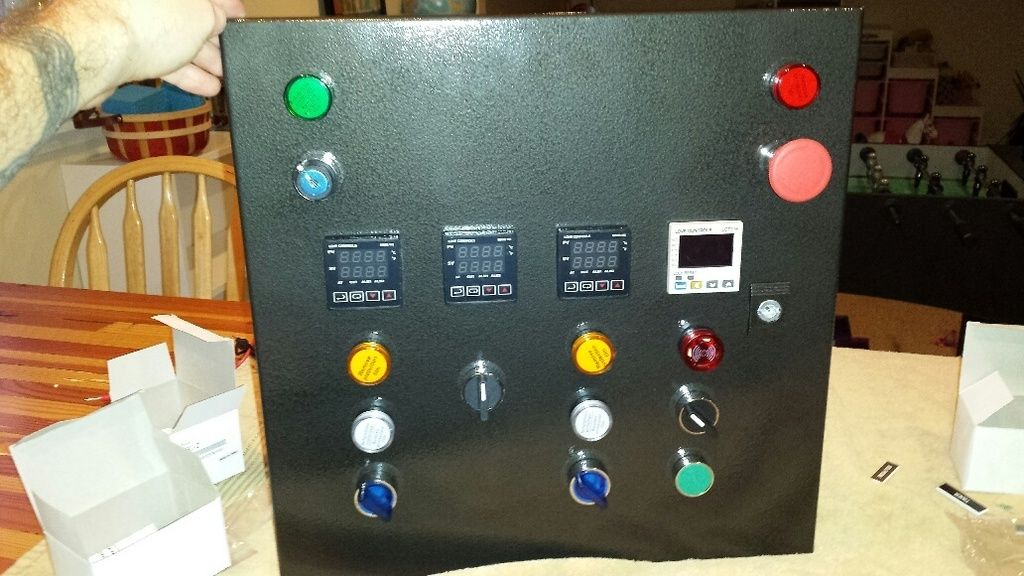
and a pile of door hardware:

20160130_100207_resized_zpsrphx4xgc.jpg


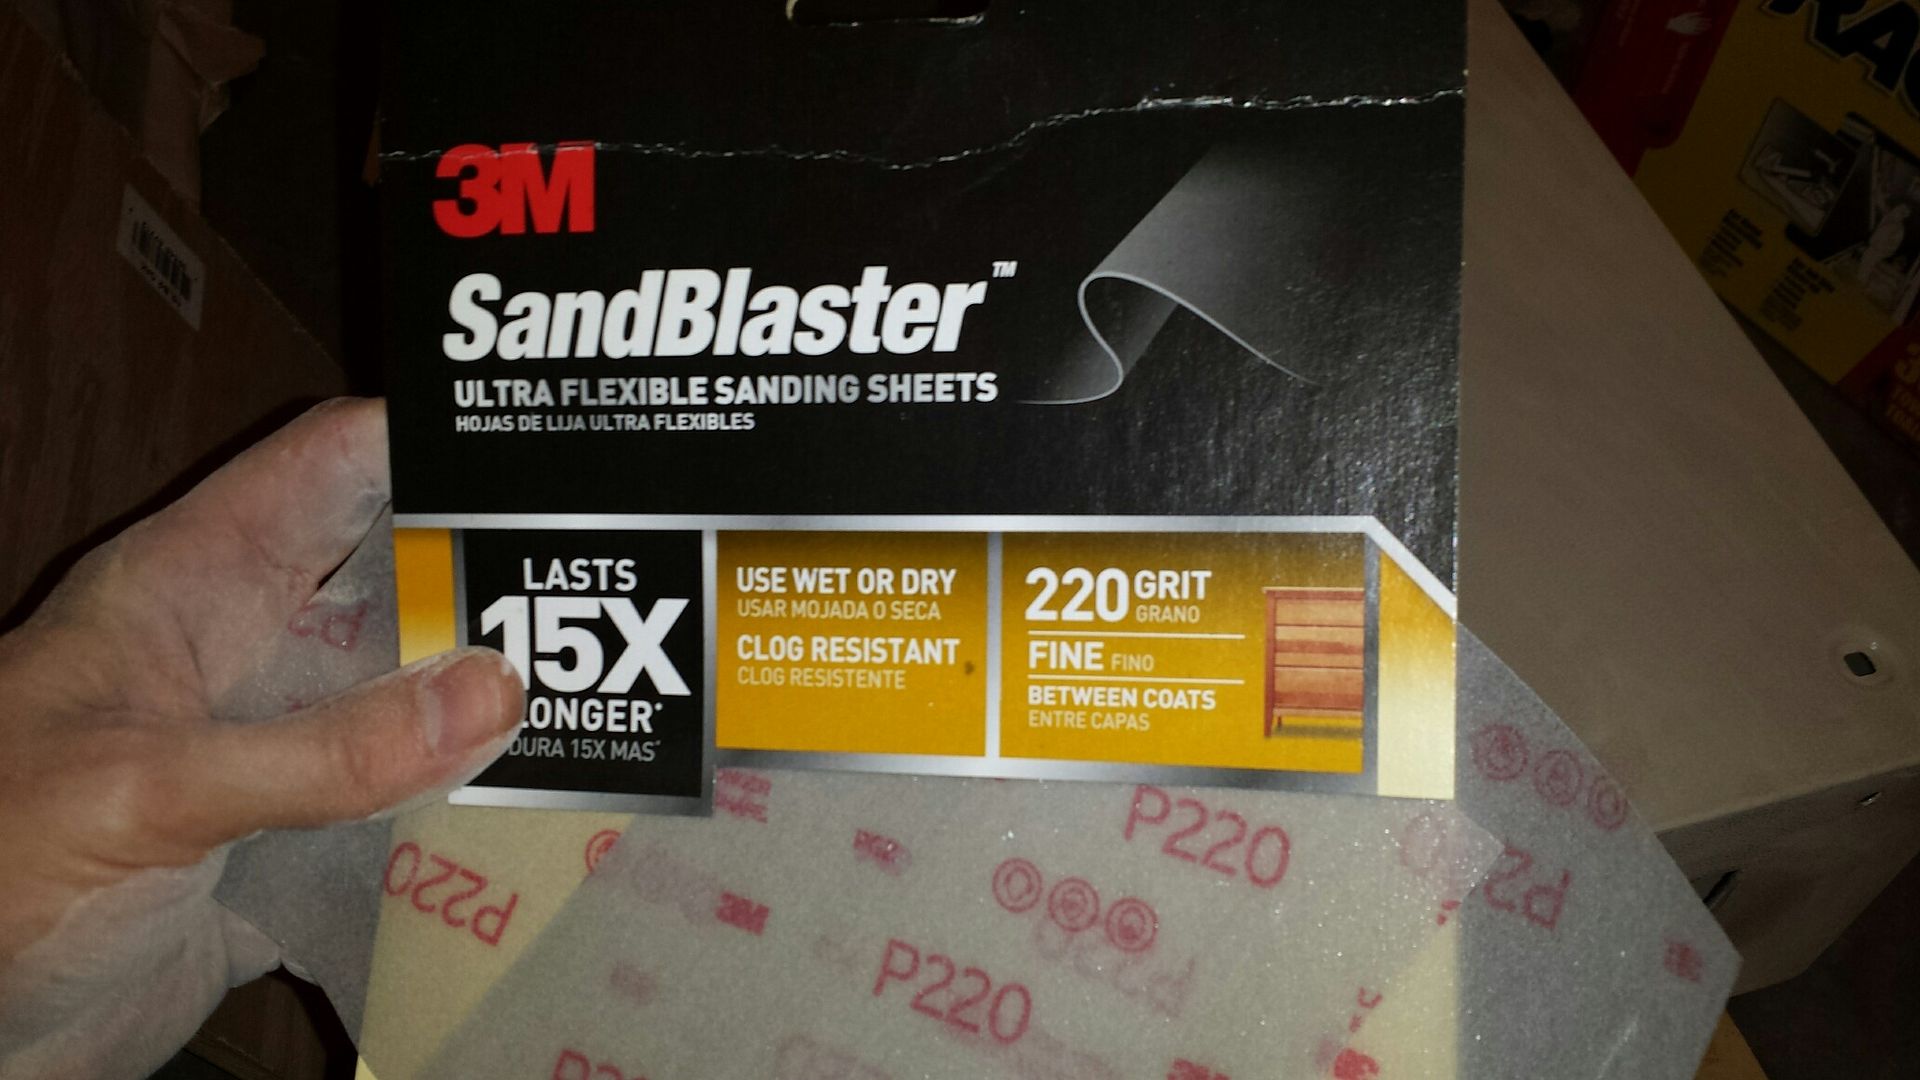
no photos of the sanding process. i mean, it is just rubbing paper all over the box. i had some concerns with how to get the paper into all the nooks and crannies but noticed this product at menards:

20160130_091039_resized_zpsqqskzpbi.jpg


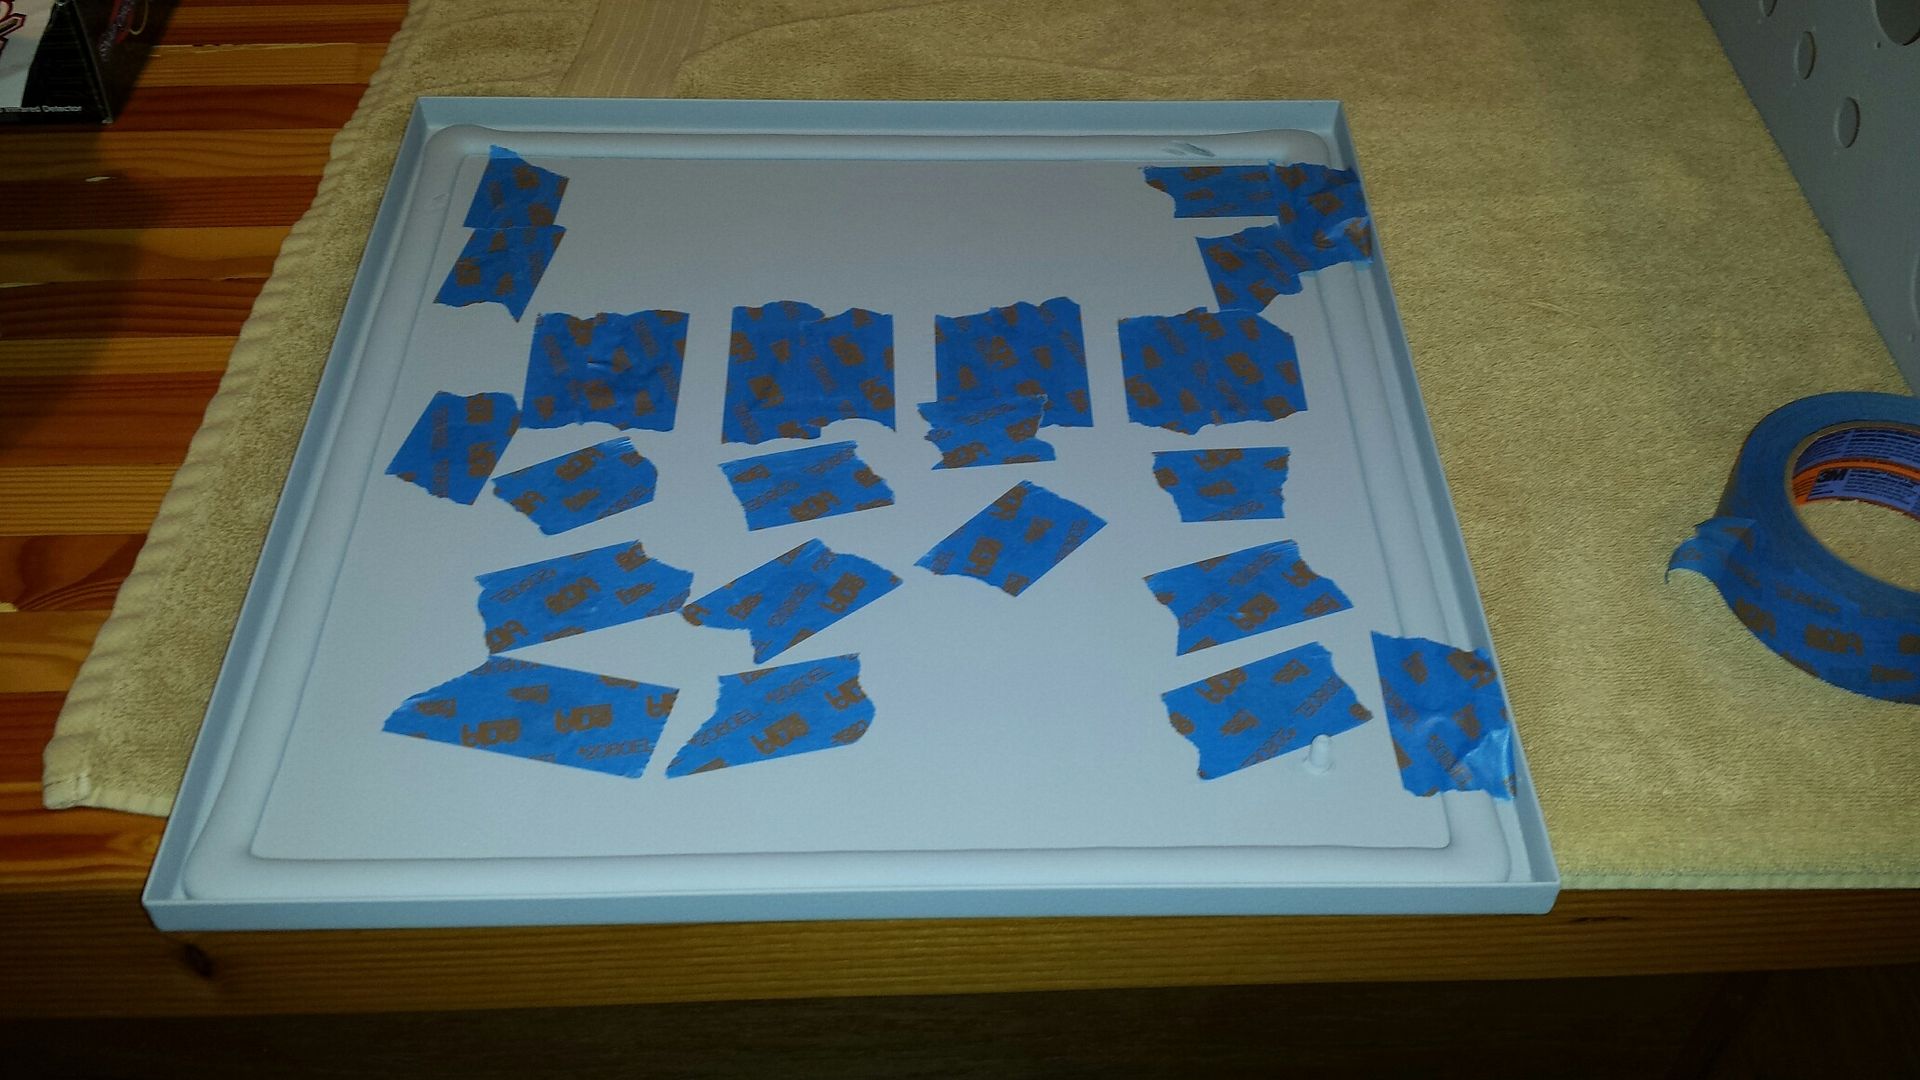
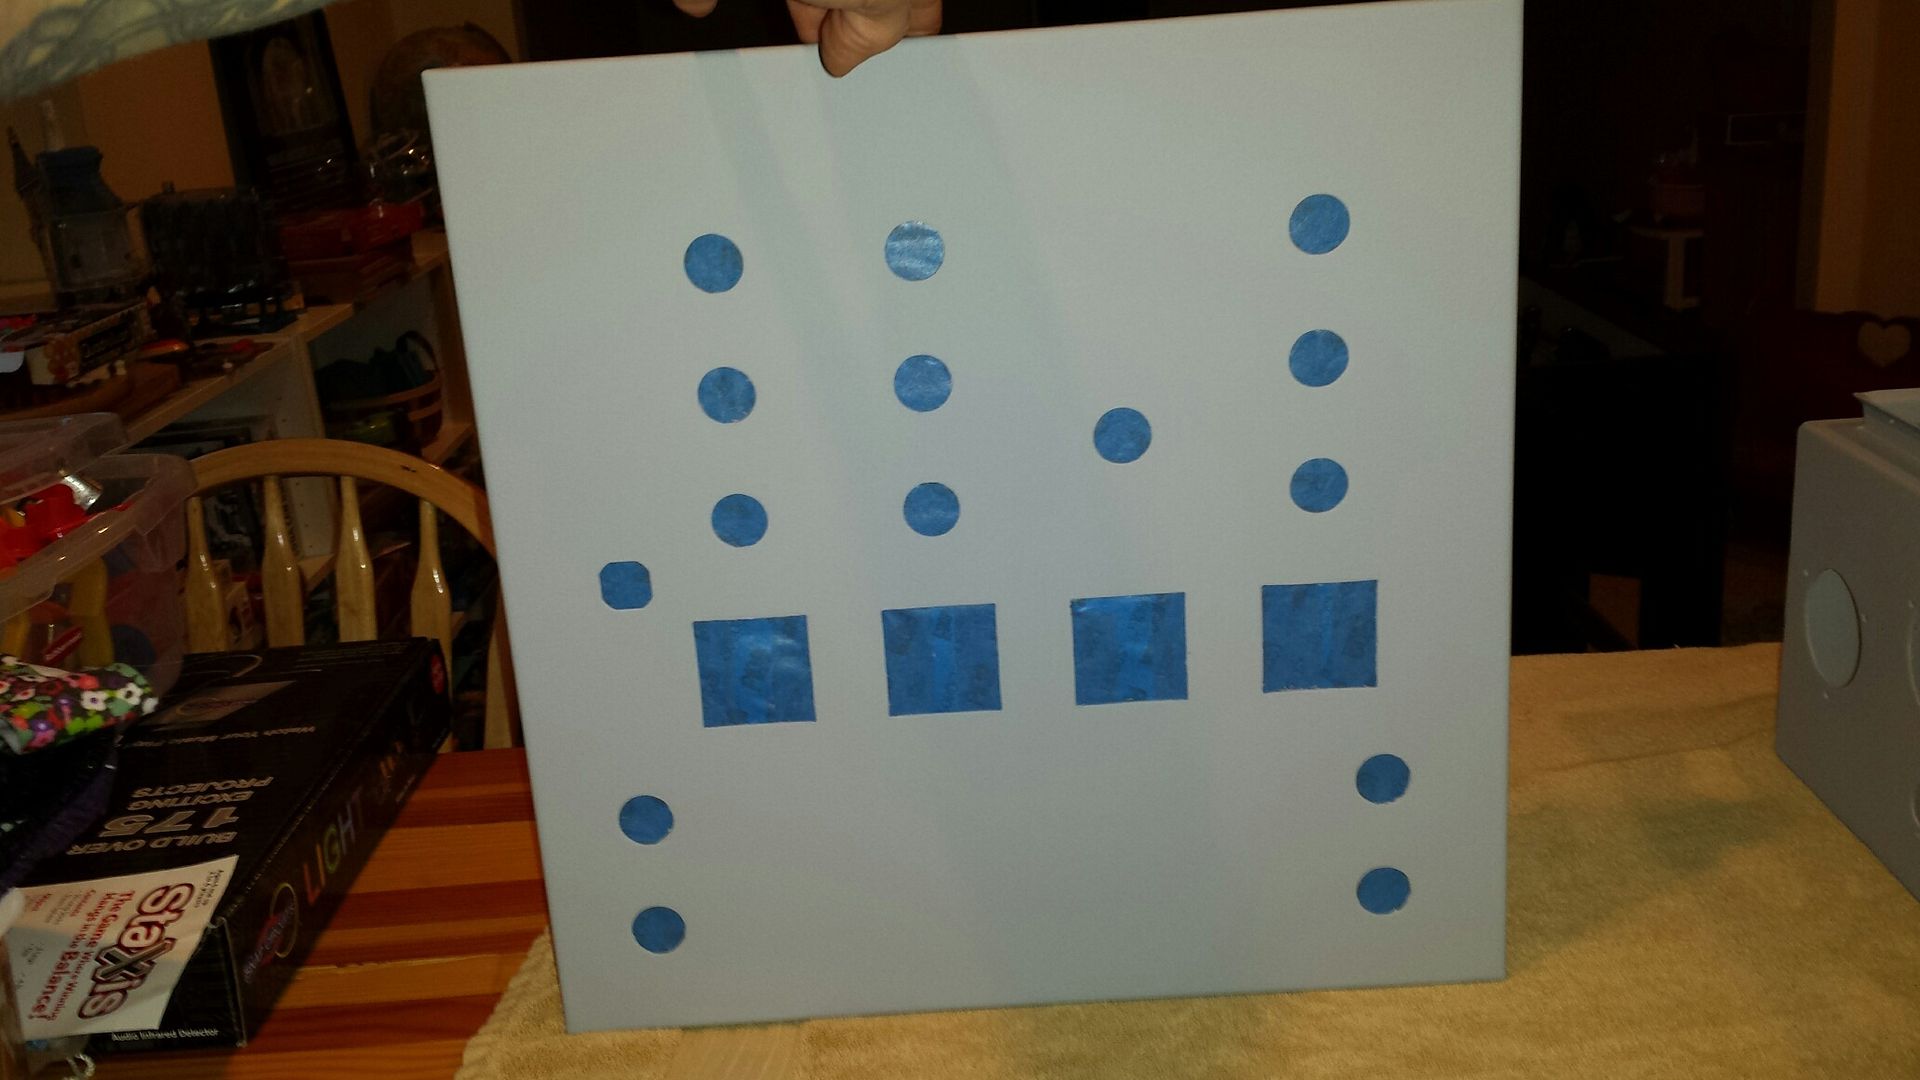
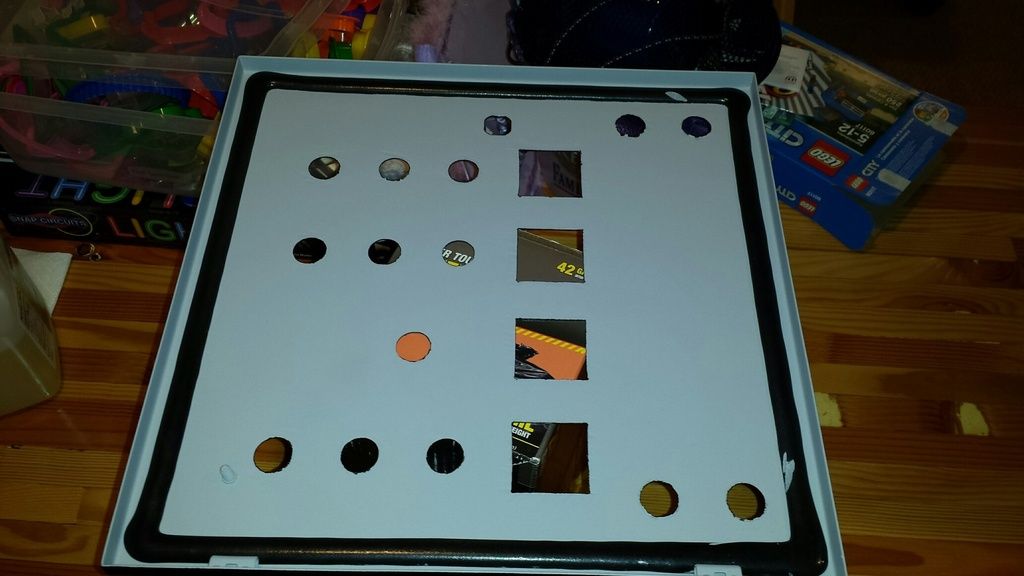
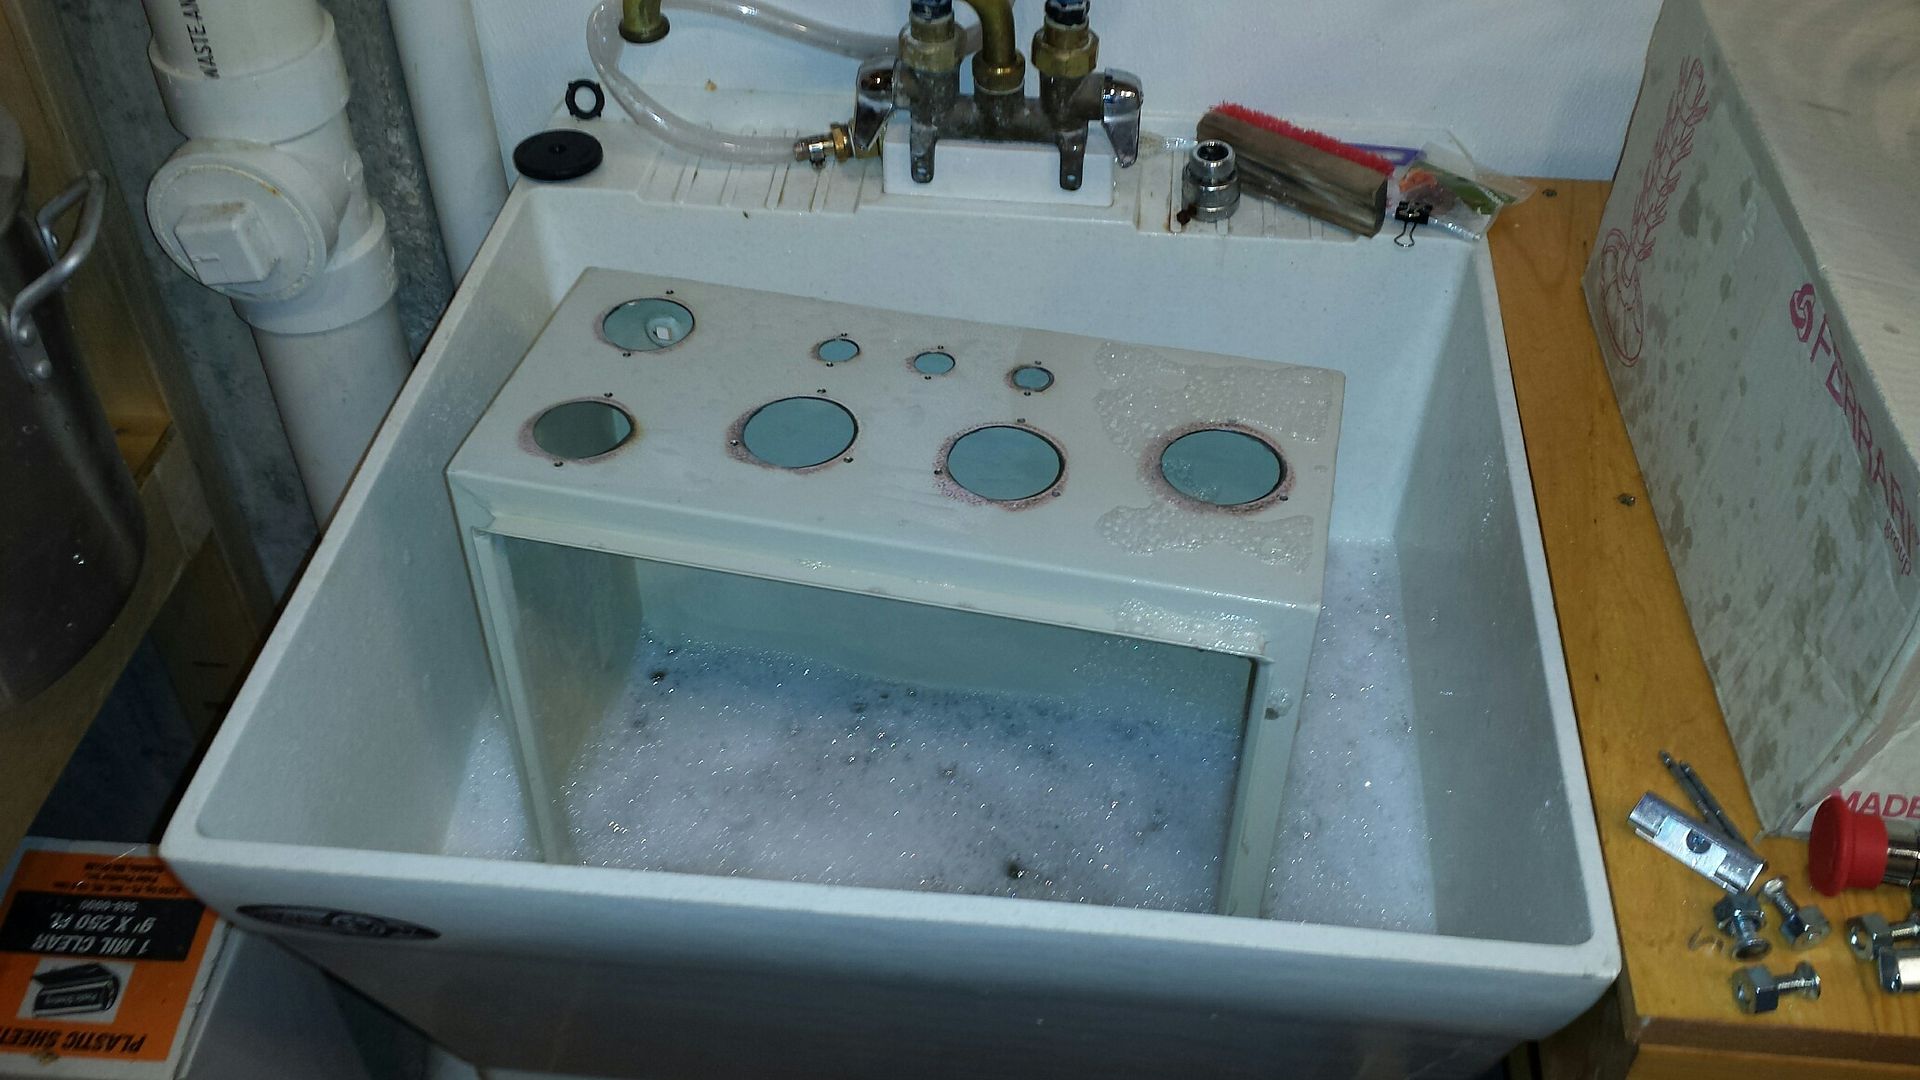
that stuff is incredible. it doesn't tear, can be rolled up, really nice product. after sanding everything, i vacuumed the surfaces the best i could and then washed the box/door. some more dust came off with a water rinse and even more came off with some soapy water:

20160130_094900_resized_zpsc8pok49n.jpg


another rinse and ready to be dried off:

20160130_095355_resized_zpsudd5k5bu.jpg


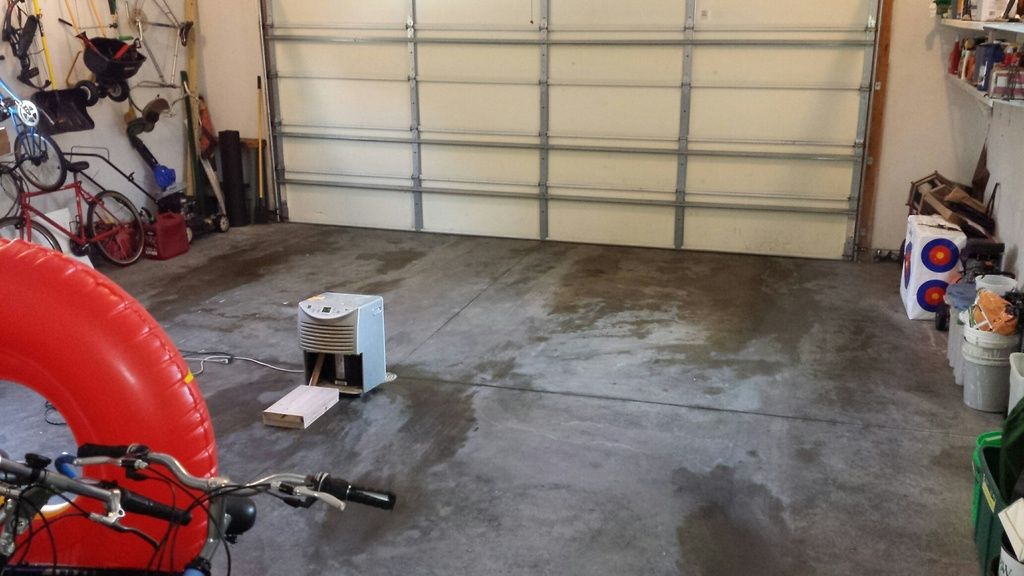
it is obviously chilly here in central wisconsin, needed a plan for painting. i debated setting up a 'booth' of sorts in the basement with some painter's plastic but opted to re-purpose the garage. it isn't heated but certainly warmer than being directly outside. i set a dehumidifier in there for a few hours to dry things out and warm it up a little bit:

20160130_110707_resized_zpsgl1dw4yk.jpg


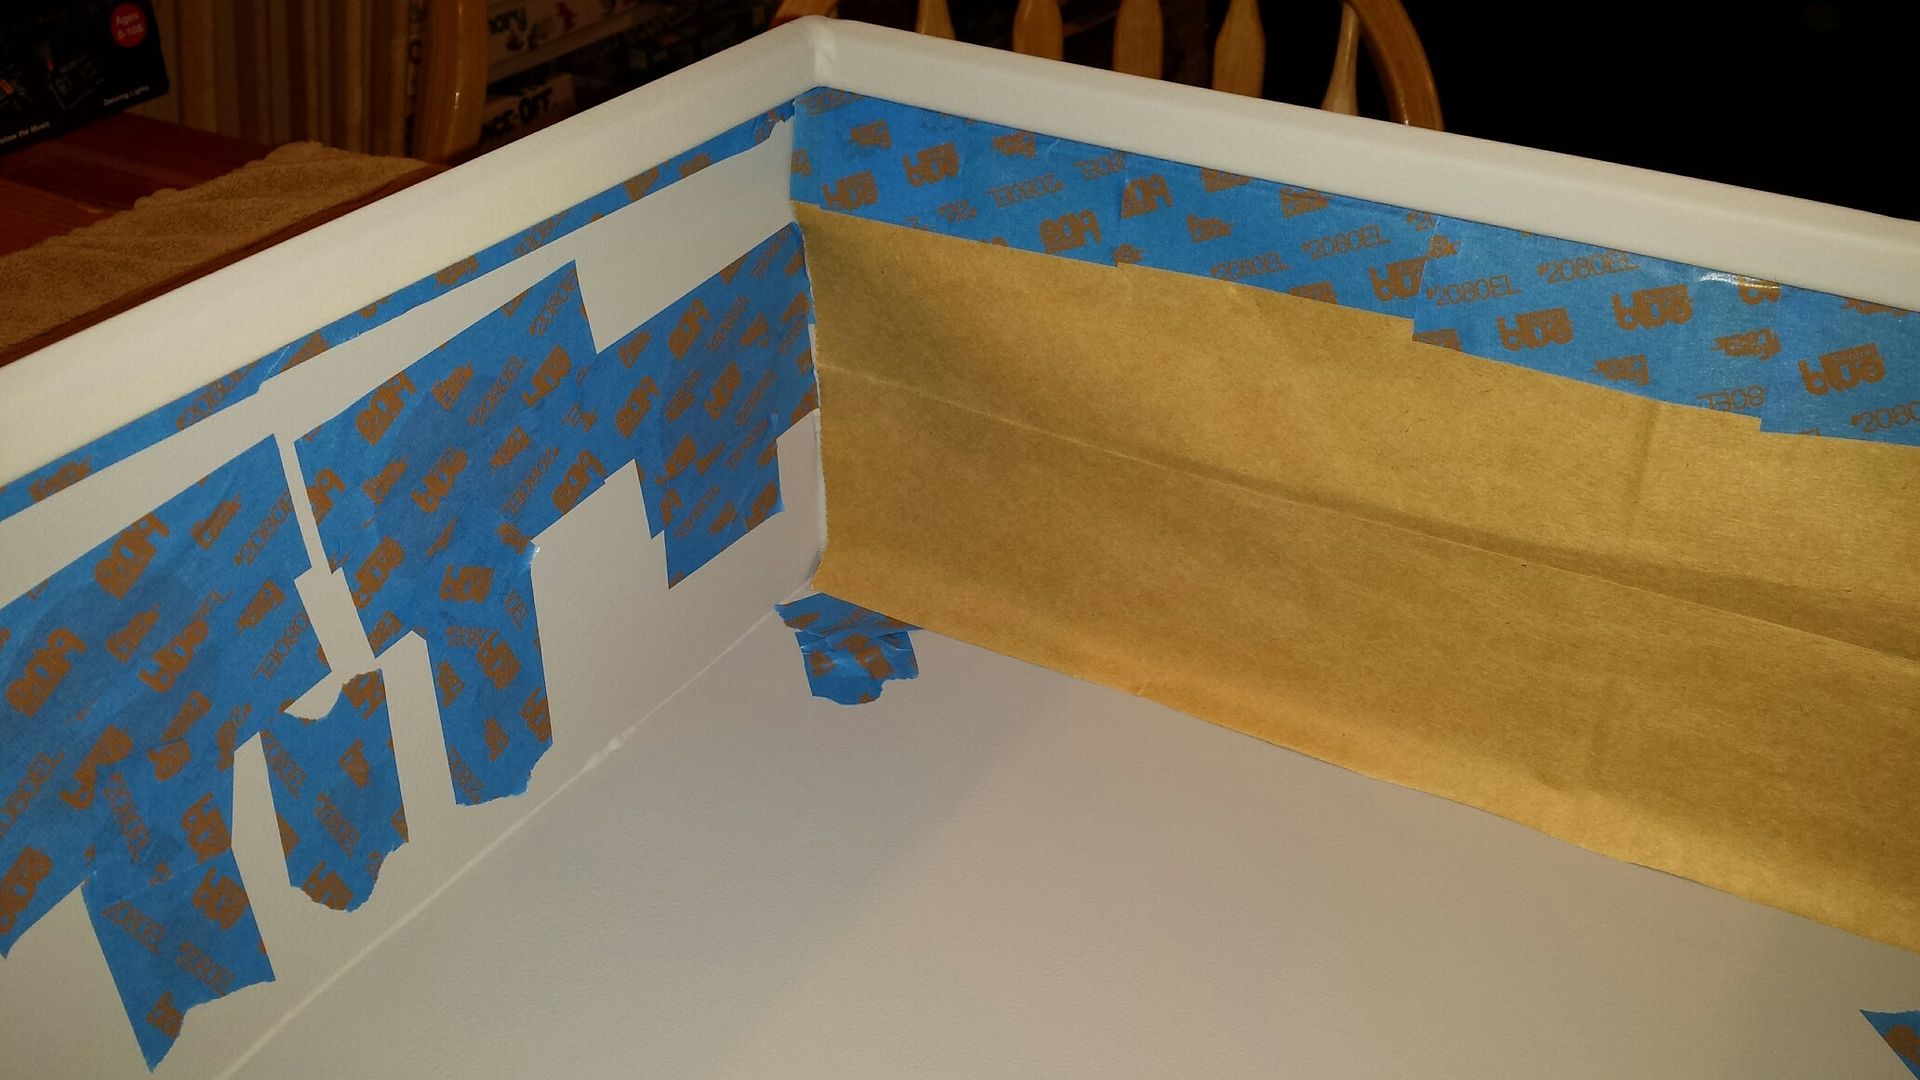
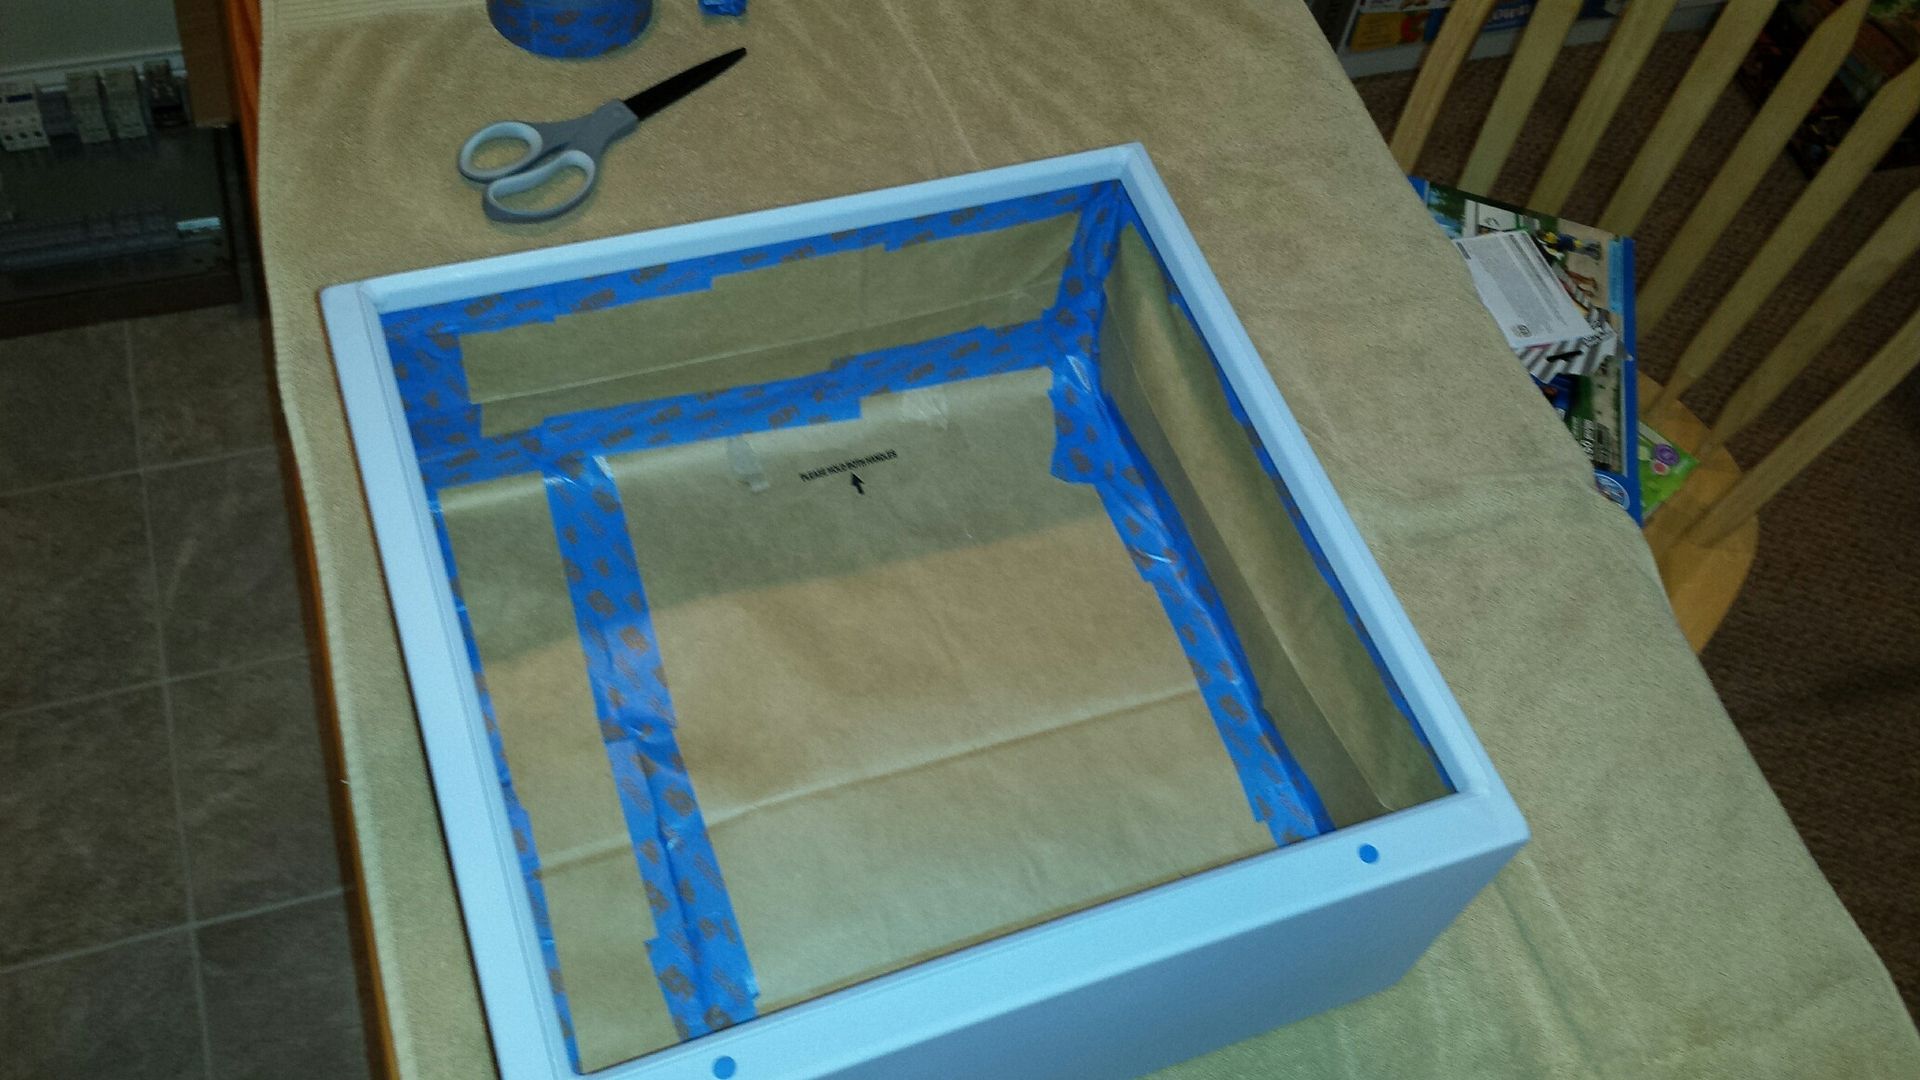
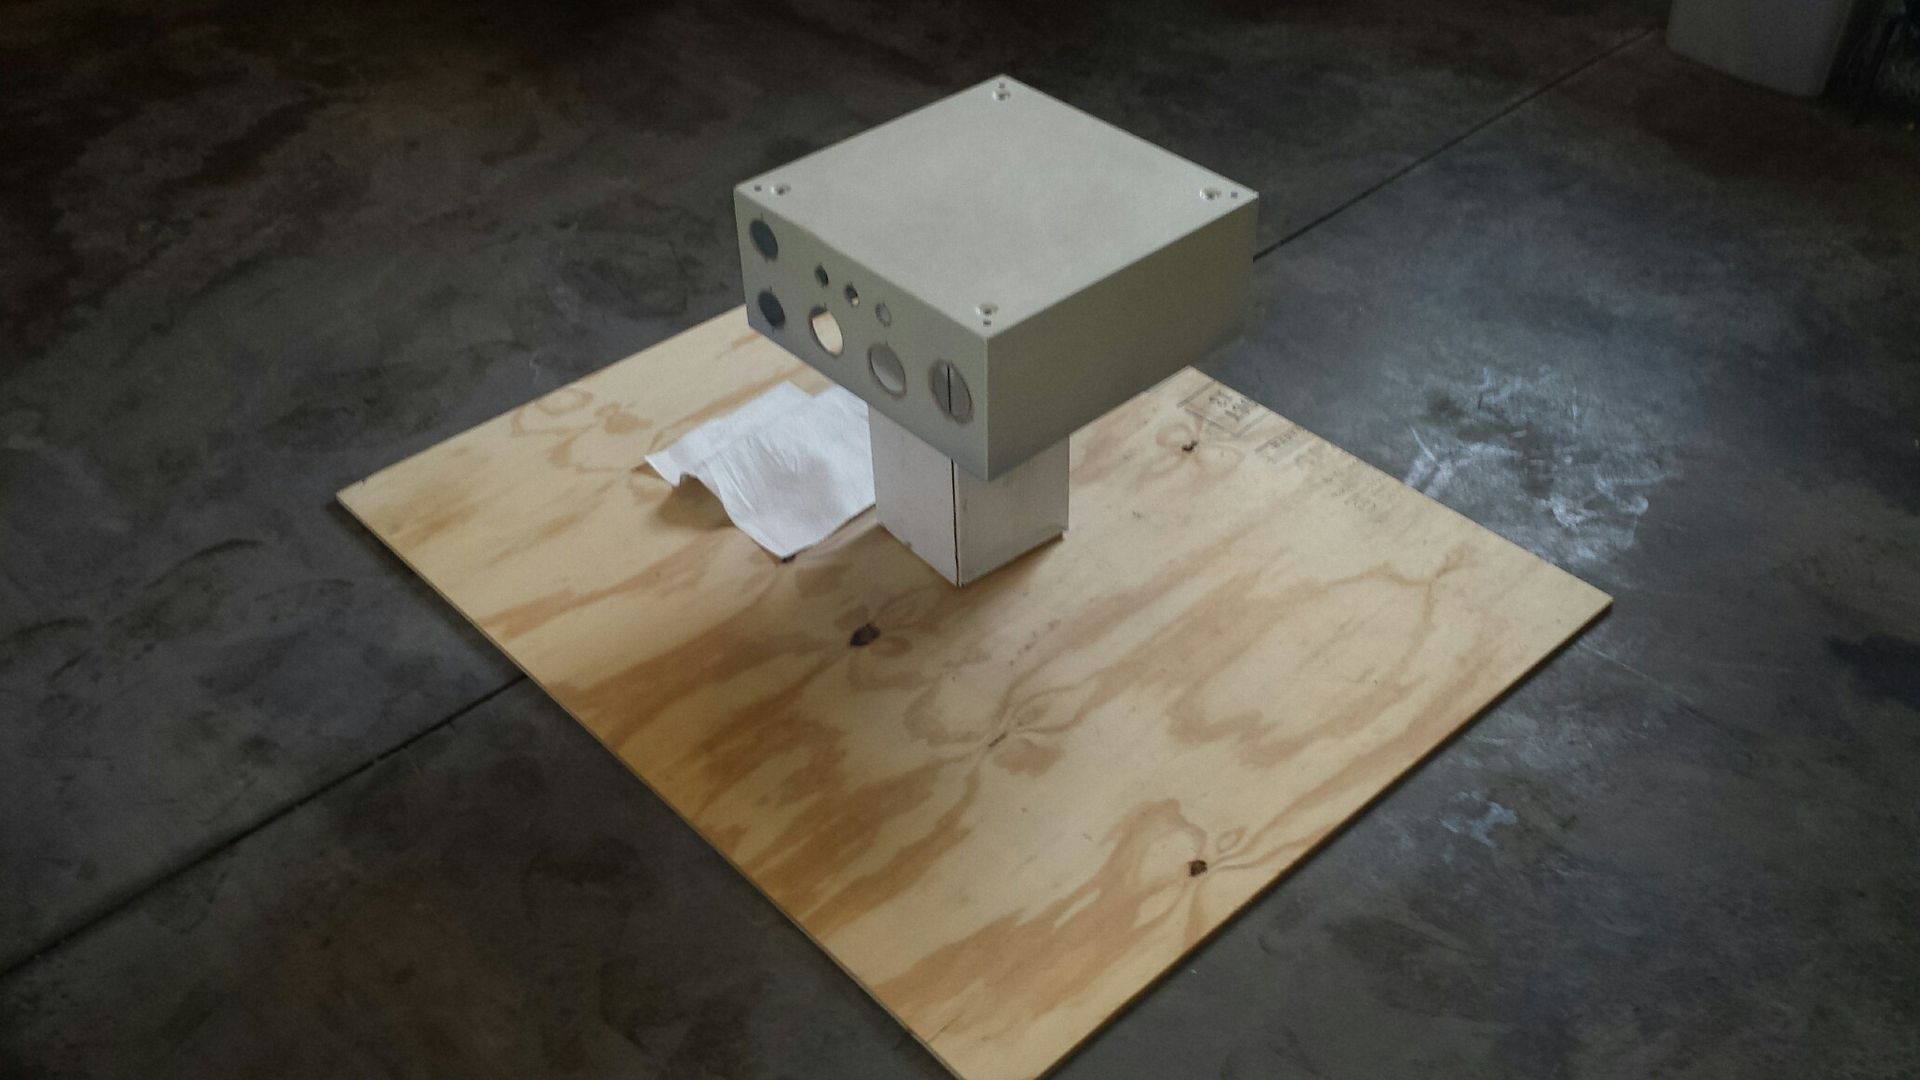
painting time! i got everything setup so i could quickly bring the pieces out into the garage, spray them and then quickly move them to the basement for drying. yeah, it is below 50 degrees but for the short duration the pieces were in the cold, shouldn't be a big deal. i set the box on a narrow cardboard box so i could pick it up without having to touch the wet surfaces:

20160130_143645_resized_zpsz2tzj3k6.jpg


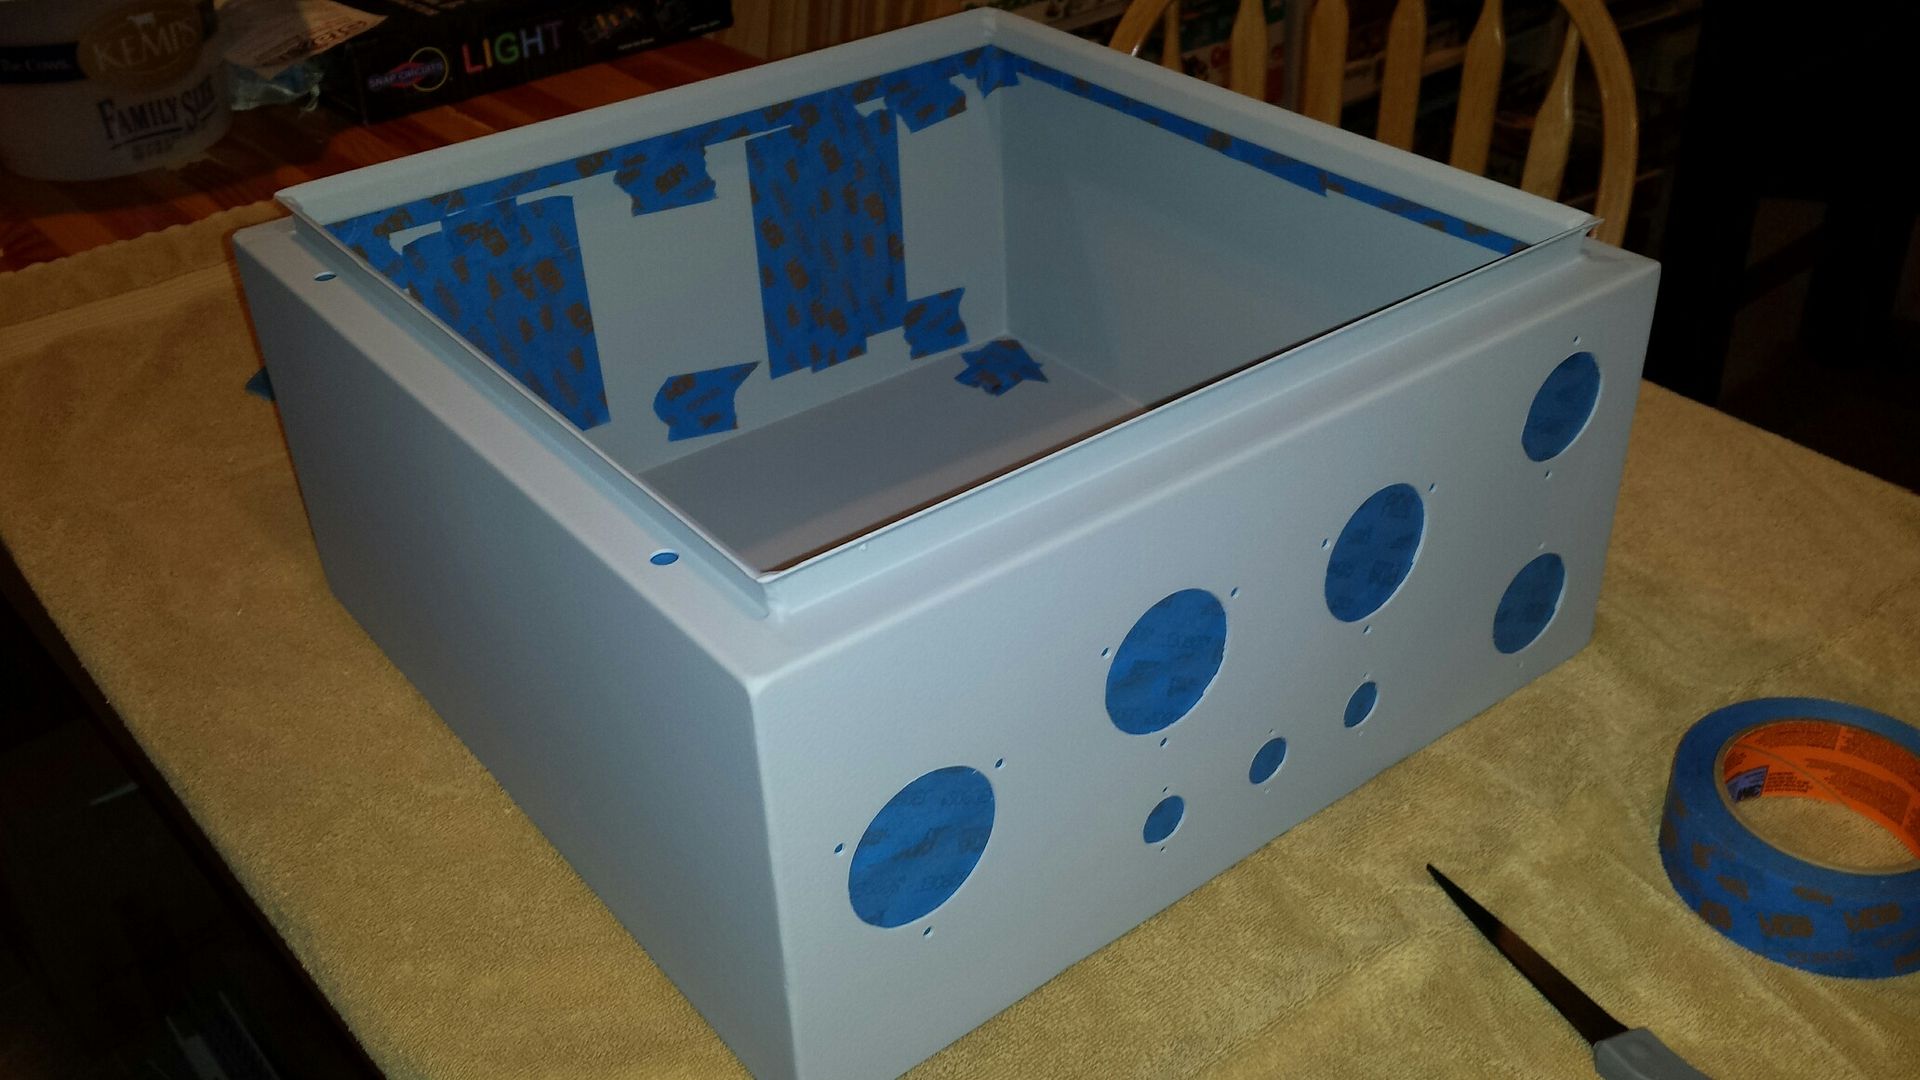
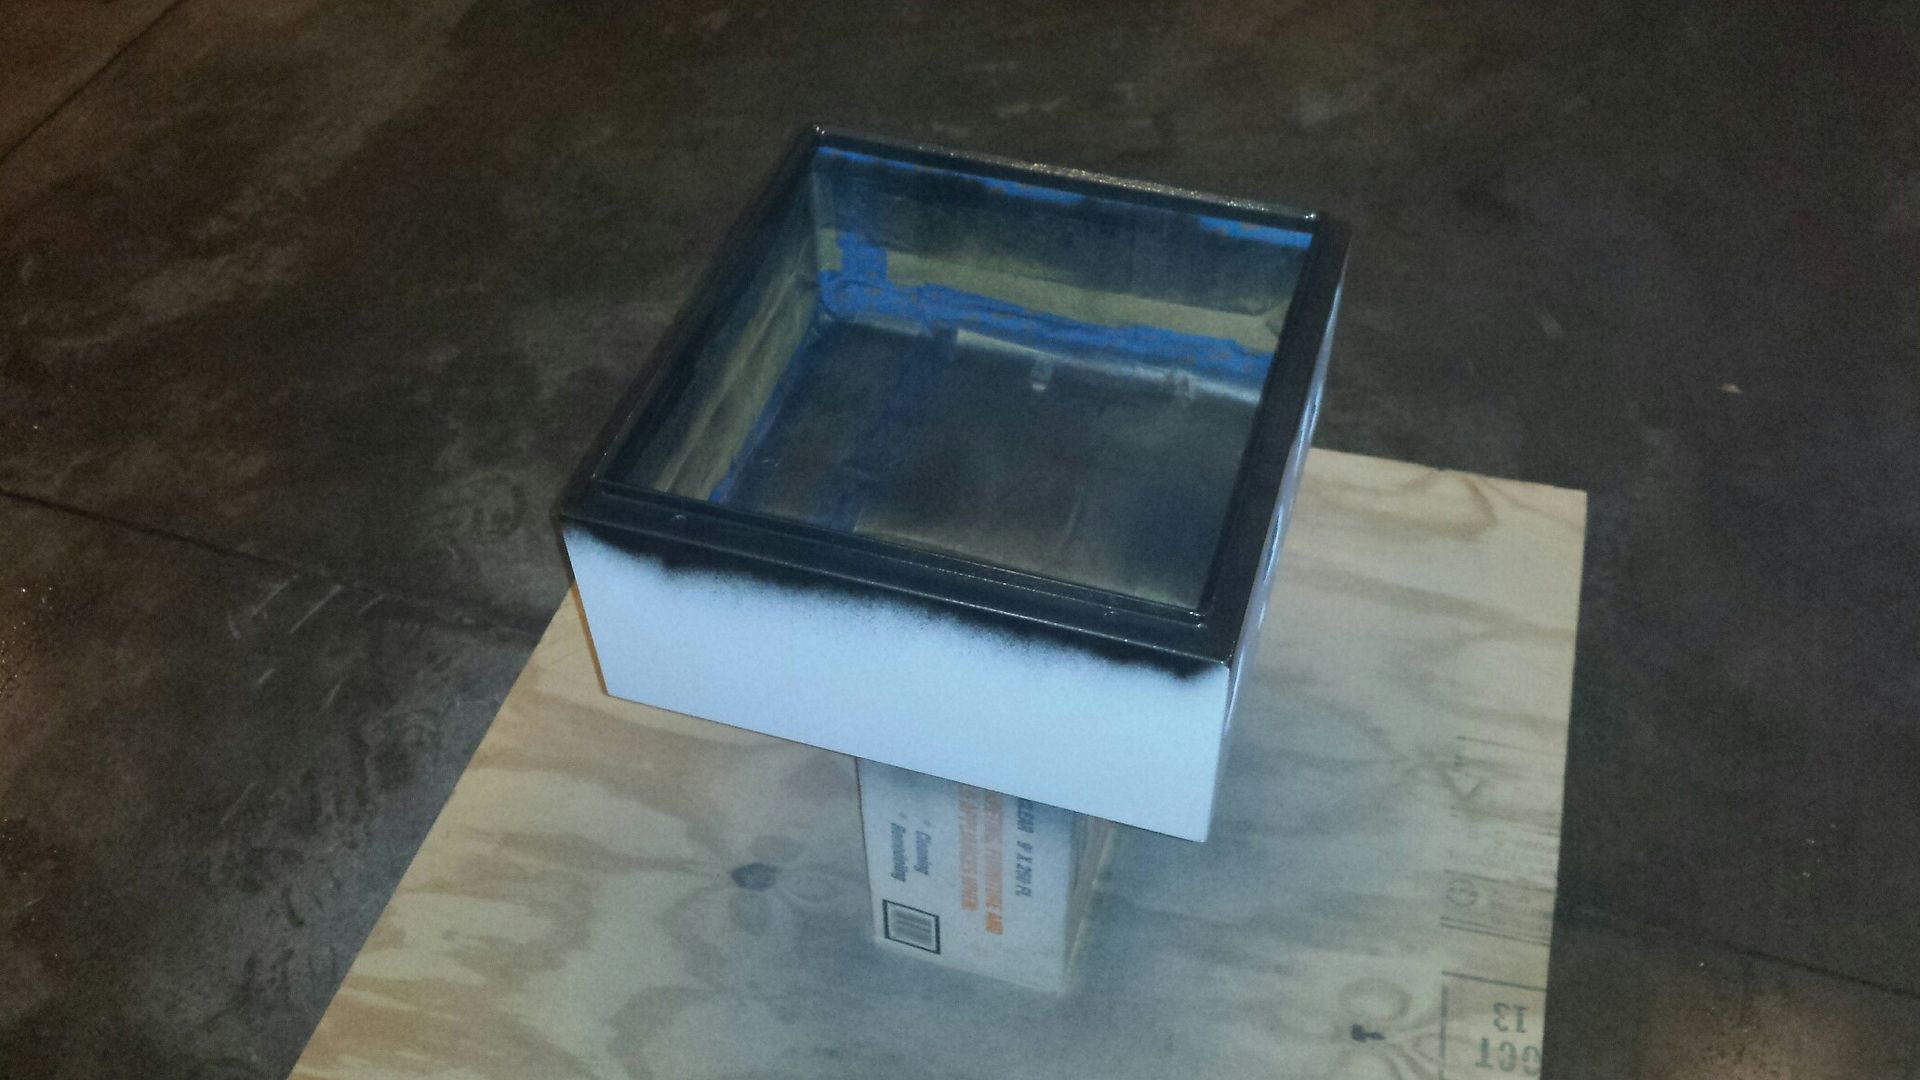
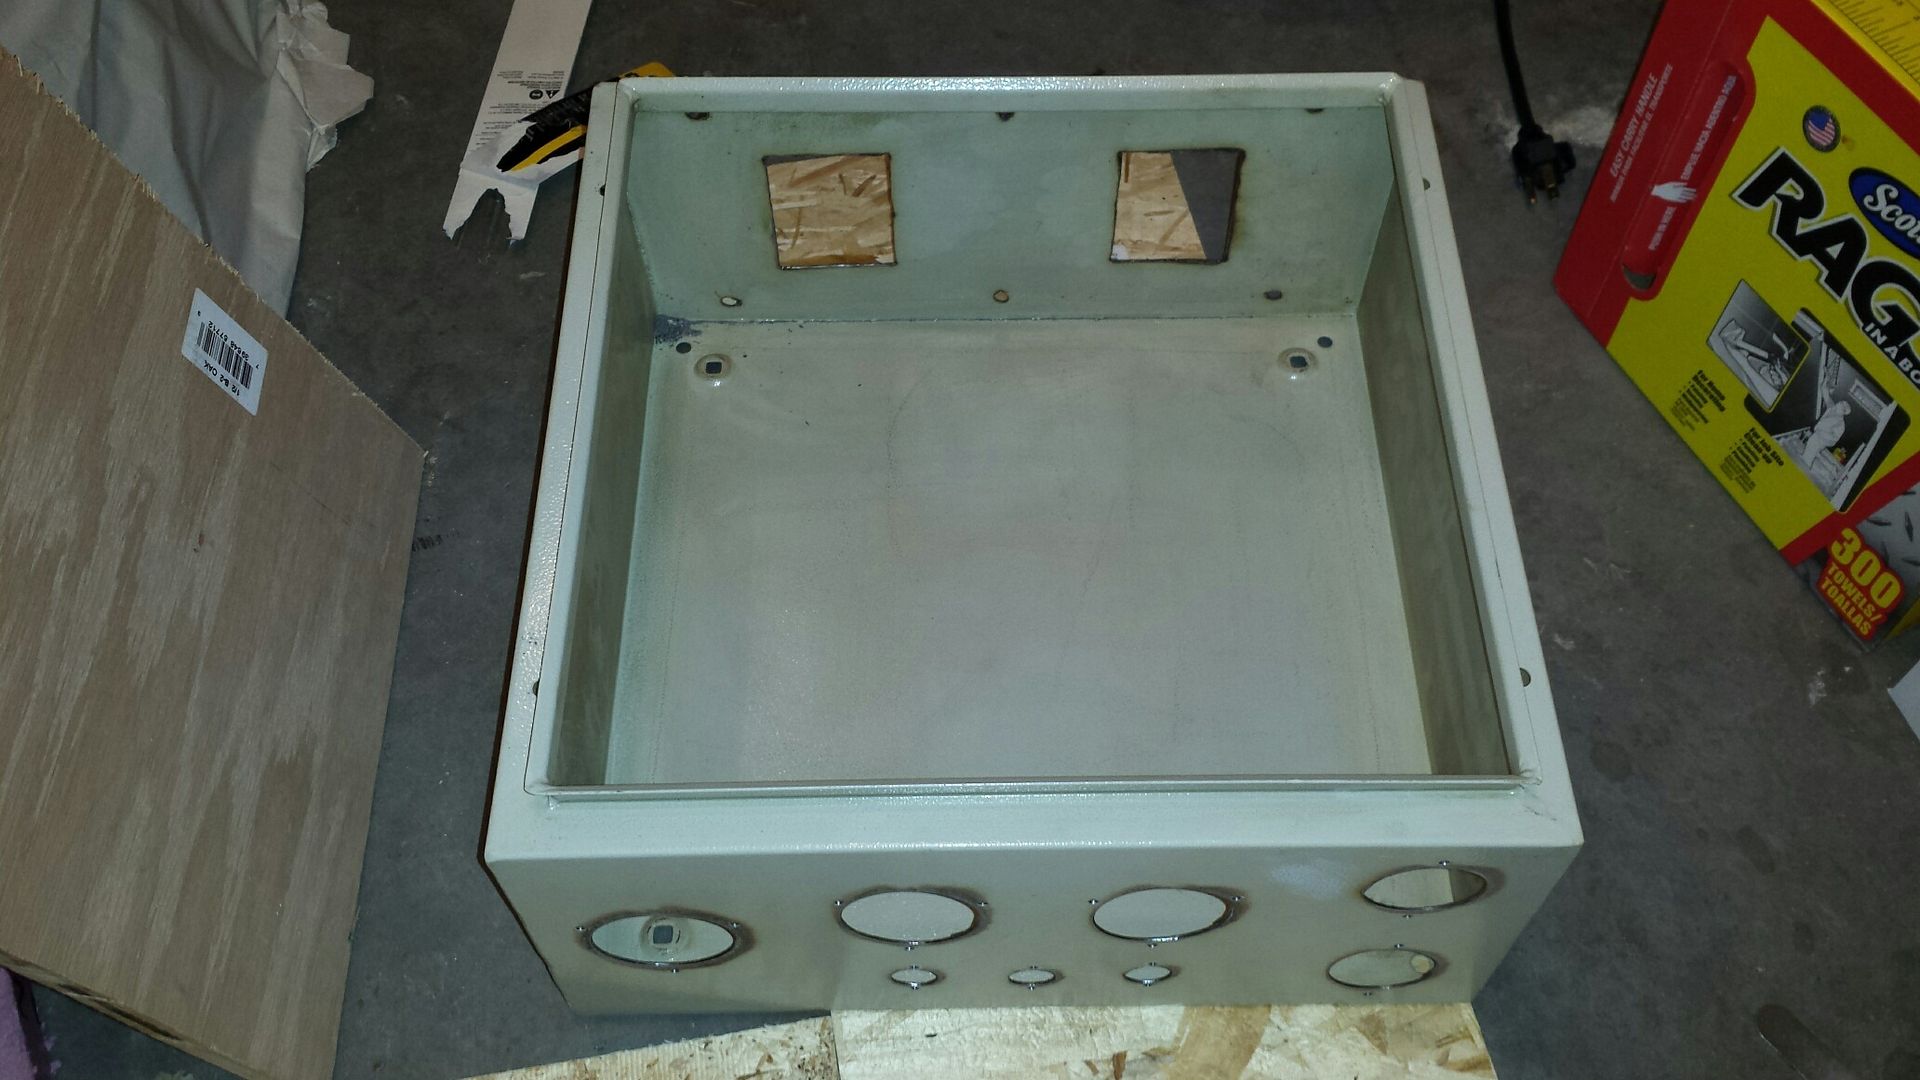
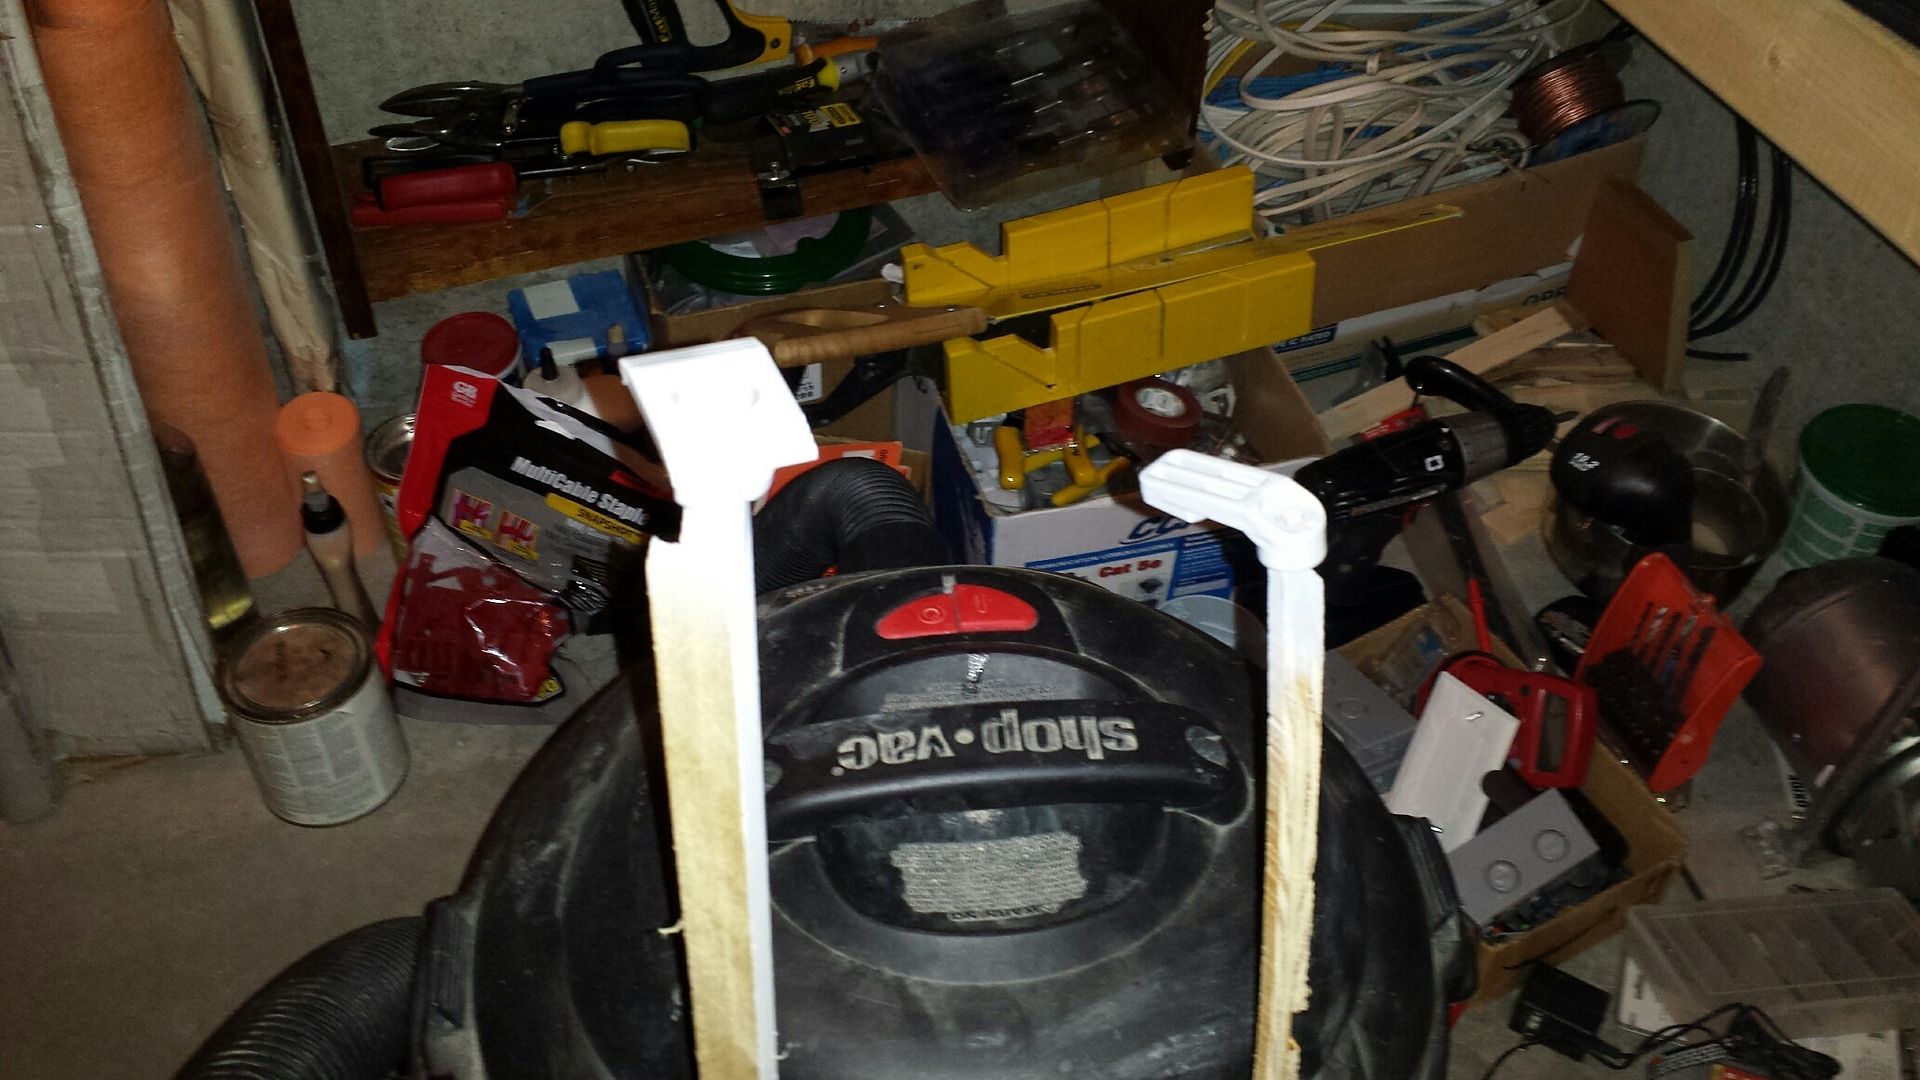
i used the same gray primer that kal used. i also primed the plastic parts for the door, on some fancy scrap wood holders:

20160130_112339_resized_zpsgntyr46h.jpg


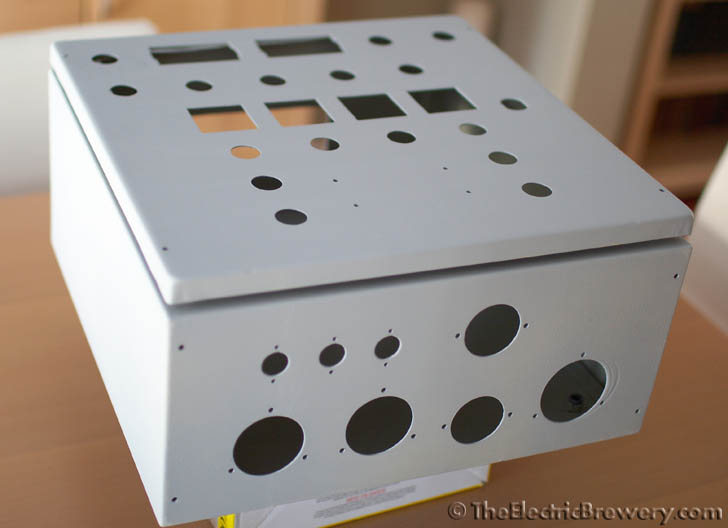
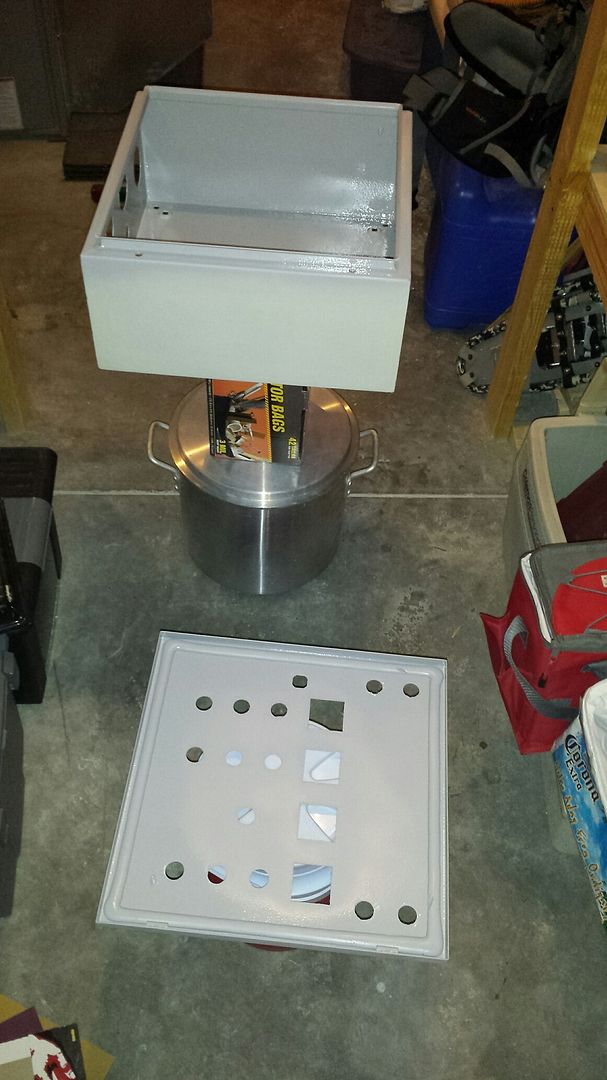
the inside of the box and door primed and drying in the basement:

20160130_112349_resized_zps49ljyijz.jpg


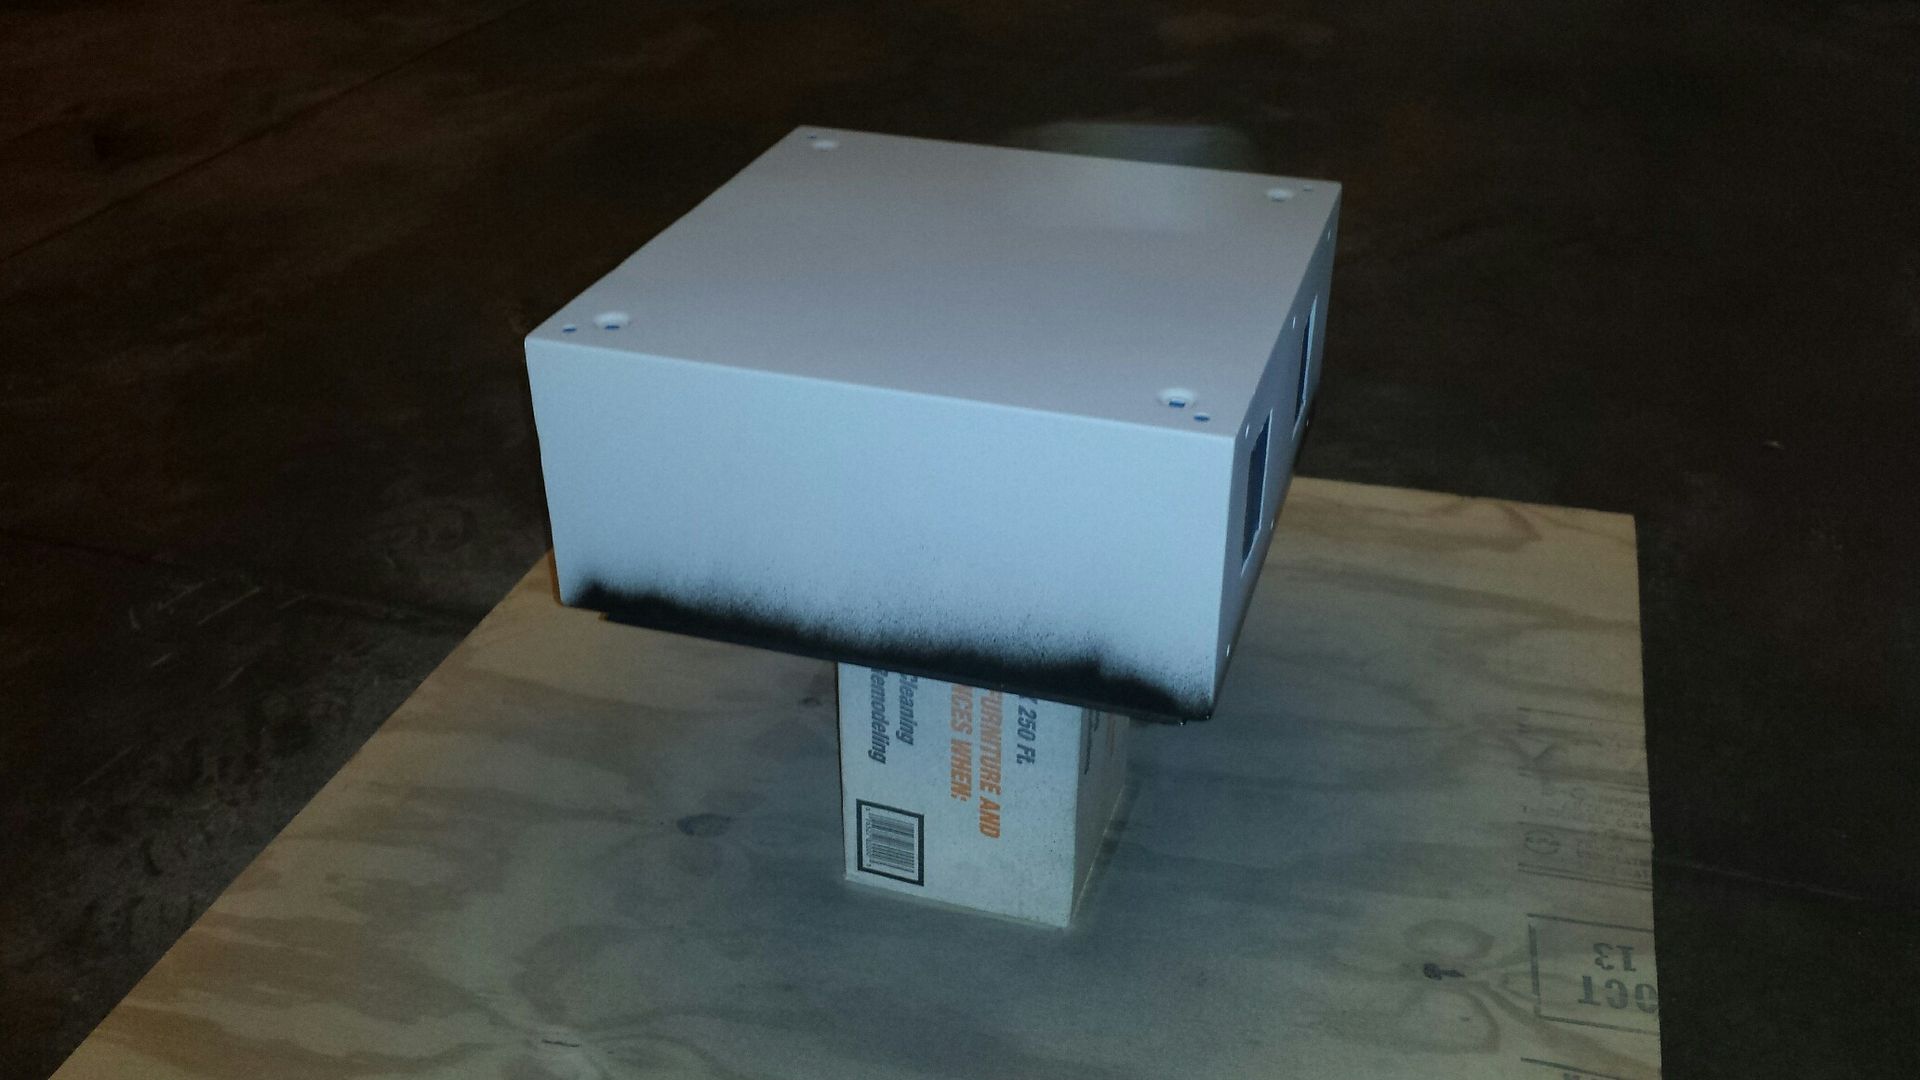
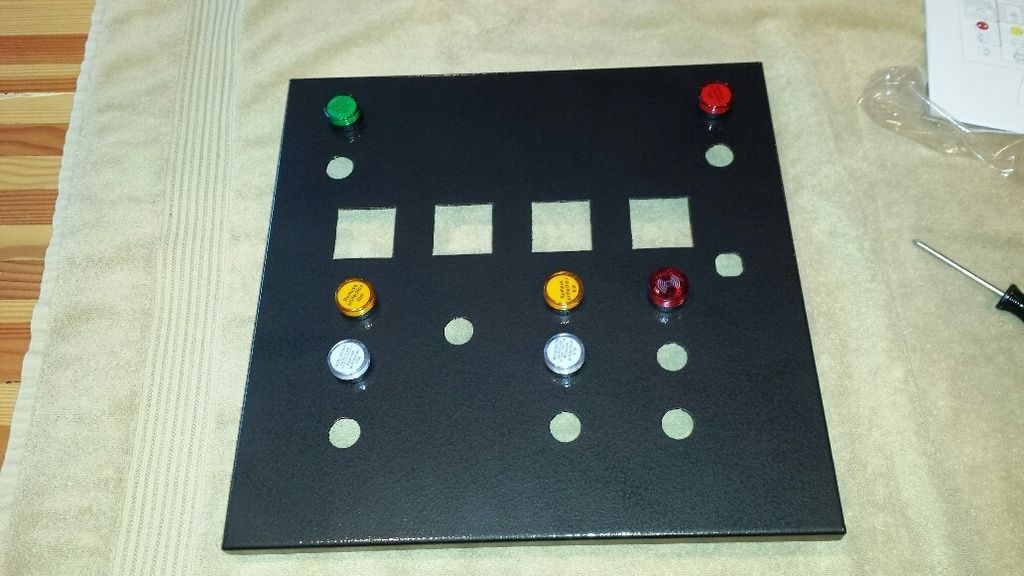
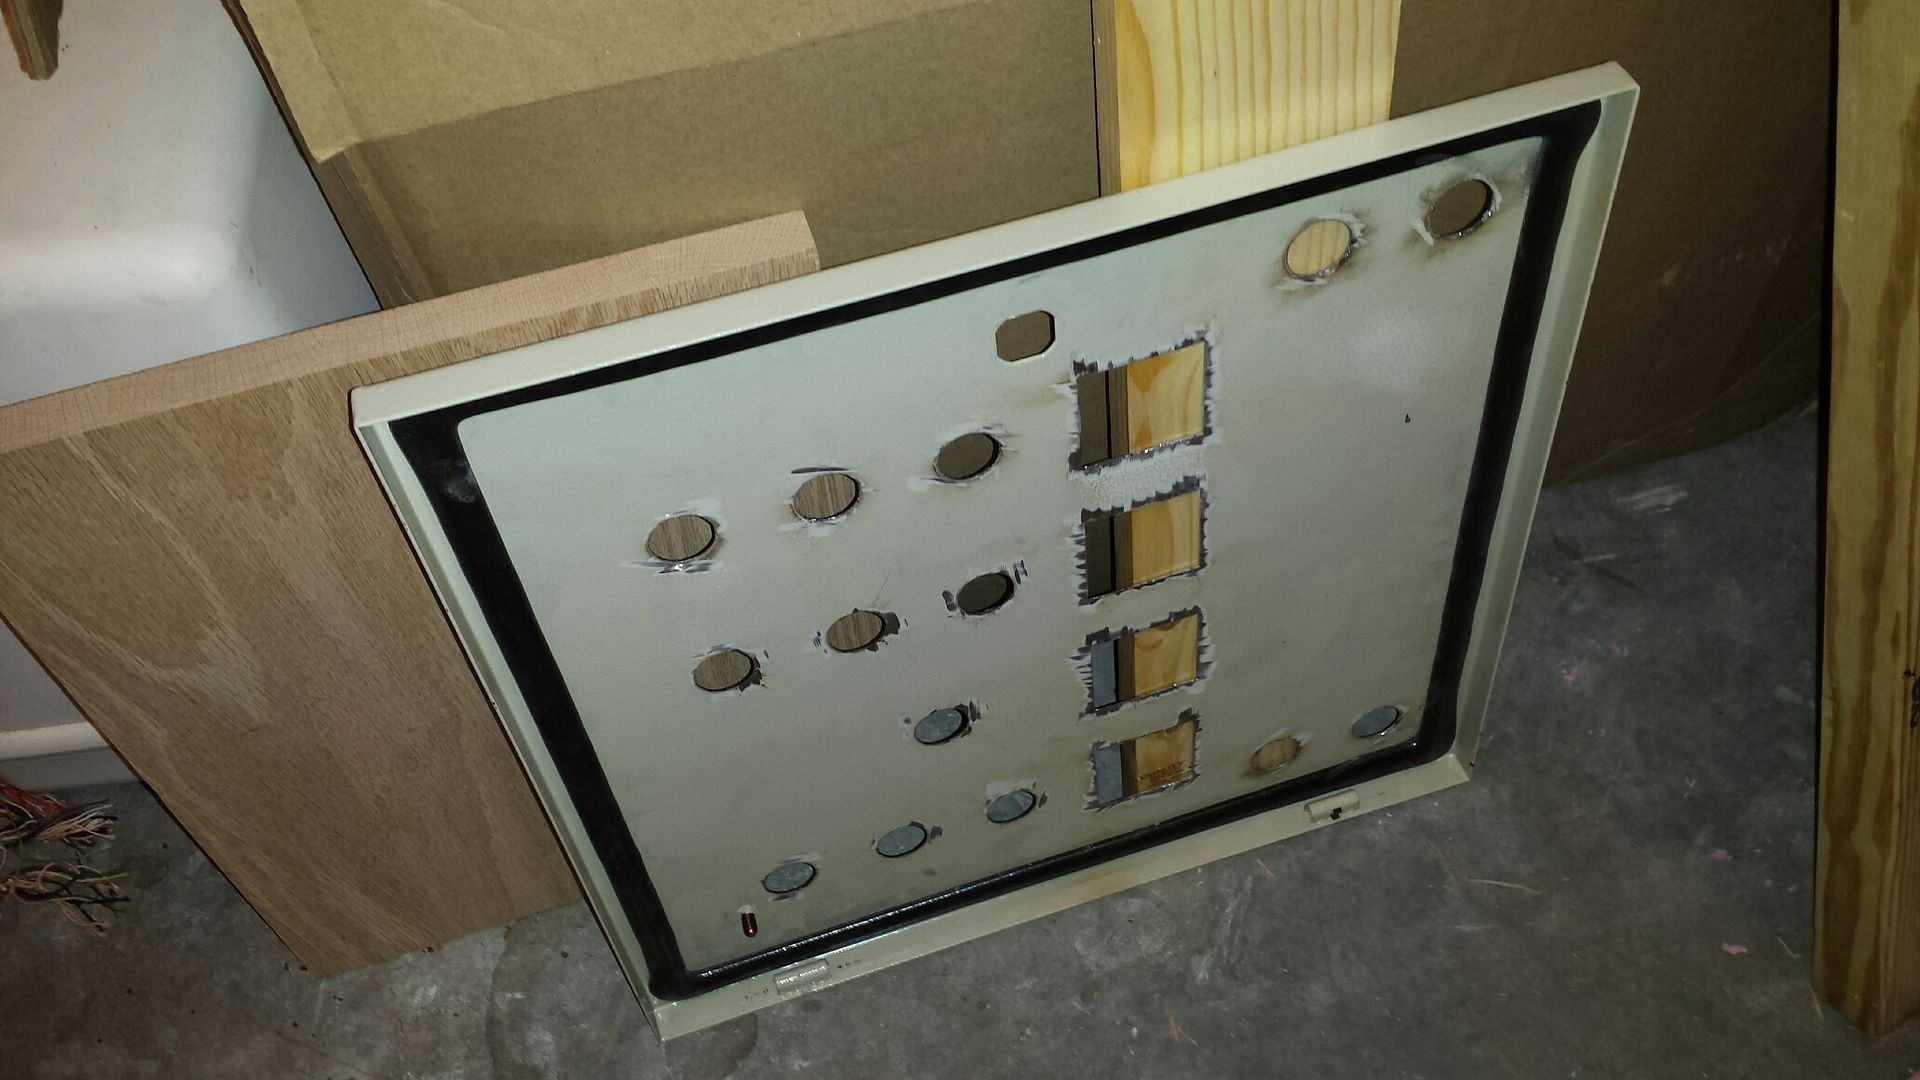
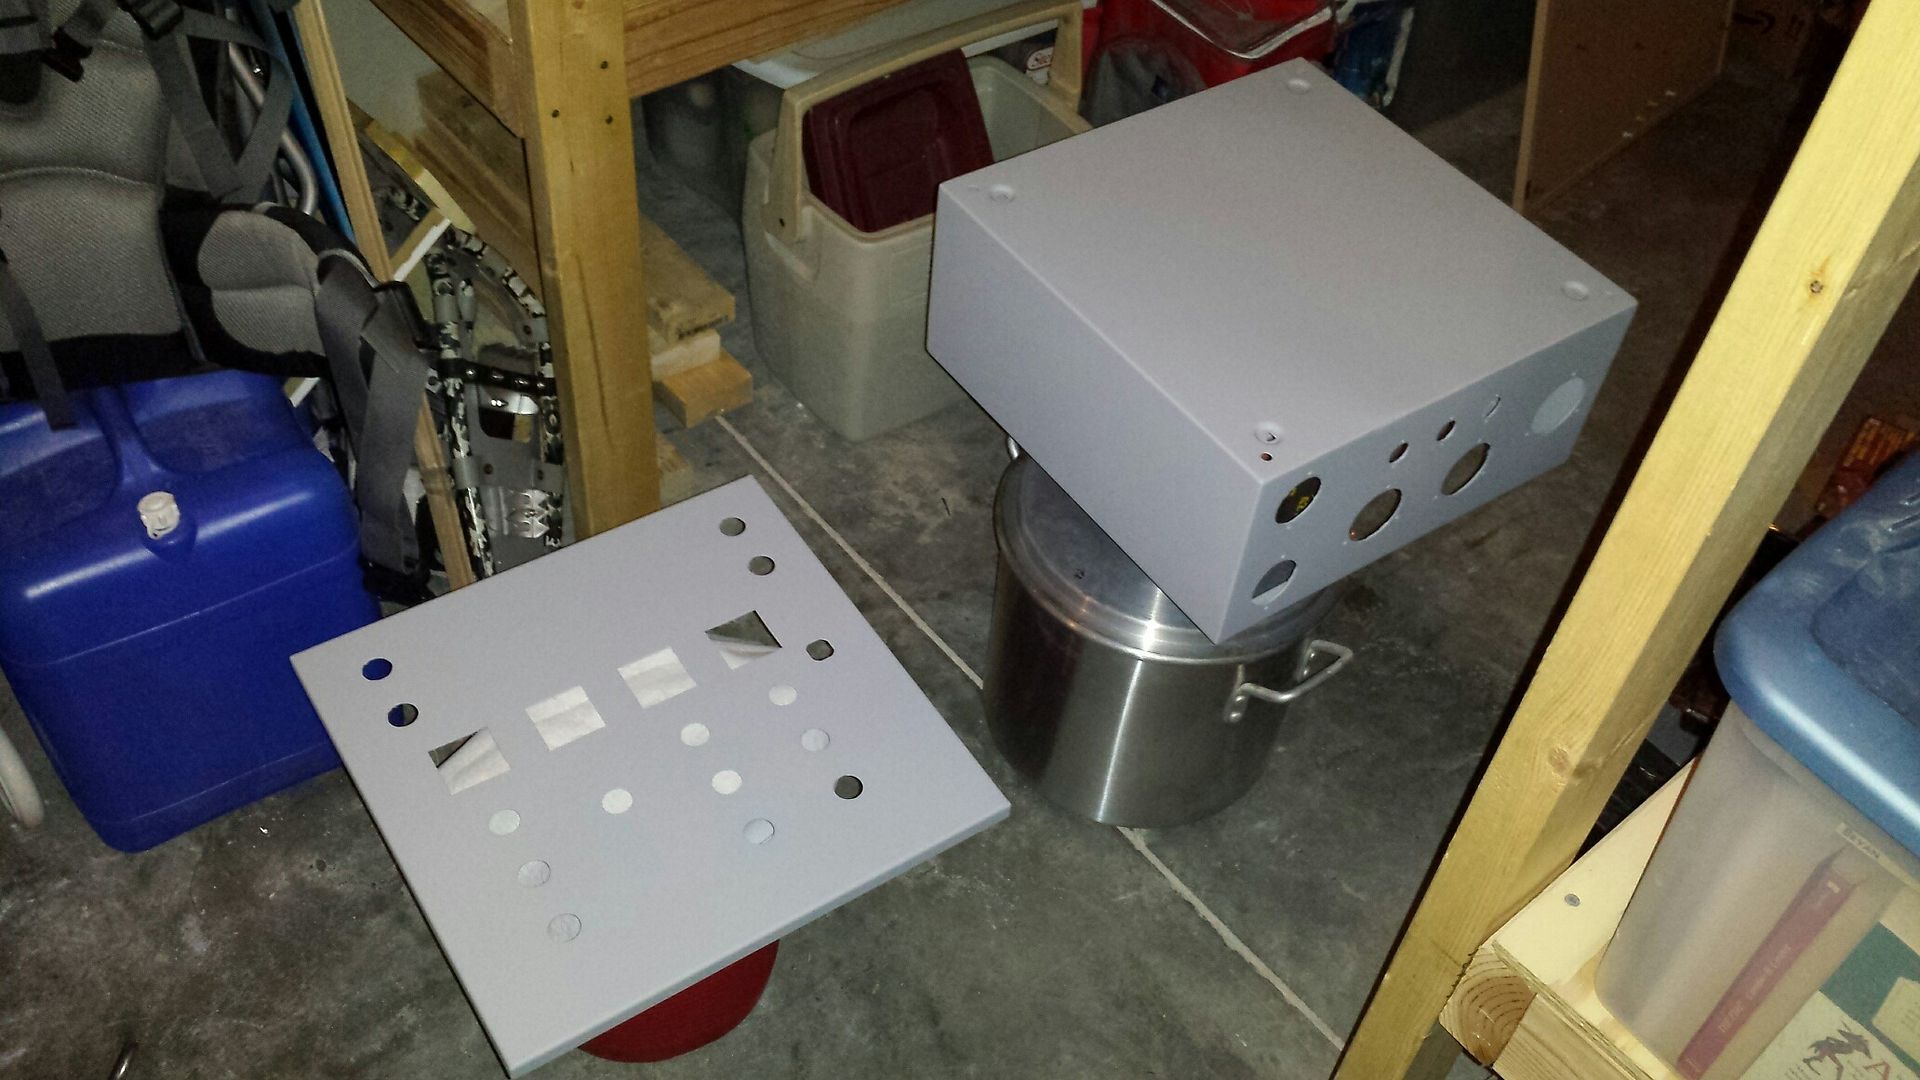
i waited a few hours and then moved the pieces back in the garage to paint the exterior portions. drying in the basement:

20160130_165551_resized_zpstzxy5zq6.jpg


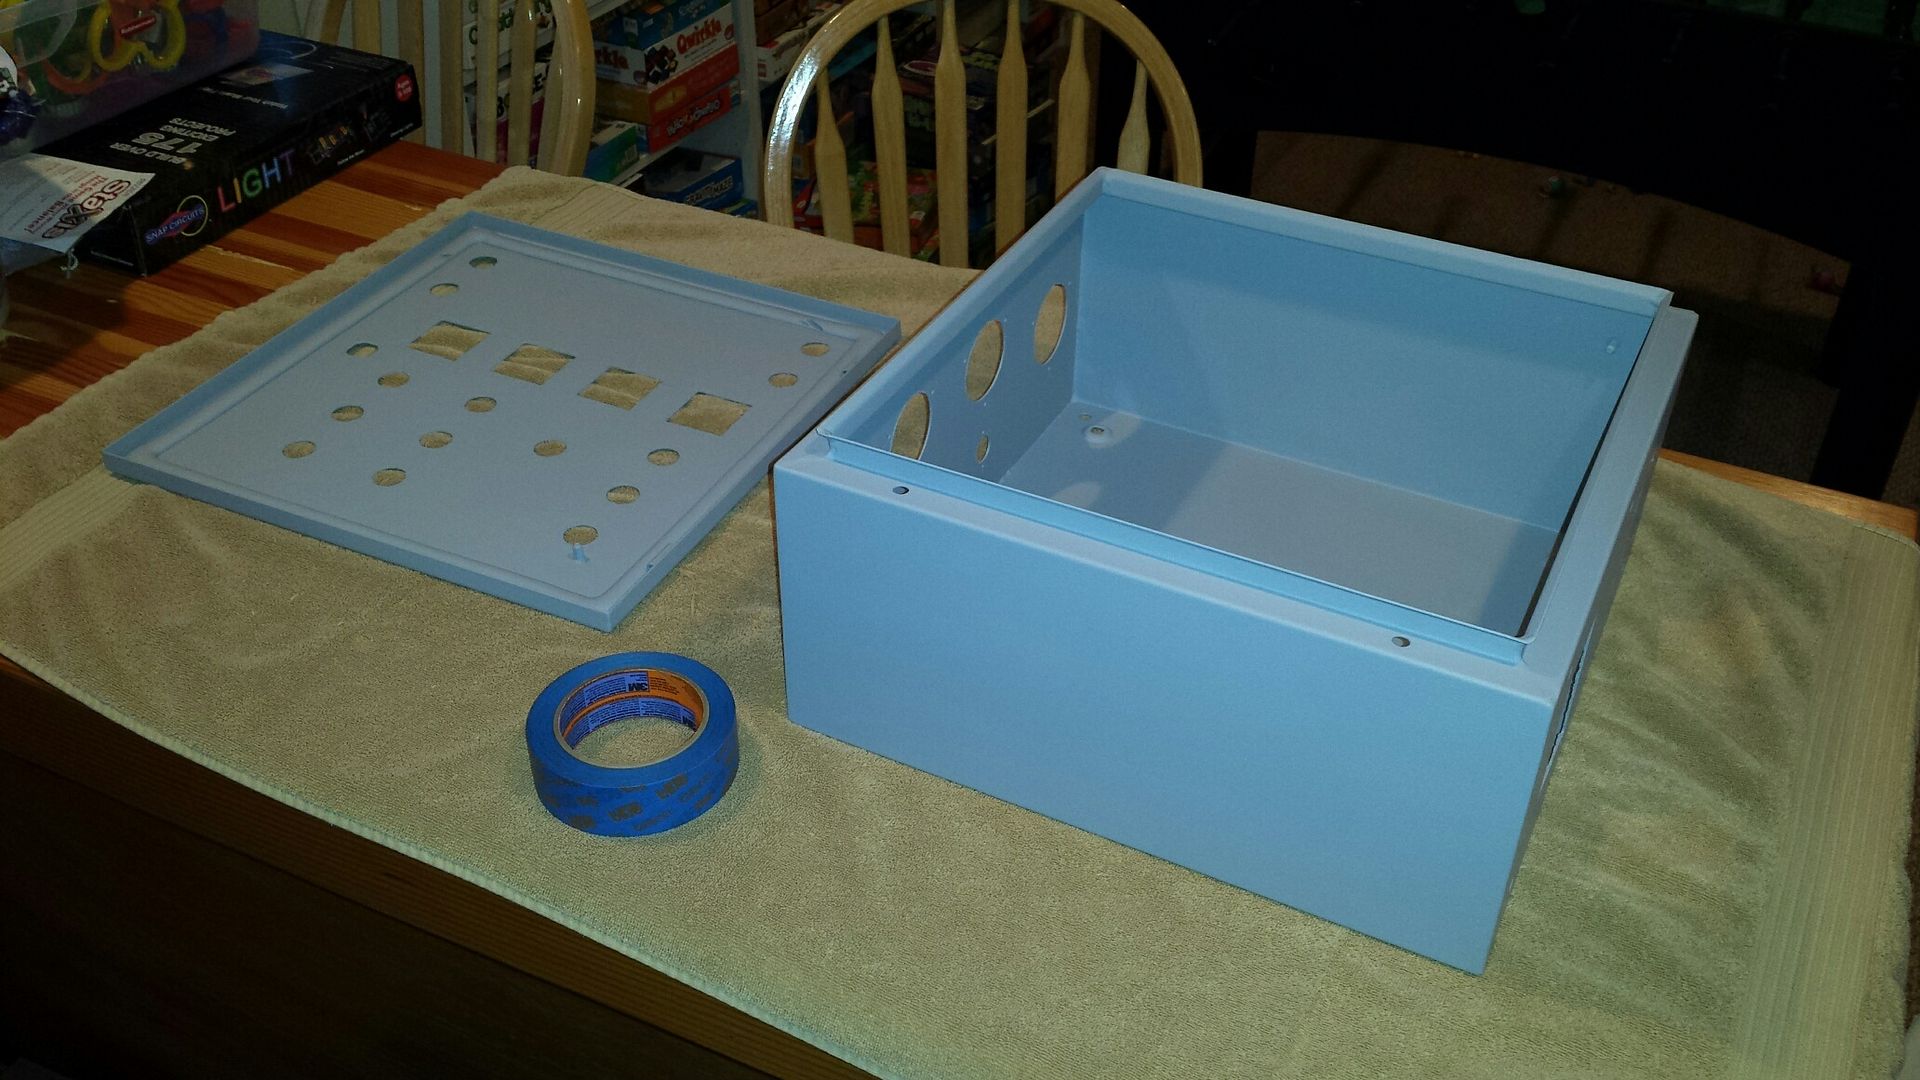
so glad i choice to paint the enclosure, it looks way better already. i'm going to let the primer fully dry before applying the finish coat. targeting monday night to finish up the painting.
 
Great start. You are going to have a blast putting the kit together. I just finished the same box, BCS controlled. The photos are in my build thread which is still in progress. When you start wiring, triple check every circuit. That book is great, but some diagrams are a little dated. You can print the complete schematics from the website.
 
Great start. You are going to have a blast putting the kit together. I just finished the same box, BCS controlled. The photos are in my build thread which is still in progress. When you start wiring, triple check every circuit. That book is great, but some diagrams are a little dated. You can print the complete schematics from the website.

yep, stumbled across your thread this morning and thought 'say, that panel looks familiar!' :)

i've already noticed several errors in the wiring book as well. the guide is set up for hlt-mlt-bk, from left to right when facing the panel. my setup is the opposite so i'll need to tweak the diagrams a bit anyway. i'm also bouncing back and forth on the safety circuit. the ebrew panel has the wiring setup to lockout power only to the element and pump contactors. the pids, timer, etc. would still be functional. kal's panel is setup so the circuit cuts out the main contactor, blocking power to everything. still debating which way i want to go...
 
I thought about the same changes to the estop. I decided that because of the BCS, if I hit the stop then I wanted to be able to check for process errors on my part. I would not be able to do that with the whole panel dead. I also added a 120v outlet on the side for wall wort chargers or whatever.
 
Is that my book you're referring to?

Kal

Nope, they are referring to the book they received with their kits from Electric Brewing Supply.

I just finished building a clone of your panel, Kal. I used the book that I purchased from your website. I didn't find any errors and I'm a bit OCD, so I'd have pointed them out to you if I found them.
 
Nope, they are referring to the book they received with their kits from Electric Brewing Supply.

I just finished building a clone of your brewery, Kal. I used the book that I purchased from your website. I didn't find any errors and I'm a bit OCD, so I'd have pointed them out to you if I found them.

That would be correct. No reference to your book Kal. Your site and posts were a valuable reference for me.
 
kal, +1 to what others have said, no worries on your writeup. the ebrew instruction errors are minor but for someone not familiar with electrical circuits/logic, it could be tricky to figure out.
 
You should not have painted the gasket. The paint on the gasket will bond to the paint on the box and get all peeled off.

-BD

even if everything is all dry/cured? i am only priming the interior but the primed gasket would touch the finished lip on the main enclosure.
 
My experience shows that paint on paint, unless cured for many months, will stick together.

it will definitely be several weeks before the materials touch each other. my thought was primer-on-finish wouldn't be as bad as finish-on-finish. i'm also thinking that the give in the foam will help. time will tell...
 
1/15/2016 update

photo of the pickup tube hole, very little dead space underneath:

IMG_1925_zpsmsfmdgjp.jpg


and a shot with the pickup tube inserted:

IMG_1926_zpsbmzmmspg.jpg


closeup of the pickup tube inserted:

IMG_1928_zps7swldybe.jpg

Sorry to interrupt, I'm curious on the ease of installing and removing the pickup tube and false bottom from these kettles. Any concerns on removing the tube for cleaning purposes after each brew? Or is that a non issue?
 
Sorry to interrupt, I'm curious on the ease of installing and removing the pickup tube and false bottom from these kettles. Any concerns on removing the tube for cleaning purposes after each brew? Or is that a non issue?

i haven't used it in practice yet but it did take a little work to get the tube in and out. there is some 'play' in the false bottom in that it is narrower than the stepped bottom. so to insert the tube, i push the bottom as far away from the outlet fitting as possible, to give the greatest horizontal distance between the dip tube opening in the false bottom and the outlet fitting. the tube just barely fits with this arrangement. then i 'slide' the tube and false bottom toward the outlet to set the tube into the outlet. it is a friction fitting (i.e. not threaded).
 
Nope, they are referring to the book they received with their kits from Electric Brewing Supply.

I just finished building a clone of your panel, Kal. I used the book that I purchased from your website. I didn't find any errors and I'm a bit OCD, so I'd have pointed them out to you if I found them.
Thanks for that! I'm OCD as well and have gone through that documentation front and back to make sure it's as 100% accurate as can be!

Kal
 
2/1/2016 update

primer has had a couple days to dry, time for some finish paint! first step is to prep the panel. clean work areas are ideal:

20160201_165301_resized_zpswiaptgau.jpg


starting to blank off the various openings. i used the 'extra delicate' painter's tape:

20160201_165516_resized_zpst22gapou.jpg


20160201_165944_resized_zps5d9ylbwh.jpg


20160201_165957_resized_zpszhqbqqfh.jpg


time for the main enclosure:

20160201_171752_resized_zps4rtaljsm.jpg


i wanted to paint the lip of the enclosure but leave the rest of the interior simply primed, so some additional masking was in order:

20160201_173616_resized_zpswjr950by.jpg


20160201_175458_resized_zpsnpn3aev3.jpg


masking the box in this fashion allowed me to paint the lip without getting paint on the interior but also let me 'flip' the box during painting, so i could paint the outside of the enclosure at the same time as the lip, without the need to touch any wet paint:

20160201_181126_resized_zpsvhc1p4wd.jpg


grabbed the sides and flipped it over:

20160201_181151_resized_zpswczsrmnt.jpg


i didn't need to flip the door so actually painted that first and moved it into the basement. after coating the exterior of the box, i picked up the cardboard box it rested on and moved the whole thing into the basement to dry. never touched any wet paint:

20160201_182406_resized_zpsydmuab3b.jpg


after a couple hours, i moved the pieces into the finished part of the basement to dry better:

20160201_210526_resized_zpsonavzzai.jpg


i took a look this morning, i'm going to need to make another pass on the enclosure. i still have a little paint left, should work out perfectly. so glad i went with the painting route...
 
2/2/2016 update

well, BrunDog was right about that painted gasket. it wasn't an issue of the paint sticking to other paint but that the paint didn't stick to the gasket at all! i placed a couple pieces of tape on the hinges and some of it touched the gasket. when i pulled it off, the portion of tape on the gasket came right off. i dabbed the tape in a couple other areas on the gasket and it came right off:

20160202_191932_resized_zpsya4gyva4.jpg


closeup of the damage:

20160202_191937_resized_zpsoip8me3s.jpg


it came off so smoothly that i grabbed some fresh tape and started dabbing other areas:

20160202_192429_resized_zpsrerrbwff.jpg


and 20 minutes later, it looked as if i never painted it:

20160202_194726_resized_zpsmh6nfzs9.jpg


the only parts on the gasket with some paint left are where ebrew supply nicked the gasket with their grinder, cleaning up some of the slag from the cuts on the door. gasket seals totally fine but scuffing the surface was enought to make the primer stick to it.
 
2/3/2016

panel door has had a few days to cure so i decided to tackle some component mounting. i put a towel down on the bar to help protect the panel face and put a few lights in:

20160203_162325_resized_zpsekdk4xp7.jpg


coming along:

20160203_162407_resized_zpsg3xsachz.jpg


20160203_163454_resized_zpssjcz9jcm.jpg


the e-stop needs a couple extra contact blocks. they shipped loose and i had to install myself. first block addition:

20160203_165110_resized_zpsyy7g5roc.jpg


and screwed into place. note the threading in the screw body, for stacking additional contact blocks:

20160203_165147_resized_zpsd6dbdg2u.jpg


second block ready to be mounted:

20160203_165205_resized_zpsglvdpveb.jpg


everything mounted except the pids and timer:

20160203_165233_resized_zpstbxcvf2y.jpg


mounting the pids. there are these plastic 'wings' that mount to channels in the side of the devices:

20160203_170627_resized_zpsgwaobgv8.jpg


an impossibly small nut is placed into the groove on the wings:

20160203_170644_resized_zpskpn14jap.jpg


and a bolt threads through the nut and presses against the panel back, holding the pid in place:

20160203_170654_resized_zpsusvrx17e.jpg


two of the pids installed:

20160203_170516_resized_zpslczsy1yu.jpg


the timer had a different mounting method, a collar. the nuts/bolts cam pre-installed, an easier installation:

20160203_170912_resized_zpsdsg0i50q.jpg


all the components mounted. i also re-installed the door latch:

20160203_171413_resized_zpszelpfw9r.jpg


and the front:

20160203_171358_resized_zps2v9jtnfs.jpg


have i mentioned how glad i am i decided to paint it? :)

i also put another coat on the box itself, to cover the small pinholes and areas of weak coverage. same deal as before, set it up in the garage and carry it into the basement. should be able to start fooling around with that in a couple days.
 
Can you keep working on it and post up new pictures every 15 minutes?

well, i can't promise a post every 15 minutes but i can certainly take frequent photos and summarize progress. a bit of a chore to document all this but i like to progress photos of my various projects anyway. i've learned so much from the photo-heavy threads and would like to return the favor.
 

Latest posts

Back
Top