• Please visit and share your knowledge at our sister communities:
  • If you have not, please join our official Homebrewing Facebook Group!

    Homebrewing Facebook Group

inr brewing - basement brewery build

Homebrew Talk

Help Support Homebrew Talk:

This site may earn a commission from merchant affiliate links, including eBay, Amazon, and others.
Look up the single handle (no rubber) ones! So shiny.

Used kegs work, and you definitely cant argue with the price if you can find 'em on CL and what not. Most of my old used ones gave me blackhands everytime I touched the rubber though. Hated them.

The only ones I have owned are the rubber handles but none have given me blackhands. Maybe I've been lucky?

My LHBS has a decent supply of them too so it would be really hard for me to justify a brand new one. Especially if I'm feeling really "green" and wanting to recycle. But they sure do look nice when they are new. It's tempting for sure!

As a side note, I must say that it is very annoying having to work through the "secret" issues with used kegs. Most of mine seemed great a first but slowly you see leaks and such. It's not much to fix them but boy it's annoying to realize that a fix is needed.
 
10/17/2015 update

today is the day to get that vent hood hung. i had originally planned on using some chains to hang it from hooks and thread the hooks in and out as necessary to get any type of leveling or sloping i wanted. i felt like a dummy once i realized long turnbuckles would accomplish the same thing, be easier to install and offered more fine-tuned control. swapped the components and nailed up some 'spanners' for the hooks. the joists didn't line up exactly where i wanted to hang the hood so i screwed in some scrap 2x4 to get a mounting surface:

20151017_101541_resized_zps3gk02lbc.jpg


same old story, working in cramped spaces:

20151017_101534_resized_zpsdijtxnno.jpg


hooks and turnbuckles installed:

20151017_103924_resized_zpspd8yumzl.jpg


now to hoist that hood up there. it isn't that heavy, just bulky as hell. the brew stand proved to be a key ally for the installation:

20151017_104539_resized_zpsfjndzwv3.jpg


20151017_104707_resized_zps3mobjxbd.jpg


20151017_104815_resized_zpsxihno9tx.jpg


20151017_104938_resized_zpsoq6le9wn.jpg


and now the front suspended:

20151017_163042_resized_zpssedokt4v.jpg


all looks good but i have a slight problem. i wanted the back of the hood to be flush against the rear wall but due to the location of overhead ductwork, i needed to mount the front hooks further away from the hood than i wanted. the result is 'pulling' the hood away from the wall:

20151017_163308_resized_zpszpzlc6fw.jpg


i needed to get those front hooks closer to the wall. thankfully, the offending piece of ductwork is flex duct for the bathroom vent above (bathrooms vent through a common, centralized fan). after shifting that around, i was able to get the hooks where they needed to be:

20151017_164129_resized_zpsayqaeksp.jpg


hood is now flush with the rear wall. this photo is a better shot of the adjusted flex duct. it is more or less in the same spot as before, just shifted ever so slightly for the turnbuckle:

20151017_170222_resized_zpsviqo2jre.jpg
 
10/18/2015 update

with the hood in place, i had a better feel for how the track lighting should be laid out. too far back and the light will be quite horizontal, leading to shadowing at the brew stand. too close to the hood and the concern is not enough light angles on to the brew stand. the edge of most ceiling electrical boxes are designed to sit a half inch below the bottom of a ceiling joist, to allow for a flush edge after drywall is attached. i'm not finishing the ceiling here so i needed a half inch 'runner' to mount the track to, so it is flush with the electrical box. there is an existing light fixture in the spot i really want to place the lighting so i tried to avoid it:

20151018_083733_resized_zpsgxtvem6j.jpg


before i got everything mounted up, i wanted to test how the lighting look so i temporarily rigged up the branch circuit to the track:

20151018_085402_resized_zpsca2y1amu.jpg


this will pass inspection, right?:cross:

20151018_085412_resized_zpsyv5dn89h.jpg


position just didn't work. it was too close to the 5" duct for the central bathroom exhaust. light wasn't too bad on the brew stand but the lights had to point straight down and i couldn't turn them. decided to move the existing light fixture over and slide the track away from the hood:

20151018_102640_resized_zpsh7ooccri.jpg


and installed:

20151018_103338_resized_zps2m30ciyq.jpg


next step was makeup air for the ventilation system. there is a furnace fresh air intake on the wall opposit the brew stand. rather than hack another opening in the house exterior, i decided to tee into this insulated flex duct. the run from the exterior to the furnace is too long so i cut into it at an existing splice. insulation cut back:

20151018_103753_resized_zpsgwzmacu5.jpg


and cut loose:

20151018_104038_resized_zpsref0nlin.jpg


tee fitting attached:

20151018_110048_resized_zpse2ge2jii.jpg


frankenstein monster! insulation around the backside of the tee and rough taped into place:

20151018_113748_resized_zpsk3eoojuu.jpg


'cleaned up' with some black poly sheeting and a cap piece. piece will be removed when i want to vent:

20151018_120852_resized_zpsgyaalpgt.jpg


my original plan was to have a damper downstream of the tee. this would be open during non-brew situations, so the furnace can draw fresh outside air as required (you can see the damper in the first photo with the tee). i realized that trying to insulate around the damper operator would be a total hassle so i pulled it out. i was guessing that even without the damper, most of the outside air would flow through the tee into the brew area with the vent fan on. a test revealed this not to be the case. i tried to stuff a rag into the downstream section of the tee but that didn't work very well either. then i remembered there is a weighted damper on the fresh air intake right at the furnace. the damper is weighted so it is normally closed and opens on negative pressure. the greater the negative pressure in the house, the more the damper opens. wedging a stick or whatever on the damper operator results in closing of the damper and all the fresh air going into the brew area. confirmed with test:

20151018_120930_resized_zpsg5ytqdsq.jpg


now it was time to tie the hood into the exhaust fan. test fitting the exhaust duct:

20151018_122035_resized_zps0vijxfev.jpg


marking the hood for the duct connection, with pilot hole drilled for jigsaw:

20151018_135401_resized_zpsufteptp4.jpg


i had dreams of cutting the hole with the hood in the suspended position but it was simply too floppy on the turnbuckles. with how easy it was to put the hood up, i simply took it down to cut the hole:

20151018_140445_resized_zpspu95tfv7.jpg


and looking down the exhaust hole toward the exhaust fan. a bit of a shoddy cut in the lower left. upper left had a problem with the screw for attaching the frp punching into the opening about an eighth of an inch:

20151018_141136_resized_zpslyivsrki.jpg


cleaned up the opening with some foil tape. duct is sloped toward the hood so this tape will direct any condensation from the duct into the hood gutters below:

20151018_141647_resized_zpstn4ajyvo.jpg


exhaust duct in place:

20151018_143424_resized_zpsucgemyyv.jpg


and a shot with the track lighting. you can see the exhaust opening inside the hood (and i cleaned the place up a bit):

20151018_143414_resized_zpsvpgebqth.jpg


i need to caulk a few seams in the hood but then that's about it for 'infrastructure' work. everything else is brew equipment/keezer/fermentation related. that frp is slightly translucent so a little light makes its way into the hood area. i still think a rope light or similar along the rear wall under the hood will brighten everything up.
 
12/8/15 update

long time, no post but yes, my project is still moving forward! a new baby and funds have slowed things down a bit. quite a few items on order, just wiating on shipping. some stuff did show up today:

20151209_165056_resized_zpswavpm6ee.jpg


20151209_171020_resized_zpsvldnjqeg.jpg


last time i got kegs, it was shipped as the individual boxes taped together. this time, they came in a larger box that was perfectly sized:

20151209_165506_resized_zpsciaa74iy.jpg
 
Congrats on the new baby! I bought some of those kegs also when they went on sale. Man are they nice! Keep us posted as you can spare the funds and progress on your build.

John
 
12/15/2015 update

i picked up the freezer for my keezer build:

20151215_182155_resized_zpsbtoeswio.jpg


kegs are empty but i couldn't help throwing them in there:

20151215_182217_resized_zps7cv9sis6.jpg


20151215_182231_resized_zps3yrwnrfy.jpg


it is a frigidaire 15.6 cu ft freezer. i can fit nine ball kegs in it, a #10 co2 tank and a small eva-dry without a collar. i plan on adding a collar for the taps and with that, i can get two more kegs on the compressor hump for a total of eleven kegs.
 
12/17/2015 update

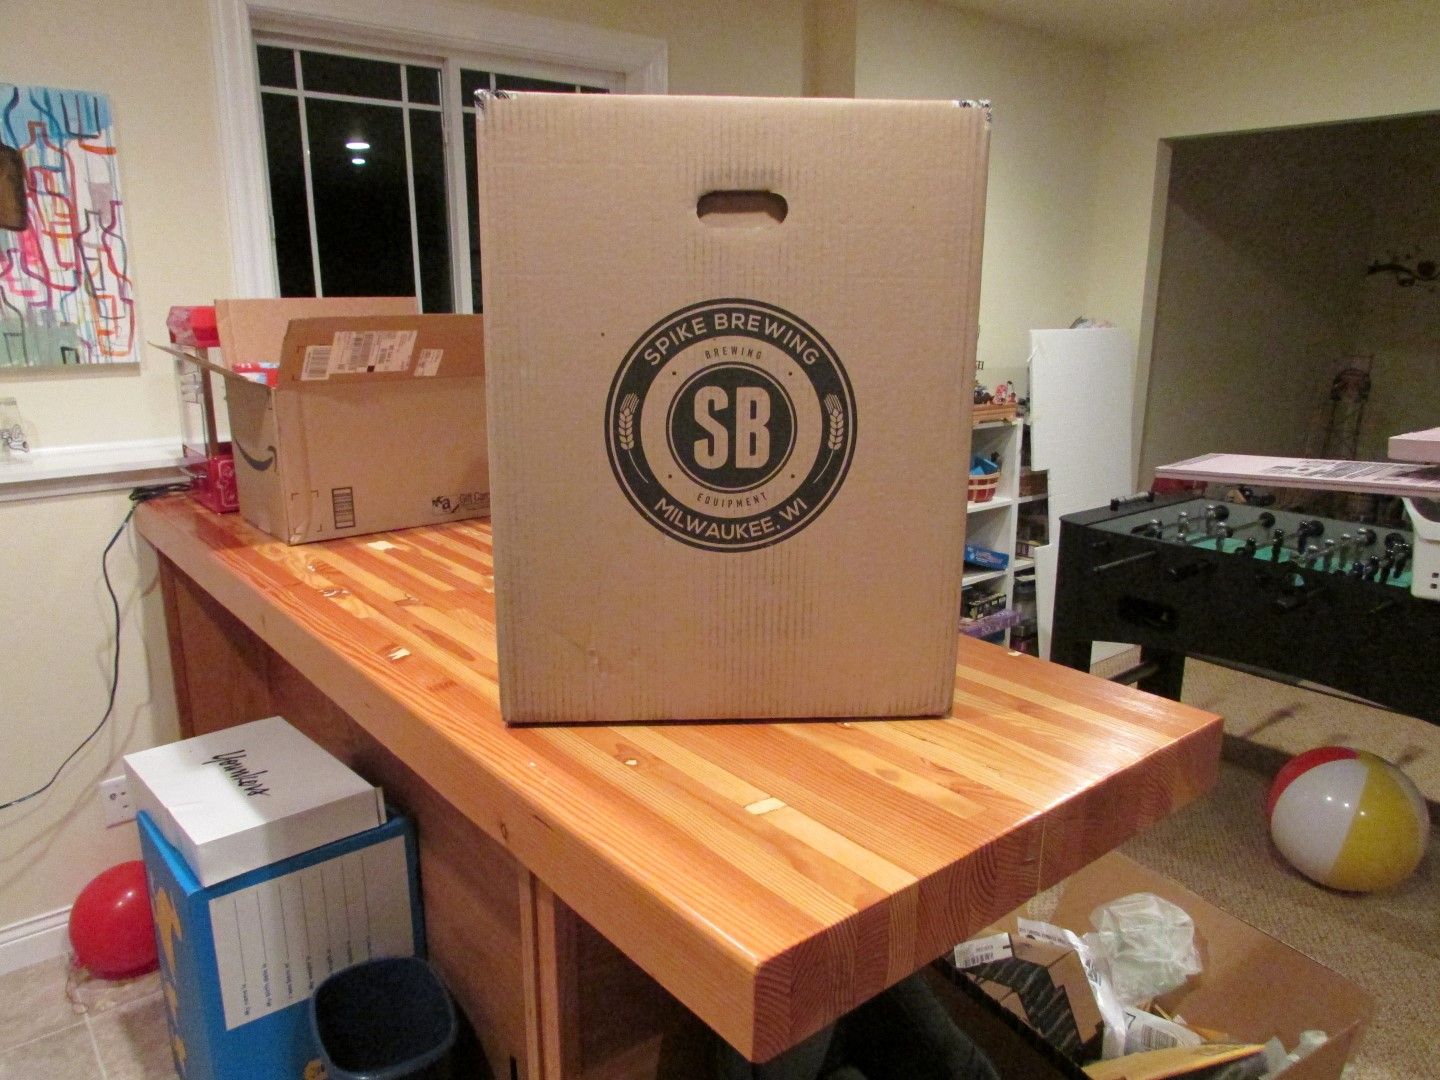
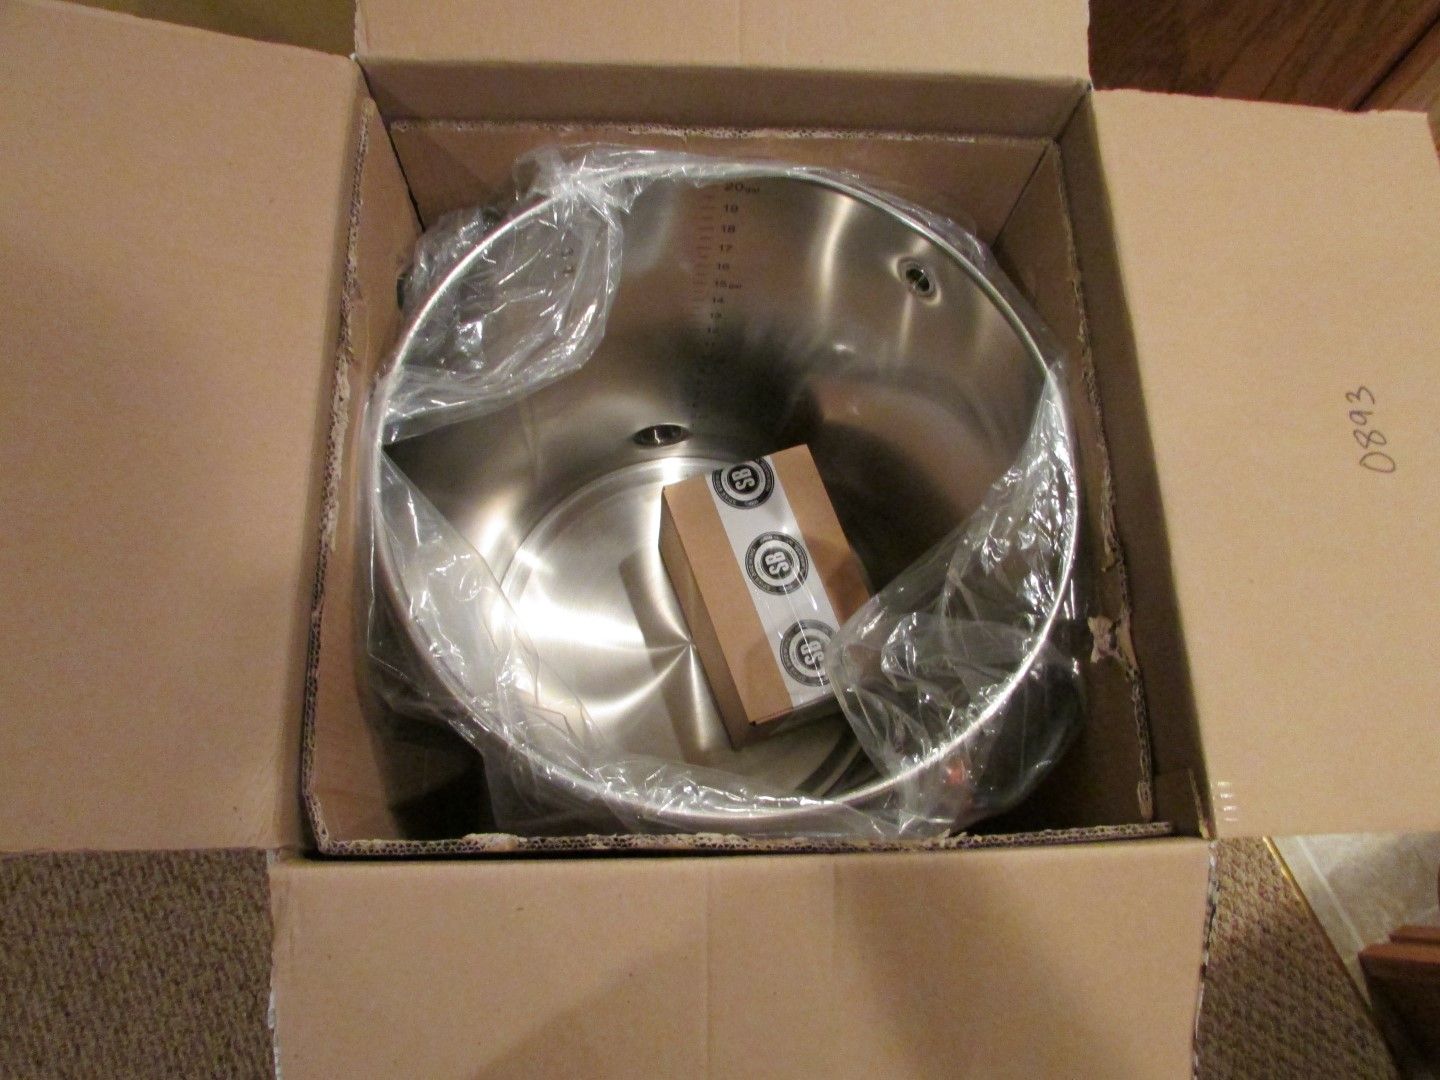
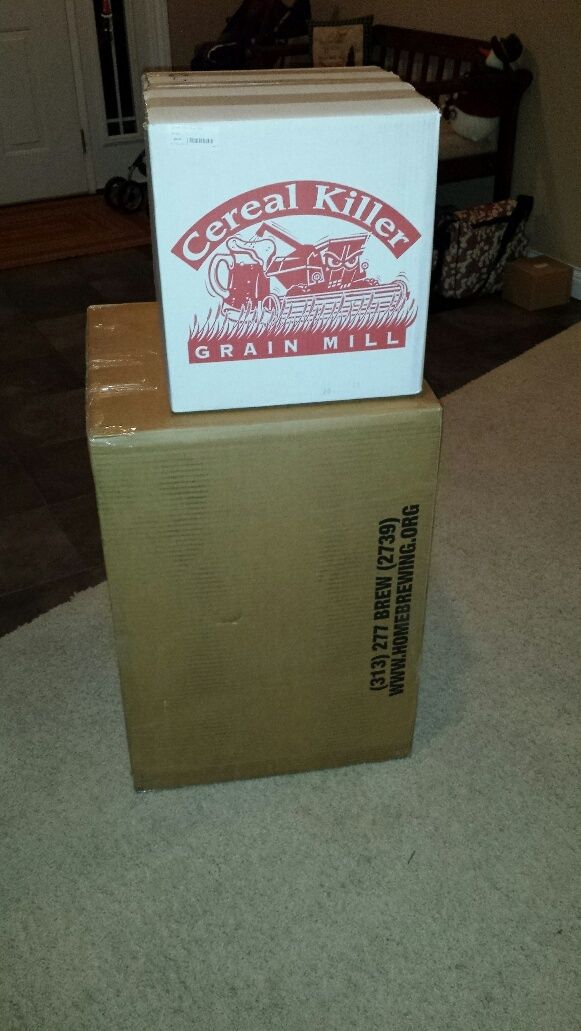
after six agonizing weeks, my first 'real' piece of brewing equipment showed up today: one of the new spike v3 kettles! specifically, my hlt. i did a custom order with them to get the necessary fittings welded on. wow, this thing is incredible. it doesn't make the beer taste any better but the spike packaging is a nice touch:

IMG_1845%20Large_zpsbujcty0v.jpg


IMG_1846%20Large_zpscwy4ohp2.jpg


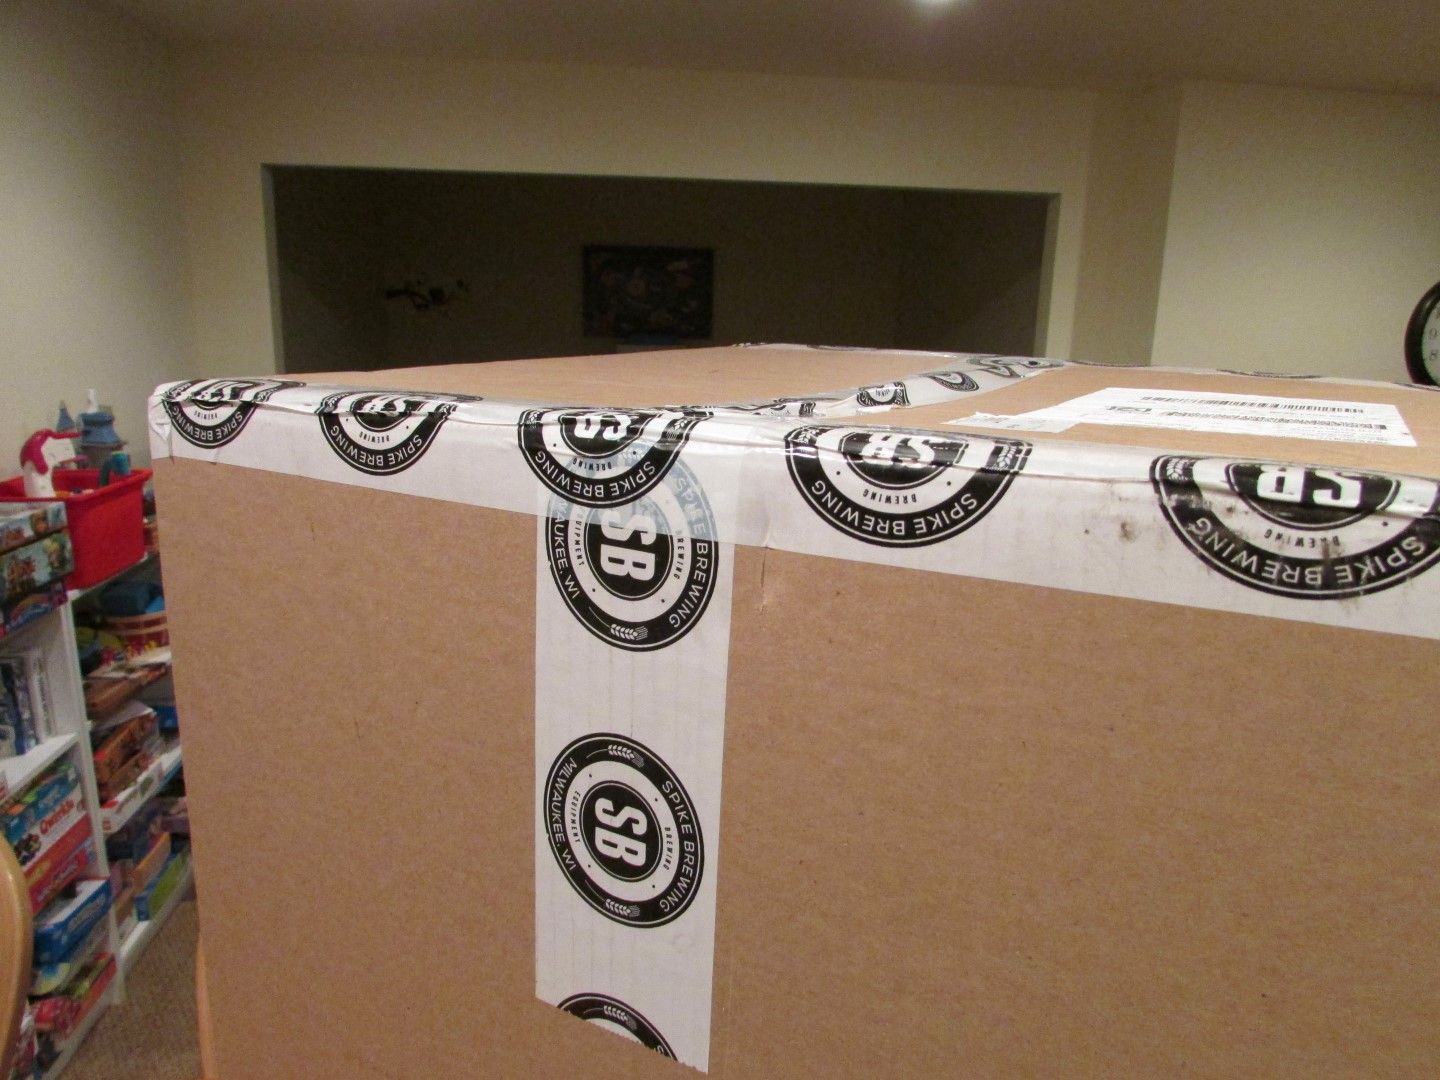
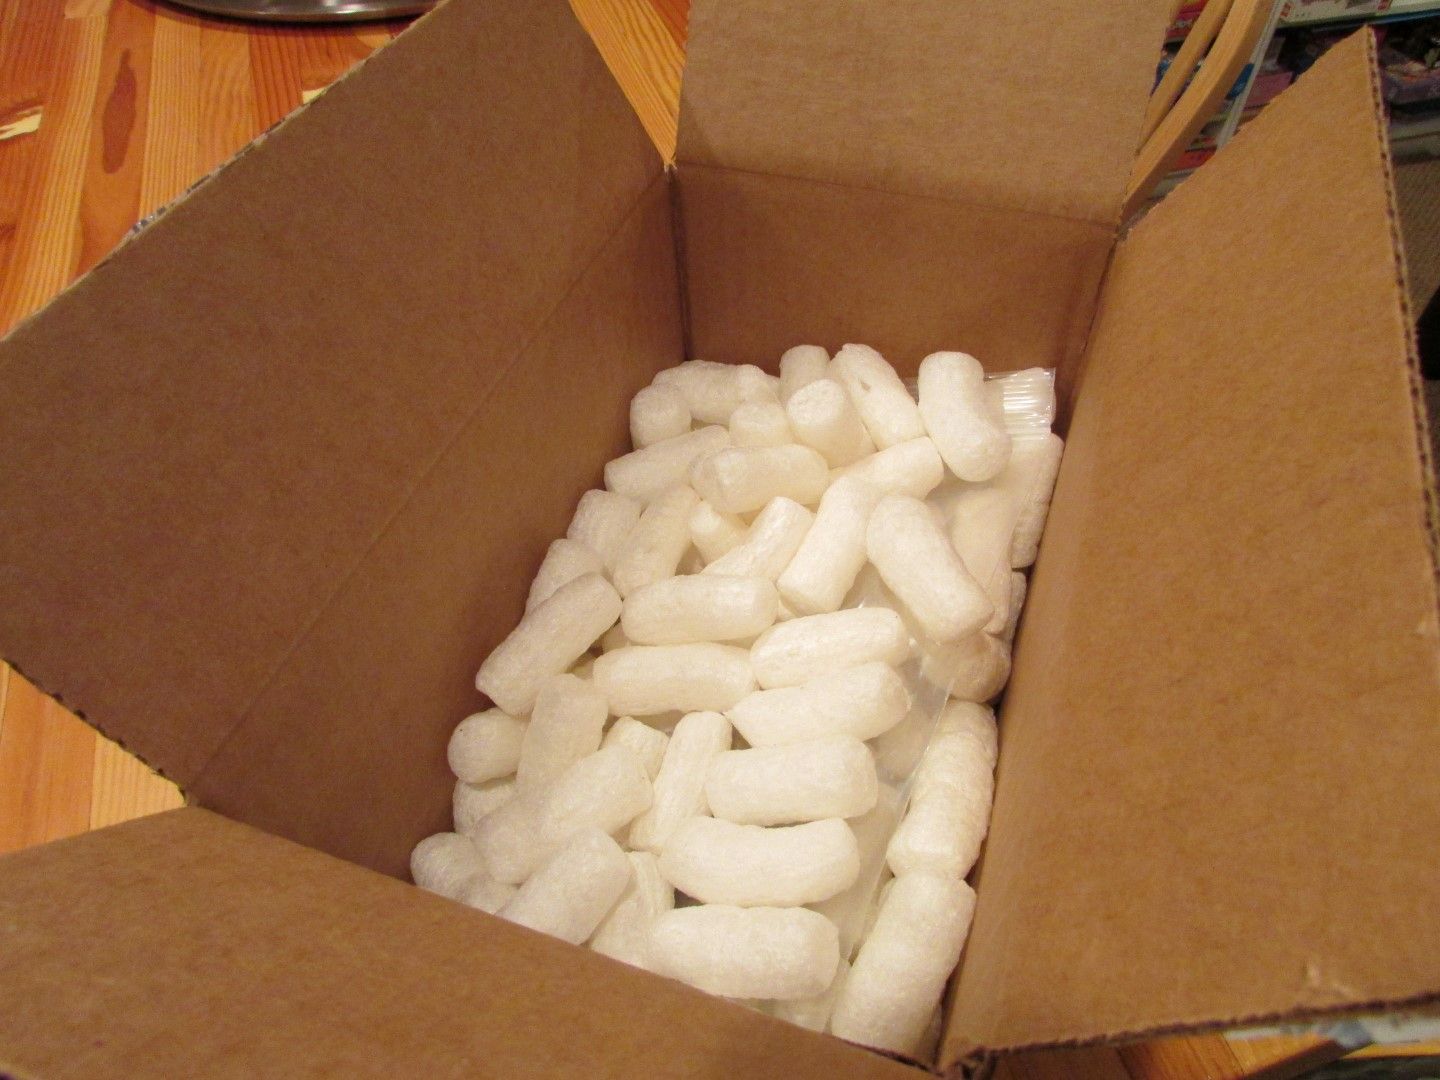
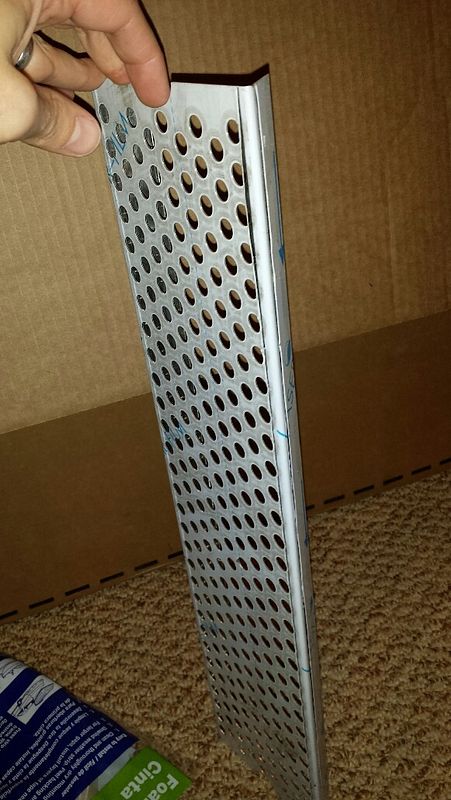
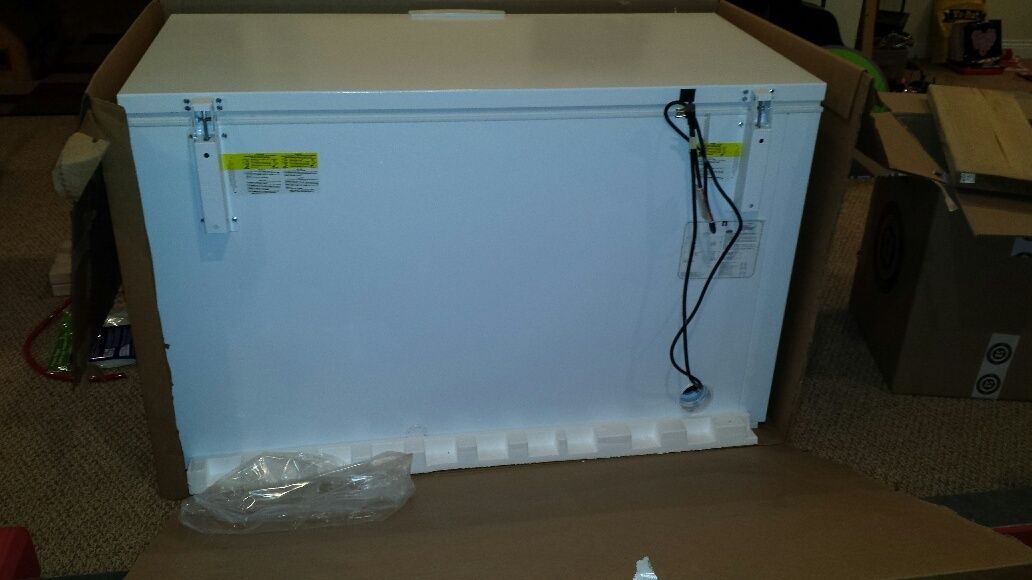
opening the box, it is well packaged. not the double-walled sides on the shipping box, with air gap between:

IMG_1847%20Large_zps0sa0rrvt.jpg


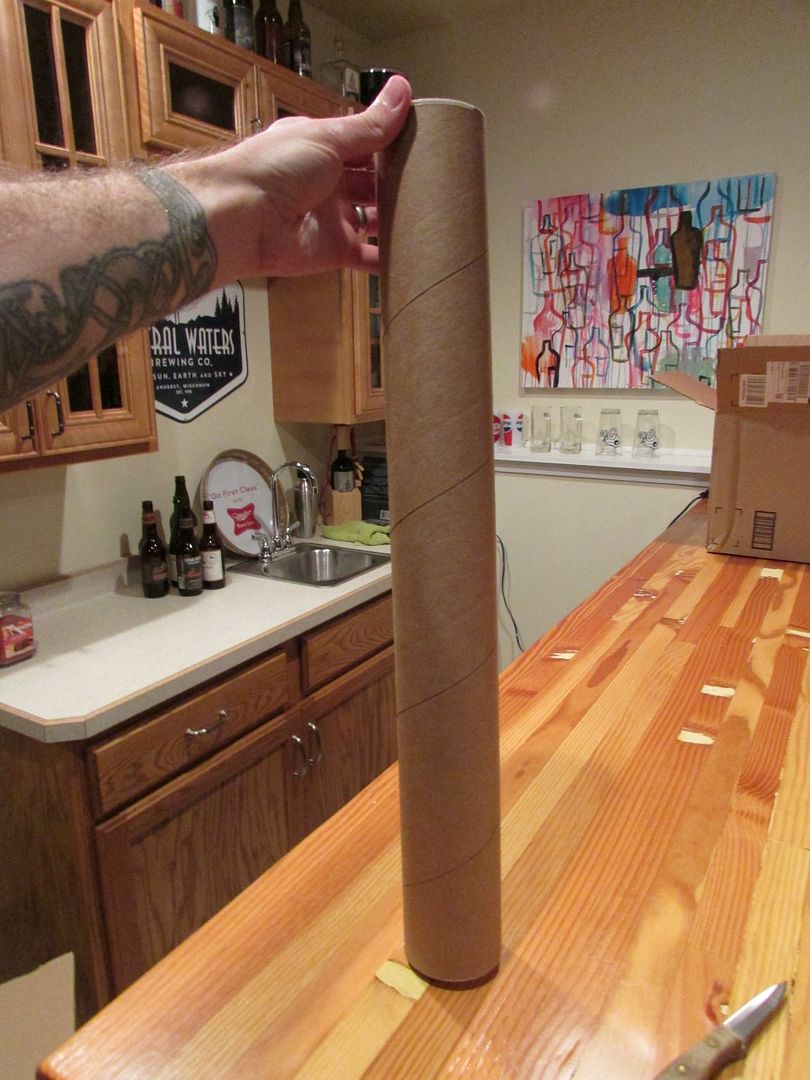
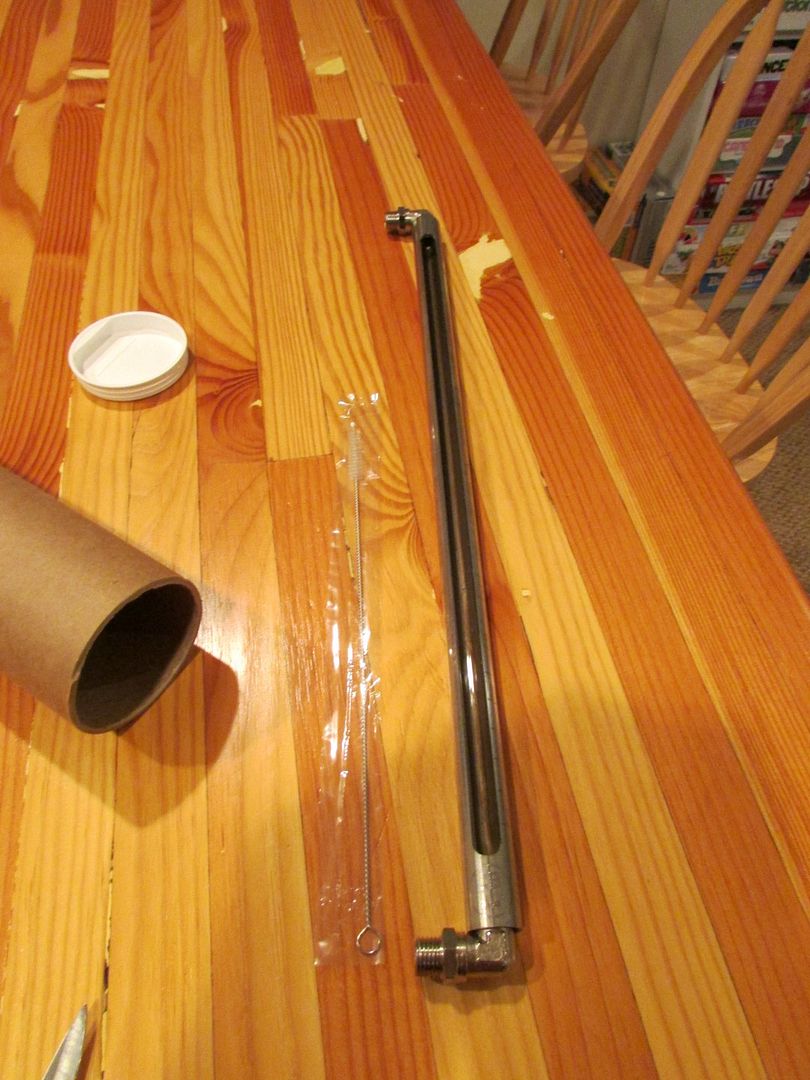
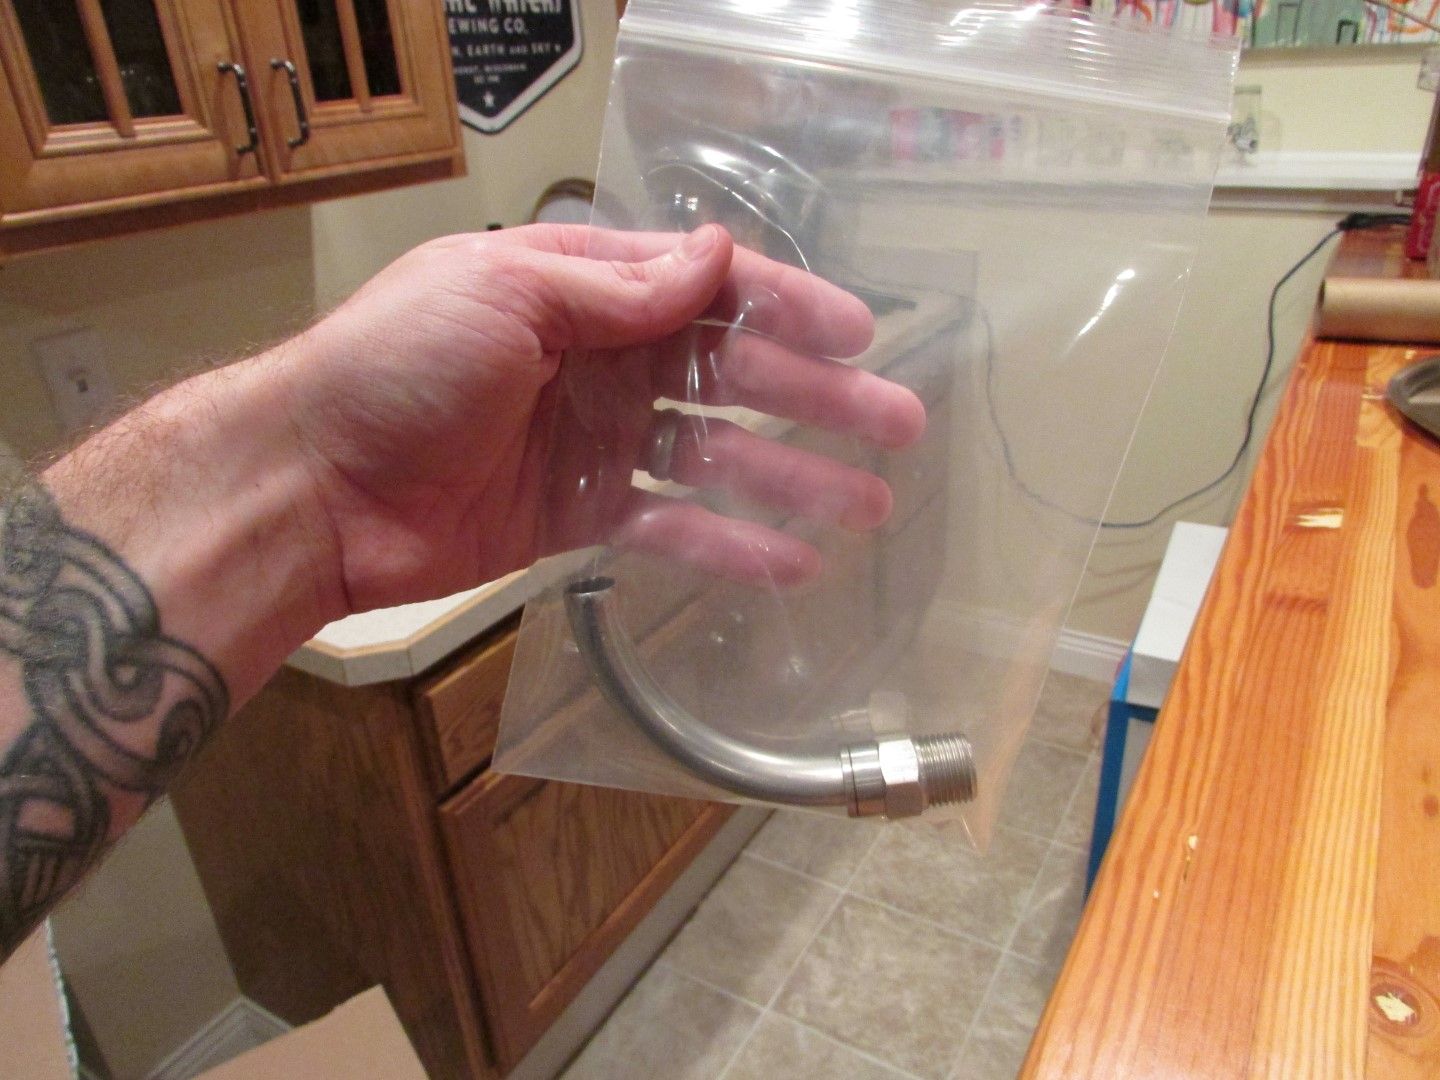
pulling out the tube from the lower left, which i can only assume is the sight glass:

IMG_1848%20Large_zpsiynuoeyh.jpg


i'm a genius!:

IMG_1849%20Large_zpsx30f1bwj.jpg


it comes with a brush for cleaning which is alas, too short to clean the glass from one end. no worries, it is long enough to reach over halfway down the tube, to allow cleaning from both ends:

IMG_1851%20Large_zpssnidj4hg.jpg


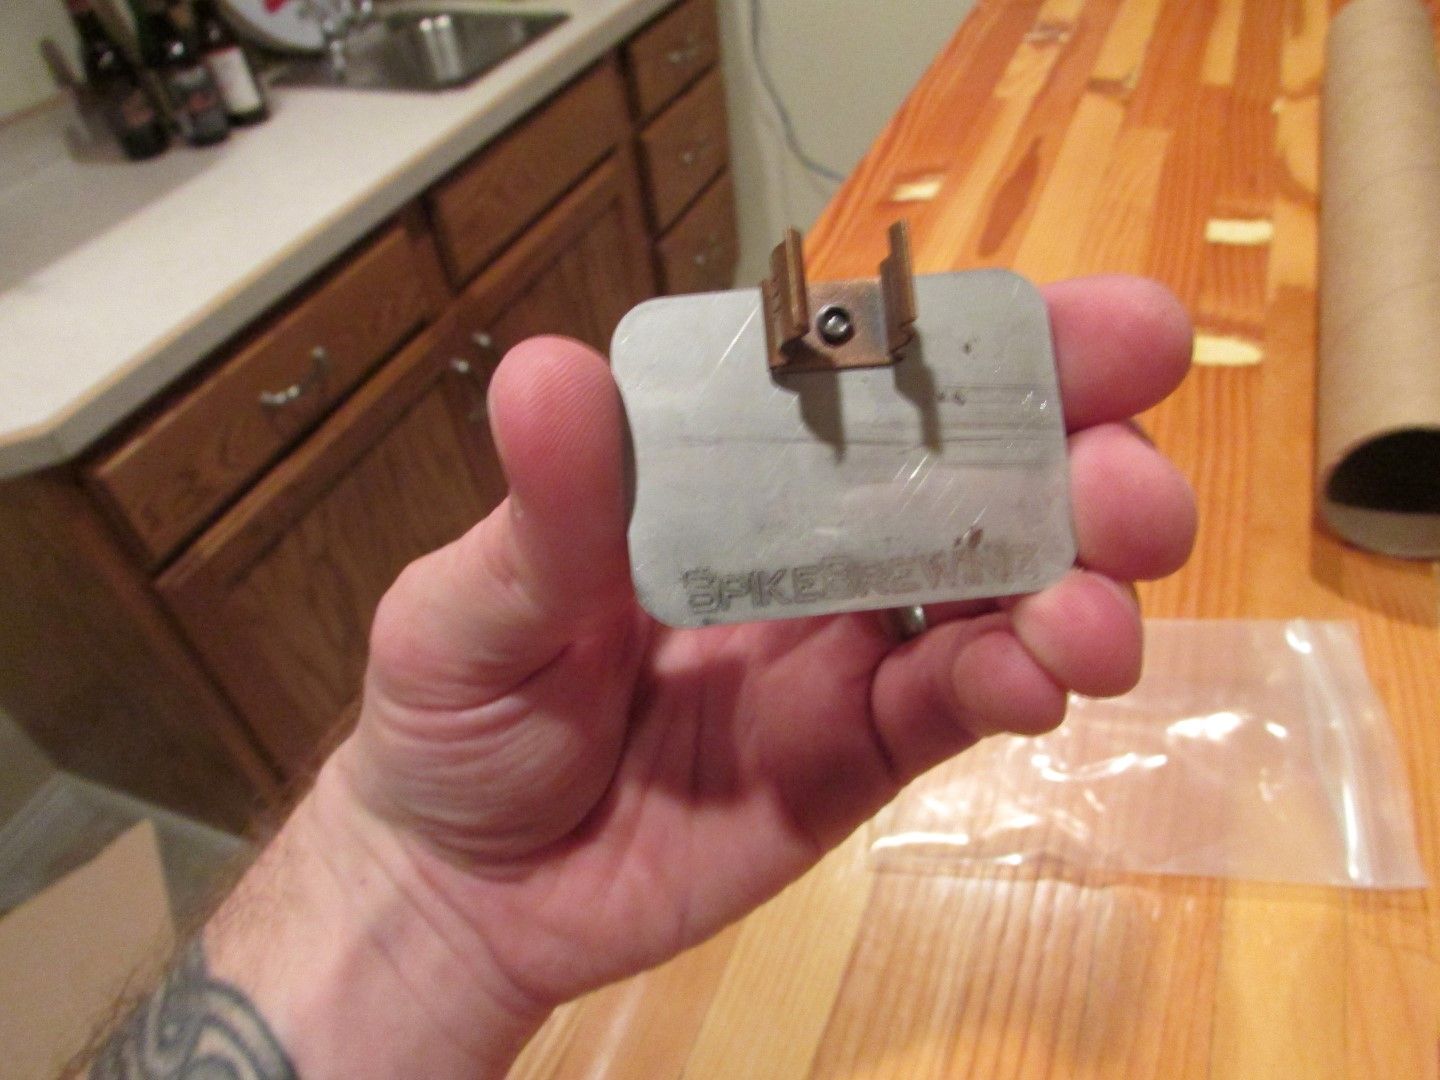
it also comes with an engraved heat shield for the sight glass. this is an electric build so i don't need it but a nice touch with the engraving. no photo but it comes in a ziploc bag:

IMG_1852%20Large_zpsp0uojwkm.jpg


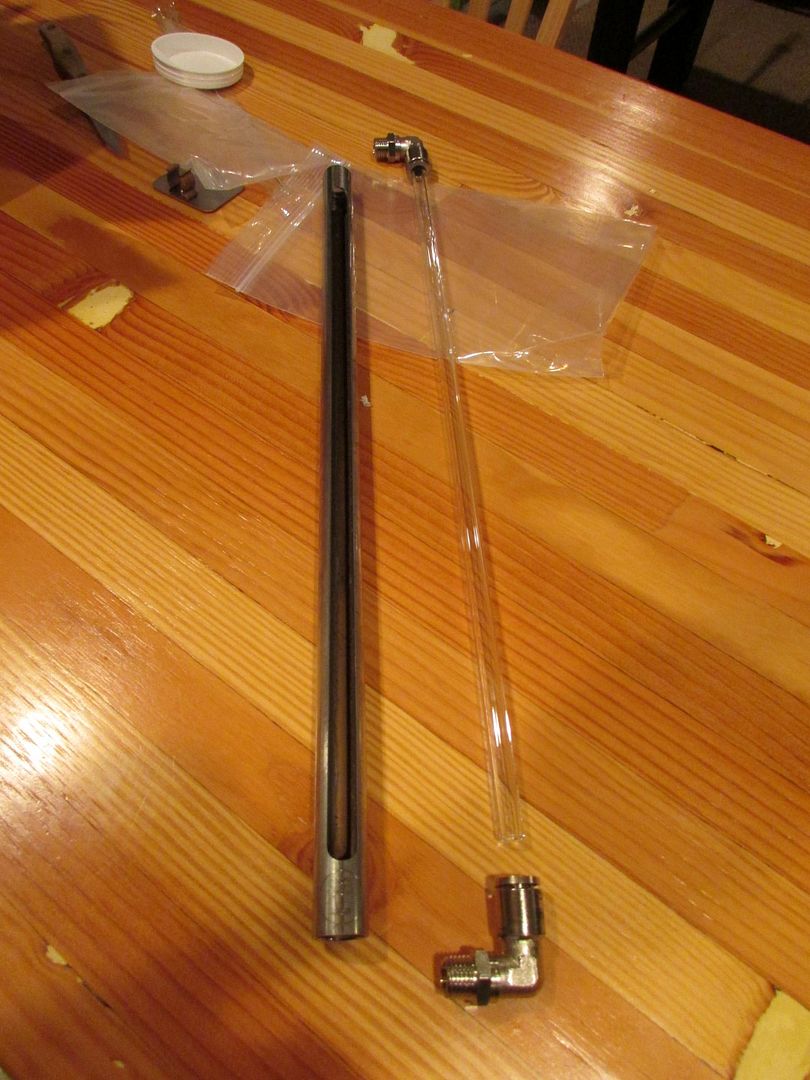
the assembly comes apart at both ends. it is a friction fit where the glass connects to the fitting:

IMG_1881%20Large_zpsdajfazft.jpg


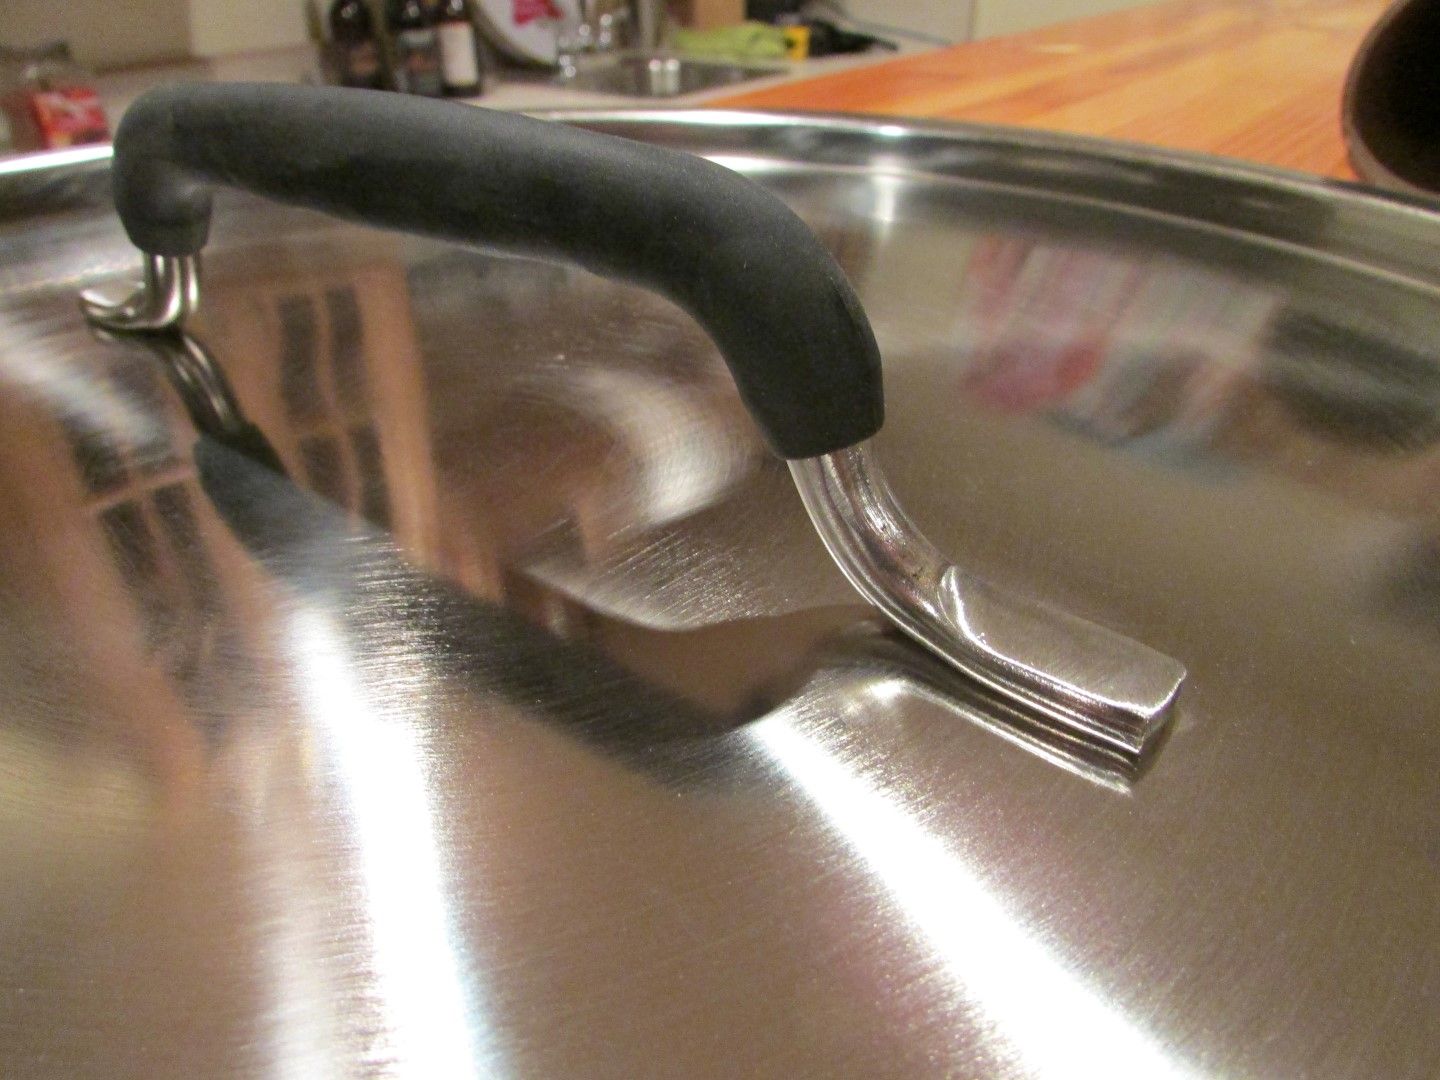
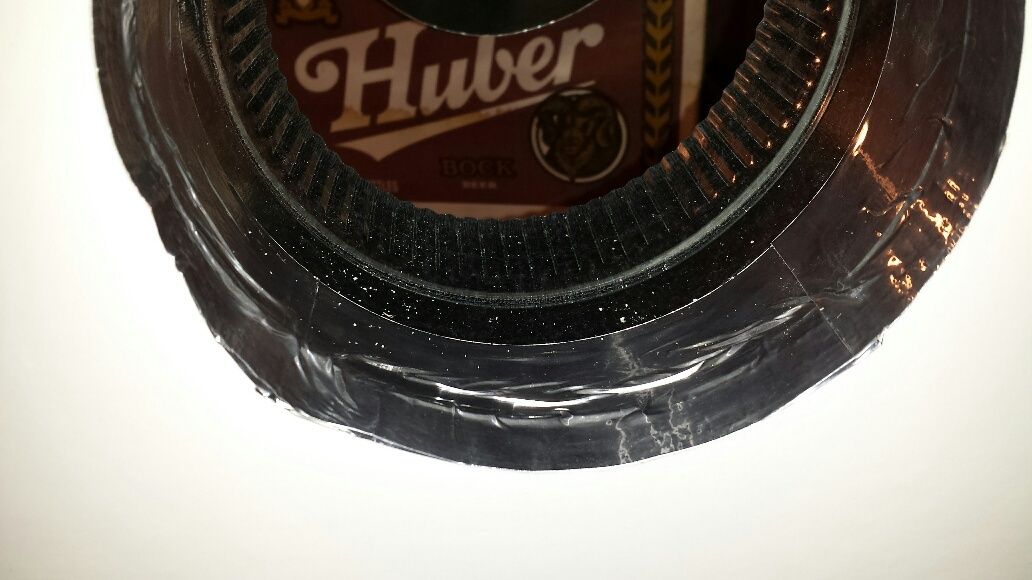
the lid comes wrapped in plastic:

IMG_1853%20Large_zpsosrpqhew.jpg


the handle is seamlessly attached, only some slight buffing on the backside of the lid. the grip is solid and comfortable:

IMG_1856%20Large_zpskyqndmt3.jpg


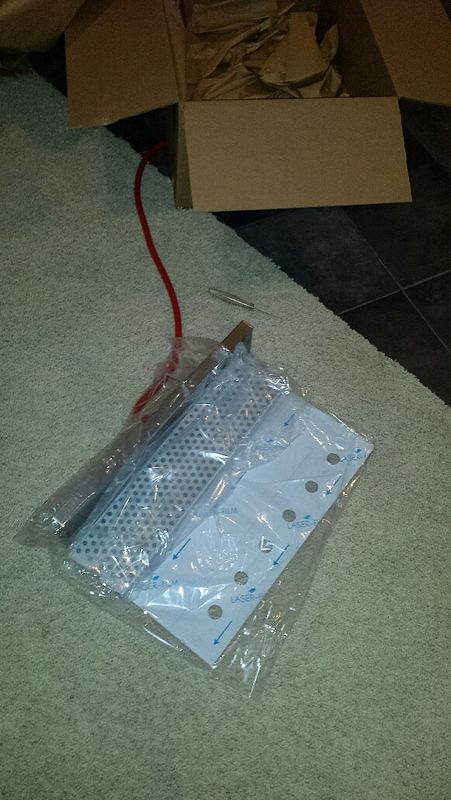
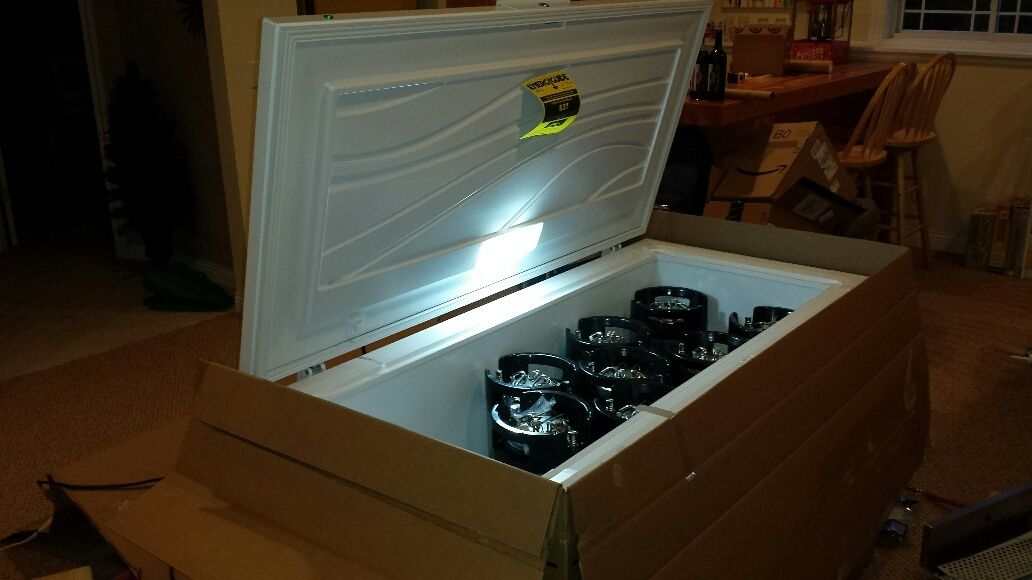
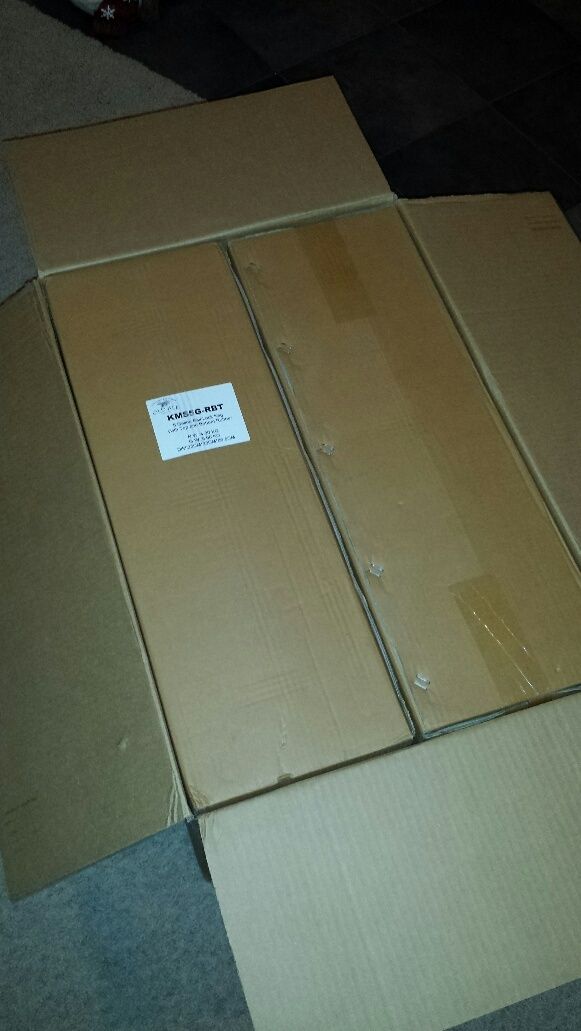
another box inside the kettle, well wrapped:

IMG_1857%20Large_zpswnoty1zr.jpg


and well packed:

IMG_1858%20Large_zpsvxmucbzj.jpg


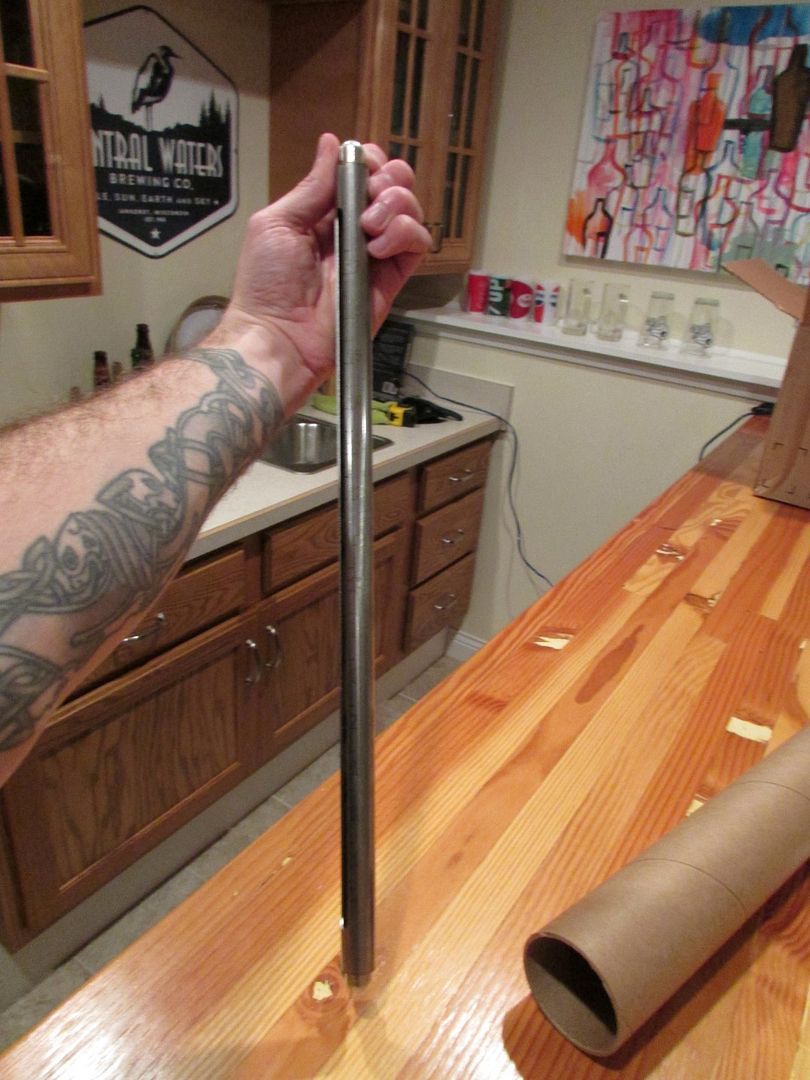
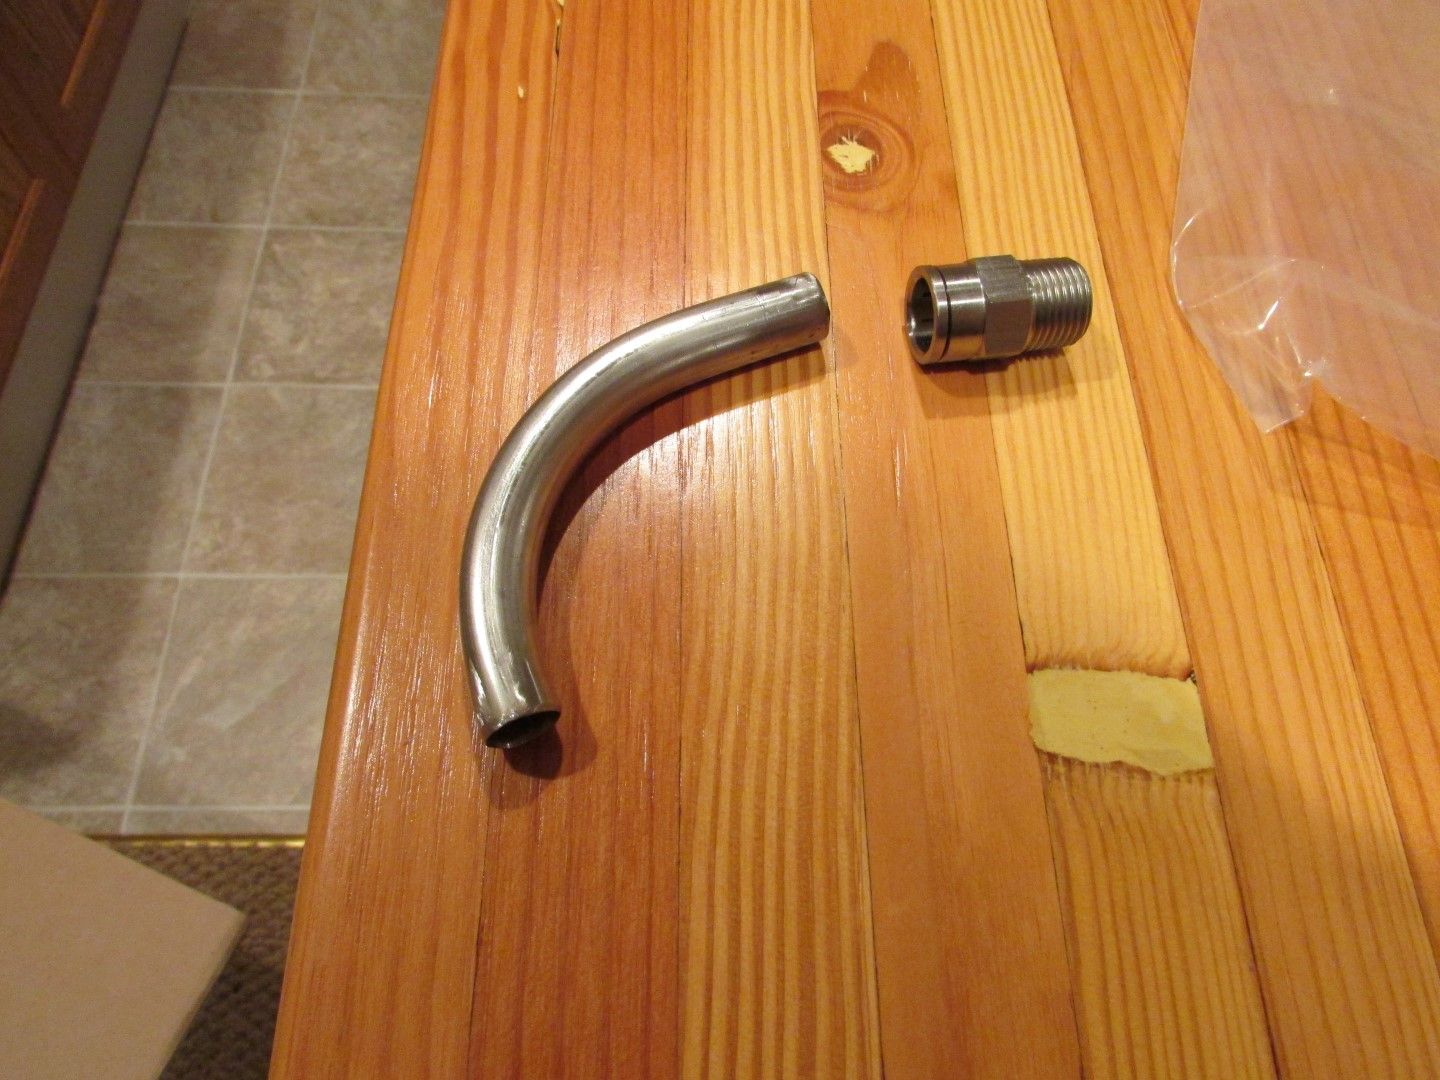
inside is the dip tube, wrapped in a ziploc bag:

IMG_1859%20Large_zpsq5938aus.jpg


as i understand this is not their standard dip tube. spike had a boo-boo on the elevation for my discharge fitting but offered up a custom dip tube at no charge. a little rough on the intake excellent customer service!:

IMG_1860%20Large_zpscrihb7go.jpg


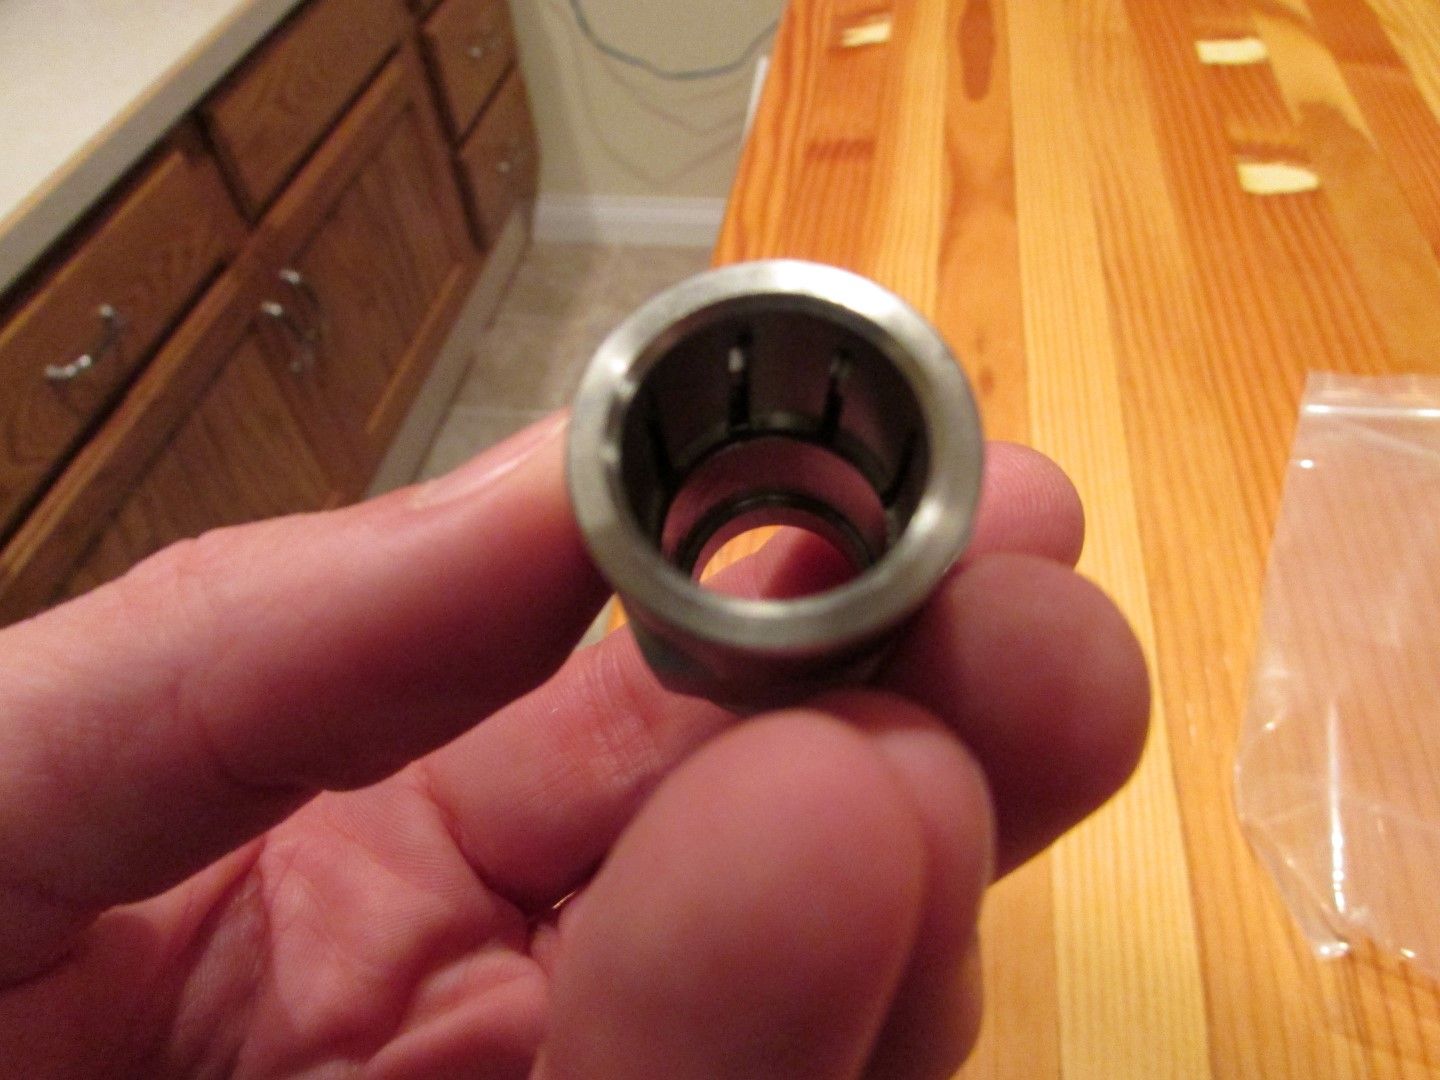
there is a threaded connection to the kettle but a friction fit for the tube, very easy to remove:

IMG_1861%20Large_zpsooajerfk.jpg


IMG_1862%20Large_zpsnt7yago6.jpg


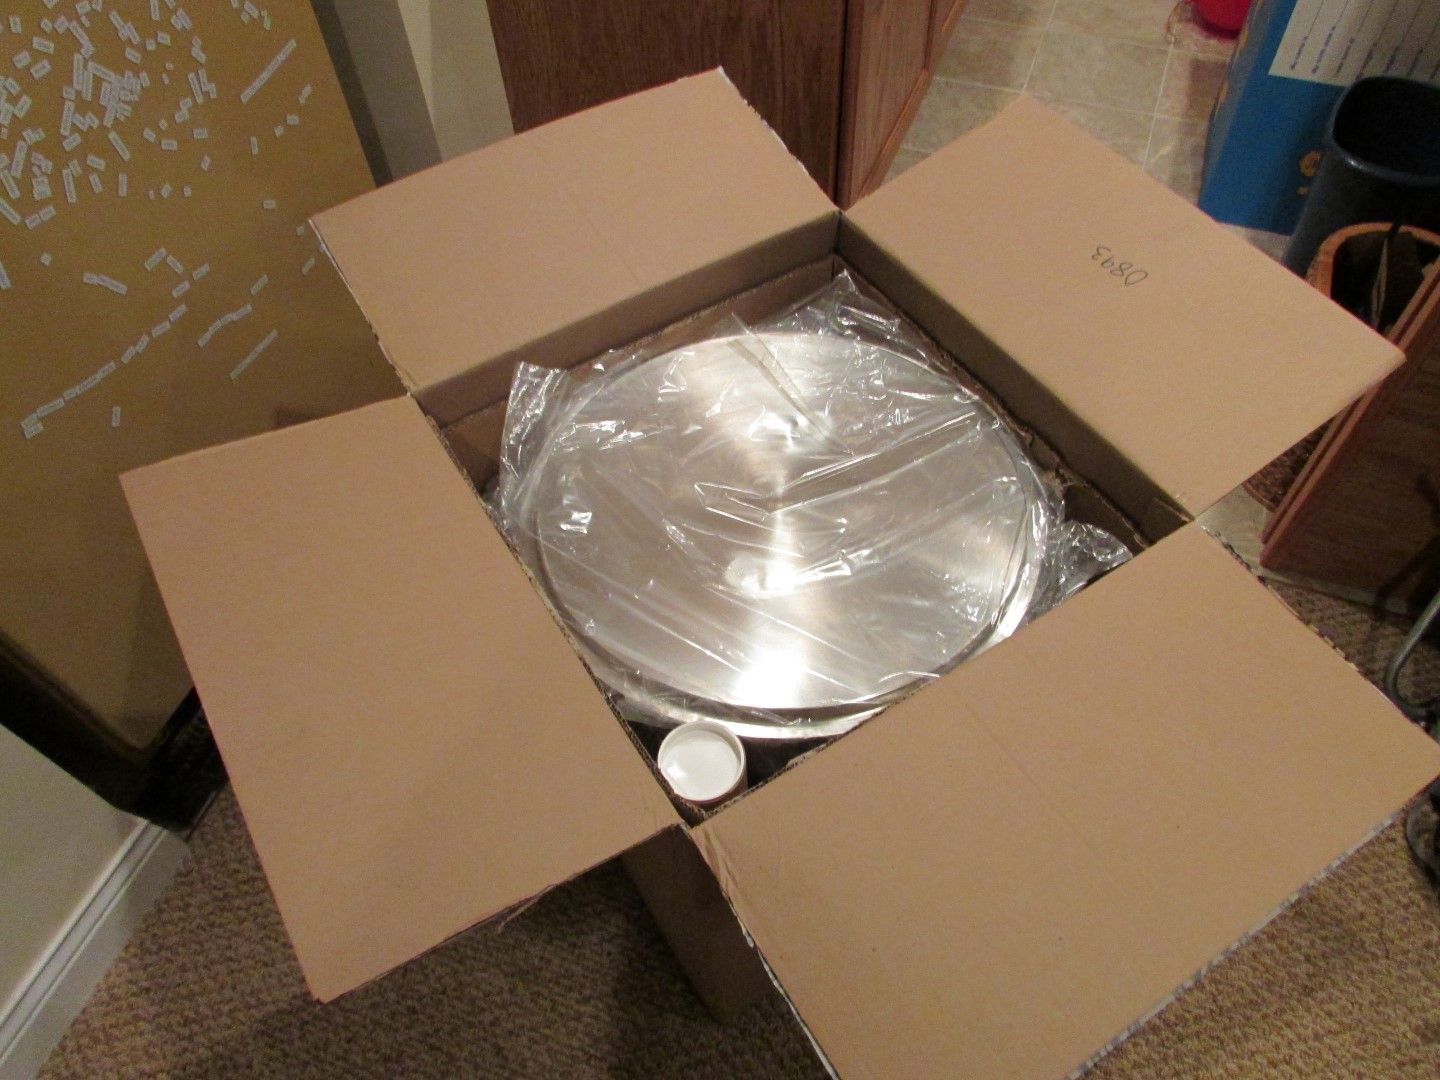
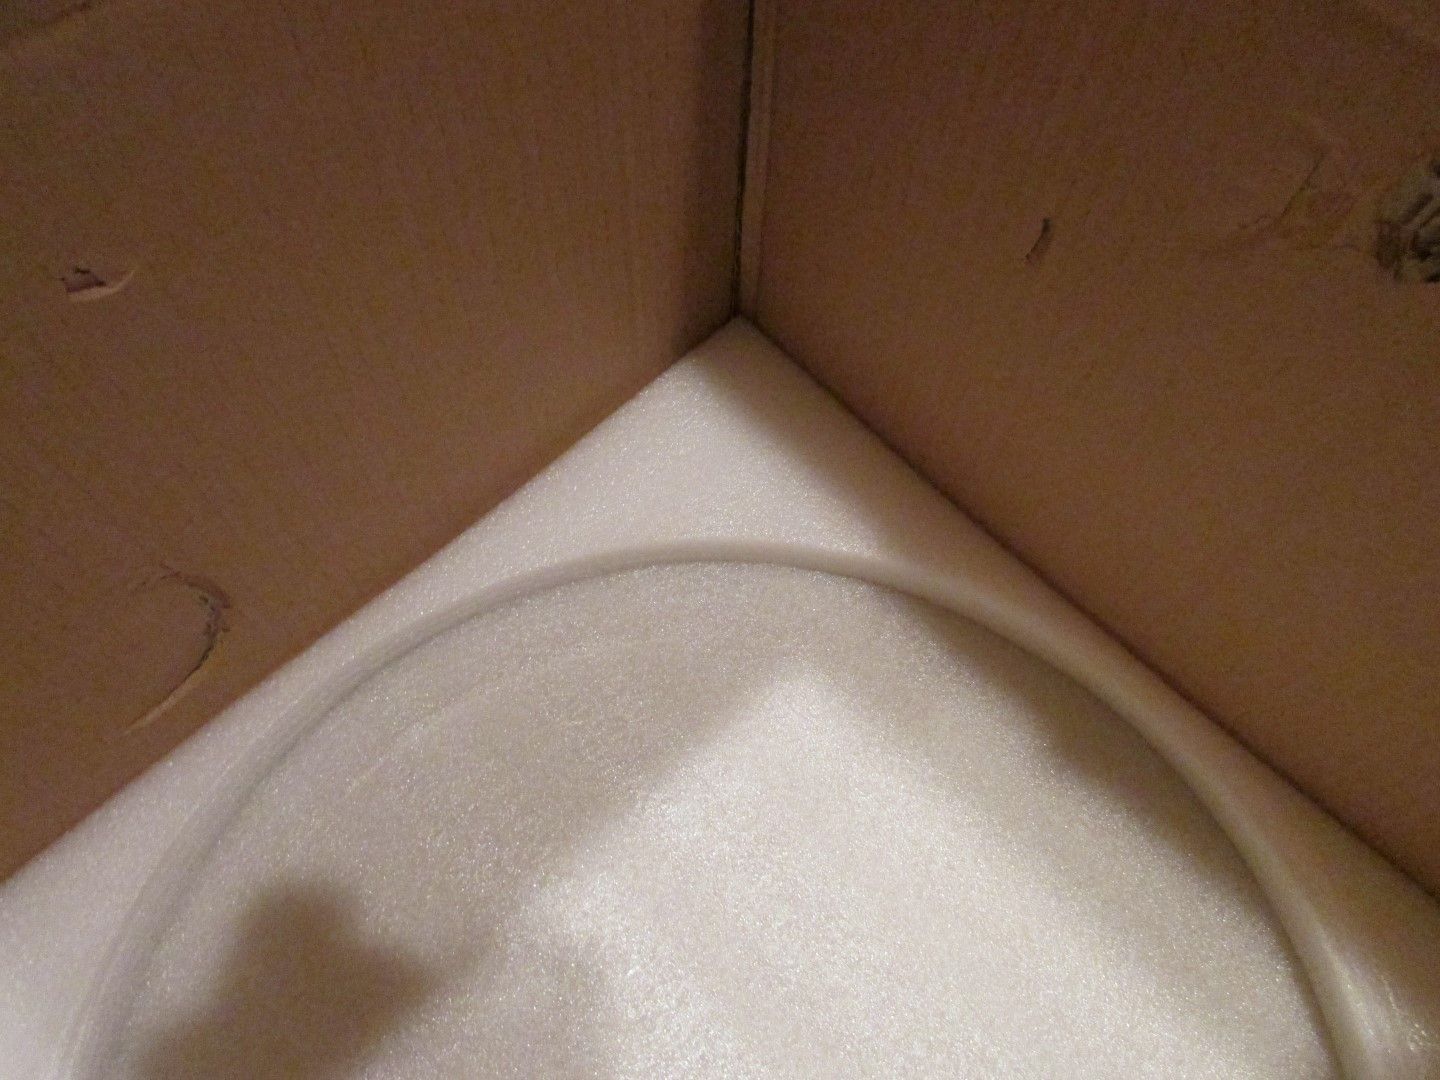
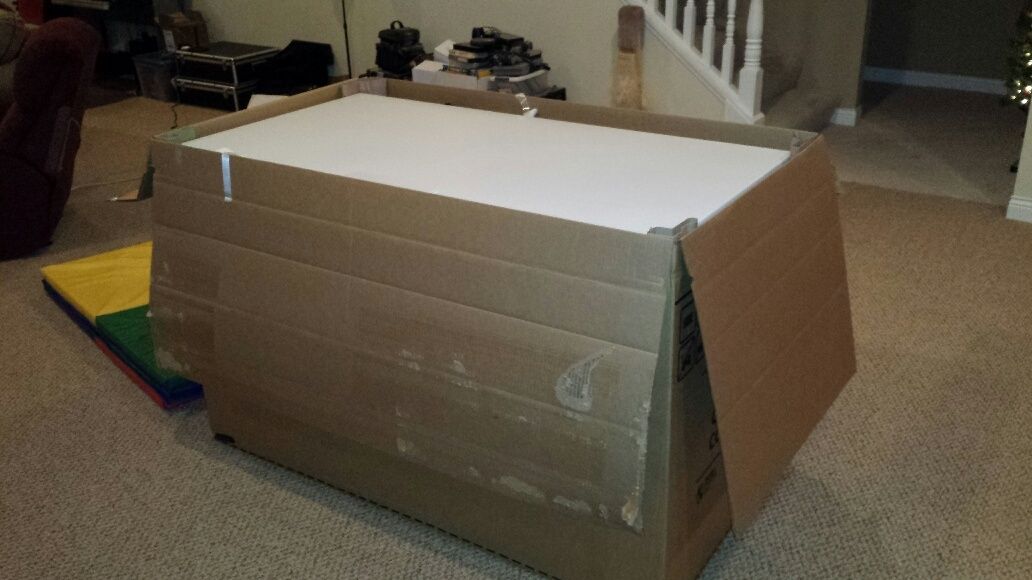
kettle removed to show the thick foam at the bottom of the shipping box. the cardboard is a bit beat up but the double-walled box makes for no shipping damage:

IMG_1864%20Large_zpsbhx7odgg.jpg


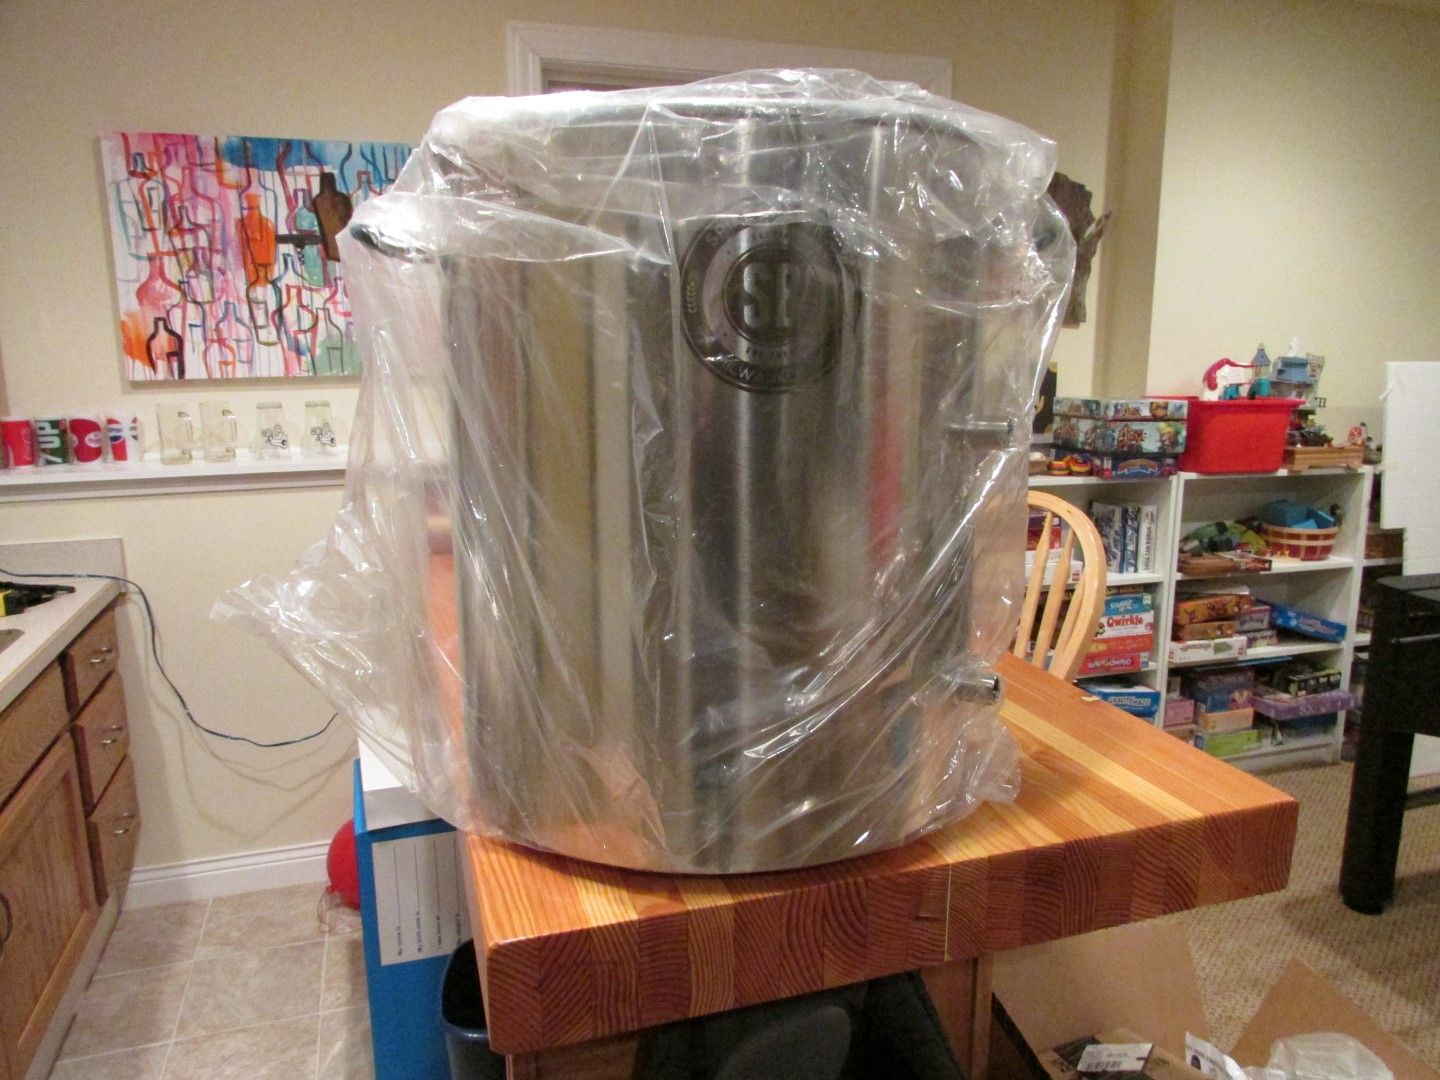
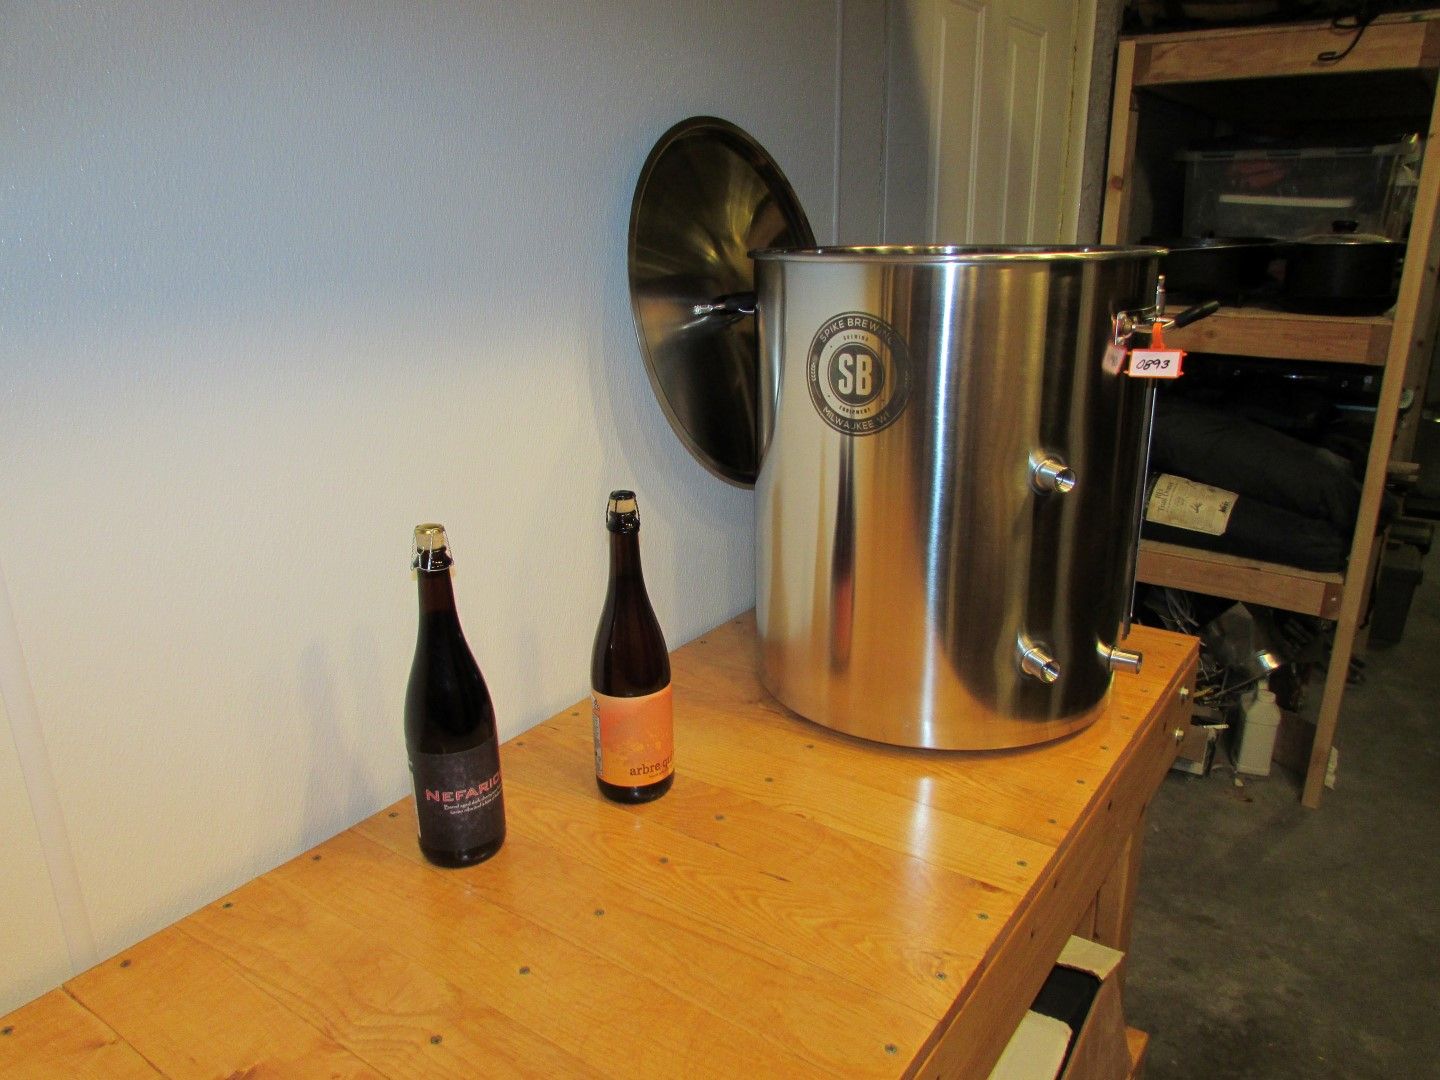
and here she is, in all her plastic-wrapped glory. the weight is incredible, very well constructed:

IMG_1865%20Large_zpserp91rna.jpg


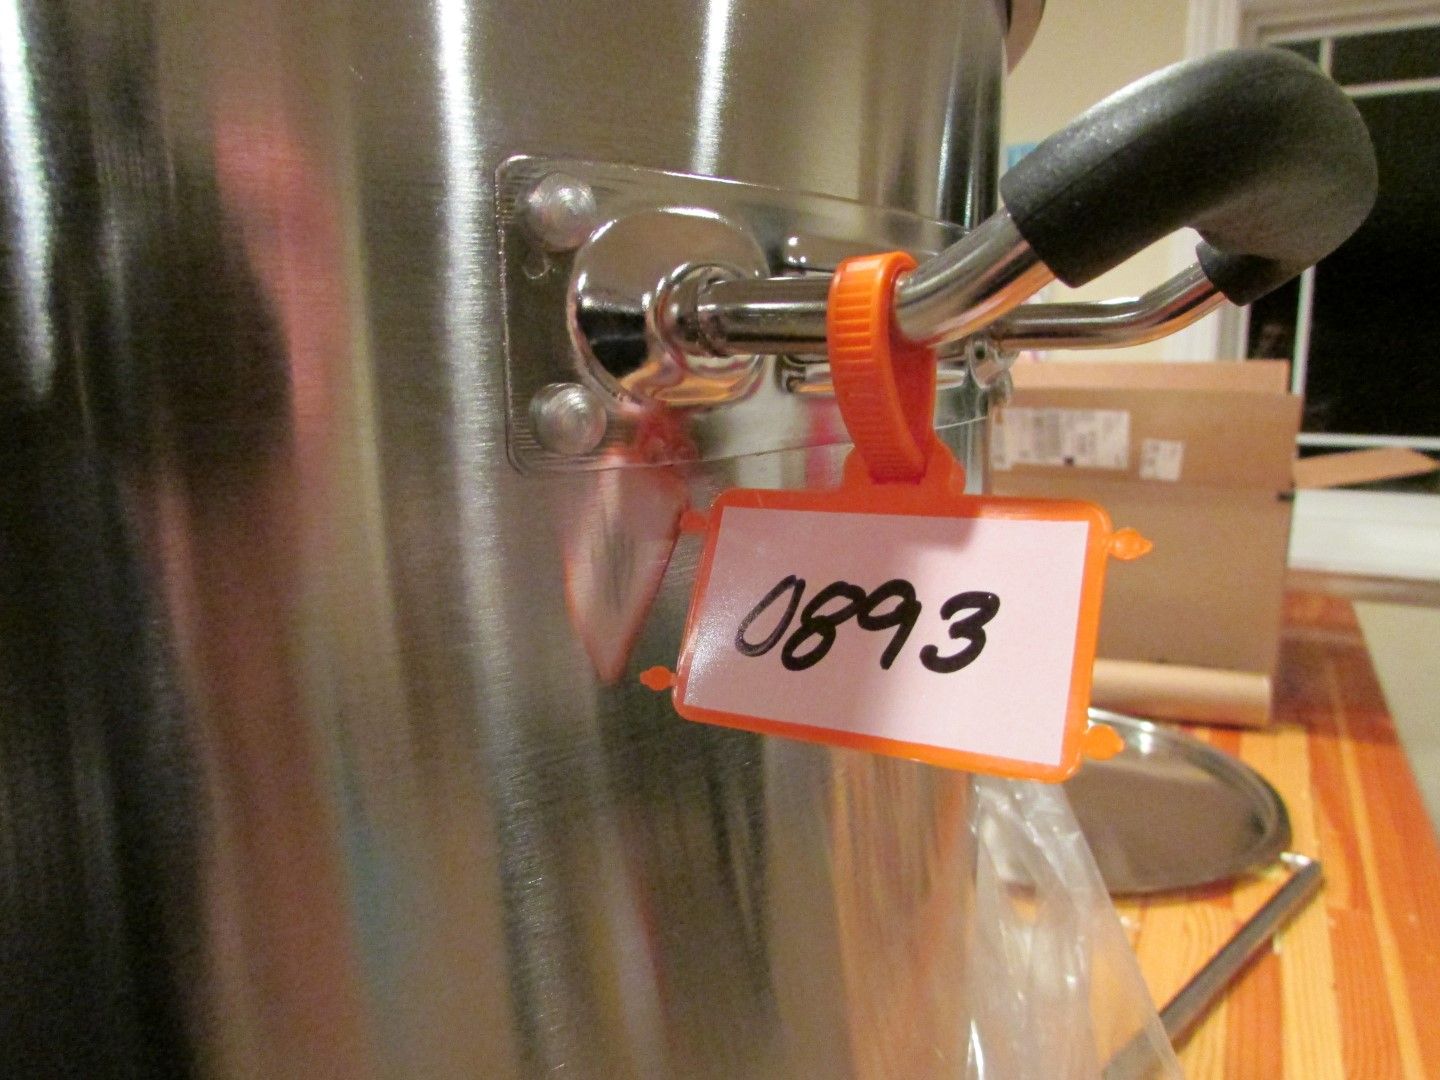
appears to be a custom tag, not sure if this ships on standard orders. this number was also on the shipping box:
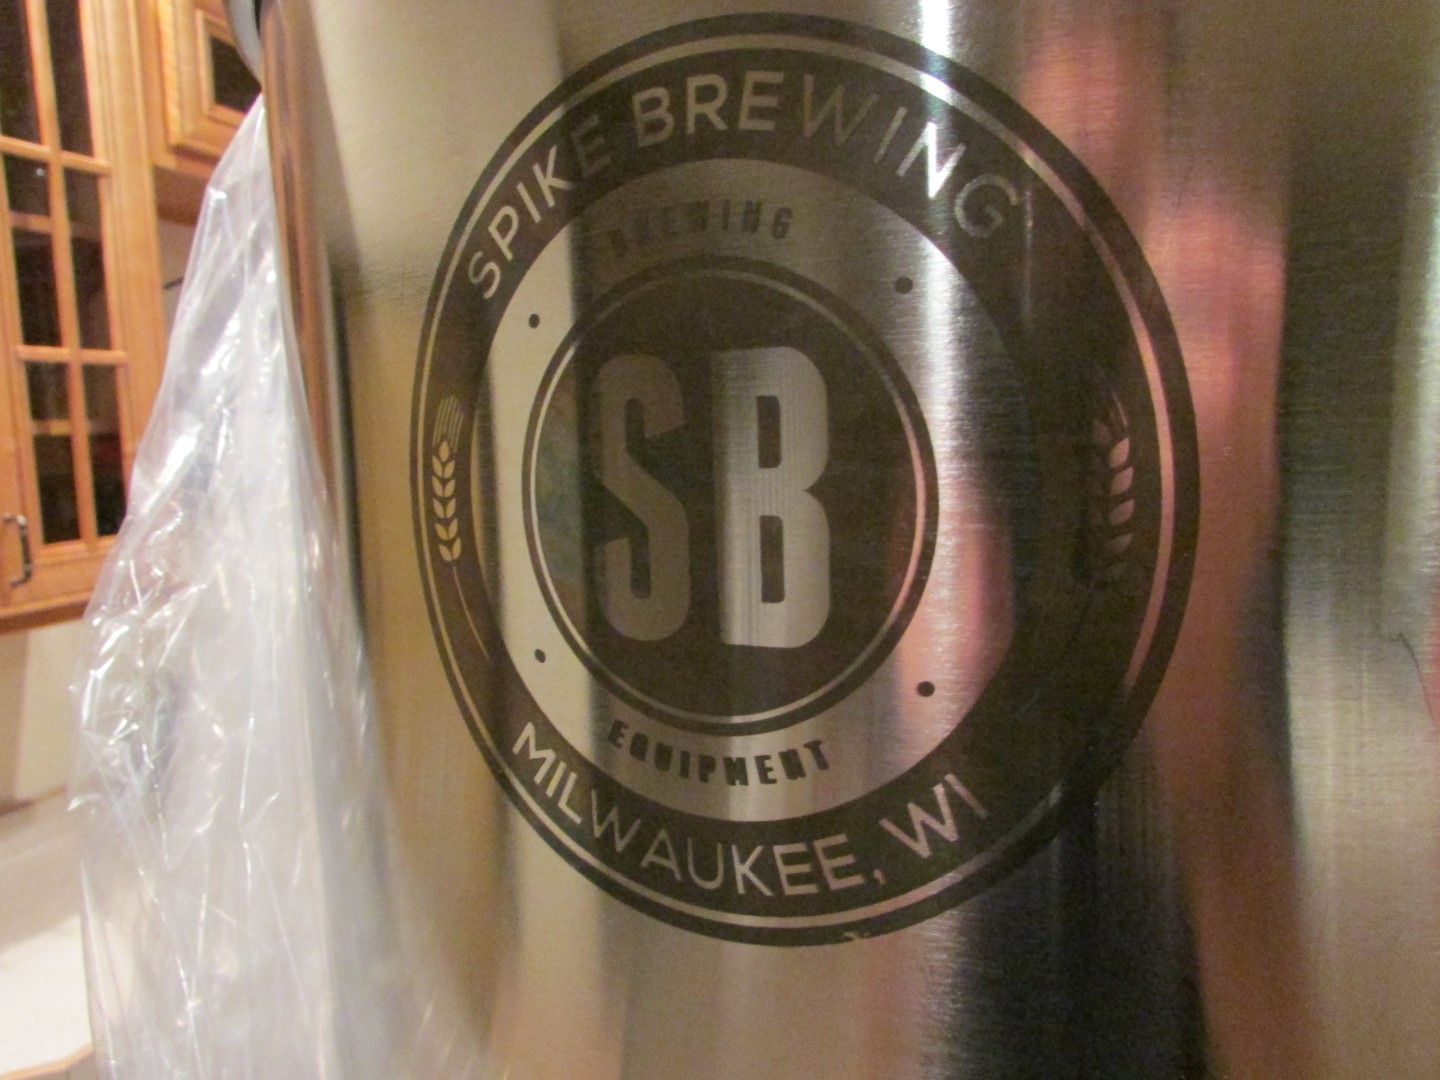
IMG_1866%20Large_zpsnqwpnpce.jpg


gigantic tattoo:

IMG_1867%20Large_zps80witjm1.jpg


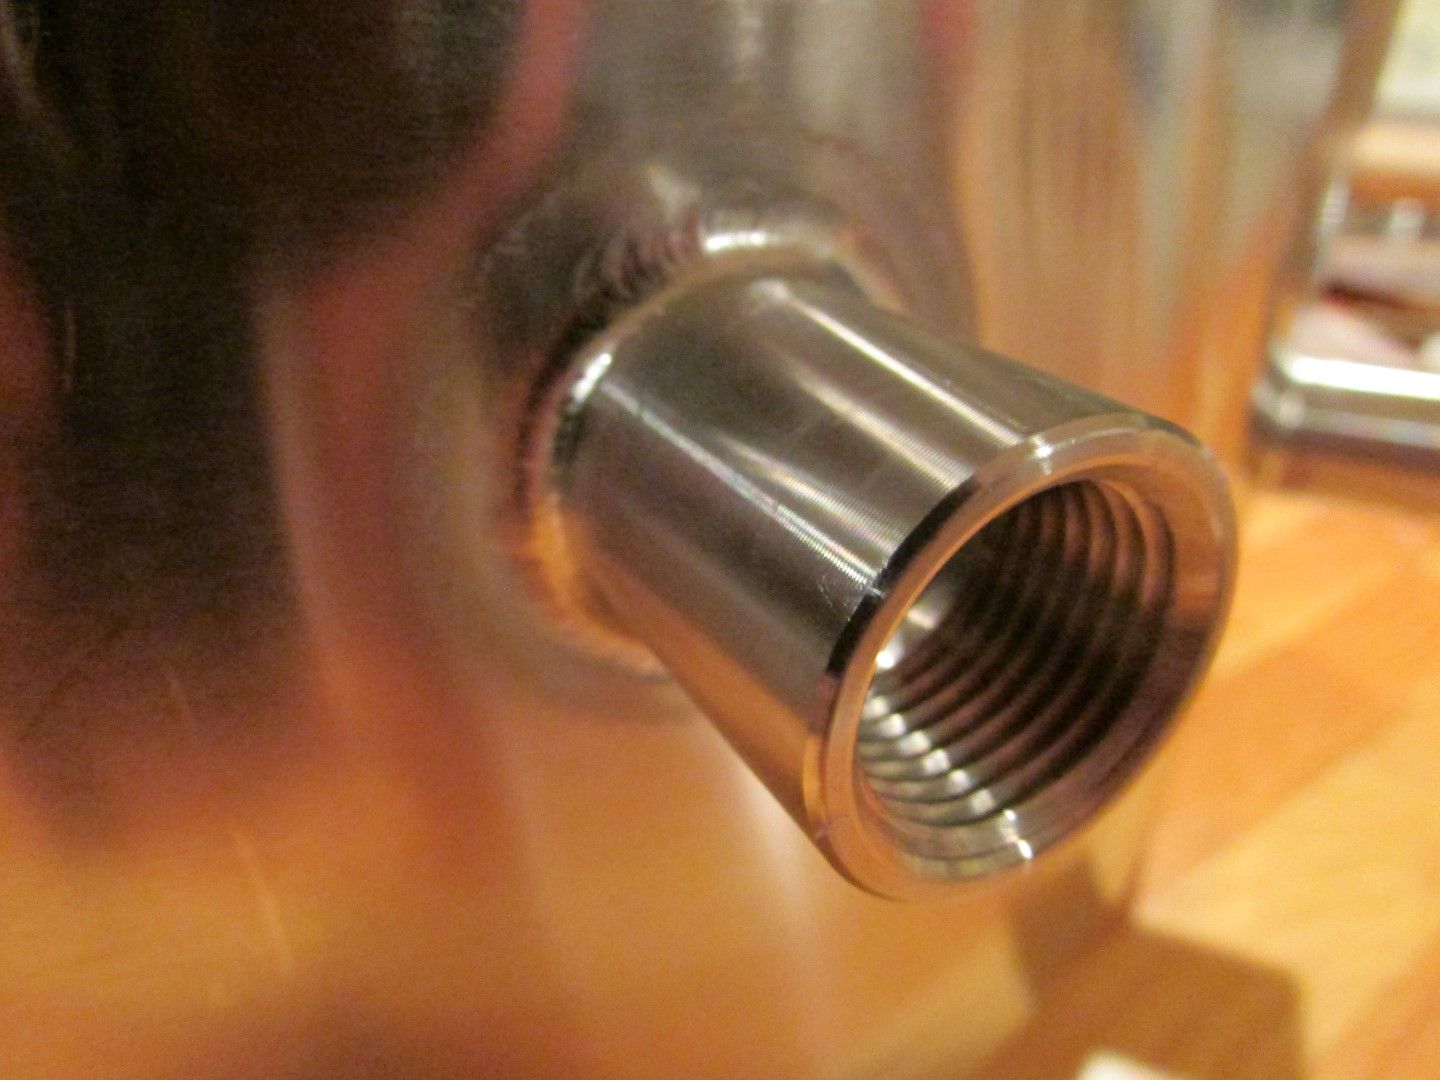
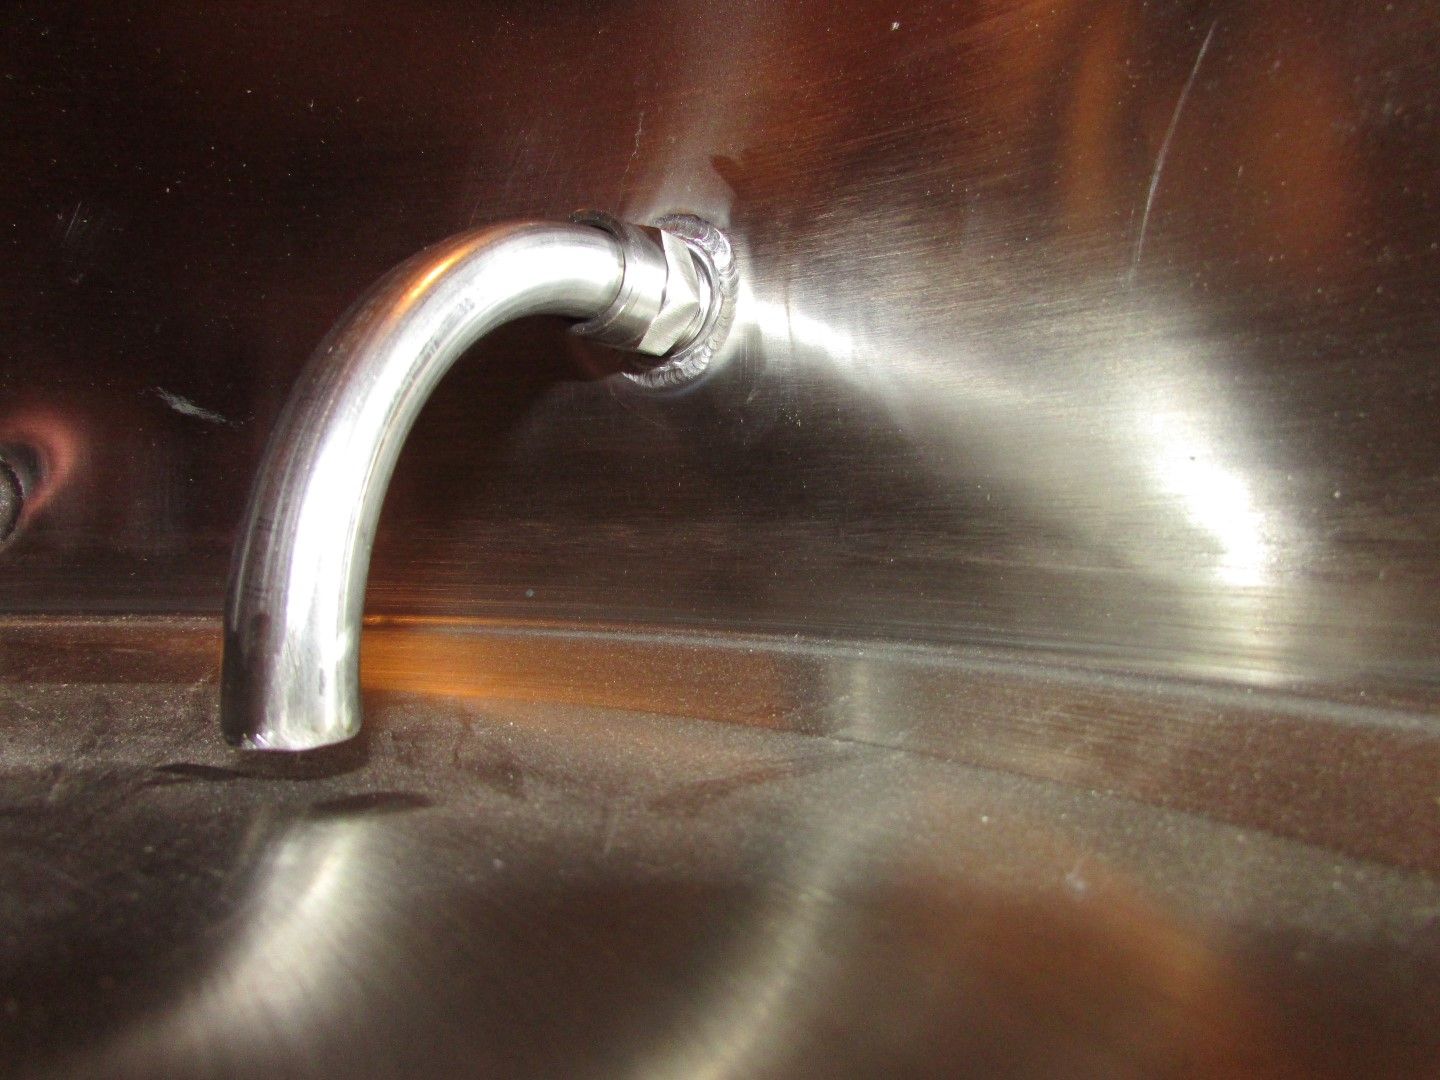
discharge fitting. beautiful welding, fitting is square and level to the kettle:

IMG_1868%20Large_zpsfjs8yhyk.jpg


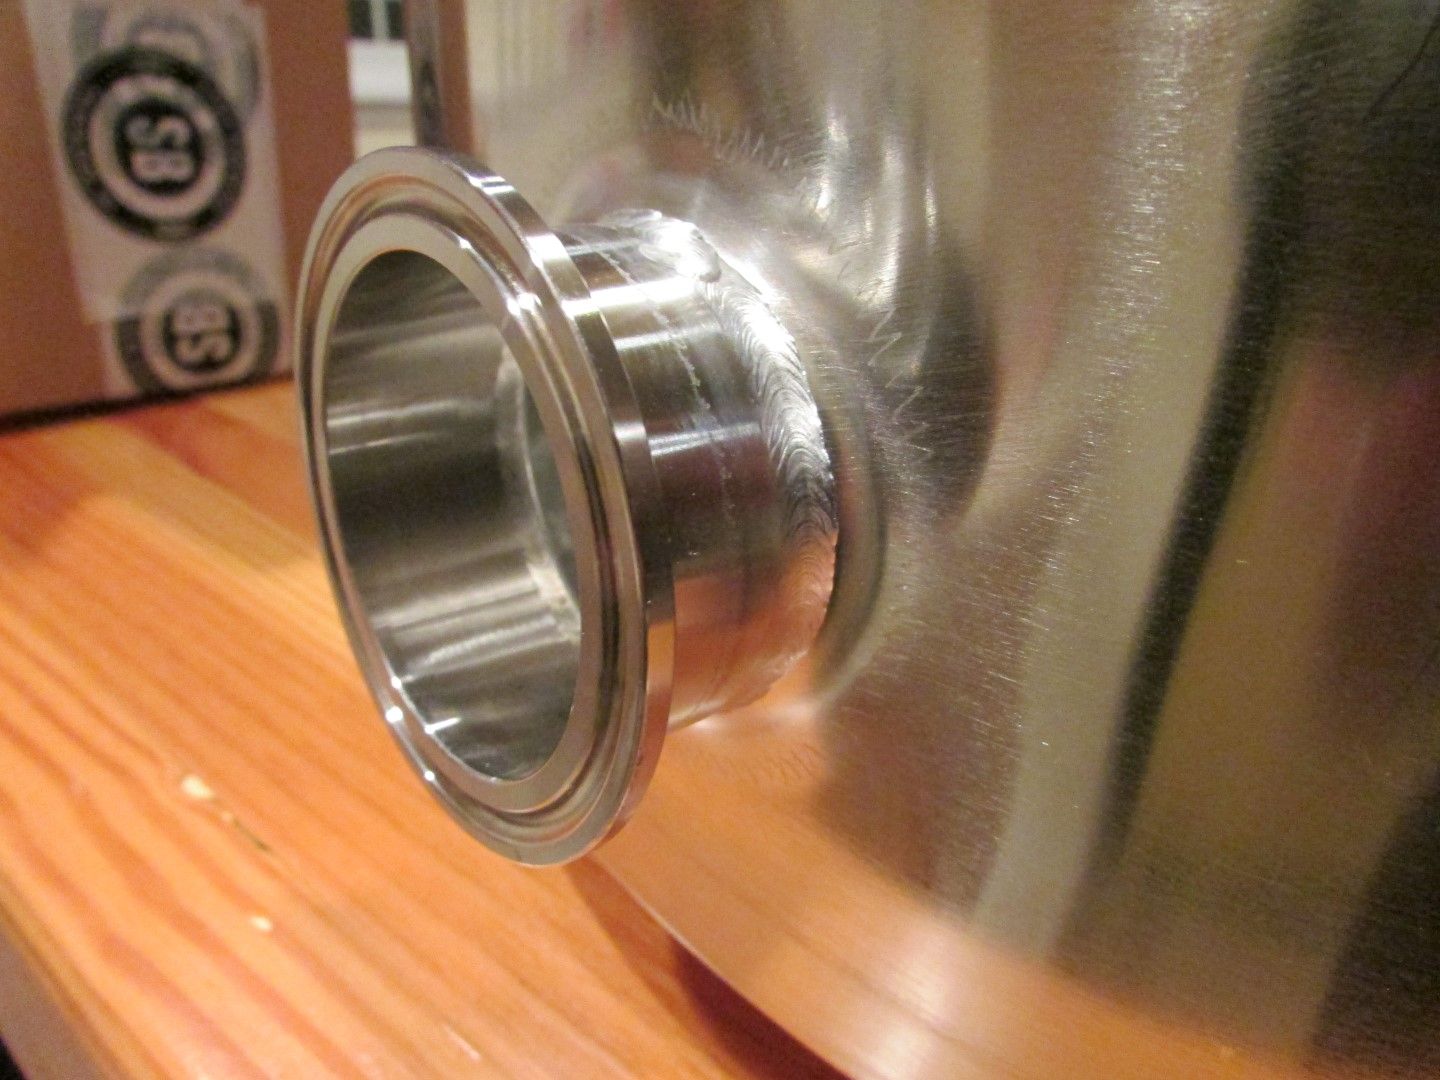
2" tri-clamp fitting for my heating element. i will be going with ripple elements and it will be easier to snake into the kettle with a 2" connection vs. a 1.5":

IMG_1870%20Large_zps4a6gpgpg.jpg


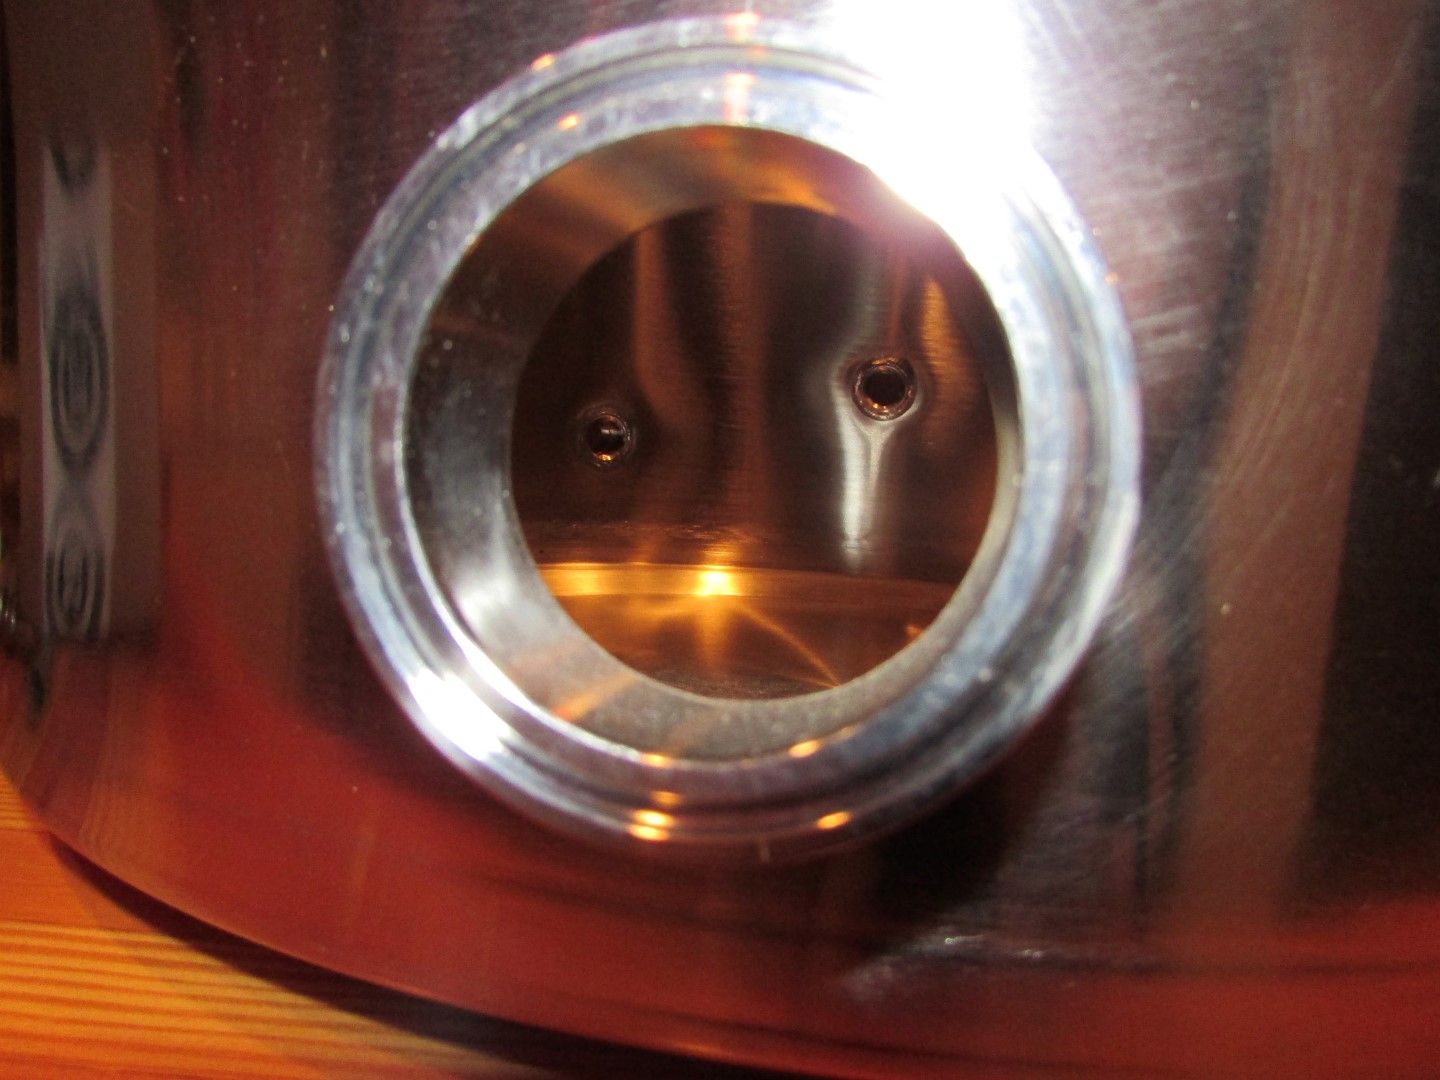
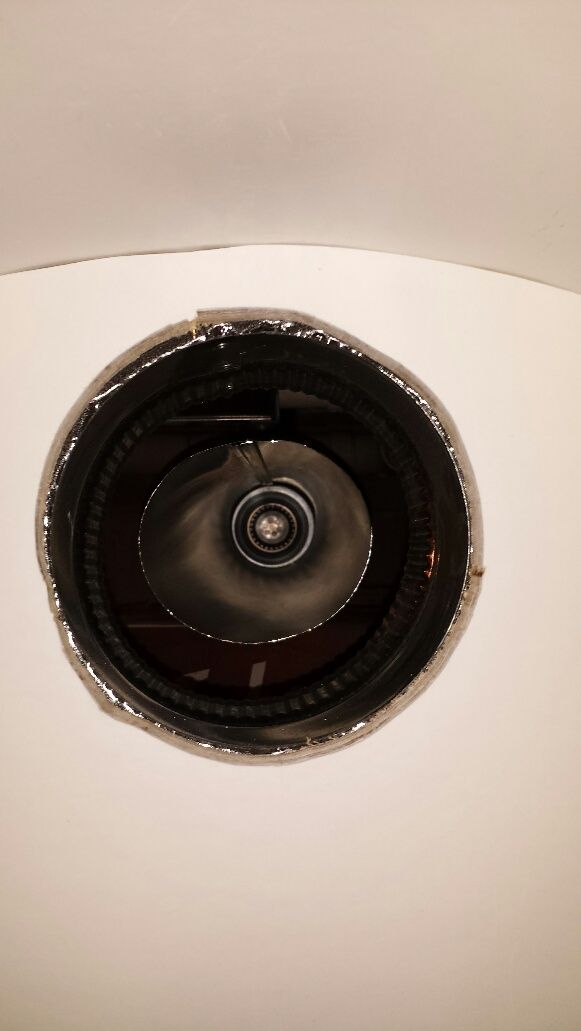
looking through the connection, with the discharge and bottom herms coil fittings on the opposite side:

IMG_1871%20Large_zpstmujoltj.jpg


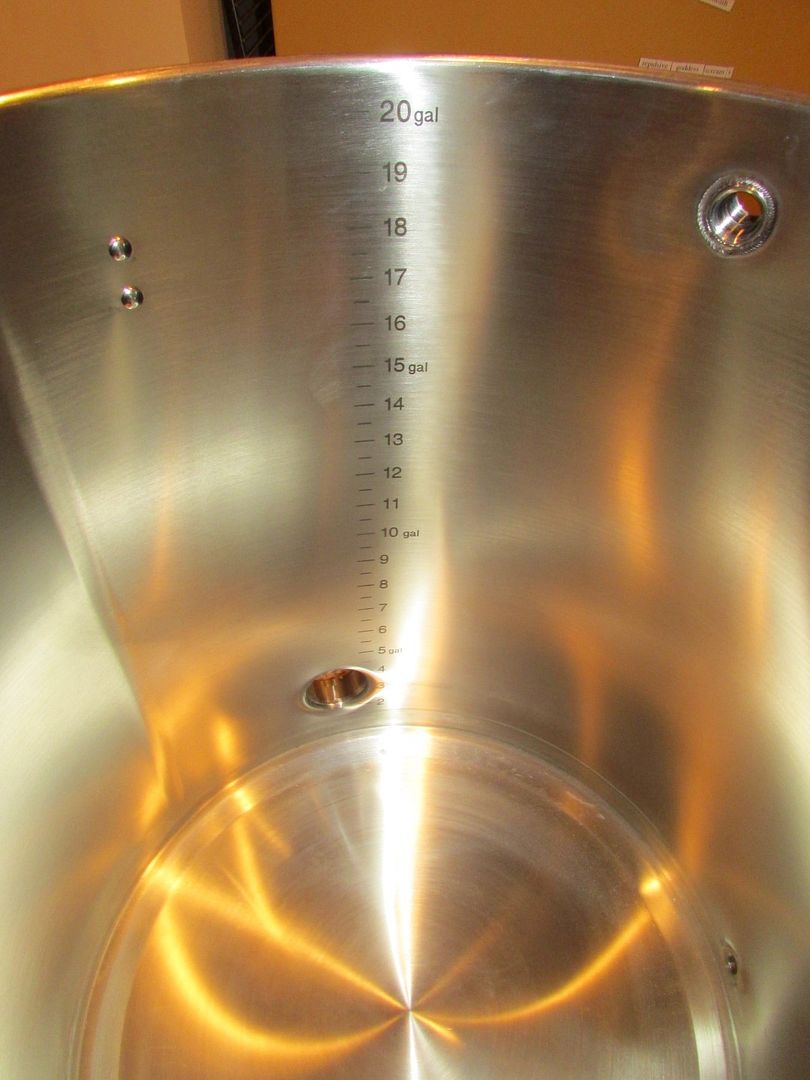
gallon markings on the interior, with the tri-clamp connection at the bottom and recirc water inlet on the top:

IMG_1873%20Large_zpselvsovul.jpg


internal weld detail. amazing:

IMG_1874%20Large_zpsqpr2bljc.jpg


bottom of the kettle. tri-clad bottom, very heavy. good for direct fire or induction:

IMG_1875%20Large_zpsrkabwsge.jpg


internal shot of the tri-clamp fitting:

IMG_1877%20Large_zpsp2zrqdwl.jpg


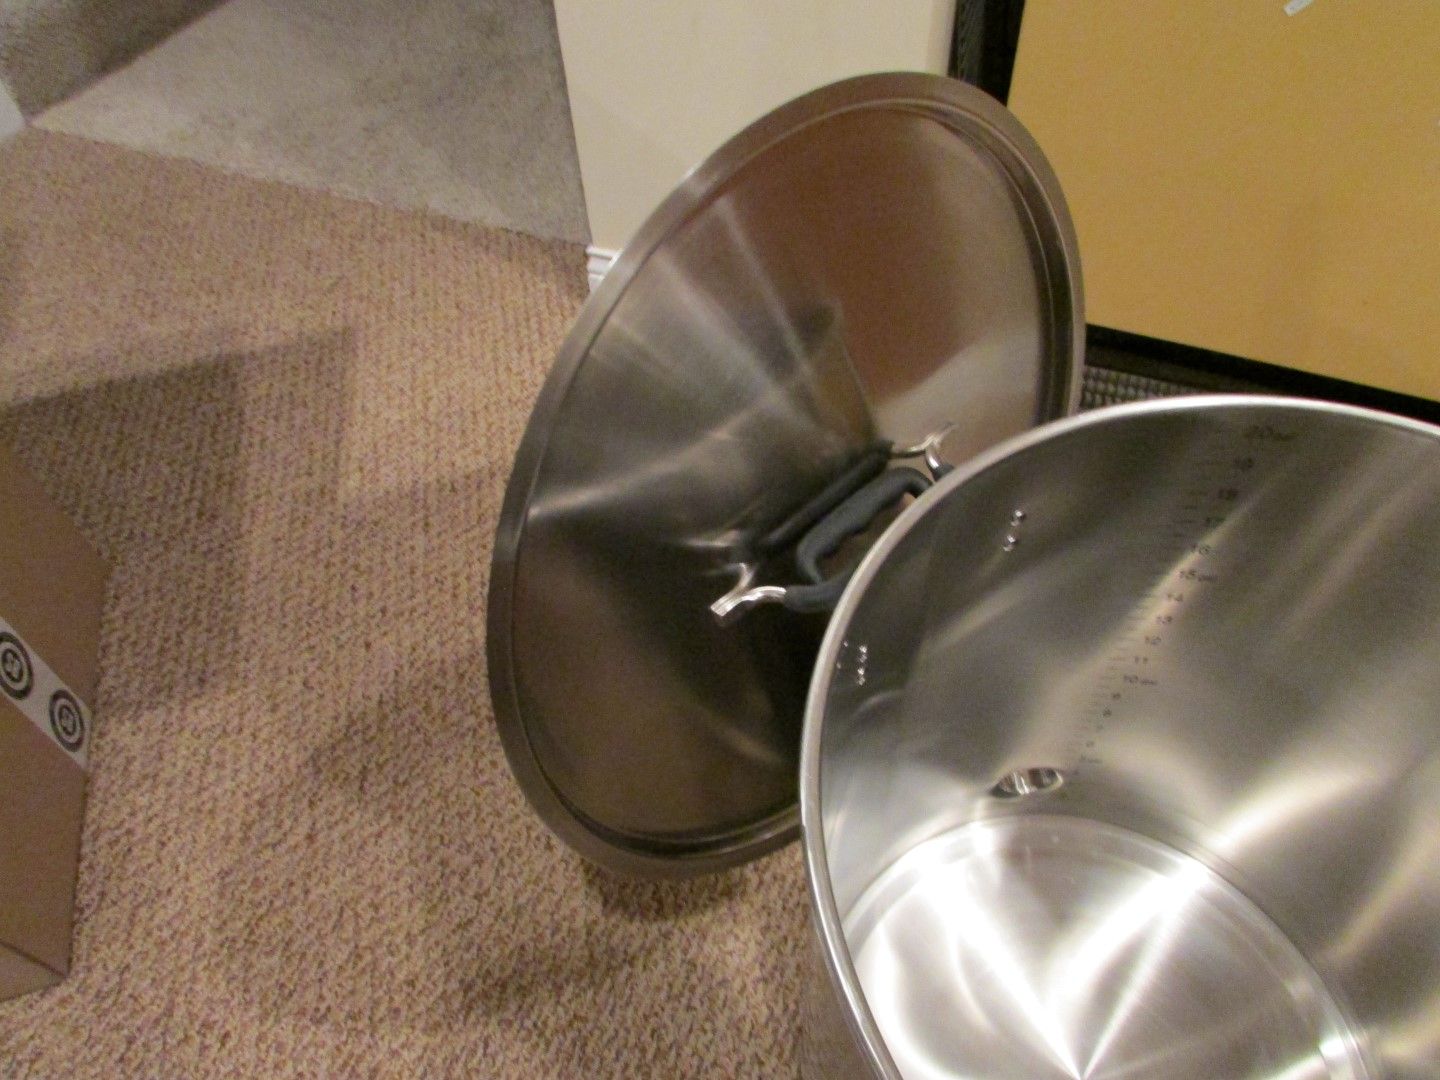
lid hanging on the side handle:

IMG_1878%20Large_zpsxwjammdk.jpg


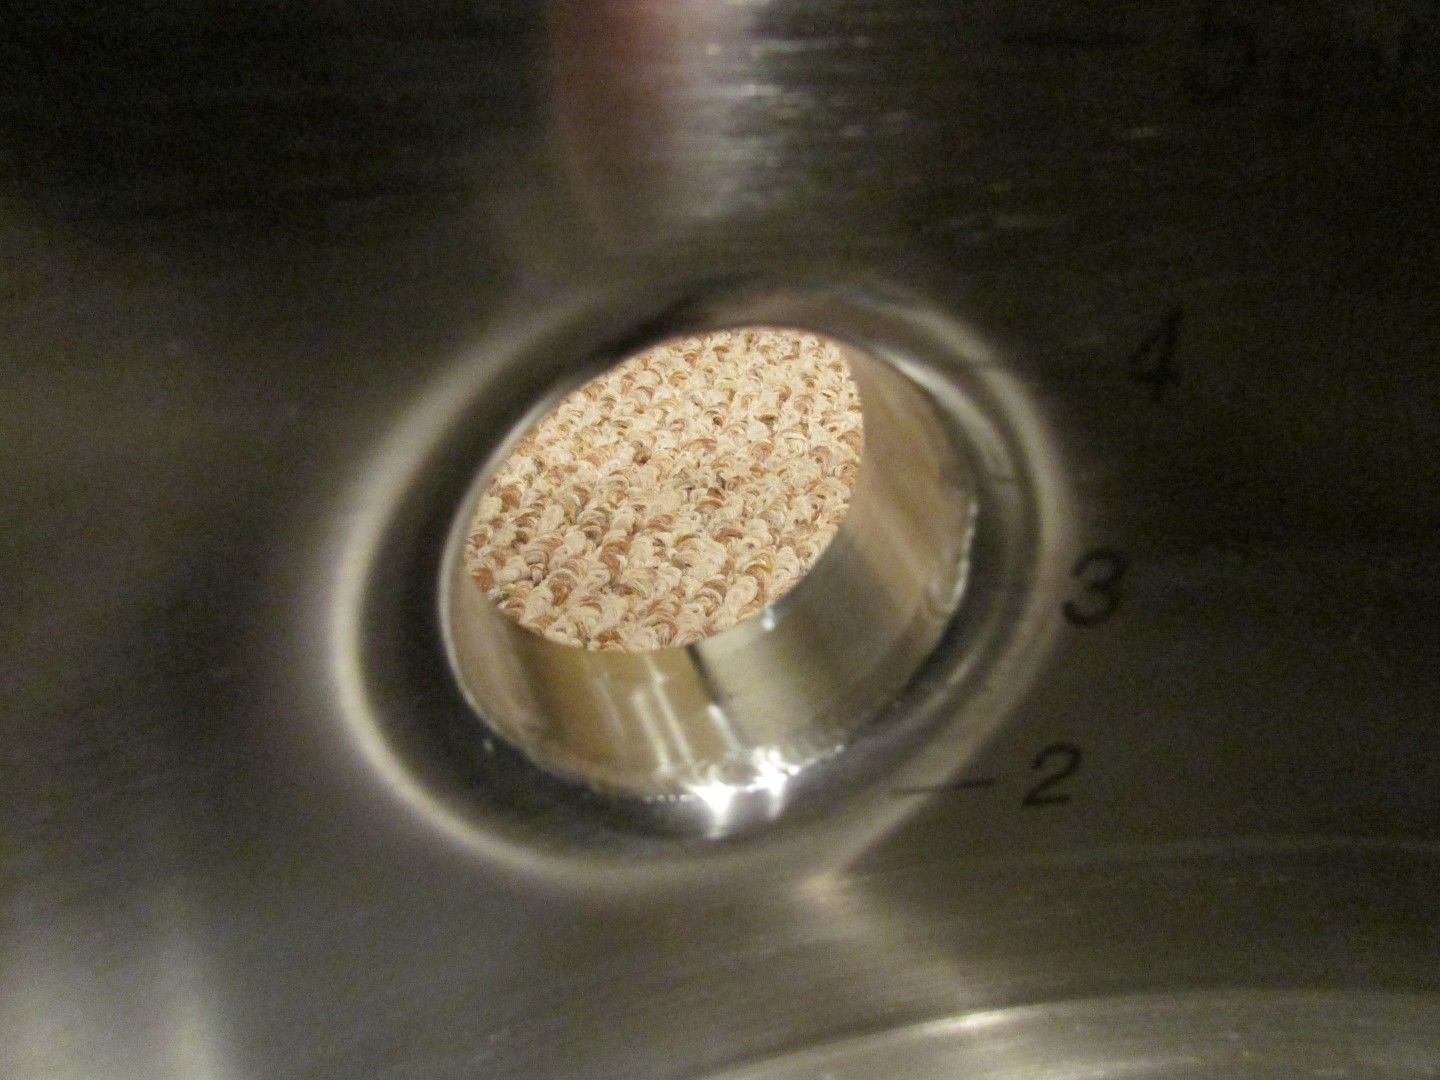
dip tube connection. only about 1/8" off the bottom, maybe less:

IMG_1880%20Large_zpsqaikf3da.jpg


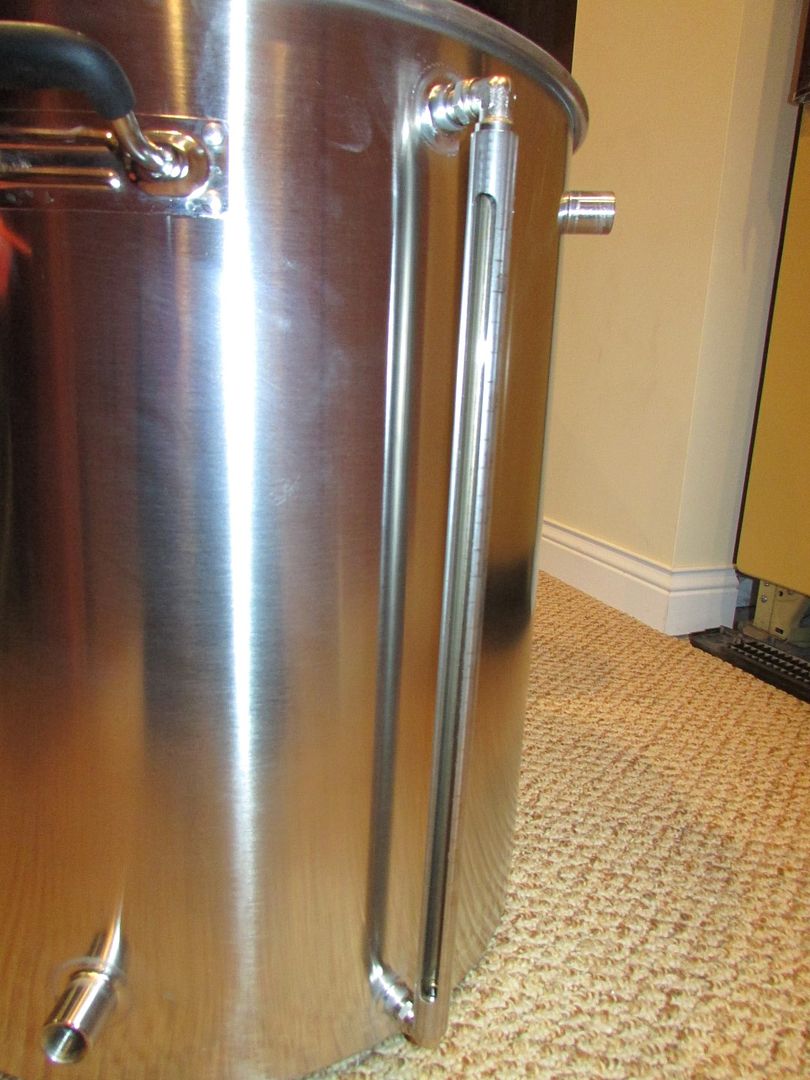
sight glass attached to the kettle:

IMG_1882%20Large_zps3rbfqo3o.jpg


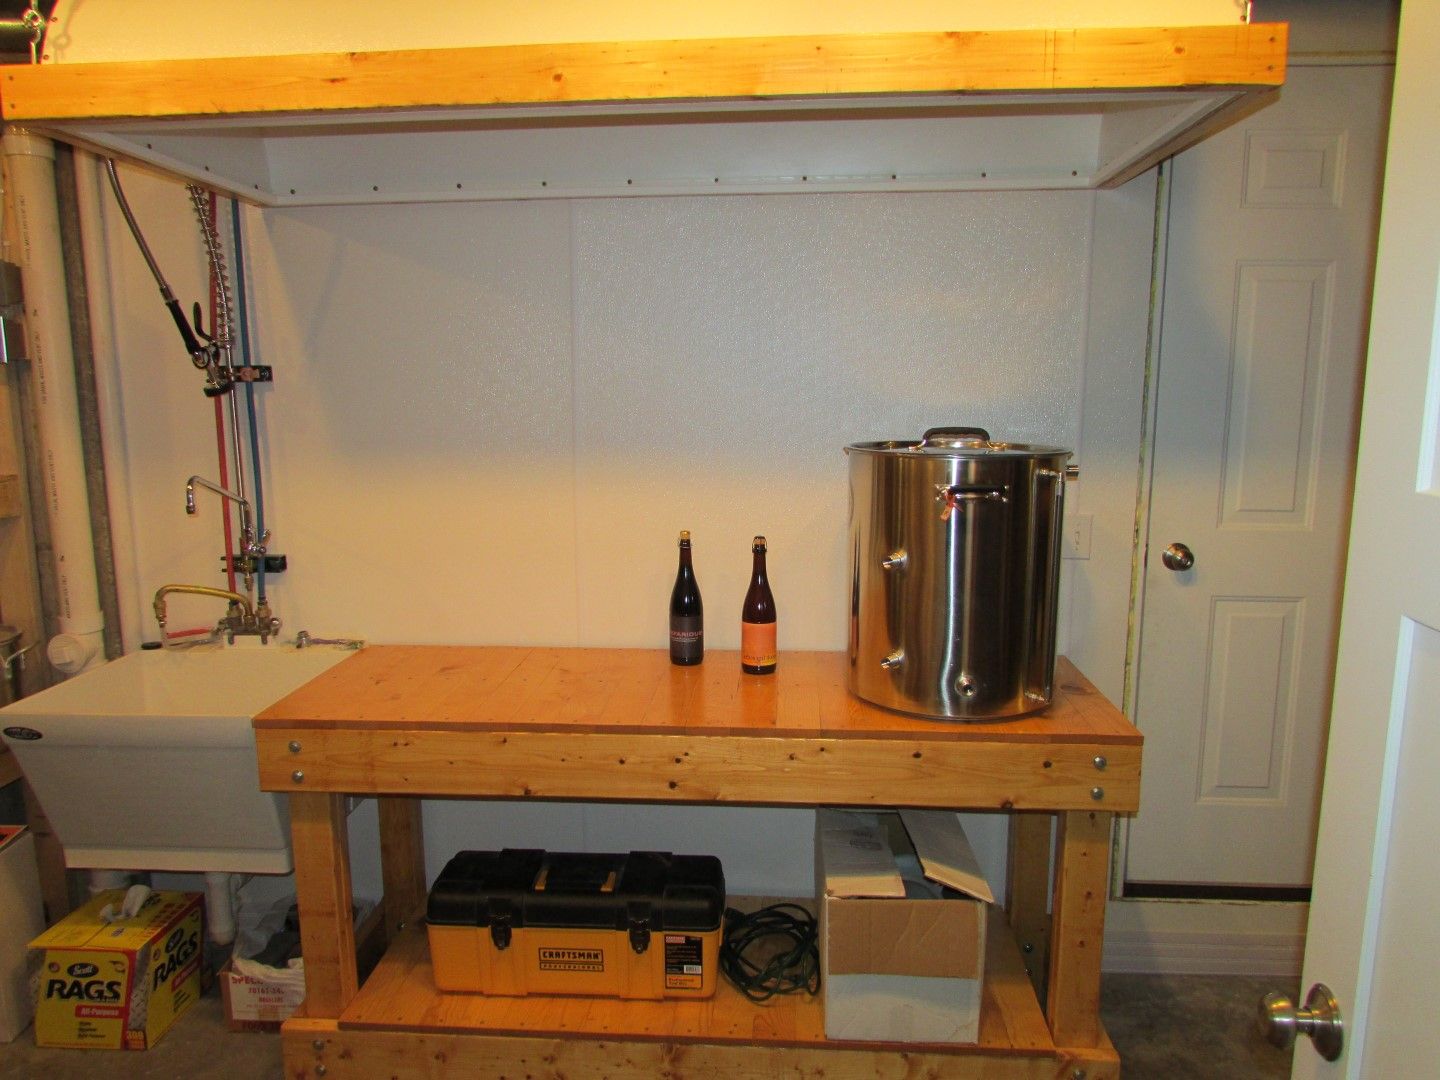
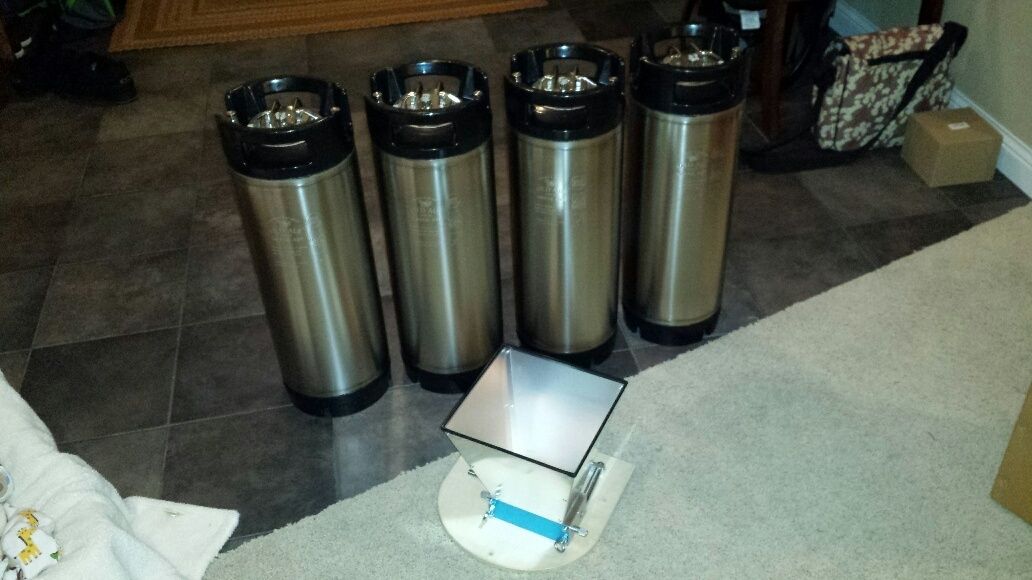
and a test spot on the brew stand. kettle is a monster, those are 750 ml bottles next to it:

IMG_1883%20Large_zpsemrk3zbl.jpg


IMG_1885%20Large_zpswvxqso9v.jpg


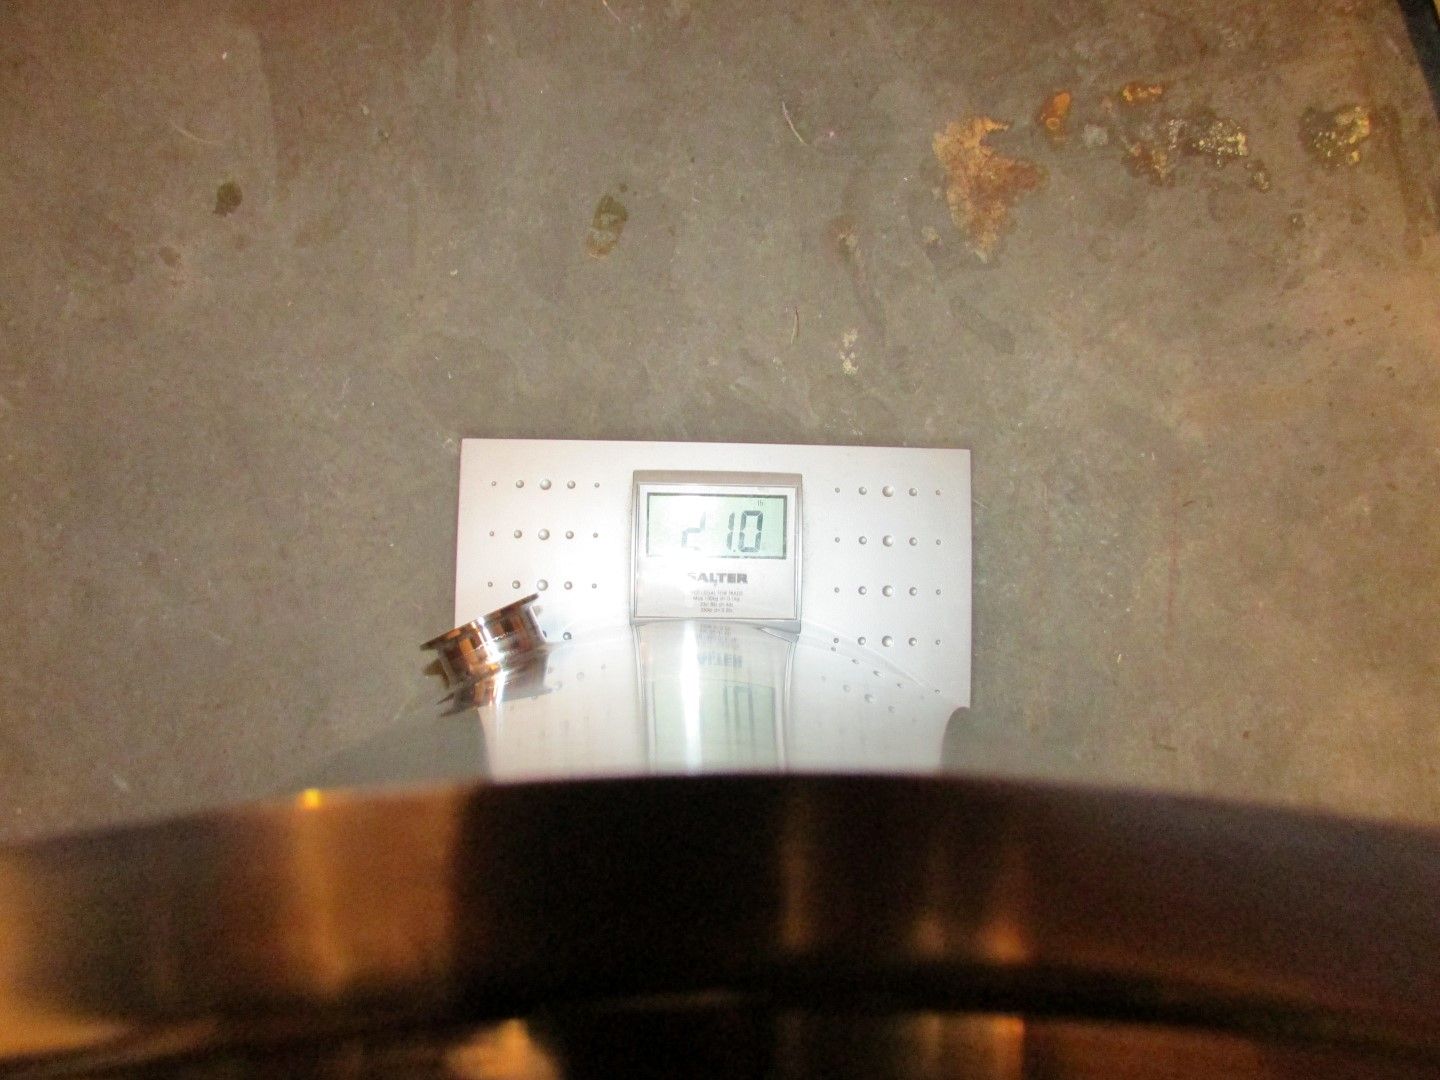
the weight of this thing is insane. very solid. hard to balance on the scale but it reads 21 pounds:

IMG_1886%20Large_zpspymy8fdm.jpg
 
Wow nice! I like that Spike and SsBrewtech have stepped in with quality hardware to compete with Blichmann.
 
Wow nice! I like that Spike and SsBrewtech have stepped in with quality hardware to compete with Blichmann.
Don't mean to rain on anyone's parade, but I see lots of things that I wouldn't want / don't like about these kettles when comparing to Blichmann. Everyone has to make their own choices but when they were first announced all I could see what the downsides if I was to use them on my setup:

- Sight glass cleaning is far more difficult. You have to completely disassemble the sight glass every time (into 3 pieces) in order to pass the brush through. On Blichmanns there's a nut at the top sight glass bracket: Remove the nut with the allen key (included), a quick up/down swipe of the brush (also included), replace the nut, and then push some water through one of the two holes to rinse. It's a quick 30 seconds because the sight glass isn’t removed. Pictures here: http://www.theelectricbrewery.com/kettles-overview?page=4

- Sight glass has no etching on these kettles. You have to open the lid every time you want to measure. This gets annoying fast.

- Clad bottom is useless other than those looking to do induction. People talk about even heat distribution but that's only relevant if you you're making something like thick spaghetti sauce. For beer brewing (other than induction) all it does is add weight and cost with zero benefit. Wort is not very thick and won’t scorch as the thin nature keeps it moving through natural convection. End result is a heavy kettle, harder to move around. Clad bottoms to avoid scorching make sense when heating thicker liquids like spaghetti sauce that do not move around naturally. Blichmann does not have a clad bottom for this reason.

- 5/8" pick up tube is non-standard sizing. Limits the types of hop filters you can use. Having the dip tube a slightly larger 5/8” won’t help with flow when there’s anywhere between 12-50 feet of ½” tubing or HERMS coil after it. You need a wrench to move it too. On the Blichmann you just pull it out by hand.

- The false bottom has more protrusions on the top than the Blichmann. This makes it harder to stir when mashing in as you’re hitting the stuff on the bottom. Blichmann only has the small dip tube that sits close to the side wall near the ball valve, and nothing else. Pictures: http://www.theelectricbrewery.com/kettles-overview?page=6

- I do like the "real" ball valve on the output. I don't like the new Blichmann flow valve, but it can be easily replaced. Wished they offered buyers the choice.

- Their ball valve however sticks out much farther than the Blichmann kettles given the welded fitting and nipple that you use. On my brewery design the HLT and MLT have a Tee and QD after the valve so using your kettles would result in parts that stick out even farther (2”?) making them more difficult to move around/clean/etc. The added weight doesn't help either. You may be able to reduce some of the length by using a close nipple instead of the one in the pictures that Spike Brewing's been showing. (that’s what I recommend on my HLT and MLT between the ball valve and Tee – pictures here: http://www.theelectricbrewery.com/mash-lauter-tun?page=4 ).


Just some quick thoughts! I don't want to dissuade and am not saying they aren't well made (the welds look great!), but everyone should look at how you brew and choose accordingly as there's more than one way to approach this and what works best for one person may not be best for someone else.

Full disclosure: The owner of Spike Brewing wanted to send me kettles for free and offered to have me feature them on my website in return for a commission on each unit I helped sell. I would have made more money off these than recommending Blichmann but at the end of the day I saw no advantages at all when used on my 3 kettle single tier design so I said no. I'm not going to lie/make up stuff to make a few extra bucks.

Everyone should pick/choose what works for them and their brewing process.

Cheers!

Kal
 
- Sight glass cleaning is far more difficult. You have to completely disassemble the sight glass every time (into 3 pieces) in order to pass the brush through.

the brush that came with the sight glass is very flexible. can't i push it in through the top and bottom openings in the kettle and then flush water through the top hole to clean?

- Sight glass has no etching on these kettles. You have to open the lid every time you want to measure. This gets annoying fast.

the sight glass has etching although it is very faint (technically the protective steel tube has the etching, not the glass itself). i have contacted spike about this and they are looking into it. definitely seems like it should be easier to read. the internal gallon markings come standard on the kettle.

- Clad bottom is useless other than those looking to do induction.

correct, i was just mentioning it for those looking to go induction or use on a gas burner (if you have concerns with thin bottoms for gas). same deal with the heat shield for the bottom of the sight glass. useless to me but worthwhile for those on gas.

- 5/8" pick up tube is non-standard sizing. Limits the types of hop filters you can use. Having the dip tube a slightly larger 5/8” won’t help with flow when there’s anywhere between 12-50 feet of ½” tubing or HERMS coil after it. You need a wrench to move it too. On the Blichmann you just pull it out by hand.

yeah, the larger size seems of nebulous benefit but you do not need a tool to remove the dip tube. it has a friction fitting for the tube. true, that fitting is threaded into the coupling but you can easily pull the tube portion off.

- The false bottom has more protrusions on the top than the Blichmann. This makes it harder to stir when mashing in as you’re hitting the stuff on the bottom. Blichmann only has the small dip tube that sits close to the side wall near the ball valve, and nothing else. Pictures: http://www.theelectricbrewery.com/kettles-overview?page=6

yep, tube is more in the way. i don't view this as a major issue though since after the initial mash, there isn't much need for stirring. at least i won't have a useless brewing thermometer probe in my way. :D

- I do like the "real" ball valve on the output. I don't like the new Blichmann flow valve, but it can be easily replaced. Wished they offered buyers the choice.

you nailed it, having a choice. the spike kettles do not come with the valve or with a thermometer. the user has the option of using a quarter-turn or three-piece valve, using a valve they already have, etc. similar with no built in thermometer or sight glass, the user can add if they wish. that was one of the turnoffs for me compared to the blichmann, that you are 'forced' to get a sight glass, outlet valve and thermometer, whether you want them or not.

- Their ball valve however sticks out much farther than the Blichmann kettles given the welded fitting and nipple that you use. On my brewery design the HLT and MLT have a Tee and QD after the valve so using your kettles would result in parts that stick out even farther (2”?) making them more difficult to move around/clean/etc. The added weight doesn't help either. You may be able to reduce some of the length by using a close nipple instead of the one in the pictures that Spike Brewing's been showing. (that’s what I recommend on my HLT and MLT between the ball valve and Tee – pictures here: http://www.theelectricbrewery.com/mash-lauter-tun?page=4 ).

yep, the valves will stick out a bit further but not an obscene amount, maybe only an inch or so. the added weight doesn't 'help' but speaks to the ruggedness of construction. this thing is bomb-proof!

Just some quick thoughts! I don't want to dissuade and am not saying they aren't well made (the welds look great!), but everyone should look at how you brew and choose accordingly as there's more than one way to approach this and what works best for one person may not be best for someone else.

Everyone should pick/choose what works for them and their brewing process.

Cheers!

Kal

i don't have any skin in the welded vs weldless game. i'm not good with metal work and the cost for spike to add the additional fittings i requested was very reasonable for me i picked spike for a few reasons:

  • custom: i was able to have spike add all the couplings i needed for the herms coil, water inlet and heating element. i didn't need to screw around with making my own openings and i'm not much good with metal work anyway.
  • features: i like being able to purchase a kettle with the features i want, not what someone else thinks i need. a la carte shopping makes more sense to me.
  • price: my custom kettle was about the same as the corresponding blichmann model but with the blichmann i would have had to make all my own holes. did i mention i'm not into metal work? :)
  • customer service: answered e-mail promptly, patiently putting up with all my nagging questions.
  • assembled in wisconsin: what can i say, i like to keep money in-state. :)

you're last statement sums it up perfectly: do what works best for you! i'm not trying to convince people to choice spike over another brand, just doing a little 'product review' in case folks were interested.:tank:
 
the brush that came with the sight glass is very flexible. can't i push it in through the top and bottom openings in the kettle and then flush water through the top hole to clean?
Wow! That is flexible. If you can do that (turn a 90 degree corner) then by all means do that. That's actually a great feature.

you're last statement sums it up perfectly: do what works best for you! i'm not trying to convince people to choice spike over another brand, just doing a little 'product review' in case folks were interested.:tank:
Exactly! In retrospect I feel bad for posting this in your thread as it doesn't really belong here (sorry about that - I don't want to derail). As long as people consider all options to make sure they get what's best for them, that's all that matters! Your kettles should last you a lifetime. Happy brewing!

Kal
 
Hey INR... Are those sight glass fittings a custom design?

can't say for sure, i don't have a lot of experience with sigh glasses. looks to be a 3/8" compression fitting on one end of the elbow, like you would see on a blichmann dip tube. this is the end the glass tube inserts into. that fitting is integrally cast with the elbow (i.e. a solid piece). other ended is threaded with a hex nut, hex and thread rotate together. possibly attached with a flare/compression fitting? 'sb' is etched into the side of the elbow. maybe it is a commercially available fitting but spike has certainly customized it with the etching.

Wow! That is flexible. If you can do that (turn a 90 degree corner) then by all means do that. That's actually a great feature.

got home tonight and tried the brush through the 90. yeah, that ain't going to work! the blichmann glass seems pretty cool with that nut. taking mine apart will be a pain but my thoughts are i can make a fitting on the end of a hose to just blast water through the thing. seems like it would work pretty well if i do it right after draining the boil kettle. might need to take it apart for a crazy hopped beer, due to the oils.


In retrospect I feel bad for posting this in your thread as it doesn't really belong here (sorry about that - I don't want to derail). As long as people consider all options to make sure they get what's best for them, that's all that matters! Your kettles should last you a lifetime. Happy brewing!

Kal

oh my gosh, no worries! stumbling across your site is the whole reason i am here now. a homebrewer with an awesome setup AND a sauna enthusiast? what's not to like? :tank:

it just seems like blichmann has been the 'cadillac' for many years and there has been a wide gap between them and the competition. this is at a high price, of course. seems like spike has really stepped up the game with their new v3. both manufacturers have a great product, nice to know there are options out there for folks looking to go 'all in'.
 
Don't mean to rain on anyone's parade, but I see lots of things that I wouldn't want / don't like about these kettles when comparing to Blichmann. Everyone has to make their own choices but when they were first announced all I could see what the downsides if I was to use them on my setup:

No umbrellas needed. I see your points. :mug:
 
- Sight glass cleaning is far more difficult. You have to completely disassemble the sight glass every time (into 3 pieces) in order to pass the brush through. On Blichmanns there's a nut at the top sight glass bracket: Remove the nut with the allen key (included), a quick up/down swipe of the brush (also included), replace the nut, and then push some water through one of the two holes to rinse. It's a quick 30 seconds because the sight glass isn’t removed. Pictures here: http://www.theelectricbrewery.com/kettles-overview?page=4

Although it's true you can clean the sight glass when the top nut is taken out you can't clean the gunk inside the 90* bend or around the weld-less nut on the inside unless disassembled. Here's a quick video of how easy it is to take apart our sight glass and throughout clean all parts.

[ame]https://www.youtube.com/watch?v=1CBtNnaOXB0[/ame]


- Sight glass has no etching on these kettles. You have to open the lid every time you want to measure. This gets annoying fast.

This is incorrect. Our sight glass shields have laser etched volume markings every half and full gallon.


- Clad bottom is useless other than those looking to do induction. People talk about even heat distribution but that's only relevant if you you're making something like thick spaghetti sauce. For beer brewing (other than induction) all it does is add weight and cost with zero benefit. Wort is not very thick and won’t scorch as the thin nature keeps it moving through natural convection. End result is a heavy kettle, harder to move around. Clad bottoms to avoid scorching make sense when heating thicker liquids like spaghetti sauce that do not move around naturally. Blichmann does not have a clad bottom for this reason.

We used to think this as well until we realized the following:

1. Many brewers use induction burners to brew with. This is especially popular in northern states during the winter. A single layer kettle will not work with induction.
2. On the larger (20gal+) kettles it is beneficial as they have a diameter up to 2 feet. When a 6" wide burner is placed underneath a large kettle like this all the heat is focus on the center. The tri-clad bottom helps distribute that heat out to the outer edges of the kettle increasing heating time and efficiency of gas burners.
3. The single layer kettles tend to be concave as the bottoms are stamped. This can be exaggerated after gas fired heating cycles. As you can see with our older style v2 kettles they don't sit 100% flat and can rock on a stove or burner.

[ame]https://www.youtube.com/watch?v=bjKsZRc5N04[/ame]

- 5/8" pick up tube is non-standard sizing. Limits the types of hop filters you can use. Having the dip tube a slightly larger 5/8” won’t help with flow when there’s anywhere between 12-50 feet of ½” tubing or HERMS coil after it.

Our kettles use 1/2"npt fittings which are all standard. The Hop Stopper that Kal sells will screw directly into the ports we weld on.

We agree that for a pump driven system you won't see a huge benefit as there will be other restrictions down the line. However many brewers can't afford a $150 pump and use gravity. We've found the 5/8" tube flows up to 4x faster than the 1/2" size of the Blichmann and SS Brew Tech kettles.

[ame]https://www.youtube.com/watch?v=ASMKueFxrag[/ame]

You need a wrench to move it too (referring to pick up tube). On the Blichmann you just pull it out by hand.

This is also false. Our 1/2"npt x 5/8" fitting simply hand tightens into the kettle and the pick up tube pushes into that fitting; no tools required.

[ame]https://www.youtube.com/watch?v=TOjiZzF9uQw[/ame]

- The false bottom has more protrusions on the top than the Blichmann. This makes it harder to stir when mashing in as you’re hitting the stuff on the bottom. Blichmann only has the small dip tube that sits close to the side wall near the ball valve, and nothing else. Pictures: http://www.theelectricbrewery.com/kettles-overview?page=6

Our false bottom does not have any protrusions. Our pick up tube is very low profile (about 1.5", see below). We choose to have the pick up tube draw from the center to promote a good flow through the grain bed and reduce the chance of channeling towards the side walls.


- Their ball valve however sticks out much farther than the Blichmann kettles given the welded fitting and nipple that you use. On my brewery design the HLT and MLT have a Tee and QD after the valve so using your kettles would result in parts that stick out even farther (2”?) making them more difficult to move around/clean/etc. The added weight doesn't help either. You may be able to reduce some of the length by using a close nipple instead of the one in the pictures that Spike Brewing's been showing. (that’s what I recommend on my HLT and MLT between the ball valve and Tee – pictures here: http://www.theelectricbrewery.com/mash-lauter-tun?page=4 ).

This isn't something we hear as a complaint. However it might be an issue for some people I guess. Attached is how far the valves stick out for reference.


Full disclosure: The owner of Spike Brewing wanted to send me kettles for free and offered to have me feature them on my website in return for a commission on each unit I helped sell. I would have made more money off these than recommending Blichmann but at the end of the day I saw no advantages at all when used on my 3 kettle single tier design so I said no. I'm not going to lie/make up stuff to make a few extra bucks.

itsnotrequired also got a 2" TC fitting welded on for use with a heating element. We get a lot of questions regarding these so I wanted to include an install video as well. It's by far the easiest and safest way to install a heating element!

[ame]https://www.youtube.com/watch?v=yr68n10_Ex0[/ame]

I spoke with Ben and he did say we reached out to Kal. We offered to make a custom HERMS system based of his design. For the above reason he declined. The commission was not discussed as we do not offer any affiliate selling. We did however offer to make up the difference in monies lost from his normal Blichmann affiliate sales.

In Kal's defense it would be a heck of an undertaking to completely redo his site and design with different kettles. His system is meant more for the DIY type person. Switching to our kettles would lose revenue on all the additional pieces, punches, element housings, etc so we totally understand! :mug:

-Tim
 
The FedEx guy delivered my new brew kettle and mash tun last night. Life is getting in the way of my unpacking. Making a modified Centennial Blonde as my first all grain brew when everything 's set up and running with the pump, chiller and connects I just bought from Bobby. Christmas came early this year :ban:image.jpg
 
12/21/2015 update

got my six-tapper drip tray for the keezer today. tray and grill individually wrapped in plastic, tons of paper in the box, well packaged:

20151221_144930_resized_zpszhlimtgc.jpg


protective cover on the grill:

20151221_191742_resized_zpsshyirdgs.jpg


she's a beauty:

20151221_191950_resized_zps9lyvycmk.jpg


started some work on the keezer tonight. finally cut the box away:

20151221_160330_resized_zps7nuba9qt.jpg


figured i should probably plug this thing in and make sure it works before i get too nuts. light is on and the compressor is running:

20151221_160515_resized_zpso0yj8rqq.jpg


to squeeze an extra two kegs up on the compressor hump, i need to add a collar. freezer construction is such that wit the keg and disconnects, i'm going to need about 8". too small for a 2x8 and i didn't want to fool around with weirdo spacers so decided on a 2x10 collar. one big issue is that the cord from the compressor hump to the lid for the light will be too short once the collar is on there. i pop open the compressor access door. the cable coming in on top (left side) is the main incoming power, bottom cord is the cord out to the lid for the light.

20151221_160801_resized_zpscvbrehvi.jpg


a bit tough to see in the photo above but there is a connector for the cord out to the lid. i unscrewed the clamp holding the cord down, hoping there would be enough slack in the cord to work with the collar but no dice.

20151221_161551_resized_zpsok9ut72b.jpg


my first though was to splice a longer piece of wire into the cord, to give it enough length to hook back up to the connector and still work with the tall collar. that approach would require two splices and have one fundamental flaw: the light would only work if the freezer was running. i'll be using an inkbird controller for temperature regulation and plugging the freezer into the inkbird. with the light 'downstream' of the main power cord, there will be no light from the lid lamp unless the compressor is running. so i decide to scrap the connector all together and splice a whole new plug on the end of the lid light cord:

20151221_181246_resized_zpsyuoqqvgh.jpg


i ran to menards and grabbed a three foot extension cord, designed for splicing into tools or similar corded devices. first splice on:

20151221_181932_resized_zpsmlgpwgsx.jpg


i staggered the splices so they weren't adjacent to one another. this will make for a 'lower profile' cover over the splices, make it look more like a cord:

20151221_183158_resized_zpszfluoniu.jpg


and all spliced up. it is important to plan out the amount of wire to cut and splice (i.e. short on one end, long on the other):

20151221_184435_resized_zpsvinfacnh.jpg


finally some shrink tube. be sure to slide the shrink tube on the cord before making splices:

20151221_184619_resized_zpshc5yac2d.jpg
 
Although it's true you can clean the sight glass when the top nut is taken out you can't clean the gunk inside the 90* bend or around the weld-less nut on the inside unless disassembled.
I find it easy to do with the brush from inside the kettle. Quick and easy. Not having to take the sight glass off a Blichmann at all during cleaning I find much simpler. That said, all 3 kettles are on the hot side of the brewing process so regardless of which kettle you use, you don't even really need to clean in there, at least not after every brew.

Our sight glass shields have laser etched volume markings every half and full gallon.
Cool. I like them and stand corrected.

Our false bottom does not have any protrusions.
I wasn't clear: The dip tube that goes all the way to the center is a protrusion.

We choose to have the pick up tube draw from the center to promote a good flow through the grain bed and reduce the chance of channeling towards the side walls.
I don't think you'd need to do that given the ledge the false bottom sits on (like Blichmann) which eliminates side wall shunting. Not having the large dip tube go 1/2 way across the bottom makes mashing in / stirring easier (IMHO).

As I said before, both are nicely built kettles. Always good to see more options for brewers!

Cheers,

Kal
 
my kettles will be arranged like kal's (bk, mlt, hlt, from left to right). in hindsight, i wish i would have placed the sight glass for the hlt on the left side of the kettle. this would more or less place the mlt and hlt sight glasses adjacent to one another, very easy to match flow rates while sparging.
 
Where did you get that drip tray? I think it's just what I need for my keezer. Love your build thread by the way.
 
Where did you get that drip tray? I think it's just what I need for my keezer. Love your build thread by the way.

kegconnection. they make them for two thru six tappers:

http://www.kegconnection.com/wall-mounts/

went with this model since i can 'sandwich' the vertical surface of the tray (the one with the holes) in between the rough and finish wood of my keezer collar. seems like a very solid support. can't take all the credit for finding them, i blatantly stole the idea from GrainToGlass and his keezer build:

https://www.homebrewtalk.com/showthread.php?t=515869
 
my kettles will be arranged like kal's (bk, mlt, hlt, from left to right). in hindsight, i wish i would have placed the sight glass for the hlt on the left side of the kettle. this would more or less place the mlt and hlt sight glasses adjacent to one another, very easy to match flow rates while sparging.


Now that's a good idea! That might need to be implemented.....
 
kegconnection. they make them for two thru six tappers:

http://www.kegconnection.com/wall-mounts/

went with this model since i can 'sandwich' the vertical surface of the tray (the one with the holes) in between the rough and finish wood of my keezer collar. seems like a very solid support. can't take all the credit for finding them, i blatantly stole the idea from GrainToGlass and his keezer build:

https://www.homebrewtalk.com/showthread.php?t=515869


Thanks for the link. I will be purchasing immediately.
 
Back
Top