OP
OP
Morrey
Well-Known Member
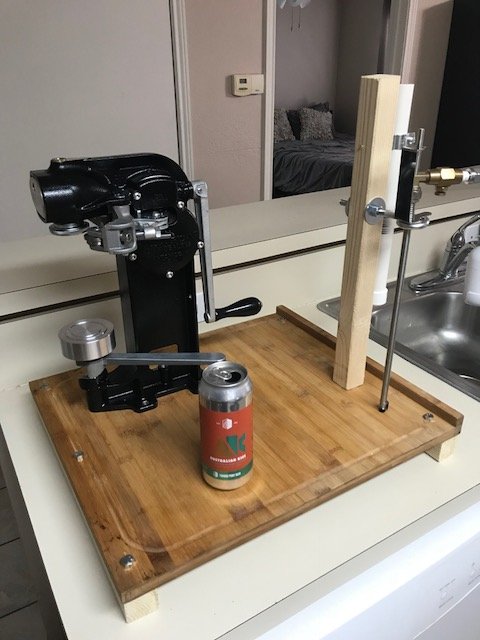
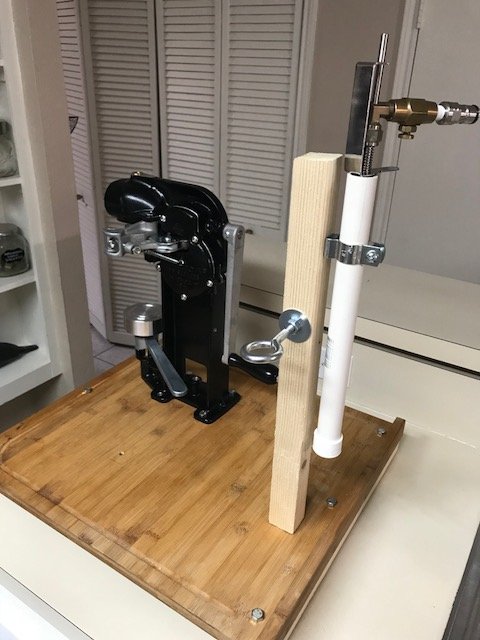
OK>>>>>My All American Can Seamer I ordered 7/2 is on the UPS truck out for delivery today! Drop shipped from WI and ready to try it out.
Cans and lids ready to go.
Working on a label design with a graphic artist, then will have some generic labels printed with a blank space to write beer name. When I share beers now, I'll be very proud to have a professional look and will never have to ask the person to try and remember to save the bottles.


![Craft A Brew - Safale BE-256 Yeast - Fermentis - Belgian Ale Dry Yeast - For Belgian & Strong Ales - Ingredients for Home Brewing - Beer Making Supplies - [3 Pack]](https://m.media-amazon.com/images/I/51bcKEwQmWL._SL500_.jpg)