OP
OP
- Joined
- Nov 18, 2008
- Messages
- 2,058
- Reaction score
- 25
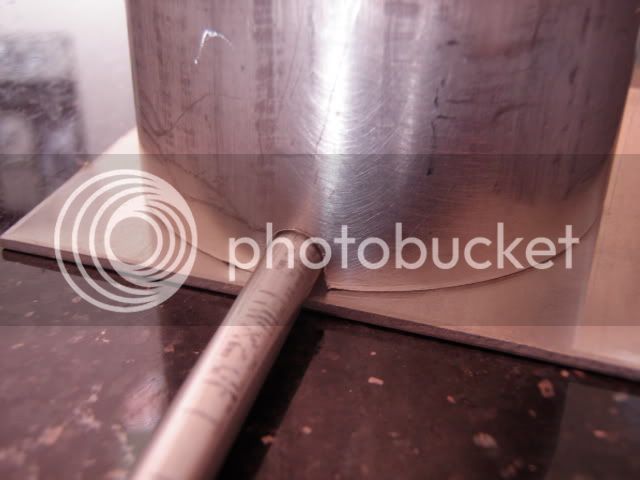
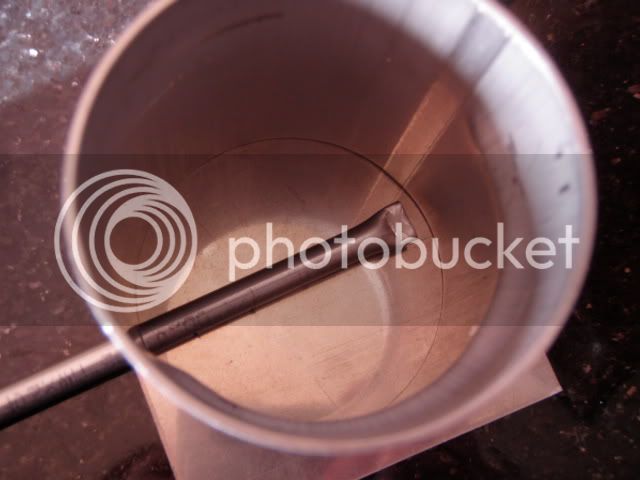
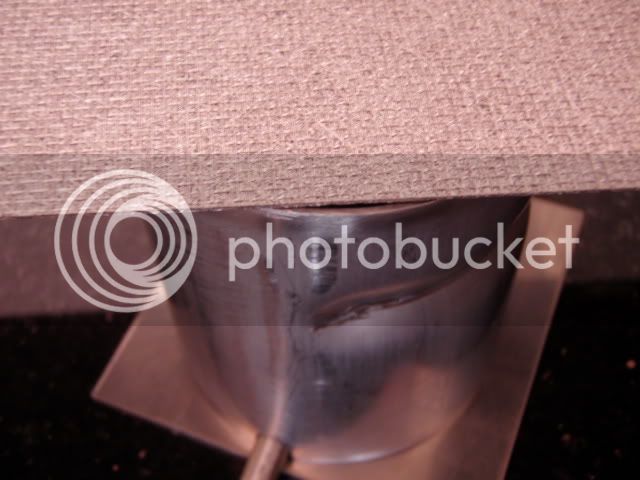
AHA!! Now you are getting to the fun part.
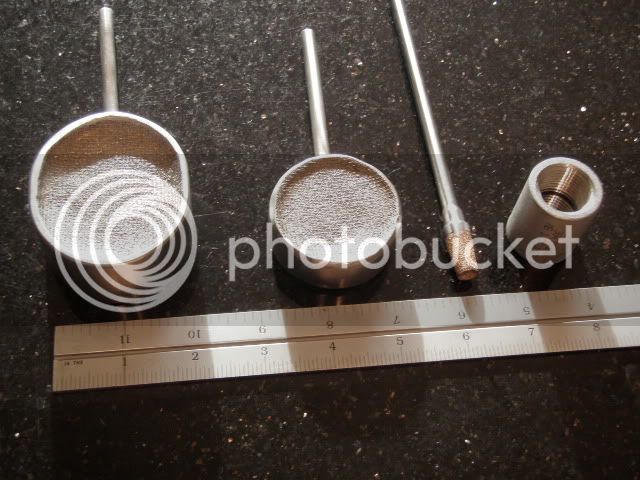
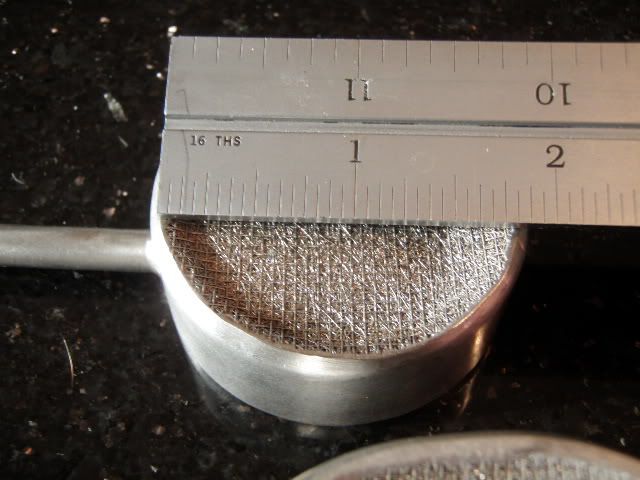
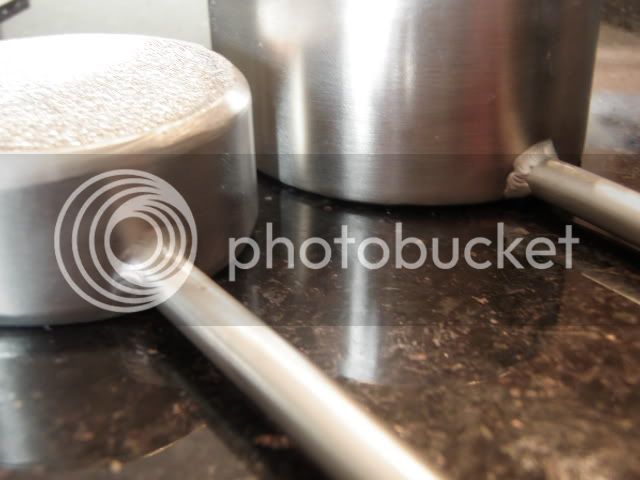
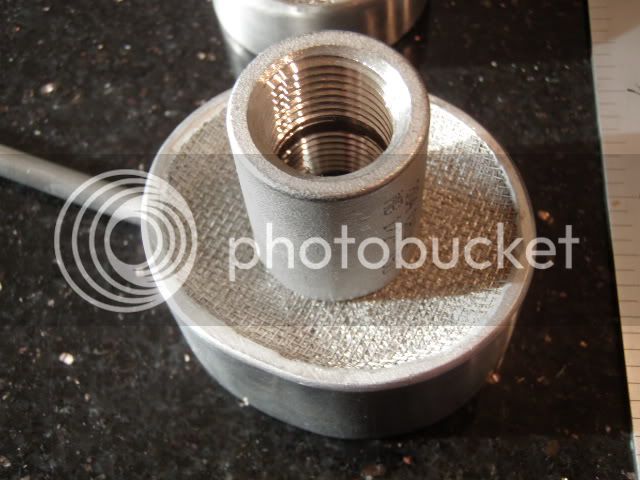
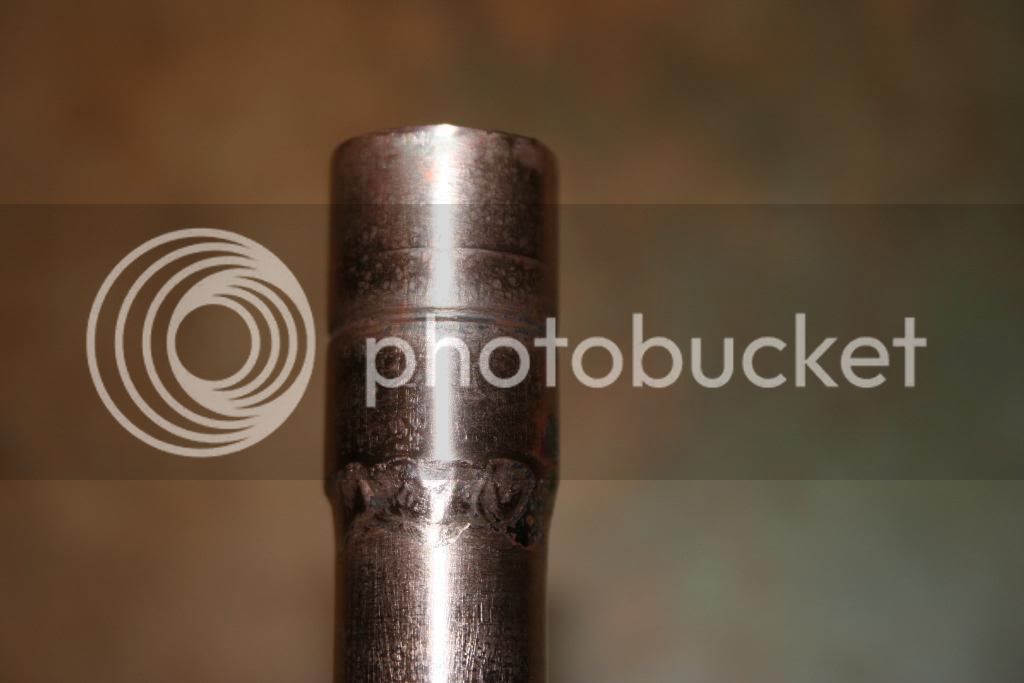
I made some special brass fittings using some silicon bronze filler when I couldn't find exactly what I wanted in the hardware store. They came out great didn't leak even though it was my first time welding that stuff.
This was fun.
I found that once you get a puddle going, you have to move fast.

") cross
cross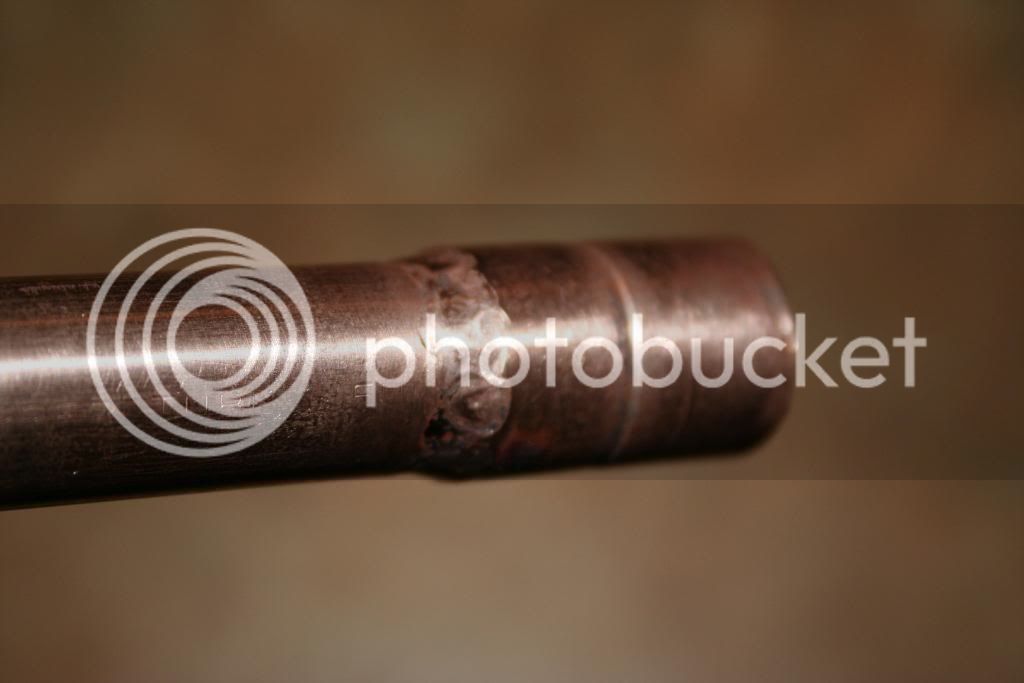

![Craft A Brew - Safale BE-256 Yeast - Fermentis - Belgian Ale Dry Yeast - For Belgian & Strong Ales - Ingredients for Home Brewing - Beer Making Supplies - [3 Pack]](https://m.media-amazon.com/images/I/51bcKEwQmWL._SL500_.jpg)