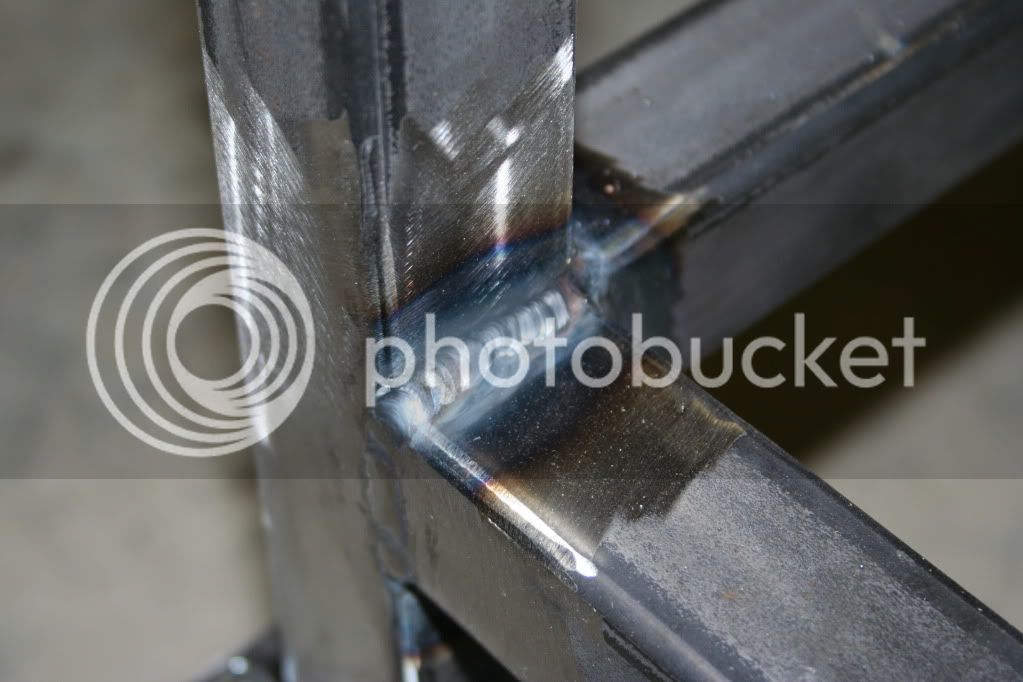
Got a welder, now the fun begins...

Homebrew Talk - Beer, Wine, Mead, & Cider Brewing Discussion Forum

Help Support Homebrew Talk - Beer, Wine, Mead, & Cider Brewing Discussion Forum:

This site may earn a commission from merchant affiliate links, including eBay, Amazon, and others.
AHA!! Now you are getting to the fun part.
I made some special brass fittings using some silicon bronze filler when I couldn't find exactly what I wanted in the hardware store. They came out great didn't leak even though it was my first time welding that stuff.

This was fun.

I found that once you get a puddle going, you have to move fast.
 
Wow, that's awesome. It's funny how something so small can be such a huge accomplishment. Dude, you're MELTING METAL TOGETHER and making it bow to you! My wife will never understand this....she just rolls her eyes when she sees me watching youtube welding videos....
 
Crap! You're not kidding, I finally found Inconel wire online, just to get an idea... $50 / pound and $80+ for titanium... GULP :drunk:

I remember a picture of one of your purges in my Welding Questions thread, but the picture link is no longer valid. I can picture it in my mind, but don't remember the details... diameter, depth, how far the mesh set back. Any pics you can share would be great.

So, I assume a fusion weld (if I could manage it) would be ok with the inconel and the titanium? Is there a substitute filler for the titanium (you said I can use SS for the inconel, but it would be "dirty")?

Ed


I'll get up some pics a little later today.

Fusion welds will be just fine. I'll get you some more plates if you would like. I'll get SS only this time. I just sent you the other materials, to play with. So you could see the difference in metals and what a joy :)cross:) it is to weld TI. SS filler wont work on the TI but, it might be fun for you too see what it does when you weld TI with SS filler.
 
My next, let's just see what happens...

This is a copper coupling fusion welded to a 1/2" copper pipe, no filler.

IMG_3495.jpg


IMG_3497.jpg


This is just cool!! Copper is a weird material huh? It takes a ton of heat, then it just MELTS FAST and the slightest let up on the pedal it freezes. The nasty scale that builds.....

You can rob the ground wire from a piece of romex and use it as filler.
 
No worries Ed, our government has endlessly deep pockets called us working stiffs.


Kinda. We have to scrap filler wire if the flags start to stick together. "They" deem it no good, cause the glue from the tags leaks onto the next one.
 
Wow, that's awesome. It's funny how something so small can be such a huge accomplishment. Dude, you're MELTING METAL TOGETHER and making it bow to you! My wife will never understand this....she just rolls her eyes when she sees me watching youtube welding videos....

Here is the gist of the conversation with my wife...

me: Check this out, I welded copper
her: Yea, I've seen you solder stuff before
me: No, no, this is WELDED!
her: Oh, why would you do that?
me: Well, I probably wouldn't but it's really cool to know I can.
her: So, you're excited about something you probably won't do?
me: Never mind, I'm gonna post a pic on HBT.

Ed
 
This is just cool!! Copper is a weird material huh? It takes a ton of heat, then it just MELTS FAST and the slightest let up on the pedal it freezes. The nasty scale that builds.....

You can rob the ground wire from a piece of romex and use it as filler.

You are right, the copper is weird. I didn't do much prep and the soot/scale really built up.
I didn't clean it as I turned it so the backside was really covered.

It seems like the puddle will never appear and when it does, it's very sensitive and will run as fast as you can move the torch.

I thought about using a sort piece of ground as a filler but wanted to see if I could just fusion weld the copper.

I like just watching the metal melt and move the puddle around with the torch. I was kind of surprised that I could even get a puddle on the .020 ss tube, I thought it would just blow through. Eventually it did, and that's when I tried to see if I could fill the hole.

Ed
 
Kinda. We have to scrap filler wire if the flags start to stick together. "They" deem it no good, cause the glue from the tags leaks onto the next one.

I worked the Rad Lab Livermore, hung around the Tig welders on my lunch vs electricians. Not only learning a few things also free 316 filler plus a flow meter. Once a tube of SS filler was opened the contents were useless beyond the end of the shift, works for me I hear ya.
Have a safe and warm New Years Monti.
 
Real fast called hand eye coordination, if a TARD you'll find out real quick, I can be a TARD.

Trust me, I have my TARD moments ;)

The way I had the copper arranged, I could only go about 1/8 way around the fitting. As soon as I had the puddle bridging between the tube and coupling, I'd start moving and almost immediately have to stop because I was out of room. On another piece of copper, I started a puddle and ran it lengthwise may 3 or 4 inches. That's how I realized just how fast you have to move.

Do you still have the visiting pheasant?

Have a happy and safe new year.

Ed
 
Here's the pics.


These are the three purges that I have right now. The coupler is just for a size reference.
P1010187.jpg

P1010192.jpg

P1010194.jpg


This one was a piece of tubing that I squished oval to help it fit the contour of a keg or pot.
P1010191.jpg

P1010189.jpg


After I weld on the mesh, I like to push it down so there is a small gap. This way I can back gas a weld that I want to drop through and not weld my purge to the part.
P1010193.jpg


This purge is just an air muffler. They make great gas diffusers. I use this to purge out an entire part.
P1010190.jpg
 
Please excuse the crudity of this short tutorial. I like to cut out all the pieces before assembling them. In this I just placed them. What can I say, I'm lazy. :D I hope this helps.

I like to take a piece of 1/4" tubing and cut little slots in it, as well as weld or crimp the end closed.
P1010196.jpg


In this shot you can see how I like to face the slots towards the back side of the purge.
P1010197.jpg


I use a die grinder to cut the relief in the body of the purge for the 1/4" tubing.
P1010199.jpg


At this point, you would have the back and the tube all welded up. You would then fill it loosely with steel wool. I like to pull the wool to fluff it up.
P1010198.jpg


Then, you weld on the mesh. If you want too, you can push it in a little bit like I like to do after, you weld it on.
P1010200.jpg
 
GreenMonti -

Perfect!! Thanks for the pictures.
I was wondering about the mesh getting welded to the part if it was flush with the front, the pictures make it perfectly clear.
I have a couple keg couplers from the cutouts of converted sankes.
I was thinking of cutting one of those off and using it to make a purge. I thought I could even use the snap ring to hold the mesh in place??

I appreciate the inspiration.

Thanks,
Ed

The snap ring is a really good idea. How will you cut a groove for it?

Is that a 1" coupling that you want to use? Or are you talking about the tap portion?

Edit;
Oh. "as I slap my forehead". The retaining ring groove in the top of a sanke. I get it now. That's a d12mn good idea!! I wish I would have thought of it.

Simple, the lathe with the proper boring bar having a squared projected cutting head.
What is the mesh material you posted, looks like crushed fiber material with asreen material?

Yep... thinking of using the sanke port from a keg I converted.
I still have the ring and the groove is already there.

Ed
 
Ed, when your done with the fill port radius it to sit tight all around matching the keg's internal radius, every bit helps in preventing wasted purge gas not
going to the right spot.
 
I ordered a "Tee" adapter for my argon bottle, another flowmeter, and a hose for a purge setup.

I am thinking of adding a shut off valve near the end of the hose, close to the purge.

Do you guys have a valve in line or do you go back to the flowmeter to shut off the gas?

Ed
 
I ordered a "Tee" adapter for my argon bottle, another flowmeter, and a hose for a purge setup.

I am thinking of adding a shut off valve near the end of the hose, close to the purge.

Do you guys have a valve in line or do you go back to the flowmeter to shut off the gas?

Ed

I use the flowmeter to shut it off but an extra valve would be a good idea. It would have prevented me from walking around the shop for a half hour while I wasted a bunch of argon
 
I use the flowmeter to shut it off but an extra valve would be a good idea. It would have prevented me from walking around the shop for a half hour while I wasted a bunch of argon

That's exactly what I'm thinking.

Another question, how do you know when it's time to fill an argon bottle?

Ed
 
When your erlds and tungsten look like crap.
Guess I walked right into that one :D

Primary pressure gauge Ed.
Hadn't looked at it closely before and thought it was showing the output pressure.

The primary scale on my gauge is kg/cm2 (0-280), the smaller secondary scale is psi (0-4000).

I don't know what the pressure was when I got the tank, it's 1000psi now.
Is the pressure drop pretty linear?

Ed
 
The primary scale on my gauge is kg/cm2 (0-280), the smaller secondary scale is psi (0-4000).

I don't know what the pressure was when I got the tank, it's 1000psi now.
Is the pressure drop pretty linear?

Ed

Your azz backwards, primary is bottle pressure usually 2,050 psi after refill, secondary should be set at 50 psi this is what most if not all flow meters are calibrated at.
Being I have all 250-260 cu/ft bottles I find it rather linear, goes down so slow I never paid much attention just the refill starting pressures I marked down on the bottles.
Depending on the type of cup used, regular or gas lens, size as well the amperage I will set the CFH flows differently with saving gas in mind.
I had a MRI thursday morning, hospital around sick people gave me the flu, too sick to die at the moment.

Yep, realized I was backward after your previous post. After a bit of browsing the web, looks like about 2200psi is a full tank. I found an online calculator that tells me I have about 56cf left in my 125cf tank;
http://www.airproducts.com/products/fastfacts/charts_n_tables/32250.asp

I've been running the torch at about 20cf / hour.

Sorry to hear about the flu. I know your back is in bad shape. Was the MRI routine, or did something happen recently to cause you to need one?

Ed

I think you could back it down to 12 to 15 pretty safely especially since I seem to remember you have a gas lense. That's where I run mine with no lense.
 
I think you could back it down to 12 to 15 pretty safely especially since I seem to remember you have a gas lense. That's where I run mine with no lense.

Take into account how much tungsten is sticking out for your cfh plus any air movement.
Single stage regulators will creep up in pressure as the bottle pressure decreases vs two stage regulators output is rather stable from a full to empty bottle. My last refill 260 cu/ft was $93 in my area kind of a rip.
I'm on borrowed time beyond needing a second spinal fusion when i'm still recovering from the first fusion months ago. Hell I need a new body but keep the brain I have it's programed perfectly in my wacked out way.
 
I ordered a "Tee" adapter for my argon bottle, another flowmeter, and a hose for a purge setup.

I am thinking of adding a shut off valve near the end of the hose, close to the purge.

Do you guys have a valve in line or do you go back to the flowmeter to shut off the gas?

Ed

When I had the purge flow meter attached I use the flow control valve to shut down the flow, a PITA going back resetting flow or forgetting it wasting gas. I was always thinking it would be nice to add a torch gas valve to the purge flow meter preventing those dumb wasted gas moments, it would need a NO switch to pre-purge the project a few seconds before the torch signal activates this added gas valve.
 
On the purge, I just shut the bottle off. I don't mess with reg too much. Of course I don't have flow meters either. Checking the purge is one habit that you should get into IMO. Heck, I even check the torch flow every few welds.


"This is a general statement. I'm not singling out anyone."
Almost no one thinks about just how much gas is used up till they have their own bottles. After a few projects, they realize it needs to be accounted for in the cost of their services. Before that, they wonder why stainless shops cost so much. Shops are careful with their gas but, not nearly as much as the guy at home.
 
The price of gas depending on the area you live, i'm not so lucky they all are high in my area. Being brain dead cost me a bottle once one learns real quick about adding a purge valve. I still think a electric valve like the torch would be trick wired in with the torch. Pre-purge will have to be done before welding.
 
I have already kind of gotten into the habit of touching the pedal before I start welding, just to hear to gas hiss to make sure it's on. I forgot to turn the valve on and melted a tungsten... now I have the new routine.

BrewBeemer - I didn't really think about turning the purge on and off until I started putting the stuff together. The idea of having it "connected" to the timing of the torch would be very sweet. When I waste the first bottle from my stupidity of forgetting to turn off the purge, I'll be exploring this further.

Ed
 
I forgot to turn the valve on and melted a tungsten... now I have the new routine.

When I waste the first bottle from my stupidity of forgetting to turn off the purge, I'll be exploring this further.

Ed

Wow Ed, i've done both in the past.
Worse one so far had my torch cooler switched seperate from the welder and started welding a couple minutes at low amps then had that sinking feeling, all was well no torch or power line replacement.
Now the torch cooler is plugged into the welder, welder on cooler on, 100% idiot proof plus I installed a torch coolant sight to see I have proper coolant flow.
Goofy friend of mine flipped the preflow timer switch on, had a arc delay thinking ok no a welder problem until I fingered it out, same as the HF contacts a simple clean and set your golden. These HF contacts can over time cause src start problems a quick simple (like me) fix.
 
Lookie lookie Ed it has your name on it.

http://cgi.ebay.com/MILLER-SYNCROWA...emZ390173647403QQcategoryZ92150QQcmdZViewItem

Here's a bare 250 Sync w/foot control only no torch or cooler at $2,150, add $600 or more to complete.
http://cgi.ebay.com/MILLER-SYNCROWA...mZ370460009765QQcategoryZ113743QQcmdZViewItem

I thought we were friends. Now I see you are trying to get me killed? If I looked at another welder that is exactly what would happen.

Now, if you happen to run across a screaming deal on a plasma cutter, well... :D

I've been a little side tracked the past few days, so no updates.
However, I did receive a Tee adapter and another flowmeter to setup a purge. I have a 25' hose coming that should show up today.
I'm thinking of putting a shutoff valve about 5' from the end of the hose. I'm assuming most any small gas valve should work, I just need to make a run to one of the big box stores and see what I can find. I'm thinking about cutting up a corney dip tube to see if I can fabricate a "GreenMonti Style" purge.

Ed
 
I hear ya Ed, the War Department can have 30 pairs of shoes but no only one welder for you.
On the valve i'd use a needle valve this allows for finer gas flow control after your flowmeter.
Time to make some wifey welded projects keeps her in the loop and happy.
 
I had my first disappointment with the new welder last night.

I gathered up all the stuff and planed to put together a GreenMonti style purge.

I got a piece of 1/4" ss tubing and I found an insulated ss coffee cup that I decided I'd cut up to make the purge:
IMG_3513.jpg


IMG_3515.jpg


I rested the guard of my angle grinder on the table and rotated the cup into it to make a clean straight cut:
IMG_3516.jpg


IMG_3517.jpg


IMG_3518.jpg


I was kind of surprised that the liner came out as cleanly as it did so I decided to use the liner as the housing for the purge.

Story continues in the next message.
 
This is where things went bad... I put a hole in the liner and tried to weld the tube in place. I used a .040 tungsten and had the current set to about 35 amps. I only had 1/16" filler, so that's what I tried to use. I got the tube tacked in a couple places then ended up blowing a hole in the cup... I pretty quickly realized this was going to be beyond what I could do, so I just played with trying to fill the hole and weld the tube.

I found that AS SOON as the cup got shiny and a puddle appeared, a hole was there almost the same instant. The filler was to big and kept "freezing" the puddle when I did try to us it. Here is some pictures of the results of me playing with it:
IMG_3525.jpg


IMG_3526.jpg


IMG_3527.jpg


IMG_3529.jpg


IMG_3531.jpg


Continued next msg
 
It dawned on me that this cup liner is pretty thin...
IMG_3530.jpg


In fact the specs say .012" is the minimum for the welder and you can see this is .006":
IMG_3532.jpg


I got it to hold in a few spots so I'm sure the welder could do the job with the right person holding the torch. I think I just hit the extent of my limited ability.

The outer shell of the same coffee cup is .015" thick so I think I'll try again. I do want to get some smaller filler. We'll see how it goes.

Ed
 
Don't bother on something .006" that's too thin. .015" is doable if you have everything just right.
On something that thin though you would need to shield the back-side of the weld just as if your were welding in a coupling to a keg.
The oxides will float right through the weld puddle and ruin your work.
When welding thin walled pipe I can tell if I'm getting a good purge just by how the weld puddle behaves. If I'm having trouble it's the shielding on the root side.
The fit would also have to be very tight because on something that thin the instant your arc heats the edge it's gonna burn away.
.015 is pretty thin! I applaud your efforts.
What may help you and I'll try to explain this the best way I know how.
So here it goes...
Tape off the open end of the cup, make a small ball of steel wool and tape it over the end of your purge hose. This will diffuse the argon shielding gas as it fills the inside of the cup. Take a knife and make slit in the tape and push the end of the purge hose with the steel wool on the end through the slit in the tape. Now tape around the gaps in the tape to seal where the hose passes through the taped end of the cup. Now make a small hole in the tape so that the argon can push out the oxygen. Wait a few minutes to purge all the oxygen from the cup.
When it comes time to weld place tip of your filler rod on the joint where your going to make your tack weld. Use the smallest diameter rod you've got.
What your going to do is strike your arc on the filler rod to create a small ball and deposit it where you intend to make your tack weld. Work the pedal very gently to start the arc as low as you can and maintain it.
This little ball of filler is going to act somewhat as a heat sink. Once you've made a little ball on the end of your filler rod. Apply just enough foot pedal to severe it from the filler rod. Now concentrate your arc on the ball and gradually increase the heat until it flows into the tubing and your cup. Your going to want to direct your arc more towards the tubing and let the puddle flow to the cup.
Wait for the tack to cool and repeat.
I hope you follow me. I use this technique whenever I'm welding something extremely thin.
Use the smallest diameter Tungsten you've got, ans sharpen it to a sharp point
I hope you invested in the cheater lens cause being able to see exactly what's going on is what's gonna make this possible.
 
Back
Top