sethful
Well-Known Member
Looks good. Keep up the nice work, and don't forget to throw in a good brew day every now and then!!


Looks good. Keep up the nice work, and don't forget to throw in a good brew day every now and then!!


![Craft A Brew - Safale S-04 Dry Yeast - Fermentis - English Ale Dry Yeast - For English and American Ales and Hard Apple Ciders - Ingredients for Home Brewing - Beer Making Supplies - [1 Pack]](https://m.media-amazon.com/images/I/41fVGNh6JfL._SL500_.jpg)


This thread friggin rocks... I prost three!
")
Man this is great! You are consistently showing huge progress every week. Very entertaining and envious thread to follow.
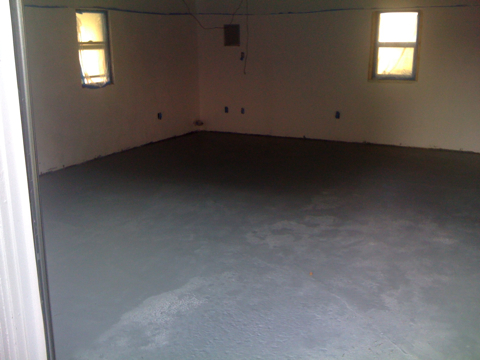
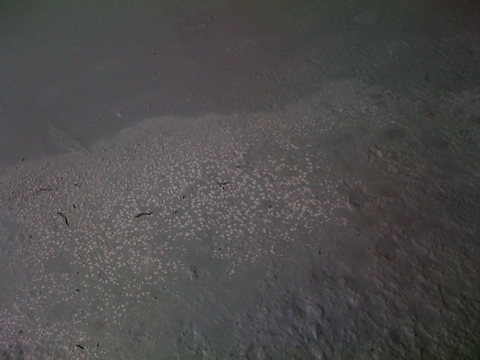
It is ground moisture. I had that same problem coming through the cracks in my basement floor before I installed a second sump well.
2. You could build a subfloor, at least in the area around your brew rig. Finish it with tile and have it pitch to a drain in the subfloor. That way you could clean up the area and possible spills easily...it would be easy to clean and wouldn't have the potential to absorb liquid.
I think this is a great idea. Turn your lemons into lemonade buy putting in a subfloor with insulation and piping for drains. A lot of breweries use floor drains because ALL breweries have spills. Then tile it or possibly epoxy over the subfloor if that's possible (never used epoxy).
Could you just put a vapor barrier down and then put a thin layer of concrete over top, perhaps that leveling stuff? Seems like that would be just as good as a vapor barrier+wood but you'd have the durability benefits of concrete.
Disclaimer: I have no idea if this is the stupidest idea ever.


