• Please visit and share your knowledge at our sister communities:
  • If you have not, please join our official Homebrewing Facebook Group!

    Homebrewing Facebook Group

Fermonster Lid Problem

Homebrew Talk

Help Support Homebrew Talk:

This site may earn a commission from merchant affiliate links, including eBay, Amazon, and others.

chrisvaf

Active Member
Joined
Oct 29, 2016
Messages
33
Reaction score
0
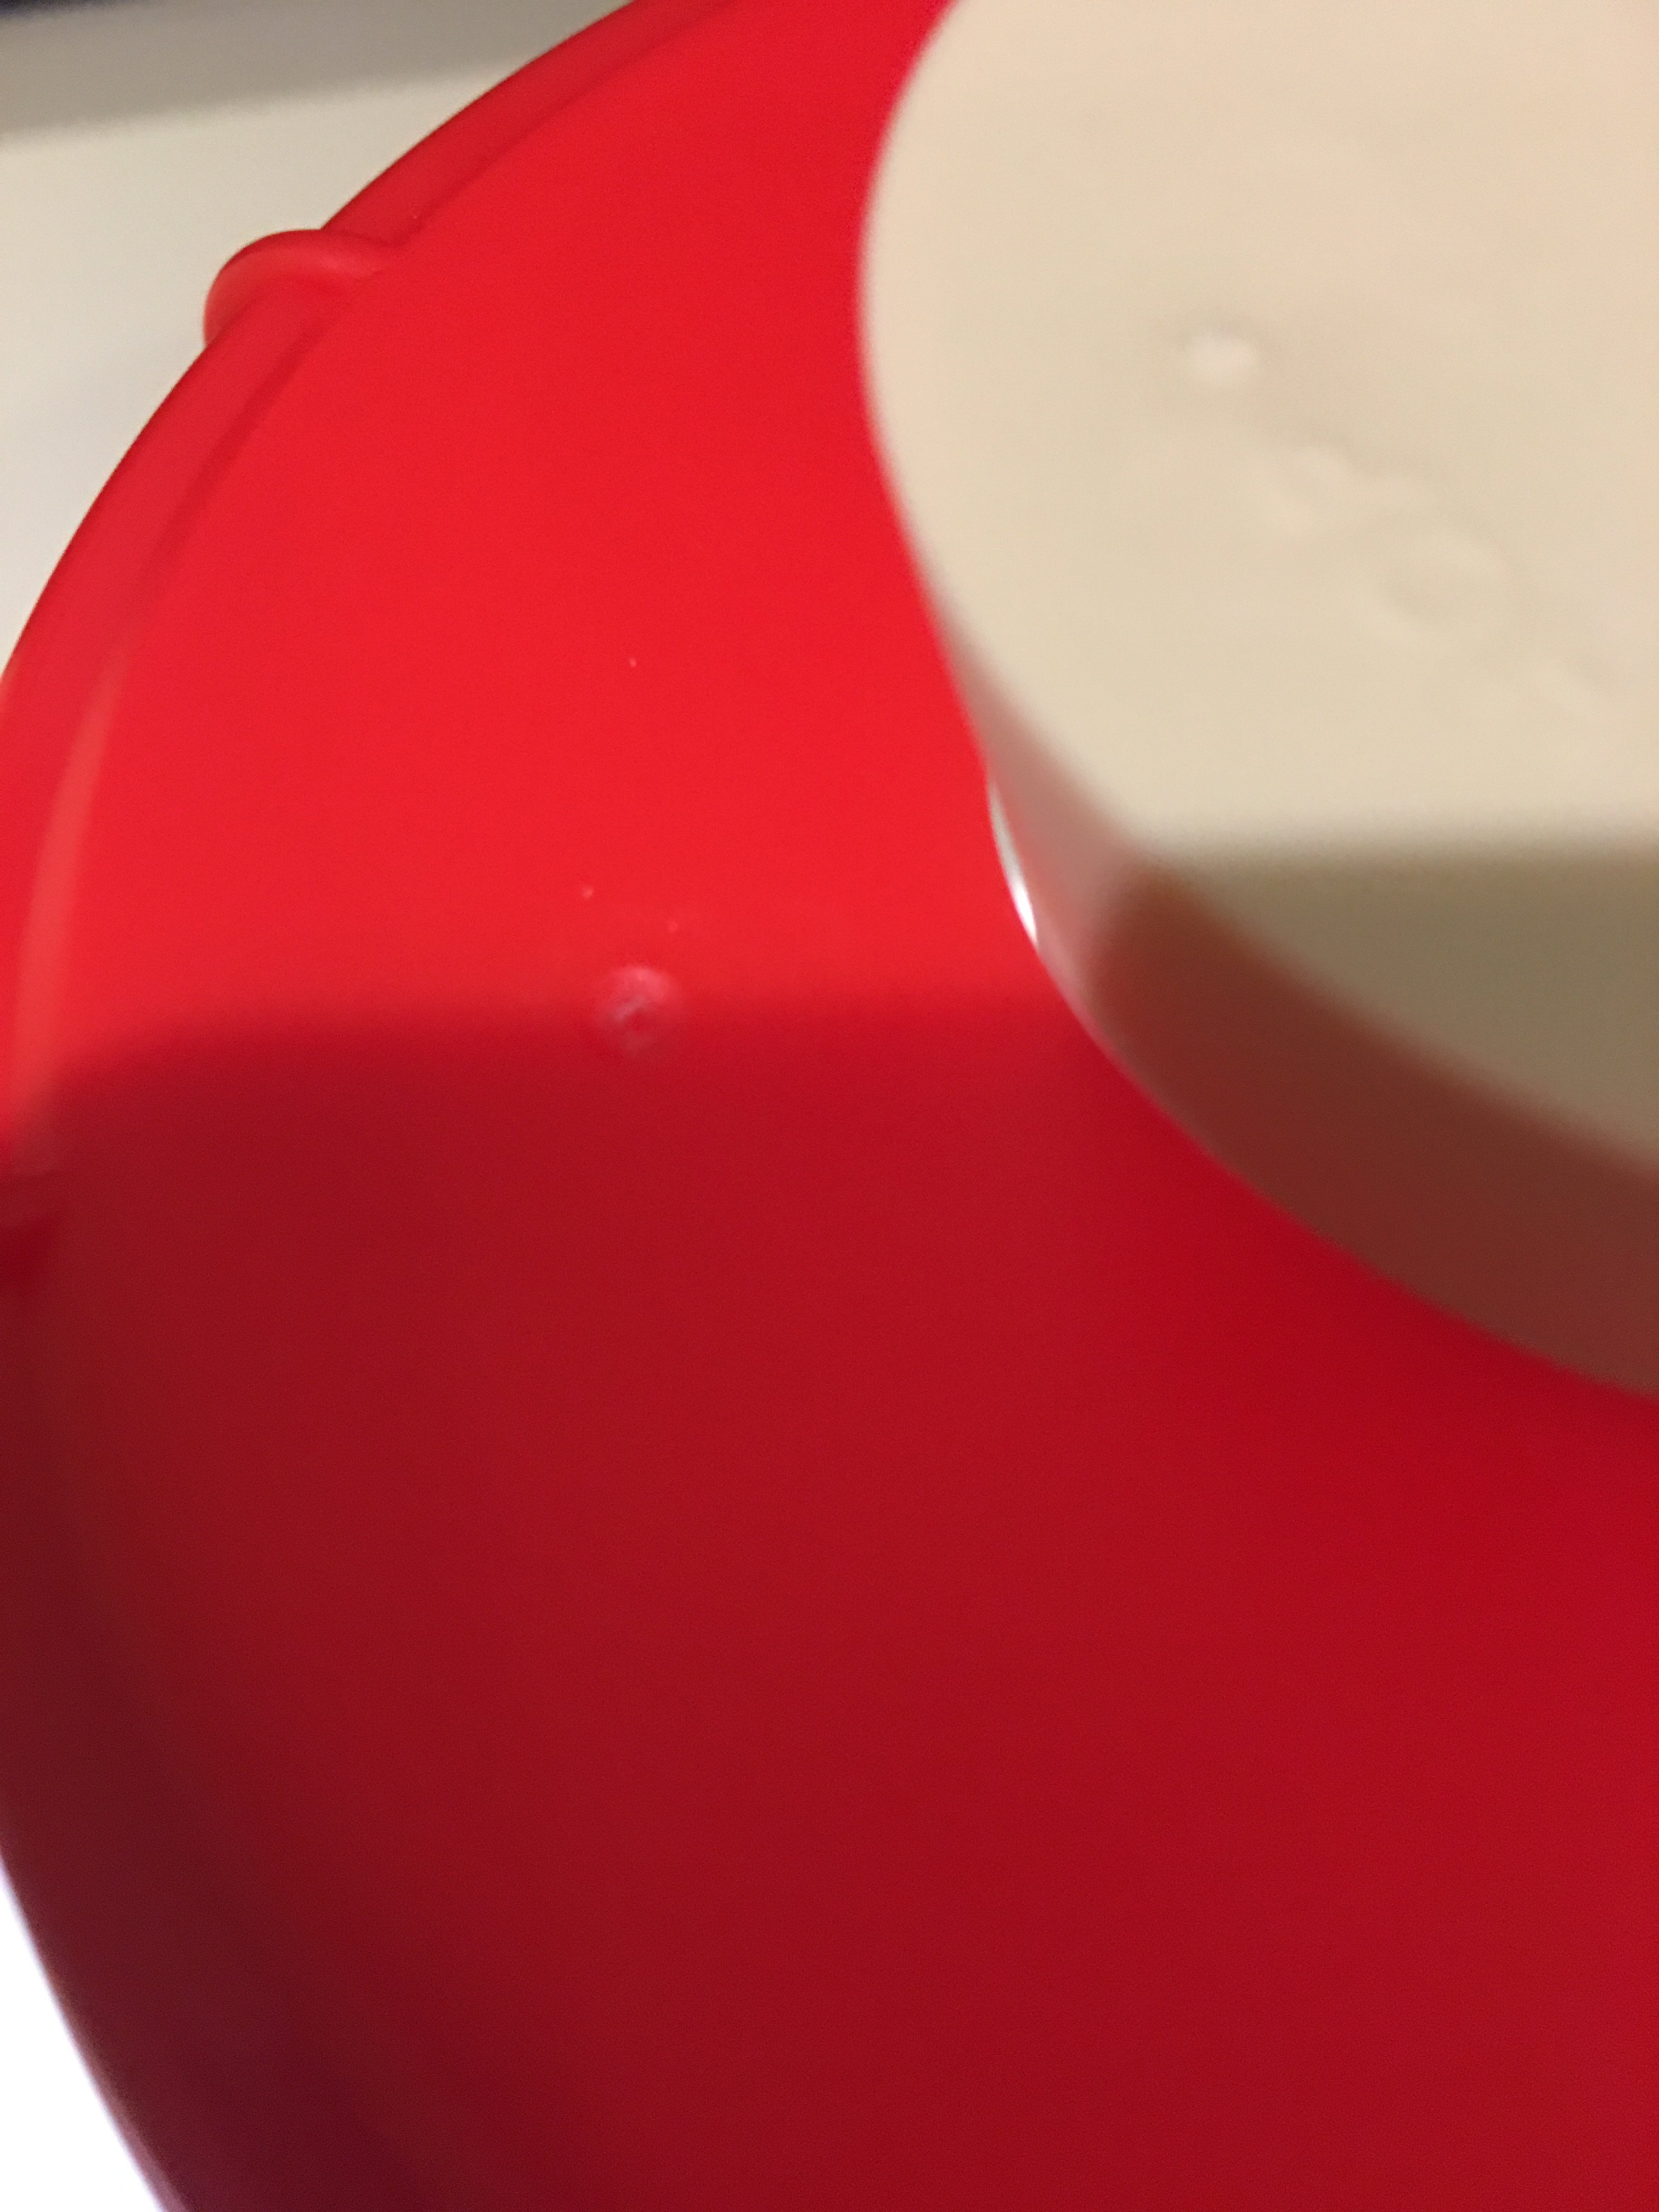
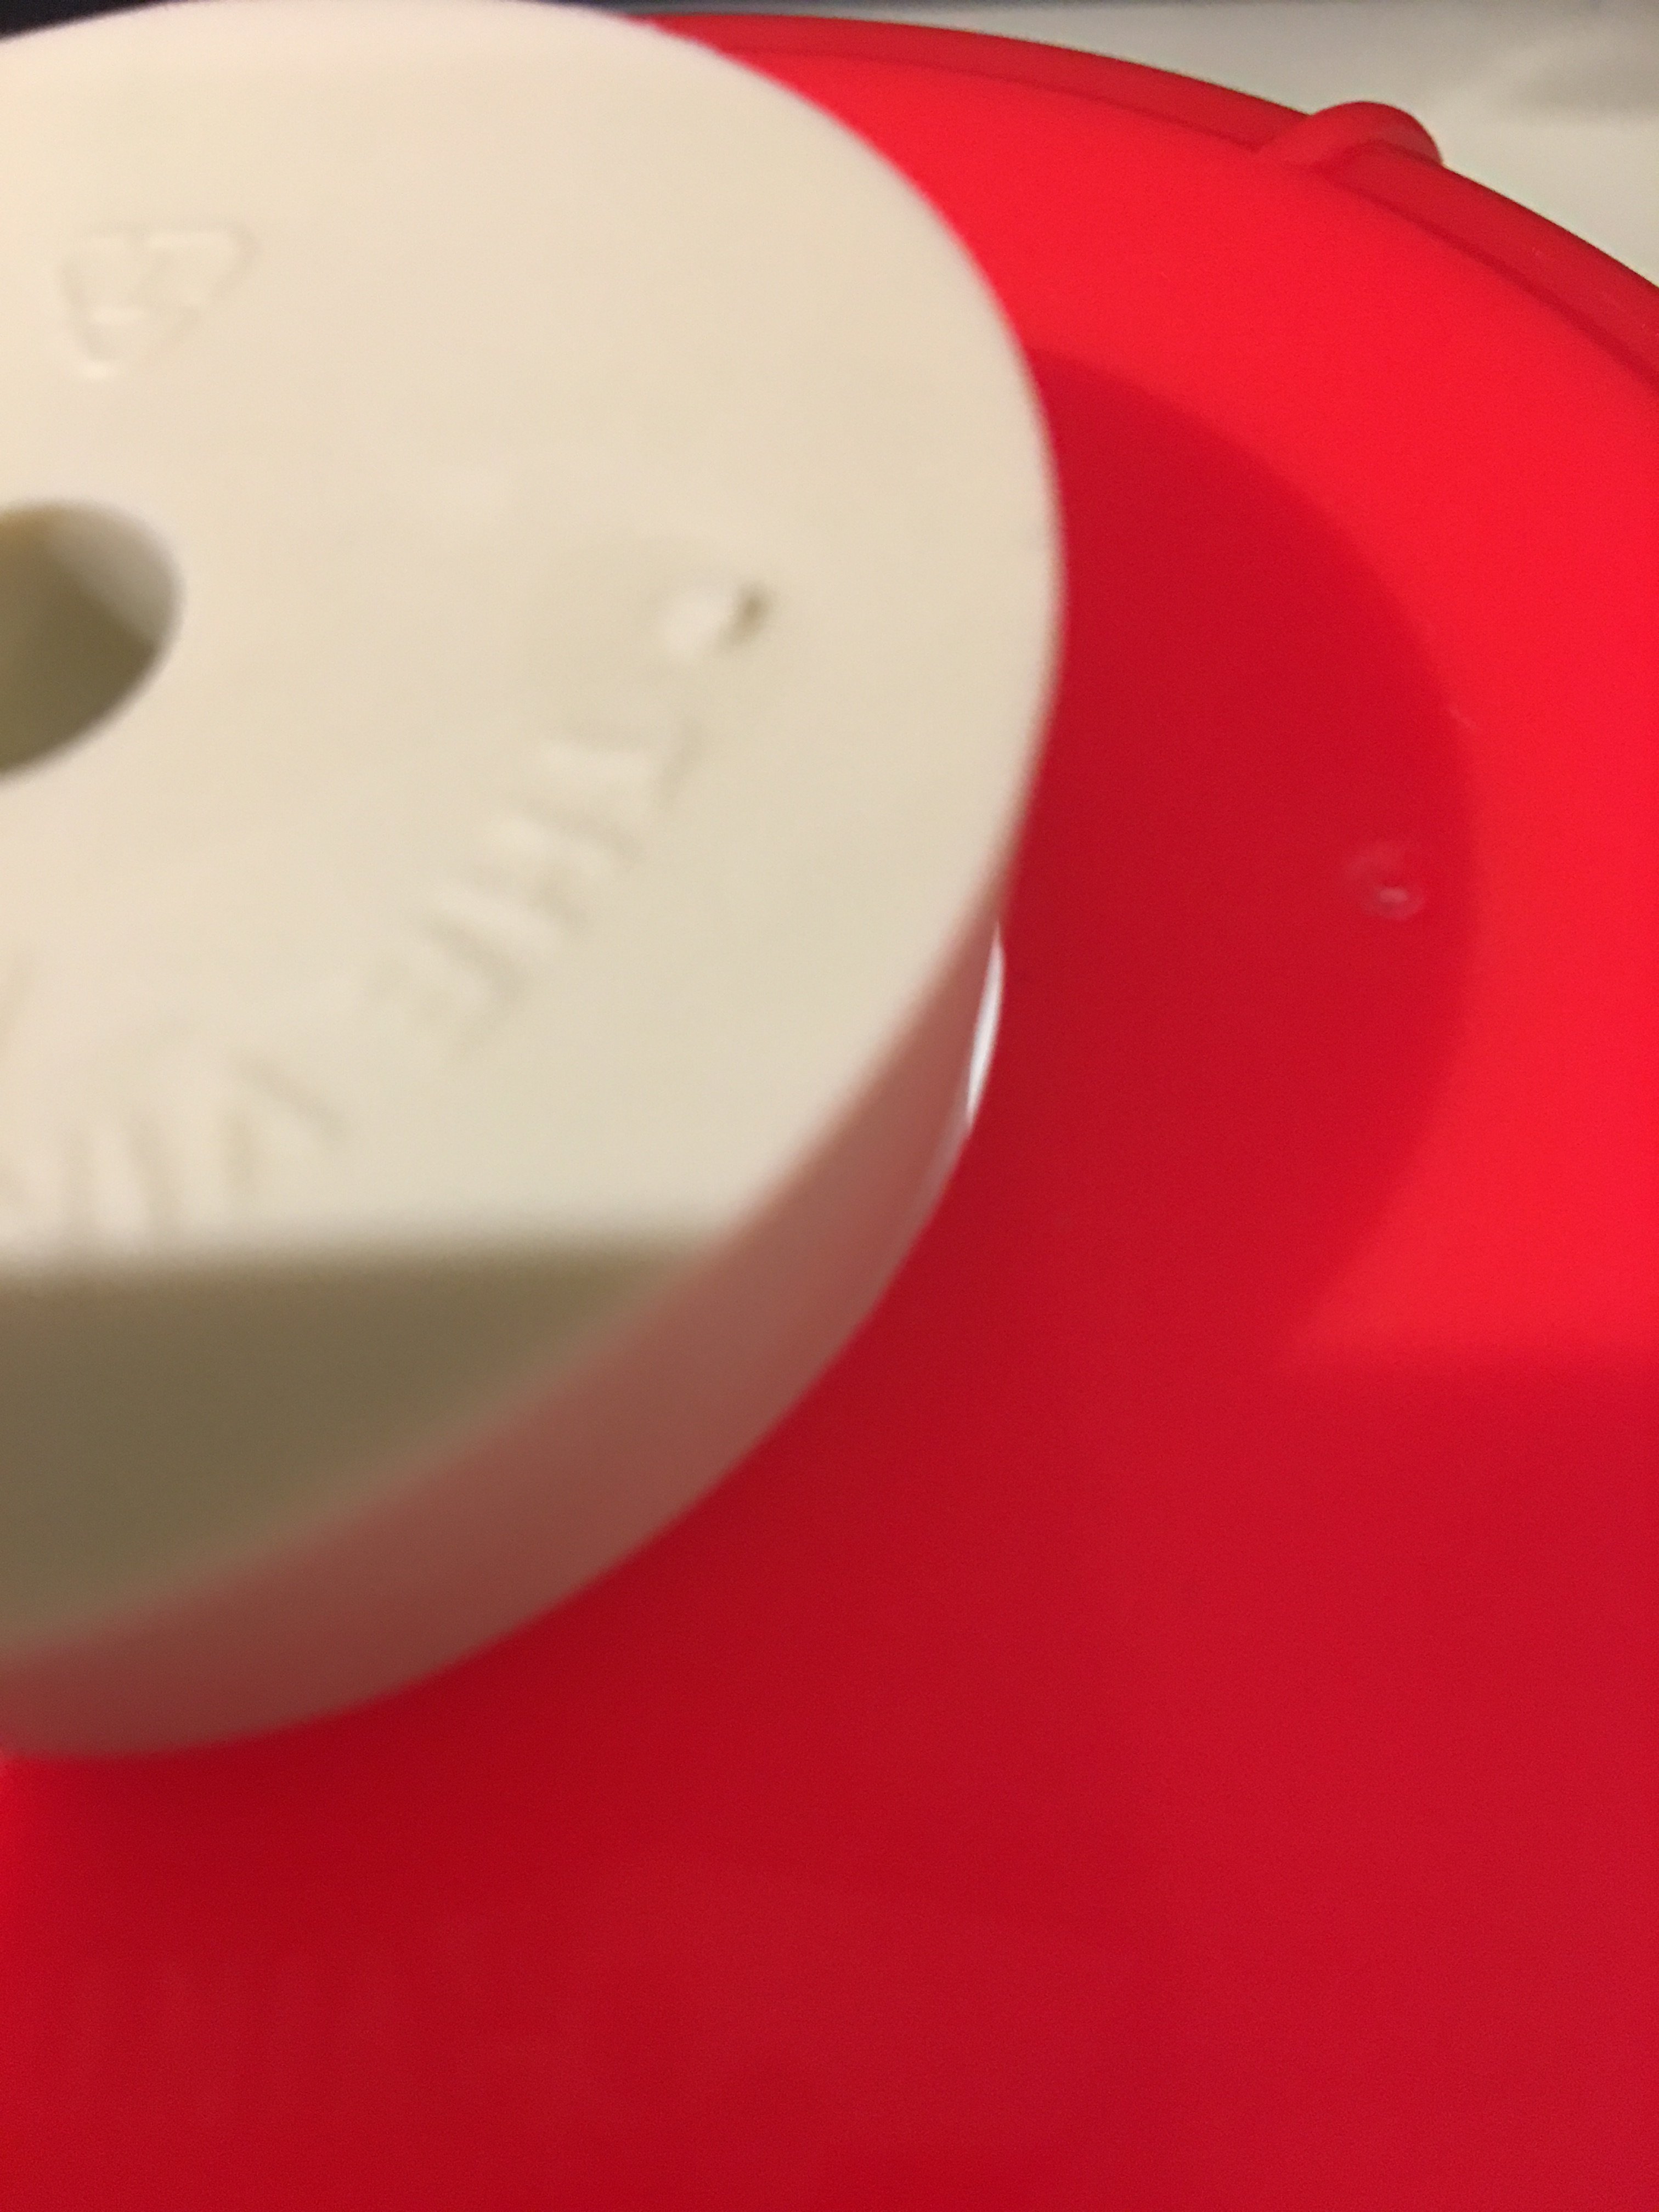
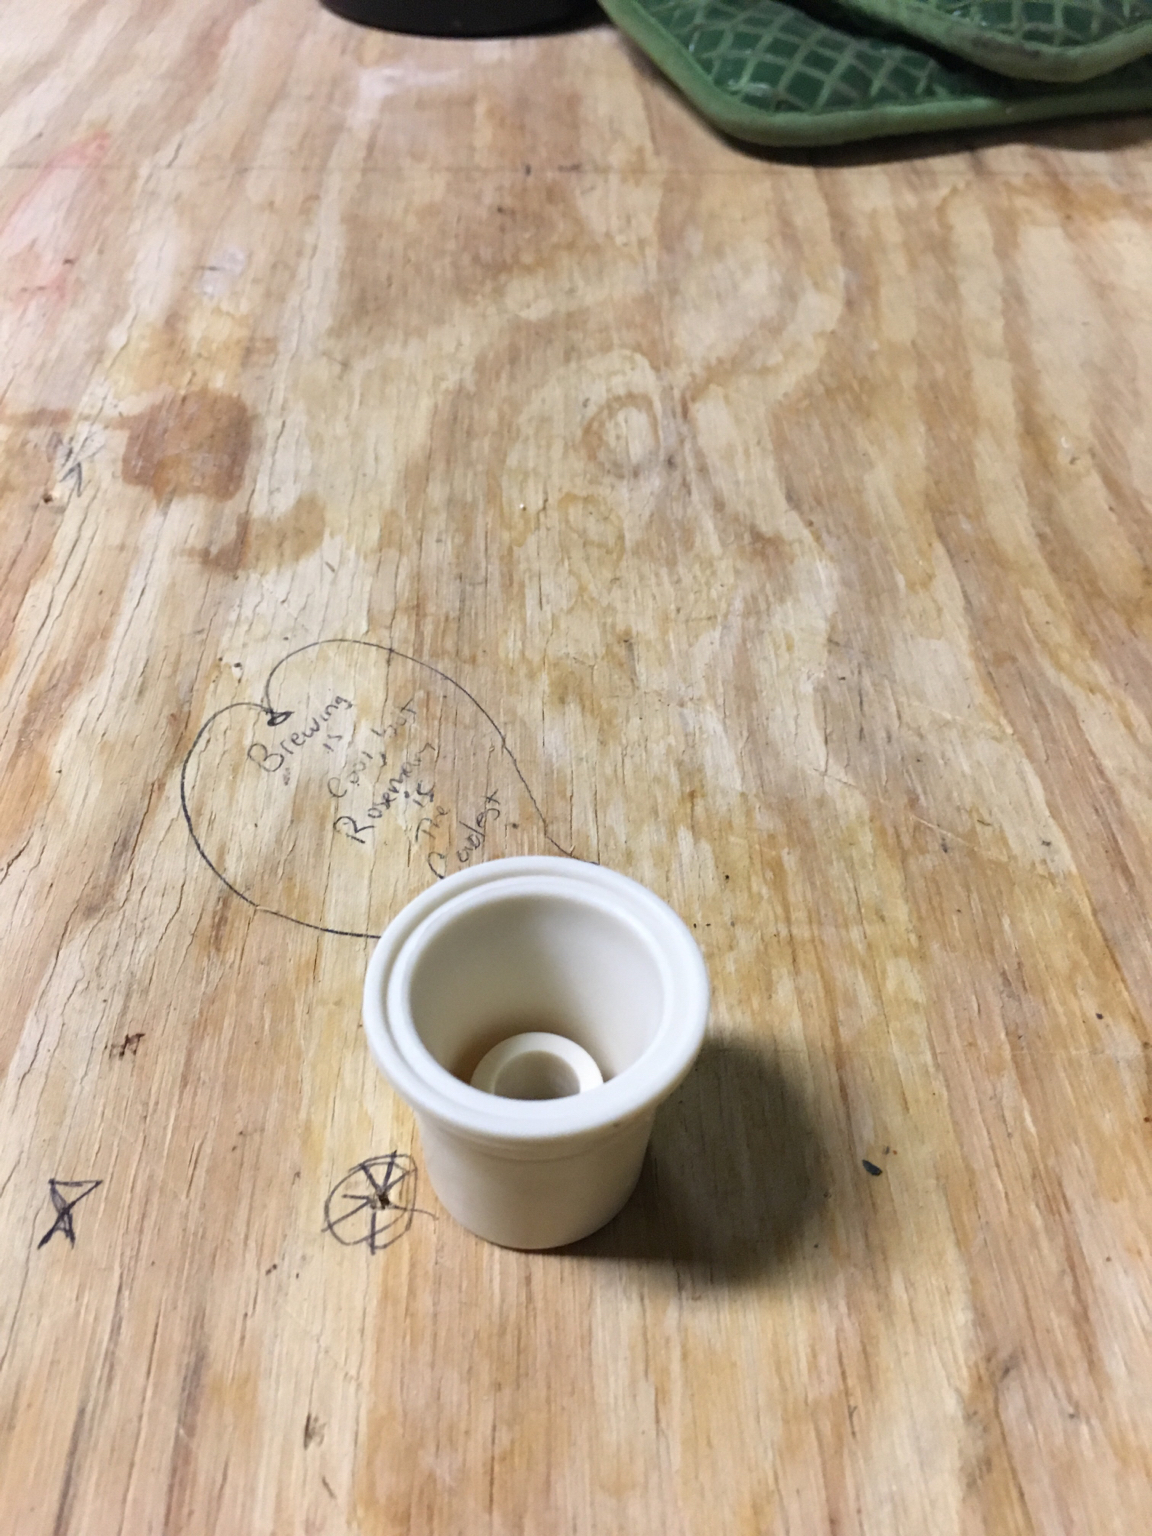
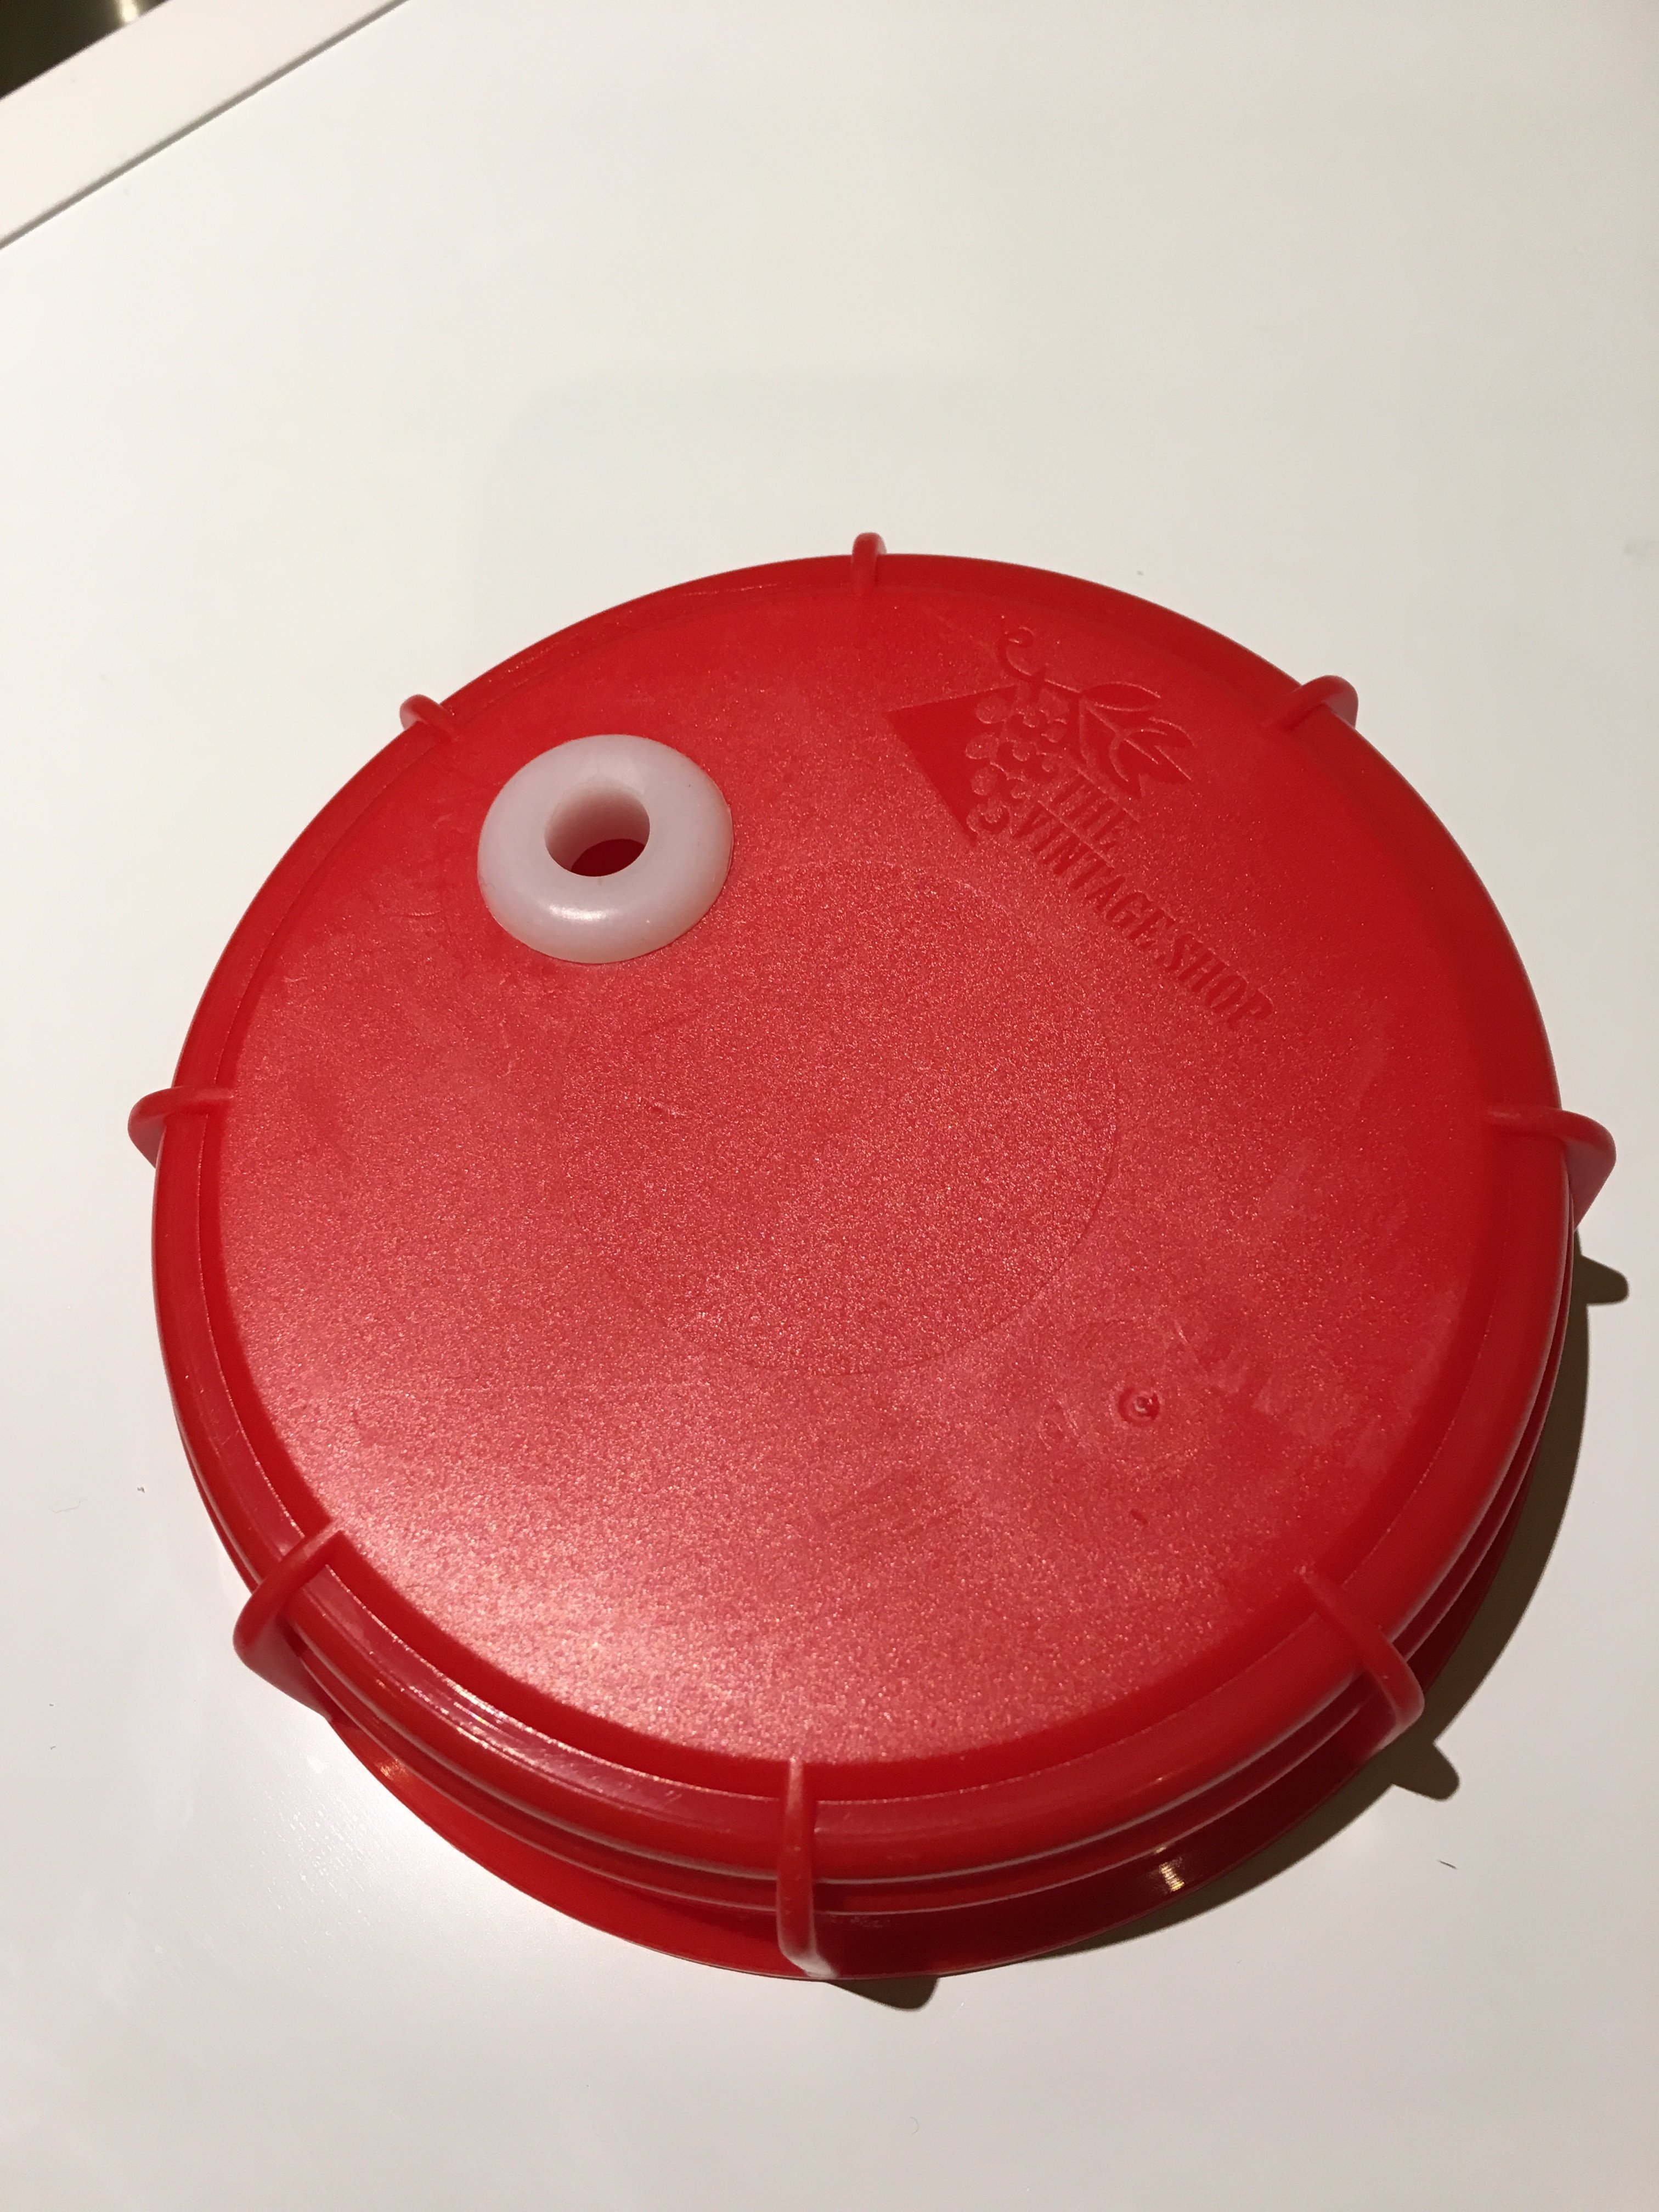
Hey everyone. I'm wondering if anyone else has noticed this with their Fermonster. I just bought a 7G Fermonster last week and noticed that the #10 bung doesn't quite seal the hole in the stock lid (3 picks included below). I tried 3 different bungs, and also rotated the bung and the gaps are always in the same part of the lid hole. I contacted Vintage Shop and after exchanging emails and showing them pictures, they "most likely" concluded that the lid is the problem. Anyone else experience this? Unfortunately, my LHBS's next shipment from their distributor is in December so I can't easily/quickly get a replacement lid (they have none in stock).

Timing is bad as I am planning a brew this weekend and was going to use my Fermonster for the first time. I have 3 choices here:
1. Use a 6G pail for my primary with the lid loosely covering the pail. Haven't fermented in a pail since I started brewing 3 years ago.
2. Use the Fermonster with a closed, solid lid loosely covering the opening (I did pick one of these up with the intention of eventually drilling 3/8" holes for a closed transfer to a keg).
3. Continue to use the "warped" lid with the bung. My worry here is that since the fit is not snug, the active fermentation will blow the bung off. Plus, it's an opportunity for something to get into the fermenter.

Curious to hear other people's thoughts.

Cheers.
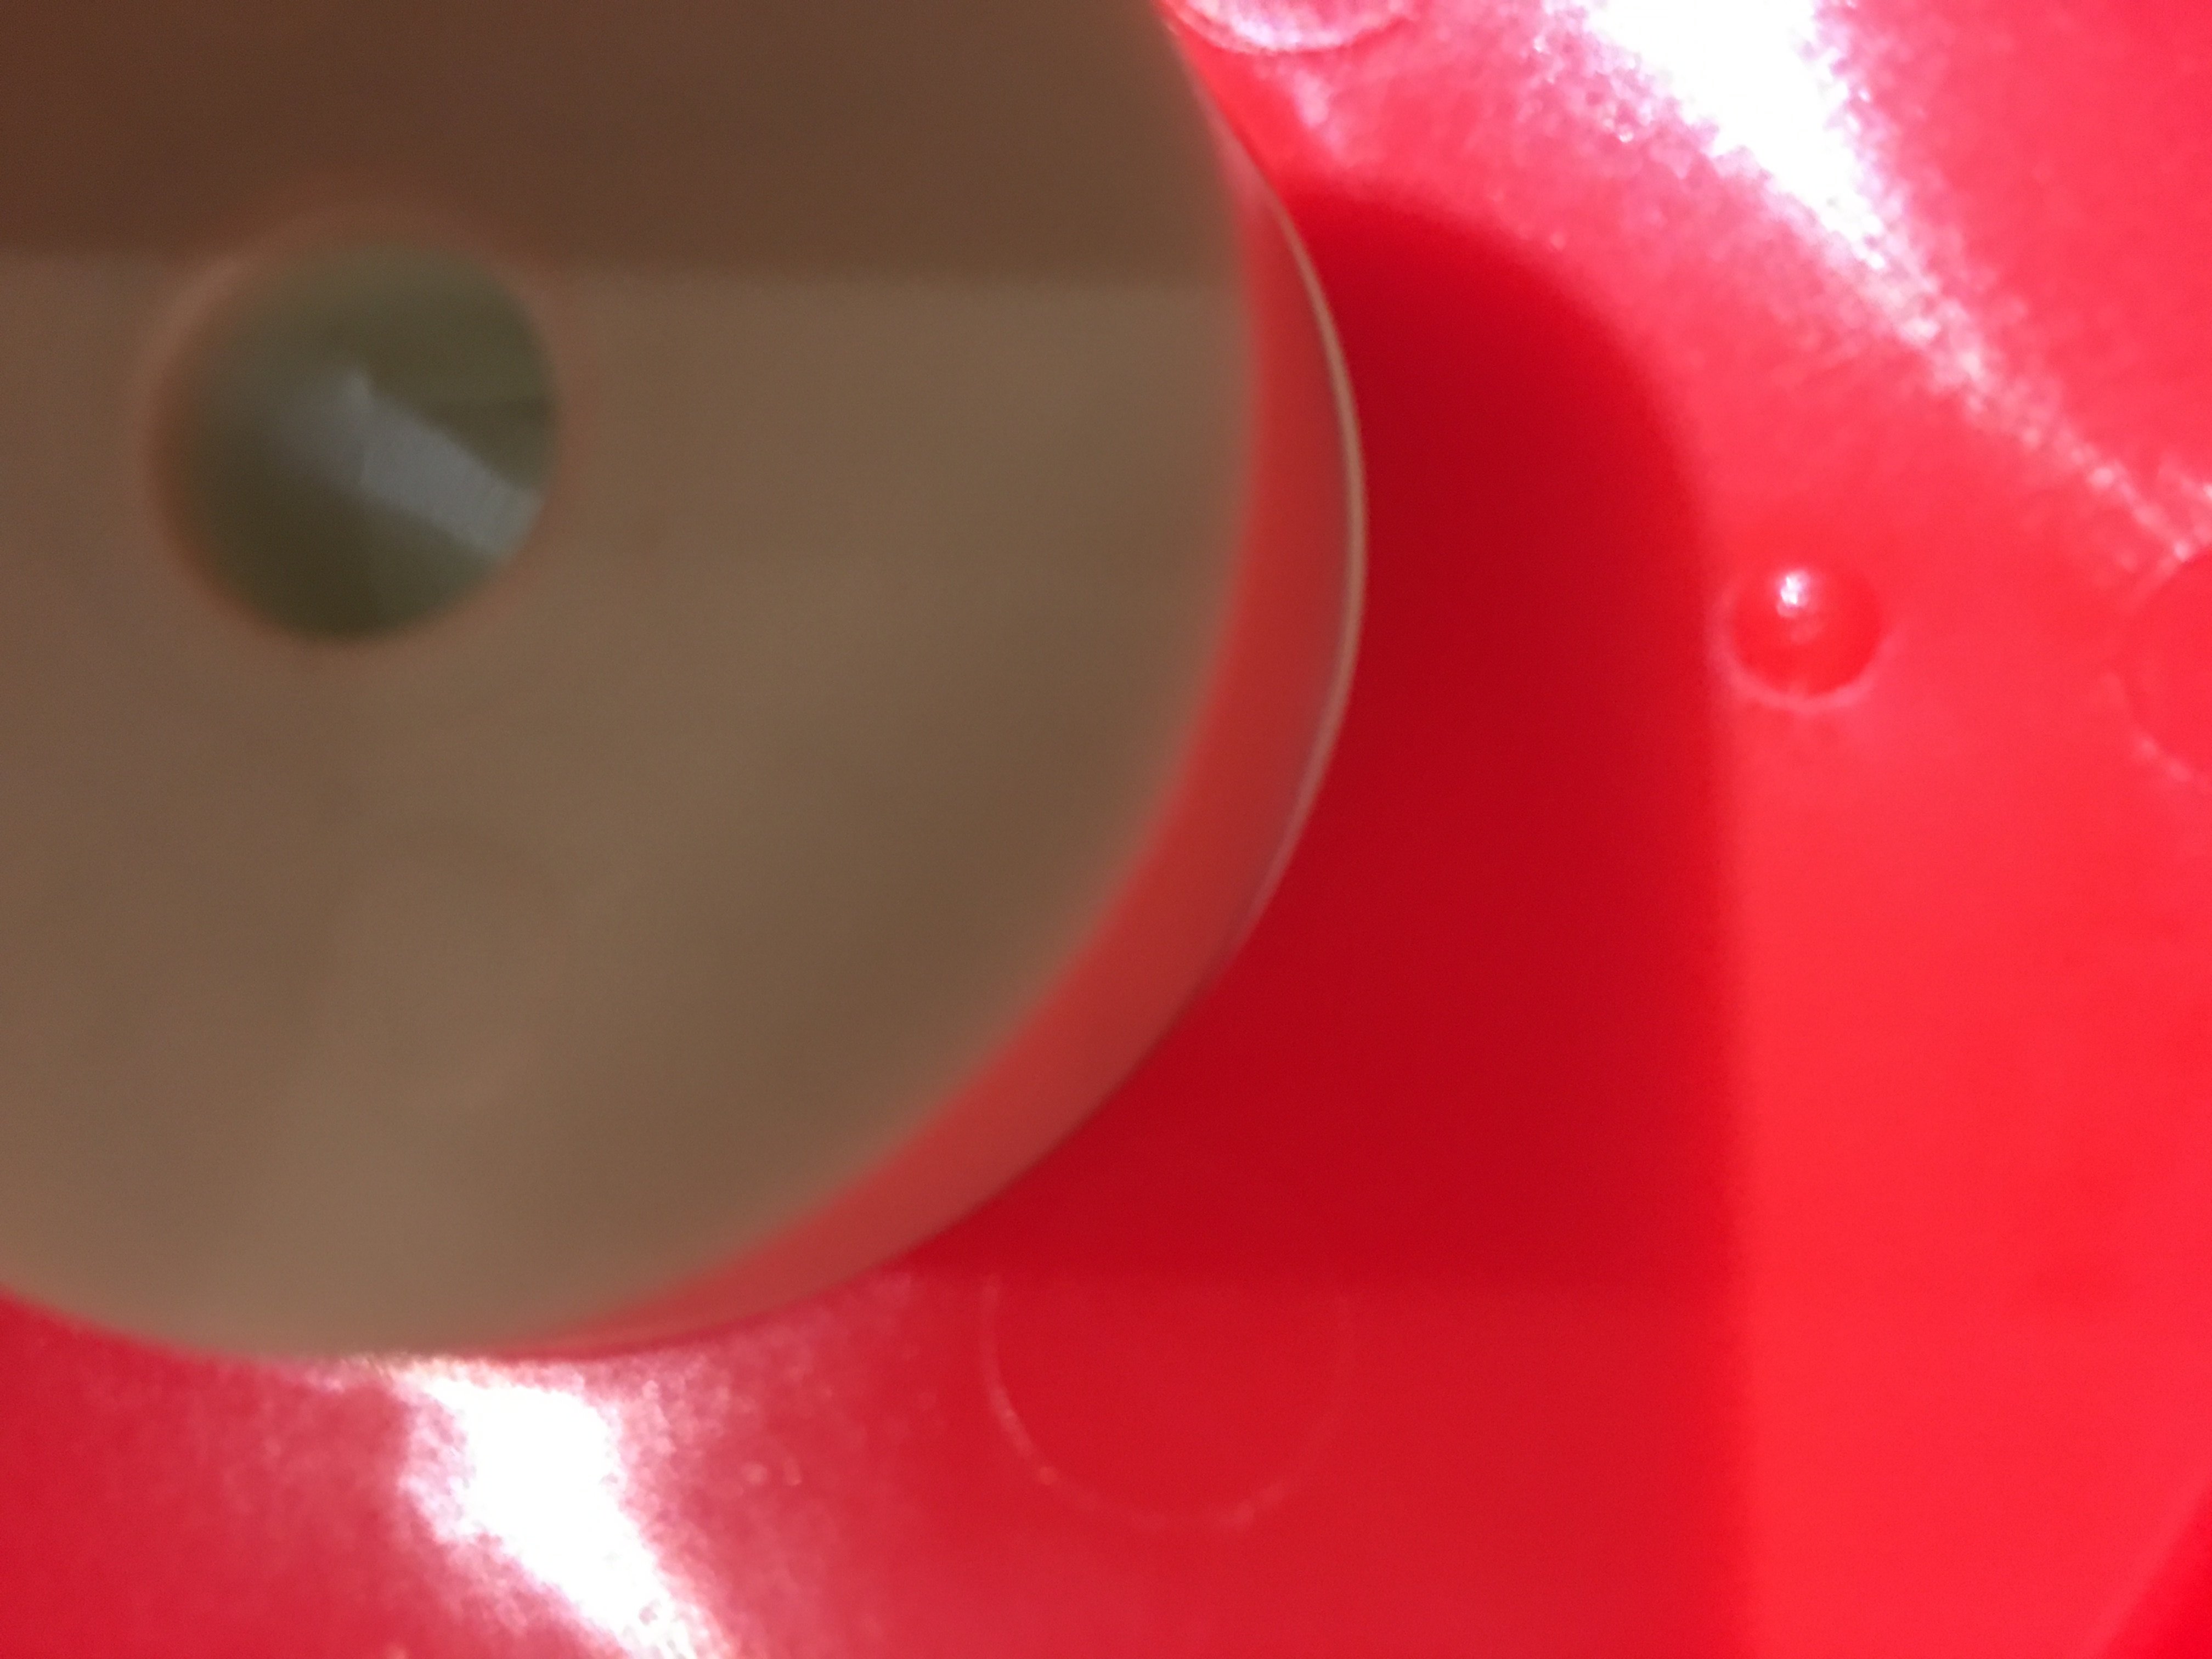
IMG_5073.JPG
IMG_5070.JPG
IMG_5069.JPG
 
Well that's the pits. Maybe you can use something to gloop around the hole, like plumber's putty/pipe dope? At least until you get a new lid. I've used electrical tape to seal around a bung in a carboy but that won't work with the fermonster.
 
Well that's the pits. Maybe you can use something to gloop around the hole, like plumber's putty/pipe dope? At least until you get a new lid. I've used electrical tape to seal around a bung in a carboy but that won't work with the fermonster.
It really is the pits - especially around the timing. The reason I got the Fermonster is that even in a temp controlled chamber and connecting a blow-off tube I always get crazy blow-off (hence the larger fermenter). I would sacrifice another blow-off to brew this weekend but in my second attempt to do a closed transfer to my keg, I somehow managed to implode by PET carboy (I would think the opposite would happen). It's now dented inwards so I worry about what bacteria can be hiding in there LOL. Fun times...

I may try the solid lid.
 
They owe you a good lid. In the mean time I would suggest you find something to cover the gap to seal it. maybe some scotch tape. You could sanitize some paper towel and cover it to prevent anything getting in ... but that will not prevent beer getting out if it gets that high.
 
They owe you a good lid. In the mean time I would suggest you find something to cover the gap to seal it. maybe some scotch tape. You could sanitize some paper towel and cover it to prevent anything getting in ... but that will not prevent beer getting out if it gets that high.
I think I worry more about oxygen getting in once active fermentation ends. I might just place the solid lid and simulate a bucket fermenter for this one. And yes - they definitely owe me a new lid but are not sending me one, saying I need to go through my LHBS. It's really clear that this is a defect with the lid as they have seen with these pictures. They went as far as to possibly blame the bung (even though I tried with 3 different ones, purchased from 2 different retailers).
 
There are bungs that are not solid rubber that may work as they may mold themselves around the hole
IMG_1511349058.159607.jpg
 
I think I worry more about oxygen getting in once active fermentation ends. I might just place the solid lid and simulate a bucket fermenter for this one. And yes - they definitely owe me a new lid but are not sending me one, saying I need to go through my LHBS. It's really clear that this is a defect with the lid as they have seen with these pictures. They went as far as to possibly blame the bung (even though I tried with 3 different ones, purchased from 2 different retailers).

During fermentation there is more CO2 produced than can dissolve permanently in the beer. Most of that is expelled immediately but a significant amount remains in the beer and slowly outgasses as it attempts to reach an equilibrium. After your fermentation is complete that continues for quite some time so the gas movement is outward, not inward. You won't get much oxygen to fit in through that tiny space while CO2 is going out.
 
Yes - they definitely owe me a new lid but are not sending me one, saying I need to go through my LHBS. It's really clear that this is a defect with the lid as they have seen with these pictures. They went as far as to possibly blame the bung (even though I tried with 3 different ones, purchased from 2 different retailers).

Just checking. Are you getting a replacement? If so, you can't complain too much, in so far as the system is working to get you right.

Shipping poor quality in the first place is an issue can you trust them next time? But at least they are ready to make things right, even if it is thru a convoluted path.

Timing .... yes, we would like to fix things immediately, and it is inconvenient. I'm sure you will find something to provide a seal in the mean-time. Not spent any time thinking about it, but could you cover with cling film, put a finger sized hole in it and then put in the bung?
 
I have a couple fermonsters and haven't had any issues fitting the stoppers. Is your stopper soft and rubbery? Maybe you could drop it in boiling water for a few minutes to soften it up, then twist it while pushing it hard into the hole so it kinda screws in.

If you have a step bit for drilling your kettle, you could ream the hole out one size larger to ensure it's perfectly round; the #10 stopper will sit lower in the hole but that shouldn't be a problem. Mine wedge in place with about 4/5 of the stopper still sticking out.
 
Just an update here - I went to my LHBS and tested another lid from the Fermonster and that one had the same issue. You could visually see that it's slightly oval. No matter how hard I try to push and wedge this in (even trying to twist) it cannot seal properly and trust me, I'm using a ton of force. The bungs I have are the silicone bungs from Vintage Shop (same company that makes the Fermonster). My LHBS is waiting for some additional lids that should arrive next week. We'll see how those look. In the last email I exchanged with Vintage shop they said that when they tried the same thing out they had to also apply force and push down with 2 hands and it eventually sealed. I definitely tried the same thing but mine refuses to. Told them as much and radio silence since then so I guess they've decided it's my problem.

In the meantime, I still went ahead and used it in my new batch. 24 hours after pitching there's a lot of krausen but no activity in my blow-off setup, clearly a result of the tiny openings as CO2 is escaping through. When I force the bung down the blow off bubbling starts. As soon as I let go, it stops. @Jayjay1976, I'll try taking another bung and sanitize, then drop it into boiling water to see if I could get a tighter seal.

@jalc6927, my LHBS does not carry those universal bungs. I could get them online but with winter approaching in the northeast I have maybe one more batch left and I already have all the ingredients I need, so when you factor in shipping a $2 part will cost me $13. I'll eventually get one - whenever I have more items to purchase.

Another thing to note, when I bought the Fermonster I also purchased a closed lid with the intention of drilling two 3/8" holes for doing a closed CO2 transfer, leveraging these silicone grommets - https://www.amazon.com/gp/product/B00KTJXOBO/?tag=skimlinks_replacement-20

I could potentially use this lid once active fermentation subsides to connect an airlock to one hole, which would at least create a proper seal. Not sure how to seal the second hole yet.

Anyway, long post but ultimately a lot of work just to create a seal using 2 parts manufactured by the same company, intended to work properly.
 
Last edited by a moderator:
Could you maybe drill a 3/8" hole in the solid lid and use an ale pail lid grommet to fit the airlock? Would that size hole also work for the fittings you need to do pressure transfers? I wouldn't let something like this spoil a brew day, especially when you have a solid lid on hand. If you can rig that up to work, have them send you a new solid lid. Either way, they owe you a new lid. I love their stuff so far, but I've not dealt with their customer service. I really hope they aren't useless, I'll swear off their products if that turns out to be the case.
 
I wouldn't let something like this spoil a brew day, especially when you have a solid lid on hand. If you can rig that up to work, have them send you a new solid lid. Either way, they owe you a new lid. I love their stuff so far, but I've not dealt with their customer service. I really hope they aren't useless, I'll swear off their products if that turns out to be the case.

The batch is now bubbling like mad and I'm also getting some liquid seeping out the bung. I laid out sanitized paper towel around the bung to absorb it. It's not a lot of liquid but still. I'm not worried yet as there's a ton of CO2 pushing everything out but I'll start to worry in a few days when active fermentation subsides. At the very least I'll try putting another bung in place today, as you suggested, or maybe even keg lube? Or some sanitized saran wrap? I've been putting this off because I worry that in the time it takes to replace the bung while fermentation is this active I'll get krausen and liquid coming out of the hole.

I also contacted Vintage Shop one more time asking them to do something here. I'll keep you guys posted on that.
 
I was looking at the lid on mine last night, it's also a bit out-of-round but I can see that corresponds to the injection points on either side of the bung hole where the resin flows into the mold. This is a process issue not a design problem. I assumed they were drilling or punching that hole, molding it makes more sense but there must be some process variable out of whack, some lids being more affected than others. I have the same vintage shop stopper in mine, it's just soft enough to accomodate the slightly elliptical hole. My other fermonster from morebeer came with a much softer stopper thar can wedge in much more securely than the vintage shop one. I would look for a softer stopper for now or just enlarge the hole with a step bit to make it perfectly round.

As for the vintage shop they should specify a softer durometer material for the stopper and maybe include one with the fermonster, raising the price a buck or two to cover the cost at least until they address the tooling issues. Maybe they could add a tapered flange to the hole to stiffen that area and reinforce it during cooling, when shrinkage is likely causing the distortion.
 
Just an update here. I never heard back from my LHBS so I suppose that the new lids they got all had the same opening. I ended up ordering a universal bung that seems to seal fully (https://www.ontariobeerkegs.com/Med...Bung_Drilled_p/universal-bung-med-drilled.htm), so I'll either go with that or with what you see in the pic below. I drilled one hole in the solid lid (5/8" with a forstner bit), and ordered these silicone grommets (https://www.amazon.com/gp/product/B00KTJXOBO/?tag=skimlinks_replacement-20). I'll drill another hole in order to attempt closed transfers. Hopefully the Fermonster can take the 1-2 PSI that's needed to kickstart the transfer. I'll give it a try when I brew my next batch (hopefully the weather will allow me to brew at some point during the winter!).

IMG_5099.JPG
 
Last edited by a moderator:
Back
Top