• Please visit and share your knowledge at our sister communities:
  • If you have not, please join our official Homebrewing Facebook Group!

    Homebrewing Facebook Group

Fermentation heater

Homebrew Talk

Help Support Homebrew Talk:

This site may earn a commission from merchant affiliate links, including eBay, Amazon, and others.
@specialkayme Do you want to build or buy?

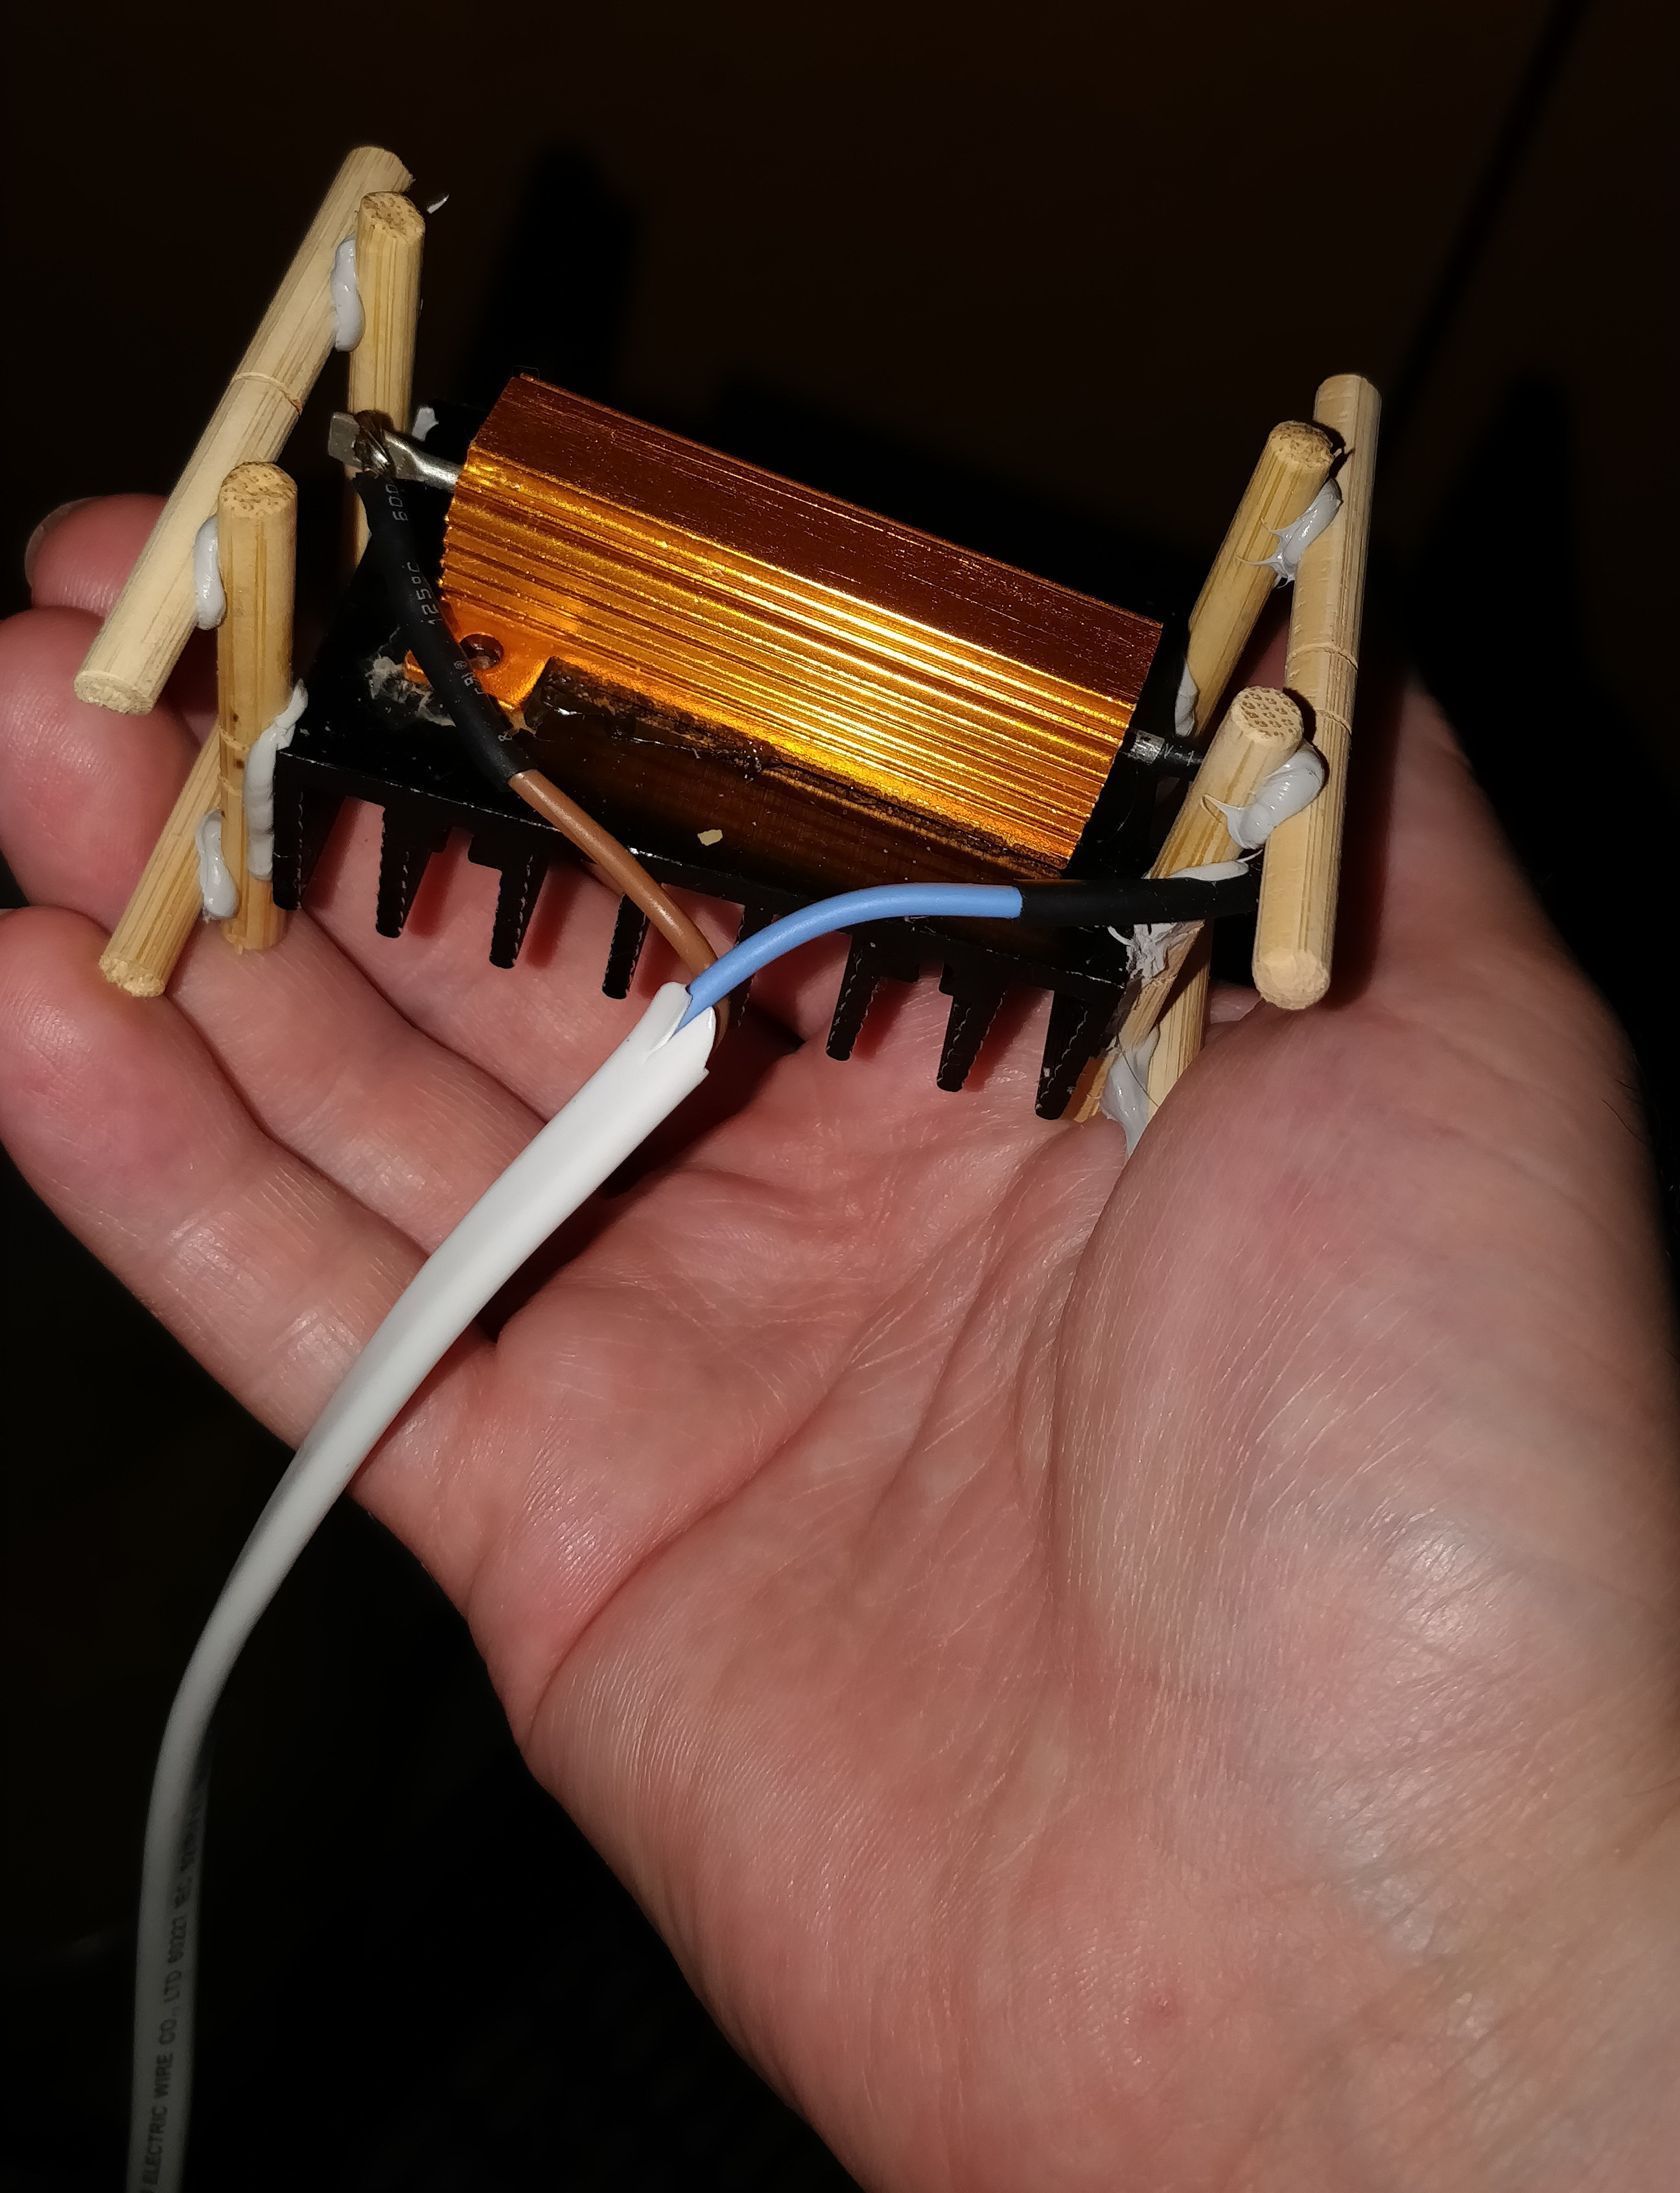
All of the options I had saw cost roughly $20 each, so I hadn't really considered building anything. But I guess I could do either. It depends on what you think is the most efficient and reliable option.

I have no fear of wiring things, although I wouldn't call myself a very good electrician. My wiring jobs appear to provide power to things, but they may not look the neatest. I've only soldered once, and it looks like a 5 year old did it. Take that for what it's worth.

If you think it would be better to build, I'm all ears!
 
It sounds like you're at least curious about building it, so here goes. First, the list of materials:
  • Use the paint can you're already using, if you can.
  • 2 chop sticks or pieces of dowel, to help hold the resistor in place.
  • Silicone caulk/sealant, or other glue that can take a wee bit of heat. These come in toothpaste-style tubes as well as caulk tubes. You won't need much.
  • Solder and iron.
  • A few inches of heat shrink tubing. It may have to bend a corner, to too thick is better than too thin.
  • Electrical wires intended for use carrying 120 V. Thin ones are okay.
  • Plug (for the outlet) which you can screw the wires into.
  • A 50 watt or 100 watt load resistor. (That is the rating, not the actual output in this application.) Estimate the power you want: you said the 100 watt bulb is too hot. If you want 30% of the power (31 watts), get a 470 ohm resistor. For 20% of the power (21 watts), get a 680 ohm resistor.
  • Optional: wire strippers. You can use a razor blade if you are patient.
  • Optional: a heat sink to attach to the resistor, and either heat sink paste or super glue. If the heat sink falls off, it won't hurt anything.
 
I've attached an image of my heater, and how it must be connected to the wire. Mine uses 12 V, so it doesn't need insulation at the contact points, but yours will require that protection. I needed a heat sink in my original project for fast heat exchange, but you don't. The chop sticks you see are only present to prevent it from melting surfaces it touches, though it doesn't get that hot with the heat sink. I use a fan as well, but you don't need one since you have gallons of water acting as a ballast to absorb heat.

To wire the heater:
  • Remove a few inches of the wire's outer insulation to two insulated wires are freed and can easily reach the terminals.
  • Cut two 1.5-inch lengths of heat shrink tubing and slip it onto each wire. Keep it far away from the end (where it will get too hot). If necessary, tape it in place with some masking tape so it doesn't fall off while you're working. Visuals: Imagine making a "V" with two of your fingers, then putting a ring on each and sliding it down all the way to the webbing.
  • Strip the end of each wire, perhaps 1.5-2 cm.
  • Wrap each wire around one of the resistor's terminals and solder it in place.
  • Slide the heat shrink tubing up, over the naked wire and soldered joint, and use heat to shrink it snug. Holding it a few inches above a stove flame should work. Keep it moving, lest it burn.
  • On the other end, wire the plug. I searched youtube for "how to wire an American plug" but didn't have the patience to look beyond the first search result, which was no good. You won't need to solder this. It should screw the wires in tightly.
 

Attachments

  • IMG_20181113_004403.jpg
    IMG_20181113_004403.jpg
    1.2 MB
Once you have the heater wired, test it by putting it on a heat-safe material like ceramic, and plug it in. IMO, you should never touch it while it is powered on, as that is an unnecessary risk. After a minute, unplug it. It should be decently hot. Next leave it plugged in for longer then unplug. It should get extremely hot, but won't smoke. A 100 watt resistor is better than a smaller one. Safer. Under-rating it means you aren't pushing it to the limit. (Pushing it to the limit would mean it's running hot enough to instantly give you a blister or burn. Running it at 1/5 its capacity is better all around.)

If you have a paint can, you can keep using that for safety. Mount the resistor in the space inside the paint can, by gluing it to some chop sticks, the gluing the chop sticks to the paint can. (Not being in Asia, you can substitute dowels, pencils, whatever.) But don't cover the surface of the resistor with the (silicone) glue. Glue is an insulator, so it is best if you glue the little tabs on the end with screw holes, or the terminals themselves. You must have made a hole in the back of the paint can--thread the wire back through this hole, then glue it in place so it can't touch the hot resistor. At that point, you're done and you have a very reliable heater.
 
I recently had some experience using an Inkbird controller to heat up fermentation chamber located in a 60-62F basement to maintain 68F Fermentation temp, it will get colder in the winter and likely drop to 56-58F. So my first batch using a 23W reptile heat pad did not go well. It had some off flavors I never had before and gave me headaches indicating fusel alcohol and fermentation too hot. I think what did me in was the uncontrolled upper temperature and putting the probe in the thermowell of a SS brew bucket. The chamber was likely heated above 80F+ to get temps to rise. At one point I opened the door to check on it and it felt like opening a door to a sauna. This is a fairly small chamber oversized mini fridge to do 5 gallon batches and 23w pad was probably overkill. I just ordered a lower watt unit and a temp controller for 4w heat pad

https://www.amazon.com/gp/product/B079MDRNP2/?tag=skimlinks_replacement-20

The approach I am changing to is this heat pad temp controller plugs into the heating side of Inkbird. So when calling for heat this will be on, but this controller will put an upper limit on how much heat can be in the chamber and shut off heat pad if it gets too hot in the chamber. This might help you with your bulb issue as well. the plan is to have the probe from this heat controller in ambient air of chamber and to set to be no more than 2-4F above set fermentation temp or 70-72F on a 68F target fermentation temp on the Inkbird, or a couple degrees below the upper end of the yeast fermentation range to at no point does any part of the wort get too hot.

I goal is to avoid the chamber overheating and causing off flavors. I know this approach will take longer to raise temp but I would rather that to be sure no off flavors from high temps while the core temp from thermowell gets there. Another option to limit the chamber heat is to simply tape inkbird probe to side wall of fermenter.

In your case you will likely need a higher watt solution for the temp loss in an unheated below freezing environment. So a 60w or 100W bulb may be better for you or a couple of these 24w reptile pads, that way you have some redundancy if one burns out.

https://www.amazon.com/dp/B07GXSDMR2/?tag=skimlinks_replacement-20

I think they sell bigger ones at 45w and 105w but these are very large mats for germination
 
Not bad. That comes to $15, shipped and pre-connected for a 30 watt heater including the plug, and you can cut it smaller if you find it's too hot.

I wouldn't really want to use a film in a heated chamber, but that's more about aesthetic preference than anything else. (Where would you put it?) A film that you can trim to reduce the wattage is way more versatile than choosing before you buy. Seems like a reasonable option.
I just tape it to the outside if the fermenterand wrap with reflex insulation.
 
... uncontrolled upper temperature and putting the probe in the thermowell of a SS brew bucket. The chamber was likely heated above 80F+ to get temps to rise. At one point I opened the door to check on it and it felt like opening a door to a sauna. This is a fairly small chamber oversized mini fridge ...

Sounds like you were using a single stage temp controller? Or you did not have your mini fridge plugged into the cooling side of a dual stage controller? Or there was an issue with how you programmed the controller?

I use a 16W heat pad under my PET fermenters in a large-ish wine fridge, controlled by an Inkbird ITC-1000F, with the temp probe in a 12" thermowell through the lid. I don't have the problem you describe.

My experience is that the heat pad gives very gentle distributed heating. I have no fears of damaging the plastic fermenter or cooking the beer. Should the temp rise above my set point (+ offset), the controller will turn on the refrigerator. In cool weather all it does is cycle the heat pad. I have my chamber in a shop hallway that stays 50-60F in the cool months.IMG_20181112_113344_125.jpg
 
@piojo - thank you for taking the time to describe this. You did a very good job. I have most of the misc. parts lying around (some wire, solder, shrink wrap wiring stuff, although I don't think the right size), but I don't have the resister or anything that it should be mounted on. I'm assuming this one would work well? https://www.amazon.com/dp/B07FS1249Y/?tag=skimlinks_replacement-20 Should I be looking to mount it on a heat sink, or something else?

It looks like it'll probably end up costing me $12-16 to build, and maybe an hour or two of time. I'm sure I'll learn something in the process, but I'm not sure it makes much sense when compared to a reptile heating pad or fermentation heater that costs $11-20. Or would you disagree?
 
@specialkayme I suggested gluing it to chopsticks (probably in a X pattern) to mount the resistor in air. If it's in a paint can or soup can, it doesn't need a heat sink, because the can is protection against touching. Mine has a heat sink+fan mostly because I originally used it in an application with no thermal mass, so if it built up heat inside, there would be a large temperature overshoot. You can always add it later, but I don't see any reason right now.

The load resistor you found is correct, but so is your assessment. Are you ever gonna make your own temperature controller with Arduino or Raspberry Pi? If so, you should use the load resistor because that technique is transferable (does not require using mains voltage). If this is the only heating system you build, you have my permission to buy a reptile pad. :)

Sometimes I choose to build rather than buy if I can get the final result faster or if the DIY thing will be customized in some useful way. In this case I don't see the advantage, unless you are near an electronics components store. In that case, the advantage would be that you could get the project finished as soon as you want.
 
Sounds like you were using a single stage temp controller? Or you did not have your mini fridge plugged into the cooling side of a dual stage controller? Or there was an issue with how you programmed the controller?

I use a 16W heat pad under my PET fermenters in a large-ish wine fridge, controlled by an Inkbird ITC-1000F, with the temp probe in a 12" thermowell through the lid. I don't have the problem you describe.

My experience is that the heat pad gives very gentle distributed heating. I have no fears of damaging the plastic fermenter or cooking the beer. Should the temp rise above my set point (+ offset), the controller will turn on the refrigerator. In cool weather all it does is cycle the heat pad. I have my chamber in a shop hallway that stays 50-60F in the cool months.View attachment 597499

i was using a 2 stage controller with the min temp tolerance (1F) on both heat and cool. Keep in mind the controller probe was in my brewbucket thermowell and that temp lagged the fermentation environment. So i am convinced the off flavors were from stratification in temps with the outer wall of the SS brewbucket until the probe in the thermowell reached set temp. This is why i downsized the 23w heater to 4w in the small fermentation environment of a mini fridge to provide gentler heat with the ambient sensor as added protection.

Maybe the difference is the your PET sidewall on your fermentor insulates from stratification better than SS, and i had a smaller fermentation environment plus i was using a 50% higher watt heater than yours.
 
Last edited:

Latest posts

Back
Top