mrbradwilliams
New Member
Thanks. This seems like a seriously cheap alternative to buying a $140 Ranco.

great write up. I was looking on Ebay for these temp controllers. Question: do they only display in C and not F?


great write up. I was looking on Ebay for these temp controllers. Question: do they only display in C and not F?
Question, we don't want too small of a temp swing right? We need to keep some swing to keep the compressor from constantly turning on and off. Don't want to wear the compressor out.
Pics down?
I'm not great with electricity but I have worked on car stereos. Whenever I did wiring I would solder and then put shrink wrap over that. Could I do that instead of wire nuts?
Also, is there a difference between the round cord you bought and the flat cord you can buy? As long as it is a good length, 3 prong and at least 13A it should all be the same, no?
brewyourown4life said:whats the length of the temp probe wiring? really interested in this build


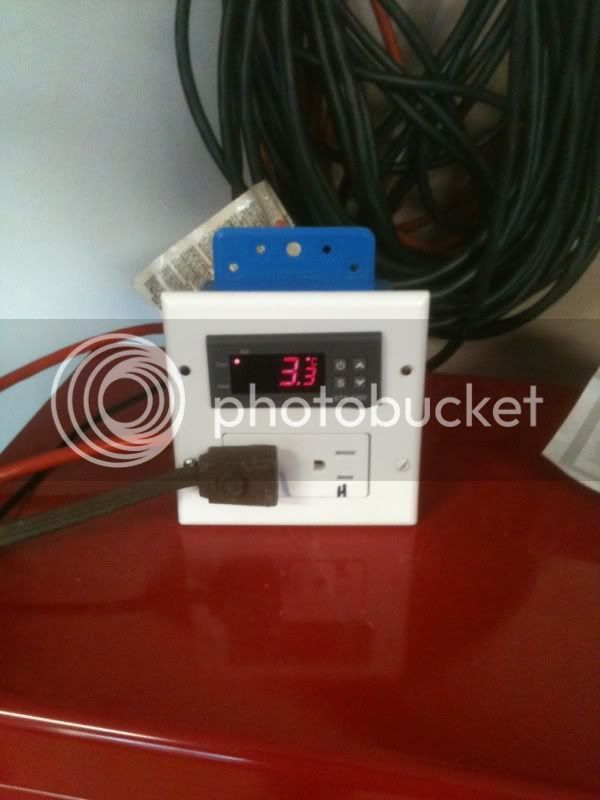
I noticed in this picture
and this picture
that the wires going into post 1 and 2 on the controller are different. Does it matter?
Also I have noticed in many of the other wiring diagrams there are three wires coming from the left side rather than two from these pictures.
Reversing 1 and 2 doesn't matter - it's AC, not DC.
The "left" side has a copper "jumper/leg" for the 2 left legs to be energized at all times. The "right" side has this jumper/leg intentionally broken for the up and down legs to be energized interdependently.
M_C
Hmmm... did I get to gleeful at the price and think I had found a nice Fahrenheit reading controller? I've seen comments that they are single stage. Guess I didn't read well enough and see that some are single stage. I still am hopeful this is dual stage, and was assuming Work and Set were the Heat and Cool sides.
http://www.ebay.com/itm/320778369051?ssPageName=STRK:MEWNX:IT&_trksid=p3984.m1497.l2649
Guess I can still use a single stage here and there and will have to make another dual stage after this, and at least I did catch the 220v versions and avoided that problem.
Thanks for the tutorial, Misplaced Canuck. Being an electical idiot, I was glad to see your build and most importantly for me, the pictures.
I finished mine and plugged it in today.
Success!
 [My neighbor is holding one hostage!]
TY much for the clarification. Looks like I'll have a single stage and just do the dual later. I do have a dual stage Ranco already and can still use the single in most cases.I have one of those in my keezer, and two in my HERMS control panel. They are indeed single stage, but they have nice SS temp probes and more programming options than the STC-1000. The "set" light just indicates that you're in the programming menu.
Yeup. There are some threads around here where people wire them up to their freezers mounted instead of freefloating as well. Oh, and check out this video I ran into the other day. It should be helpful for ya [ame=http://www.youtube.com/watch?v=z6PjiilVBXY&feature=related]Temp Controller STC-1000 - YouTube[/ame]i'm still new to homebrewing only been doing it for just a year.. but am in the process of aquiring a small freezer and plan on making it into a "keezer". if i where to build one of these i can use this to control the temp of the keezer is that right?.


![Craft A Brew - Safale BE-256 Yeast - Fermentis - Belgian Ale Dry Yeast - For Belgian & Strong Ales - Ingredients for Home Brewing - Beer Making Supplies - [3 Pack]](https://m.media-amazon.com/images/I/51bcKEwQmWL._SL500_.jpg)


