shortyjacobs
Well-Known Member
actually i take that back - it used to be 20.99 so it was 5 bucks cheaper.
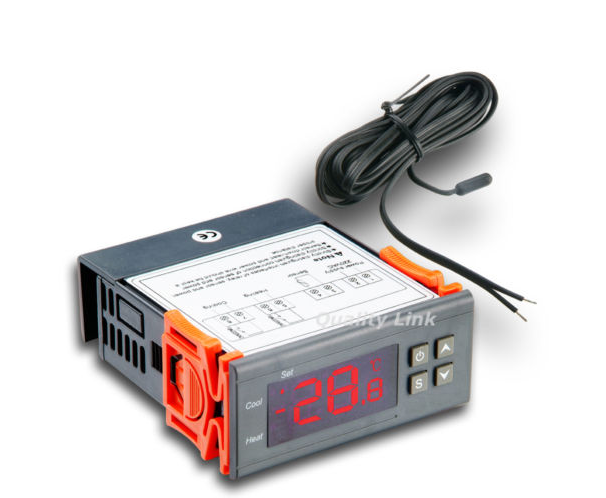
1 buck cheaper, if you're talking about the dual stage one:
http://cgi.ebay.com/Mini-Digital-Te...ultDomain_0&hash=item4151607bdf#ht_4243wt_913

actually i take that back - it used to be 20.99 so it was 5 bucks cheaper.
")


![Craft A Brew - Safale S-04 Dry Yeast - Fermentis - English Ale Dry Yeast - For English and American Ales and Hard Apple Ciders - Ingredients for Home Brewing - Beer Making Supplies - [1 Pack]](https://m.media-amazon.com/images/I/41fVGNh6JfL._SL500_.jpg)


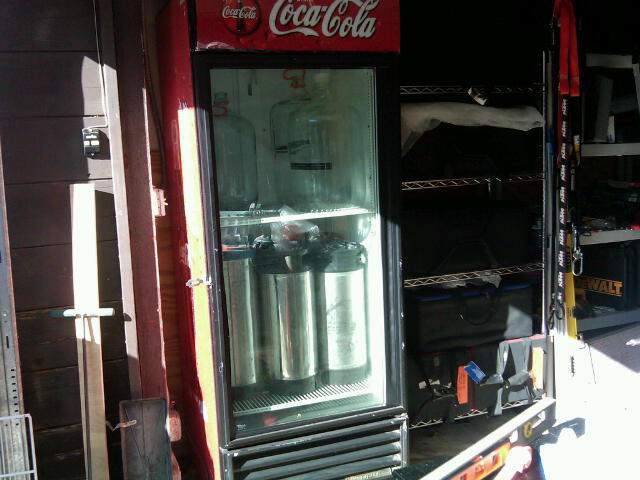


We got a nifty glass door merchandiser to use for lagering and controlled fermenting. It is rigged for 33-38 degrees. I want to keep it it as stock as possible. I was thinking I could bypass the thermostat instead of turning the whole thing on and off with an external controller. The lights are pretty nifty.
Yes florescent. I did not know about skunking. Is this a function of the wavelength of the light? Is there a beer safe florescent?
More things to think about...


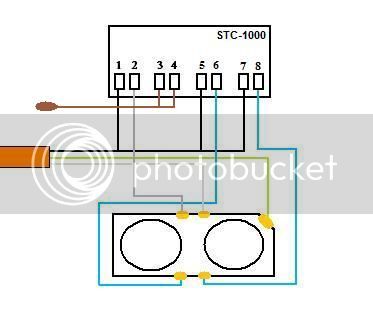
2. you are shorting pins 6 and 8 together via the fan wiring (orange wire) so they will both kick on whenever one is on. you need to use a relay to control the fan.
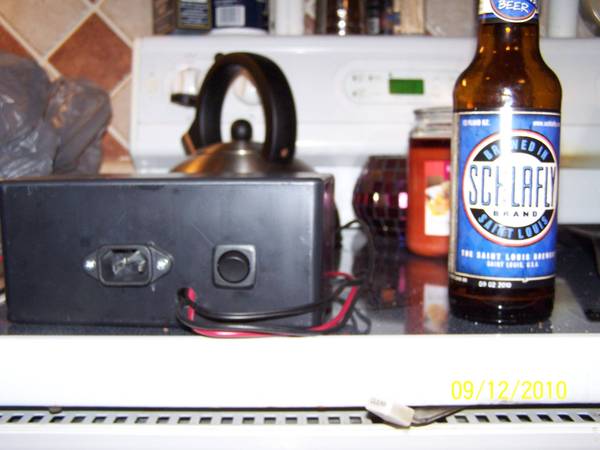
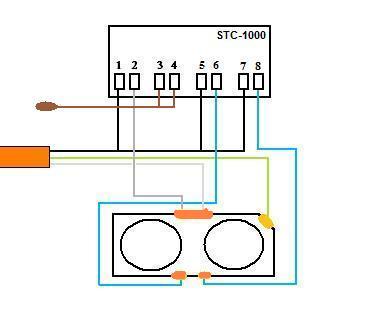
I used a jack from a computer power supply for the power. I tried using the relay but something went wrong and I smoked the relay. So i just wired the fan to come on when either heat or cool was called for.
I didn't think it was possible to have the fan come on with the heating AND cooling circuit without the use of the relay? Wouldn't both heating and cooling be triggered due to the fan shorting the other circuit? something is not adding up here
The schematic looks correct. Make sure to break the tab that connects the bottom two terminals on the outlet (the two with the light blue lines) while retaining the other tab (light grey line -probably the white wire in from your power cord).
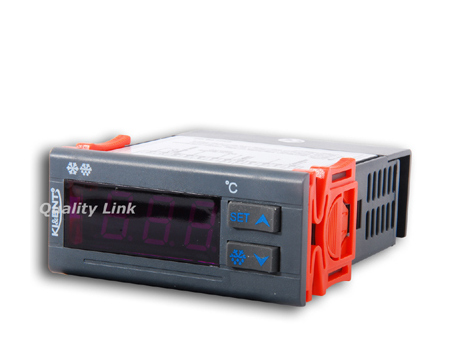
Built one this weekend as well. Unfortunately, I bought the wrong controller. I got the single stage instead of the two stage. I still wired it up for two stage and will buy a two stage unit and swap it out.

Just got my controller today :rockin:
One thing that I think that is wrong, most of the diagrams in this post shows the hot or black going through the controller. I think it should be the white or neutral that is being switched.
In every PID controller wiring diagram I have seen, the black is what gets switched. I think, at least with this unit, polarity does not matter.
Why would you think the white wire is the one?
If you look at your light switches at your house, its always the black.


