Hello,
Just finished reading through the wealth of information on this thread. It seems like the penguin chillers have quite a few fans. I'm interested to know if anyone has a qualified opinion on how the penguin compares to the SS brew tech? I was torn and ultimately ended up just pulling the trigger on the SS brewtech glycol chiller and a 7 gallon uni. For me, the SS brewtech chiller looks better and more 'in place' in my brewery. I think customer service will be the deciding factor and SS has already proven themselves on that front by voluntarily emailing me after my order and offering to give me the mash manifold I also purchased free of charge as a thanks - cant beat that!
I do have a few questions hoping some of the more experienced folks could help with and some general comments
* I purchased a 1.5 TC to 1/2 male npt along with a 1.5 tc to 1/2 barb to complete the blowoff assembly. Seems logical
* I also purchased the 1.5 TC to 1/4 MFL to do pressurized transfer through the blowoff cane.
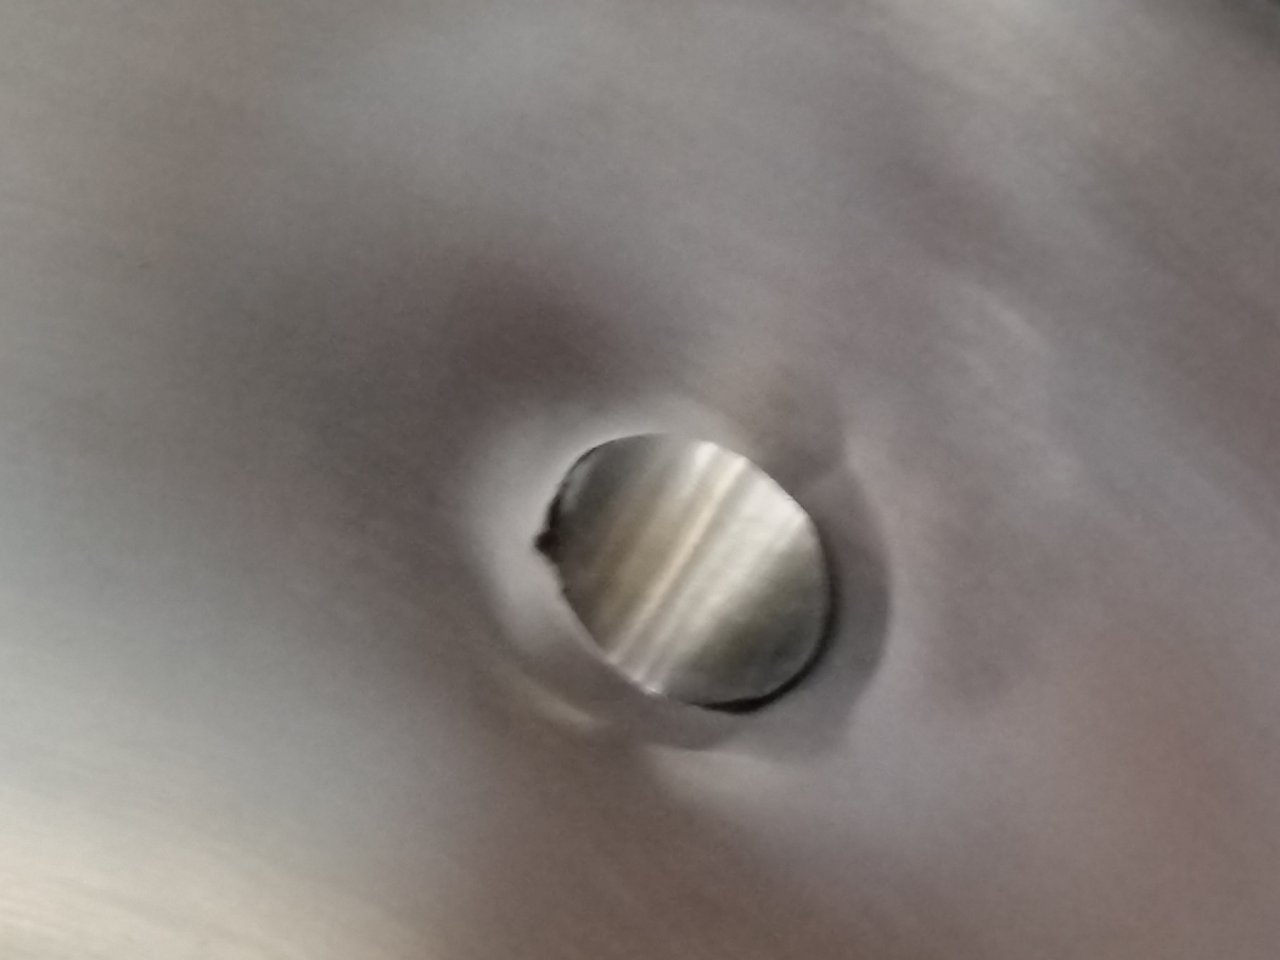
* How does the gas connect to the carb stone for carbing? Do I need another fitting, or will everything be included in the box?
* For the liquid side of the pressurized transfer, I was planning to use a 1.5 TC to 1/2 barb to a ball lock liquid connector with a 1/4 MFL to 1/2 barb fitting from brew hardware. I assume this will work? Do I need anything else to complete the pressurized transfer
* I also picked up the 3/8 line quick disconnects for the glycol chiller based on a previous recommendation, thanks for that.
Is there anything else I'm missing? I saw the ball jar connector that looks pretty neat, but would require purchase of leg extensions as well. Wondering if its worth it? - is it just for yeast collection or can it also be used for more controlled trub dumps?
* I forgot to order the casters, are these a must have?
Are there any other must haves I may be missing to make this solution best in class? Apologies if any of this has been answered previously, alot of this stuff is new to me.
Thanks!


![Craft A Brew - Safale S-04 Dry Yeast - Fermentis - English Ale Dry Yeast - For English and American Ales and Hard Apple Ciders - Ingredients for Home Brewing - Beer Making Supplies - [1 Pack]](https://m.media-amazon.com/images/I/41fVGNh6JfL._SL500_.jpg)


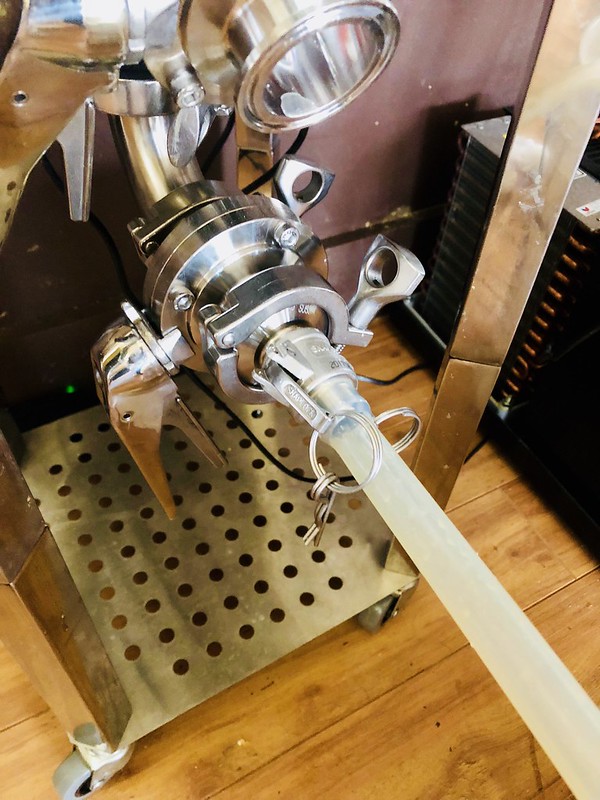
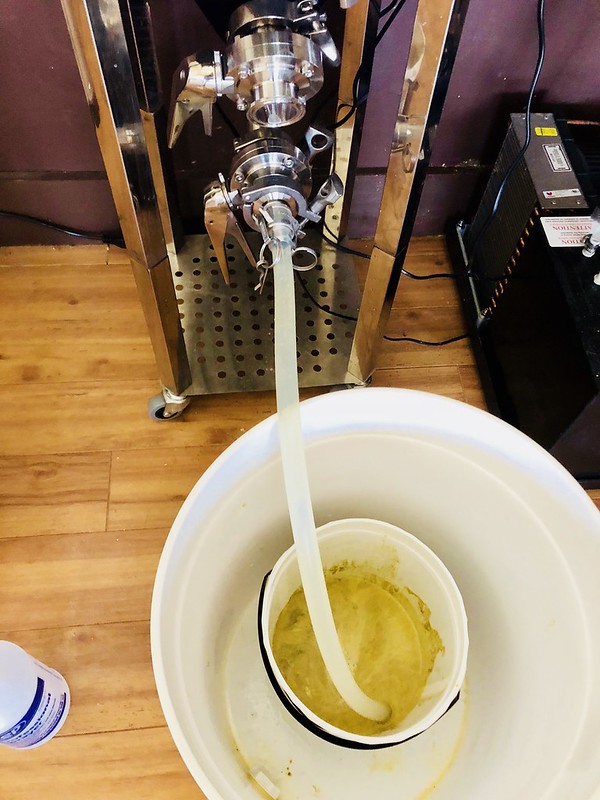
") I remember the first time I tried this process. I think there are still hops stuck to the wall or ceiling somewhere. So I finally worked out a nice clean and easy way to do this. I add a cam lock TC port to the bottom dump butterfly valve and then connect a cam lock connector with a hose and route the house into a small bucket inside of a big bucket. This allows for a nicely controlled mess free process. Obviously other connector types can be used. Also I do have the leg extensions which makes this 10x easier as it provides some clearance under the tank so the hose can flow nicely.
I remember the first time I tried this process. I think there are still hops stuck to the wall or ceiling somewhere. So I finally worked out a nice clean and easy way to do this. I add a cam lock TC port to the bottom dump butterfly valve and then connect a cam lock connector with a hose and route the house into a small bucket inside of a big bucket. This allows for a nicely controlled mess free process. Obviously other connector types can be used. Also I do have the leg extensions which makes this 10x easier as it provides some clearance under the tank so the hose can flow nicely.