thehopbandit
Well-Known Member
- Joined
- Oct 30, 2012
- Messages
- 150
- Reaction score
- 8
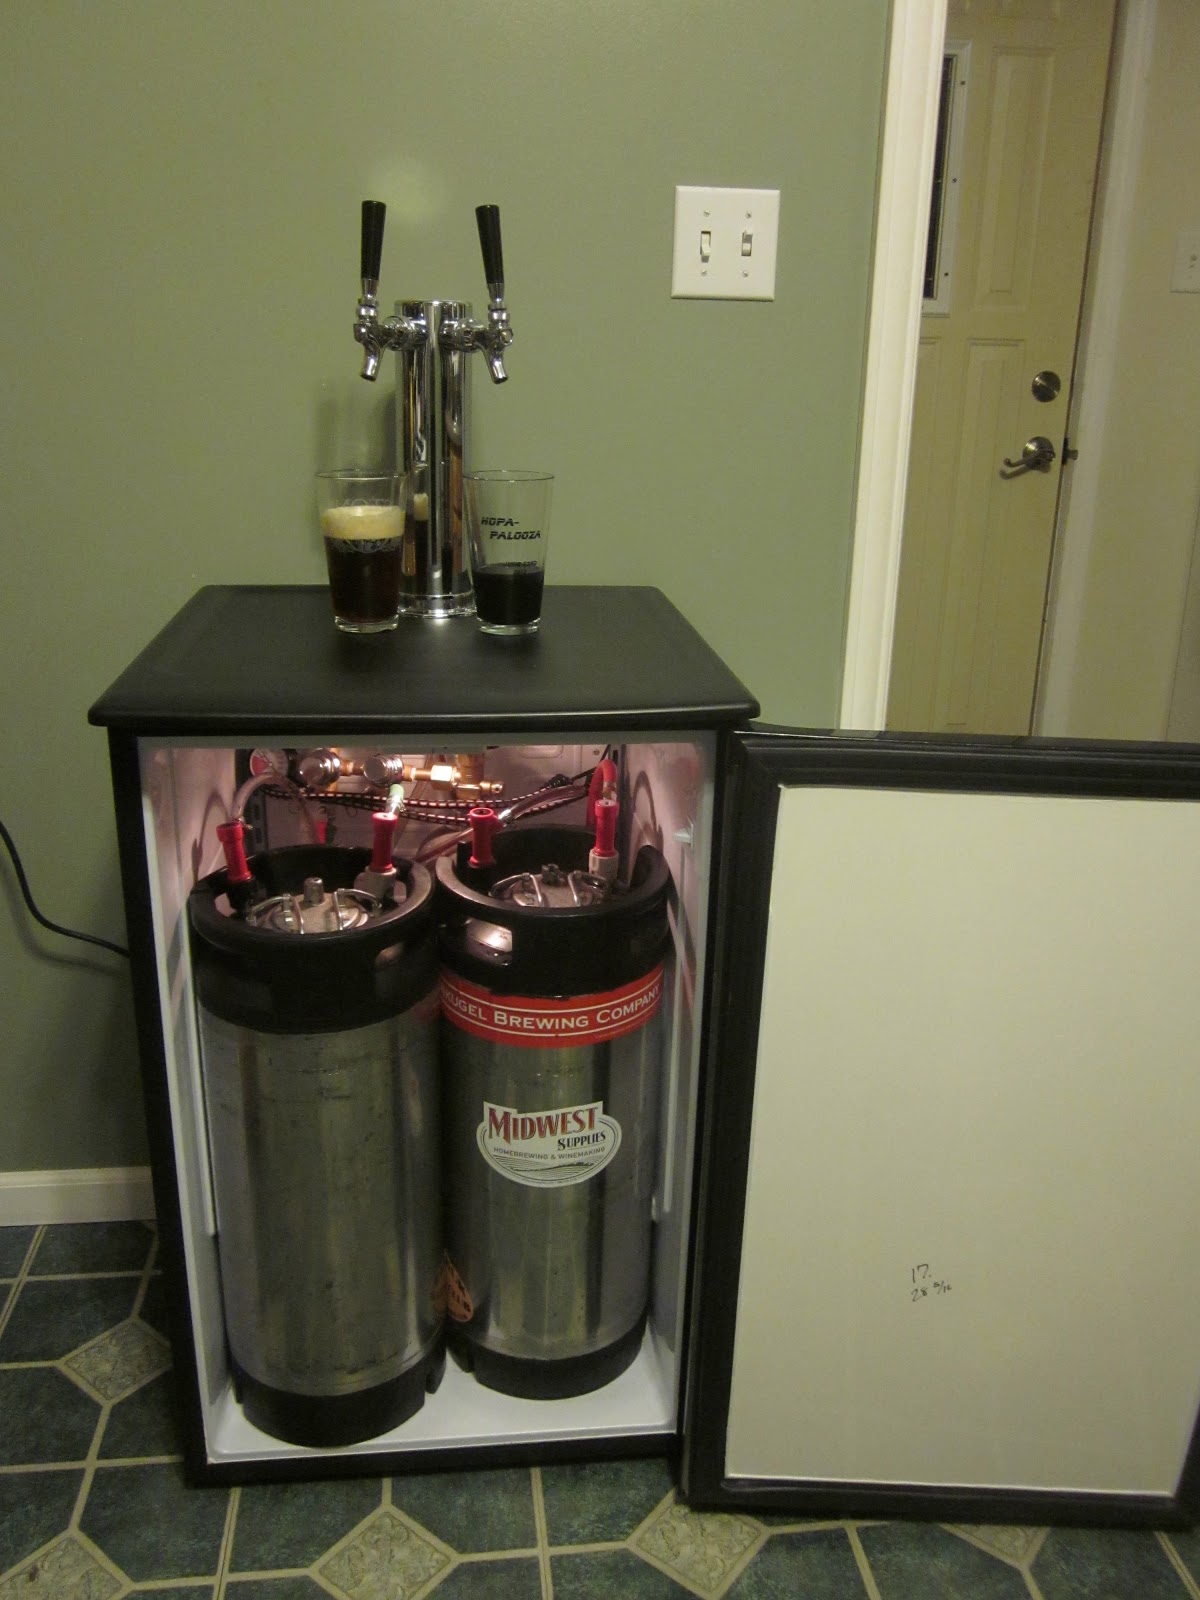
The side mounts can be removed, it's just more work b/c you will have to cut them out and then seal the cuts to protect in insulation. I've seen other builds on here where people have done that. I did not go that route because mine fit (just barely). I literal have to squeeze the left keg in about 1" to get the door to shut.
Hmm, I've been looking at some pictures of the Danby fridge models online and are you sure that one you were referring to is actually a DAR125SLDD and not a DAR044A2SLDD?
The DAR044A2SLDD model mounts on the side and all the pictures of the DAR125SLDD seem to still show mounting in the back.


![Craft A Brew - Safale BE-256 Yeast - Fermentis - Belgian Ale Dry Yeast - For Belgian & Strong Ales - Ingredients for Home Brewing - Beer Making Supplies - [3 Pack]](https://m.media-amazon.com/images/I/51bcKEwQmWL._SL500_.jpg)


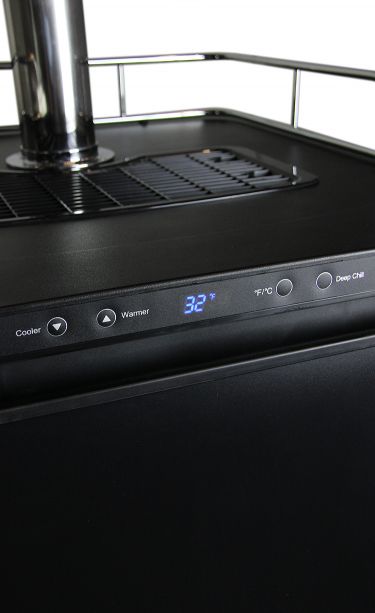
![IMG_20141008_152833[1].jpg](https://cdn.homebrewtalk.com/data/attach/192/192509-IMG-20141008-152833-1-.jpg "IMG_20141008_152833[1].jpg")
 This is one of the gaskets that use screws rather than just going into a slot in the door.


 :rockin: