Custom Jockey Box build

Homebrew Talk - Beer, Wine, Mead, & Cider Brewing Discussion Forum

Help Support Homebrew Talk - Beer, Wine, Mead, & Cider Brewing Discussion Forum:

This site may earn a commission from merchant affiliate links, including eBay, Amazon, and others.

rasik33

Member
Joined
Aug 16, 2017
Messages
5
Reaction score
7
Location
Lakewood, OH
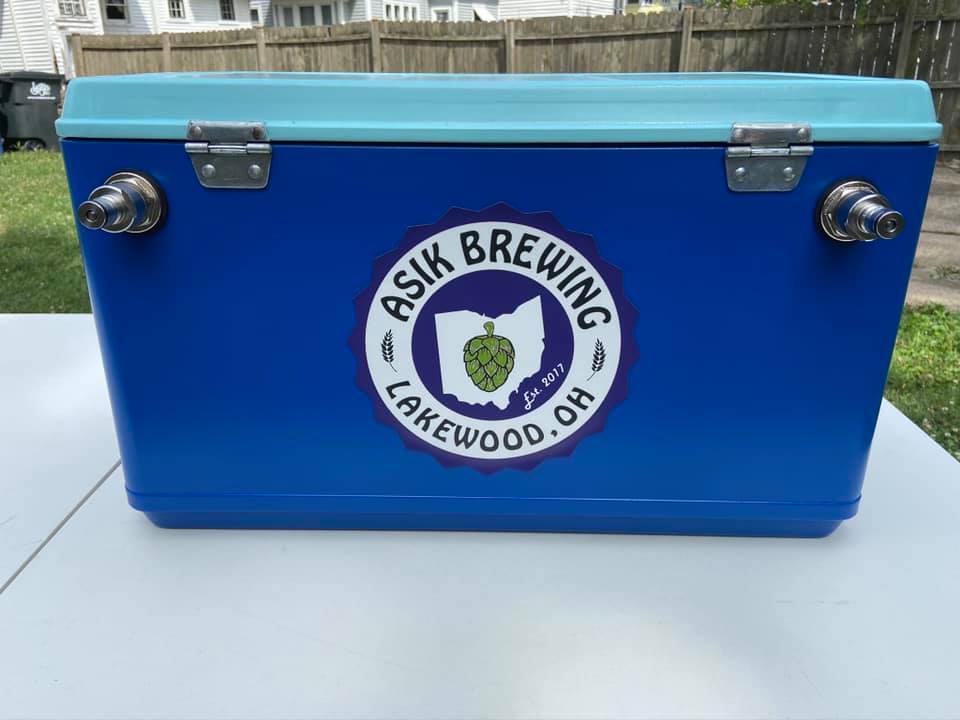
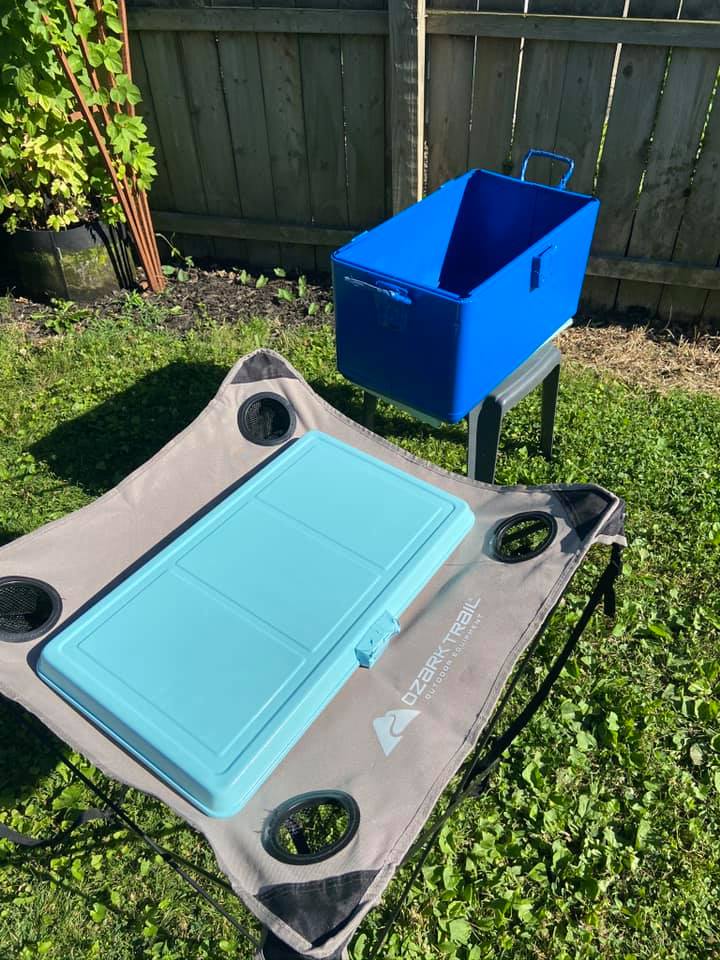
Hey Everyone! Started a project around building a jockey box which I can use for sharing my homebrew at larger events. I wanted to do something different and unique and not just a standard cooler. It took a little bit but I found this antique Hamilton Skotch Skylander cooler from the 1950’s which needed some TLC.

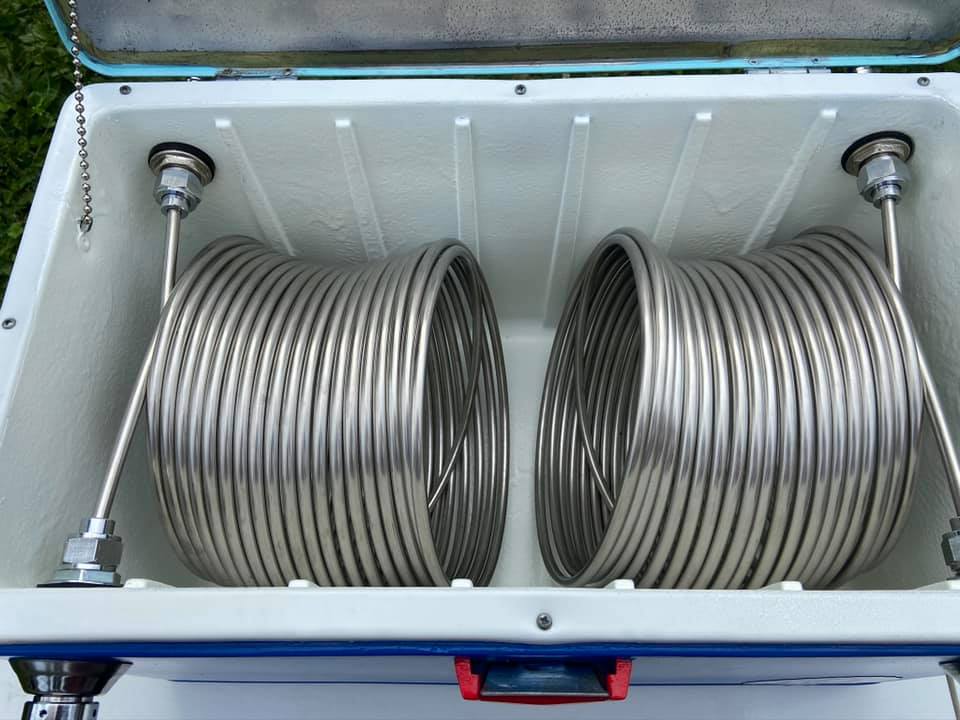
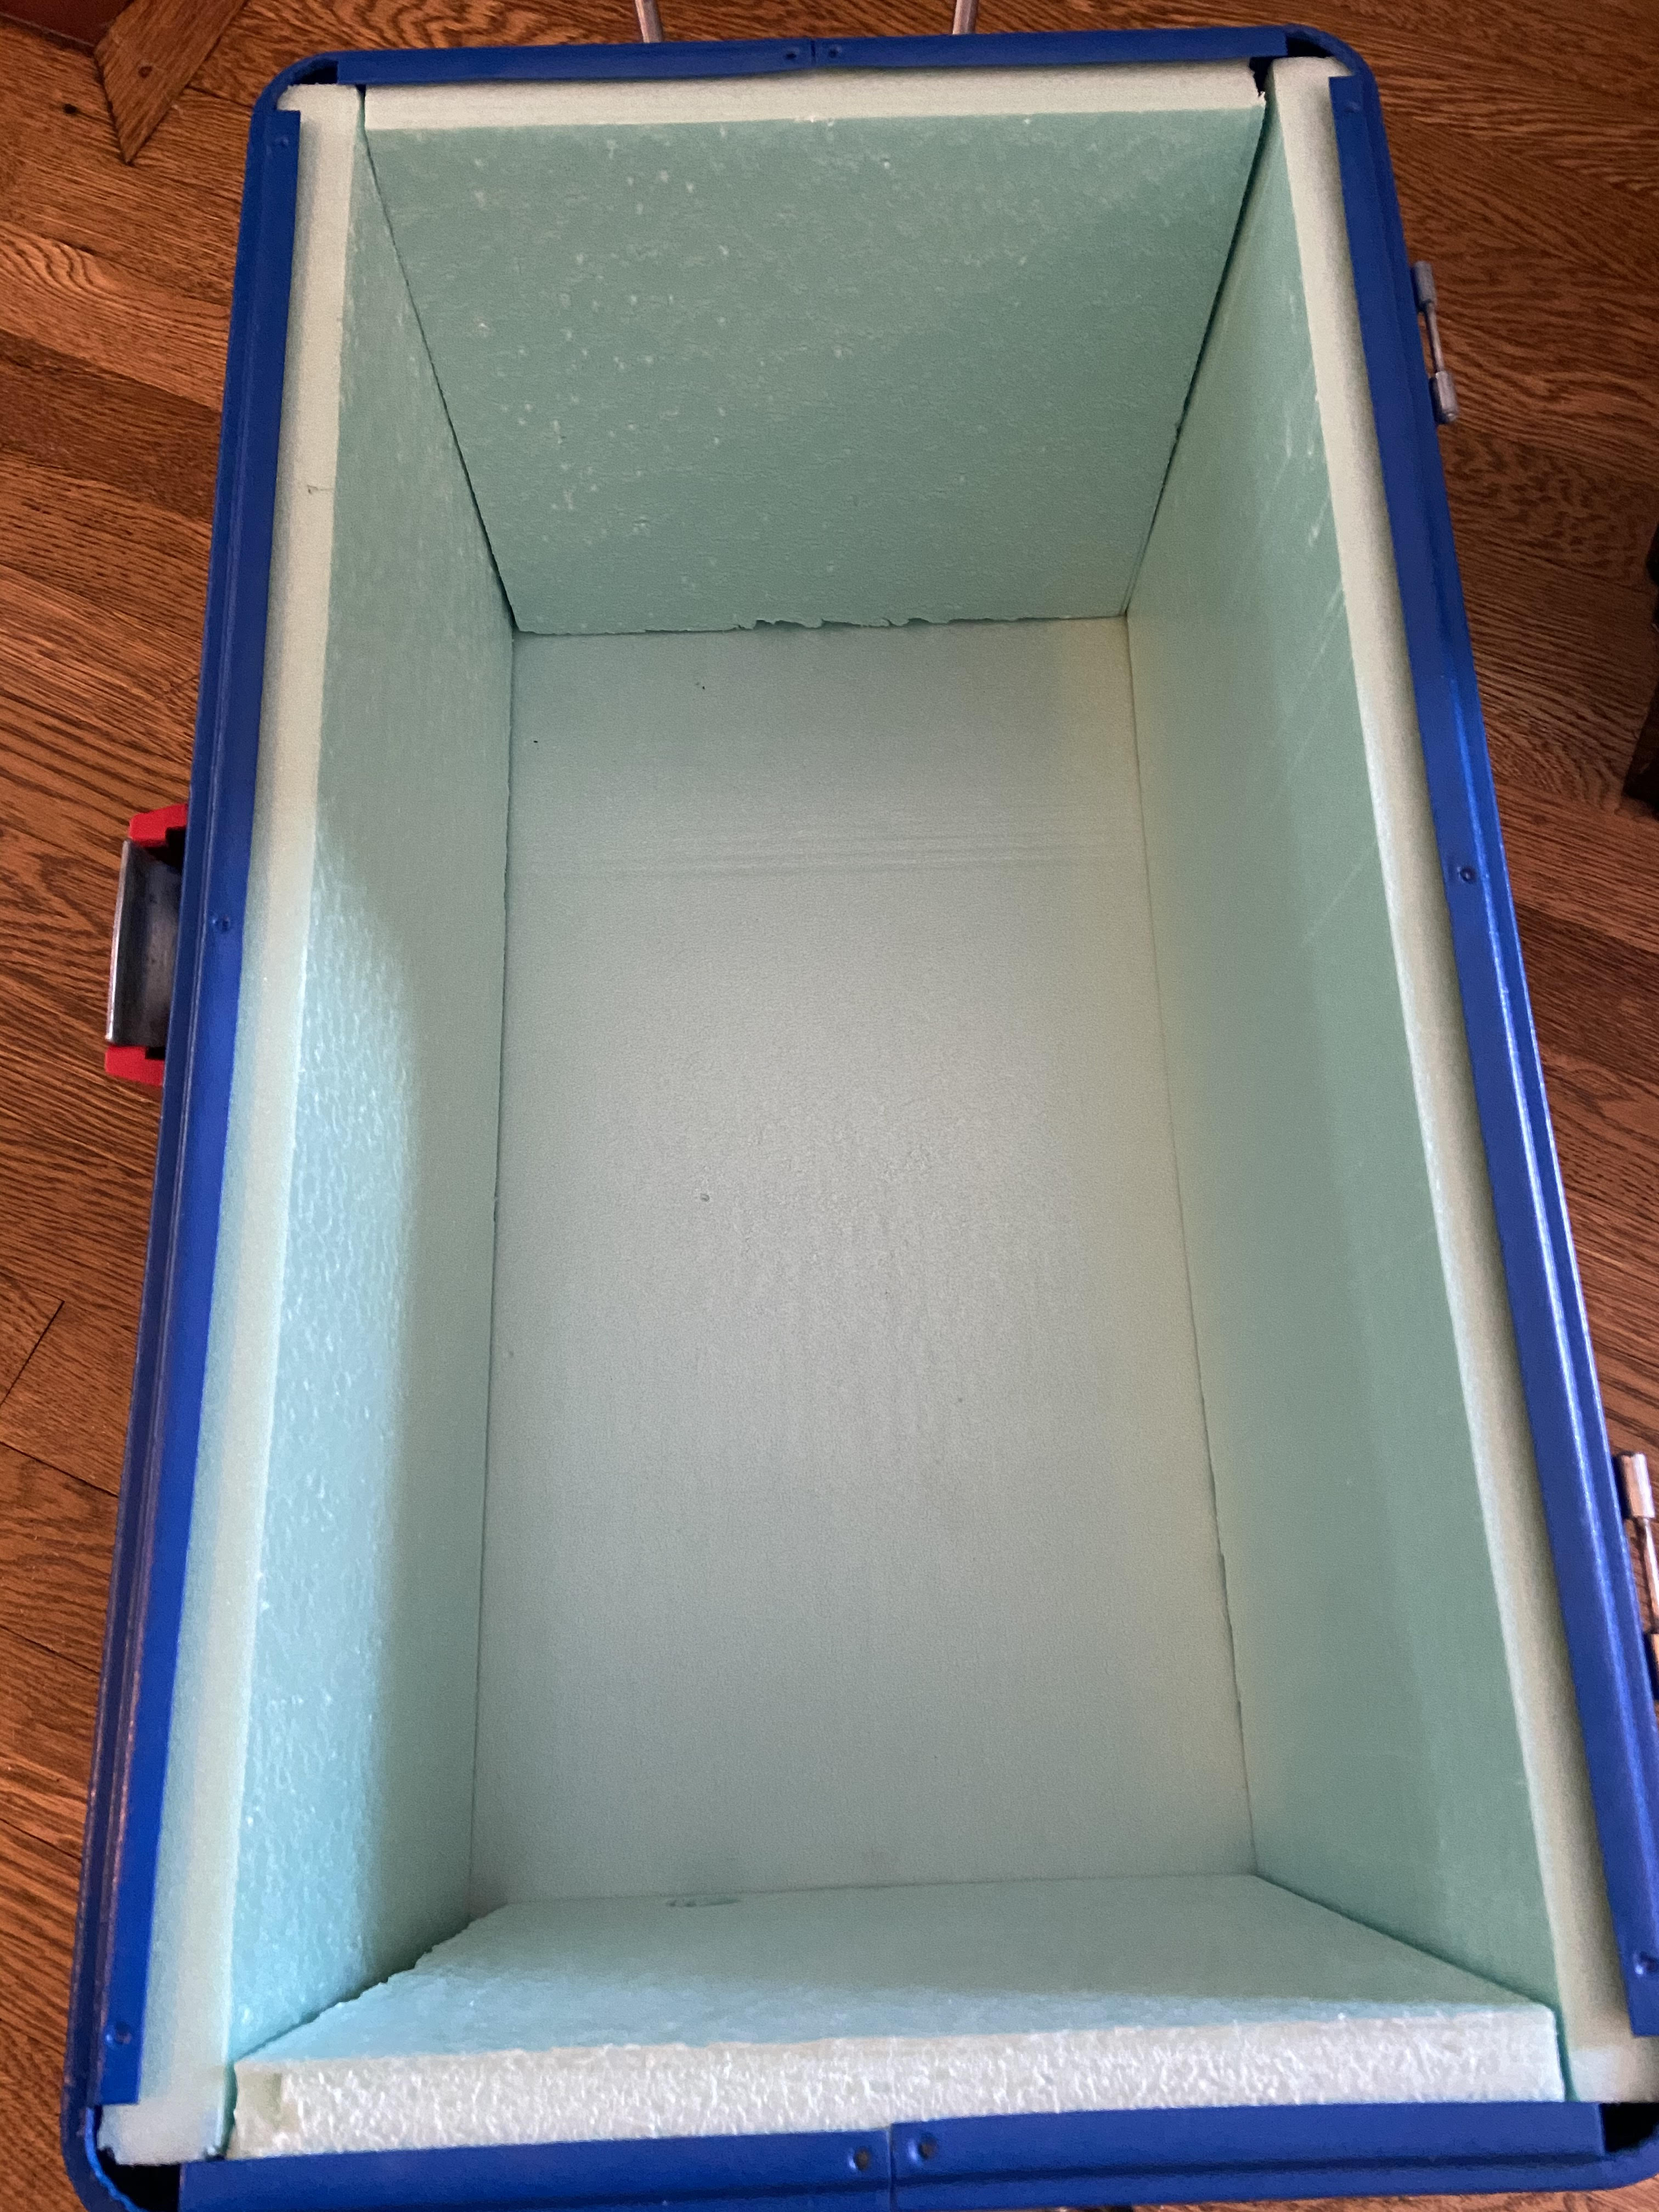
After a lot of elbow grease and some fiberglass work to patch up the drain hole, I now have a finished piece. With the drain, I had to remove the old one to get to the inside of the cooler which I am glad I did since I found a lot of rust. As a result though, due to the age the screw on the side stripped so I had to cut it with a hacksaw. I tried installing a new metal drain, but it only resulting in leaking within the cooler. Therefore I went the route of removing the drain completely and fiber glassing over the hole inside. I then covered the inside of the cooler with flexseal and also installed new insulation board.

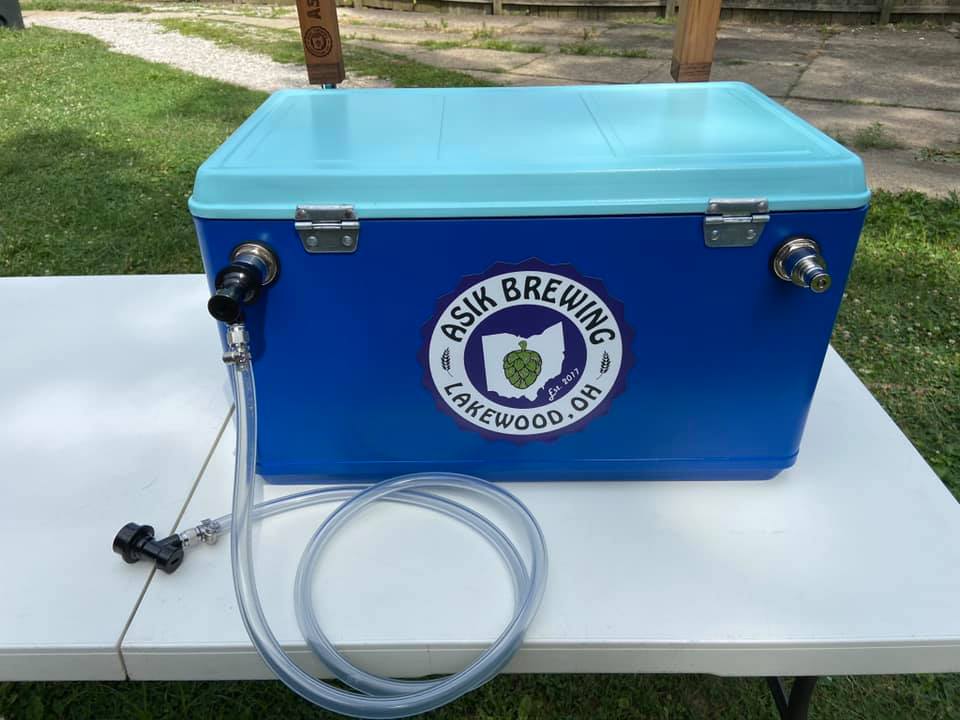
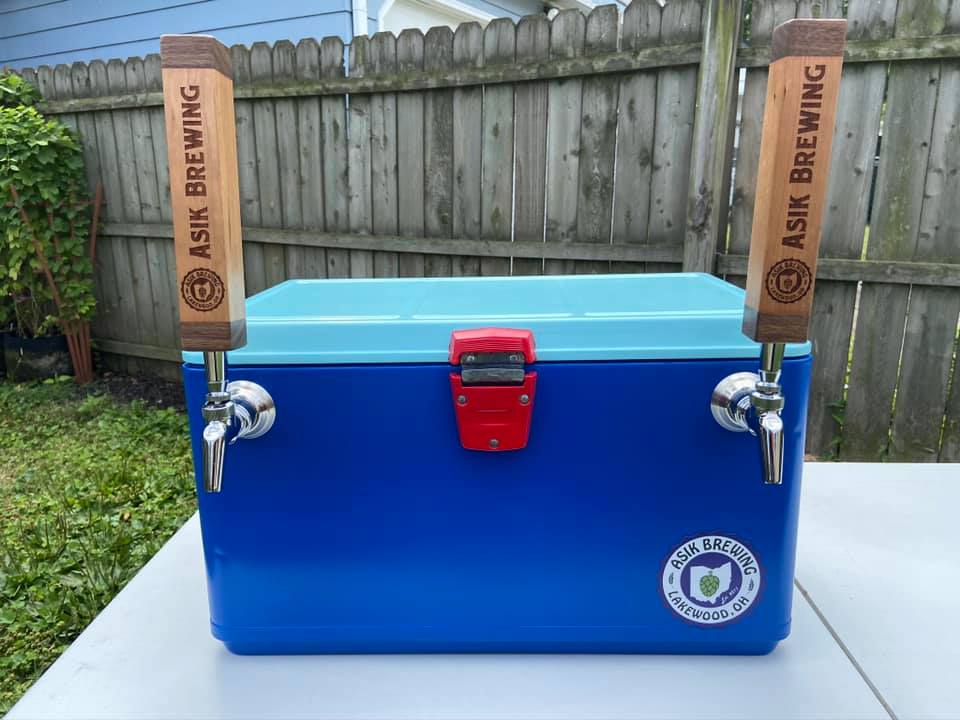
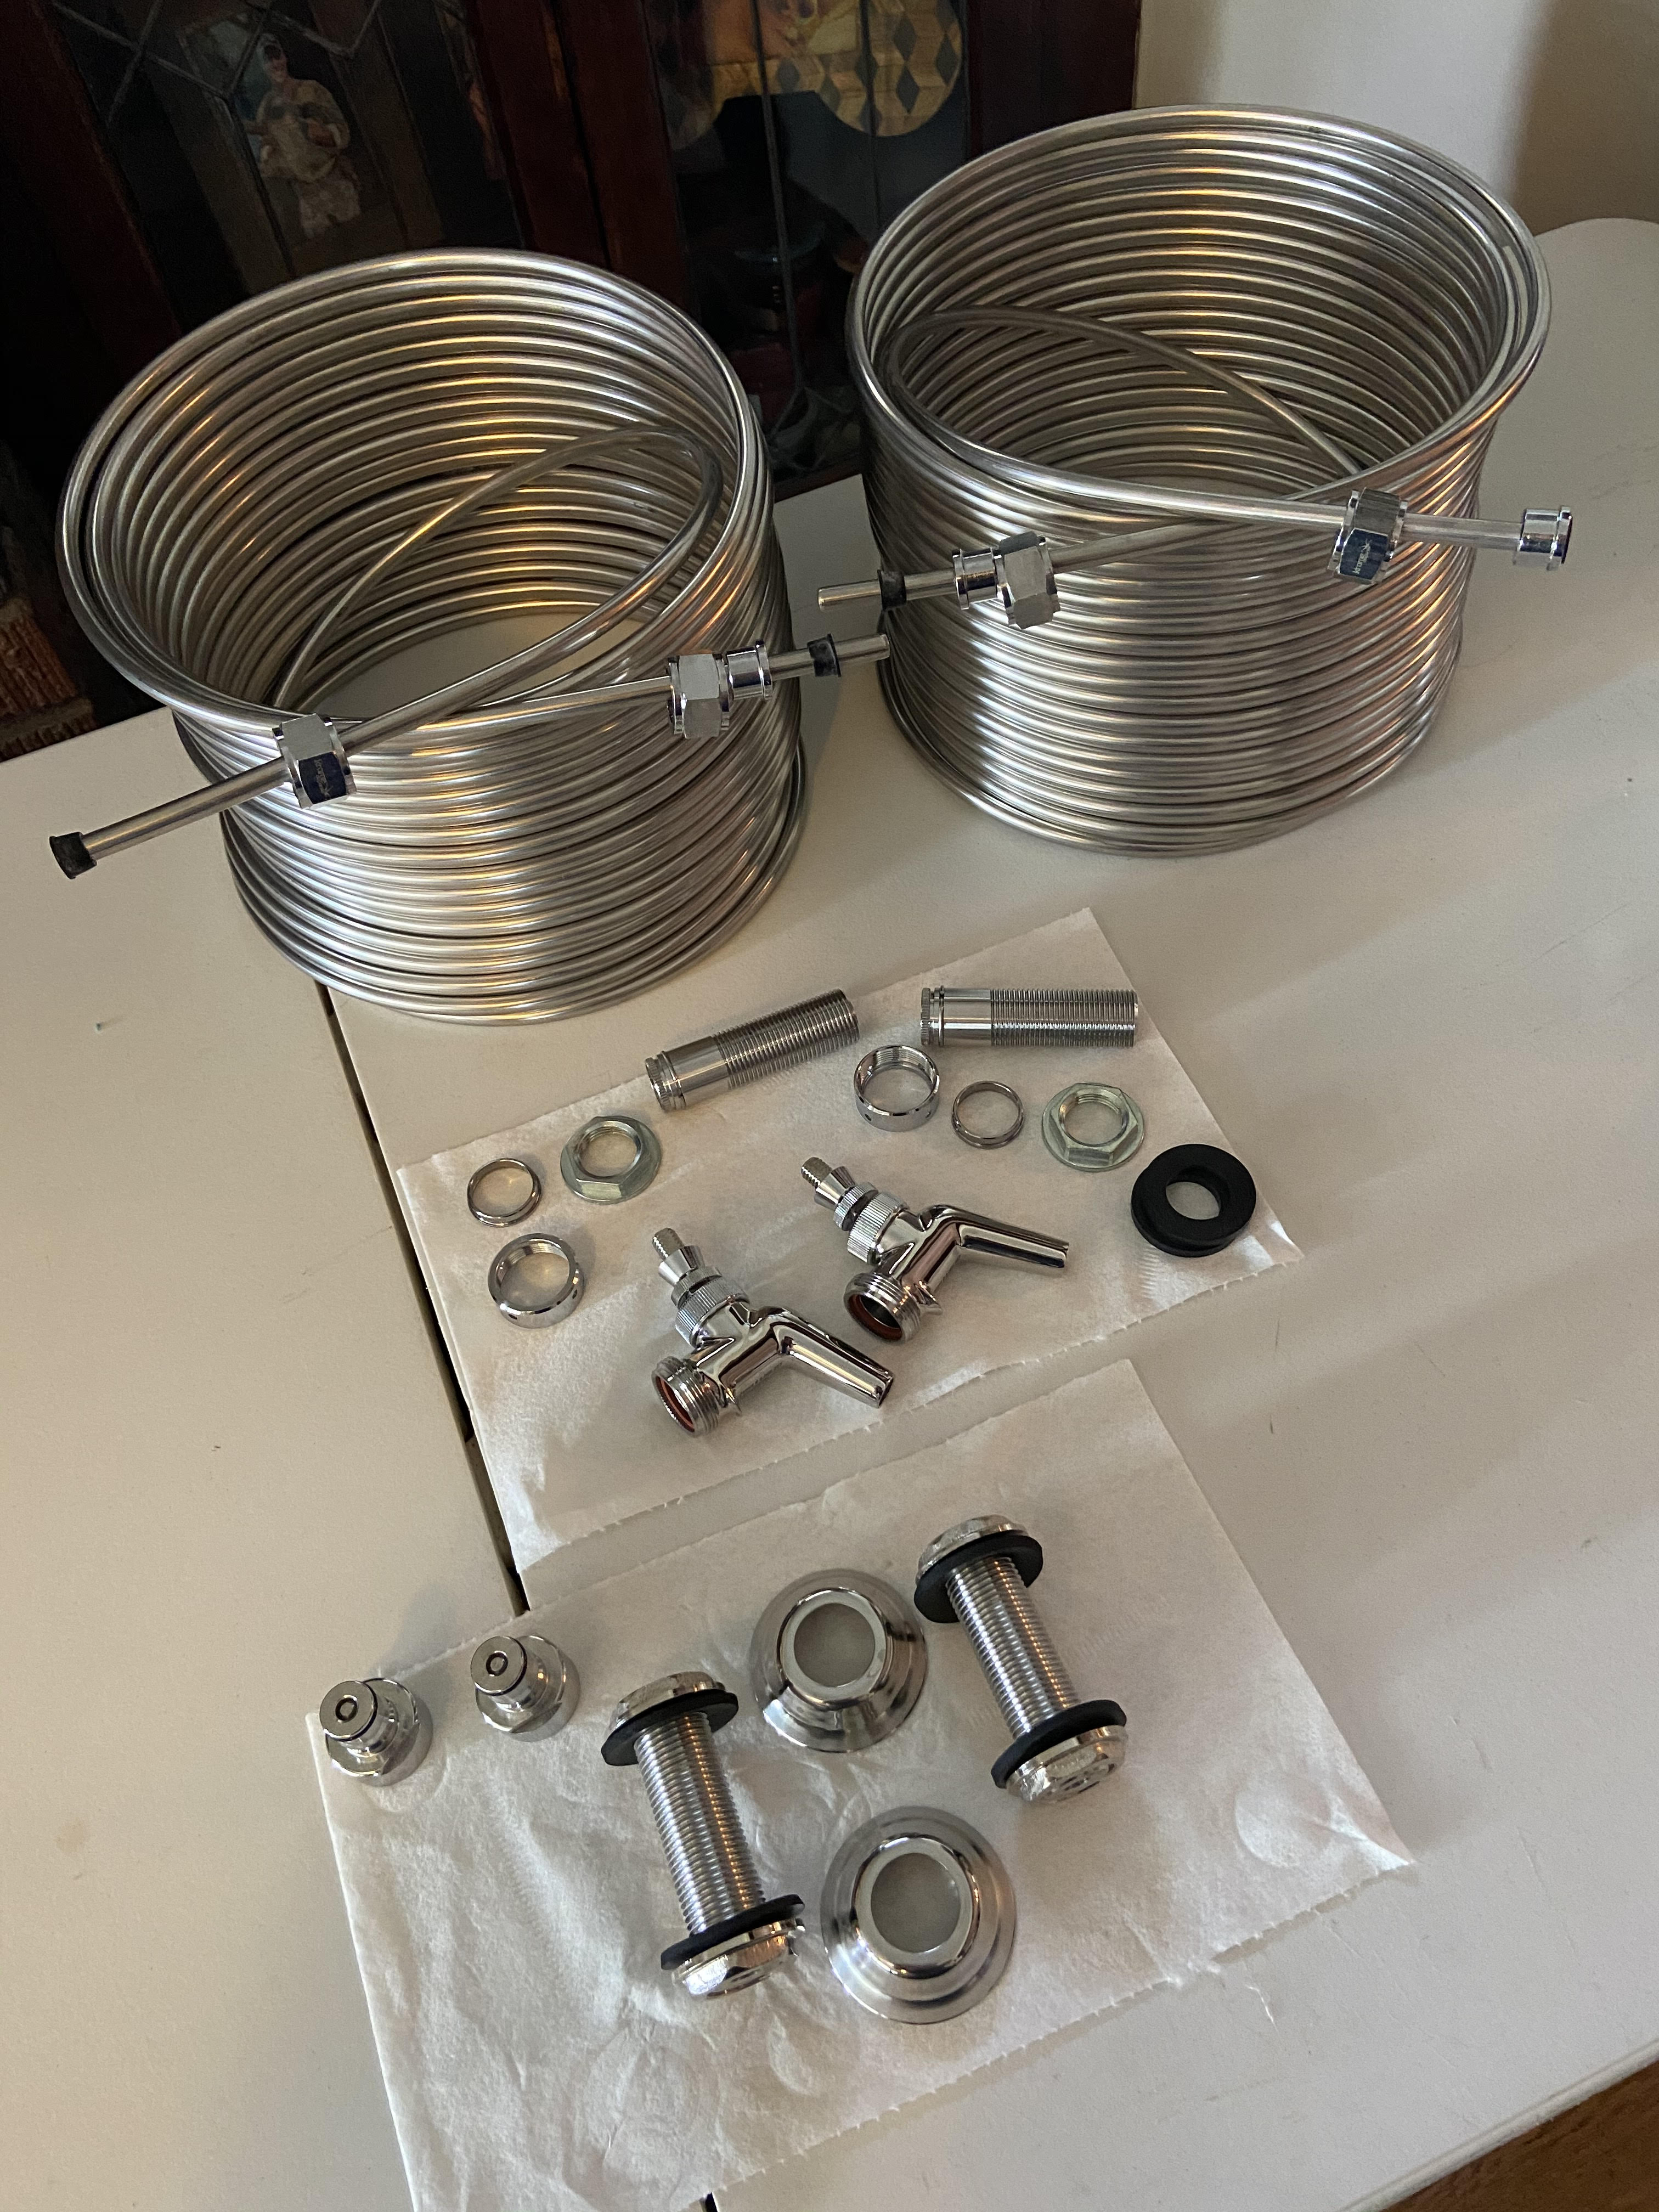
I really wanted to stick with the same original colors and found some that were pretty close. Hardware wise I installed two Perlick 630s faucets, two 50ft stainless steel coils, all stainless steel shanks, and ball lock disconnects on the back for ease. Looking forward to pouring some cold drafts through this guy soon! Cheers! 🍻
 

Attachments

  • JockeyBoxBackFinished.jpg
    JockeyBoxBackFinished.jpg
    50.9 KB · Views: 77
  • JockeyBoxFinishedConnected.jpg
    JockeyBoxFinishedConnected.jpg
    67 KB · Views: 78
  • JockeyBoxInternals.jpg
    JockeyBoxInternals.jpg
    80 KB · Views: 76
  • JockeyBoxOpened.jpg
    JockeyBoxOpened.jpg
    79 KB · Views: 77
  • JockeyBoxFinishedSideView2.jpg
    JockeyBoxFinishedSideView2.jpg
    67.4 KB · Views: 69
  • JockeyBoxFrontFinished.jpg
    JockeyBoxFrontFinished.jpg
    56.6 KB · Views: 72
  • JockeyBoxWithTaps.jpg
    JockeyBoxWithTaps.jpg
    74.5 KB · Views: 70
Last edited:
Here's more pics of the full rebuild.
 

Attachments

  • JockeyBoxFiberglass1.jpg
    JockeyBoxFiberglass1.jpg
    29.9 KB · Views: 40
  • JockBoxFinishedPaint.jpg
    JockBoxFinishedPaint.jpg
    46.8 KB · Views: 40
  • JockeyBoxNewFoam.jpg
    JockeyBoxNewFoam.jpg
    1.6 MB · Views: 43
  • JockeyBoxPainted1.jpg
    JockeyBoxPainted1.jpg
    127.4 KB · Views: 44
  • JockeyBoxParts.jpg
    JockeyBoxParts.jpg
    1.6 MB · Views: 44
  • JockeyBoxPrimed1.jpg
    JockeyBoxPrimed1.jpg
    57.8 KB · Views: 46
  • JockeyBoxPrimed2.jpg
    JockeyBoxPrimed2.jpg
    45.9 KB · Views: 40
  • JockeyBoxSanded3.jpg
    JockeyBoxSanded3.jpg
    77.9 KB · Views: 40
  • JockeyBoxSandedInternal.jpg
    JockeyBoxSandedInternal.jpg
    85.1 KB · Views: 41
  • JockeyBoxFiberglassFinished.jpg
    JockeyBoxFiberglassFinished.jpg
    17.5 KB · Views: 37
A really beautiful restoration, I can hardly imagine the time and TLC it took to get it to look like that!

One Q. Why did you mount the coils "vertically?" They're usually mounted horizontally. Is it due to the restricted space/width inside the box?
 
Thanks! Yea it was definitely a several week(s) project, especially trying to get the paint just right. Never thought painting metal would be so time consuming, but really happy with the end result.

Correct, due to the size constraint I had to go the route of mounting them sideways. Overall they fit that way much better and in an initial test seemed to cool the coils just fine. I also wanted to keep the taps higher versus them sitting lower in the middle of the cooler wall and avoid any additional tubing.
 
How much did you end up spending? Typically I see these coils get pretty expensive and most times it's cheaper just to buy a ready made jockey box. I've even seen some that just use regular pvc hose inside the cooler instead of coils or plates because of the expense.
 
How much did you end up spending? Typically I see these coils get pretty expensive and most times it's cheaper just to buy a ready made jockey box. I've even seen some that just use regular pvc hose inside the cooler instead of coils or plates because of the expense.

Overall Breakdown would be:

Stainless Coils x 2 - $50 each
Perlick 630's faucets x 2 - $50 each
Stainless Steel Flanges x 2 - $10 each
3" Draft Beer Faucet Shank x 2 - $18 each
3" Cooler Wall Shanks x 2 - $16 each
COLDBREAK Posts Jockey Box Quick Disconnects - $20
Cooler, Paint, etc $75

I also got some beverage tubing and ball lock disconnects; so overall prolly around $400. Luckily I got some of the parts for my recent birthday.

From my research, the coils seems a bit more reasonable in price from nybrewsupply.com and also seem to keep more beer cold. I plan to use this at future events for serving my homebrew.

I did also previously build a cooler where the 2.5 gallon keg goes on the inside the cooler and for that build I used beverage tubing inside. I tried using this on a keg from the outside; it worked ok but the keg needs to be kept on ice the whole time.
 

Latest posts

Back
Top