• Please visit and share your knowledge at our sister communities:
  • If you have not, please join our official Homebrewing Facebook Group!

    Homebrewing Facebook Group

Countertop Brutus 20

Homebrew Talk

Help Support Homebrew Talk:

This site may earn a commission from merchant affiliate links, including eBay, Amazon, and others.
Someone PMed me the same Q. March pumps aren't uber fast but they are brain-dead simple and reliable (as you'll see when you eventually open up the pump head). These things are used for 7x24 operation in solar heating systems. If it's flowing, it's working.
 
Can anyone provide a more complete parts list? I really want to build this, but I am unsure as to whether the nipples are 3/8x1/2 or 3/8x1/4?? Same story on the barbs, tees, etc.
 
Can anyone provide a more complete parts list? I really want to build this, but I am unsure as to whether the nipples are 3/8x1/2 or 3/8x1/4?? Same story on the barbs, tees, etc.

Here: Brew Your Own: The How-To Homebrew Beer Magazine - Countertop Brutus 20 Parts List

Or Here: https://www.homebrewtalk.com/f51/countertop-brutus-20-a-131411/#post1476709

I used these and all was good with them...the best thing to do is to print out all the pictures buried within this thread, and the mentally go down the list notating what goes where...Had my first brew day with this rig this past weekend and things went good!

Cheers!
 
Jeff can chime in but I believe he made a lot of his connections based on what he had lying around. After building this system I would suggest making everything 1/2 inch tubing and connections. The march pump is 1/2 inch and it would just make everything easier to connect and purchase. You can throttle it all with the valves in this system easily.
 
HarkinBanks is right. I had lots of 3/8 bits about in junk bins. The only 1/2 stuff in mine is from the kettle to the pump input.
 
HarkinBanks is right. I had lots of 3/8 bits about in junk bins. The only 1/2 stuff in mine is from the kettle to the pump input.

Where you connected your silicone tubing to your cfc, did you clamp the tubing down on top of the 3/8s copper or is it clamped onto a 1/2 in coupling?
 
dragonlor20 said:
Where you connected your silicone tubing to your cfc, did you clamp the tubing down on top of the 3/8s copper or is it clamped onto a 1/2 in coupling?

Output of pump has a 1/2 female to 3/8 barb. From there it's 3/8 silicone tubing to the 3/8 copper.
 
Output of pump has a 1/2 female to 3/8 barb. From there it's 3/8 silicone tubing to the 3/8 copper.

Thanks! I am in the process of cloning your setup. Finished the cfc, moving on to installing the bulkhead and element to the kettle.... All I need is to break down and buy the pump!
 
Jkarp, do you have a washer on the exterior of your kettle where your bulkhead goes through or does the washer just go on the inside since the nut has a groove cut out for the washer?

Also, can you describe a bit more in detail at how you installed your hot water heater element?

THanks,
Scott
 
Jkarp, one more thing: I cannot find appliance cord with a standard plug that will handle a 120V 2000W load. Which one did you purchase from Home Depot?? The cables all have non-standard plugs...
 
Jkarp, one more thing: I cannot find appliance cord with a standard plug that will handle a 120V 2000W load. Which one did you purchase from Home Depot?? The cables all have non-standard plugs...

Talk to your IT guys at work. I guarantee you they've got boxes of 20A power cords laying around. Failing that, Lowes / HD should carry 6 foot 14/3 extension cords. Just hack the female end off.
 
I found a 2 pack of outlet strips with 14/3 cords on them for like $6 at lowes. Bonus that I pulled the 110v switches out for later reuse. Buying the wire by the foot was far not expensive without even counting buying the male plug.
 
Jeff,

Thanks for the guide and personal attention to this long-running thread. I know you posted a "typical" brew day in a post many moons ago, but could you give a couple of recipe examples and walk through the process step-by-step? Folks new to brewing (like myself) would benefit, especially as we learn how to scale 5 gallon recipes down to 3 or 3.5 gallons.

I was inspired to put a system together based on your design and am very happy with it so far, but have only used it twice (once for an extract recipe and once for an all grain recipe). The latter was a challenge because I jumped the gun and bought the ingredients for a 5 gallon recipe (milled and mixed at the local store), so couldn't easily cut it down. Worked out pretty well anyway, I just had to add water as the boil proceeded to avoid over-filling my boiler/kettle.

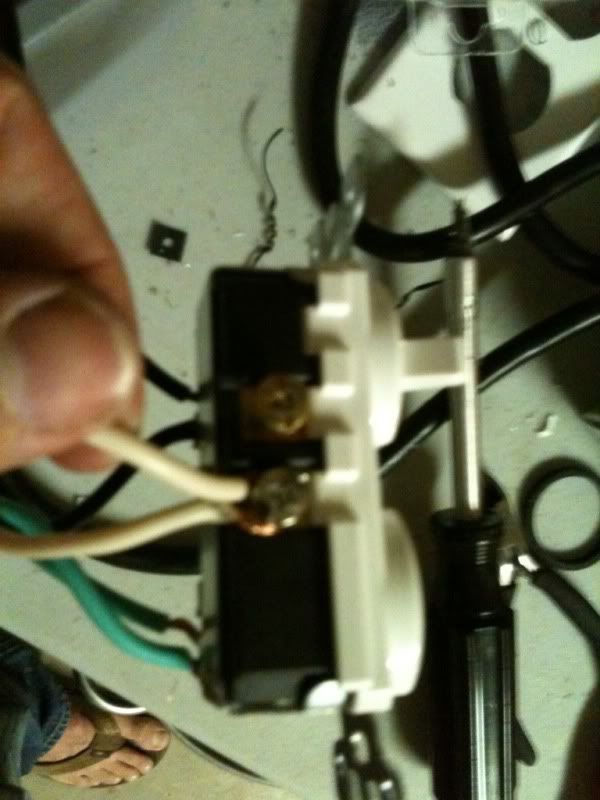
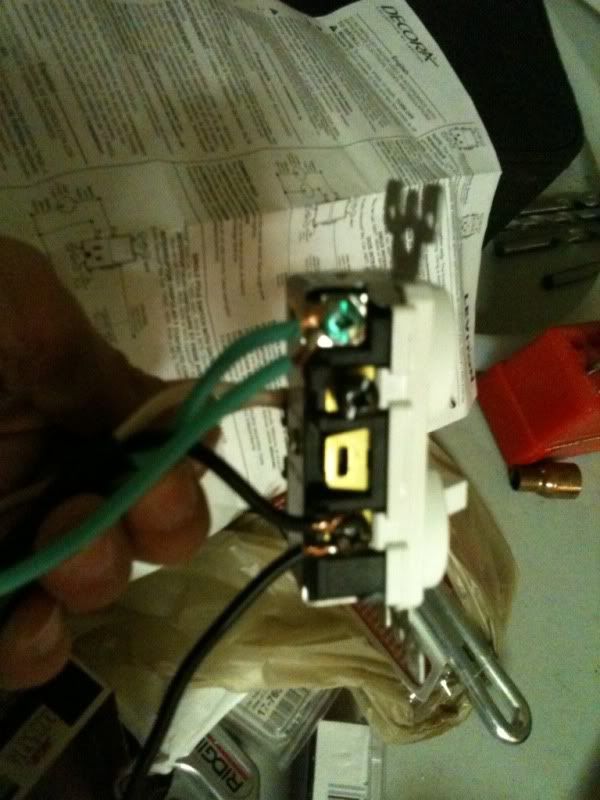
Here are a few picks of my system:

Oracle, this has probably been asked before, but how is that BK insulated? It looks awesome and I'd like to replicate it in my system (when I eventually get around to building it out).
 
Self-stick duct insulation from Home Depot. SKU is 473855.

Looking at that item on Home Depot, it looks like the shiny metallic insulation product (similar to Reflectix). Oracle's BK looks like it has a coating similar to the rubber coating on some kegs? My original plan was to use Reflectix/Insulation, but after seeing Oracle's, I'm thinking I could get a bit fancier.
 
So, my switch combos have 2 extra screws! How do I wire this thing up?

I am assuming that I can wire it the same way as what I have seen on this thread and just leave the second screw alone, but I'm not sure...

Wasn't there a little paper in the box with wiring examples? Add a pic or two here - maybe someone will recognize it too.
 
96988a1f.jpg


bc70ce93.jpg
 
Hard to tell but based on other Leviton Decora instructions, the "single-pole switch controls grounded power outlet" option wants you to wire the black to the opposite side, adjacent to the white. Test and see with a multimeter or lamp to verify that the switch indeed operates the outlet as expected.

Now if you want to use this switch in addition to an SSR, you would break off that tab there and run leads from each black screw to the AC side of the SSR. That way, the switch would have the ultimate say on power, but when on, AC would pass to the SSR which would then turn the outlet on/off as required.
 
So my setup will be identical to.yours with an ssr. You are saying both wires to black screws from power in? I will do the lamp test to be sure.
 
Not sure what you mean by "power in". The SSR has two screws and there's two black screws in that second pic. Wire each to each and break off that tab between the screws. That will put the SSR into the current path between the switch and outlet.
 
Not sure what you mean by "power in". The SSR has two screws and there's two black screws in that second pic. Wire each to each and break off that tab between the screws. That will put the SSR into the current path between the switch and outlet.

Hey, thanks for the help. Finally finished the control box, works great. I did have to put the ssr between the two black screws, so that worked. In the end I only threw the circuit breaker twice, so success? The ai on the pid is really, really cool. Kettle is now finished, all electric!

A couple more parts needed to finish up connecting the pump and my new cfc and we will be online! Will have to build heat stick next to get to 5gal batches so I can brew for the wedding, but that will be easy enough now...

Way bigger project than I really thought I was taking on! Worth it.
 
In the planning/purchasing stage now to build my own jcarp CB, and I got to thinking (excuse me if its been covered, I read the thread in its entirety awhile ago, but don't remeber seeing this).

First off, I plan on doing 5 gallon batches and supplementing the boil with my stove to keep it indoors. I already use a 10 gallon cooler to mash.

Here's my thinking, could I mash in with 1.25 quarts, and keep the sparge water in the HLT/BK, the recirculate/mash out after conversion with 170ish sparge water to reach full preboil volume of 6.5 gallons? I'm certain I've seen this type of two vessel system somewhere here that used this principal, but cannot find the thread. (Edit) After reading around, I'm fairly certain that the origianal brutus 20 was based on this principal of recirulating with the sparge water, correct?
 
That's my "standard" single-rest brew procedure boswell. Traditional mash at 1.5 - 2 q/lb and then I recirculate post-mash until the system hits 170.
 
I'm working on running a set up with a few similarities to this method. The one question I'm working on now is, for the hose that recirculates back to the mash tun it looks like you have the hose just dumping into the bottom of the MT. Why / how does that work as opposed to introducing it via a manifold similar to fly sparging ?

cz
 
I think it was mentioned earlier that the hose just rests on top of the grain bed. There's quite a few folks, including Blichman's Autosparge that do this very thing.
 

Latest posts

Back
Top