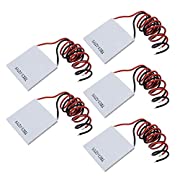
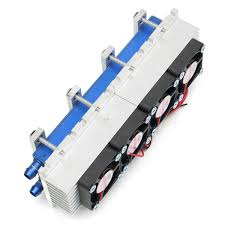
So, while I like and run my system, I must say it is marginal and not robust. I am using nine (9) of those TEC1-12706 peltiers (or whatever it is you actually get when you order them from the cheapest supplier on Amazon), several of them are already broken, and it seems with the fermenter (empty) and both kegs in the box, I can run the almost full Weissbier keg at 8-9C, while the Pilsner keg (still fermenting) is not hooked up to the cooling loop and just tagging along at 18C, finishing the fermentation from 1.03 further down, which is good enough for me, but I shouldn't have to use nine (seven or eight working) 12706 peltiers and 270W to do that.
This is with 270W electrical power when on, and just a little bit of cycling off, i.e. the 8C setpoint is pretty close to the lowest temperature this system can reach. (I'm running 4 of the 9 at 6V, hence the lower power.)
Maybe there are TEC peltiers that meet their specs, the ones I bought certainly don't. At 12V they draw about 3A.
Condensation (running the cold side below the dew point of your house/apartment) can take away an essentially unlimited amount of cooling power.
What I would do if I started over:
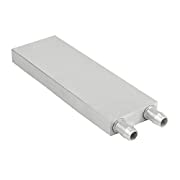
-keep the copper cooling loops wound around the kegs, attached with stretched aluminum tape
-do the same type of external cooling loop for the fermenter, or use an off-the-shelf stainless steel cooling insert, or switch to fermenting in a keg (which is what I'm doing with the Pils right now)
-keep the box: it is a bit of work, but quite a bit cheaper and lighter than a freezer
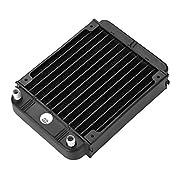
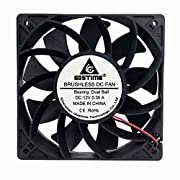
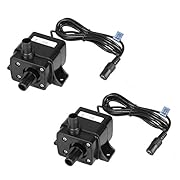
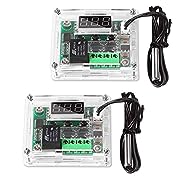
-keep the cheap pumps, temperature controllers and hot side radiator (the radiator only unless using a mechanical compressor, option c below); self priming pumps would be nice, but venting the loops every few disconnect cycles is not that bad
-maybe try push-to-connect fittings instead of the somewhat expensive quick disconnects?
For the actual cooling, I see three options:
a) Combine hot and cold loop, put the radiator directly in front of a window A/C unit outlet, and see how low that gets (no Peltiers).
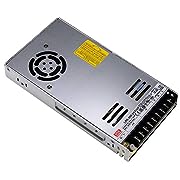
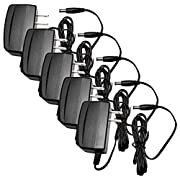
b) Higher nominal wattage peltiers, possibly running at lower voltage: this would be another experiment, using 12710 or 12715. If using peltiers, I would definitely recommend the Meanwell power supply.
c) Converted window A/C unit or home made setup (see dtashmore's posts above) using a commercial compressor to provide the cold liquid (in a cooler, with the pumps sitting in the bath, which solves the self priming/loop venting issue).
I don't want to sound too pessimistic, I guess it all depends how much experimentation and fiddling you are prepared to deal with. After all, we are not running a life support system, it's just beer...
Argyll, regarding the one loop/several heaters idea: I'm afraid a peltier based system will never have cooling capacity to spare. The pumps are pretty cheap, so maybe run several independent loops against the same hot side heat exchanger? (separate peltiers and cold side heat exchangers).


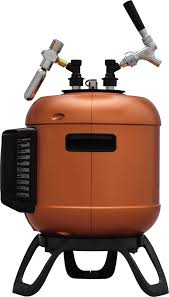
 (Nice build, nice use of space/materials)


![Craft A Brew - Safale S-04 Dry Yeast - Fermentis - English Ale Dry Yeast - For English and American Ales and Hard Apple Ciders - Ingredients for Home Brewing - Beer Making Supplies - [1 Pack]](https://m.media-amazon.com/images/I/41fVGNh6JfL._SL500_.jpg)