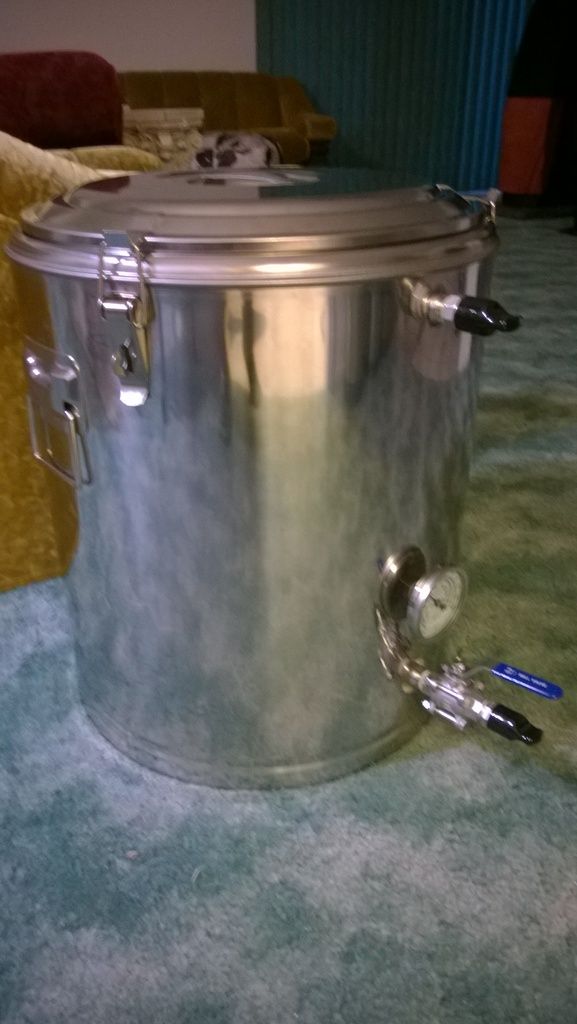
Chapman ThermoBarrel Reviews

Homebrew Talk - Beer, Wine, Mead, & Cider Brewing Discussion Forum

Help Support Homebrew Talk - Beer, Wine, Mead, & Cider Brewing Discussion Forum:

This site may earn a commission from merchant affiliate links, including eBay, Amazon, and others.

kcbeersnob

Well-Known Member
Joined
Jan 1, 2012
Messages
165
Reaction score
31
Location
Kansas City
I received my 10G ThermoBarrel on Saturday and put it to use for the first time on Monday. Here are my thoughts. If you have one, reply with your experience.

val214 did a great job capturing pics already, so I won't bother posting mine.
https://www.homebrewtalk.com/showpost.php?p=7034385&postcount=136
https://www.homebrewtalk.com/showpost.php?p=7034386&postcount=137

It arrived in good condition with one flaw that I was able to fix with a pair of pliers. It definitely needed a good cleaning--especially the bulkheads. Washed it with a PBW solution and cleaned the bulkheads with a bottle brush.

The thermometer in mine is terrible. It can get out of calibration by simply moving the vessel. Given the importance of mash temp, I swapped it out with the Blichmann thermometer that was in my kettle.

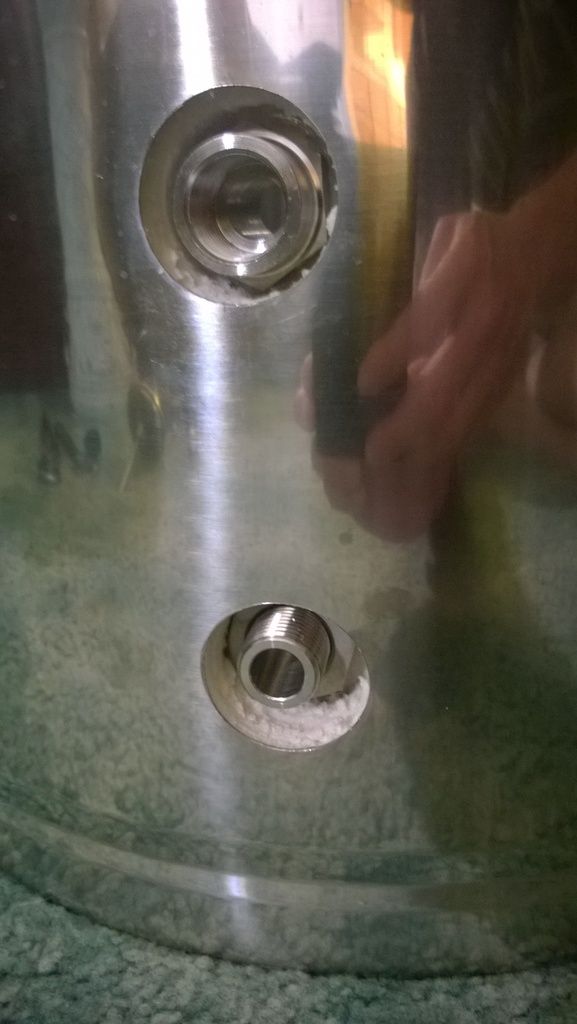
I was very disappointed to discover the ports are not welded, but that's my fault for not reading the product description thoroughly. The bulkheads do turn without using a huge amount of force (such as when installing the ball valve), so be careful. Fortunately I did not experience any leaks.

Kudos to Chapman for supplying all of the necessary fittings, including a stainless 3 piece ball valve.

How was the performance?

First, note that I have used a 10G Rubbermaid cooler with a stainless braid for 81 batches. My average mash efficiency has been 78%. I batch sparge. I vorlauf and rack using a pump. I am diligent about controlling mash pH.

The key factors for me were:
1) Achieving and maintaining target temperature.
2) Mash & lauter efficiency around 78%
3) Hit target volumes with minimal loss
4) No leaks
5) False bottom performance

#1 Temp
As per my typical protocol, I heated my strike water to 4-5 degrees above my target temp, then drained into the TB. Unlike my cooler, the strike water temp immediately dropped 4 degrees to my target strike temp. While stirring in the grain, the temp fell less than when using my cooler. During the one hour rest, temp fell one degree, which is acceptable. Although the overall experience was different from legacy equipment, I only need to tweak my procedure a little.
Grade: A

#2 M&L Efficiency
This one is significantly dependent on #3 and I need more data for both, but on the first run I hit 76.7% M&L efficiency. That's on par with what I achieved using my cooler the last time I brewed the same recipe.
Grade: TBD

#3 Volumes & Loss
  • I conservatively assumed .5G dead space. My first runnings ended up slightly more than 1qt. low. My total volume ended up slightly higher than target, though.
  • When cleaning out the spent grain, there was slightly less than a quart of wort remaining in the TB. I rarely had more than a cup of loss in my cooler. Unfortunately because of the design of the TB, you can't tip the unit to get the remaining wort out. It's true loss.
Grade: C

#4 Leaks
No Leaks
Grade: A

#5 False Bottom
  • About 10 min into the mash I usually take a small sample to check pH. Using my cooler with braid, I get very little grain material. Using the TB a huge percentage of the sample volume was grain particles even after taking 6-7 samples.
  • At the start of the vorlauf there was a lot of grain material, but I experienced no pump priming, recirculation or transfer issues related to the false bottom.
  • Although I recirculated for several minutes, the wort never ran as clear as it does using my cooler & braid.
Grade: C-

Although it was a last minute addition by the vendor, the recirculation port is the feature I liked most about the unit. After adding the necessary fittings, it worked great for a vorlauf recirculation. It is a bit too low in the unit to be useful with larger batches, but it's a great feature.

So, was it worth it?
I still want to gather more data, but my initial impression is that it was probably worth the Kickstarter price. At retail prices ($349 for 10G)? No. Not when for only $50 more ($395) you can get the SS Brewing Mash Tun, which seems to have several design advantages (minus a recirculation port). That bottom drain design is brilliant!
 
Last edited:
Just got my TB today. I too use a a cooler for a mash tun. But I also have a RIMS system so drop in temp shouldn't be a problem. Ill be giving it a go in a couple of weeks. I think I'll do a simple pale ale to make sure I understand the new equipment's performance.
 
I haven't gotten mine yet, but regarding the dead space, did you have a tube connected to your bottom drain? If you did, this should siphon everything out provided that the pickup tube goes all the way to the bottom...
 
I haven't gotten mine yet, but regarding the dead space, did you have a tube connected to your bottom drain? If you did, this should siphon everything out provided that the pickup tube goes all the way to the bottom...

Yes. Unfortunately even installed correctly the end of the tube sits about 1/4" above the floor on my unit. I tried carefully bending the tube to eliminate that space, but wasn't able to. There may be some manufacturing inconsistencies that yield different results for different units.

With a cooler MLT you can simply tilt the unit to get the last drops out. That's obviously not possible with this configuration.
 
I happened to snap some pics while I was cleaning out the TB.

Pic 1
Nearly all of the grain removed. During transfer the actual wort level would have obviously been slightly higher, because of displacement and some wort was inadvertently removed when the grain was removed.

2015-08-10-181256-65977.jpg


Pic 2
All grain removed. I poured this into a 1 QT measuring cup. It measured 28 fl. oz. As mentioned above, some wort was inadvertently removed when the grain was removed, so the real loss is a bit higher than what was measured.

2015-08-10-181639-65978.jpg
 
I haven't used my thermobarrel for brewing yet. I've modified it to use different fittings and got it all put together today. Filled it all the way up for a leak check with 126 degree tap water. I put the lid on and went out for lunch and a few beers. Came home 3 hours later to a successful leak check and had only lost 2 degrees! Granted not a mash temp test but 2 degrees in 3 hours seems pretty damn good to me.
Thats all I have to report for now. Brewing next Saturday. Need to decide what to brew...

Would you mind posting pictures of your final setup as well as the parts/procedure you used for the mods?

I believe from the other thread you were converting everything to 1/2" all the way, no?
 
Not much to it really.
Bought this stuff from Bobby:
Untitled2_zpsukwyqwj3.jpg

New%20Picture%201_zpskw8jmk07.jpg


Bought these from Morebeer:
http://www.morebeer.com/products/blichmann-stainless-autosparge.html
http://www.morebeer.com/products/blichmann-autosparge-float-rod-extension-9.html

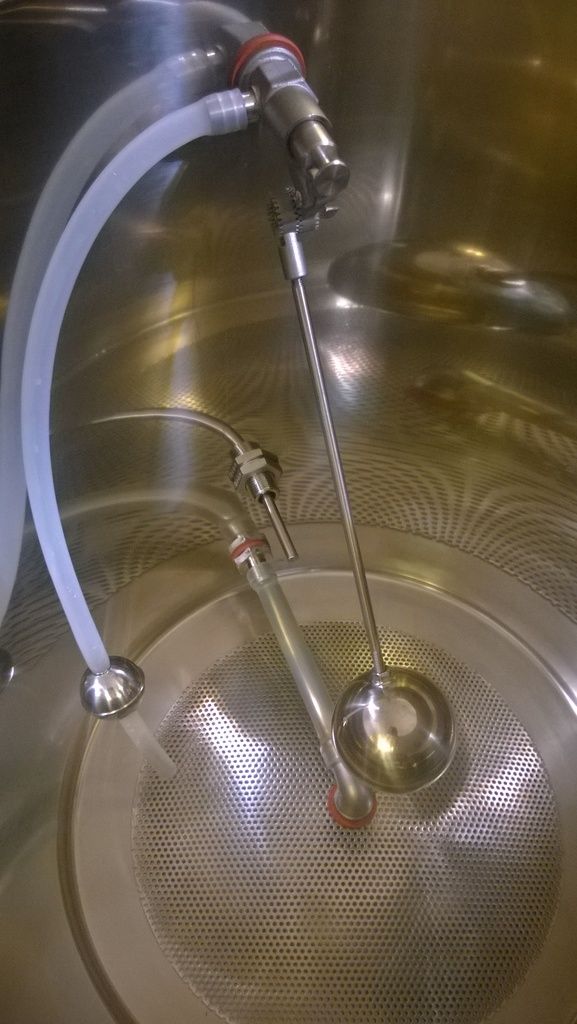
Drilled out the holes to fit the bulkheads and autosparge.
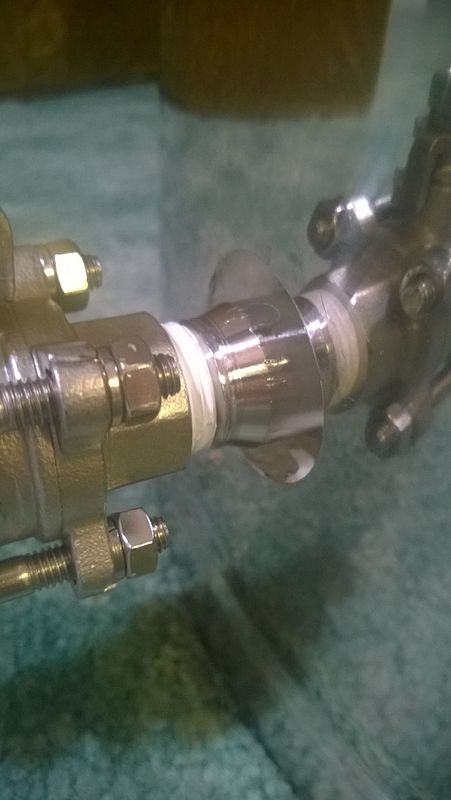
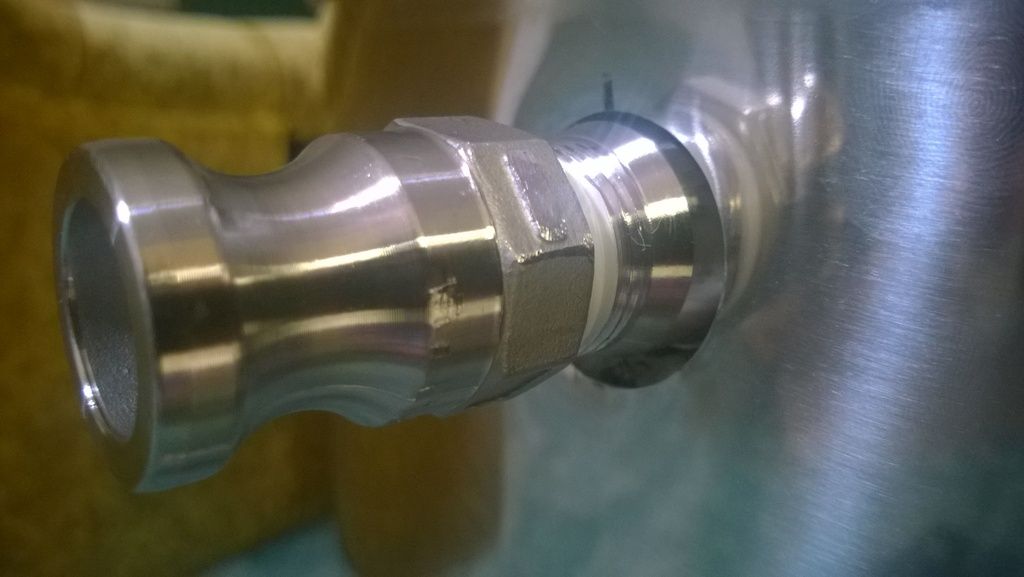
Used the "pull through" fittings just as extensions for the valve and autosparge.
WP_20150816_15_28_13_Pro_zpsct5qr1nh.jpg

WP_20150822_20_06_00_Pro_zpsnjrnh8yz.jpg

WP_20150822_20_06_38_Pro_zpssnye7bu9.jpg


A silicon gasket behind the autosparge
WP_20150822_20_09_32_Pro_zpsnuflaufc.jpg


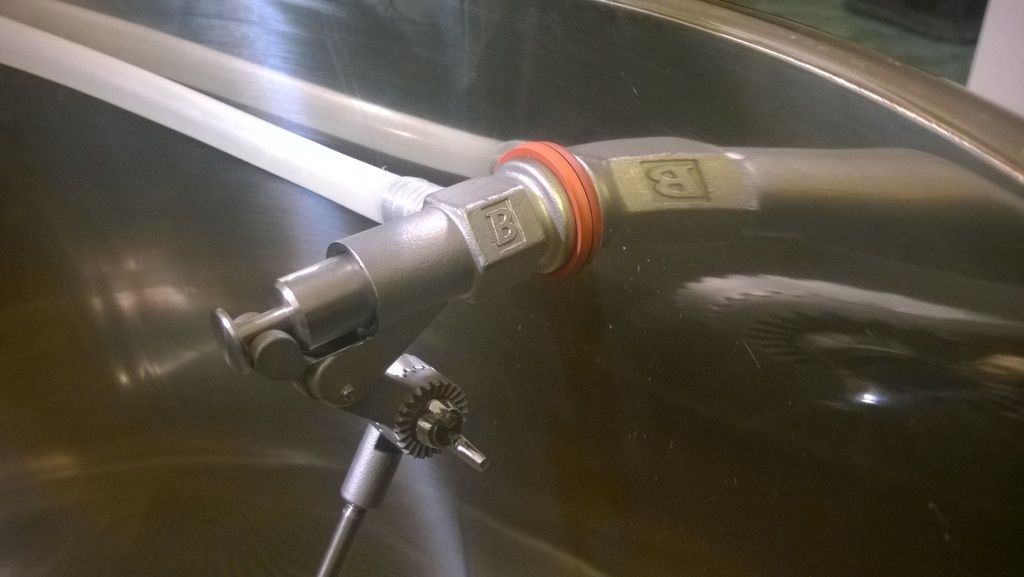
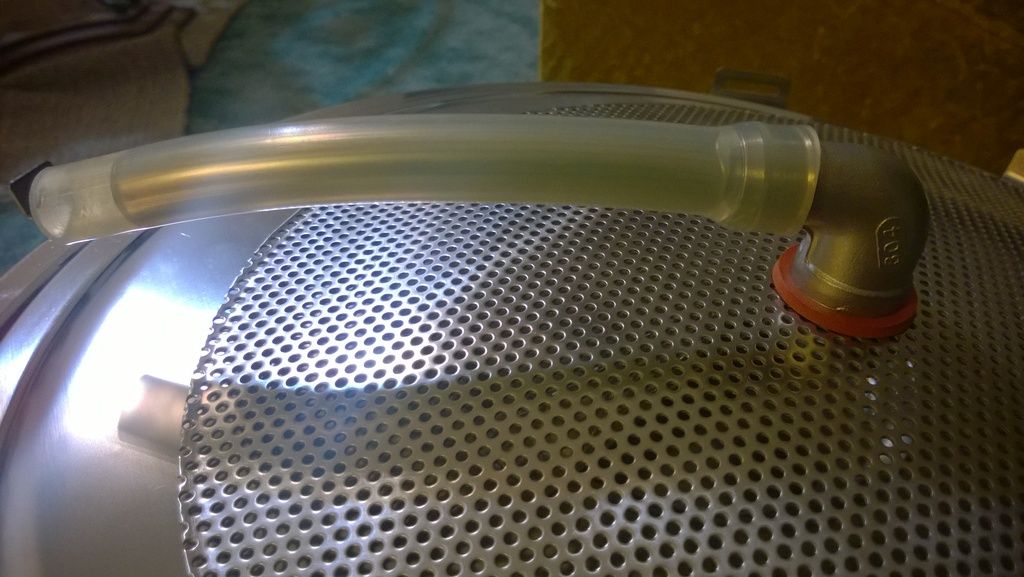
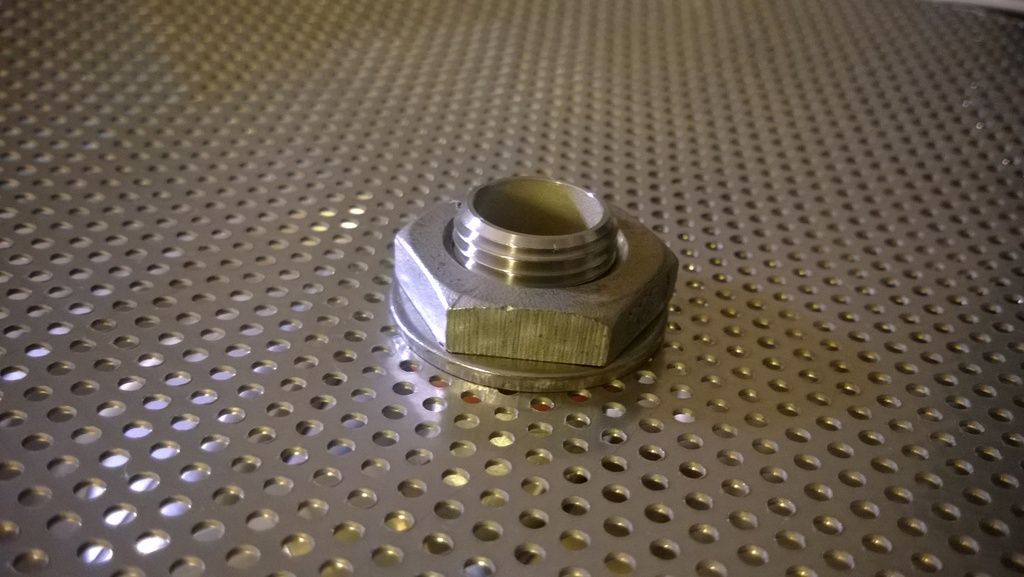
Drilled the false bottom and installed highflow elbow barb, nipple, gasket, washer and nut. Slid a piece of 1/2" stainless tubing inside the silicone tube to avoid the silicone getting crushed:
WP_20150822_20_01_58_Pro_zpsp3ddrjfe.jpg

WP_20150822_20_02_26_Pro_zpsnaaipuwg.jpg


And thats it I think
WP_20150822_20_04_17_Pro_zpsqutd0abr.jpg


And the camlock rubbers. Glove the one you love and all.
WP_20150823_19_36_41_Pro_zpsyg3f06of.jpg
 
Thanks so much for posting the details and pics. Looks like you've got a pretty sweet setup there! I plan on making some modifications to mine as well, but I really don't want to drill into the stainless, so I suppose I'll live with the reduction to 3/8" in those couple of places.

I'll post some pics back here once I'm done with everything. Now I just need to find the time to do it! ;)
 
Looks like some unnecessary mods to me. If someone wants to tinker for the sake of tinkering, I won't argue with that. But I hope nobody sees the above posts and feels that these changes are needed. As I noted in the other thread, it's impractical to replace core components of the unit without even using it once to see how it performs as is.

Edit: I can see in principle why you would want to replace the reduction couplings, but in practice (in my experience) the 3/8" to 1/2" coupling did not affect performance with a pump. This is not an application where you would need to run the pump full throttle anyway.
 
Well, I do run my mash recirculation full throttle so the modifications to the bottom port/pickup were necessary.
The thermometer fitting on mine wouldn't seal without 10 miles of thread tape. Straight female threads and male pipe thread didn't want to work.
Autosparges are awesome so top port gets modded.
All necessary.
For me.
I'm curious why you run your pump full throttle. May be a difference between a batch sparger (me and most other homebrewers) and a fly sparger. Is it necessary to keep the sparge arm moving?

If I ran my pump full throttle during recirculation (i.e., vorlauf for a few minutes toward the end of the mash rest), my grain bed would get obliterated.
 
My setup is an eHerms with a 50foot 1/2" herm coil. The restriction of that along with the smaller than 1/2" autosparge allows me to run my march 809 full speed. This project is basically a clone of my round rubbermaid. My experience with smaller fittings on that mlt is that they reduce flow more than restrictions on outlet. Running full speed reduces the ramp time involved in temperature increases and is common practice with herms.
 
Yeah, that makes sense. Do you wish you had gone with the SS tun at this point? You obviously would have needed to add a recirculation port, unless you went with their larger version which is supposed to come with one..
 
I was also wondering about the 3/8" reducers, so I did a little research. It seems that flow through a 3/8" pipe at 10psi is 5gpm. This will turn over your 15gallon tun in 3 minutes. Keeping in mind that there is probably less that 10 gallons of liquid in the tun, turnover will more likely occur in less than 2 minutes. 1/2" fittings will be roughly double that flow rate.
IMO, 3/8" is sufficient, even for the 20 gallon model.

10 psi?!?!? For one the March 809 pumps produce under 2 psi.
Also a herms has quite a large time delta between exchanging the volume of liquid vs changing the temperature of the entire mash.
 
10 psi?!?!? For one the March 809 pumps produce under 2 psi.
Also a herms has quite a large time delta between exchanging the volume of liquid vs changing the temperature of the entire mash.

I'm sure that you are absolutely right, all of the time. And I'm sure that the modifications that you made are better suited for brewing than the engineering that went into these kettles. Who am I to argue? I was simply putting some flow numbers out there for reference.
 
I'm sure that you are absolutely right, all of the time. And I'm sure that the modifications that you made are better suited for brewing than the engineering that went into these kettles. Who am I to argue? I was simply putting some flow numbers out there for reference.

I'm not really sure what point your trying to make with this.
You "put out" useless numbers for reference IMO. In reference to what exactly? At what length of 3/8" pipe does 10 psi produce 5 gpm? 1 foot? 10 feet? 6 miles? Here is a hint, it will vary. How does the flow of 3/8" compare to 1/2"? How does 10 psi compare to the under 2 that will be used? Those comparisons would have actually been useful.

So in the end yes, the modifications that I made ARE better suited for brewing, in my system, than the engineering that went into them. To educate yourself a bit on said engineering, I would invite you to read the original kickstarter thread.
https://www.homebrewtalk.com/showthread.php?t=519722
 
In reality.. we don't need pumps, or sparge arms, or herms coils, or fancy controllers to brew beer.. but a lot of us do it, so I don't really understand the argument against modifying these vessels....
 
I'm not really sure what point your trying to make with this.

You "put out" useless numbers for reference IMO. In reference to what exactly? At what length of 3/8" pipe does 10 psi produce 5 gpm? 1 foot? 10 feet? 6 miles? Here is a hint, it will vary. How does the flow of 3/8" compare to 1/2"? How does 10 psi compare to the under 2 that will be used? Those comparisons would have actually been useful.


So in the end yes, the modifications that I made ARE better suited for brewing, in my system, than the engineering that went into them. To educate yourself a bit on said engineering, I would invite you to read the original kickstarter thread.

https://www.homebrewtalk.com/showthread.php?t=519722


To answer your questions.
My point... That 1/2" pipe will flow approximately twice the volume as 3/8" at 10psi and 10' length.
Second point is that it is not beneficial to increase from 3/8 to 1/2 at the downstream end of a 50' run through, I presume, a 1/2" coil. The pressure drop across the coil negates any possible benefit of the size increase.
Now don't label me as one who disagrees with overdoing things, I might be the president of that club. But playing with our toys and actual physics are two different things.
These tuns look like a great option, that's what got me looking into the flow charts here at work (engineering department at a large pipeline company). Even the 20 gallon model has 3/8" bell reducers and that raised my suspicion. But it was unfounded.

You then sir, are way more qualified to explain why doubling the flow potential to the suction side of my mash pumping system, decreased the time it takes to ramp temperature.

That was the whole point...
 
You got me, I cannot explain that. My little pea brain thinks that in order to require more inflow, the potential for outflow must be there.
 
The point isn't getting you. The point is I love my ThermoBarrel!
The stripped down version is where its at man. All the mods and your still under competition?
It's no brainer business to me
 
I potentially see one in the future for me too. I need to wait for a 25-30 gallon version.
 
In reality.. we don't need pumps, or sparge arms, or herms coils, or fancy controllers to brew beer.. but a lot of us do it, so I don't really understand the argument against modifying these vessels....
I'm not at all against modifying these. What I don't agree with in general is modifying the core components of the unit without at least using it once for a real mash to see how it really performs. For the vast majority of users, the reduced coupling won't cause any problems--whether a pump is used or not.
 
I'm not at all against modifying these. What I don't agree with in general is modifying the core components of the unit without at least using it once for a real mash to see how it really performs. For the vast majority of users, the reduced coupling won't cause any problems--whether a pump is used or not.

I don't even see a problem with that. If you buy something like this.. knowing that you want a certain size of ports, or anything else.. why should you have to try it first before just making it your own and customizing it to your specifications?

You are right about the vast majority of users.. and I'm betting the vast majority won't modify them... But, I'm excited to see what other modifications come out for these barrels..
 
I don't even see a problem with that. If you buy something like this.. knowing that you want a certain size of ports, or anything else.. why should you have to try it first before just making it your own and customizing it to your specifications?
It's not matter of what people have to do...it's just a matter of what's practical. You know: if it ain't broke, don't fix it. How do you know if it's broke if you don't try it out first?
KevinP's explanation makes sense given his unique system, but as I said before, it would be unfortunate if people just started modding these needlessly because of a couple posts on a forum. Do it if you want, but it's probably not needed.
 
Fair enough.. Lol i'm all about modding and tinkering though. It's an inevitable part of almost anything I buy :)
 
I used my 15 gallon thermobarrel for the first time last weekend and was very happy with the overall performance. Temp dropped 1 degree over the 1hr mash. Wort ran clear after recirculating for a few mins. And I've had no problem getting suction from the pickup tube like others have mentioned. What more can I ask for?
 
Now that we've sent out all the Kickstarter rewards and extra parts I'm curious about people's experiences with the dip tube seal.

I haven't received much feedback about the seal on the dip tube after we sent out recommendations and an o-ring to use optionally if the other suggestions didn't work out. Has everyone been able to create an airtight seal with their dip tubes?
 
Getting a full drain has had its quirks, but for me it hasn't been due to failure to create an airtight seal. I've noticed that once I open the valve to drain I have to choke off the end of the silicone tubing and wait for it to fill before I let it drain out. Otherwise the flow rate is too slow, and the tubing does not fill enough to create the siphon.

Once the siphon is created it works flawlessly. I've never run into this issue with my other equipment that has dip tubes, but maybe the dip tubes are bigger on those. Regardless, not really an issue once you figure it out.
 
After not having time to brew for two months, I've finally been able to brew a couple more batches using my ThermoBarrel.

Temp loss was insignificant over a one hour mash.

On the second batch, which was the same recipe as the first one + 12 ounces of roasted grains. M+L efficiency was 72.8%, which is lower than expected.

The grist in the third batch consisted of 100% Rahr 2-row (19 lbs). For some reason, I had much less loss in this batch than I did in the first two. After meeting my pre-boil volume target, I collected another 3 quarts of wort. M+L efficiency was 72.3% (not counting the extra runoff).

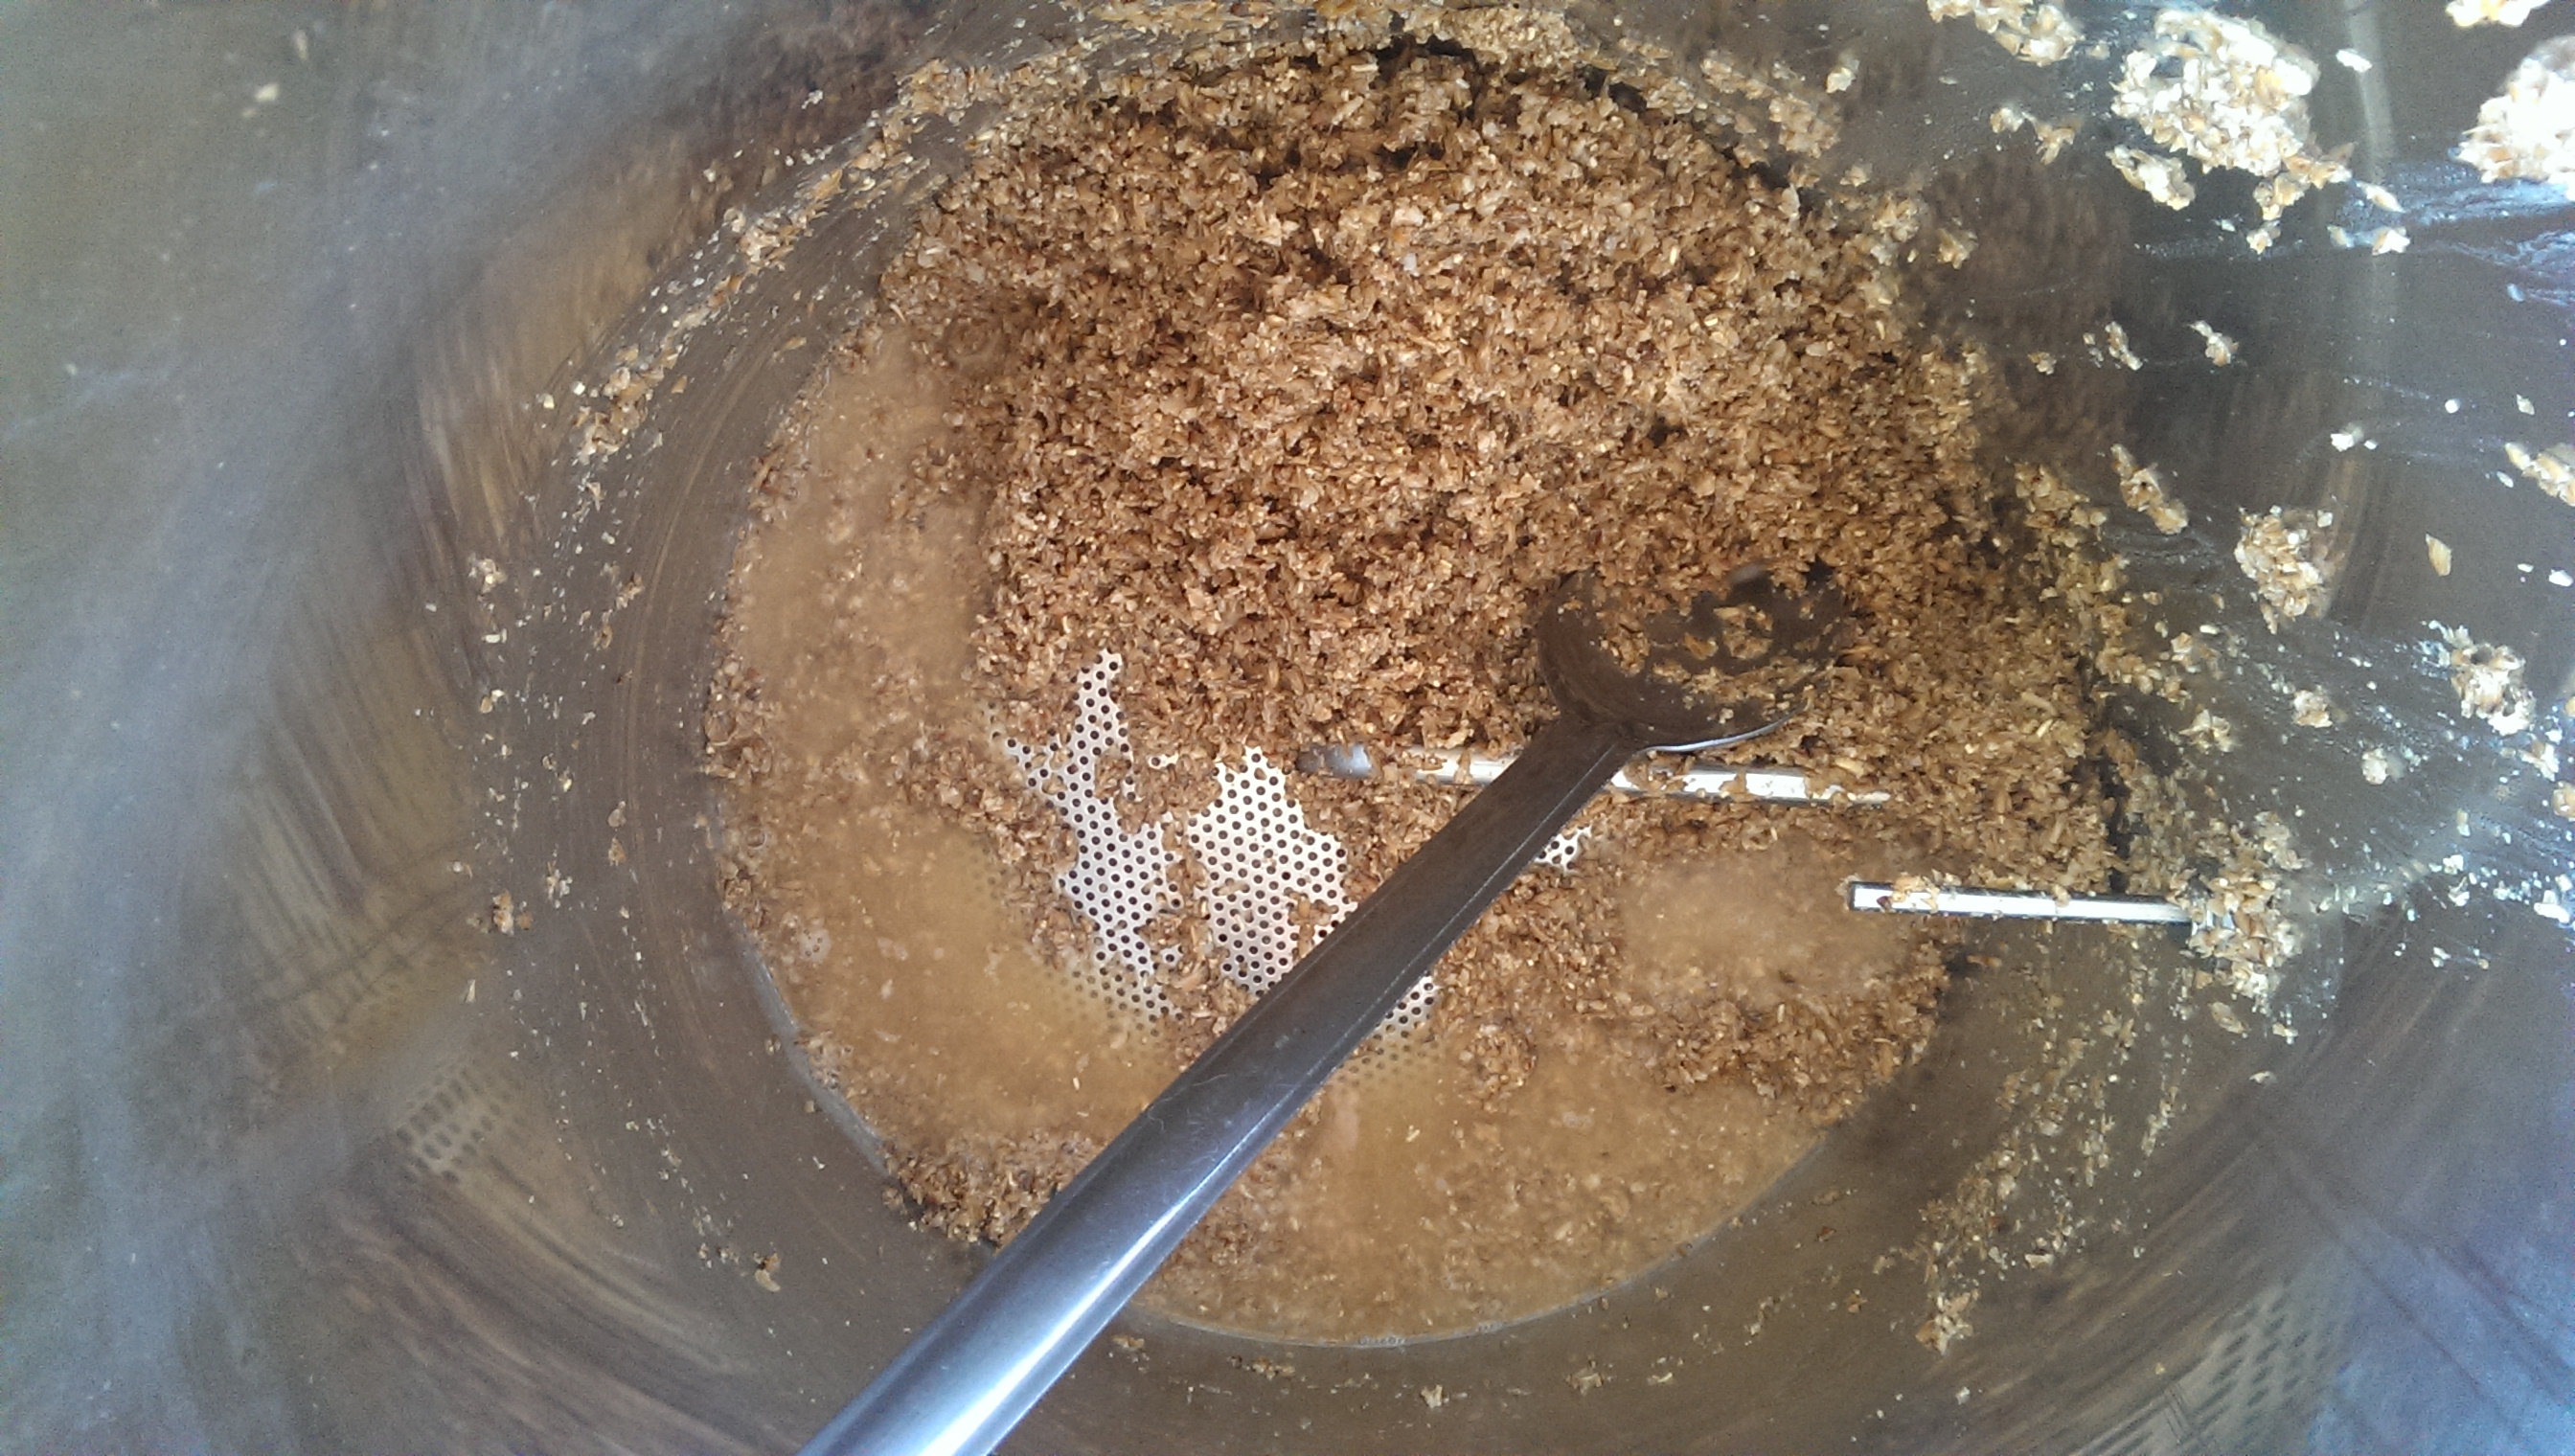
As shown in the image below, 19 pounds of grain with a water:grain ratio of 1.35 exceeded the upper limit of the unit if you want to use the recirculation port.

2015-11-01-140718-66391.jpg

Thanks for sharing this. Very interesting. My first two batches with the Thermobarrel clocked in at 80 and 83% respectively. Batches 3 and 4 then both dropped to 73%, which I just assumed was user error, but it seems you had the same results?

Also, "can I mash it" shows that 19 pounds of grain @ 1.35 ratio should only take up 7.93 gallons of space. Strange that it filled yours nearly to the top. Have you actually measured it to see if it's truly 10 gallons?
 
Back
Top