OP
OP
Sawdustguy
Well-Known Member
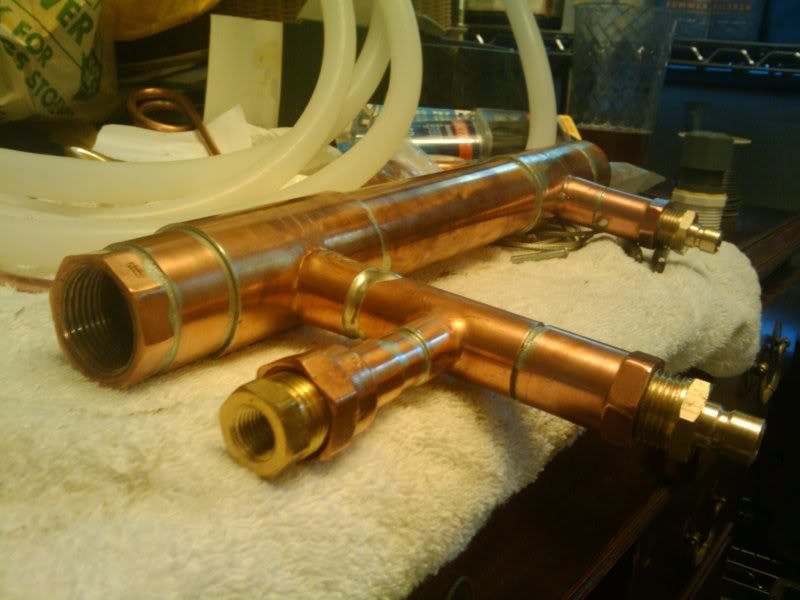
I was thinking more of machining the whole ting out of one piece of 304. Inside threads isn't too difficult, but it wouldn't look as good as his, but functional.
Why bother? NPSM will mate with a NPT Female but you will have to use the washer that came with the element.


![Craft A Brew - Safale S-04 Dry Yeast - Fermentis - English Ale Dry Yeast - For English and American Ales and Hard Apple Ciders - Ingredients for Home Brewing - Beer Making Supplies - [1 Pack]](https://m.media-amazon.com/images/I/41fVGNh6JfL._SL500_.jpg)


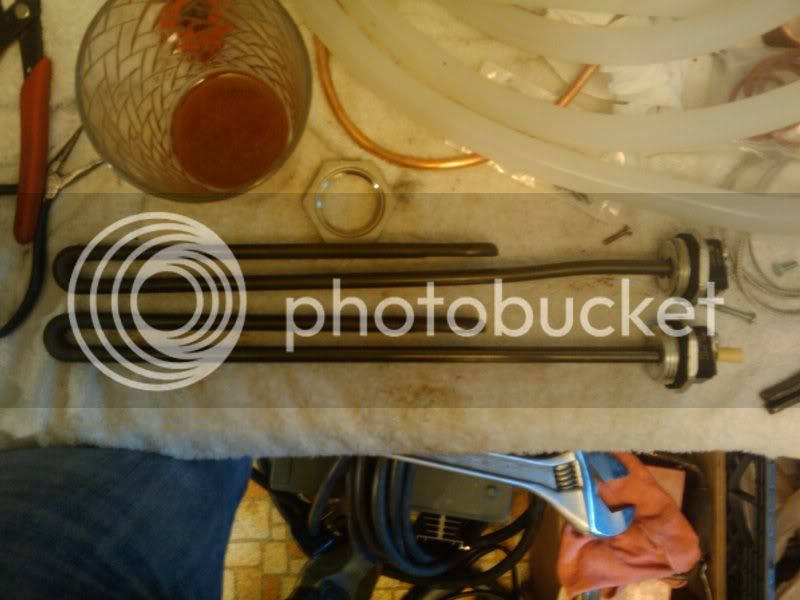
 I tried threading the element into a 1" coupler, and it wouldn't fit. THEN, I tried it in a 1.5" TC x 1" FPT fitting, and it threaded perfectly.