Brewer's Edge Mash & Boil

Homebrew Talk - Beer, Wine, Mead, & Cider Brewing Discussion Forum

Help Support Homebrew Talk - Beer, Wine, Mead, & Cider Brewing Discussion Forum:

This site may earn a commission from merchant affiliate links, including eBay, Amazon, and others.
I did a separate post on this, but saw this thread and thought it would fit here too. I'm recirculating with the M&B unit, and finally decided I needed a center drain pipe to get better recirc like the robobrew/grainfather. Pretty simple mod and makes recirculation much more hands off, and brew day much smoother. Also getting about 82% efficiency.

This is interesting, I was looking at something similar, do you have a parts list?
 
This is interesting, I was looking at something similar, do you have a parts list?
Hey, sorry for the late reply on this. Wasn't getting my notifications. The base piece is the weldless fitting for igloo coolers from Brewhardware: https://www.brewhardware.com/product_p/mwl12cooler.htm
Then the bottom pipe is an 8" 1/2-NPT threaded nipple also from Brewhardware.
The upper pipe is a piece of 1" OD .035 wall stainless tubing that I milled the slots into for the clip. And cut an o-ring/seal for to go between the upper and lower pipe from thinwall 1/2" silicone tubing.
 
I had my first run today with my Brewer's Edge - Mash & Boil. All went really well and as planned. I did notice, however, when rinsing out my kettle when cleaning up, that I had some material cooked onto the area where the elements are. It was 99% removed with just a wash cloth and some pressure. Was more caramelized material vs burned on.

When I poured my grain into the basket to mash, I didn't spill any outside the basket. Curious if some dust or the like from the grain fell through and cooked on? Any tips on how to avoid this?

Also, when should I be switching between 1600 and 1000 watts? Is 1000 watts only used for smaller batches?

Appreciate any input.
 
A quick soak with oxiclean should clean the bottom.

I use 1600 to come to temperature, then go to 1000 for the duration of the mash, then back to 1600 for the boil.
 
Last edited:
I had my first run today with my Brewer's Edge - Mash & Boil. All went really well and as planned. I did notice, however, when rinsing out my kettle when cleaning up, that I had some material cooked onto the area where the elements are. It was 99% removed with just a wash cloth and some pressure. Was more caramelized material vs burned on.

When I poured my grain into the basket to mash, I didn't spill any outside the basket. Curious if some dust or the like from the grain fell through and cooked on? Any tips on how to avoid this?

Also, when should I be switching between 1600 and 1000 watts? Is 1000 watts only used for smaller batches?

Appreciate any input.
The buildup on the element comes from the protiens and sugars extracted from the grain into the beer carmelizing onto the element... Its normal if its just a tan buildup that you can clean off.
 
The buildup on the element comes from the protiens and sugars extracted from the grain into the beer carmelizing onto the element... Its normal if its just a tan buildup that you can clean off.

This is about what it was. I'll see how this next run goes with scraping that area occasionally when I stir in the future to knock off build-up.
 
My first batch was a clone of Rogue's Brutal, I followed Williams instructions to the letter and hit all the numbers, love this beer.
My problem at 78 yrs old is to lift the basket from the kettle, any ideas?
 
My first batch was a clone of Rogue's Brutal, I followed Williams instructions to the letter and hit all the numbers, love this beer.
My problem at 78 yrs old is to lift the basket from the kettle, any ideas?

If you're doing it somewhere where you could attach a eyelet to the ceiling you could use a ratchet hoist to help you lift the basket out. Or even a tall step ladder could work too.
 
If you're doing it somewhere where you could attach a eyelet to the ceiling you could use a ratchet hoist to help you lift the basket out. Or even a tall step ladder could work too.

This. I have an eyelet in a stud in the ceiling. I use a strap like this which is easy to pull down on to raise the basket outta the kettle. Push the lever to lower, etc.

https://www.amazon.com/dp/B000X1YUZC/?tag=skimlinks_replacement-20

Also, if you build a stand for your M&B, you can have it high enough such that you can drain into your fermenter without lifting. The only lifting you have to do for the entire brew is the fermenter to wherever.
 
Last edited by a moderator:
This is about what it was. I'll see how this next run goes with scraping that area occasionally when I stir in the future to knock off build-up.

I scraped that area with a spoon a few times throughout my boil and pretty minimal build-up there.
 
I feel like I should know this, but how do you control batch sparge rates? When I lift the basket and let it drain, it seems like the sparge water drains out too fast to really be effective. Am I doing something wrong? Should I just add the sparge water to the kettle with the basket in, lift and just let drain? I'm kind of confused on how to sparge with this thing.
 
I feel like I should know this, but how do you control batch sparge rates? When I lift the basket and let it drain, it seems like the sparge water drains out too fast to really be effective. Am I doing something wrong? Should I just add the sparge water to the kettle with the basket in, lift and just let drain? I'm kind of confused on how to sparge with this thing.
I'm thinking about the same issue. Is it best to sparge while the grain basket is lifted up or should i drain the first wort to a separate bucket, close the spigot and let the sparge water sit inside for some time?
 
I feel like I should know this, but how do you control batch sparge rates? When I lift the basket and let it drain, it seems like the sparge water drains out too fast to really be effective. Am I doing something wrong? Should I just add the sparge water to the kettle with the basket in, lift and just let drain? I'm kind of confused on how to sparge with this thing.
Yeah. I hear you on the sparge thing. I'm pretty sure that an effective sparge requires a bit more time than a quick run through the grain bed to rinse away enough of the last bit of converted sugars present in the grain to make it worth while. Seems to me like you are more likely just watering down your first runnings (wort in the kettle when you remove the grain basket).

There are those that believe that a particular grain to water ratio will yield better efficiency in mashing...maybe, but I think it is more likely, over the years, just another one of those things that homebrewers picked up from pro brewers. The larger scale brewers are trying to get as much wort out of a mashing vessel as possible. If that's what you are going for (producing as much wort as the kettle can hold for the boil) a sparge is a must.

I have done my own tests with the Mash & Boil. I wanted to see which way was the best for me.
Test 1 - Mash exactly as the instruction manual says to. Remove grains from wort and pour water over the top. 68% effieciency
Test 2 - Mash with the same .3 gal/lb as above, then drain first runnings to a bucket and then add sparge water on top of grains (batch sparge). Stir it up, let it sit for 20 min. and then slowly drain off the second runnings to a bucket. Pull the grains and then return the first and second runnings to the kettle and bring to a boil. IT WAS A TON OF WORK! But I got 76% efficiency. The difference in Test 1 vs. Test 2 is removing the grain from the wort quickly vs. removing the the wort from the grain slowly (with the added benefit of less grain in the kettle at the beginning of the boil).
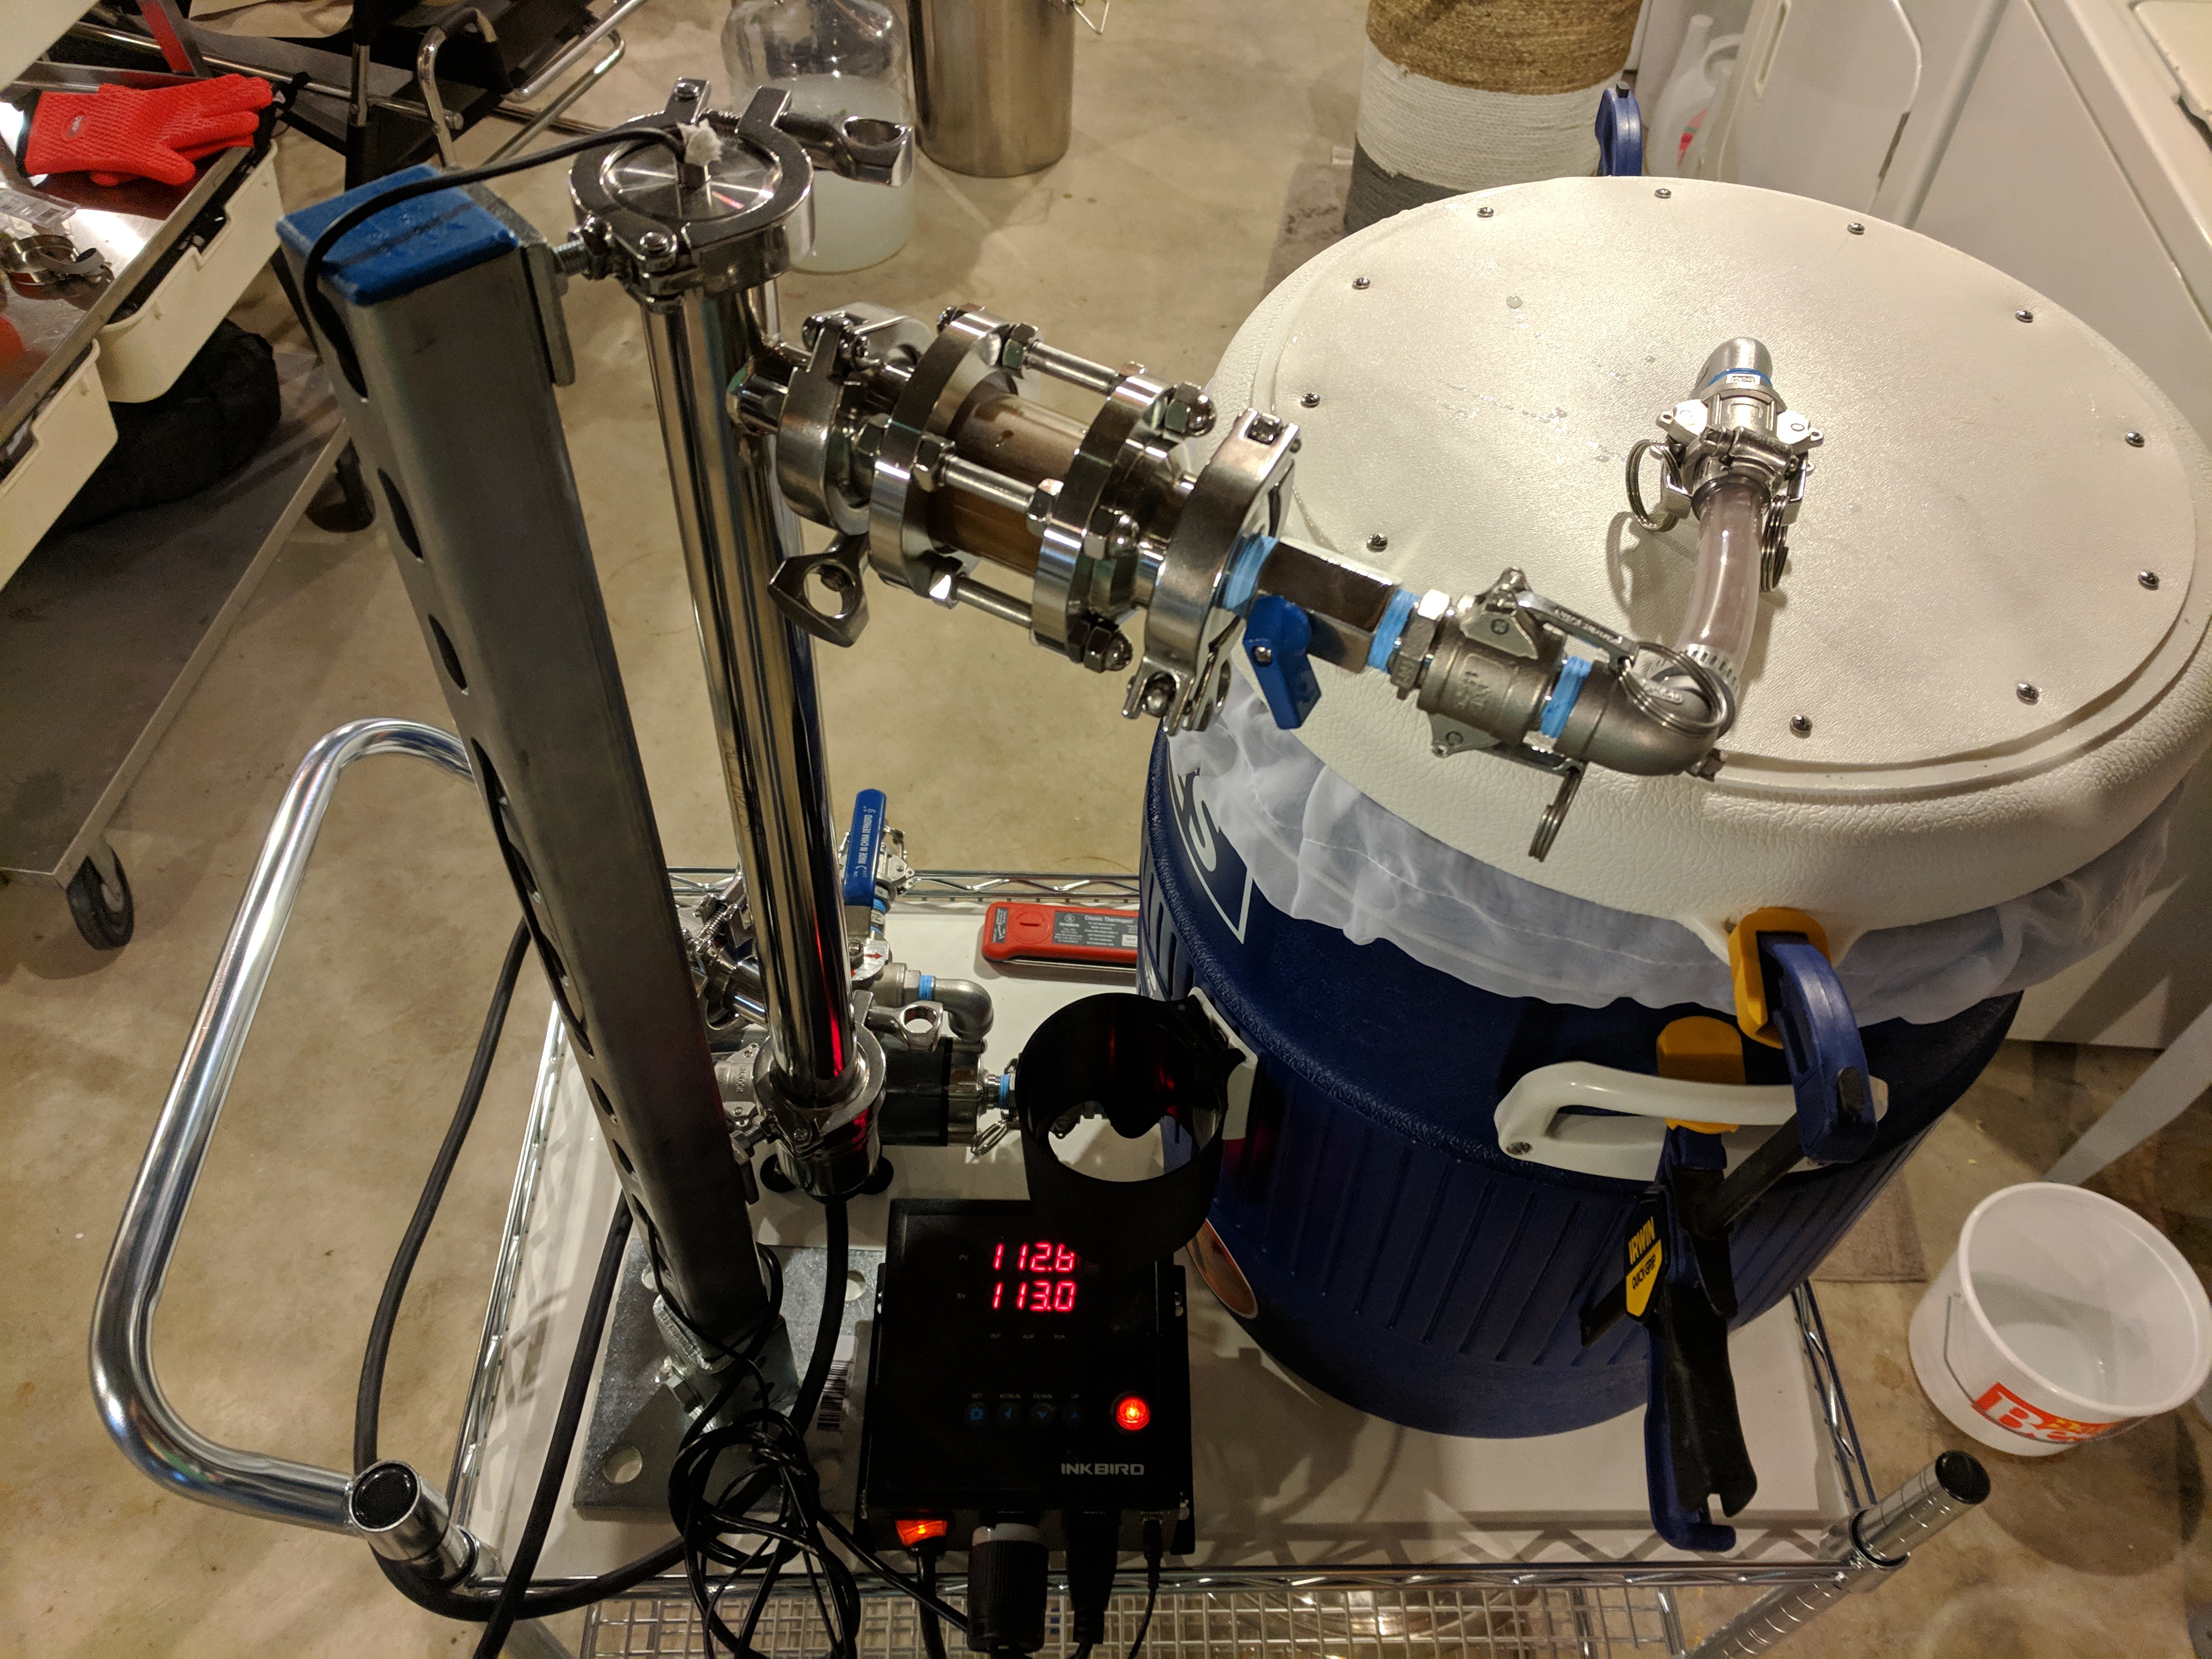
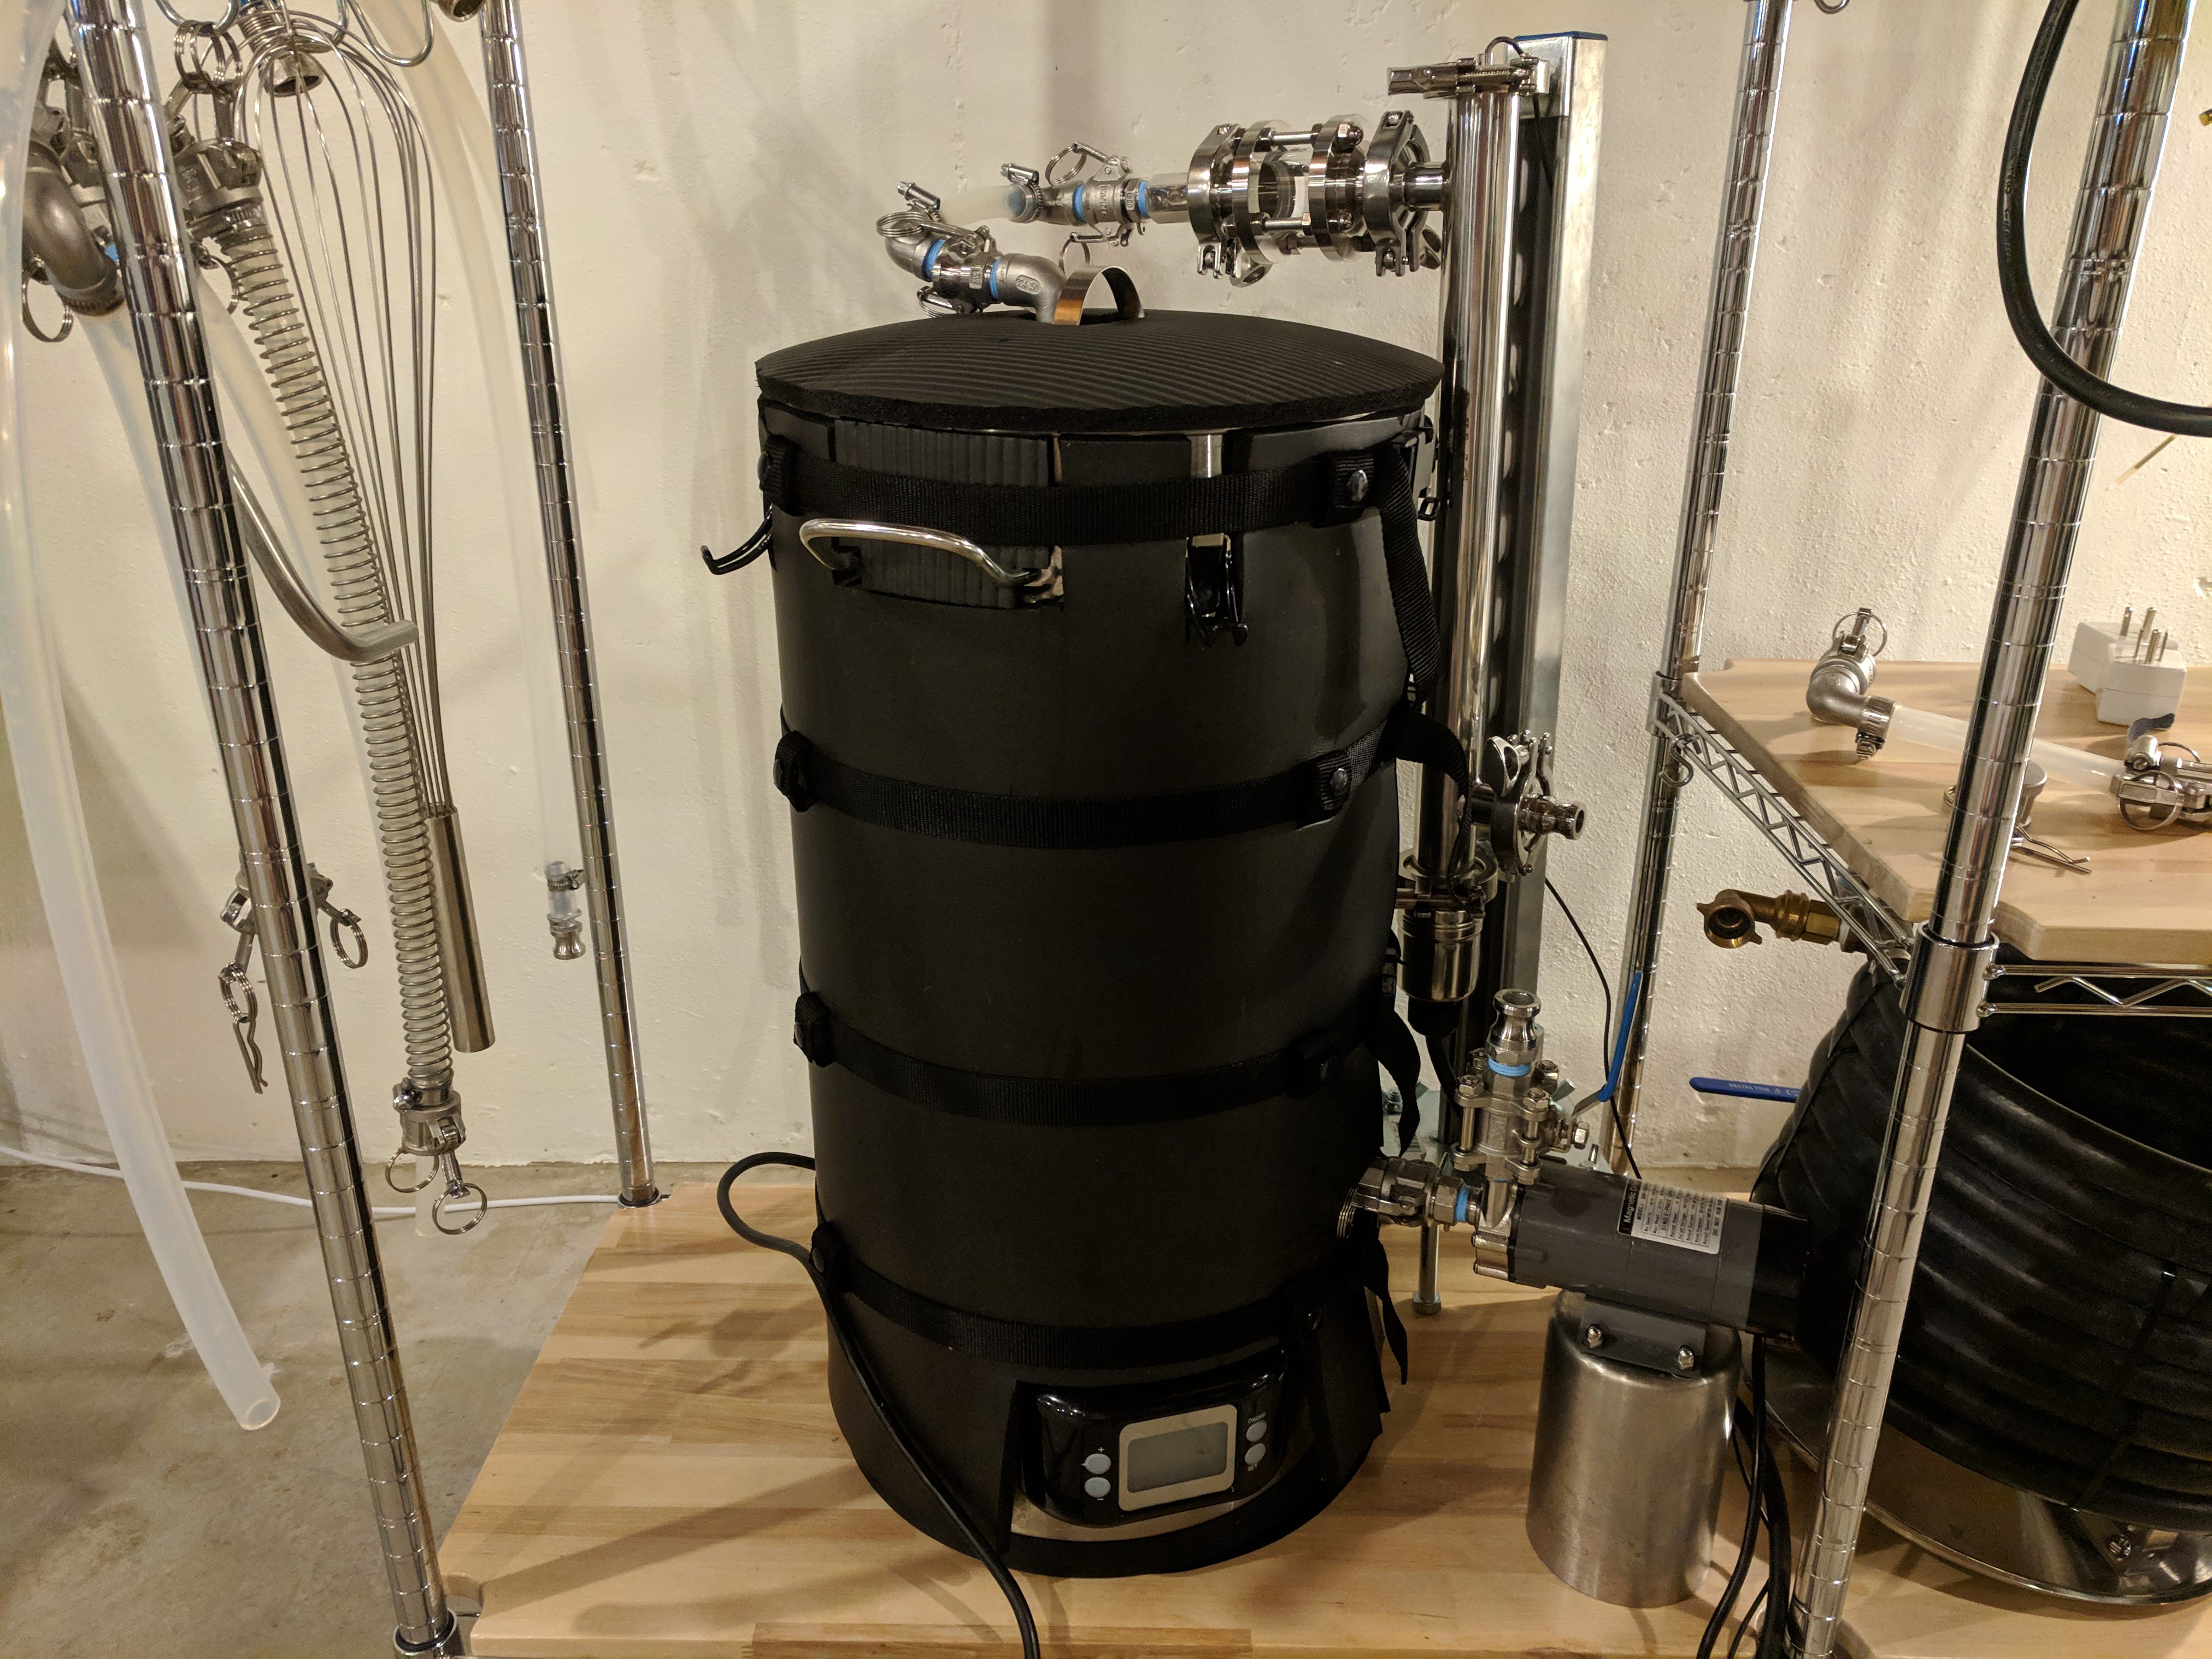
Test 3 - Full volume mash with a "little brown pump" recirculating. No sparge. The simplest & shortest all grain batch I ever made. 81% efficiency.

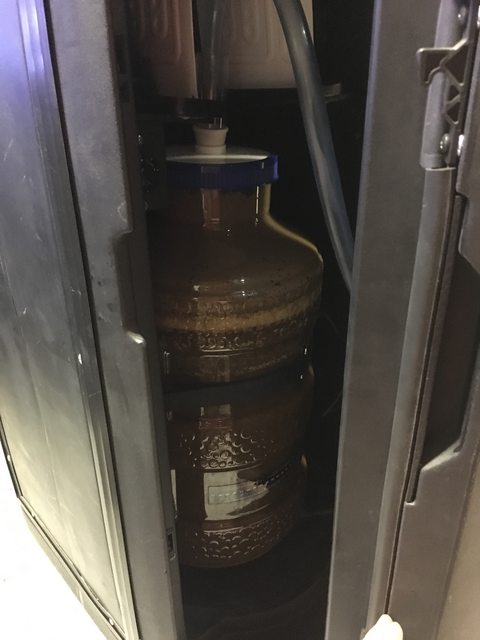
I personally do 4 gallon batches so that I can ferment in corny kegs under pressure (I just believe in my gut that when I do pressure fermentation, I produce cleaner, better tasting beer) and so I am able to do a full volume mash. If you can fit your full volume water into the mash, go for it. If you can recirculate during that mash, you will end up with some pretty great efficiencies. Long time reader of HBT, this is my first time replying. I felt compelled to create an account and reply on this since this is something that I spent a lot of time on trying to figure out for myself with this equipment. Hope it helps.
 
I tried the pump thing and ended up pulling all of the wort out of the bottom. It led to awful scorching and E4 errors. I actually had to dump that batch.

When I tried again, it seems that I had a thicker mash and the sparge water took a long time to drain through. It was perfect, and I ended up with 80% efficiency.

So, I'm going to brew again this weekend and I bet the water will shoot through the grain and I'll be back where I started.
Too funny. Grain crush is important. I have found that if you recirculate, the crush should be a little more course. If you don’t go as fine as you want. And if u ever try anything with a lot of wheat, you better stir every 10 min or so. Good luck with your brew day and have fun.
 
Too funny. Grain crush is important. I have found that if you recirculate, the crush should be a little more course. If you don’t go as fine as you want. And if u ever try anything with a lot of wheat, you better stir every 10 min or so. Good luck with your brew day and have fun.

no pump. 50% efficiency. I'm seriously considering quitting this hobby once and for all. I'm just so bad at it. I have no clue what I did wrong. Same LHBS same crush. Mashed at 152-153 for an hour.
 
Got my pump mounted to my stand and plumbed yesterday. Still trying to figure out a good solution for a recirc/vorlauf/whirlpool arm/arms.

Mr5dzull.jpg
 
First brew in my M&B complete! Based on a Deschutes Black Butte clone recipe with some substitutions to use up some aging ingredients my buddy had lying around.

Will mash thicker next time...
wwhLVXql.jpg


Boil
LQrpATIl.jpg


Racked onto Wyeast 1968 cake from a DIPA a buddy just finished.
heYiScMl.jpg


Fermented at 68°F
O43v9u0l.jpg


Siphoned into keg
4UOqluYl.jpg


Carbed in keg and served
IfHkFqbl.jpg


:ban:
 
I'm just playing with ideas here, but has anyone thought about adding a small RIMS-tube into an electric kettle like this, just to maintain and control the mash temps? Along with the center drain pipe mod, I'm thinking this could solve the 2 major issues I'm aware of with the Mash & Boil, ie. the inaccuracy of temperature control and the risk of draining the bottom of the kettle.

I'm fairly new to all grain brewing and especially electric brewing, so maybe I'm missing something here, or is it just the expenses?

Personally and in the short term I will probably try to survive by insulating the tun, as that's how I've done my earlier stovetop mashes, usually only resulting in a temp drop of 1-2 degrees (celsius) during the mash. However, I'd definitely prefer to have more accurate control over my process.
 
I actually just put together a 10G bev cooler/RIMS tube combo for big beers that I can't mash in the BEMB. It's a bit redundant, but I configured the RIMS tube so I could do exactly what you're talking about. I haven't hooked it up to the BEMB yet to see how it goes, but my assumption is that the RIMS tube would keep the temp so stable that the BEMB burner would never kick on once mash temp has stabilized. Plus, getting up to strike temp should be a lot quicker.

My RIMS tube is clamped to a vertical length of strut channel that sets the outlet elevation just above the lid of either vessel. On the cooler, it looks like this:
bw4RVKZ.jpg

Also, instead of the center pipe mod, I'm going to first try to leave the malt pipe out and BIAB. I'll try to post an image of the RIMS on the BEMB if get a chance to fiddle with it this week.
 
That looks interesting! What is the thing that's right after the vertical tube?

And yeah, a BIAB bag seems like a good choice since the BEMB element shouldn't be on. I was thinking that if the main purpose of the tube was to keep the temperature constant (as opposed to your case), the element could be a fairly low powered one, though I haven't really researched the heating elements yet.
 
Up top is a sight glass followed by a small valve...I just want to see that wort is flowing so the element doesn't scorch it or worse yet, dry fire. I got that sight glass from aliexpress for $33...it took a month to get here from China. Felt more like a couple months with the anticipation factor. I'm sure there are loads of other sight glass options, but since the RIMS tube I chose from brewhardware had a TC inlet/oulet, this sight glass just made sense to me. Plus, I like shiny stuff. This is what the RIMS 'stand' looks like standing by my BEMB:
GEQ2DGY.jpg

I'm going to try to mash in the wilser bag mostly for recirc flow rate...it sort of eliminates the need for the center overflow tube mod. Since the RIMS keeps the temp very stable and my BEMB is insulated, I'm not worried at all about temp hysteresis.

I just did an oatmeal stout in the bev cooler w/ RIMS last weekend and for fun I did a step mash just to put the RIMS tube through the paces. 20 min@113°F, 20 min@122°F, 60 min@156°F, & 10 min@168°. The RIMS with 5500w element @ 120v raised the wort temp at a rate of around 2° F per minute. It made for a really long mash (2h20m), but I know what to expect if I need to step mash in the future.
 
Great reading, thanks guys. I just ordered a Mash n Brew as my intro to home brewing - diving right in. I've been doing a lot of reading, but most of it is dated, and doesn't talk about these electric units. It's helped hearing about your setups to make sense of how to approach an all grain brew with a Mash n Brew. Can someone tell me what size tubing is needed for the bottom valve?
 
Does anyone know if the Mash and Boil tends to have issues? Like the Grainfather has a melted plug issue and the old robobrew at least would jave the elements burn out.
 
I think I read in here that the minimum batch size they recommend is 2.5 gallons. Has anyone tried a smaller batch size? Or can I just do 2.5 gallons and boil that down to the size I want using this system?
 
Great reading, thanks guys. I just ordered a Mash n Brew as my intro to home brewing - diving right in. I've been doing a lot of reading, but most of it is dated, and doesn't talk about these electric units. It's helped hearing about your setups to make sense of how to approach an all grain brew with a Mash n Brew. Can someone tell me what size tubing is needed for the bottom valve?
1/2" tube Brewer's Edge mash & boil user group is very active on Facebook
 
Does anyone know if the Mash and Boil tends to have issues? Like the Grainfather has a melted plug issue and the old robobrew at least would jave the elements burn out.
No problems with the Mash & Boil. Check out the Facebook group I mentioned in the previous message
 
I think I read in here that the minimum batch size they recommend is 2.5 gallons. Has anyone tried a smaller batch size? Or can I just do 2.5 gallons and boil that down to the size I want using this system?
Several people do full volume 3 gallon batches. You could use BIAB for smaller batches. For smaller batches I would just use a stove. Not sure the Mash & Boil would be a big advantage, but you could use it without the grain pipe
 
Several people do full volume 3 gallon batches. You could use BIAB for smaller batches. For smaller batches I would just use a stove. Not sure the Mash & Boil would be a big advantage, but you could use it without the grain pipe

I am figuring it would provide a better source of maintaining temperature, and with the fermentation lid I can mash, boil, and ferment in a single vessel. Furthermore because it can hold temps I could also do a kettle sour in the same vessel which is a bonus, too.

Most everything I do is 1-2/2.5 gallons...this is my main concern.
 
1/2" tube Brewer's Edge mash & boil user group is very active on Facebook
I ordered some good silicon 3/8" tubing before I got the M&B. It came in the other day, and yes, it has a 1/2" nipple on the valve but the 3/8" tubing fits with a little stretch giving a very tight fit so probably don't need a hose clamp - I'm only using it to lauter into the fermenter so no pressure involved. I have some 1/2" on order as well - don't know what will be on the fermenter that's coming either. Lots of specs but they don't like to give that one out for some reason. My supplier didn't know but said it was one or the other so now I have both.
I did join the FB group and it is a good source for how this things works.
 
I think I read in here that the minimum batch size they recommend is 2.5 gallons. Has anyone tried a smaller batch size? Or can I just do 2.5 gallons and boil that down to the size I want using this system?

I bought a Wilser bag and do full vol/no sparge BIAB in my Robobrew w/o the grain pipe. Works great, and I can do any batch size I like.
 
Got a reply from source if anyone is interested

Well, I’ve had a robobrew crap out after making maybe ten beers, a Grainfather after 8, maybe if Grainfather doesn’t give me a replacement unit, I will get one of these. Funny thing is I got one of these before I bought the other two machines but cancelled and went for the robobrew because I thought it wouldn’t be durable, haha.
 
Well, I’ve had a robobrew crap out after making maybe ten beers, a Grainfather after 8, maybe if Grainfather doesn’t give me a replacement unit, I will get one of these. Funny thing is I got one of these before I bought the other two machines but cancelled and went for the robobrew because I thought it wouldn’t be durable, haha.

Man you've had some seriously bad luck.
 
Back
Top