I'm anxious to hear your feedback on those Stout Tanks. I've had my eye on those for a while now (no rig is ever complete).
Nice work so far!
TB
Nice work so far!
TB

Which template do you use for visio, Im trying to make a similar type diagram for my setup, I like the non electrical symbols but cant seem to find anything like that. Any chance you could help me out some pointing me in the right direction
")
You did very well in your testing. I went back over your diagram to see the issue with the element switch. I missed that as well when I reviewed your plan before. Great catch.
P-J
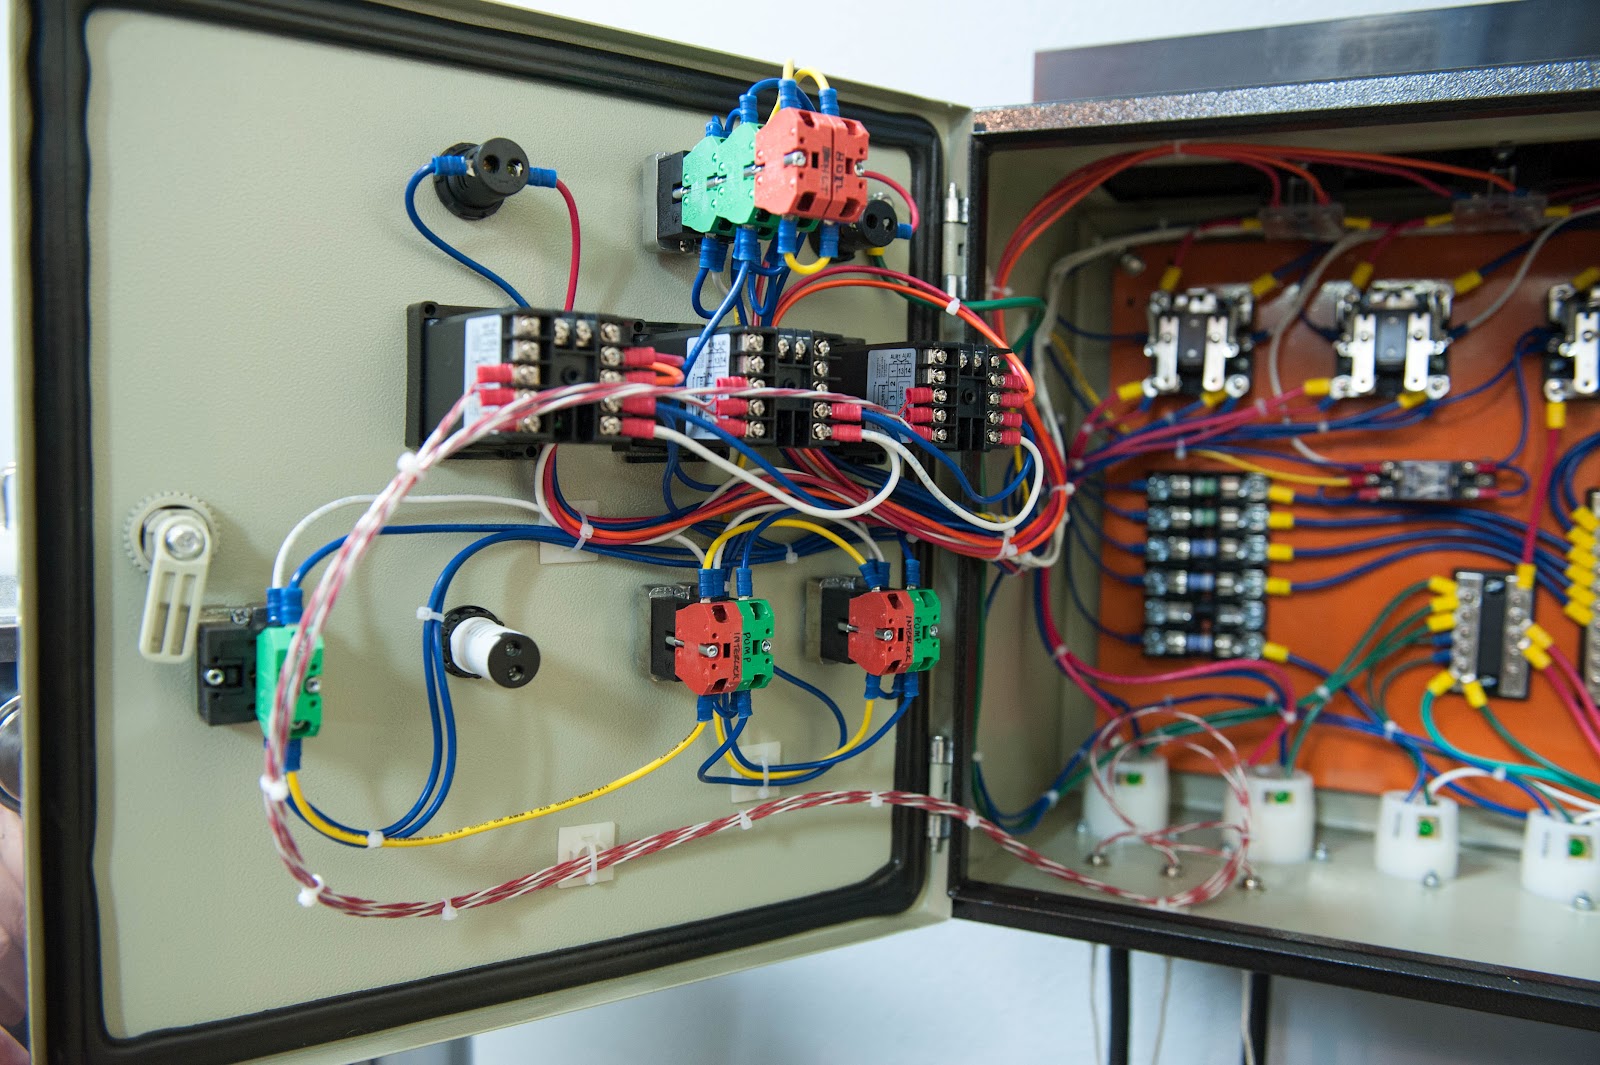
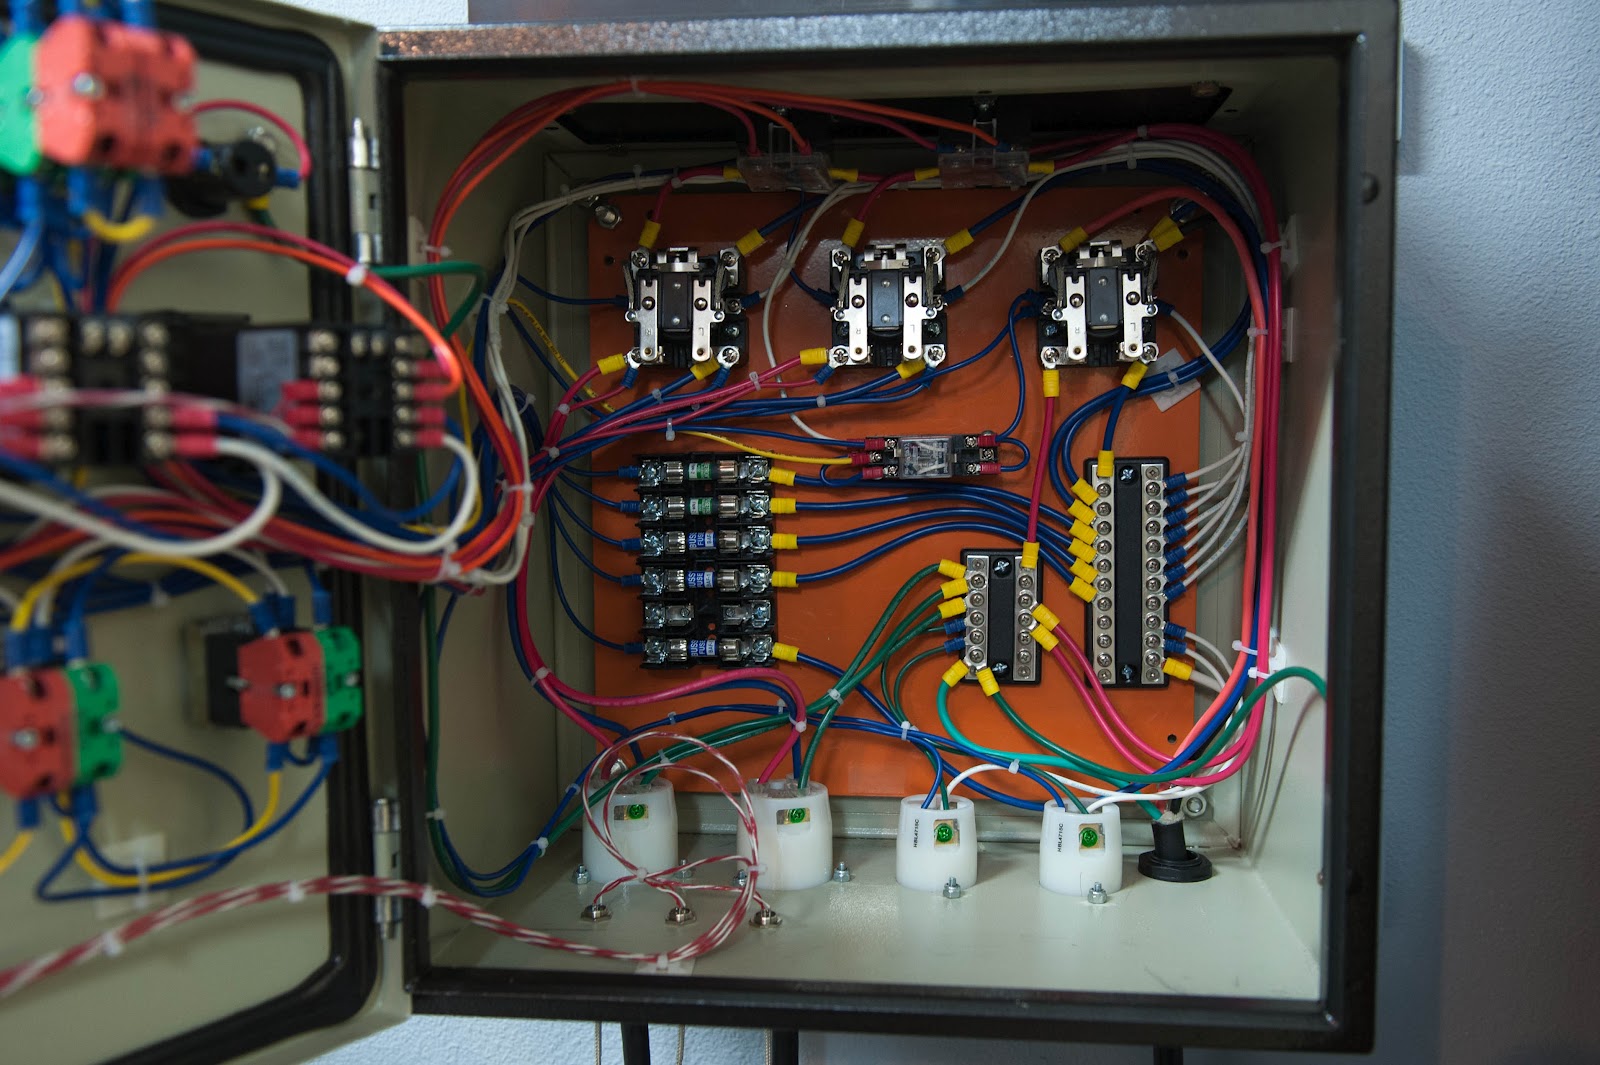
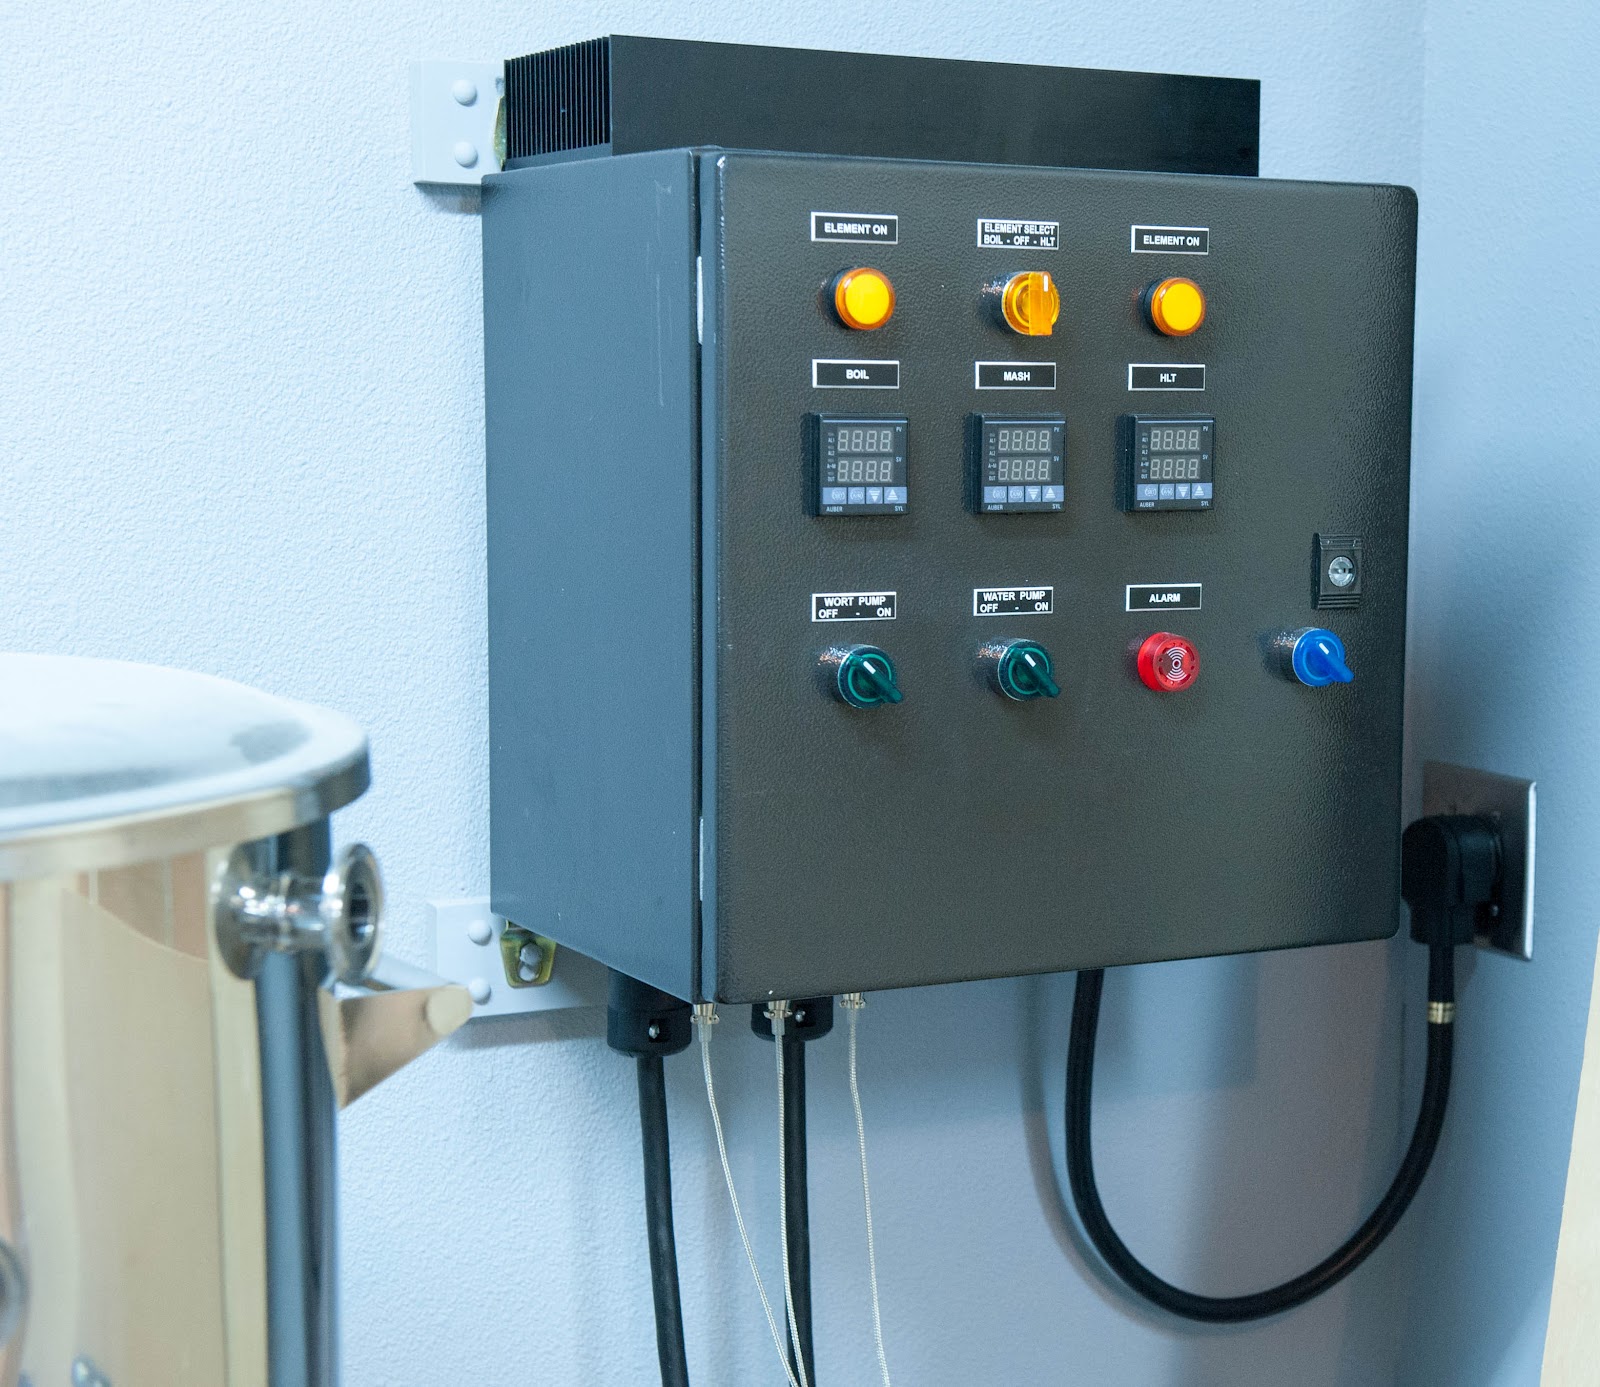
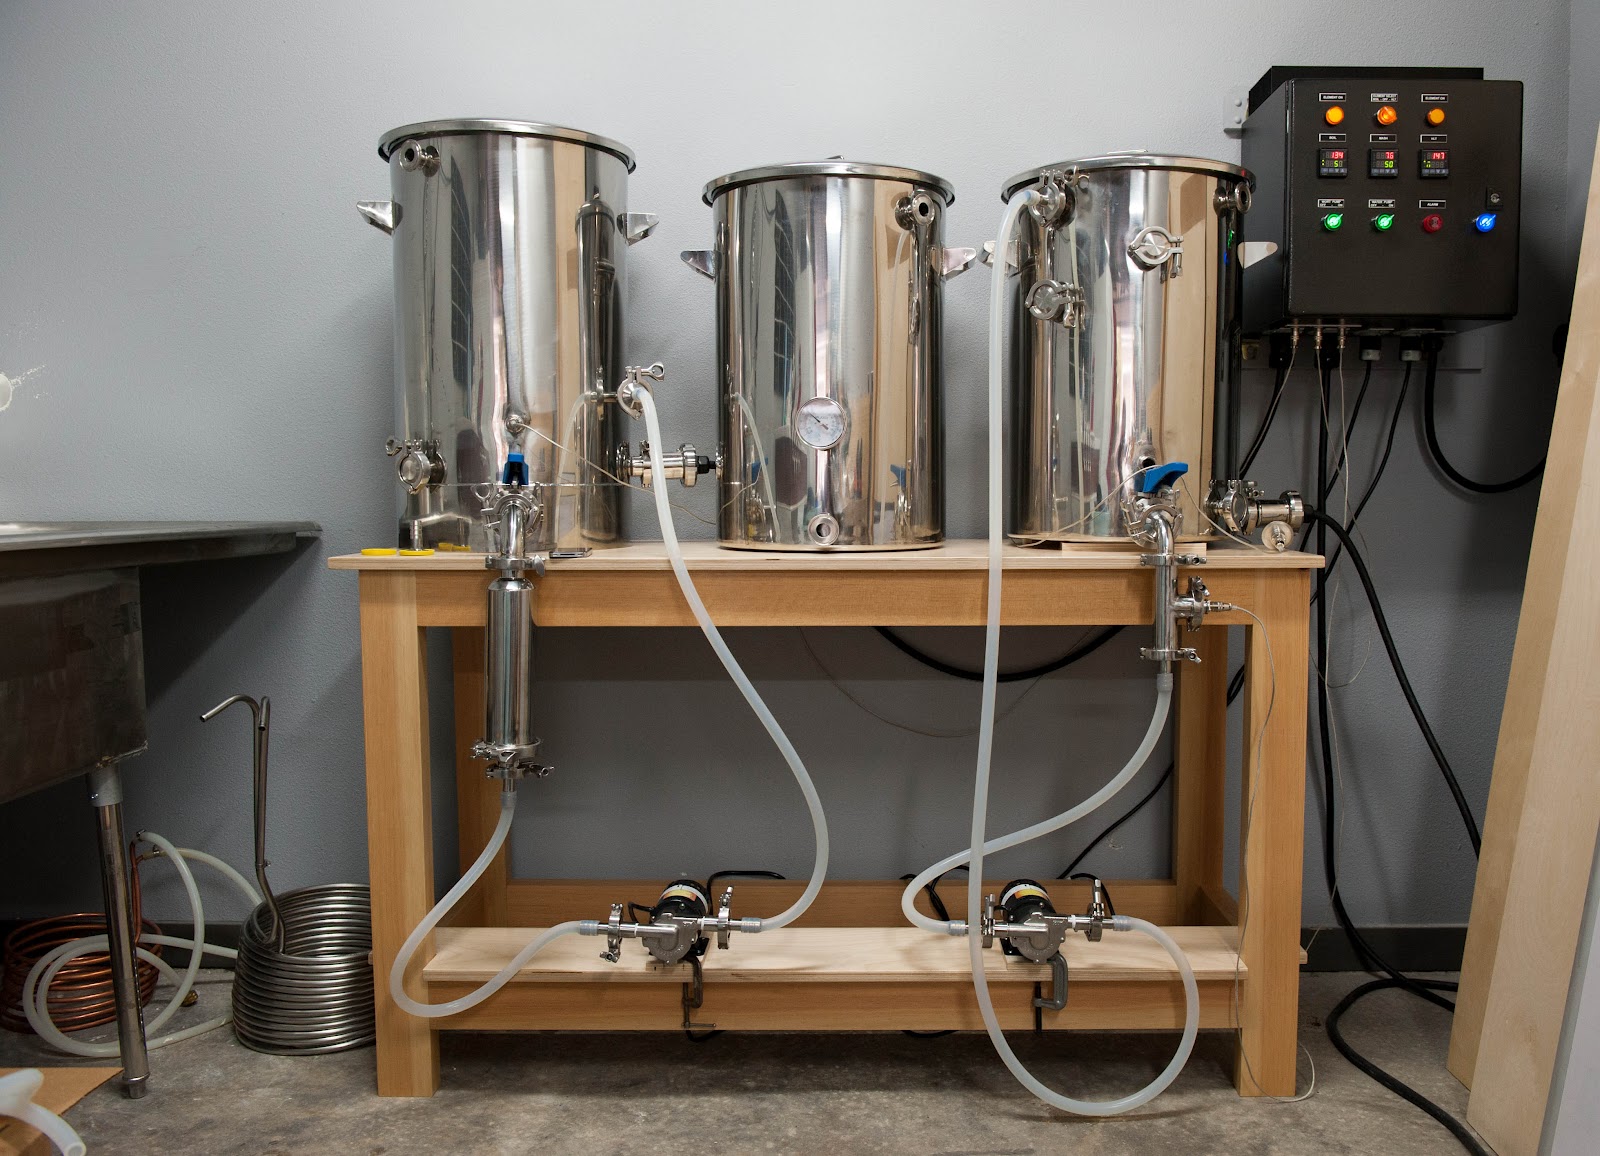
Thanks again for your work here on the forum, certainly made wiring this easier. Fixed one last error where I had the power switch led always on instead of only turning on when the relay engaged. I added a third set of contact blocks on the element switch so I could power up the element selector light. I also finally got the panel wiring organized.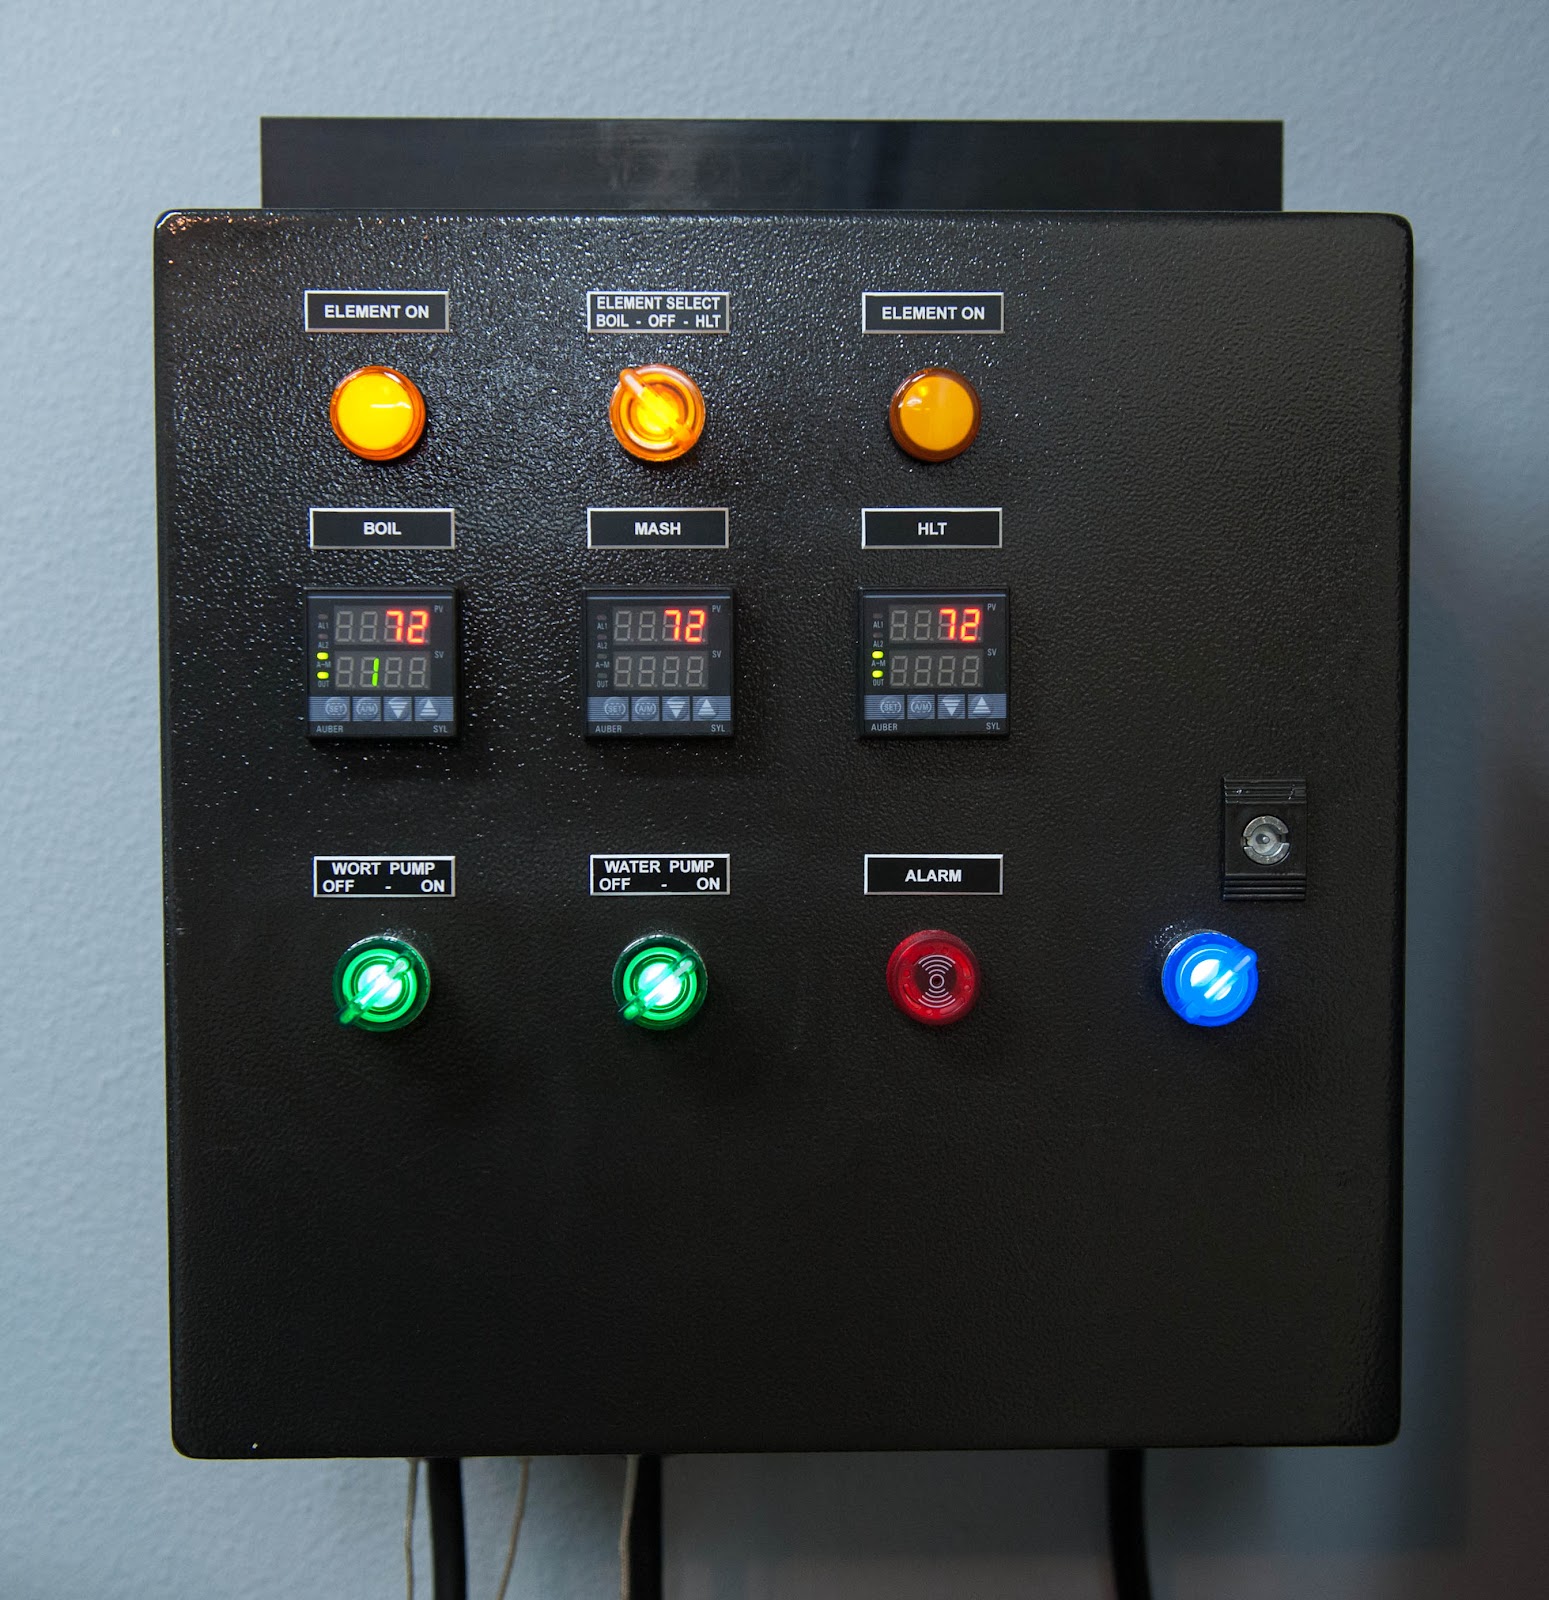


![Craft A Brew - Safale S-04 Dry Yeast - Fermentis - English Ale Dry Yeast - For English and American Ales and Hard Apple Ciders - Ingredients for Home Brewing - Beer Making Supplies - [1 Pack]](https://m.media-amazon.com/images/I/41fVGNh6JfL._SL500_.jpg)


 Very well done sir :rockin:
Just means I want one
https://lh6.googleusercontent.com/-M96tJsr0k9E/UDRh8TWAXxI/AAAAAAAAD0s/AKnWcBxCCzU/s1600/20120819-DSC_2219.jpg[/IMG]
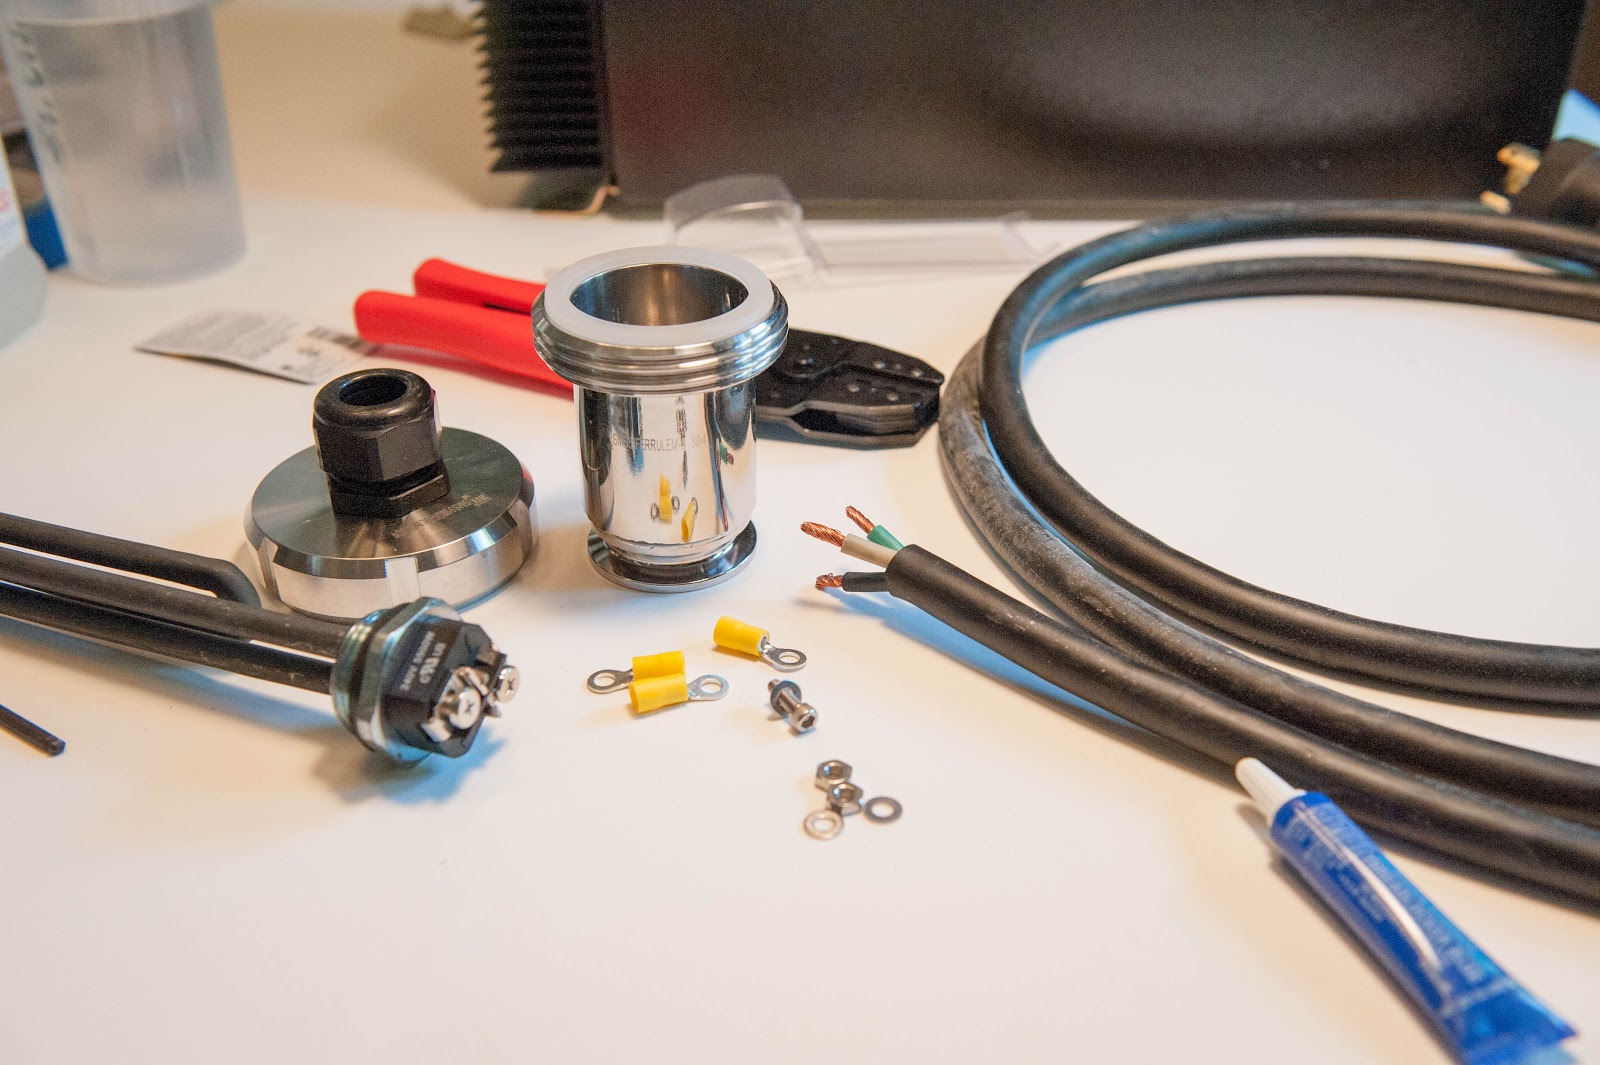
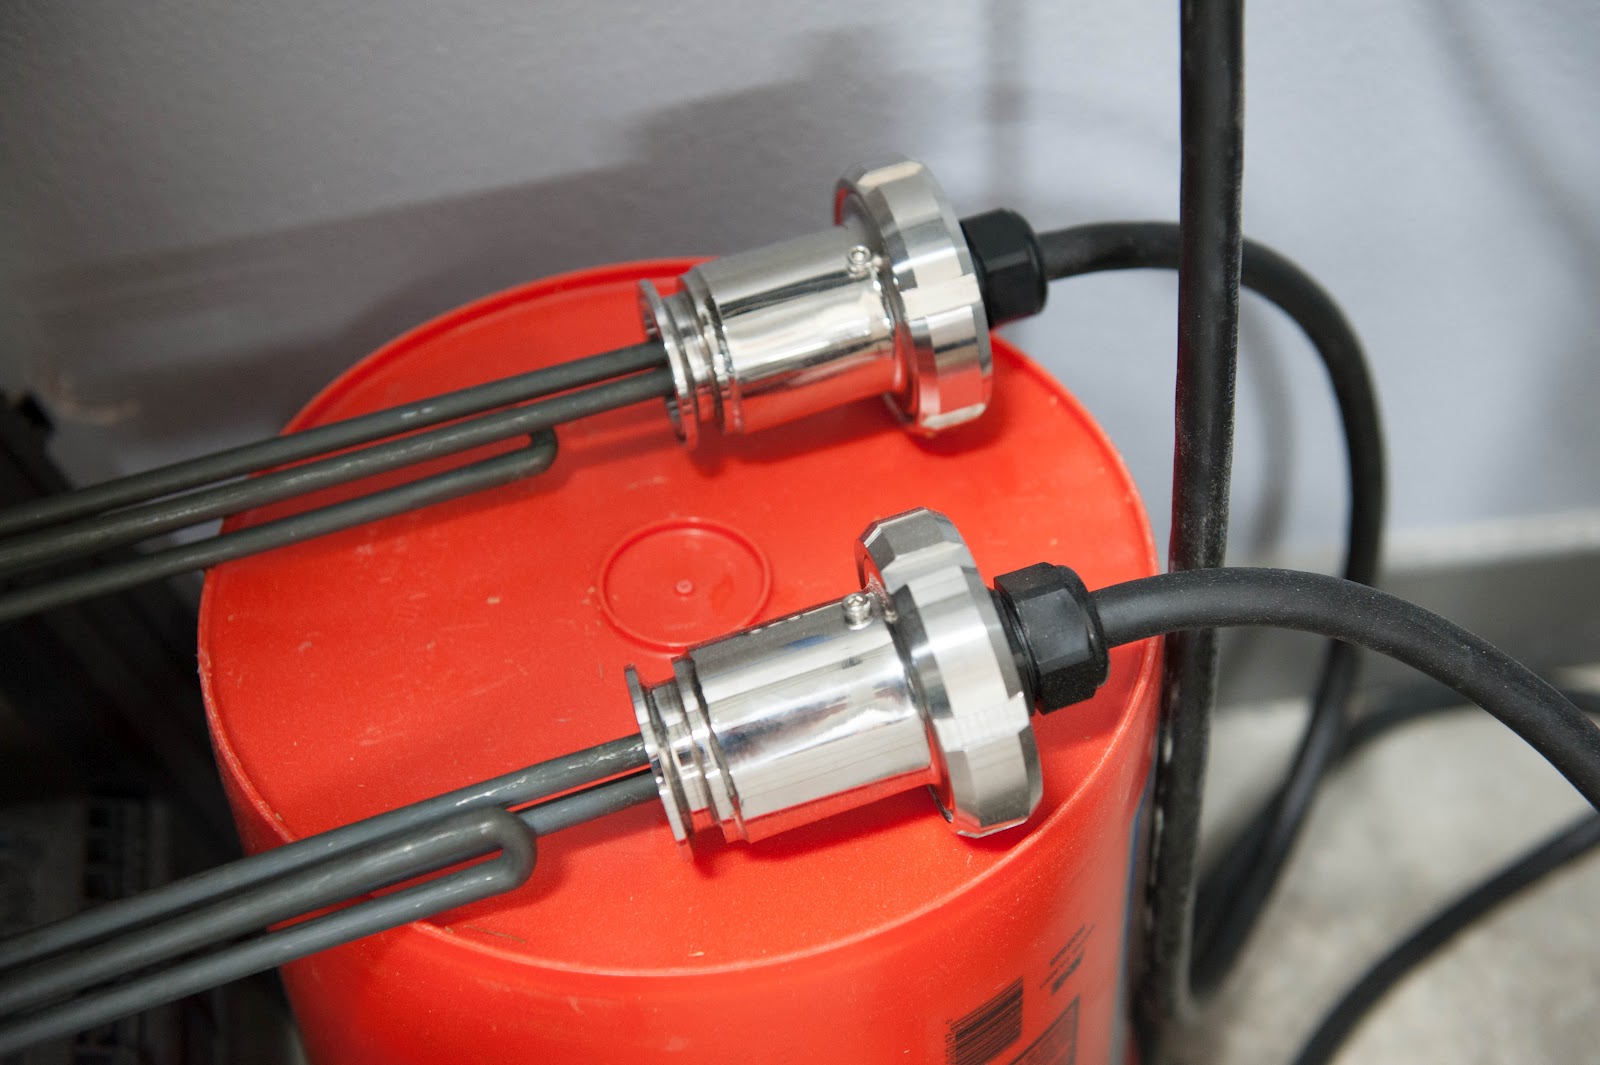
Bolts, could you describe in more detail how you built the heating element housings. Where did you get the tri clamp fittings? I am attempting to build a heatstick similar to Airbalancer's design
https://www.homebrewtalk.com/f51/ultimate-heatstick-240-volt-116049/
but what you have is perfect for what I want. Ive seen a lot of slap happy designs with JB weld and plastic PVC, but the stainless tri clamp is the most solid adaptation I have seen. Thanks. Great build BTW.
I need to see this in person and am local, pm me if I can tempt you with a sixer of your favorite from belmont station.
So you have the 1.5" and the ripple didn't fit? But the standard straight fold back did?
I'm in process of having a 2" ferrule welded to my HLT for this and want to make sure I get the right element. The 2" triclamp element fitting is in the mail.
Looks very nice. The wiring is pretty neat and tidy. The lamicoid nameplates really add a professional touch. Is a ground bonding jumper required for the door?
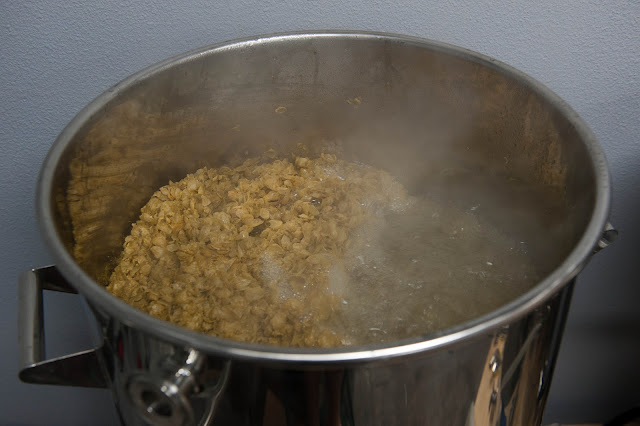
IT'S SO FLUFFY!
HAHA yes. Monsters, Inc. quote. It's a good thing.
Bolt - did you ever wire in the alarm? I don't see it in your latest wiring diagram and none of your progress photos show the alarm wired up.
Thanks by the way, I am basically planning on copying your design for my control panel.
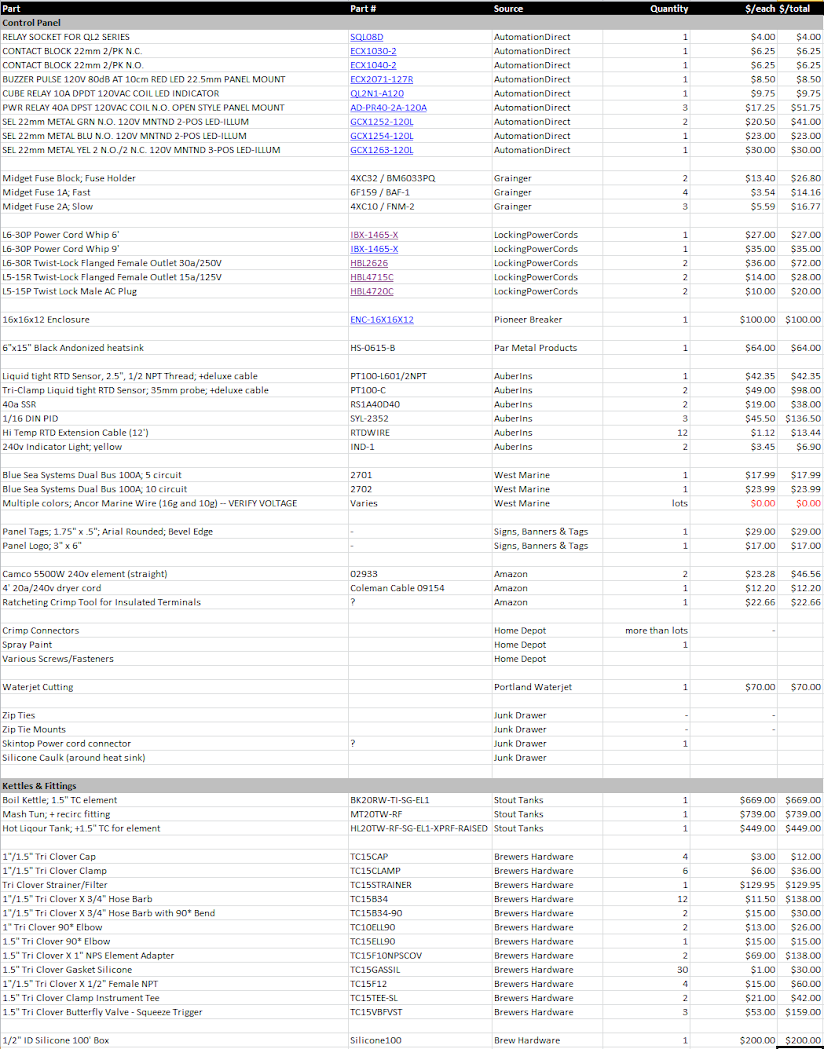
I should have a bill-of-materials and my "what I would do differently" thoughts up this weekend.
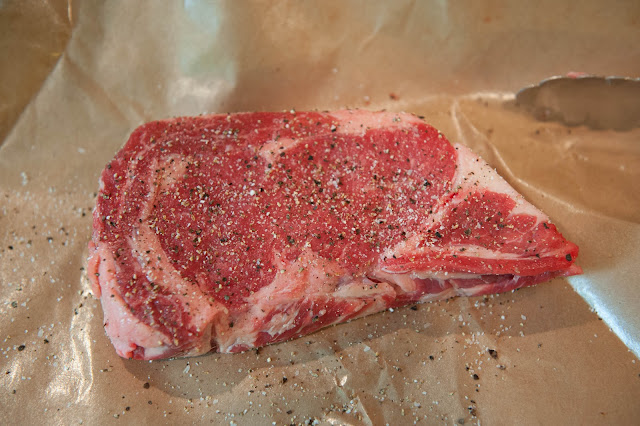
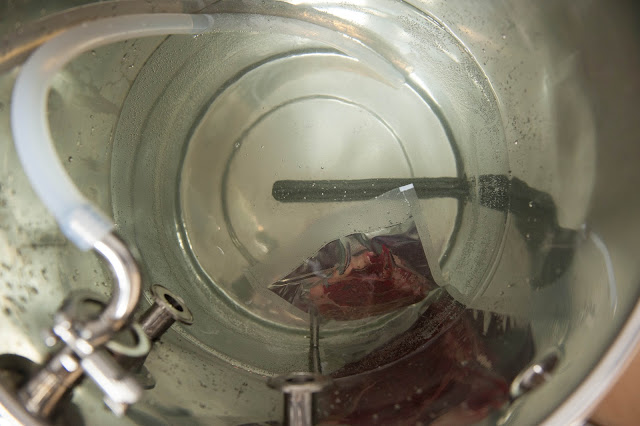
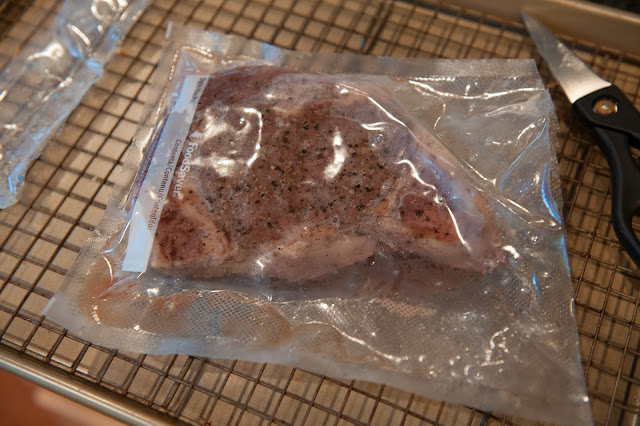
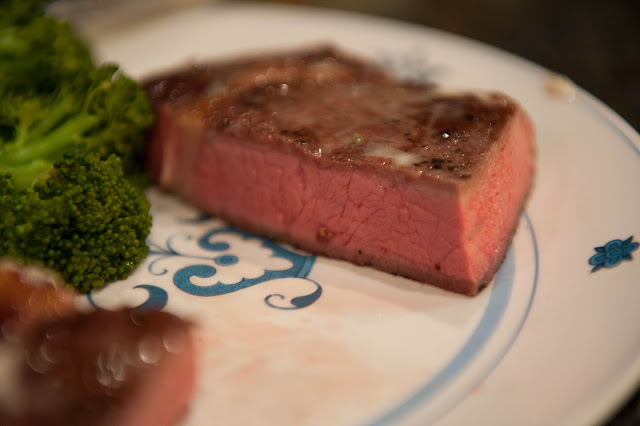
I had some temp problems while the PID was seemingly tuning itself (it overshot by ~5 degrees) -- but it seems to be on target now. For reasons I don't understand, it was firing the element even though it was clearly already above the target temp. The steak was still tasty with a quick sear afterward.


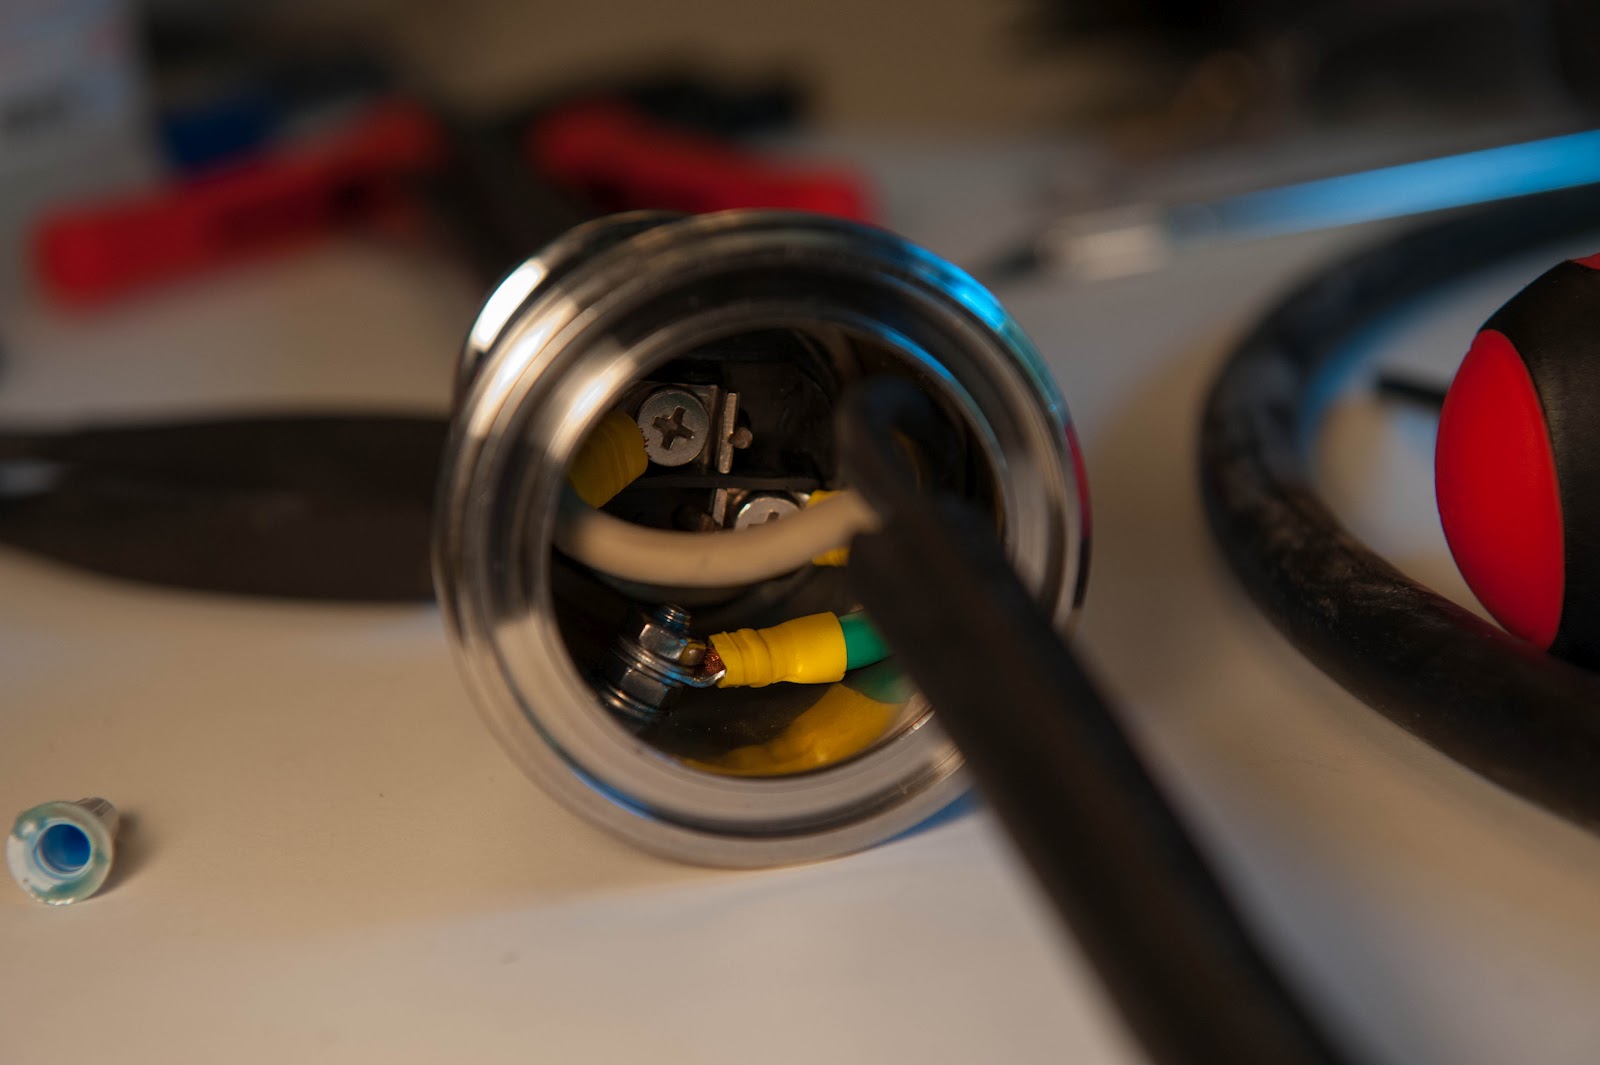
 I got my crimp terminals at home depot and matched them to the wire size and screw hole. As much as possible I used the ring version instead of spades so nothing can go flying if it gets loose. I think I used spades on all the switches/lights on the door -- everything else was rings.


