OK, I've put it through its paces, at least a bit. Here's a short video showing how it works. Amazingly enough, it pulls a slight vacuum and no steam escapes the kettle around the lid. The equipment is first-rate and easy to set up.
However.....as you watch the video, note the steam that escapes the bucket. I'm sure it's less than if I just left the kettle uncovered, but there still was a fair amount of steam. I think it may work best in a bucket on which there's a lid and a hole for the silicone hose. If not, all we're doing is changing the location where the steam originates.
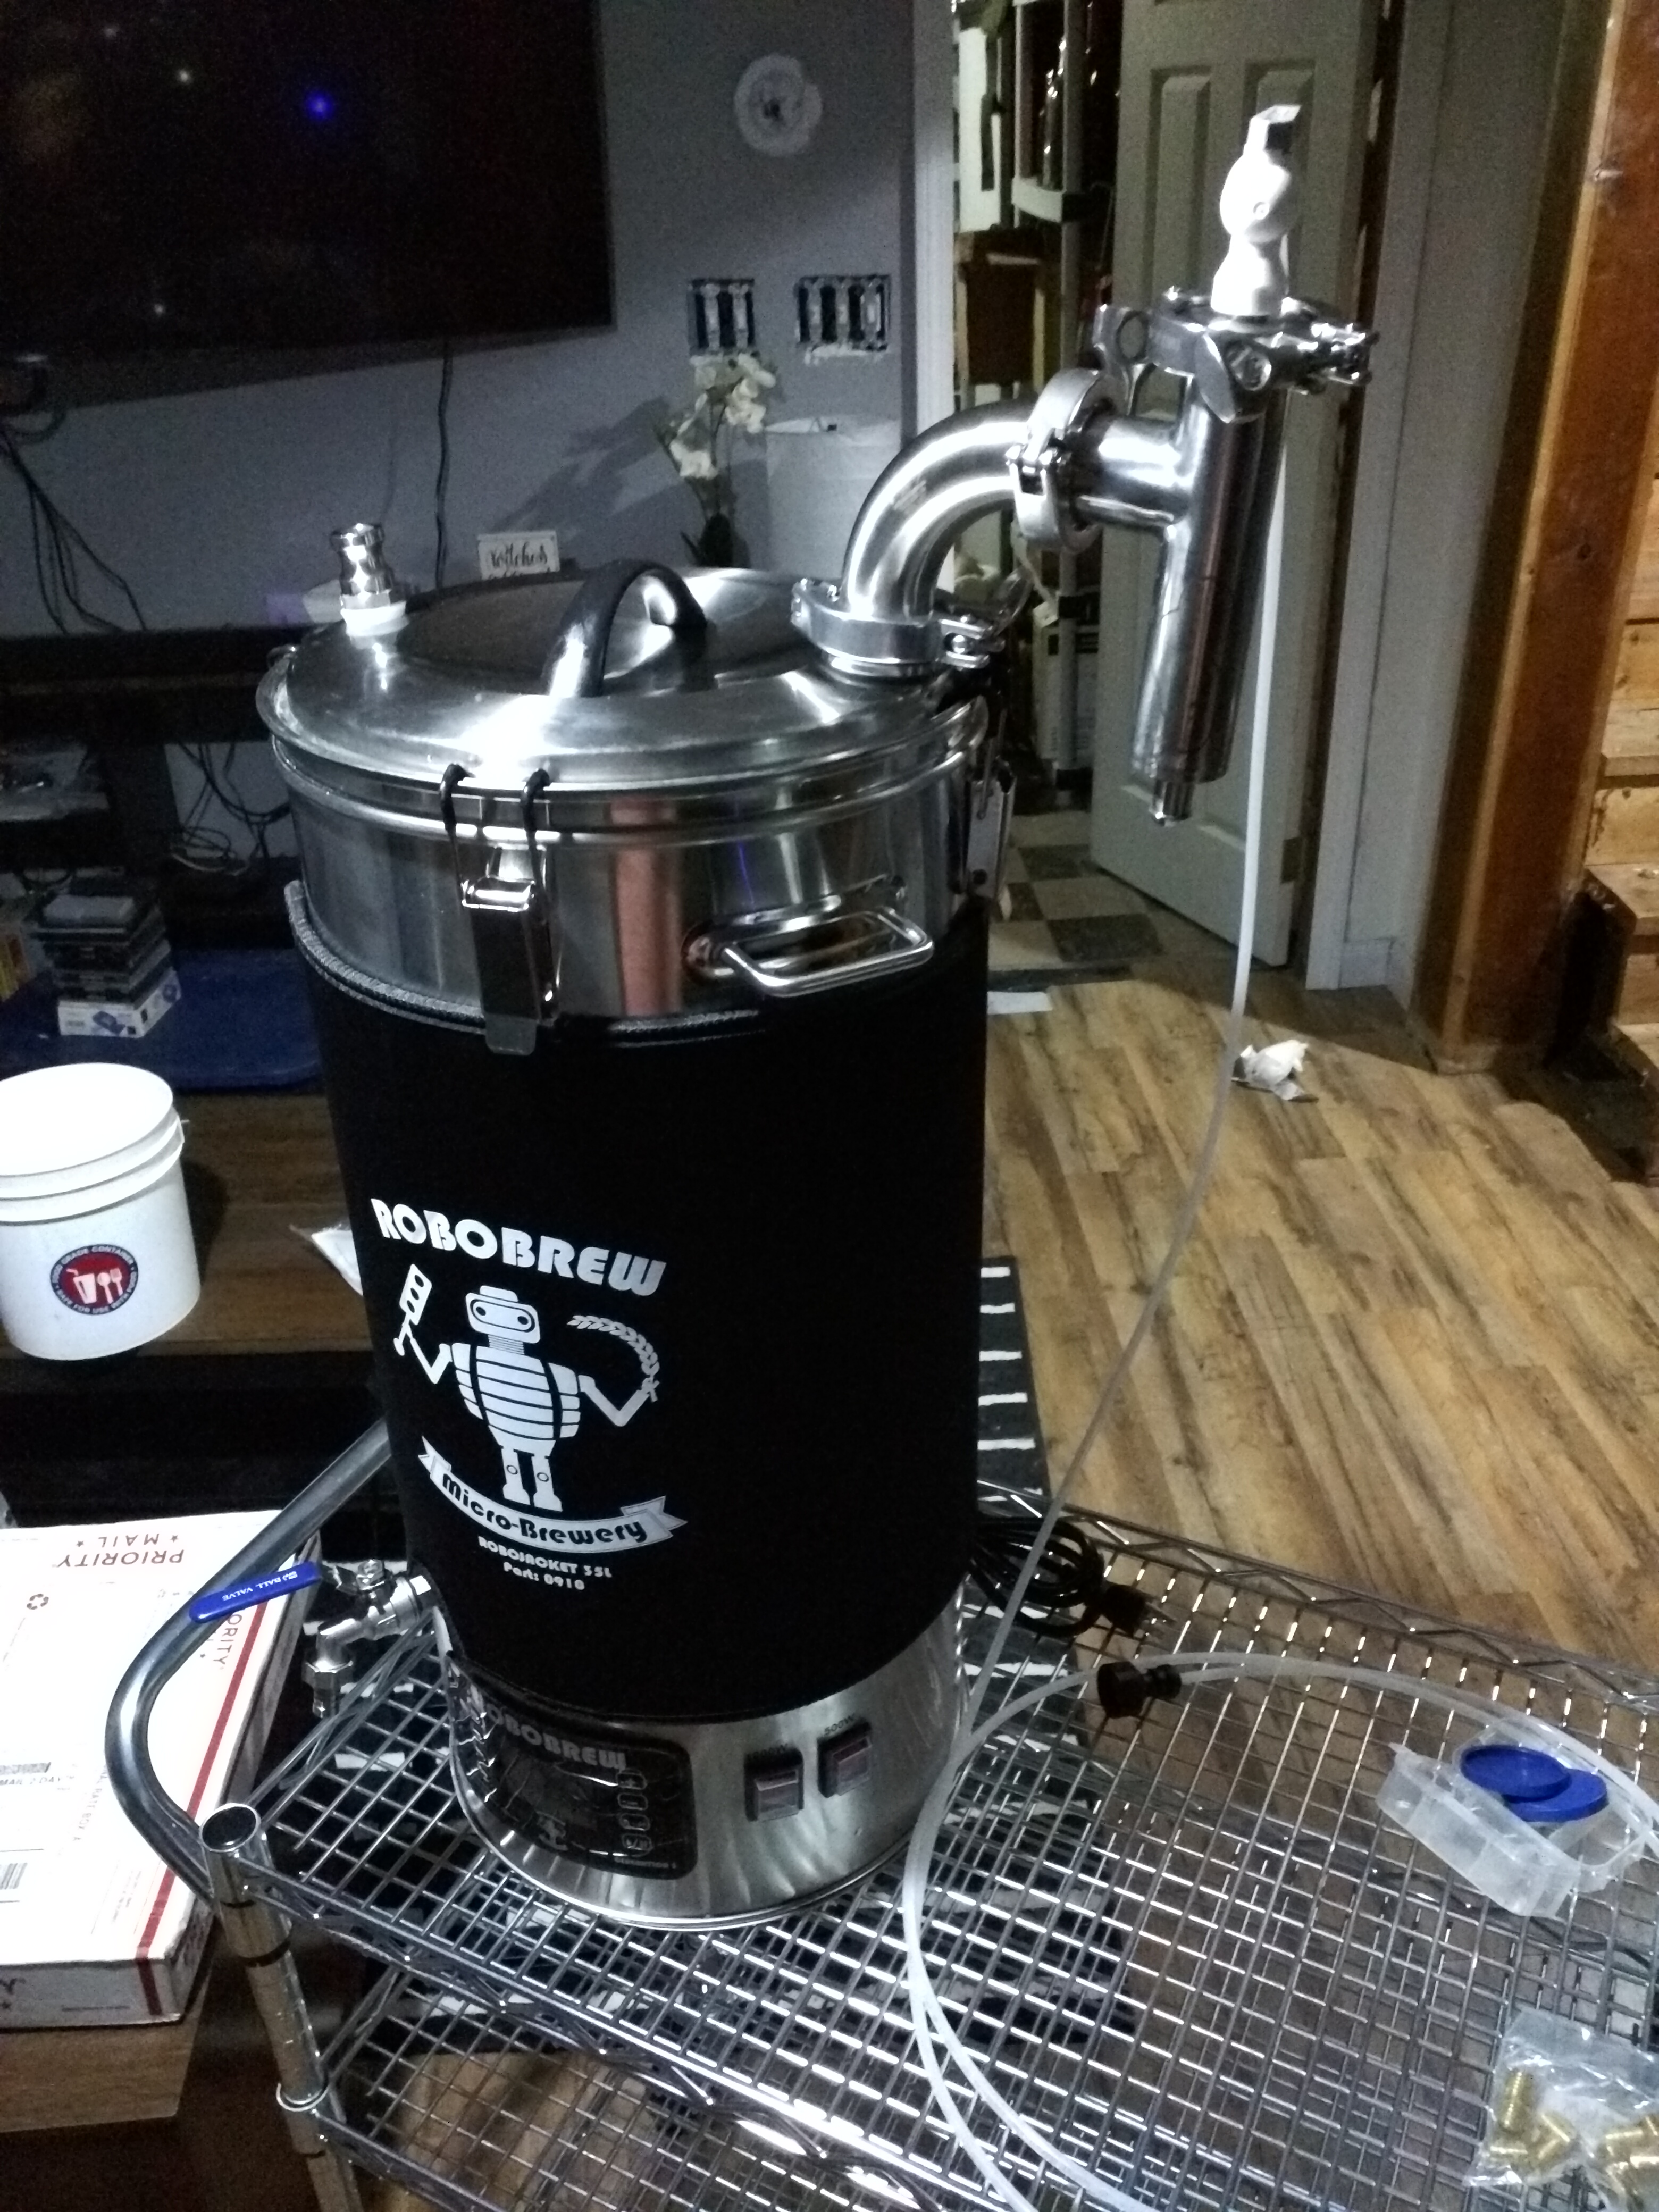
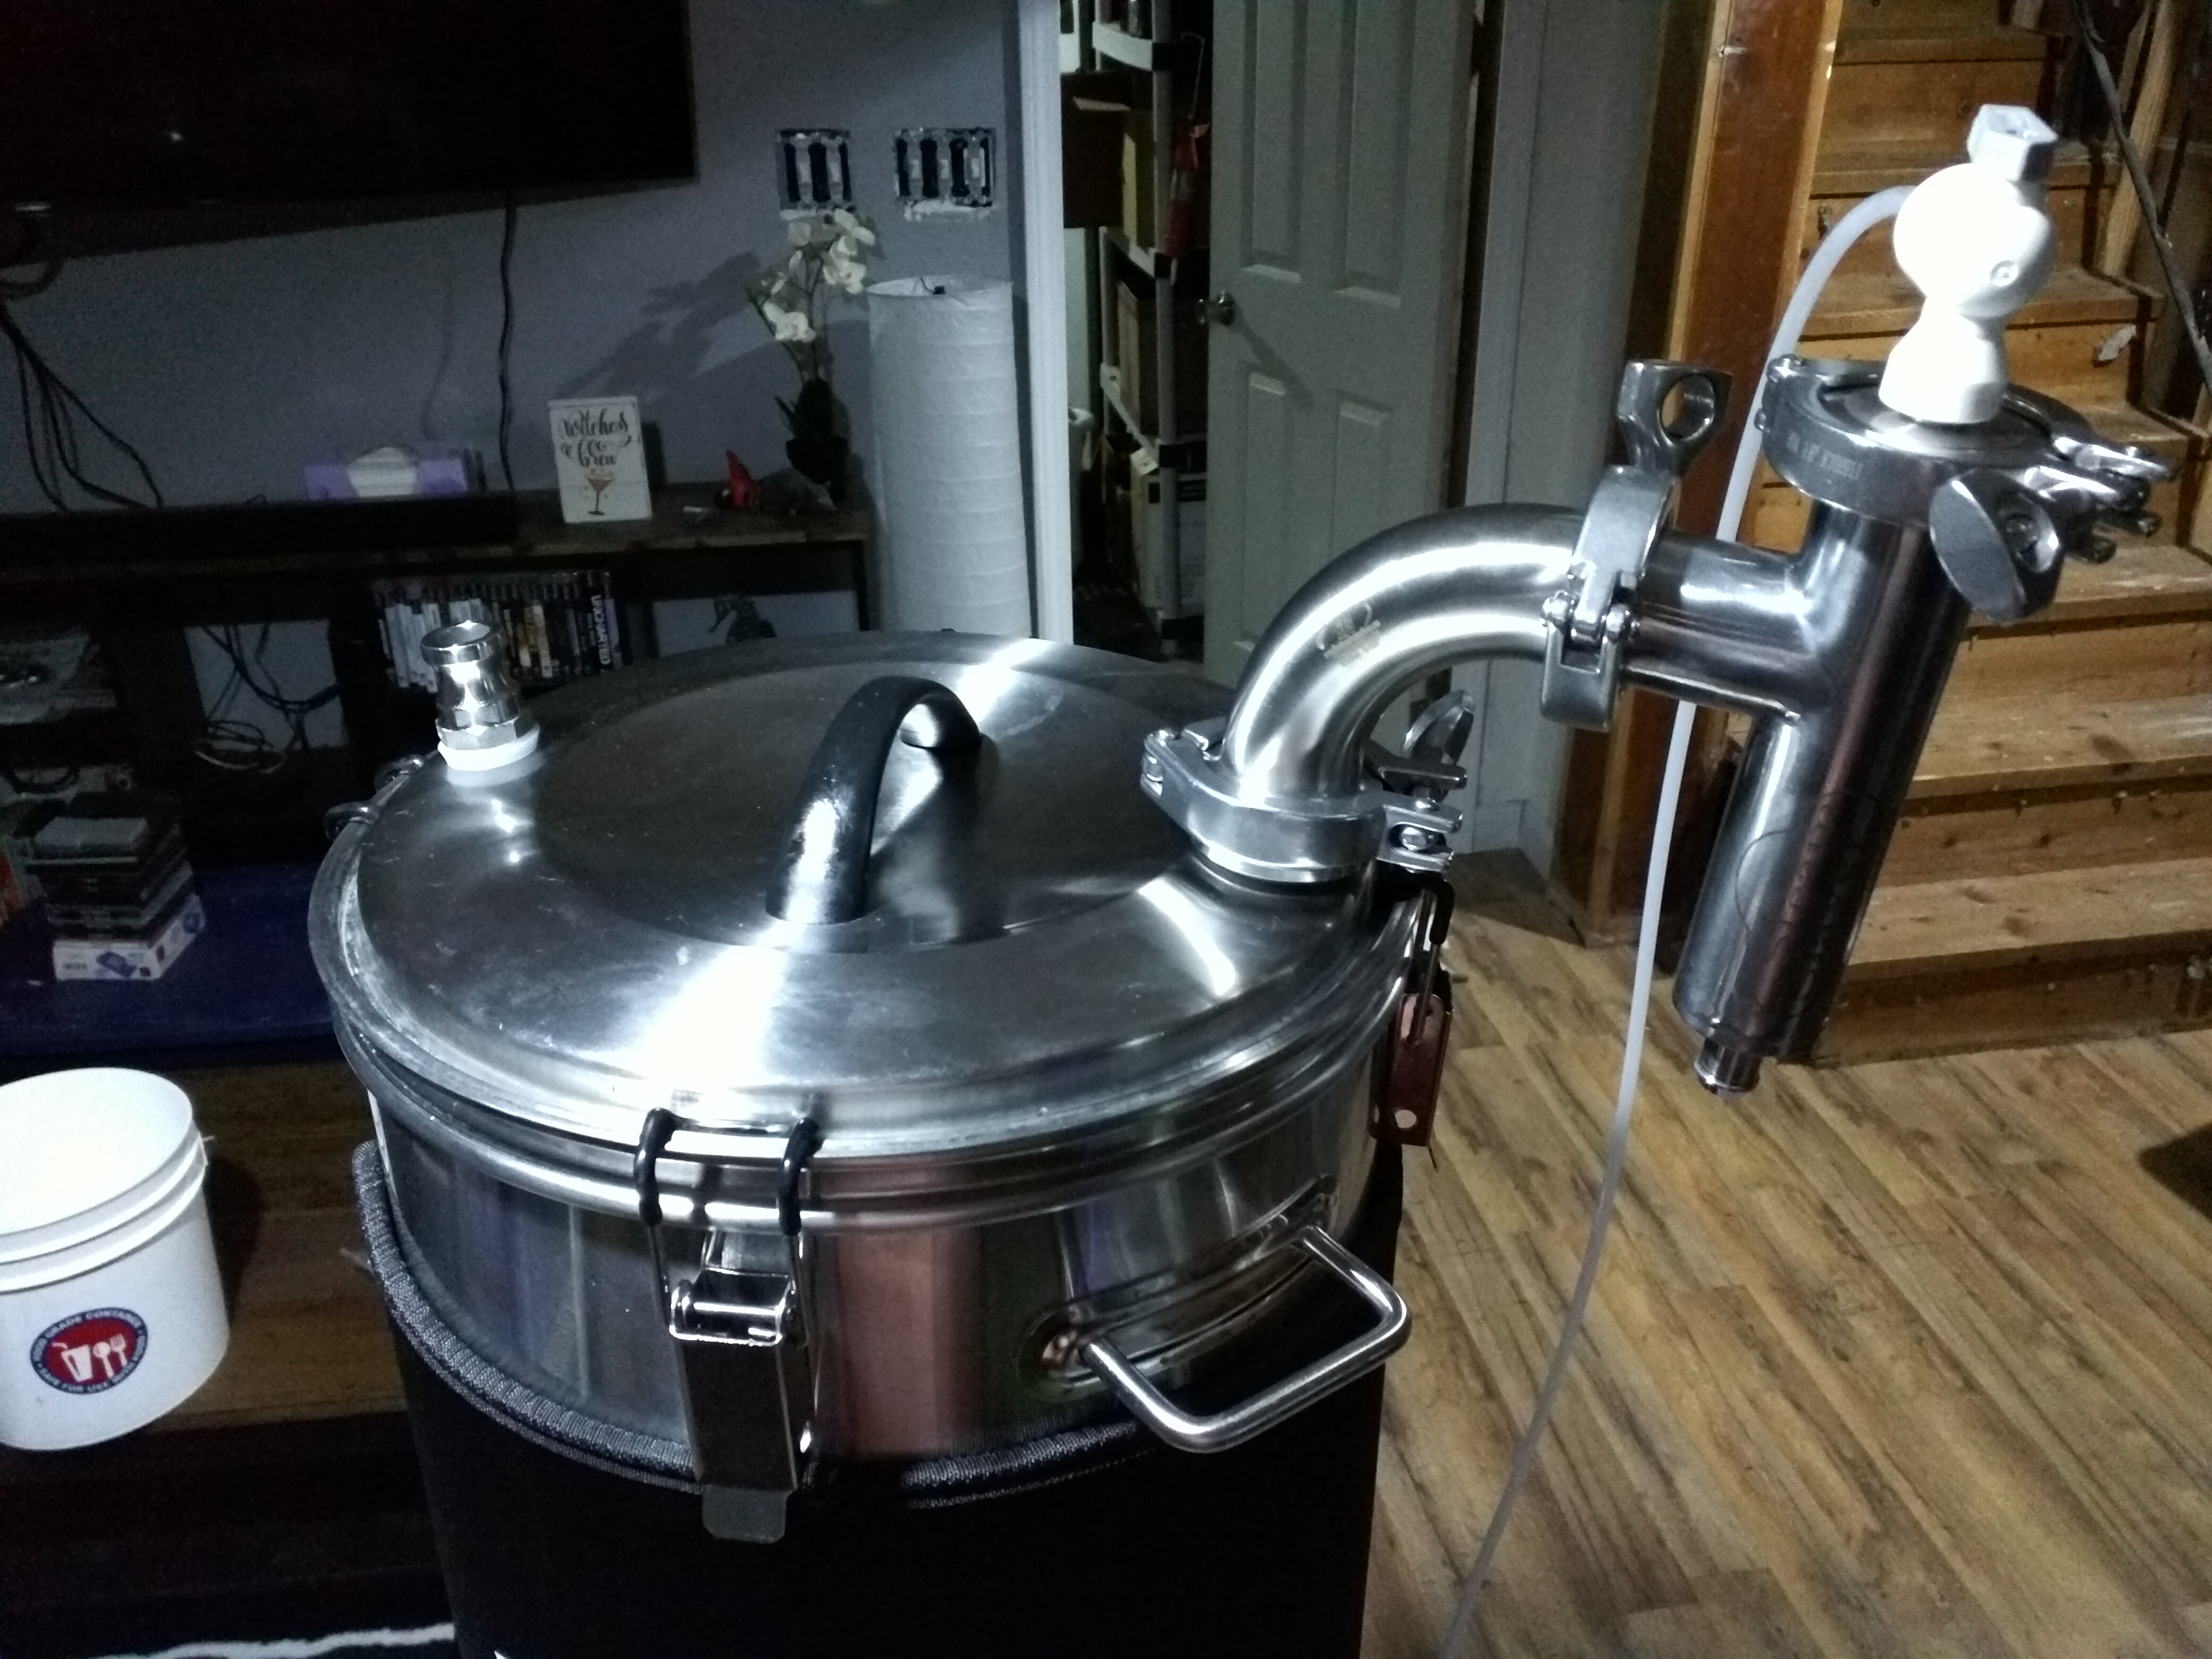
Here is a pic showing the use of two 90-degree elbows to either raise the unit or change the location relative to the kettle.
View attachment 589120
I have the 9gph nozzle on mine. I collected the waste water for 5 minutes by timer and measured the output: 1 gallon and 3/4 cup of water. Multiplied by 12 for an hour, and it's about 13 gallons. I may be able to dial that back a bit with the main valve; the small on on top of the unit is not able to adjust finely enough to do that. The water collected in the bucket was about 154 degrees.
I don't know if the 6gph nozzle will also work and of course reduce water usage. I'll have to see if I can get one, or if Bobby will offer them as a separate part.
So--it works, though some work needs to be done with the steam coming out of the bucket. I was hoping to virtually eliminate steam, and that's not happening at this point. More experimenting will be done. I might use a longer silicone hose and extend it to the P-trap under my sink, though that would just change the location of the steam coming from the unit.


![Craft A Brew - Safale S-04 Dry Yeast - Fermentis - English Ale Dry Yeast - For English and American Ales and Hard Apple Ciders - Ingredients for Home Brewing - Beer Making Supplies - [1 Pack]](https://m.media-amazon.com/images/I/41fVGNh6JfL._SL500_.jpg)


") ).
).