Boil kettle condenser - no overhead ventilation needed

Homebrew Talk - Beer, Wine, Mead, & Cider Brewing Discussion Forum

Help Support Homebrew Talk - Beer, Wine, Mead, & Cider Brewing Discussion Forum:

This site may earn a commission from merchant affiliate links, including eBay, Amazon, and others.
https://conical-fermenter.com/wc30x1/2-ss-tc-670_stainless-steel-wort-chiller.html

It's not as efficient as I'd like, but then again, it's stainless steel which is not as conductive of heat as is copper.

I'm also not as enamored of Stout Tanks as a supplier as I wish I were. They misrepresented the time to deliver on their website, when the order was placed they indicated delivery 3 weeks further out than they'd said on the website, they charged me credit card fees, they required a deposit (against which they charged credit card fees), and they wouldn't quote shipping despite that being tremendously easy. I could see why they wouldn't quote it up front--cost $54 to ship it to me. Sheesh. The end result was about a $254 chiller, which is rather pricey.

There is at least one other vendor out there selling a stainless CF chiller. Can't recall who, ran across them after I bought this one.

Yeah, same one I've got. I've found though that if I turn down the flow rate of the wort I can get it sub 90 degrees on a single pass which is fine for me. I just get it into the fermentor at ~90 degrees and let my fermentation chamber (freezer) drop it the rest of the way to pitching temp.
 
That stainless counterflow looks nice, but the price is a little much for me.

I don't know why, but I just don't trust when I can't see the surface the beer is moving through to make sure it's clean. For sure an unfounded fear and many don't have issues, it's just one of those personal quirks.

I know LODO is firmly against anything copper, but I've yet to dive into that rabbit hole. I can't find anything concrete that says don't boil it the whole time, but I agree with not wanting to. I think my ideal setup will be grabbing a stainless immersion chiller and setting it up for lid mount. Chilling times will increase compared to the copper, but not by an unreasonable amount. No way I'll have a new one this week, so my first brew I'll probably just make sure it's clean before hand and drop it in at flameout to minimize steam in the house.
 
That stainless counterflow looks nice, but the price is a little much for me.

Yeah, it is a pricey thing.

I don't know why, but I just don't trust when I can't see the surface the beer is moving through to make sure it's clean. For sure an unfounded fear and many don't have issues, it's just one of those personal quirks.

When I first started brewing I would use PBW in a solution just hot enough that I didn't want to stick my hand in it, but could. Maybe 115 to 120 degrees.

Then on a lark I tried it hotter, using 140-degree water. What a difference! What required a bit of elbow grease now was shiny bright and clean with no scrubbing.

I now go to about 160, and I'm quite sure the inside of that chiller is just as shiny bright as my kettle. I have been chilling strike water from boiling to 160 degrees using the CF chiller, and I let the boiling water run through it for a few minutes before turning on the hose water to chill. This sanitizes anything that might possibly be left from cleaning.

I know LODO is firmly against anything copper, but I've yet to dive into that rabbit hole. I can't find anything concrete that says don't boil it the whole time, but I agree with not wanting to.

Well, you can. The biggest question is whether it'll create a shorter shelf life for the beer.

I was using Brewtan-B in the boil when I was using the Jaded Hydra. It was, IIRC, a gram of BtB into the boil 1 minute before putting the chiller in. I don't know if this implies 4 grams at 60 minutes or what. I made some pretty good beer even though I was using the Hydra plus BtB.

I think my ideal setup will be grabbing a stainless immersion chiller and setting it up for lid mount. Chilling times will increase compared to the copper, but not by an unreasonable amount. No way I'll have a new one this week, so my first brew I'll probably just make sure it's clean before hand and drop it in at flameout to minimize steam in the house.

The stainless chiller will be significantly slower than copper. If you aren't actively swishing it around or stirring the wort, it'll be slower yet.

As far as steam: If the chiller is fast enough, you'll be down to temps that will produce little steam in just a couple minutes. It may not be important to use the steam catcher at that point, so it may be moot.
 
I will be whirlpooling during the chill, so that will help some. I'm all too familiar with the thermal differences between copper and stainless, i'm a mechanical engineer by trade and thermal analysis is one of my main tasks. Yes it will be slower, stainless is not a good heat conductor. But it should still be doable in a reasonable time.

Anyway, sorry for the brief derail from the main topic of the condenser. I was mostly curious if anyone had done what I was proposing with the lid mounted chiller, or had any suggestions outside a standard coutnerflow/plate chiller.

Then I need to be consulting you on how to better insulate my conical. I have a penquin chiller and I just can't get that conical down below about 37 degrees. I've tried to insulate it by wrapping a moving blanket around it, covering the top with a big fluffy towel, but it doesn't appear to be enough. There are 11 appendages sticking out of the conical (legs, handles, ports, etc.) and all are sucking in heat from ambient.

Heck, at one point I even tried to do a sort of mini closet cooled by an air conditioner to try to drop the ambient temp around the fermenter but while that had a little positive effect, it wasn't enough.

I may just try wrapping the legs with pipe insulation, add some reflectix around the middle, put some insulation on the dome, and see if it helps.

Any ideas?
 
The last piece I need to solve is chilling. Currently I use an immersion chiller. the issue with this is that my current process is to drop it in for the last 10 minutes of the boil. But since the lid can't be on this will be a problem for the condenser.

I think I have a solution for this, but I'm curious what others suggest. What i'm planning on doing is adding two more 1/2" NPT fittings to my lid and modifying my immersion chiller to have two cam locks, or ball locks, or some other quick disconnect on the ends. Before the boil I can attach the chiller to the lid and just leave it in for the full boil. The only thing I'm trying to research is if it's ok to boil a copper chiller the whole length of the boil or should I just invest in a stainless one for this?

I could make the switch to a counterflow or plate chiller, but I like being able to see the surfaces that touch the beer to make sure they're clean. Feel free to convince me one of these is the better option.
Dunno about safety but I routinely boil my copper imersion chiller for the entire boil.
 
Didn't commercial brewers use copper vessels for centuries, before the advent of stainless steel? I don't doubt the negative effects on long term shelf life, but ....
 
True. In Pompeii, they used lead pipes to bring running water into the houses. In the 1800’s, they used asbestos as insulation in buildings. A few years ago, we drank water out of plastic bottles that contained BPA.

Bottom line is without science or sufficient evidence, you don’t know unless the problem is obvious enough, it which point it’s typically too late.

Let’s not debate it here - I just point out that everyone should research and make the personal decision.
 
How has its efficiency been for you? I'm a bit disappointed in mine, don't know if my expectations were too high.
Are you really talking about chiller efficiency, or time to cool? Efficiency is measured by the volume of water (at a given inlet temp) that it takes to produce a given temperature drop in a given volume of wort. A suitable metric for comparison (but not actual efficiency) would be:

Wort_Volume * Delta_Wort_Temp / Cooling_Water_Volume
I believe maximum efficiency for a counterflow chiller would be achieved when flows are adjusted such that the wort outlet temperature is essentially equal to the cooling water inlet temp. This maximum efficiency setting is unlikely to produce the minimum time to cool, however.

Brew on :mug:

I tried running the water full blast, which should provide maximum cooling, and dialing down the flow of the wort as low as I could get it. I have a Riptide so the valve allows me to get it down to under a gallon a minute. That would have seemed slow enough, and I had it almost down to nothing. Didn't work so well.

Just a matter of figuring it all out.
So, how long did it take to cool your wort?

Brew on :mug:
 
I have 4 CFCs, copper chillzilla, stainless version, stainless shell and tube and just got the stout one. The shell and tube was ok, not near the efficiency of the spiral cfcs. There was a difference between the copper one and stainless one, but I recriculate, so was not a big deal. I recall it was just a few more minutes. Have not tested the stout.

I have idiopathic neuropathy in a toes and feet, been through every test know to man. No idea, so I started to eliminate things in life, so I cut all copper out of my Brewery, has it helped, unsure I changed so many things in my diet, but why risk it.
 
I tried running the water full blast, which should provide maximum cooling, and dialing down the flow of the wort as low as I could get it. I have a Riptide so the valve allows me to get it down to under a gallon a minute. That would have seemed slow enough, and I had it almost down to nothing. Didn't work so well.

Just a matter of figuring it all out.
Are you trying to cool the whole kettle, or knocking down to a target wort leaving temp? I get down to under 90 with a 5 minute whirlpool through the chiller at full speed, then dropping the flow pretty low and rack right to the fermentor at 85-89 degrees.
 
Are you trying to cool the whole kettle, or knocking down to a target wort leaving temp? I get down to under 90 with a 5 minute whirlpool through the chiller at full speed, then dropping the flow pretty low and rack right to the fermentor at 85-89 degrees.

What I wanted was to get a target exit wort temp (72 or so would be nice), and then push that right into the fermenter.

I was left with just letting it recirculate in the BK until it finally dropped down to the low 70s.
 
What I wanted was to get a target exit wort temp (72 or so would be nice), and then push that right into the fermenter.

I was left with just letting it recirculate in the BK until it finally dropped down to the low 70s.
Yeah, counter flow chillers are slower in that regard than immersion. I highly recommend getting it as low as you can after whirlpool and a single pass then letting your fermentation chamber do the rest of the hard work instead of sending so much water down the drain.
 
Yeah, counter flow chillers are slower in that regard than immersion. I highly recommend getting it as low as you can after whirlpool and a single pass then letting your fermentation chamber do the rest of the hard work instead of sending so much water down the drain.

Yeah, I may have to just accept it. That's one price of LODO brewing I suspect a lot of people would not be willing to pay. The biggest reason I did this, though, is the steamcatcher. Didn't want to use the immersion chiller given the setup I have.
 
IMG_20180910_150853255.jpg
IMG_20180910_150900126.jpg
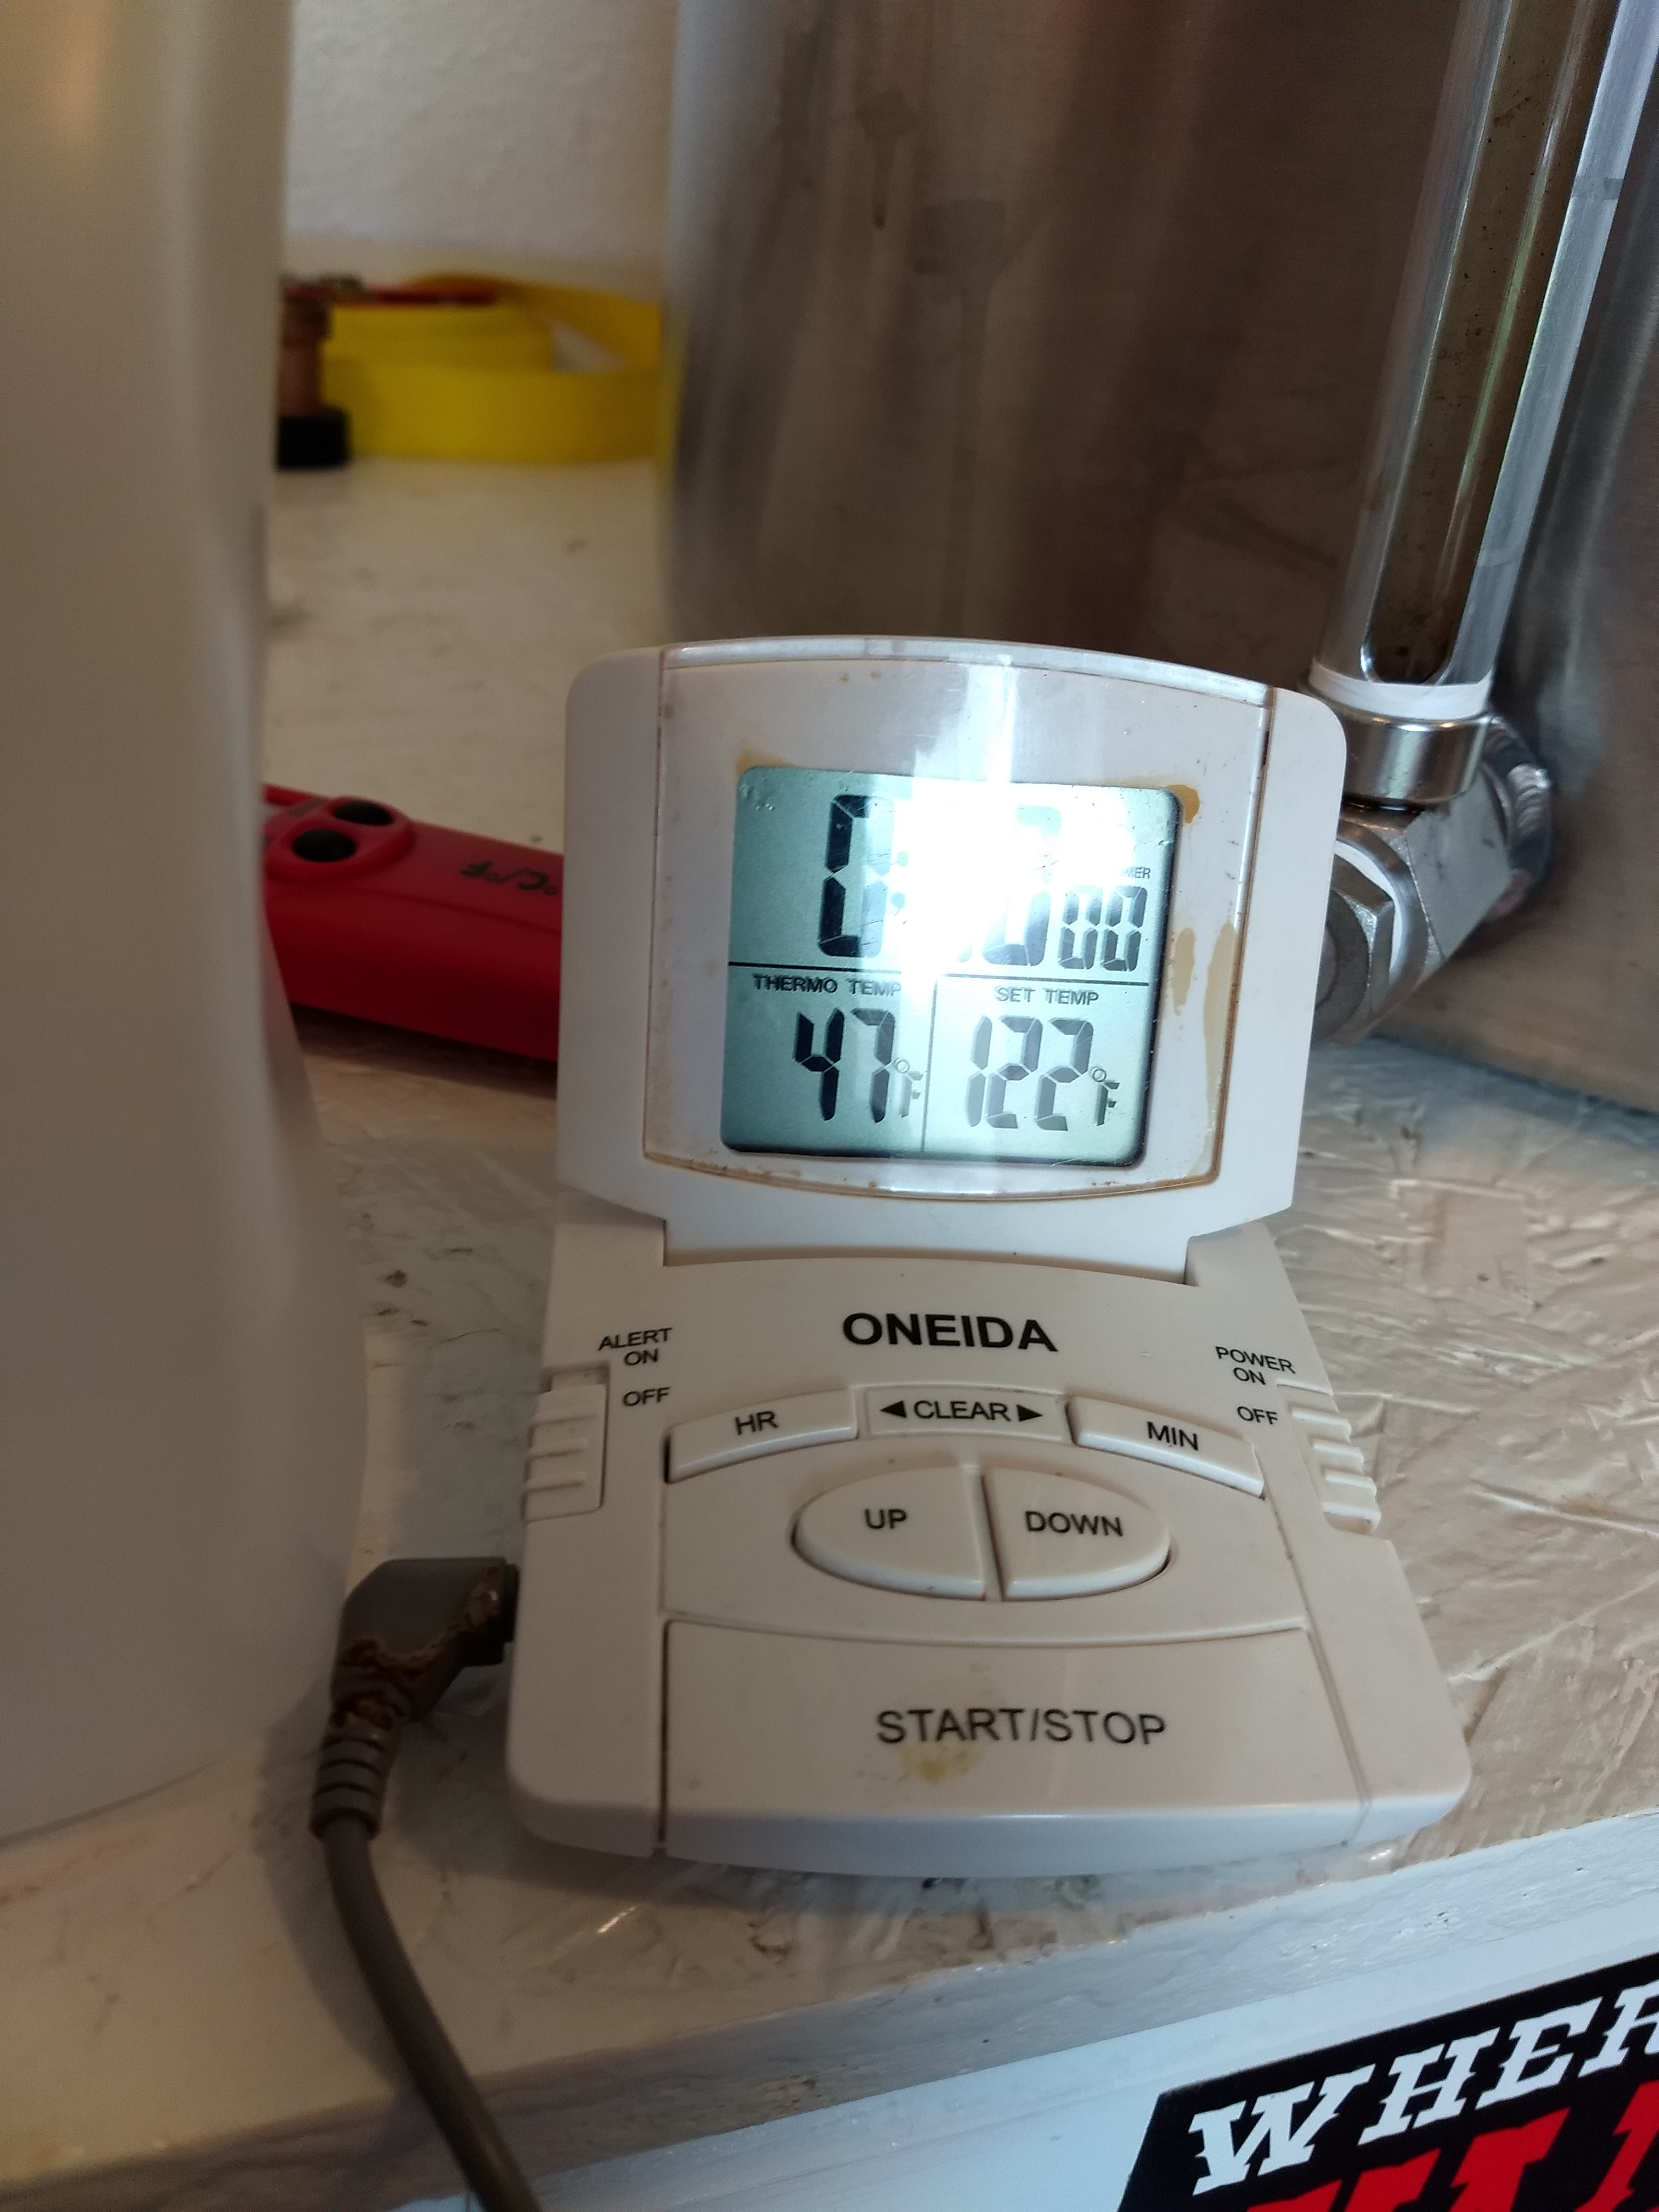
I can chill 15 gal of wort to the fermenters down to 47F in about 20 minutes. I use a copper counter flow for the first stage and a plate chiller for the second stage submerged in a cooler of ice with a pond pump circulating the ice water through the plate chiller. I've read about no oxigen brewing but haven't tried it yet. I've brewed beers without it which lasted for months and some a few years with no signs of degrading. They might have lasted longer but no chance around my house.
 
View attachment 588848 View attachment 588849 I can chill 15 gal of wort to the fermenters down to 47F in about 20 minutes. I use a copper counter flow for the first stage and a plate chiller for the second stage submerged in a cooler of ice with a pond pump circulating the ice water through the plate chiller. I've read about no oxigen brewing but haven't tried it yet. I've brewed beers without it which lasted for months and some a few years with no signs of degrading. They might have lasted longer but no chance around my house.

None of my comments, I hope, are to be interpreted that LODO is what everybody should do. Rather, I'm trying to implement it to see if it makes a discernable difference. In some cases, it does. In other cases...

I brew a dark lager that's really nice. Brewed the last one using LODO techniques. A buddy, using the same recipe, same water adjustments, but doing a mash/sparge thing with NO particular LODO techniques, produced a beer that as far as I could tell, was the same as mine. Would it last as long? Like yours, they don't seem to linger in the keezer..... :)

But I've had others where LODO was stunningly better than what I'd typically get--and what I had without LODO was pretty darned good. I don't know all the variables involved here yet, and when I finally get my system dialed in, I'll do two "identical" batches, one with, one without LODO, and see what kind of difference I can discern.

It's still a work in progress. Should everyone do it? No. They can make their own choices, and if they're happy, why fix what's not broken? At some point here I'll draw a conclusion and post a thread about it, but I'm a ways away from doing that.

I've heard some German breweries have moved to LODO, not sure how true it is. I'll probably give it a try at some point.
 
Again, apologies for the derail. I was just curious what other users of the condenser were doing for chilling if they had previously used an immersion chiller. Never meant to go so far off topic.

My condenser is out for delivery today. Going to try to do all the silver soldering on the new kettle tonight. Needed the condenser to do the layout on the lid. Tomorrow I should be running a water test of the system to learn my new power numbers and boil off, as well as test the pump with the sprayer. Super excited to try this out.
 
I would like to know if anyone out there has large kettles like 20 to 30 gal and is using this condenser. Is it working well for you, what diameter is it? Everything I've seen so far is 1.5 ".
 
I would like to know if anyone out there has large kettles like 20 to 30 gal and is using this condenser. Is it working well for you, what diameter is it? Everything I've seen so far is 1.5 ".
I have a 20 gallon kettle and use a 1.5" triclamp condenser system. Works great.
Ditto on another 20G kettle with 1.5" side-mount TC, works fantastic. A little more info is in post #689
 
My Steam Slayer kit from Bobby arrived today. Unpacked it, looks like a great deal, and I didn't have to source all the parts myself. I especially like the valve which I hope will let me dial in a water flow. That's why I chose the 9GPH nozzle instead of the 6GPH, in the hopes I could dial down the flow to something less than 9 if it'll work.

Might just have to test it tonite and see how it all goes.
 
Kit looks great. Much cleaner than what I was going to piece together.

Bobby, whoever did the welds on the sprayer cap, the stainless tube to the TC cap, either they are amazing or it was done by a machine. either way, very cool.

Kit with a few extra bits I got at the same time like the 90 degree TC and camlock.

20180920_164723.jpg
 
I feel compelled to say this again... dialing down the pressure may not be a good idea. First, the flow is so little it will be difficult to dial the flow with a full port valve - a needle valve would be needed. More importantly, reducing pressure may reduce the atomization of the nozzle. This will create much less “surface area” of water droplets to absorb steam and make the heat transfer less efficient.

Please test it and report back, but I suspect the valve can be used for on/off function and not tuning.


I'm with you completely on this. The valve does not really allow for fine tuning at all. There's maybe 4 degrees of turning where it seems to go from full to nothing, the rest has no real change.

Did preliminary pump testing.
This is the pump I have, $20 high pressure pump meant for RVs and the like. Flow rate is more than sufficient.
https://www.amazon.com/gp/product/B072XLZX72/?tag=skimlinks_replacement-20

I did confirm my fear with it however. It has a built in pressure switch, so that in an RV you can turn the sink off and the pump will turn off with the system pressurized. Hooking it up to the sprayer it goes into a loop of turning on for a fraction of a second, then turning off for a couple while the pressure bleeds out, then kicking on for a fraction of a second, etc. I did attach a tee and then a quarter turn valve to see if I could bleed some water back around to the pickup bucket and allow the pump to stay on constantly. It seems to work but I need to test further to see if it's providing enough flow through the nozzle. I got the 6 Gph sprayer and I agree I don't think there's enough margin in heat removal if I've reduced the flow.

Tomorrow I want to get a cheap pressure gauge to attach near the sprayer and see what the pump is building compared to my sink. I think the 6Gph is rated at 40psi. The spray with the pump did seem compatible to attached to the sink, but it's all anecdotal as I'm just comparing by sight and feel. Once I have the pressure gauge I'll setup a test and time how long it takes to fill 2L into a flask with each setup.

Worst comes to worst I'm just stuck running a long tube from my sink to the brew setup and I live with it. Or best case I prove that a pump setup can work for those not near a water hookup (don't think that will be many, but who knows).
 
Last edited by a moderator:
I feel compelled to say this again... dialing down the pressure may not be a good idea. First, the flow is so little it will be difficult to dial the flow with a full port valve - a needle valve would be needed. More importantly, reducing pressure may reduce the atomization of the nozzle. This will create much less “surface area” of water droplets to absorb steam and make the heat transfer less efficient.

Please test it and report back, but I suspect the valve can be used for on/off function and not tuning.

I tried it out tonite, and you're right, the small valve wasn't effective in slowing the flow. I had a little success using the main valve that fed the water to the steam slayer.
 
OK, I've put it through its paces, at least a bit. Here's a short video showing how it works. Amazingly enough, it pulls a slight vacuum and no steam escapes the kettle around the lid. The equipment is first-rate and easy to set up.

However.....as you watch the video, note the steam that escapes the bucket. I'm sure it's less than if I just left the kettle uncovered, but there still was a fair amount of steam. I think it may work best in a bucket on which there's a lid and a hole for the silicone hose. If not, all we're doing is changing the location where the steam originates.


Here is a pic showing the use of two 90-degree elbows to either raise the unit or change the location relative to the kettle.

steamslayertwo90s.jpg

I have the 9gph nozzle on mine. I collected the waste water for 5 minutes by timer and measured the output: 1 gallon and 3/4 cup of water. Multiplied by 12 for an hour, and it's about 13 gallons. I may be able to dial that back a bit with the main valve; the small on on top of the unit is not able to adjust finely enough to do that. The water collected in the bucket was about 154 degrees.

I don't know if the 6gph nozzle will also work and of course reduce water usage. I'll have to see if I can get one, or if Bobby will offer them as a separate part.

So--it works, though some work needs to be done with the steam coming out of the bucket. I was hoping to virtually eliminate steam, and that's not happening at this point. More experimenting will be done. I might use a longer silicone hose and extend it to the P-trap under my sink, though that would just change the location of the steam coming from the unit.
 
Last edited:
...I did confirm my fear with it however. It has a built in pressure switch, so that in an RV you can turn the sink off and the pump will turn off with the system pressurized. Hooking it up to the sprayer it goes into a loop of turning on for a fraction of a second, then turning off for a couple while the pressure bleeds out, then kicking on for a fraction of a second, etc. I did attach a tee and then a quarter turn valve to see if I could bleed some water back around to the pickup bucket and allow the pump to stay on constantly. It seems to work but I need to test further to see if it's providing enough flow through the nozzle. I got the 6 Gph sprayer and I agree I don't think there's enough margin in heat removal if I've reduced the flow...

What you need is a pressure vessel of some sort... like a RO system pressure bladder so that the pump cycles get absorbed/buffered. A long length of flexible type tube might work... but the tube would have to provide the compliance since water is non-compressible.

Maybe something like this could work, but would probably need larger: http://a.co/d/gi6HWbi. Something like this definitely would: http://a.co/d/aSlDez4

Or, if I am you... I would crank the pressure switch up to the pump's limit. The pump will have a harder time providing high volume at pressure and might run continuously. It will also atomize better and add more water to condense better. Give that a try first - worse comes to it you burn out the pump a bit prematurely... but for $20 it wont crush the wallet.
 
@mongoose33, I can't speak for Bobby's design, but some steam will come out of the drain tube. It should be a very small fraction of what would come out of the boil. Remember that your boil power will be turned down from your typical power requirement. I used to boil at 55-60% and I now boil at 28%.
 
what criteria are you using to choose boil power? boil off rate? not boiling over?
 
Back
Top