• Please visit and share your knowledge at our sister communities:
  • If you have not, please join our official Homebrewing Facebook Group!

    Homebrewing Facebook Group

Boil kettle condenser - no overhead ventilation needed

Homebrew Talk

Help Support Homebrew Talk:

This site may earn a commission from merchant affiliate links, including eBay, Amazon, and others.
Two comments:
1. There may be a big difference between 6 and 9 gosh sprayers. When I did the math, the calculations yielded a need for approx 7 gph. But that assumed that the boil-off rate would remain the same. It is not because the contained heat requires the power to be brought down and reduces the boil-off rate. So 6 is probably the right number for a typical 15-20 gal boil kettle powered by a 5500W element.

2. The RIMs tube shown is from a typical kit that some vendors like Brewers Hardware sell.
When I was poking around last night, I'd only found either a tee with equal lengths like you guys have or a rims tube like brewers hardware or brewhardware has, but those only had 1/2 inlets (bumped at the connection end to 1.5 TC). I was curious about his as it had all 1.5 inch with an offset tee.

Turns out though the body on that one is only about 8", making it not well suited to use as dual duty since the ULWD TC flange elements are 9 inches. Better to just use the normal tee with a spool to get the extra body length, or maybe another tee for a "side in/side out" configuration with an RTD probe in the top cap.

Or use the same NPT temp probe set up I mentioned before but move it to the side. Basically my approach is to try to create RIMS and condense out of the same basic parts. As it sits, I've got it in my head to where just the top and bottom caps(bottom containing element) need to be swapped, along with removing the side to attach to kettle when ready to boil.
 
so... i dont need to do double duty as a rims or anything... My lhbs shop had just that half of a rims setup available. Is there any benefit to one shorter length between ports? I was thinking about shortening up the nipple going to the sprayer nozzle to just above the side inlet, maximizing the spray contacting steam, and the distance the resulting water would travel, hoping that cause more vaccuum effect?
 
Keep in mind the sprayer sprays in a cone pattern. At some point water cone will contact the tube walls, and at that point really becomes ineffective. You need mist in the air which combines with the steam. This was one of the main reasons I went with a 2” TC. So a longer section post nozzle won’t really yield any benefit unless the sprayer could mist in a more vertical pattern. Maybe a different sprayer would be better such as a fogging mister, but it needs to put the required volume of water into the “conversion chamber”.
 
I built the condenser and attached it to an 1-1/2" TC port in the lid of my system. During my test run with the lid not sealed tight, I was quite surprised to see that even with a vigorous boil (5500w element @55% power) there was no steam escaping out of the gap in the lid. I wanted to see if I could still hang my hop basket, set the lid on top, and boil away. From the trial run, it appears that I can. I'm running the 6gph@40 psi nozzle and my house pressure is 75psi. Looking forward to brewing a beer soon with this and will be sure to post back with results.

Cheers,
Joe

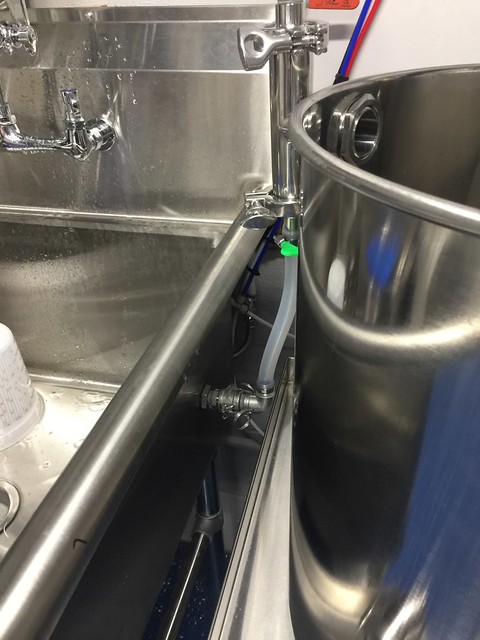
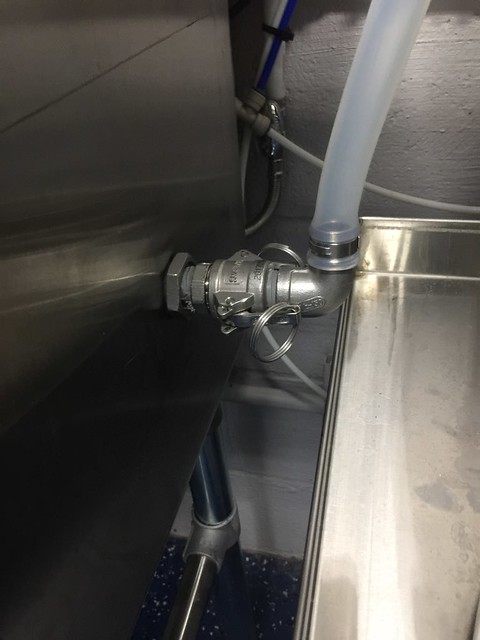
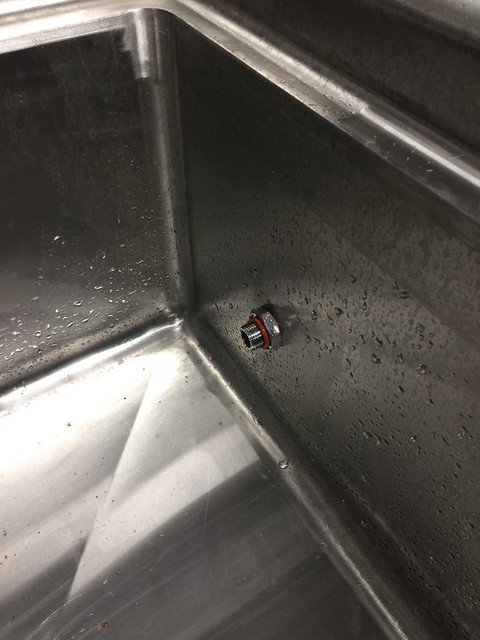
IMG_20171201_162154292.jpg IMG_20171203_111113744.jpg
 
Nice built! What kind of kettle do you have? It has ring clamp, and pressure relief valve on the lid.
 
Do you think this would work with a kettle side-port and BIAB?

I don't think I'll fill up the kettle all the way. I have a large kettle - 25 gallons (20.5" wide by 17.5" tall). I plan on brewing 10-11 gallon batches most of the time and stouts/ales mostly. I've not brewed in my BIAB system yet.

I'm in Minnesota and our winters get pretty dry/low humidity. Even mash temperatures generate a lot of humidity in my cold winter garage. I think this would be a lot easier than putting a regular ventilation system.

I really need to do something with the condensation. I'd like to use this method but wonder if it'll work during mash with a bag in the kettle when using a side-kettle port. If it matters, I'll be using one of the "Brew in a Bag" bags.
 
Last edited:
Nice built! What kind of kettle do you have? It has ring clamp, and pressure relief valve on the lid.

Thanks, its a BREWHA BIAC system. Similar to many of the electric all in one systems, I can mash, boil, and ferment all in one vessel. This condenser was the missing link to be able to move completely indoors.
 
Do you think a counter flow chiller could be repurposed for this? I'm shopping around for a condensation hood and fan for my basement right now and ran across this a few days ago.
 
Do you think a counter flow chiller could be repurposed for this? I'm shopping around for a condensation hood and fan for my basement right now and ran across this a few days ago.

I doubt if a counter flow chiller would work as efficiently. The basic principle of a steam condenser is direct contact between the cold water spray and the steam, which causes the steam to rapidly condense and create a vacuum.

Using a heat exchanger like a CFC would eliminate the direct contact between your cooling water and the steam. You might make it work, but would need to use a lot more water to get the same amount of condensation. I think the smaller tubes of a CFC would really limit how fast you could pull the steam out.
 
Do you think this would work with a kettle side-port and BIAB?

I don't think I'll fill up the kettle all the way. I have a large kettle - 25 gallons (20.5" wide by 17.5" tall). I plan on brewing 10-11 gallon batches most of the time and stouts/ales mostly. I've not brewed in my BIAB system yet.

I'm in Minnesota and our winters get pretty dry/low humidity. Even mash temperatures generate a lot of humidity in my cold winter garage. I think this would be a lot easier than putting a regular ventilation system.

I really need to do something with the condensation. I'd like to use this method but wonder if it'll work during mash with a bag in the kettle when using a side-kettle port. If it matters, I'll be using one of the "Brew in a Bag" bags.
Are you leaving the lid off for mash? You really shouldn't get much steam if the lid is on (which it should be).

That said, I'll be putting together mine for BIAB first week of January, so I'll know then. I plan to put the tc port in the lid so I can use it for RIMS and as a condenser.
 
I haven't made beer with it yet - just testing it out first.

Yes, a cover is being used - I'm recirculating during mash and have a large plastic garbage can lid that goes over the kettle where I've put a bulkhead fitting in to recirculate the mash to the top. The lid is 'domed' and higher in the middle, tapering down to the edge.

The lid is a bit too large for the kettle (which is 21" wide) and condensation drips down the lid and on the outside of the kettle, onto the (waterproof) element box on the outside of the kettle. I was just hoping to eliminate this dripping so I don't have to worry about the "waterproof" box leaking or having to move everything under the kettle stand out of the way before brewing.

I was hoping I could still use the side-port condensation thingy explained on this thread even though I have a bag in the kettle also. I doubt I'd ever have enough grain in the bag to block the exhaust port to the Tee assembly. But the brew bag will be there.

IMG_20171215_094914.jpg
 
I haven't made beer with it yet - just testing it out first.

Yes, a cover is being used - I'm recirculating during mash and have a large plastic garbage can lid that goes over the kettle where I've put a bulkhead fitting in to recirculate the mash to the top. The lid is 'domed' and higher in the middle, tapering down to the edge.

The lid is a bit too large for the kettle (which is 21" wide) and condensation drips down the lid and on the outside of the kettle, onto the (waterproof) element box on the outside of the kettle. I was just hoping to eliminate this dripping so I don't have to worry about the "waterproof" box leaking or having to move everything under the kettle stand out of the way before brewing.

I was hoping I could still use the side-port condensation thingy explained on this thread even though I have a bag in the kettle also. I doubt I'd ever have enough grain in the bag to block the exhaust port to the Tee assembly. But the brew bag will be there.

View attachment 550470
Kettle didn't come with a lid? You'll need a lid that drops down into the kettle a little before resting in the lip of the kettle. (forming a drip edge, directing condensation back to the mash) Any lid that comes with a kettle should have that.

The weight of an actual lid will help too.
 
If you BIAB... the bag will be removed prior to the boil. So there should be no concern about the bag interfering with the side port, unless I am missing something?
He's getting condensation during mash.

You'll need a lid that fits. There's tons in different diameters on Amazon or eBay. This'll help tremendously with heat retention as well.
 
I was wondering about the condenser for mashing based on the need to use it when boiling. I need to get rid of the condensation - condensation starts quickly in the low room temps I'll be brewing at in the garage in the winter. If I used the condenser for boiling, I was wondering if it would also work during mash when doing BIAB.

I found a lid that will fit for $25. I guess now my great deal on the Craigslist kettle is not as good as I thought it was.
https://www.webstaurantstore.com/21-aluminum-pot-pan-cover/407APTC100.html

There are others at restaurant supply places online that are cheaper, but they don't state the diameters. I've sent their customer service departments some emails.

None the right size on Amazon or eBay that I found. 20" ID x 21" OD would be a decent fit - close enough.

I'll find one and drill a hole in it for the bulkhead fitting.

Where I'm brewing in the garage is cold - just above freezing right now. Condensation starts at relatively low temperatures. I hope the BIAB bag won't wick up moisture up and around and drip down the outside of the kettle.
 
I bought the Kettle on Craigslist. No lid. Not sure I'll easily find one that will fit.

You can buy lids of just about any size. The internet is an amazing thing. Just measure the diameter of the top of your kettle and google for a lid of that size. I did this to get a second lid so I could punch some holes and experiment with it. It took a little snooping to find one that gave the dimensions of the indented portion, but you can find the info.
 
Subbed for sure! Just did my first brew on a new electric kit, and two big issues were not being able to maintain a boil while recirculating and the large amount of condensate I was getting on my kitchen ceiling. It looks like this condenser idea may solve both.

Can't wait to see some more of the builds and outcomes, regarding DMS and everything.
 
I've been looking online. Most of the websites don't give the dimensions/diameter of the lid. A couple do. I called some of the companies that don't have dimensions and they said they don't stock the large lids and the manufacturer won't likely get back to them soon, if at all.

I thought about making my own out of a sheet of aluminum, but it's probably going to be cheaper to buy a real lid. It looks like about $40 with shipping included.
 
I've been thinking about electric brewing for a long while now. The thing that has been holding me back is having to cut two 6" holes through the brick in the front of my house. This may be what I need to solve that problem and get me going.

One question; if the condensate is coming out at a very high temp, is there any problem with running directly into a PVC drain pipe?
 
Last edited:
True but amazingly we pour near boiling pasta water down the sink for years with no ill effects!

Kidding aside I doubt the small volume trickle will have any real impact on the piping. I suppose the heat would collect in the sink’s P-trap. If it’s a metal sink you could use it as a heat sink (pun!) to pull out some of the heat. You could always flush more water to bring the temp down further, but that’s certainly more wasteful. The bucket would work but then you would need to dump it outside or wait for it to cool.
 
I had a couple thoughts about this...
Has anyone tried to see just how much draw this will create? Could you leave the lid ajar, or have a small open port across from the condenser to "sweep" more of the DMS precursor out of the pot and potentially have a closer to normal boil off rate? Does the size of the drain tube limit how much it can draw?
I admit, my thermodynamics knowledge is near zero, so these may be stupid questions. I just thought I'd ask people who are much smarter than I. :yes:
 
Non pressure schedule 40 PVC is rated to 140 degrees. The temps vary but you can expect 145 degrees and up. A plastic bucket works fine or you can just trickle run your sink to dilute and reduce the temp if running into a drain.
My understanding is that is at pressure (40 I believe...).

I'd have no concerns about using schedule 40 as part of the downstream portion past the sprayer and T personally.
 
My understanding is that is at pressure (40 I believe...).

I'd have no concerns about using schedule 40 as part of the downstream portion past the sprayer and T personally.

My error....Too much egg nog! You are correct so I do not see any issues with a non pressure PVC drain pipe.
 
True but amazingly we pour near boiling pasta water down the sink for years with no ill effects!

Good Point! Although the plumbing for my kitchen drain is mostly exposed if it got damaged while the p trap for my brewery is buried in concrete (it was originally the drain for the washing machine).

If I go with this, I'd have to stop using my immersion chiller. I could just use that to cool the condensate a bit. :yes:
 
I had a couple thoughts about this...
Has anyone tried to see just how much draw this will create? Could you leave the lid ajar, or have a small open port across from the condenser to "sweep" more of the DMS precursor out of the pot and potentially have a closer to normal boil off rate? Does the size of the drain tube limit how much it can draw?
I admit, my thermodynamics knowledge is near zero, so these may be stupid questions. I just thought I'd ask people who are much smarter than I. :yes:

Remember that when water is vaporized, and turns to steam, it’s volume increases dramatically. So the net result of the boil is that increased volume occurs. Remember steam boilers powering locomotives? Me neither, but it’s the same concept. So if you had an open port, steam would escape it. The premise of the condenser is the steam makes it’s way out of the condenser port and is then reduced back down... yielding a near net zero volume change.
 
Back
Top