The area up top is where my well pump and radon unit are. They are rather loud so I am thinking a standard prehung door so I can throw some roxul in the walls as opposed to having a cavity.
Mid construction:
View attachment 628992
Good reason for a relatively soundproof door. Well, it was an idea. I hate it when perfectly good theories are crushed by the facts.
")
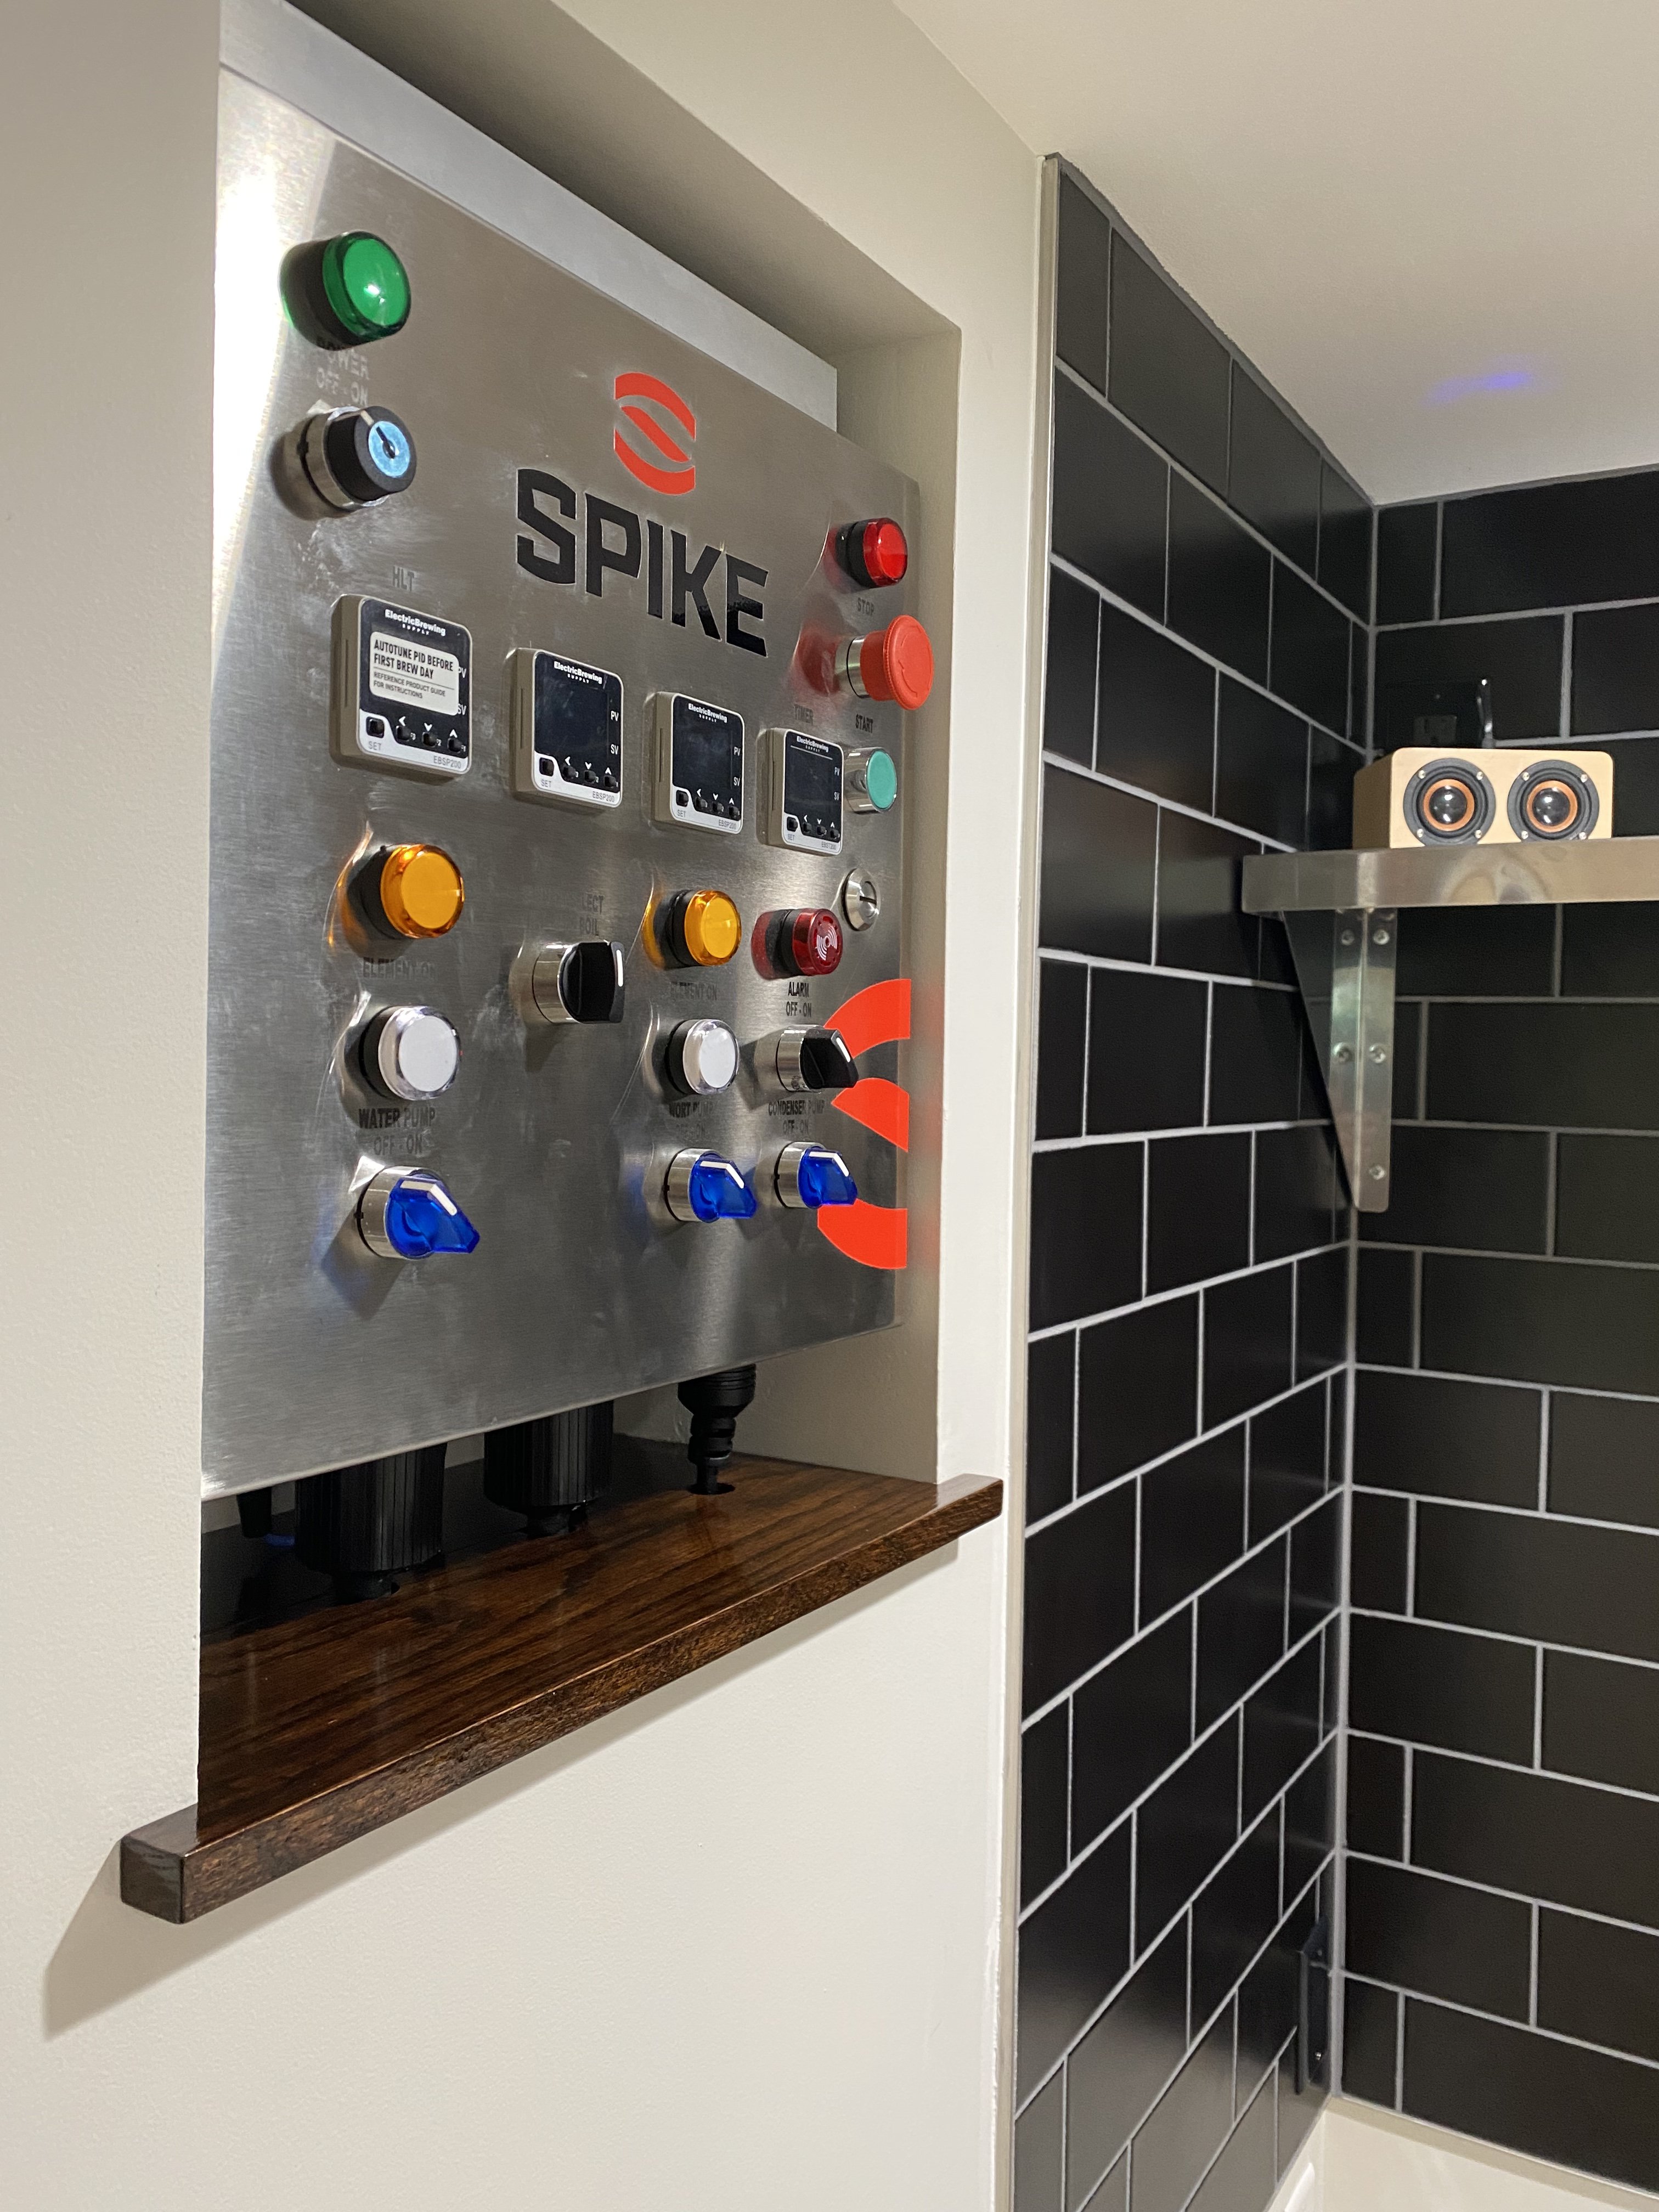
The first purchase when I get home will be a CF 15, on casters. I plan on using an epoxy floor coating since the slab is in good shape in that area, easy cleanup and transportation. At this time I'm planning on an AC glycol chiller, shown in the top right corner.
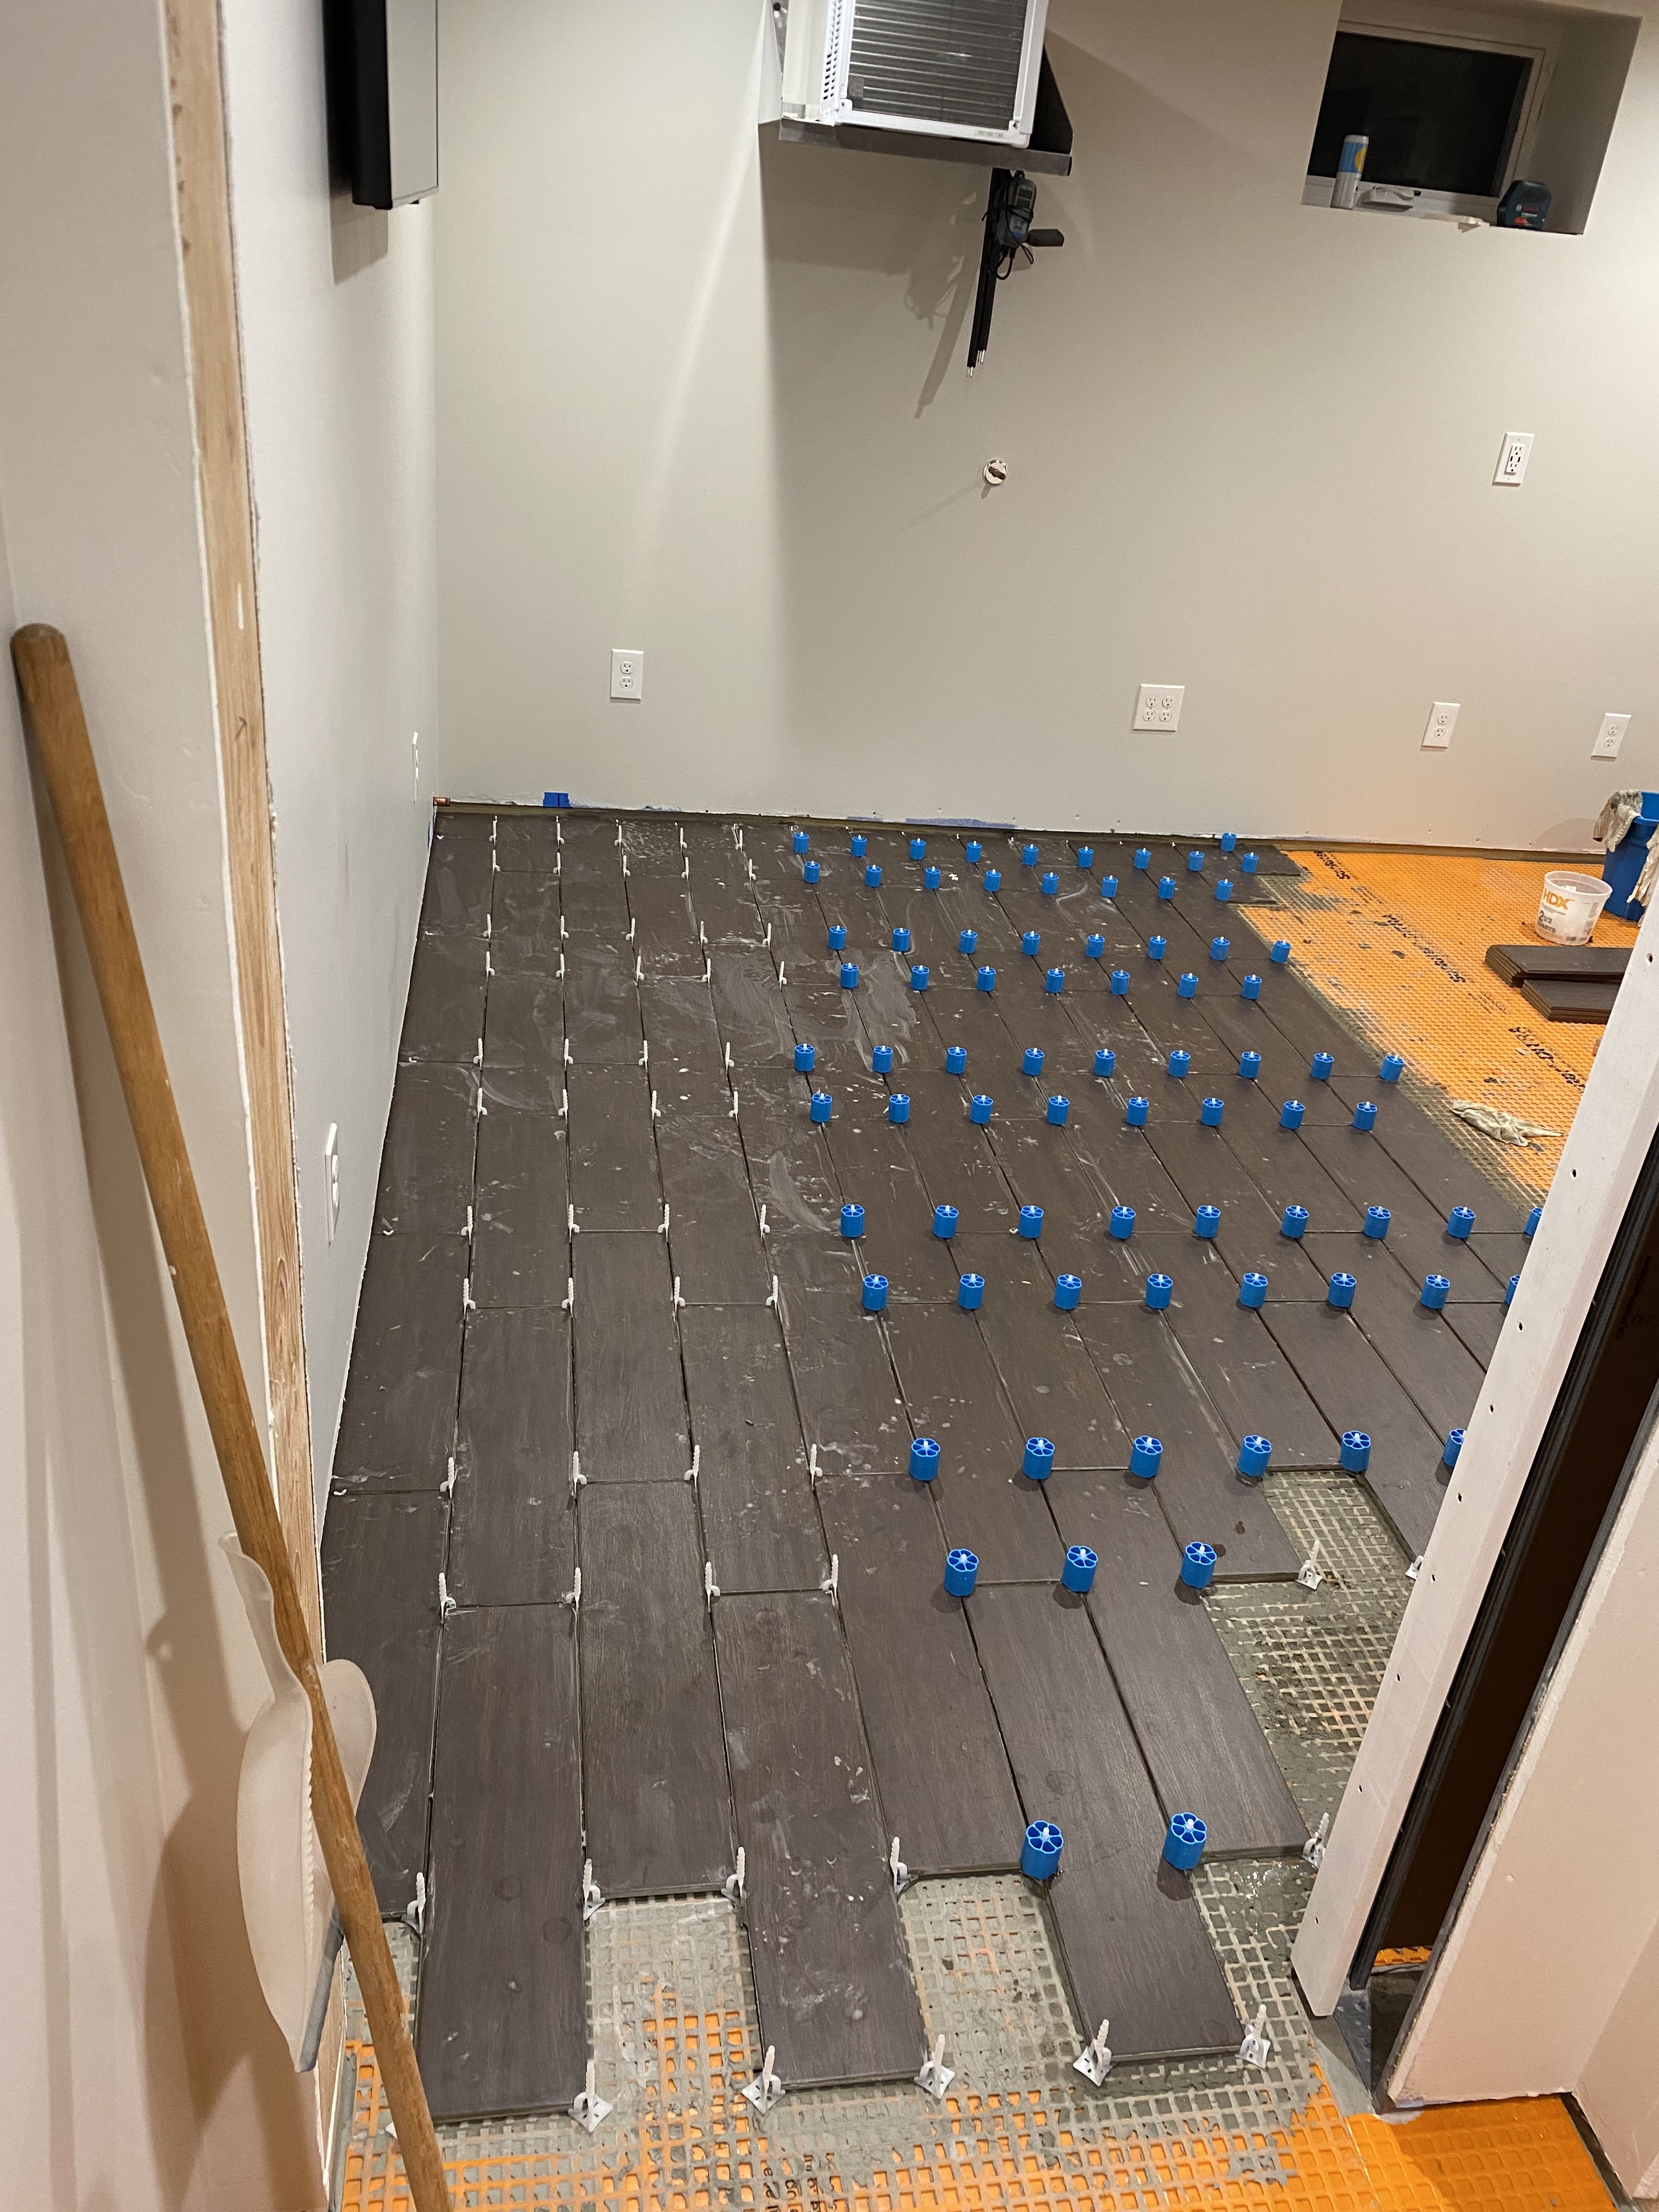
Such a floor might be self-leveling, which would be good. Unless....
I was doing some research on a drain however my sewer pipe is about 5' above the finished floor of the basement. I will have to pump the sink up which is why I have the discharge pipe for the counterflow, I'd like to reduce the use on the pump itself.
I hadn't thought about a sump or similar...that actually could work. All I know is that I get stuff all over the floor, wish I had a way to easily flush it down the drain.
I plan on building a 1.5" steam condenser. I originally designed the system on the other wall since I have a window I could vent out, however after leaning about the steam condensers I was able to move it where you see it, which gets me a lot closer to the sink.
I have one, it works. You may want a little ventilation there anyway as there's a SMS/DMS smell that comes from it that you'll probably not appreciate. You just want to keep it out of the rest of the house.
I originally was looking at sinks with a sideboard. I would have to have it on the right side in order to plumb past the pocket door, however it looks like you get what you pay for. A lot of the review in my price range showed a very warped board that needs support. I could build something next to the pocket door, but I'm currently opting for a 6' stainless steel prep table where I can dry equipment. The lack of a sideboard also allowed me to go with a larger sink.
Another possibility is to build yourself a "sideboard" cabinet that snugs up against the sink. Have it overlap the sink by 1/4" or so, and it'll drain into it. A benefit would be that you could have a drawer or drawers in it, storage space below, and so on. Mine has a drawer and cabinet under the sideboard.
Are you not a fan of the faucet? I figure that will give me more flexibility in cleaning, however I also have hot a cold hookups in between the HLT and MT which I could use in lieu of the faucet.
Well, imagine that you're laying a keg or kettle down and want to spray it out. That hanging sprayer will not accommodate that. And yet, it may be good for other cleaning purposes. The kind of sprayer I'm talking about is on the right side of the faucet on the sink:

I think you can find other sprayer types that could be run off a faucet that mixes hot and cold water. My interest in it is that I've used those hanging sprayers extensively in restaurants, and know what they can and cannot do. What they cannot do is spray out something laying on its side, and they're going to splash a lot unless you put something in the bottom of the sink.
Same with the shallow-bowl sink. I've worked at those deep-bowl sinks, and there's a lot of bending over. Hurts my back. It's so nice to work while standing upright, no bending. And it turns out, I do a lot of cleaning and rinsing at that sink during brew day, so it works for me. I haven't found anything that the deep sink would make easier for me.
There's something my father-in-law taught me many years ago when I was building workbenches. He said to make them 4-6 inches higher than the standard 32-inch-high workbench, so I could stand and work without bending. Know what? He was right. In this pic, the bench is 38 inches high; the sink slightly higher, but the bowl is a bit lower.

Now, I don't know what height you'd like--I suspect you'd like 36-38, but you should just set up something on sawhorses or something, both at a lower height and a higher one, and see for yourself.
The bench above is probably higher than it need be for kettles--I don't think that matters much. But when cleaning and rinsing and such, consider what you want now before you do anything.
And frankly, if I were doing this all over again, what I'd do is put a shallower stainless bowl in a sink cabinet, and build a sideboard to the left of it. Not hard to get pre-finished countertop into which you drop a bowl, add your other faucets as you deem desirable, and there you are. But that's me. You decide what works best for you, and not everything I've done may be desirable to you.
The layout isn't set by any means, I'm very open to advice. The outline of the room is however. The main beam supporting the joists runs left to right and that's my limit of advance. Id like to keep the entry at 36"
These are all just suggestions based on what's worked well for me. For instance, I'm righthanded, so I want a sideboard on the left, allowing me to control the sprayer with my right hand. If you're lefthanded, assuming you wanted a sideboard, maybe you'd reverse that.
Anyway, just a bunch of ideas. I wish I had a clean space to design a brew room from scratch; I had to deal with the space limitations I have, and that's what's given rise to some of this. Enjoy the figuring and fiddling! Good Luck.


![Craft A Brew - Safale S-04 Dry Yeast - Fermentis - English Ale Dry Yeast - For English and American Ales and Hard Apple Ciders - Ingredients for Home Brewing - Beer Making Supplies - [1 Pack]](https://m.media-amazon.com/images/I/41fVGNh6JfL._SL500_.jpg)


.jpg")
.jpg")
.jpg")
.jpg")
.jpg")


.jpg")


.jpg")


.jpg")
.jpg")
.jpg")


.jpg")
.jpg")
.jpg")