So much great info in this thread and I just wanted to chime in and say thanks to all that have shared!
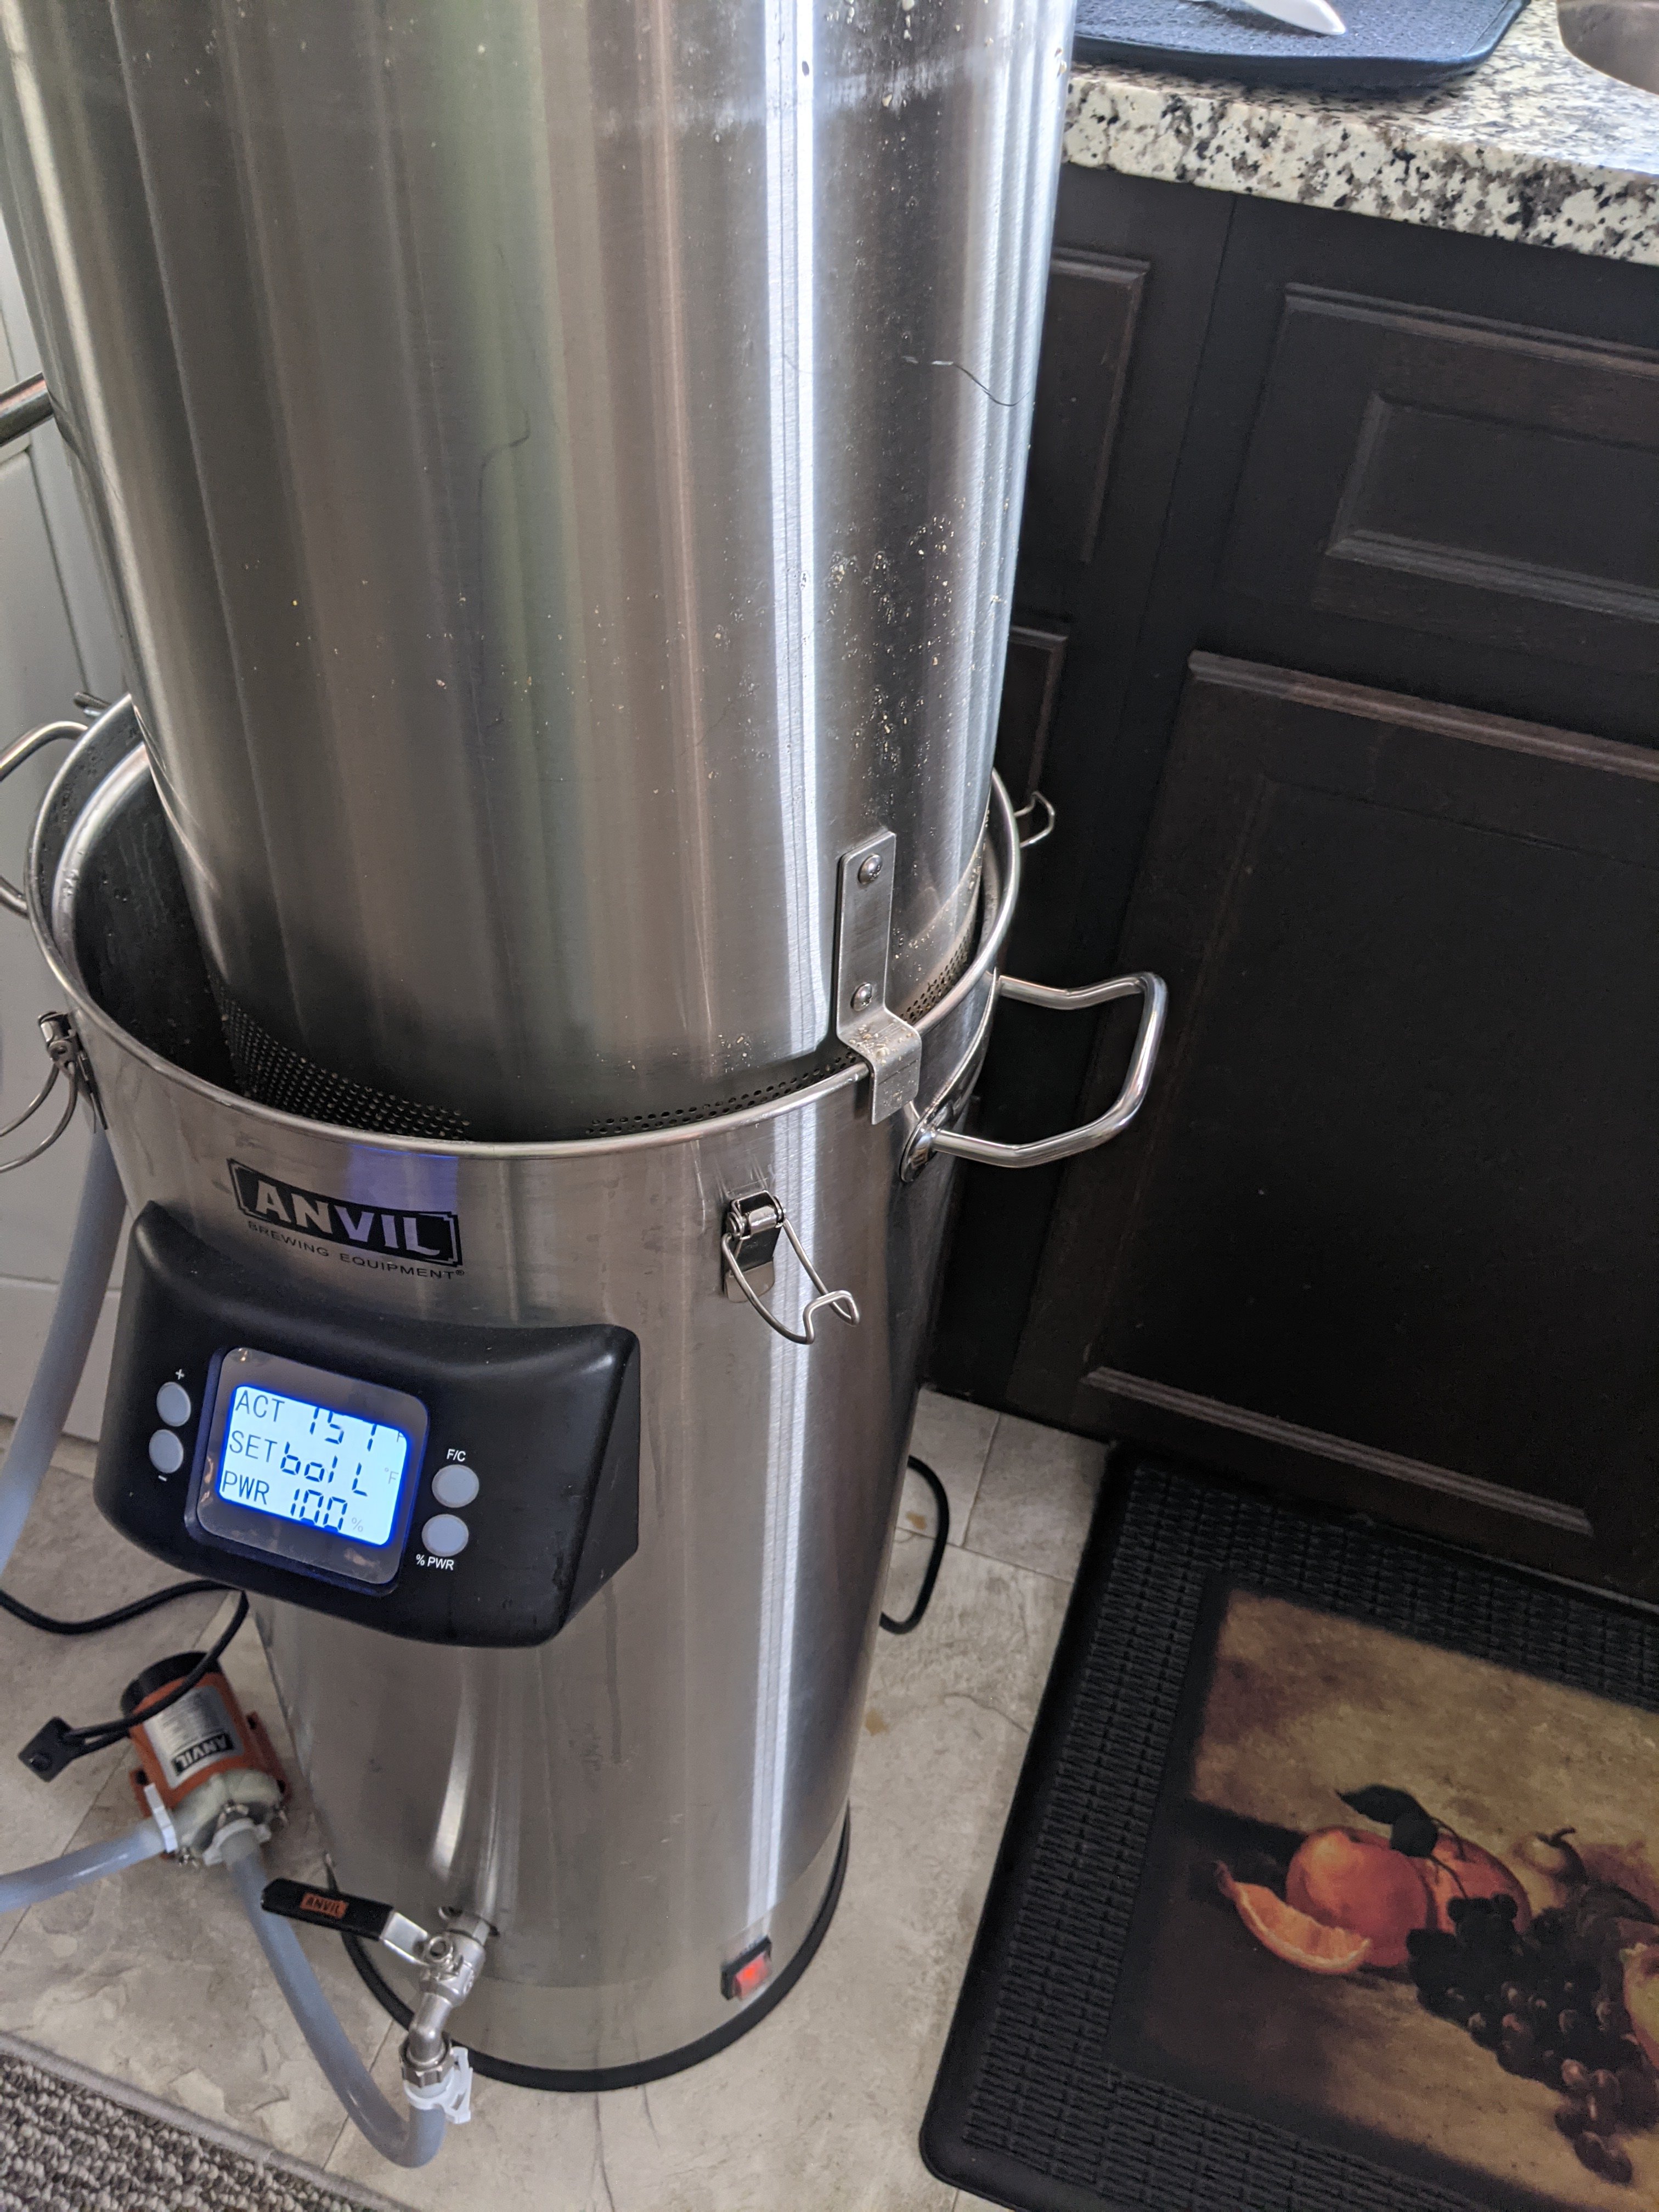
I just recently started brewing again after a few years off with a 10.5 AF (two batches) and decided on it for several reasons, so far it's delivered. I'm coming from a serious overkill basement setup, and although it was awesome it was a ton of work. My expectations for efficiency with the AF were low and I'm already at or exceeding them so pretty happy with it, I can only expect improvements as I get it dialed in. I will be adding a Spincycle for faster cooling and I'm on the fence about a valve to regulate flow during recirculation. And thanks to reading on this forum I bought a Brew Bag right out of the gate. Other than that, don't see any immediate needs.
Besides the AF itself my biggest investment was a dual fermentation stand. I'll be brewing in the garage here in SC so temp control was critical especially during the summer months. Thanks again for all the info here!
View attachment 718952


![Craft A Brew - Safale S-04 Dry Yeast - Fermentis - English Ale Dry Yeast - For English and American Ales and Hard Apple Ciders - Ingredients for Home Brewing - Beer Making Supplies - [1 Pack]](https://m.media-amazon.com/images/I/41fVGNh6JfL._SL500_.jpg)


 Don't brew again until the first week of March so until then it'll drive me nuts.
 I should be impressed though, the two of us got it wrong twice in a row.
")


