Just about to pull the trigger on this system and wondered if you have an update?
Sure
TLDR:
It has its flaws, but for my situation I would do it again without a second thought. I would also recommend it to those with similar want or needs.
I’ve done about 1/2 dozen batches so far.
Some of the negatives I listed already, namely cord leads and instructions. Both of which I feel really need attention from Ss Brewtech. Where the controller sits now is as far away from the kettles as it can go with the supplied cords. The power cords for the unit are also very short, so the control unit needs to be placed right next to the outlets, of which there 3 with the 3 vessel system. 1 for the 110 volt and 2 for the 220 volt. This will require al little bit of planning. For literally <$10 more in production cost they could have made all the leads a couple feet longer and had a much nicer end product.
The lack of instructions is discouraging. I had no problem with initial set up, and those who are mechanically inclined, and have had previous brewing experience probably won’t either. If you have never used a 3 vessel system, or don’t understand all the individual components function and operation, and are less than mechanically inclined, you may struggle some with assembly and set up.
The biggest disappointment with instructions was by far the use and set up of actual controller, for which they are virtually non existent. For $1000+ piece of equipment I find that unacceptable. I had to do a lot of independent research, reading and videos to get the info I was looking for. There are no instructions included with anything. Just a web link that you are to follow to their quick start guides section of their website. You can use the controller straight out of the box, but it will not be optimized for your needs or process. The individual parts are visible on exterior of control panel. You can google them and get the actual instructions. There is also a Facebook group with lots of info. I don’t do Facebook though. At the very least you will want to auto tune.
Be advised that you will not be able to use this as is out of the box. I have about another $700 in cam locks, tri-clamps, sight glasses, hoses, valves, elbows, Ts, etc. that is not including the pumps. That’s another 75-500 bucks depending on model(s) you go with. I use the chugged pumps and stainless steel head. I also have a Chinese pump from amazon that I got with a 3 year warranty for a few bucks more. I like to keep a spare pump on hand just in case.
I downsized from 20 gallon batches, I purposely made the conscious decision to go with 5 gallons. I am trying to scale back and streamline everything. I see to use mostly pony and 1/2 kegs to serve from. Now I only use 5 gallon cornies. I ferment in my brewbucket BME. I will upgrade to chronicals and glycol once I reorganize my fermentation section of basement. I would recommend the 20 gallon kettles if you think there is even a remote chance you will do more than 5 gallon batches, or do imperial strength beers. You can make 5 gallon batches in a 20 gallon kettle, but you can not make 10 gallon batches in a 10 gallon kettle. The price difference is minuscule all things considered. My reasoning for smaller is I wanted to make smaller batches more often, and only make a few different recipes until I could nail those, and make them repeatable. Your reasons may be the same, in which case the 10 gallon kettles would be fine. If I need to upgrade to 20 gallons, it’s just 2 bare kettles, and an infuSsion mash tun, so not a huge expense. Though I don’t see me going that route, but who knows.
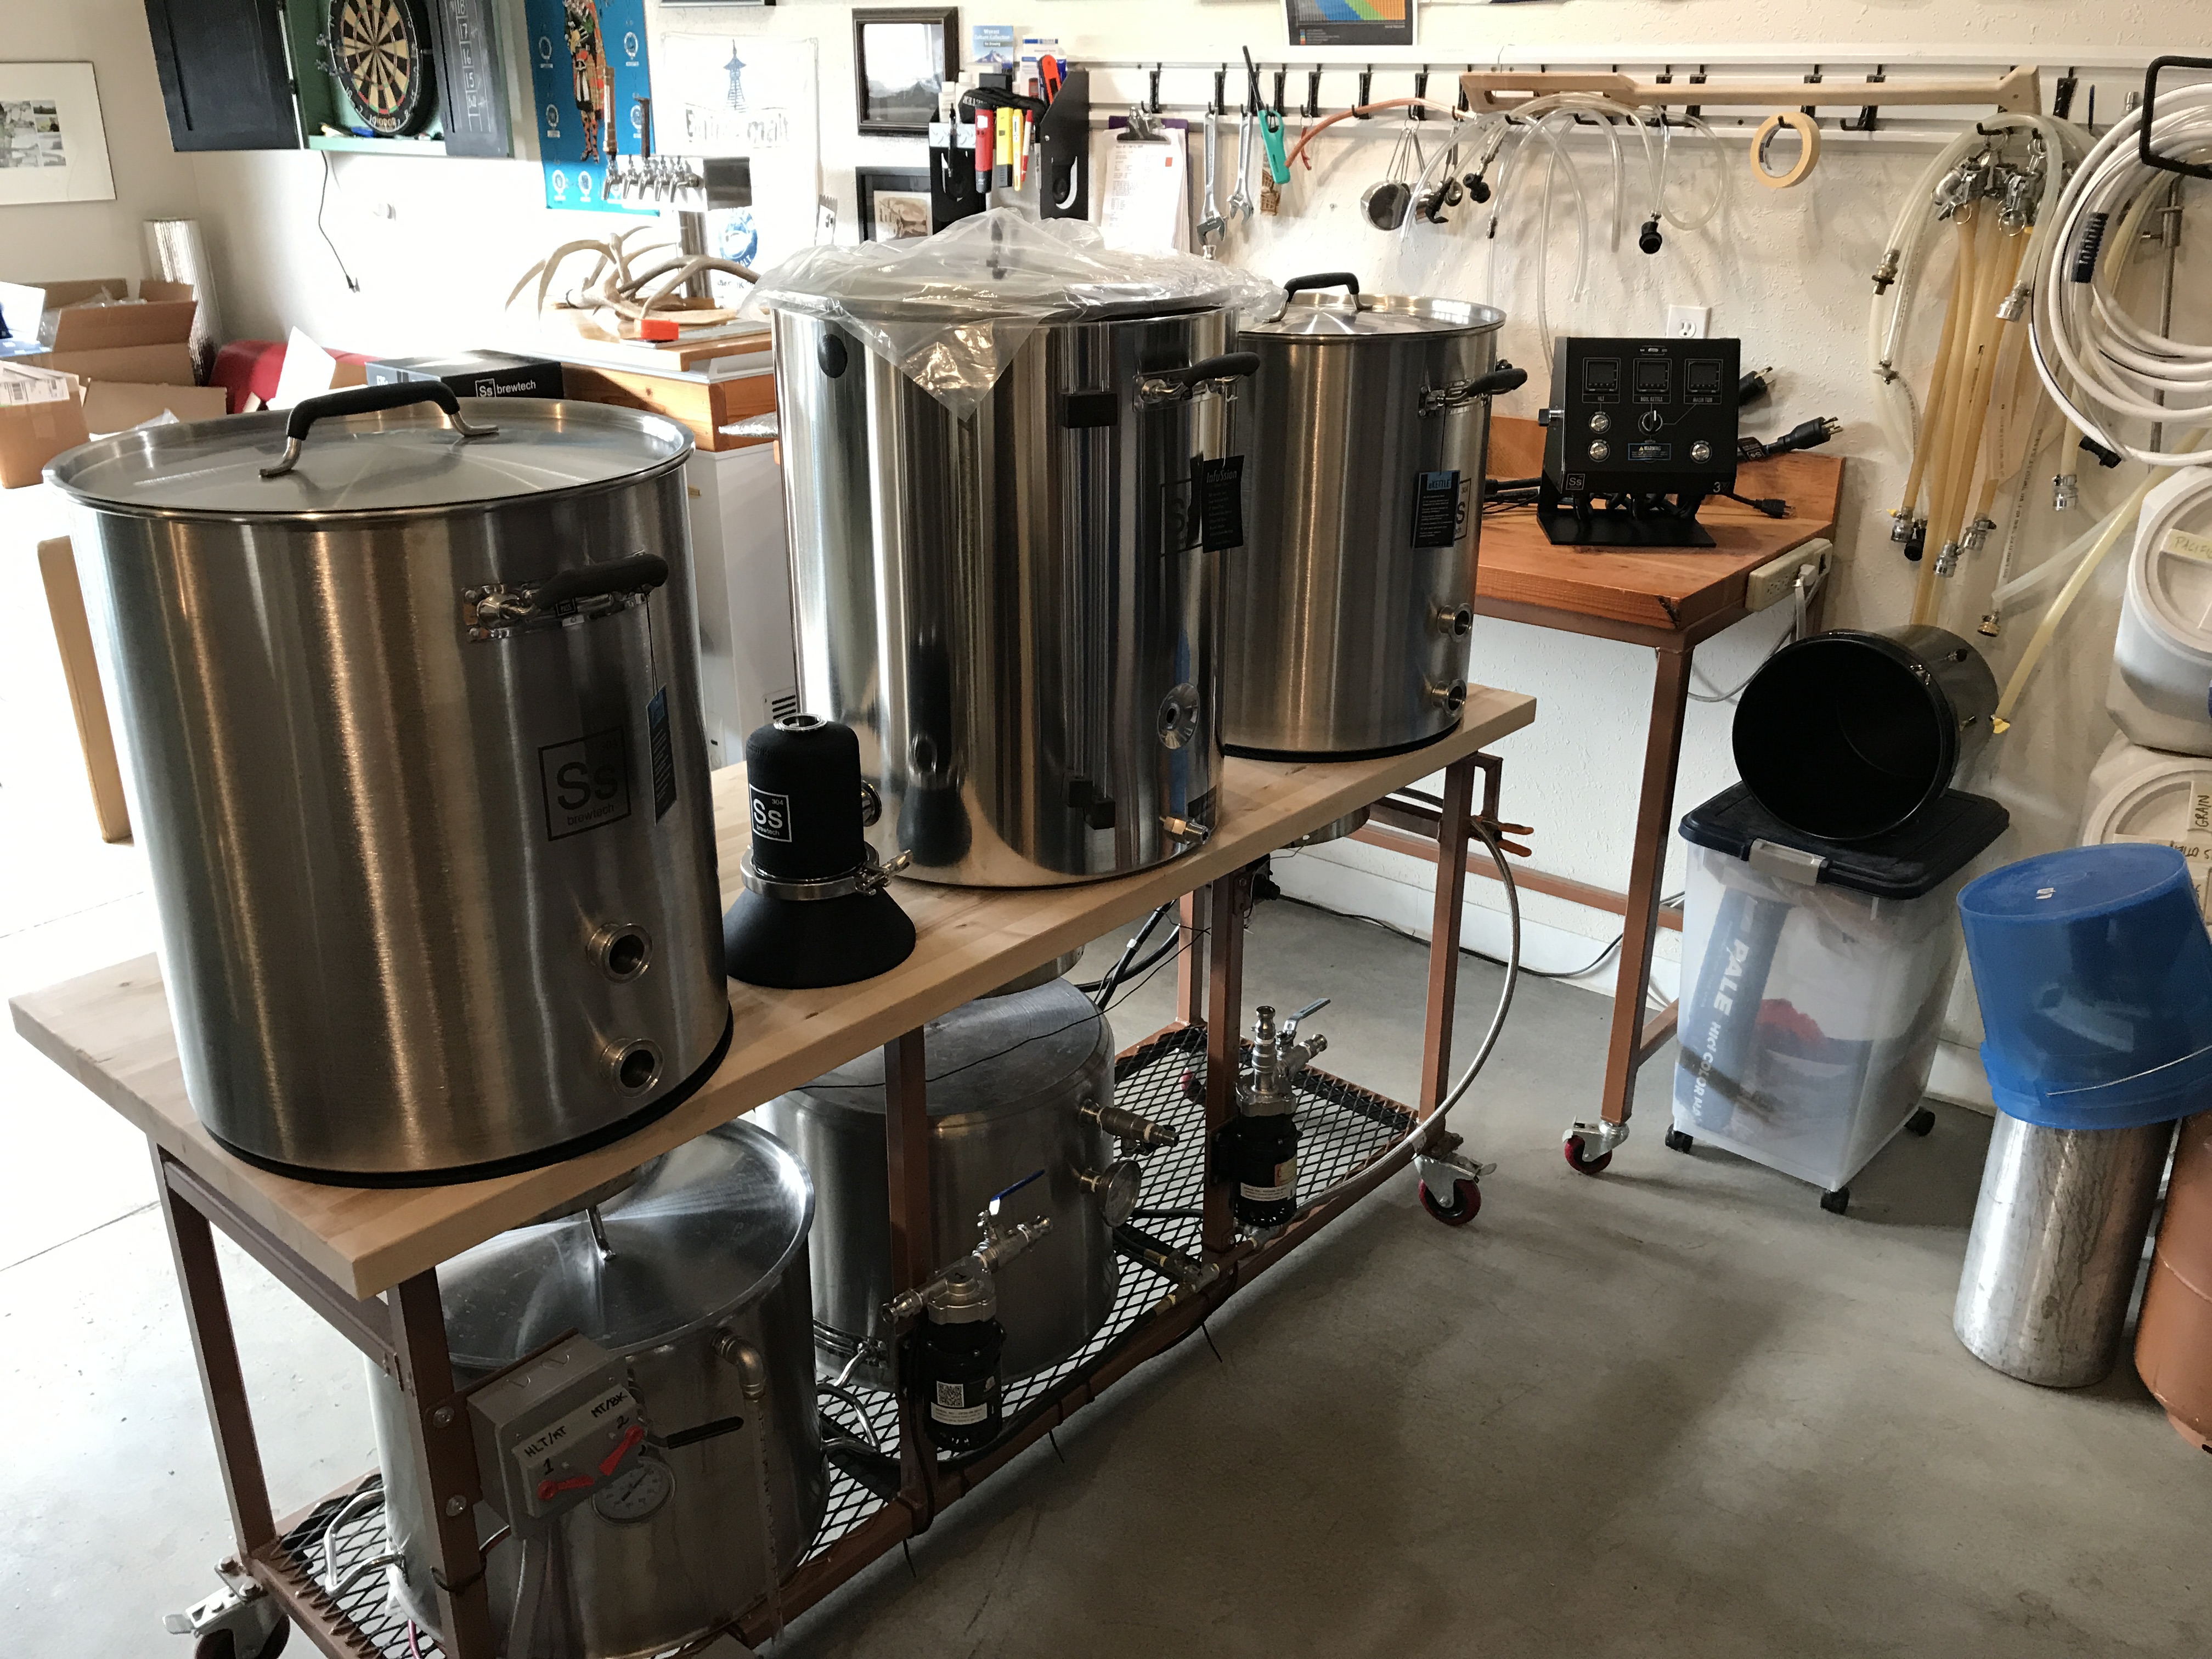
With all that said, I would not hesitate to do everything all over again exactly the same. I am really happy (overall) with the system. I believe they sell a “complete” kit, but unless you brew the way they do you will still be buying all the loose bits to make it function how you want it to. I have all my hoses routed the way I want them, where I want them. I have my pumps and valves housed in the middle cabinet, the CFC and and drain hose in right cabinet, and storage in left cabinet. Everything can remain set up and in place when not in use.
The prices temperature control I can achieve with the RIMS is something I did not realize how much I would appreciate, until I experienced it. That alone was almost worth the price of admission.
During boil i empty the mash tun spent grains, and disconnect hoses and take mash tun to rinse the last bit of grains I cannot scoop out. During the transfer to fermenter, I collect the discharge water from CFC in the HLT and mix that with PBW, once full I can circulate that through the pump, the tun, and the rims while I am cleaning the boil kettle. The first run I just ran the whirlpool and let everything collect in center. It was a lot of hop debris and was a pain to clean. I used to brew outside. I would just take kettle to garden and hose it out. Never cared about hop debris/collection. Indoors is another story. I bought a hop spider and add hops to that. It helps but does not completely eliminate debris. At first I tried cleaning in place, wiping out debris, thought about shop vaccing it out. In the end, the kettle is small enough I just pull it out, and disconnect the whirlpool arm, element, etc and wash them by hand while the pbw rinse in running through tun.
I then put kettle back in rotation and run the pbw through kettle and kettle pump to clean/flush all the lines/CFC. I collect as much discharge water from CFC in buckets as I can. I use this (preheated) water for washing individual parts, rinse water, and then finally star San.
After the pbw circulation I fill HLT with clean water (from CFC) and rinse all the components, including CFC. Then I use the last bit of collected water and make up a couple gallons of star San, add that to HLT, and fill all the lines, RIMS, pumps, and CFC with star San and cap. The star San sits there during the week. I drain and flush it all out with 1 gallon clean water before starting brew day. I do a complete break down and clean every few batches. Mostly (for other than kettle) it I started just “clean in place” with pumps.
My last brew day was over in less than 5 hours. That was from crushing grain to fermenter in chamber and everything cleaned and put away. It also included Kegging a prior batch while waiting, cleaning fermenter and filling another keg with star San for next batch transfer. That would have easily been a 10 hour day on my old system, and in the cold outside to boot.
Each brew session I am discovering new efficiencies and taking notes on how I can improve my process and reduce idle time. I absolutely love this electric brewing. If you are like me and do not have the time to build your own, of don’t have the mechanical ability I would definitely recommend this set up. Even with all of its “flaws” you will probably not find a more complete “out of the box” setup at this price point.


![Craft A Brew - Safale BE-256 Yeast - Fermentis - Belgian Ale Dry Yeast - For Belgian & Strong Ales - Ingredients for Home Brewing - Beer Making Supplies - [3 Pack]](https://m.media-amazon.com/images/I/51bcKEwQmWL._SL500_.jpg)