• Please visit and share your knowledge at our sister communities:
  • If you have not, please join our official Homebrewing Facebook Group!

    Homebrewing Facebook Group

110v Recirculating eBIAB 2.5 gallon batches

Homebrew Talk

Help Support Homebrew Talk:

This site may earn a commission from merchant affiliate links, including eBay, Amazon, and others.
Looks great! I need to get some labels, you pushed me over the lazy edge.

Thank you sir! I used to run a business that made stickers and shirts, so I was able to cut these out before I sold it, haha. The vinyl doesn't stick too well to the case, though...
 
Brewing today. Did a slight mod. All the talk about splashing wort made me think about adding a piece of hose to the outlet. Simple piece of silicone hose pushed over the camlock fitting in the lid. Seems to be working fine, no splashing and there is good swirling going on in there.

b830ff568a5995384dc8c76ef9fadd65.jpg
 
Brewing today. Did a slight mod. All the talk about splashing wort made me think about adding a piece of hose to the outlet. Simple piece of silicone hose pushed over the camlock fitting in the lid. Seems to be working fine, no splashing and there is good swirling going on in there.

http://i8.photobucket.com/albums/a7/jrb03/misc/beer/b830ff568a5995384dc8c76ef9fadd65.jpg[IMG][/quote]


crazy - I am brewing on the mini today as well! I also made a couple mods as well. I switched over to camlocks, hooked the pump directly to the kettle (eliminating a hose), re-did the numbers on my site glass.

[ATTACH=full]86212[/ATTACH]

[ATTACH=full]86213[/ATTACH]

[ATTACH=full]86214[/ATTACH]

[ATTACH=full]86215[/ATTACH]
 

Attachments

  • Photo1 (4).jpg
    Photo1 (4).jpg
    43.1 KB
  • Photo1 (2).jpg
    Photo1 (2).jpg
    65.3 KB
  • Photo1 (3).jpg
    Photo1 (3).jpg
    65.3 KB
  • Photo1 (5).jpg
    Photo1 (5).jpg
    68.5 KB
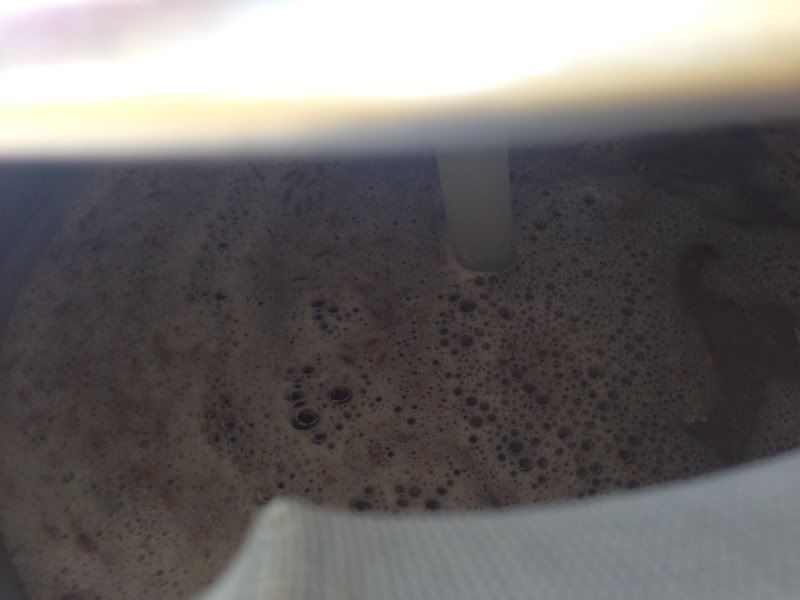
Starting up the boil. Getting a nice hotbreak. I use the stove to bring it up to boil temp faster. Seems to help yield a better hotbreak as well. This is my first time with the new hop filter. Brewing a Citra/Nelson Sauvin IPA so I'll try and put it through it's paces.

photo.jpg
 
Lookin good jammin! Let us know how you like that hop filter. I'm brewing Wayne1's blue moon clone for the second time, hit the exact same preboil sg as last time. Don't know if its coincidence or not, but I got by far my best hot break on this setup. It foamed up a lot, had me scarred for a bit!
 
Lookin good jammin! Let us know how you like that hop filter. I'm brewing Wayne1's blue moon clone for the second time, hit the exact same preboil sg as last time. Don't know if its coincidence or not, but I got by far my best hot break on this setup. It foamed up a lot, had me scarred for a bit!

Thanks, JRB!

Great to hear about your consistency - that's a really big deal in my book. I will update you on the hop filter for sure.

Cheers!

PS: relax'n on the couch while I brew, love it.
 
here is a shot of the cooling run after today's brew session. one of these days i'm gonna put my hop rocket in line with and see how damn hoppy I can make a beer haha. would be one hell of a 3 gallon batch with 3oz in the hop back!

Photo1 (8).jpg
 
Here is how I sparge. I use a separate kettle with a veggie steamer basket in it. Thank's SWMBO ;)

Did you notice any difference in efficiency with this? Did you have to boil longer, or did you just use a thicker mash to compensate?
 
Starting up the boil. Getting a nice hotbreak. I use the stove to bring it up to boil temp faster. Seems to help yield a better hotbreak as well. This is my first time with the new hop filter. Brewing a Citra/Nelson Sauvin IPA so I'll try and put it through it's paces.

Looks fantastic and how about an A+ on the photography!
 
Finally ordered the last stuff I need from Bargain Fittings and McMaster. Pretty excited! Wort chiller included, looking at over $900... Ouch.
 
Did you notice any difference in efficiency with this? Did you have to boil longer, or did you just use a thicker mash to compensate?

Sorry to respond so late. It does help with the efficiency a little. My hot water kettle is also just the right size for replacing water lost to grain absorption. So after a quick sparge - it brings my pre-boil volume right where it needs to be if I mash with desired pre-boil volume. I suppose I could just mash a little more water haha - oh well.

Looks fantastic and how about an A+ on the photography!

thanks - cheers!
 
how many gallons can you guys successfully boil on the single 120v outlet/element setup? does 4 gallons work fine? (to get around a 3 gallon ending point).
i have everything else, just not the electronics.
 
4 gallons would be fine, i's hard to get much more than 5 gallons up to boil on a single 120 element from everything I've seen on here
 
A close up of the box.

Went with 3 prong 20A 125W twist lock plugs for the pump and the element.
Not quite enough room for the male recessed receptacle. Was going to say screw it any way and have a male end going from the wall to a male end on the box, but decided that my make-shift cattle prod wasn't too safe. I just hard wired it into the box.

Was fun! Can't wait to brew on it. Learned about electrical wiring, and didn't fry myself or any components either!

Thanks PJ for creating that diagram!

010.JPG


011.JPG


012.JPG
 
Yeah, I still want to mount the pump and therminator. and add some hooks on the sides of the stand to hold things like mash paddle, hose, etc etc. Everything else so far fits in the tool box. My new blichmann gloves, a hop spider I built for like $10, back flow hose for chiller, yeast nutrient/whirfloc (yeast when I travel with it) etc etc etc. PBW and Star-San.
 
captain_brew said:
I got the stand at home depot for $19.95. The posts have threads with feet that i'm sure you could modify for wheels.

I have the same stand and have looked long and hard to find threaded casters that fit. No luck so far. The female threads are pretty dinky.
 
I have a question regarding the placement of the RTD sensor for you all:

I'm thinking about doing this and since I'm doing it inside already it will most likely be in the kitchen sitting on the stovetop which leads me to thinking that I could supplement the heat from the element with the burner to reach mash temp and boil. With that in mind, would the heat coming out from underneath the kettle potentially harm the cord plugged into the probe. It looks like you placed yours pretty low from the pictures, somewhere near the same height as the ballvalve.
 
^just stick the probe near the element base - that way all the cords go to 1 place.

I have a glass stove top and have no issues with heat to cord
 
Well, I feel a little dirty because I just asked for a lot of really specific electronic equipment for X-mas. We drew names and my gf's sister and mom got me and wanted to know what I wanted. I basically copy and pasted the list from page one or two of this page and said I want some of these things.
 
Back
Top