
staticfritz
Well-Known Member
I found posts like these super helpful when i was planning this thing, so thought I'd share.
Was doing a sloppy kettle/cooler mash tun/immersion chiller setup for the past several years and wanted to upgrade to something leaner, faster, easier to wash and store, and more reproducible without taking over half the kitchen for 6-7hrs at a time
Brew build thread with those pics is in the BIAB forum, here's the panel stuff:
I was inspired by the Brau supply ezboil system

but wanted a bit more customization and DIY and cost saving.
Ultimately my goals were: driving a 5500w element, an EZBoil, independent pump and heater controls, auxillary outlet, portability
Found this excellent diagram here on the forum:
My only real modifications was a main power LED and adjusted the ezboil pin assignments for Auber the DSPR310c
Smallest enclosure I thought would fit everything, retapped the small crap screws for slightly larger/stronger screws
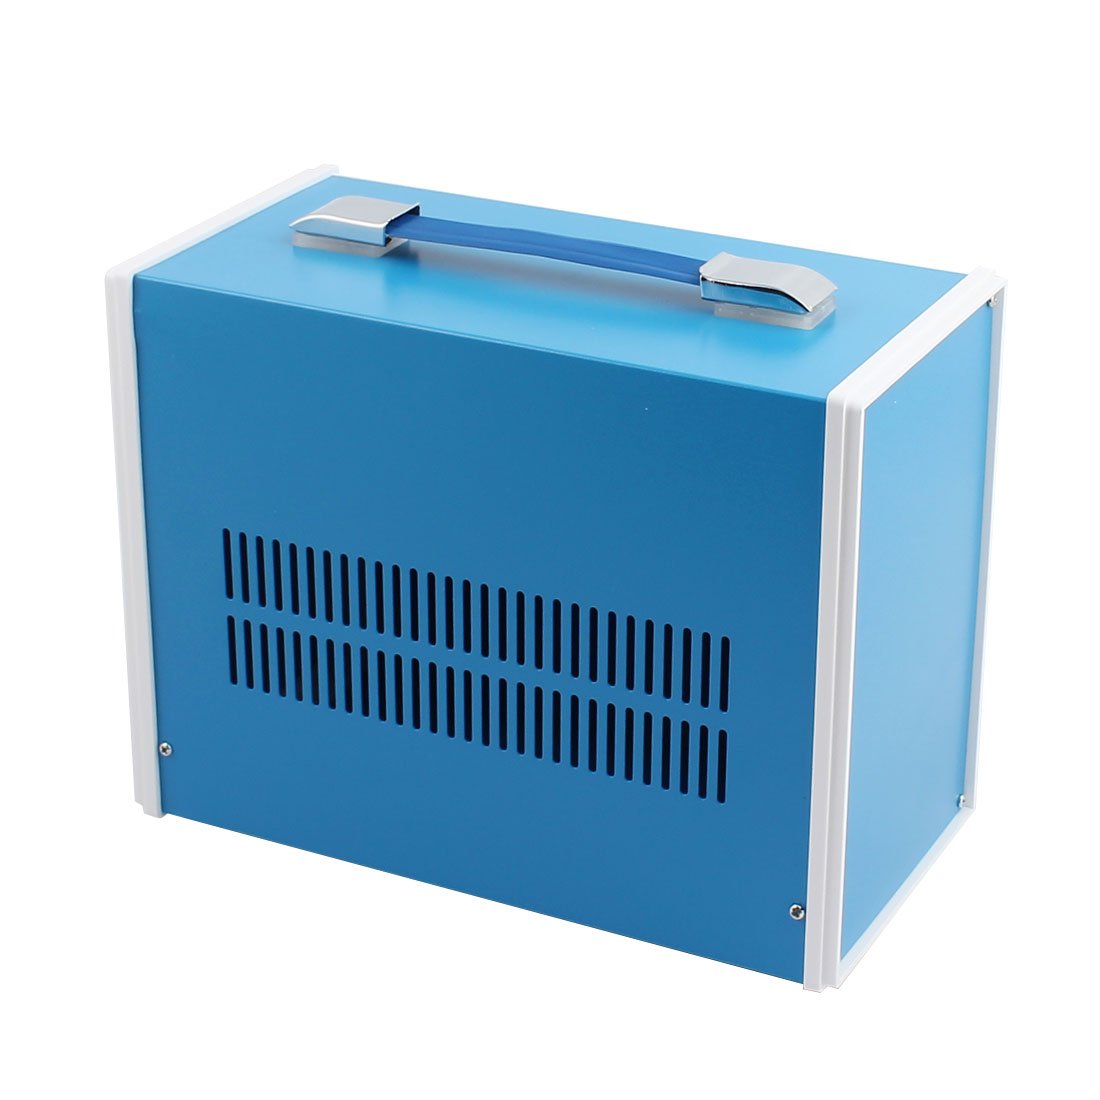
And here it is! sorry the wiring looks a little sloppy, squeezing stiff 12 and 14ga wire into a little box took a lot of patience
didn't apply the labels yet, but here's your guide
Main power LED top left, element firing light top right
Main breaker, EZBoil
Pump switch, RTD sensor plug, element override switch
pump and aux outputs
heater element output
240 input
SSR and contactor in the middle
you can see the inline fuse holders here
spa panel wired into the garage wall with a 240 NEMA 4pin outlet
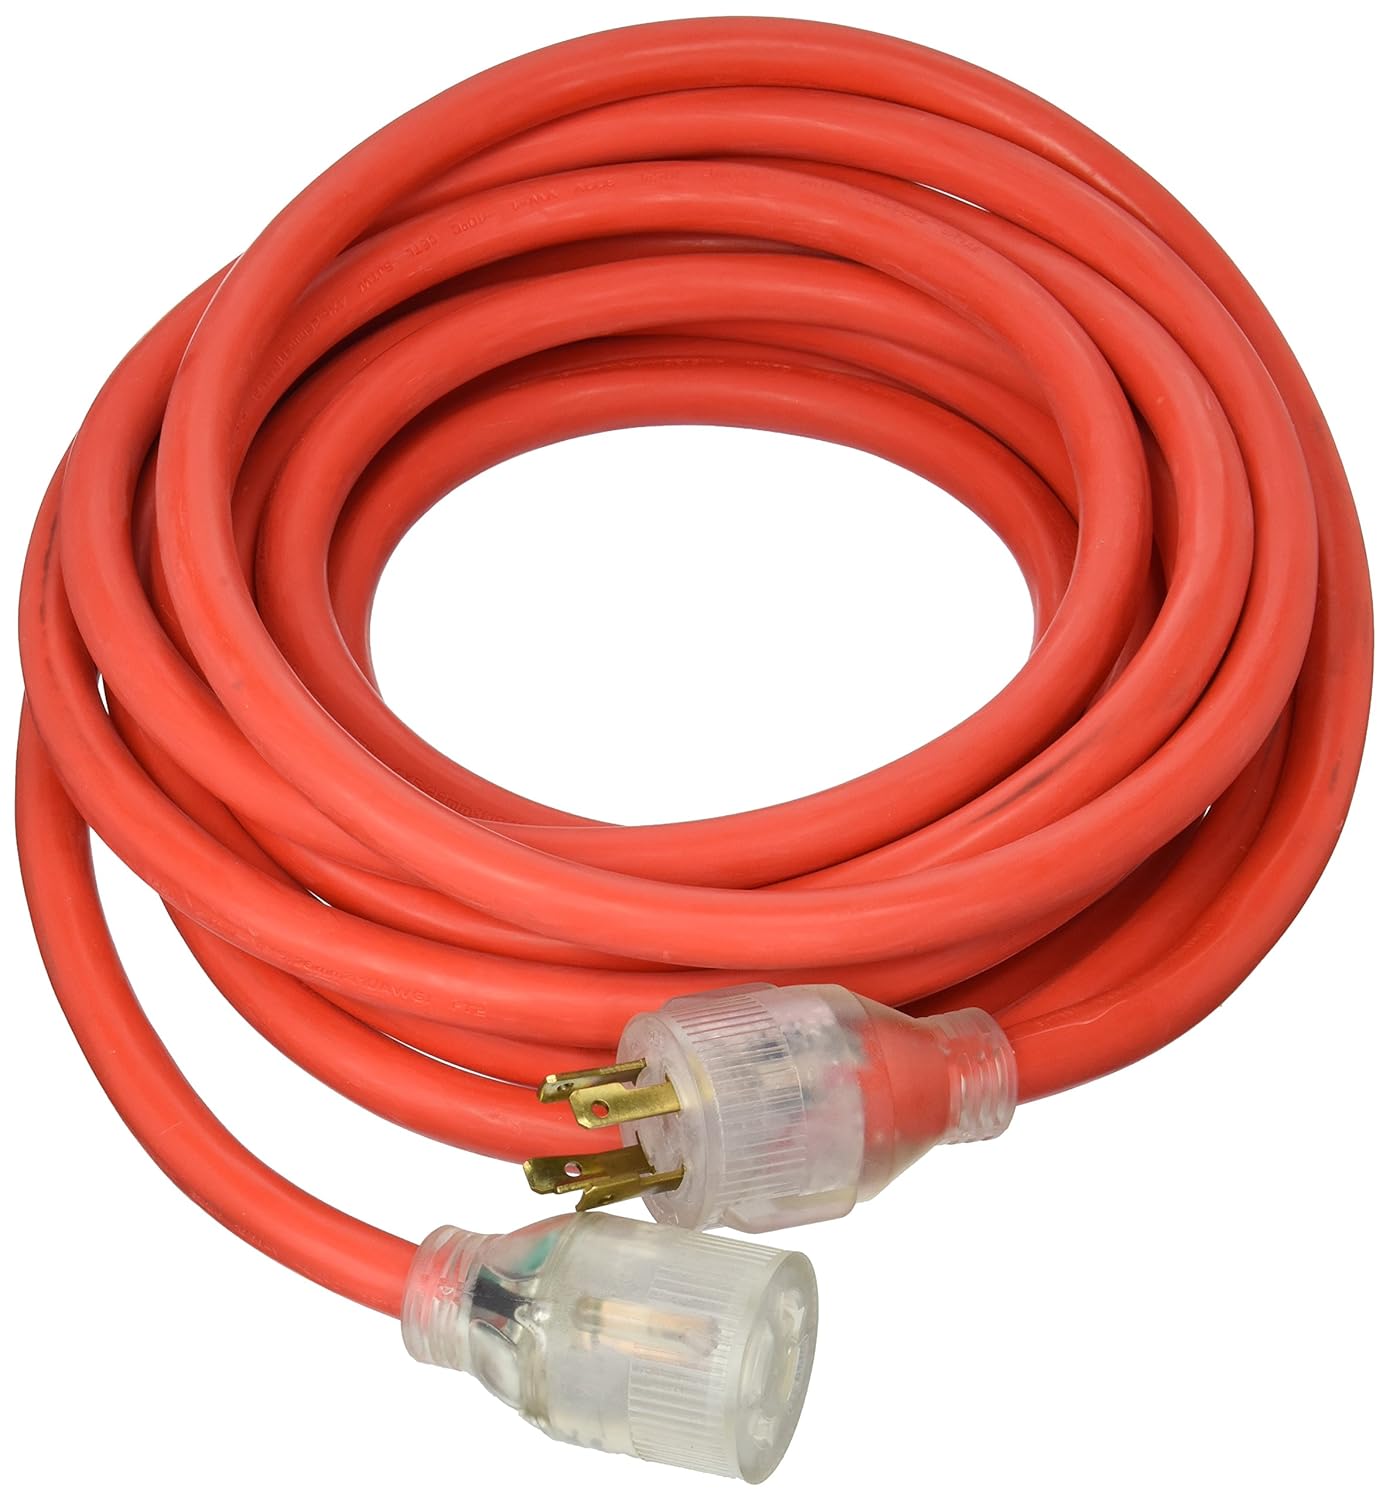
25' 10/4 extension cord
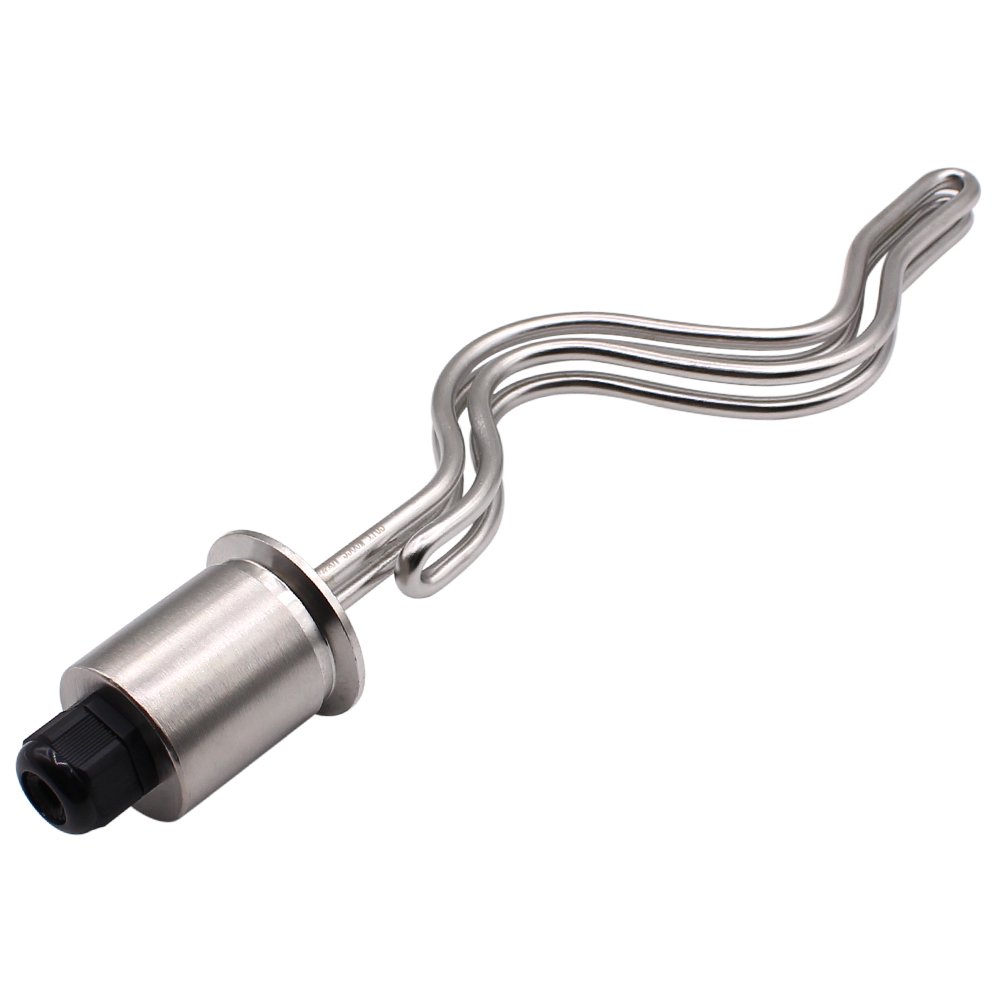
Using a Dernord 5500w ripple element with TC fitting and housing, using an appliance whip (cheapest option) for the disconnect
Here's the whole brewstand setup:
Happy to answer any questions about it and i saved all my costs and links for the parts I used. I spent a foolish amount of time trying to find the best possible price combinations on a lot of this stuff
Was doing a sloppy kettle/cooler mash tun/immersion chiller setup for the past several years and wanted to upgrade to something leaner, faster, easier to wash and store, and more reproducible without taking over half the kitchen for 6-7hrs at a time
Brew build thread with those pics is in the BIAB forum, here's the panel stuff:
I was inspired by the Brau supply ezboil system
but wanted a bit more customization and DIY and cost saving.
Ultimately my goals were: driving a 5500w element, an EZBoil, independent pump and heater controls, auxillary outlet, portability
Found this excellent diagram here on the forum:
My only real modifications was a main power LED and adjusted the ezboil pin assignments for Auber the DSPR310c

Smallest enclosure I thought would fit everything, retapped the small crap screws for slightly larger/stronger screws
And here it is! sorry the wiring looks a little sloppy, squeezing stiff 12 and 14ga wire into a little box took a lot of patience
didn't apply the labels yet, but here's your guide


Main power LED top left, element firing light top right
Main breaker, EZBoil
Pump switch, RTD sensor plug, element override switch
pump and aux outputs

heater element output
240 input
SSR and contactor in the middle

you can see the inline fuse holders here


spa panel wired into the garage wall with a 240 NEMA 4pin outlet

25' 10/4 extension cord
Using a Dernord 5500w ripple element with TC fitting and housing, using an appliance whip (cheapest option) for the disconnect
Here's the whole brewstand setup:

Happy to answer any questions about it and i saved all my costs and links for the parts I used. I spent a foolish amount of time trying to find the best possible price combinations on a lot of this stuff
Last edited by a moderator:


![Craft A Brew - Safale BE-256 Yeast - Fermentis - Belgian Ale Dry Yeast - For Belgian & Strong Ales - Ingredients for Home Brewing - Beer Making Supplies - [3 Pack]](https://m.media-amazon.com/images/I/51bcKEwQmWL._SL500_.jpg)


 (or 72% if I only count what's in the fermentor)


