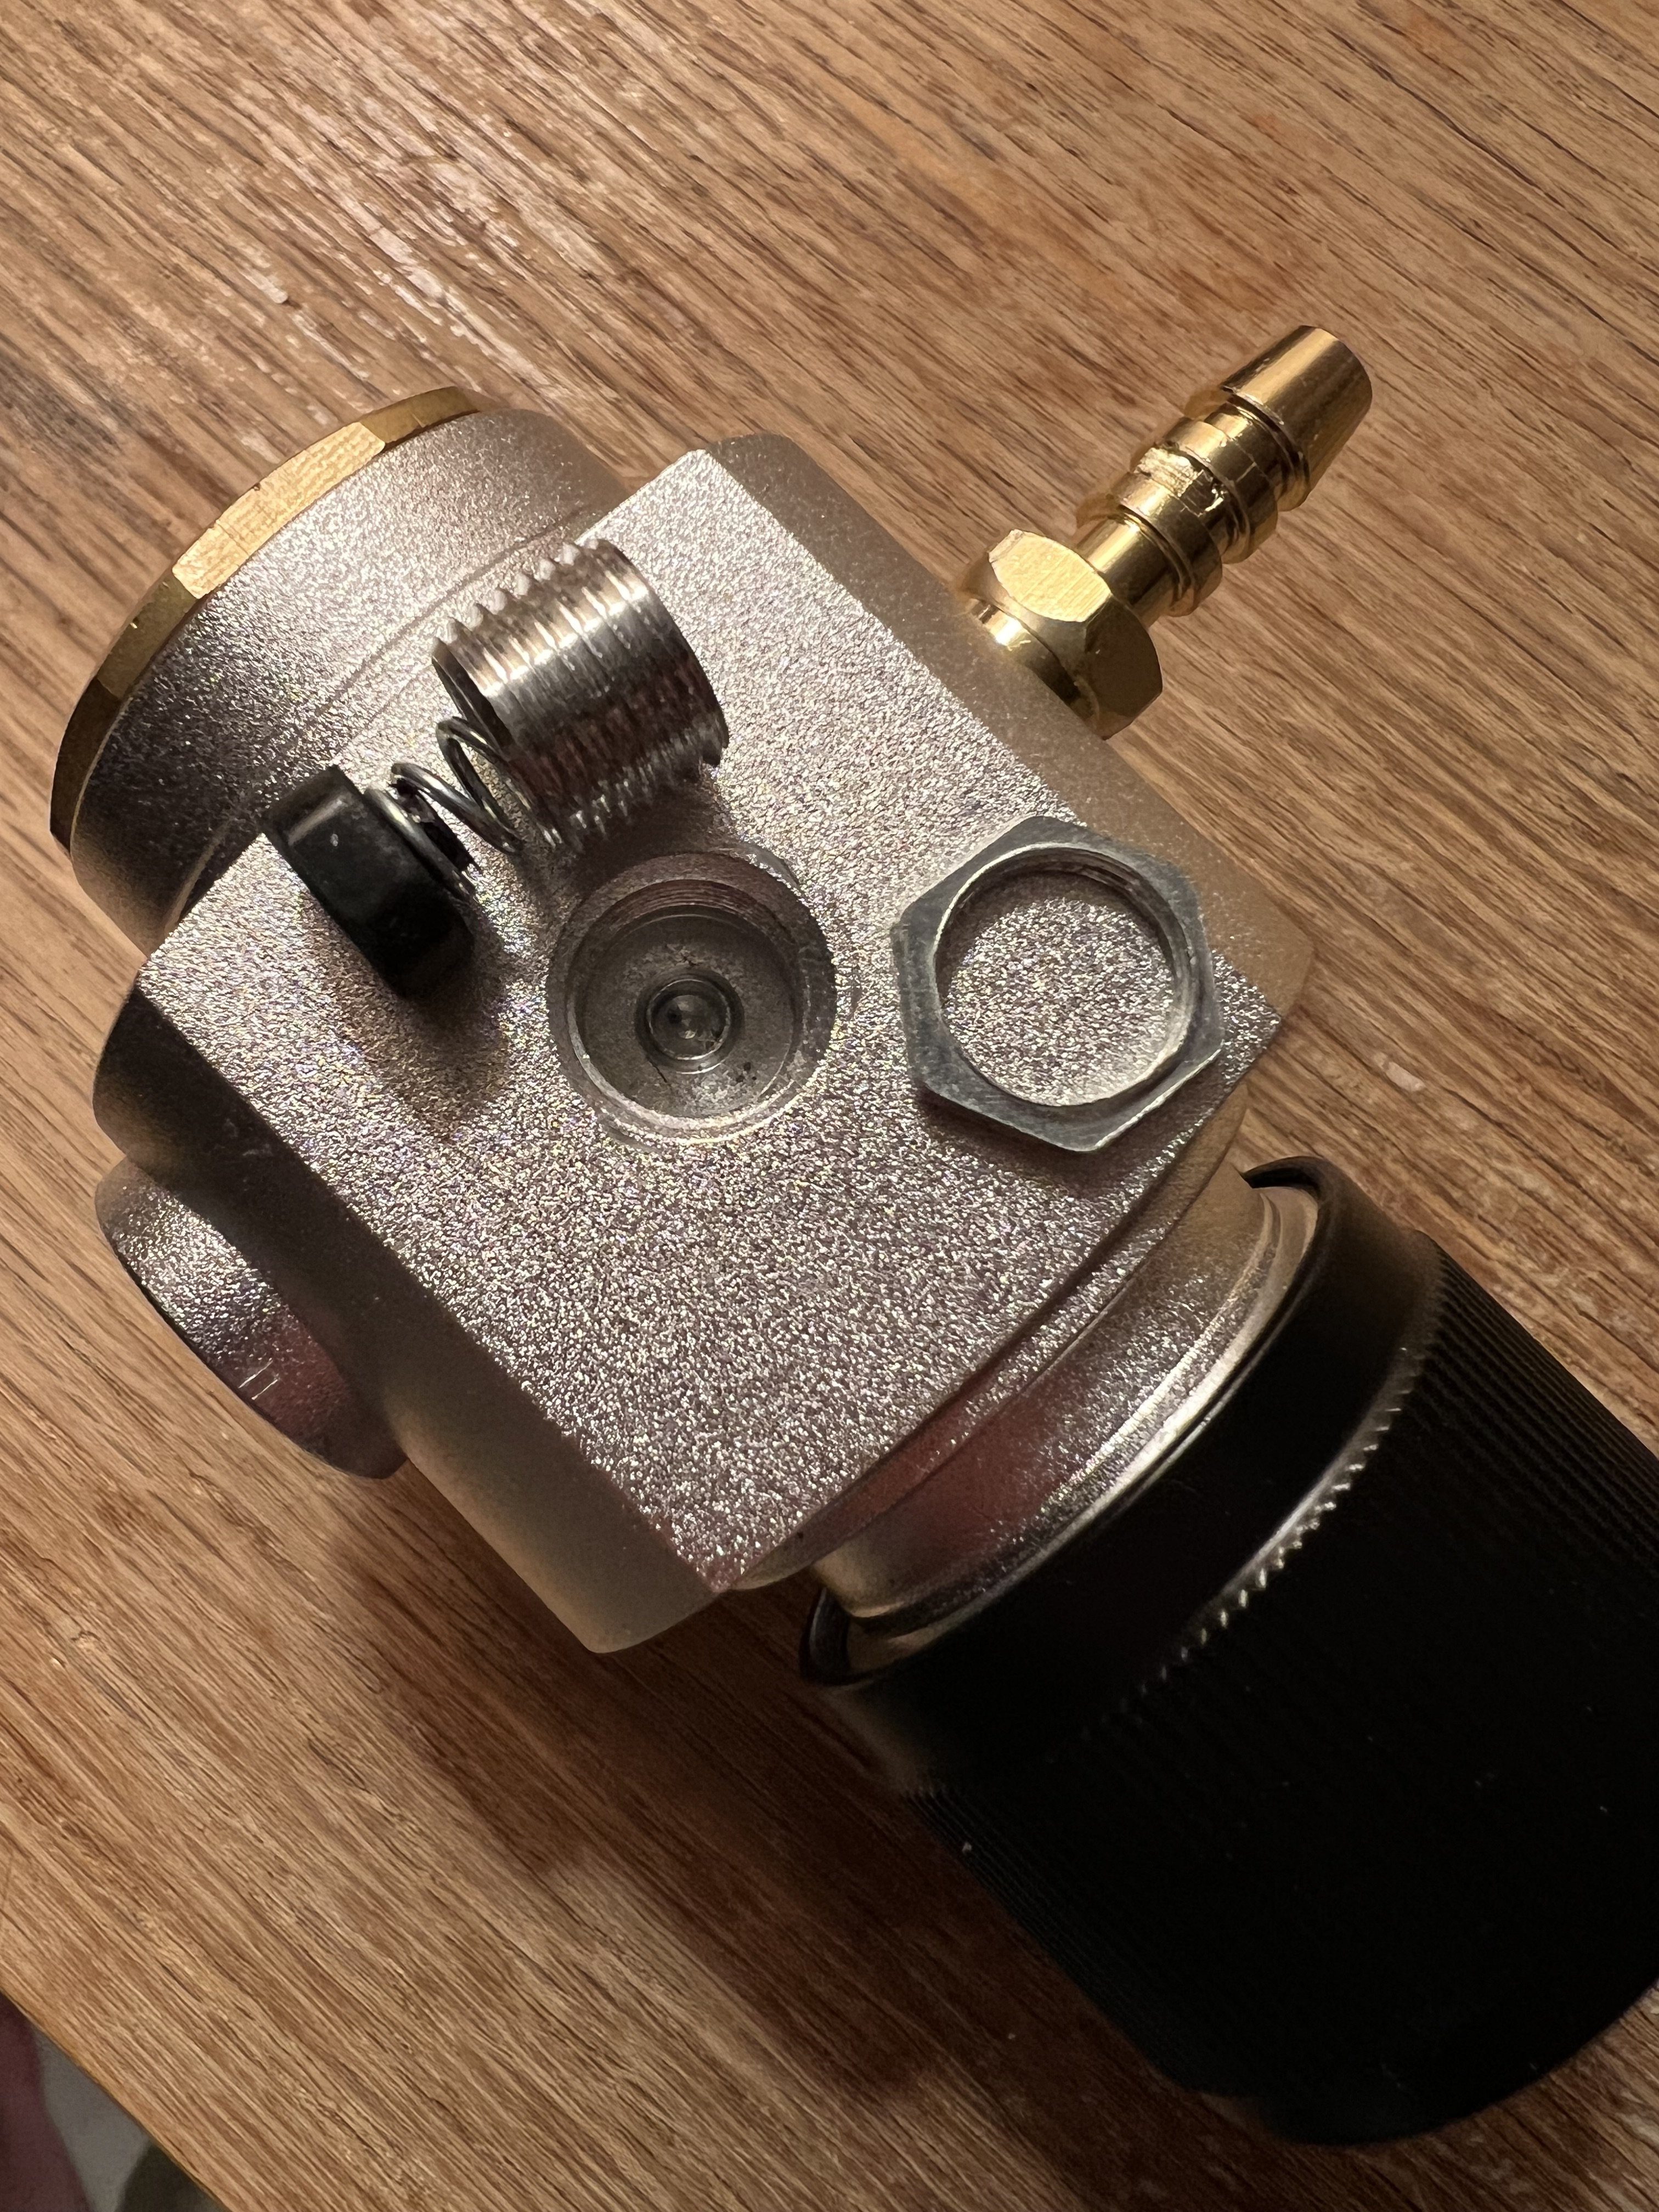
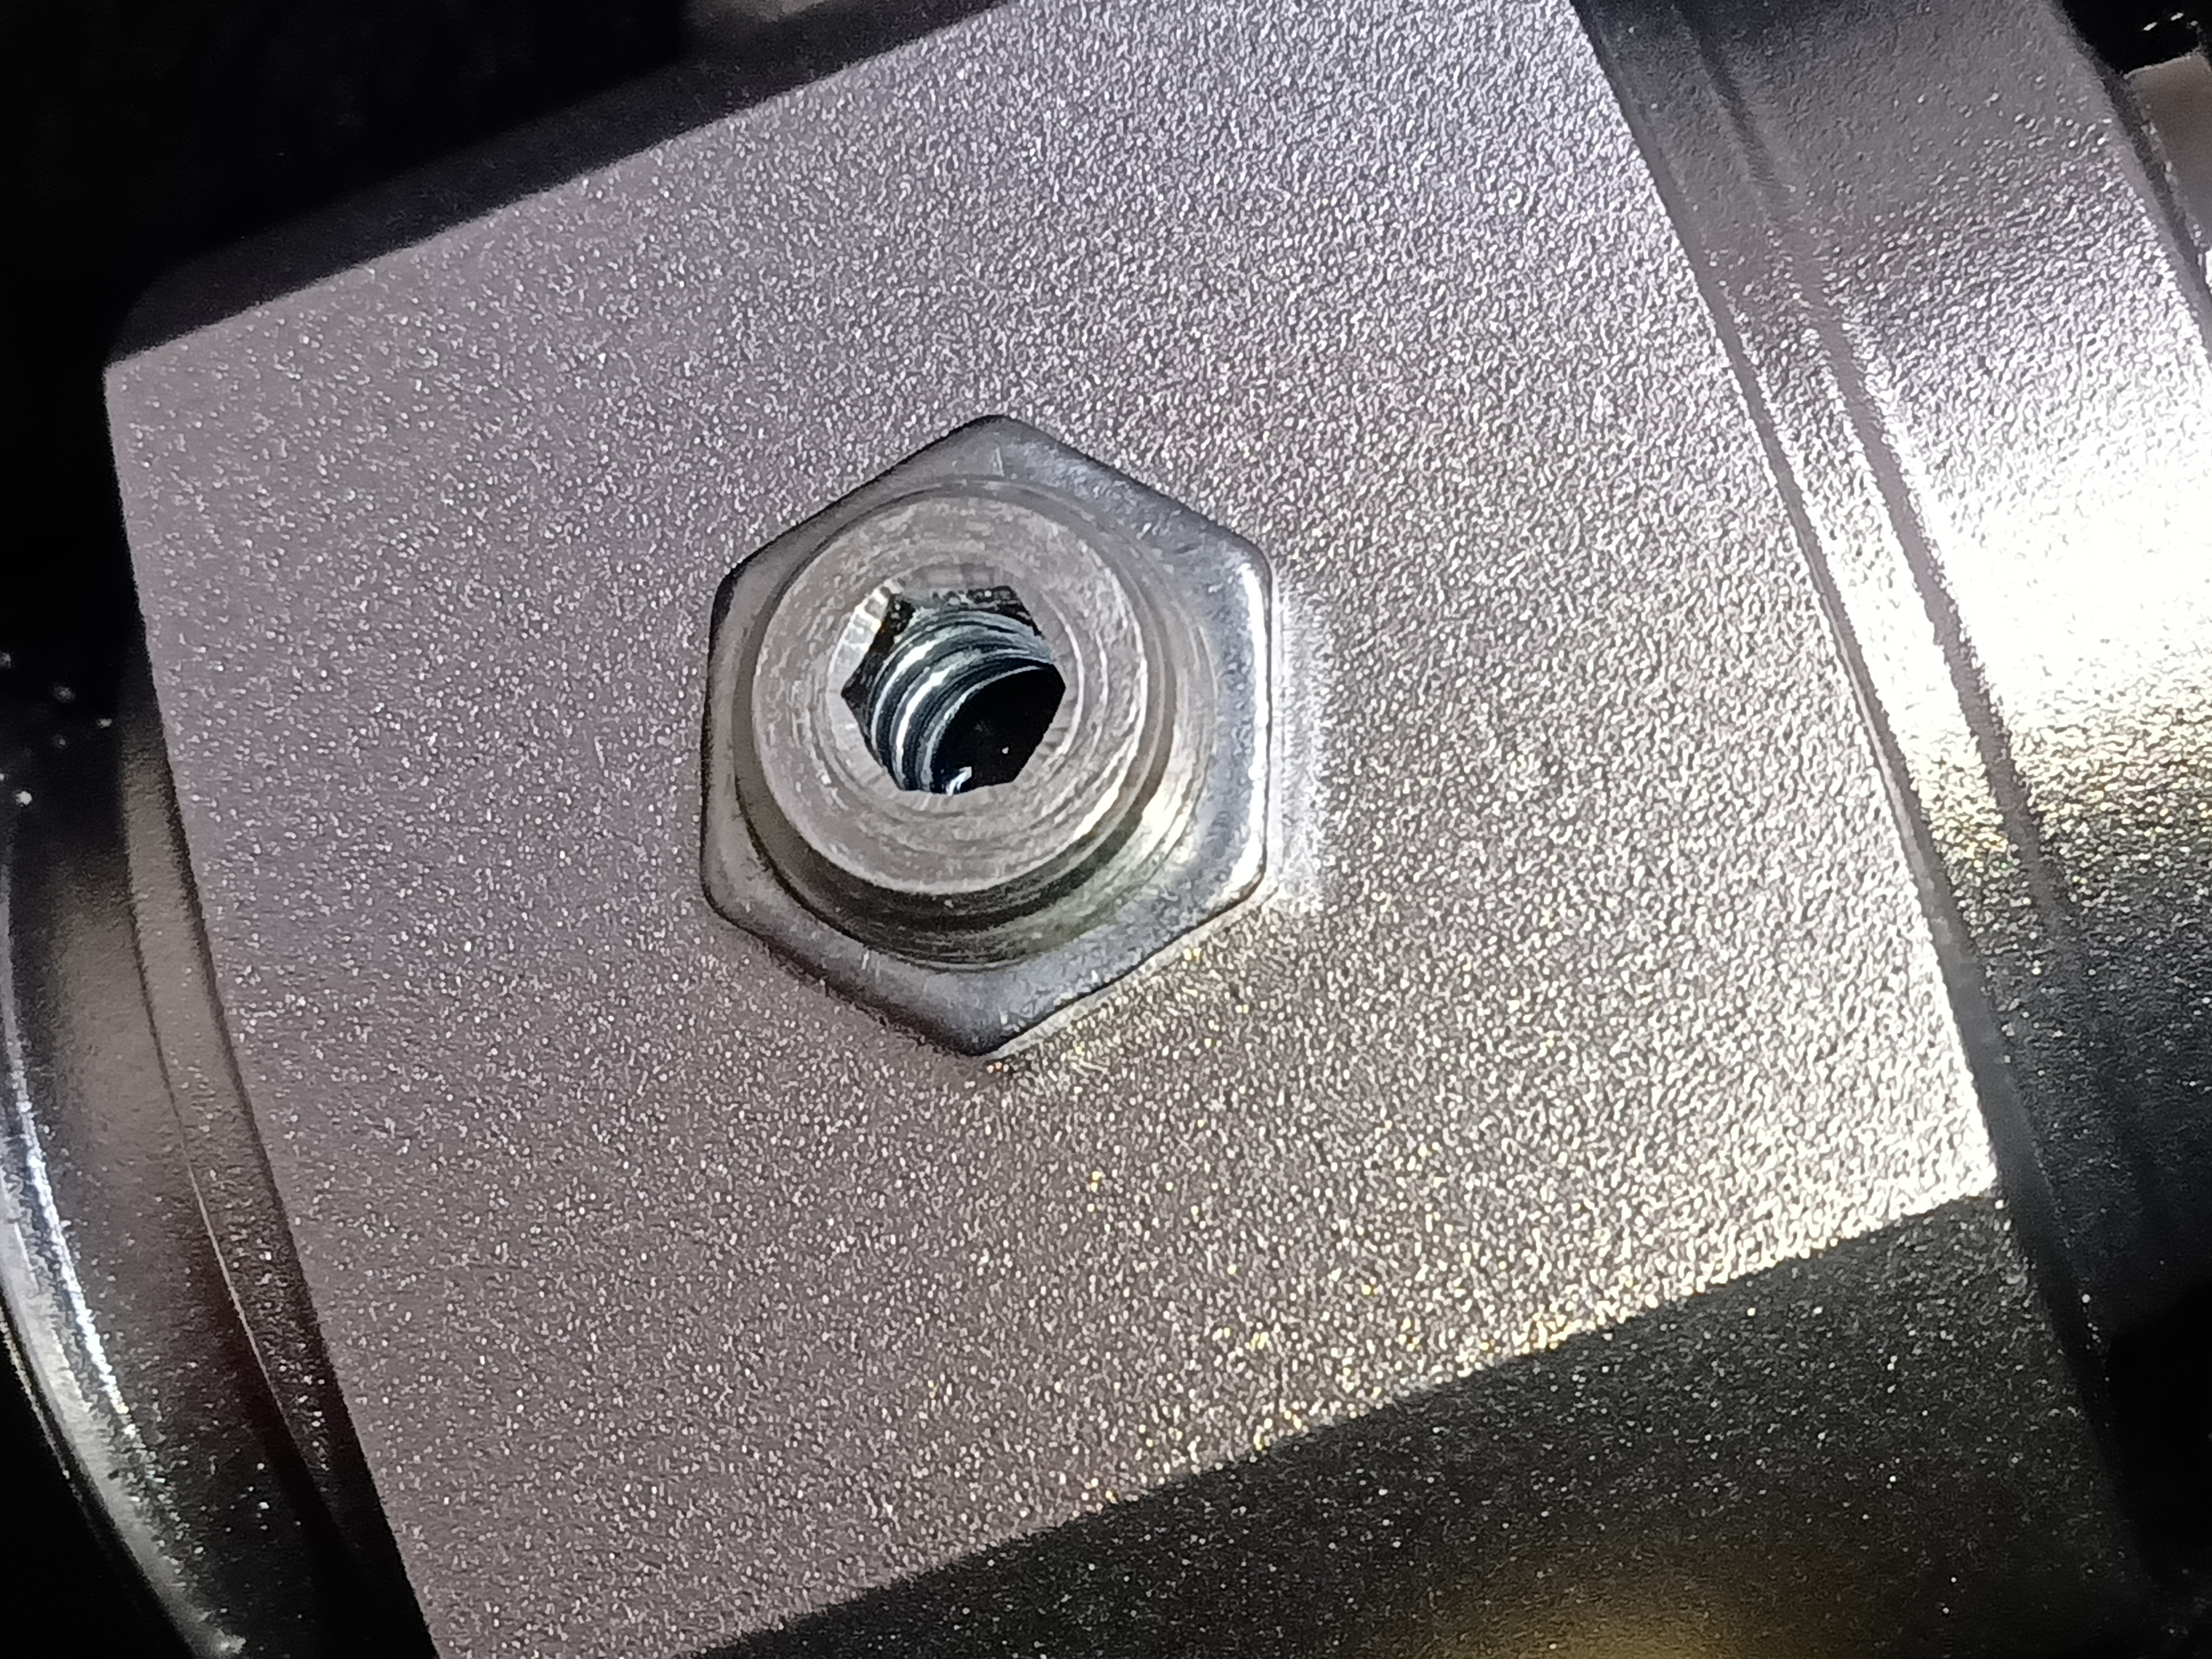
0k... So I don't have to fret over the open hole in the back (Maybe I can find a cover for it somewhere to keep out the dust?)
LETs move on to another issue:
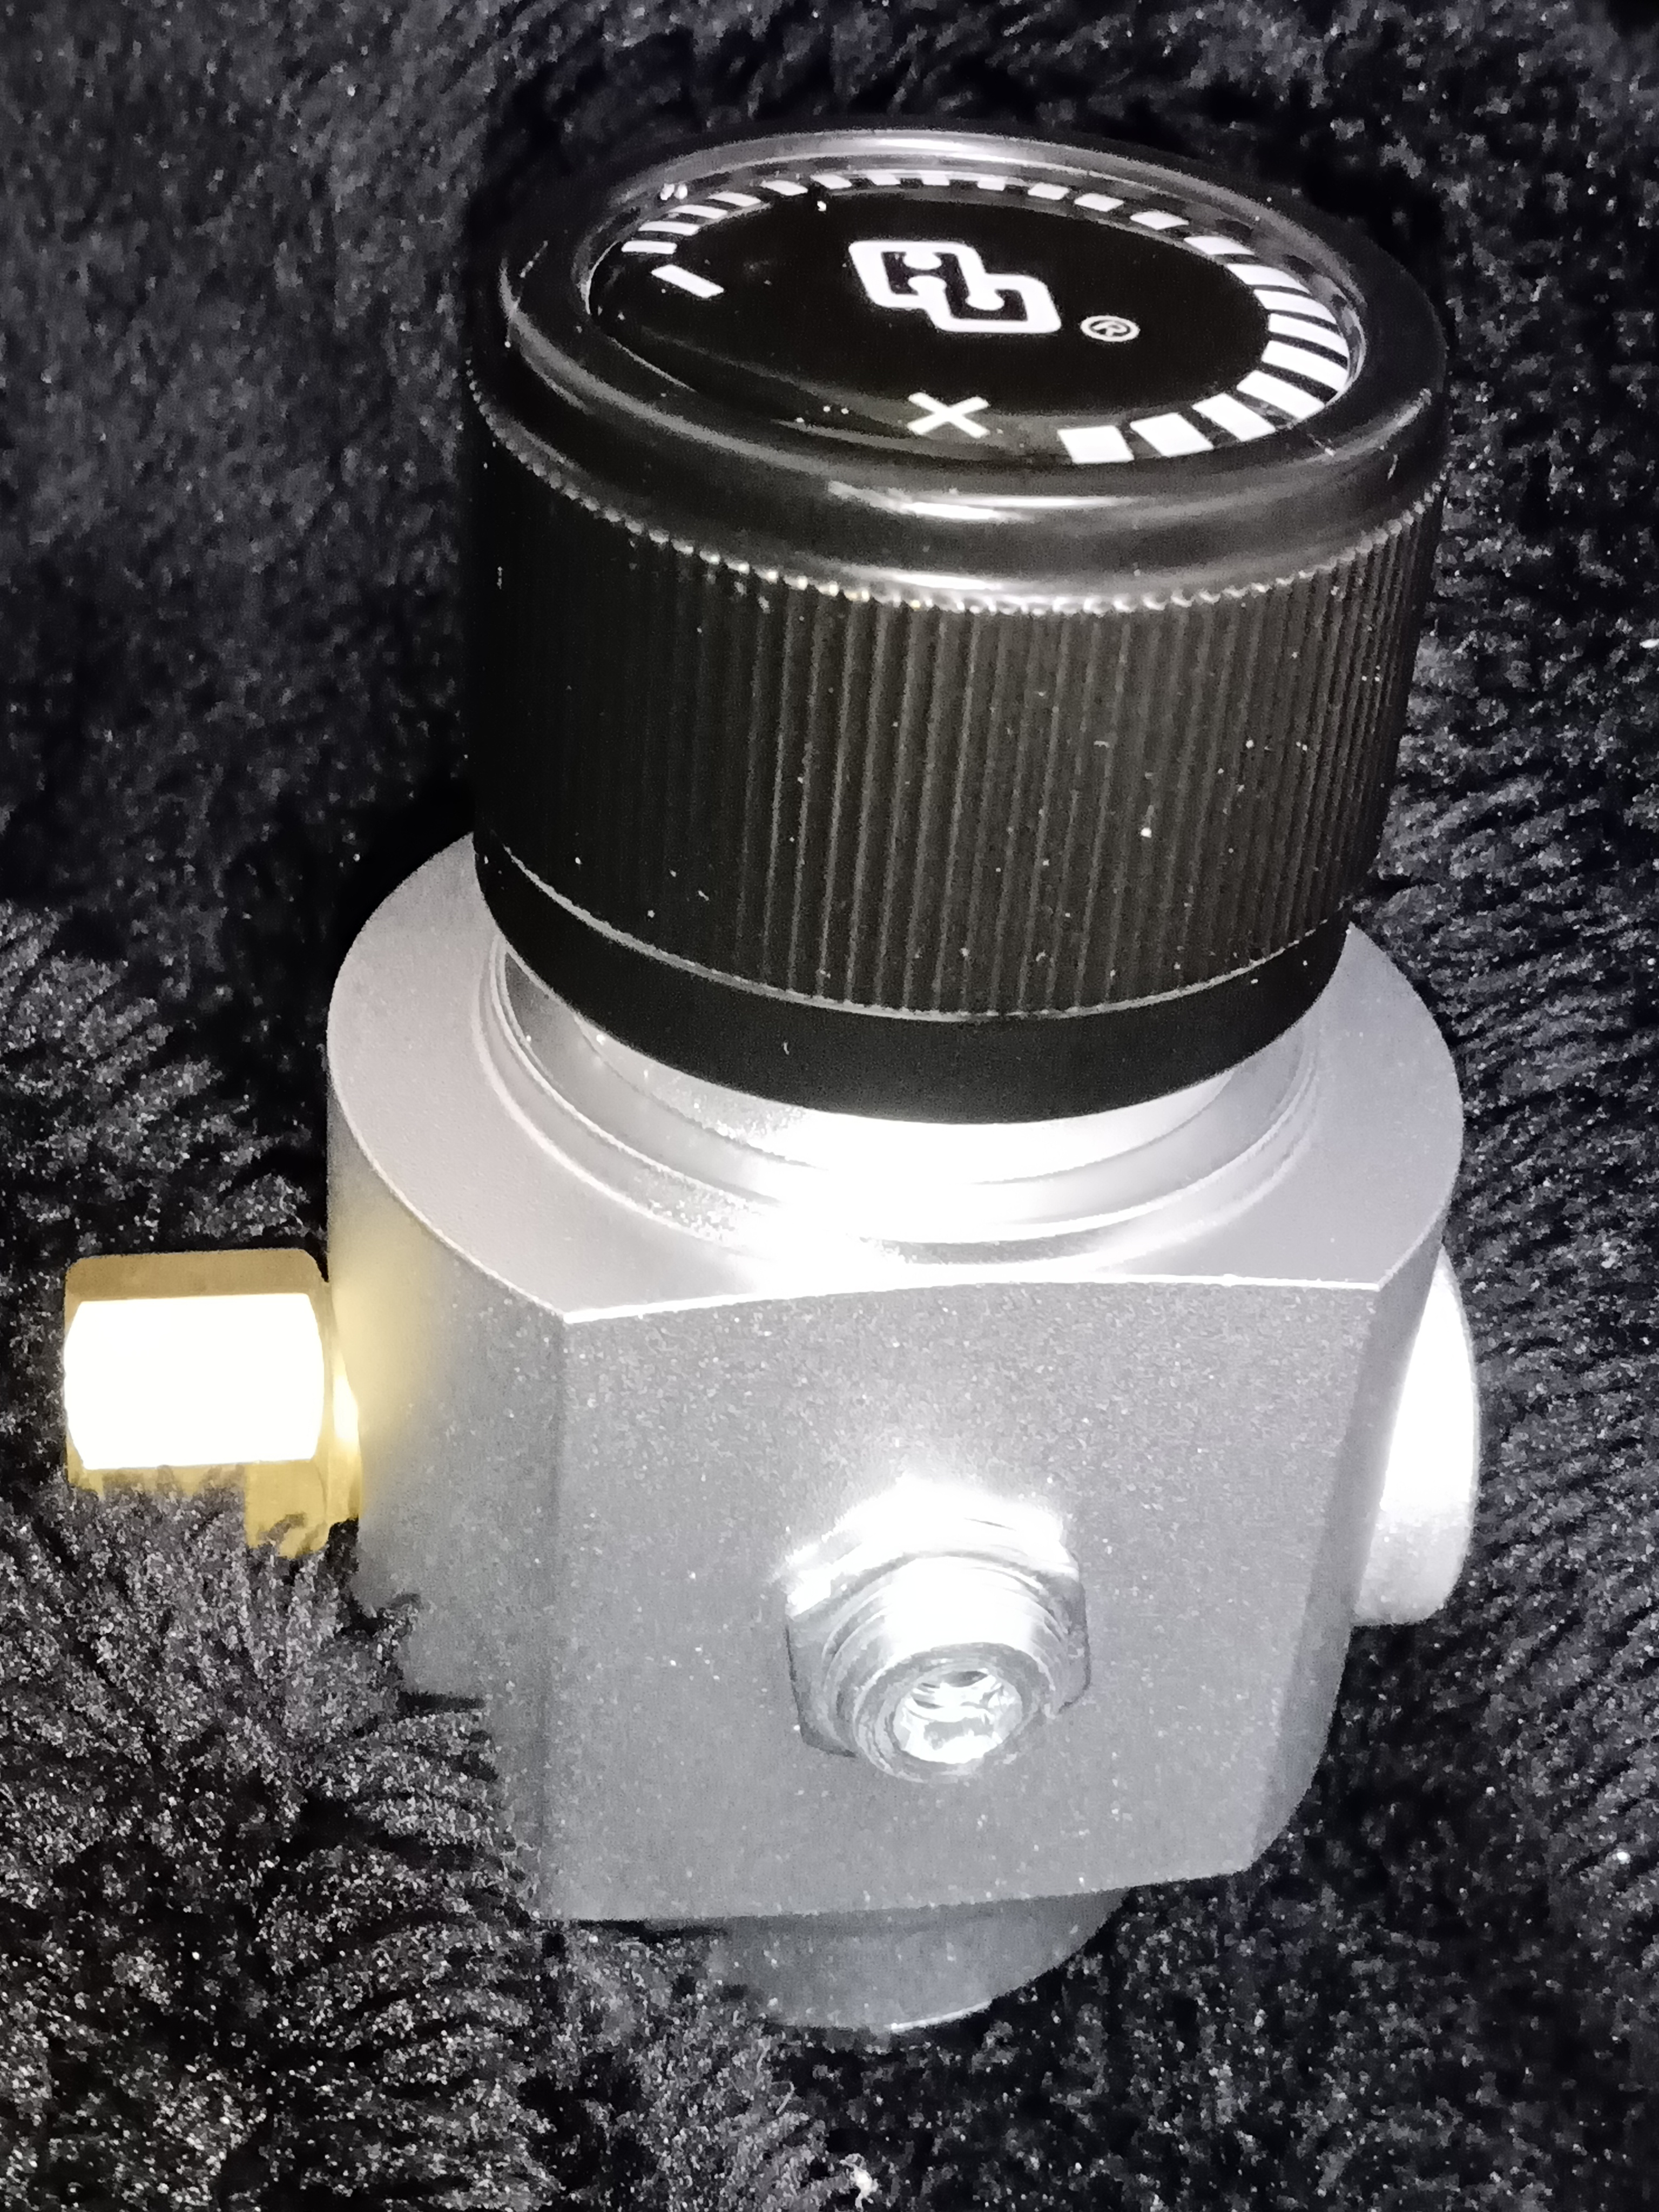
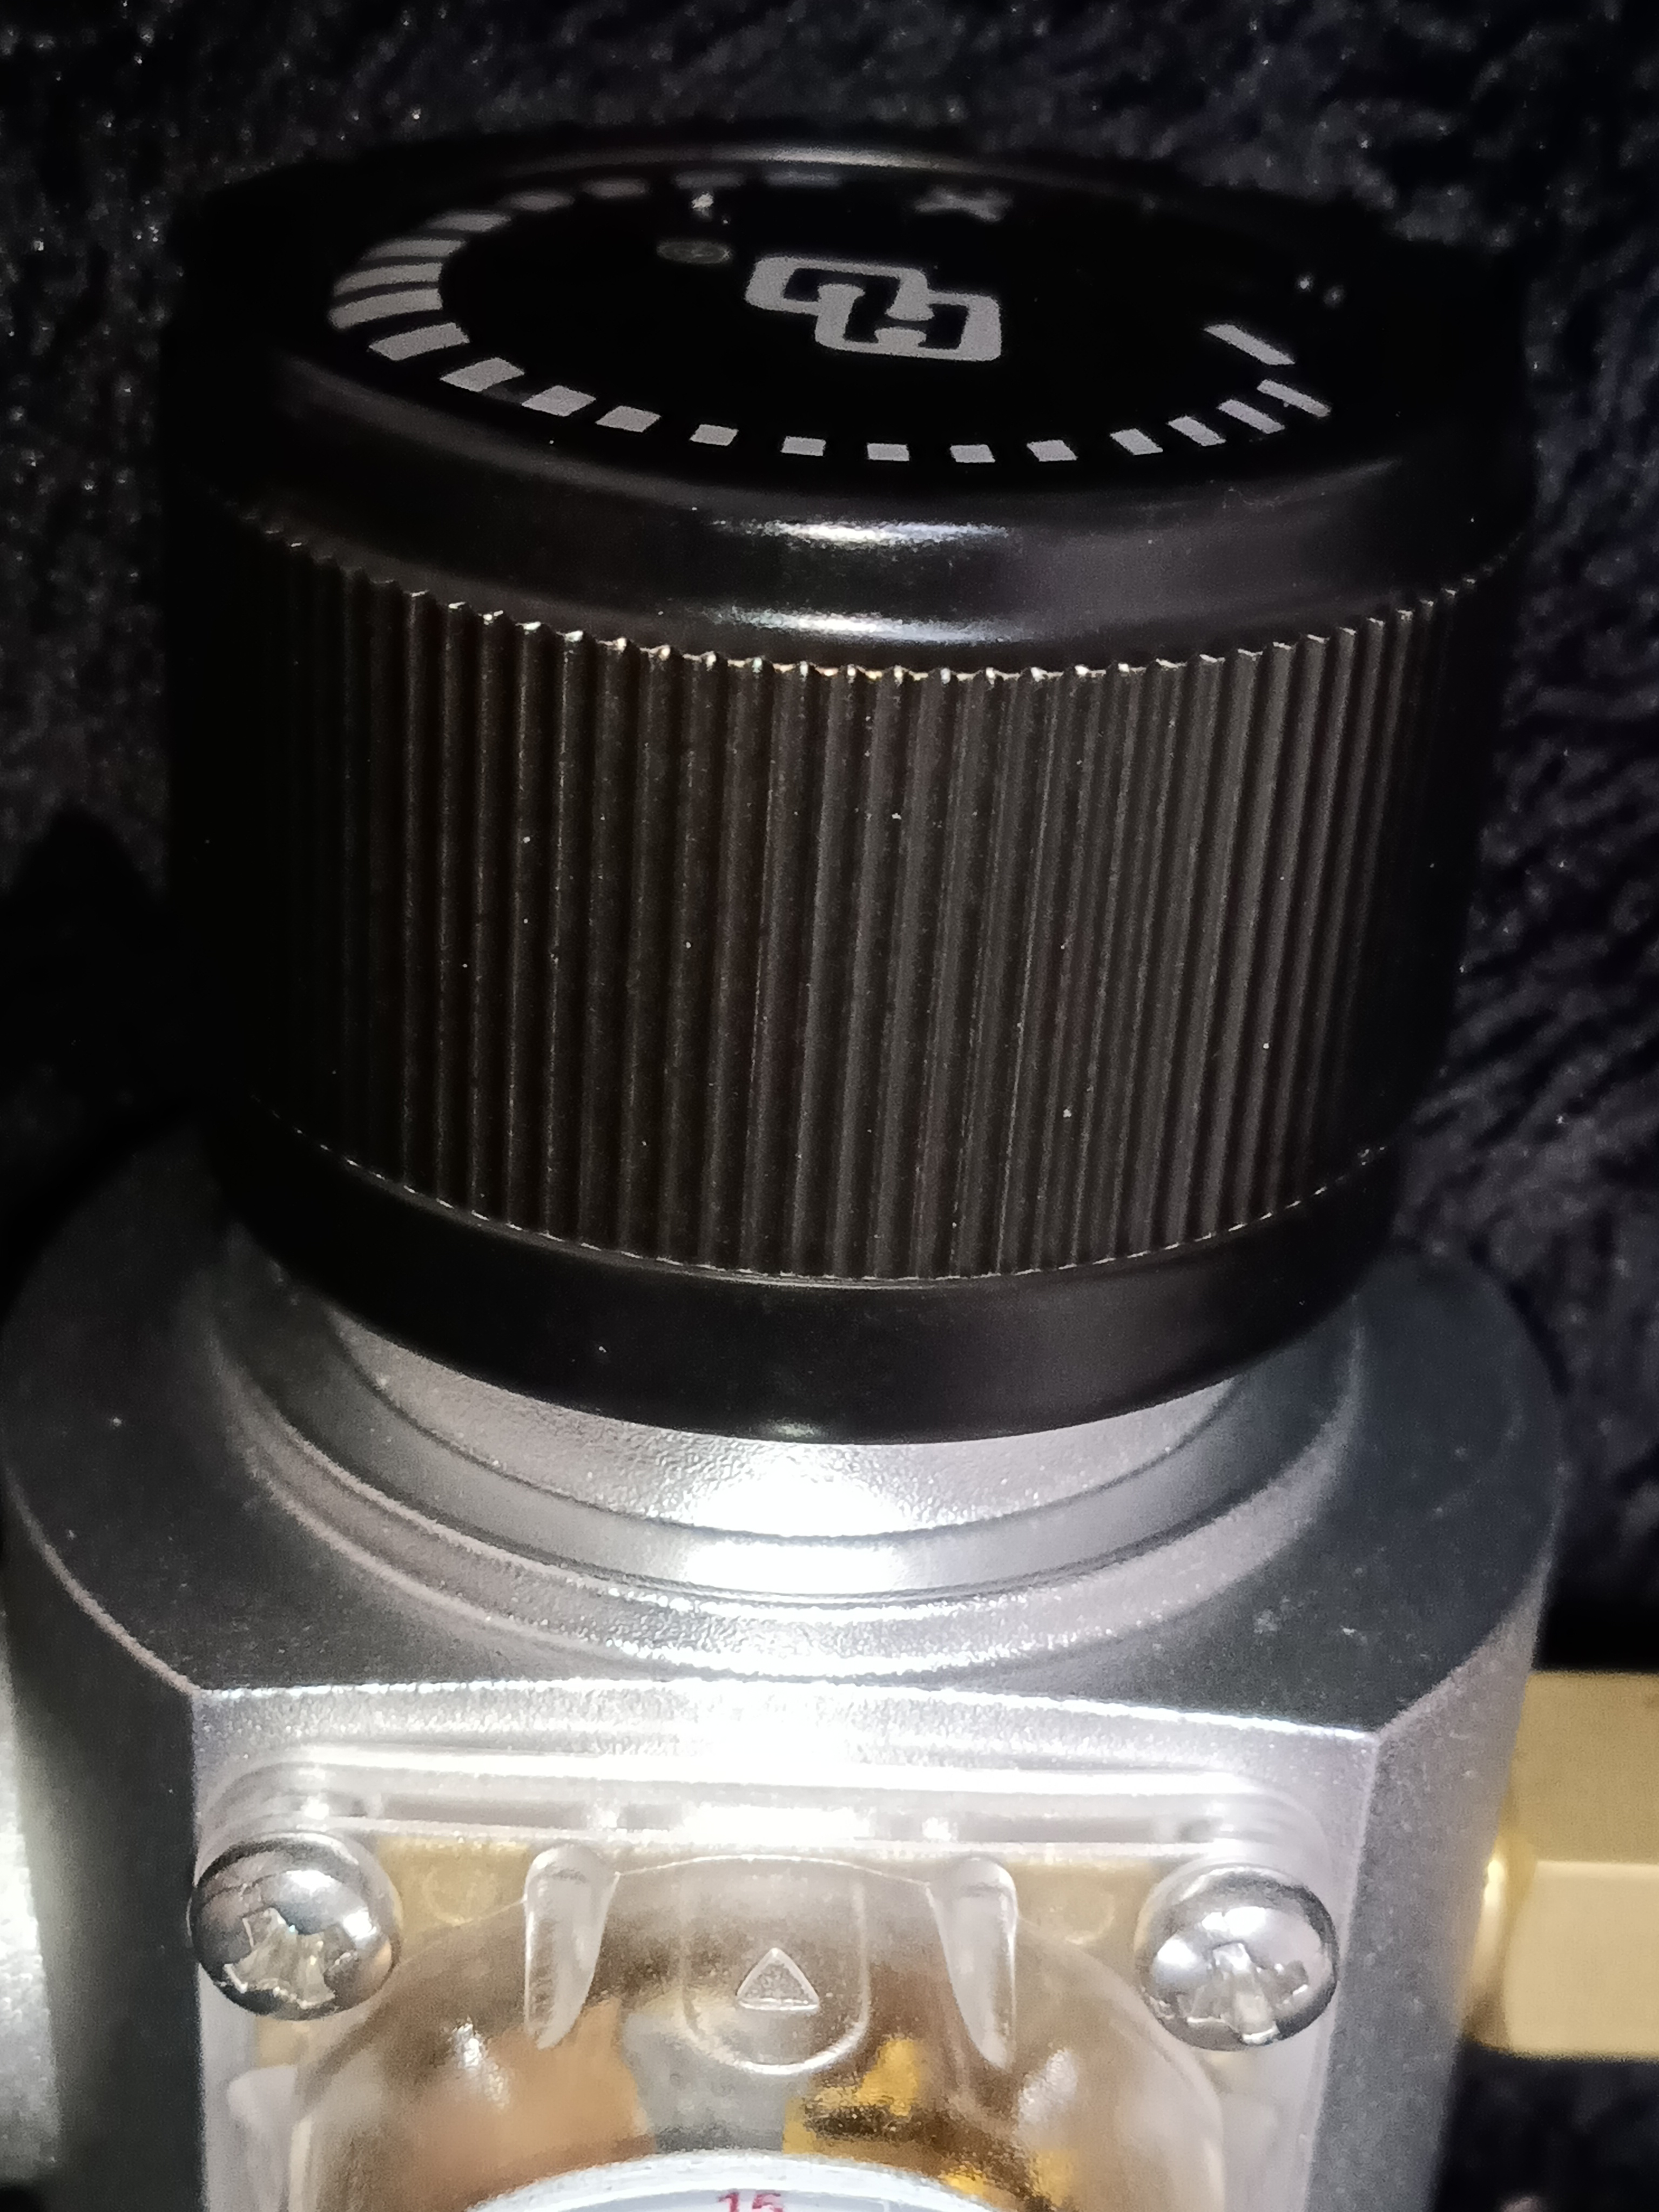
The dial setting cannot be read properly from the triangle shaped pointer and there are no alternative pointers.
What would you do? What is the best thing to do... if the dial is set off mark?
Looking at the pic one can see the triangle pointer used to let you know where to read the dial... IF the gauge face were attached on the opposing side it would read correctly, however it isn't and it doesn't. pix ending in 13 shoxs the dial all the way up and pix 31 shows it all the way down. Certainly not easy to read correctly and consistantly by using the triangle pointer. The alternative is to read it on the opposing side with no fixed pointer. Doable but not desirable.
Should I accept or demand a replacement?